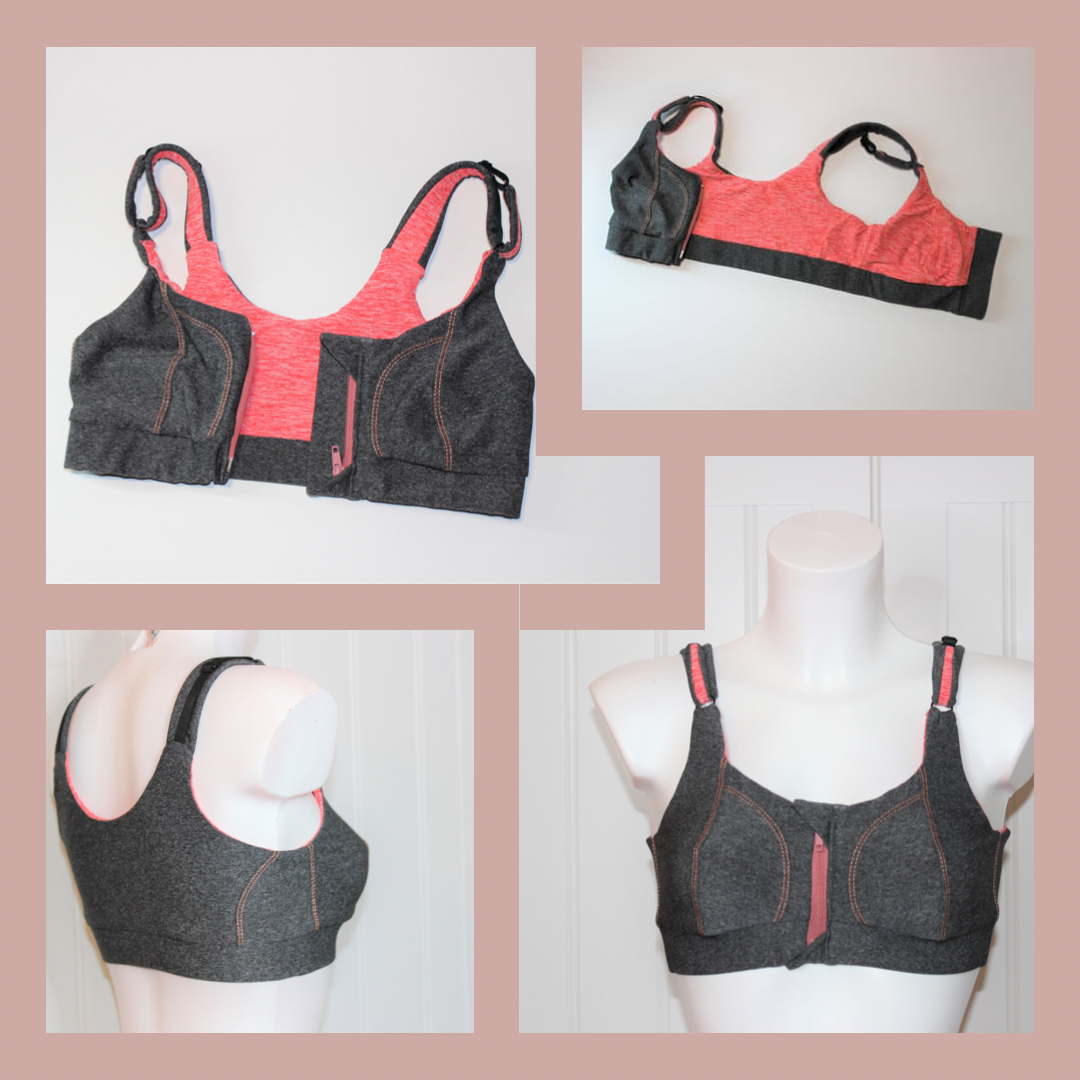
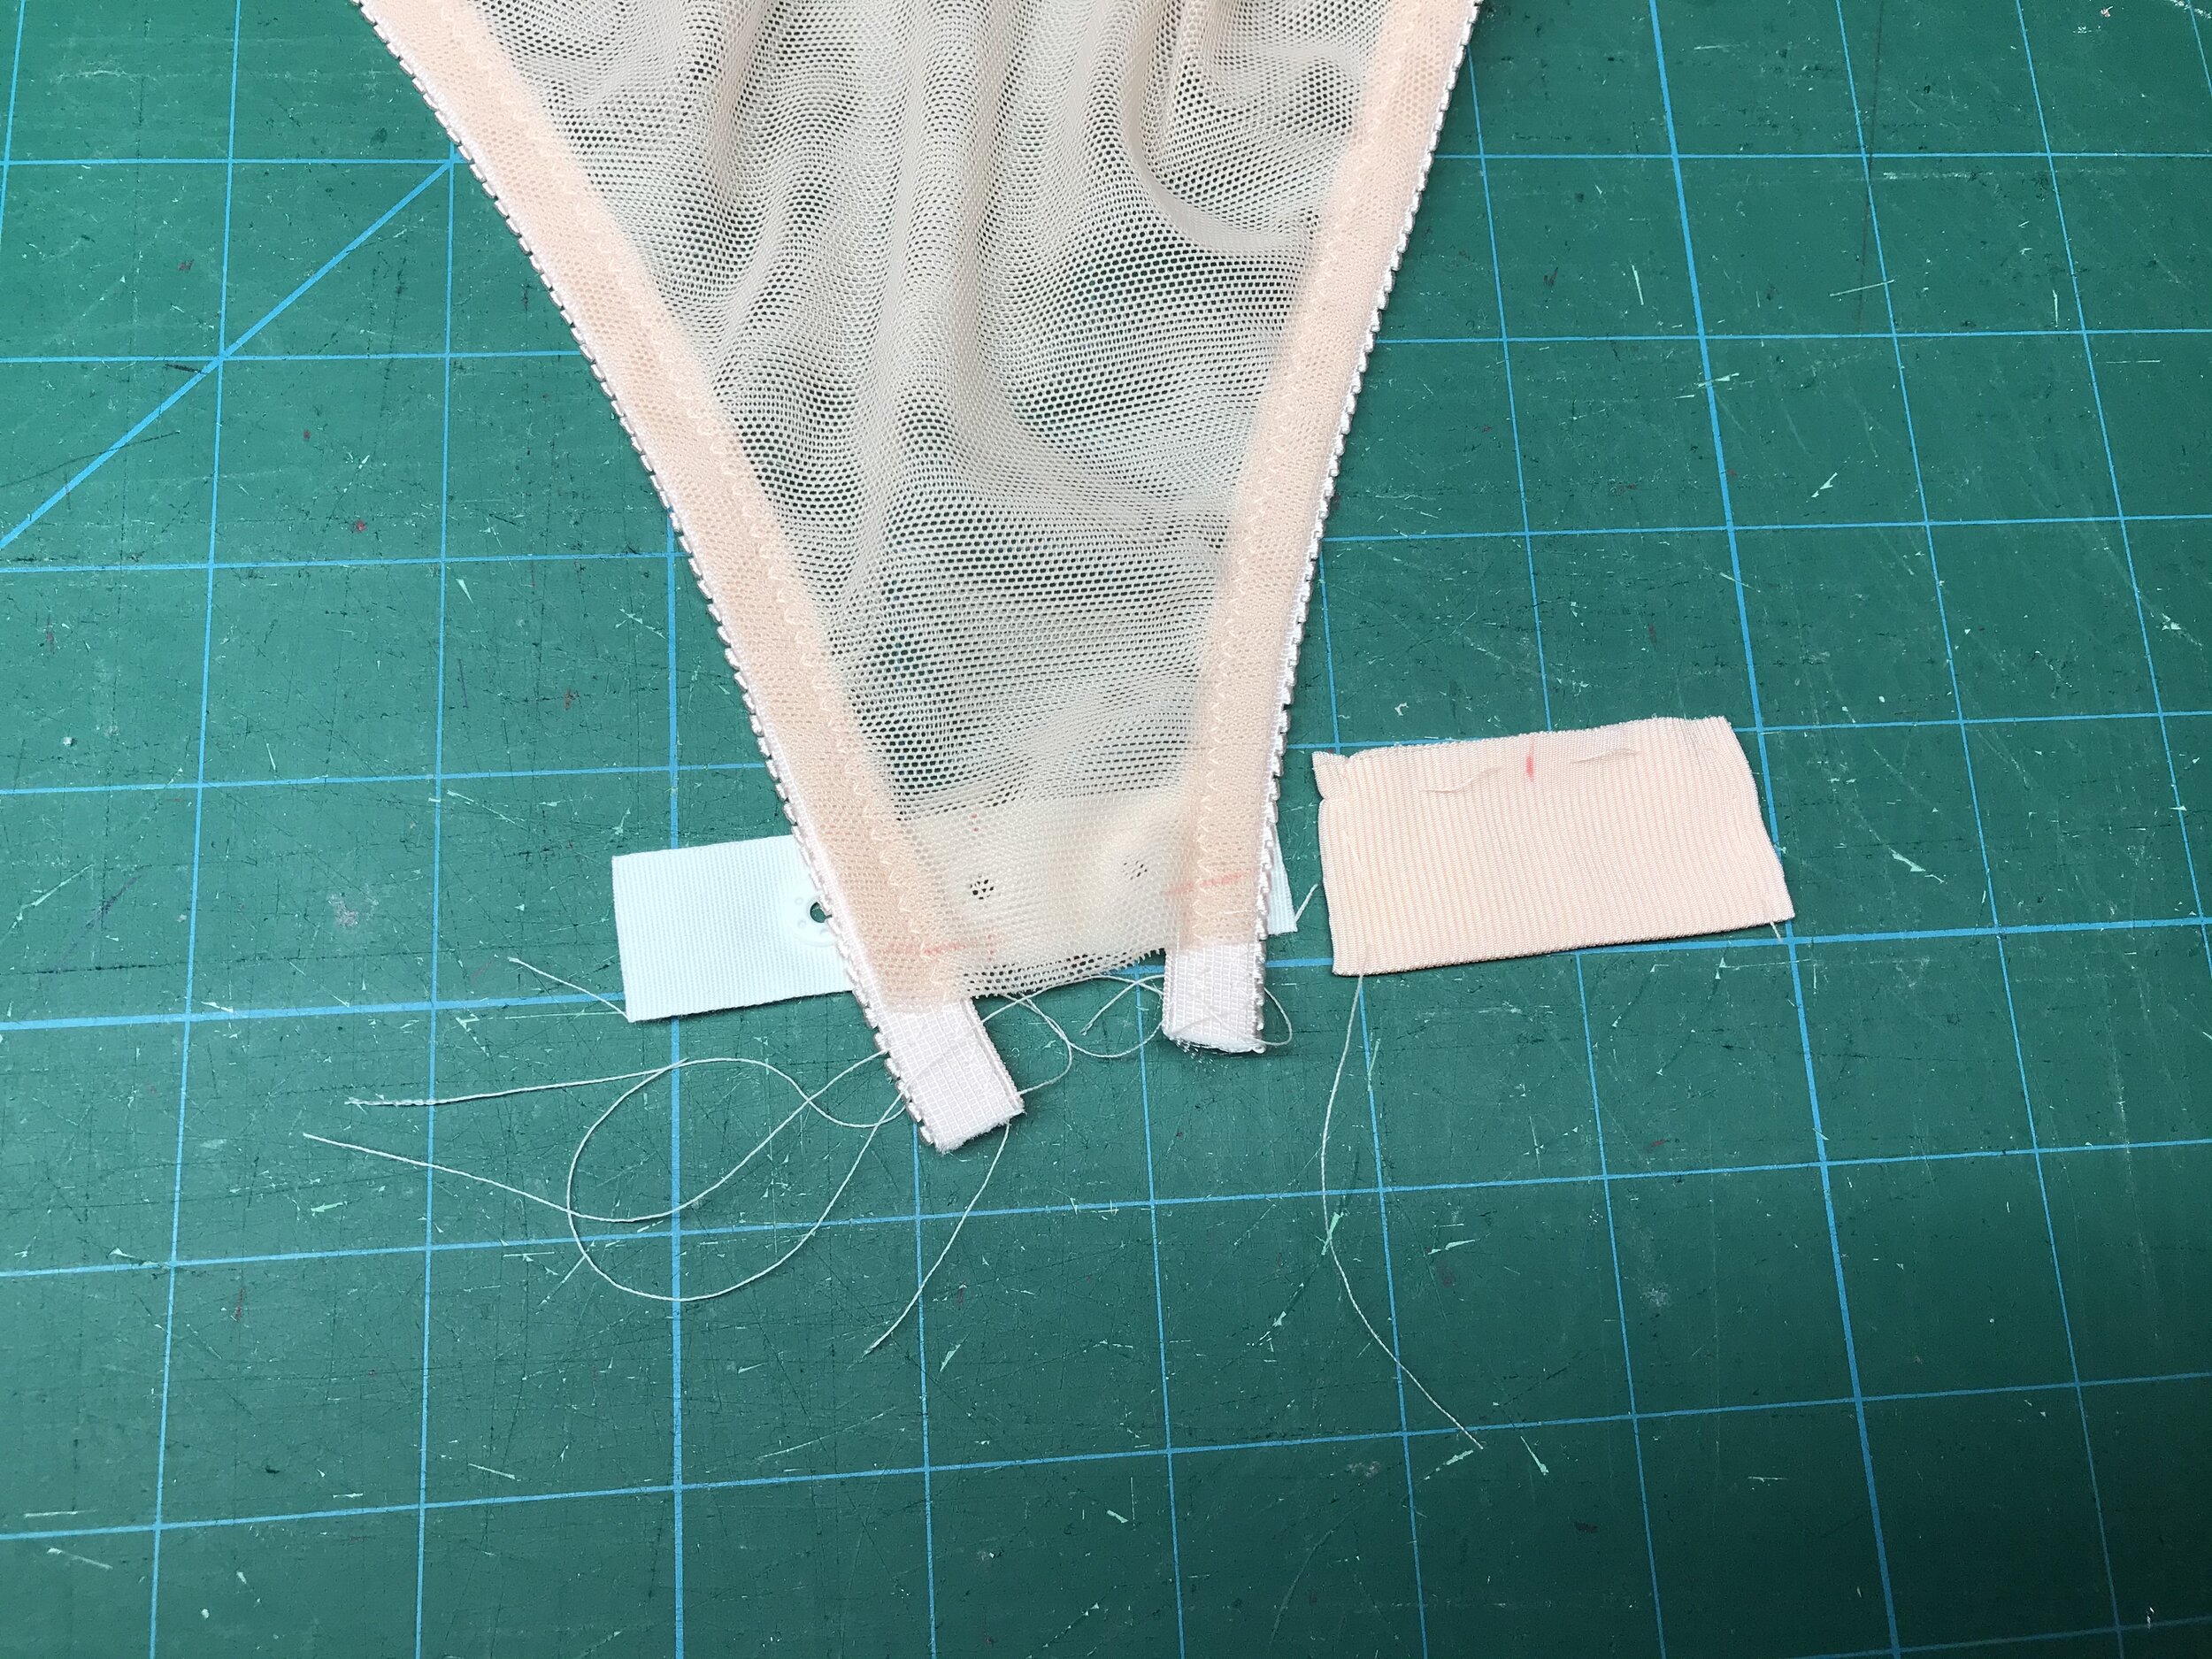
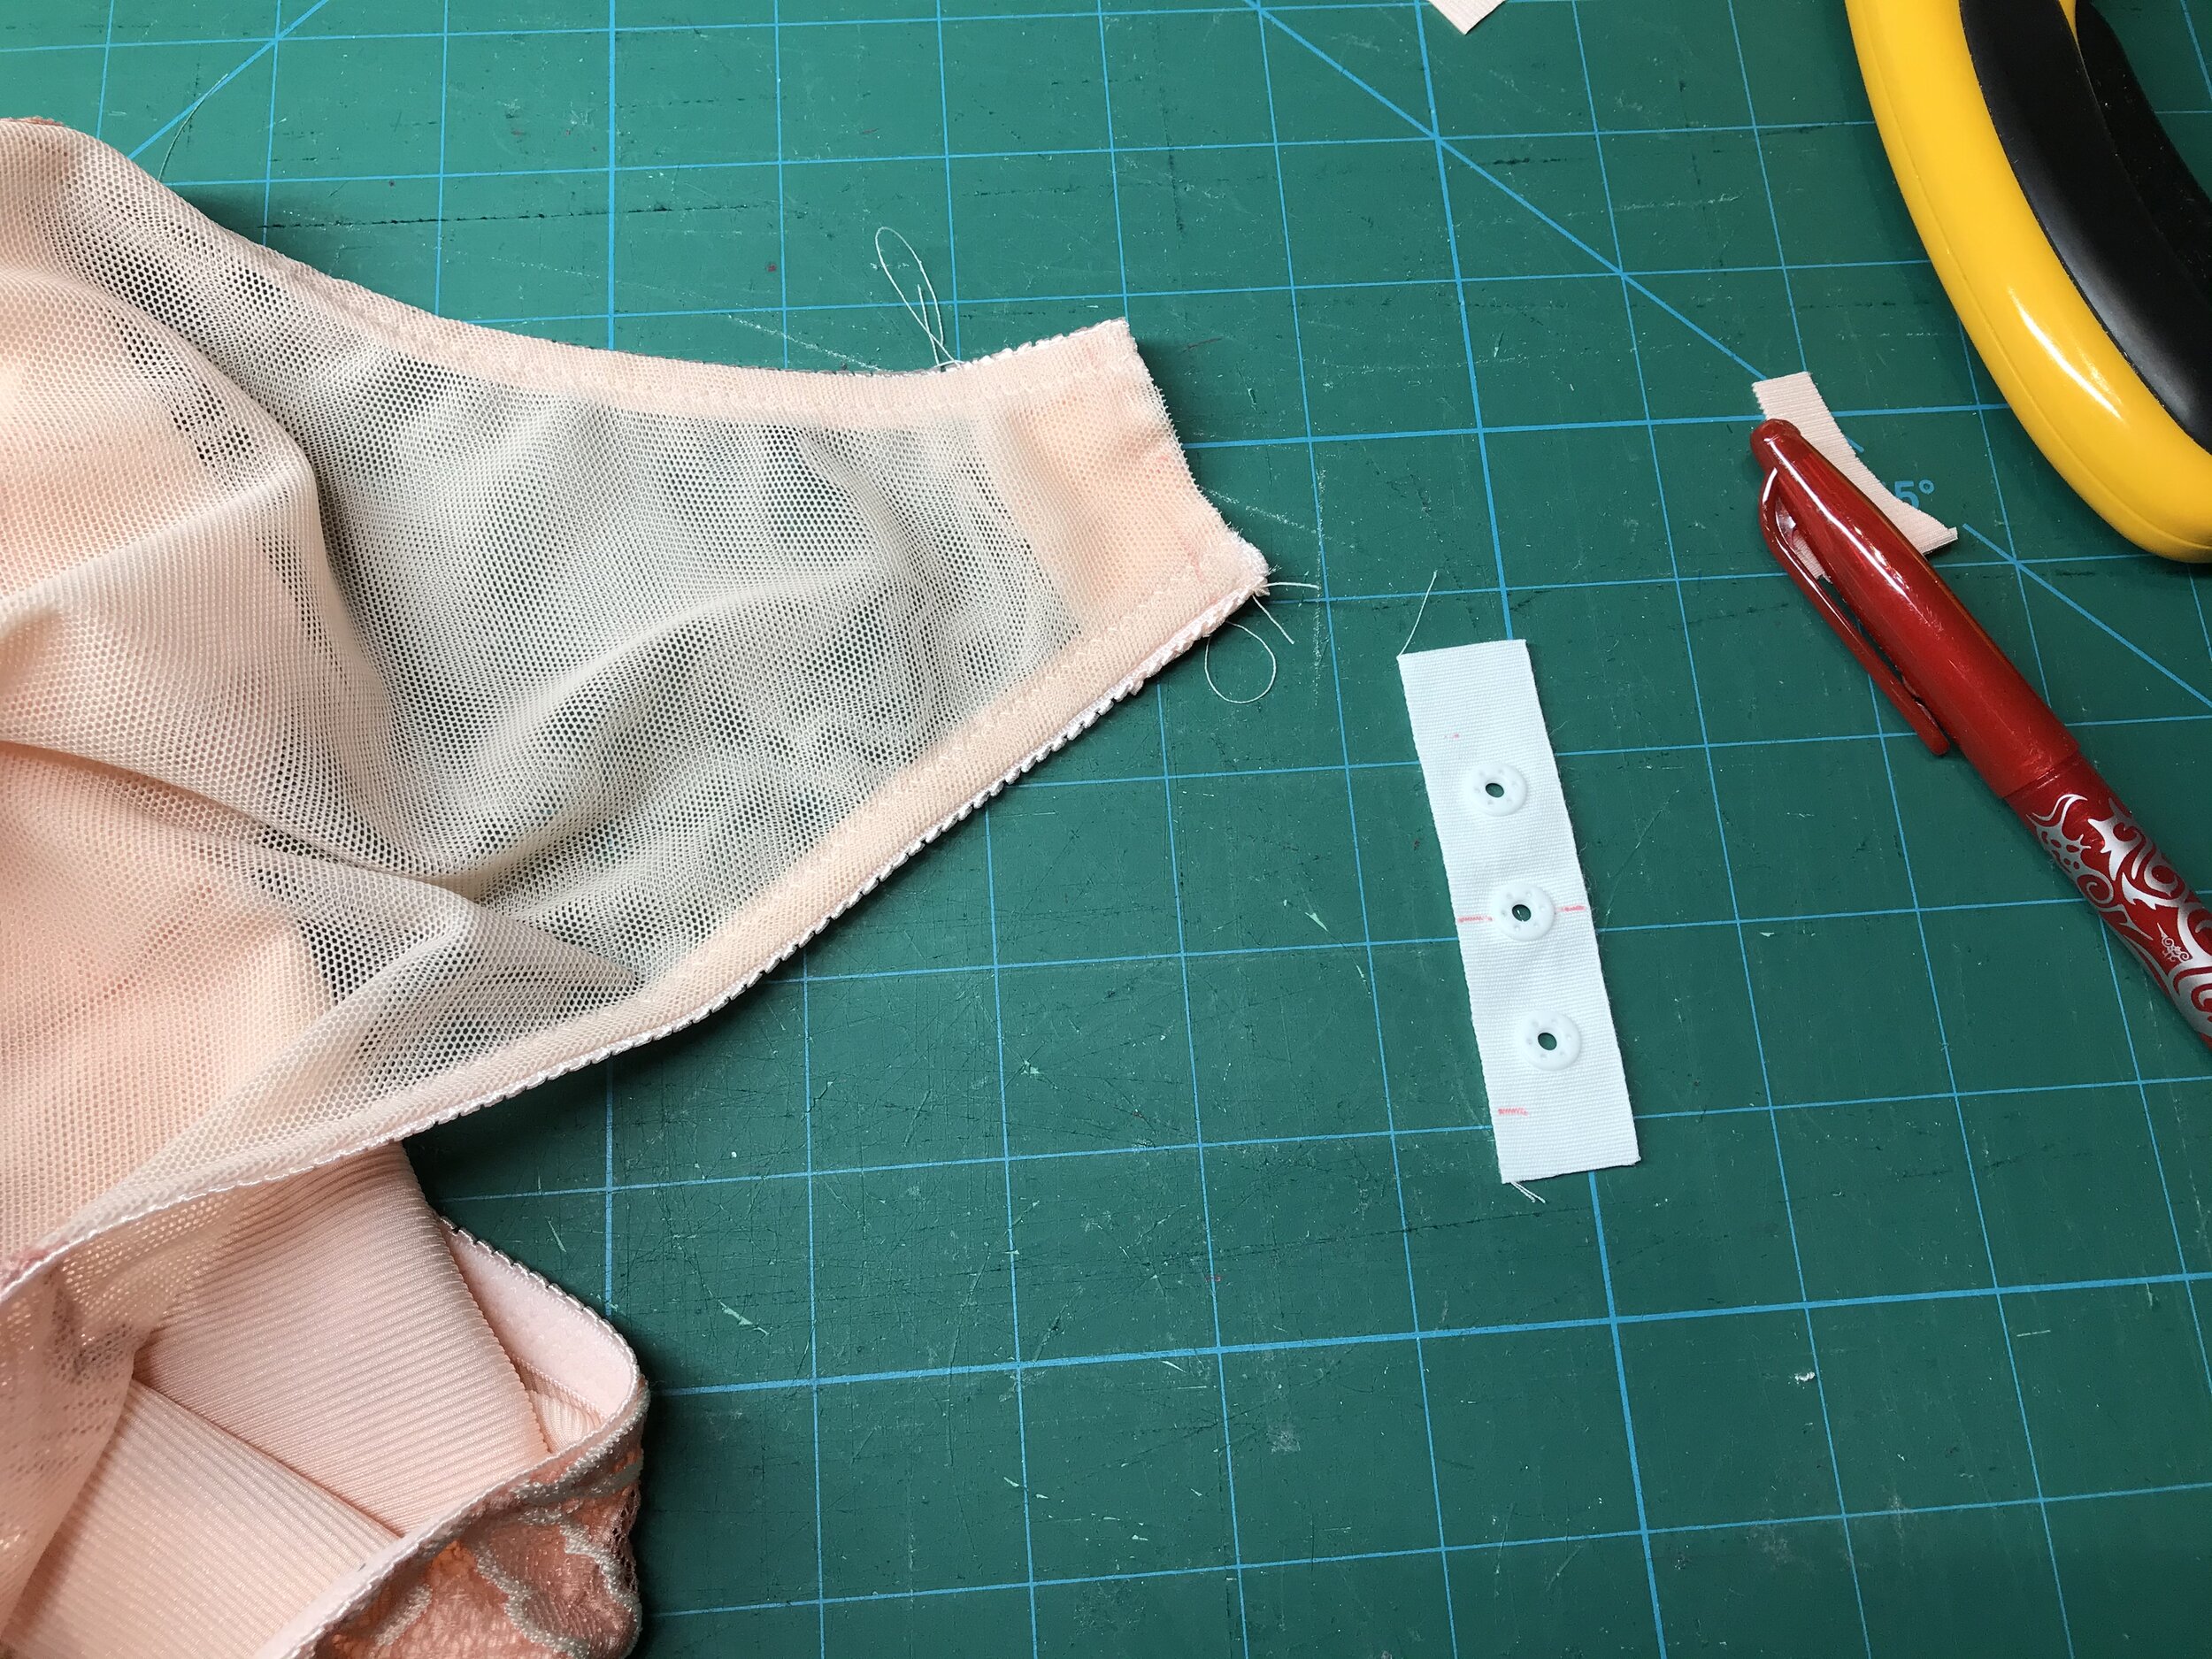
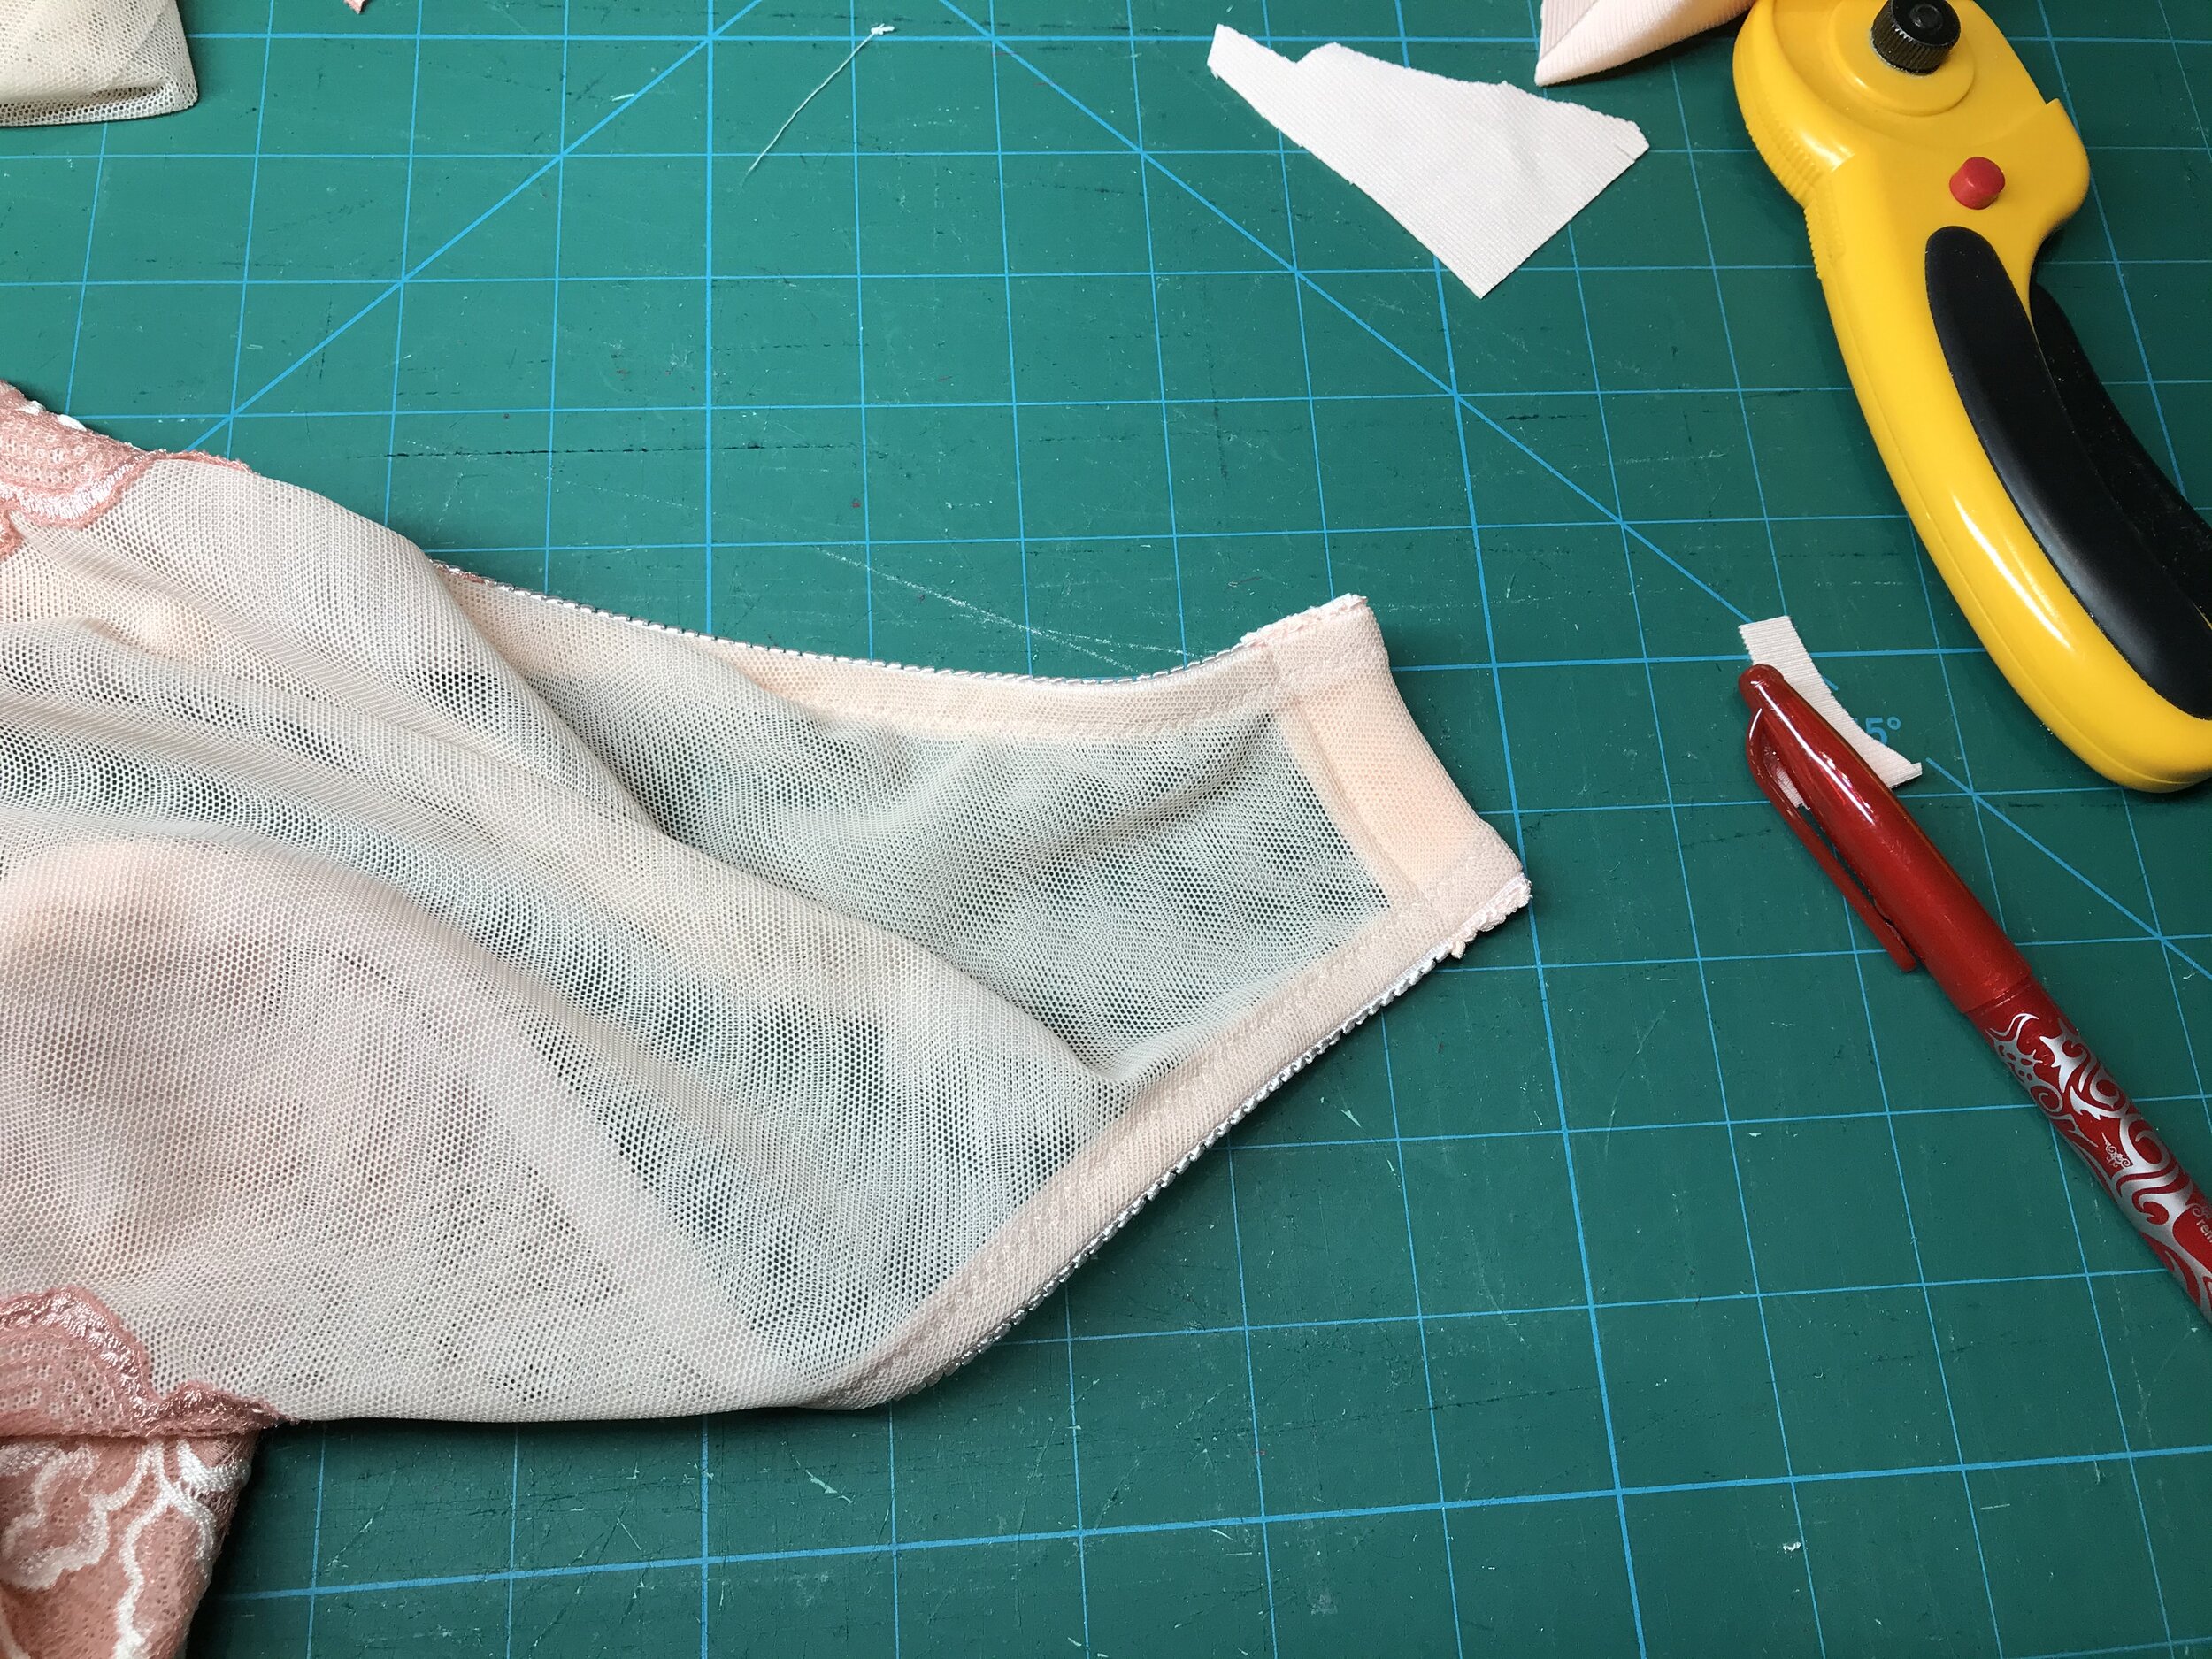
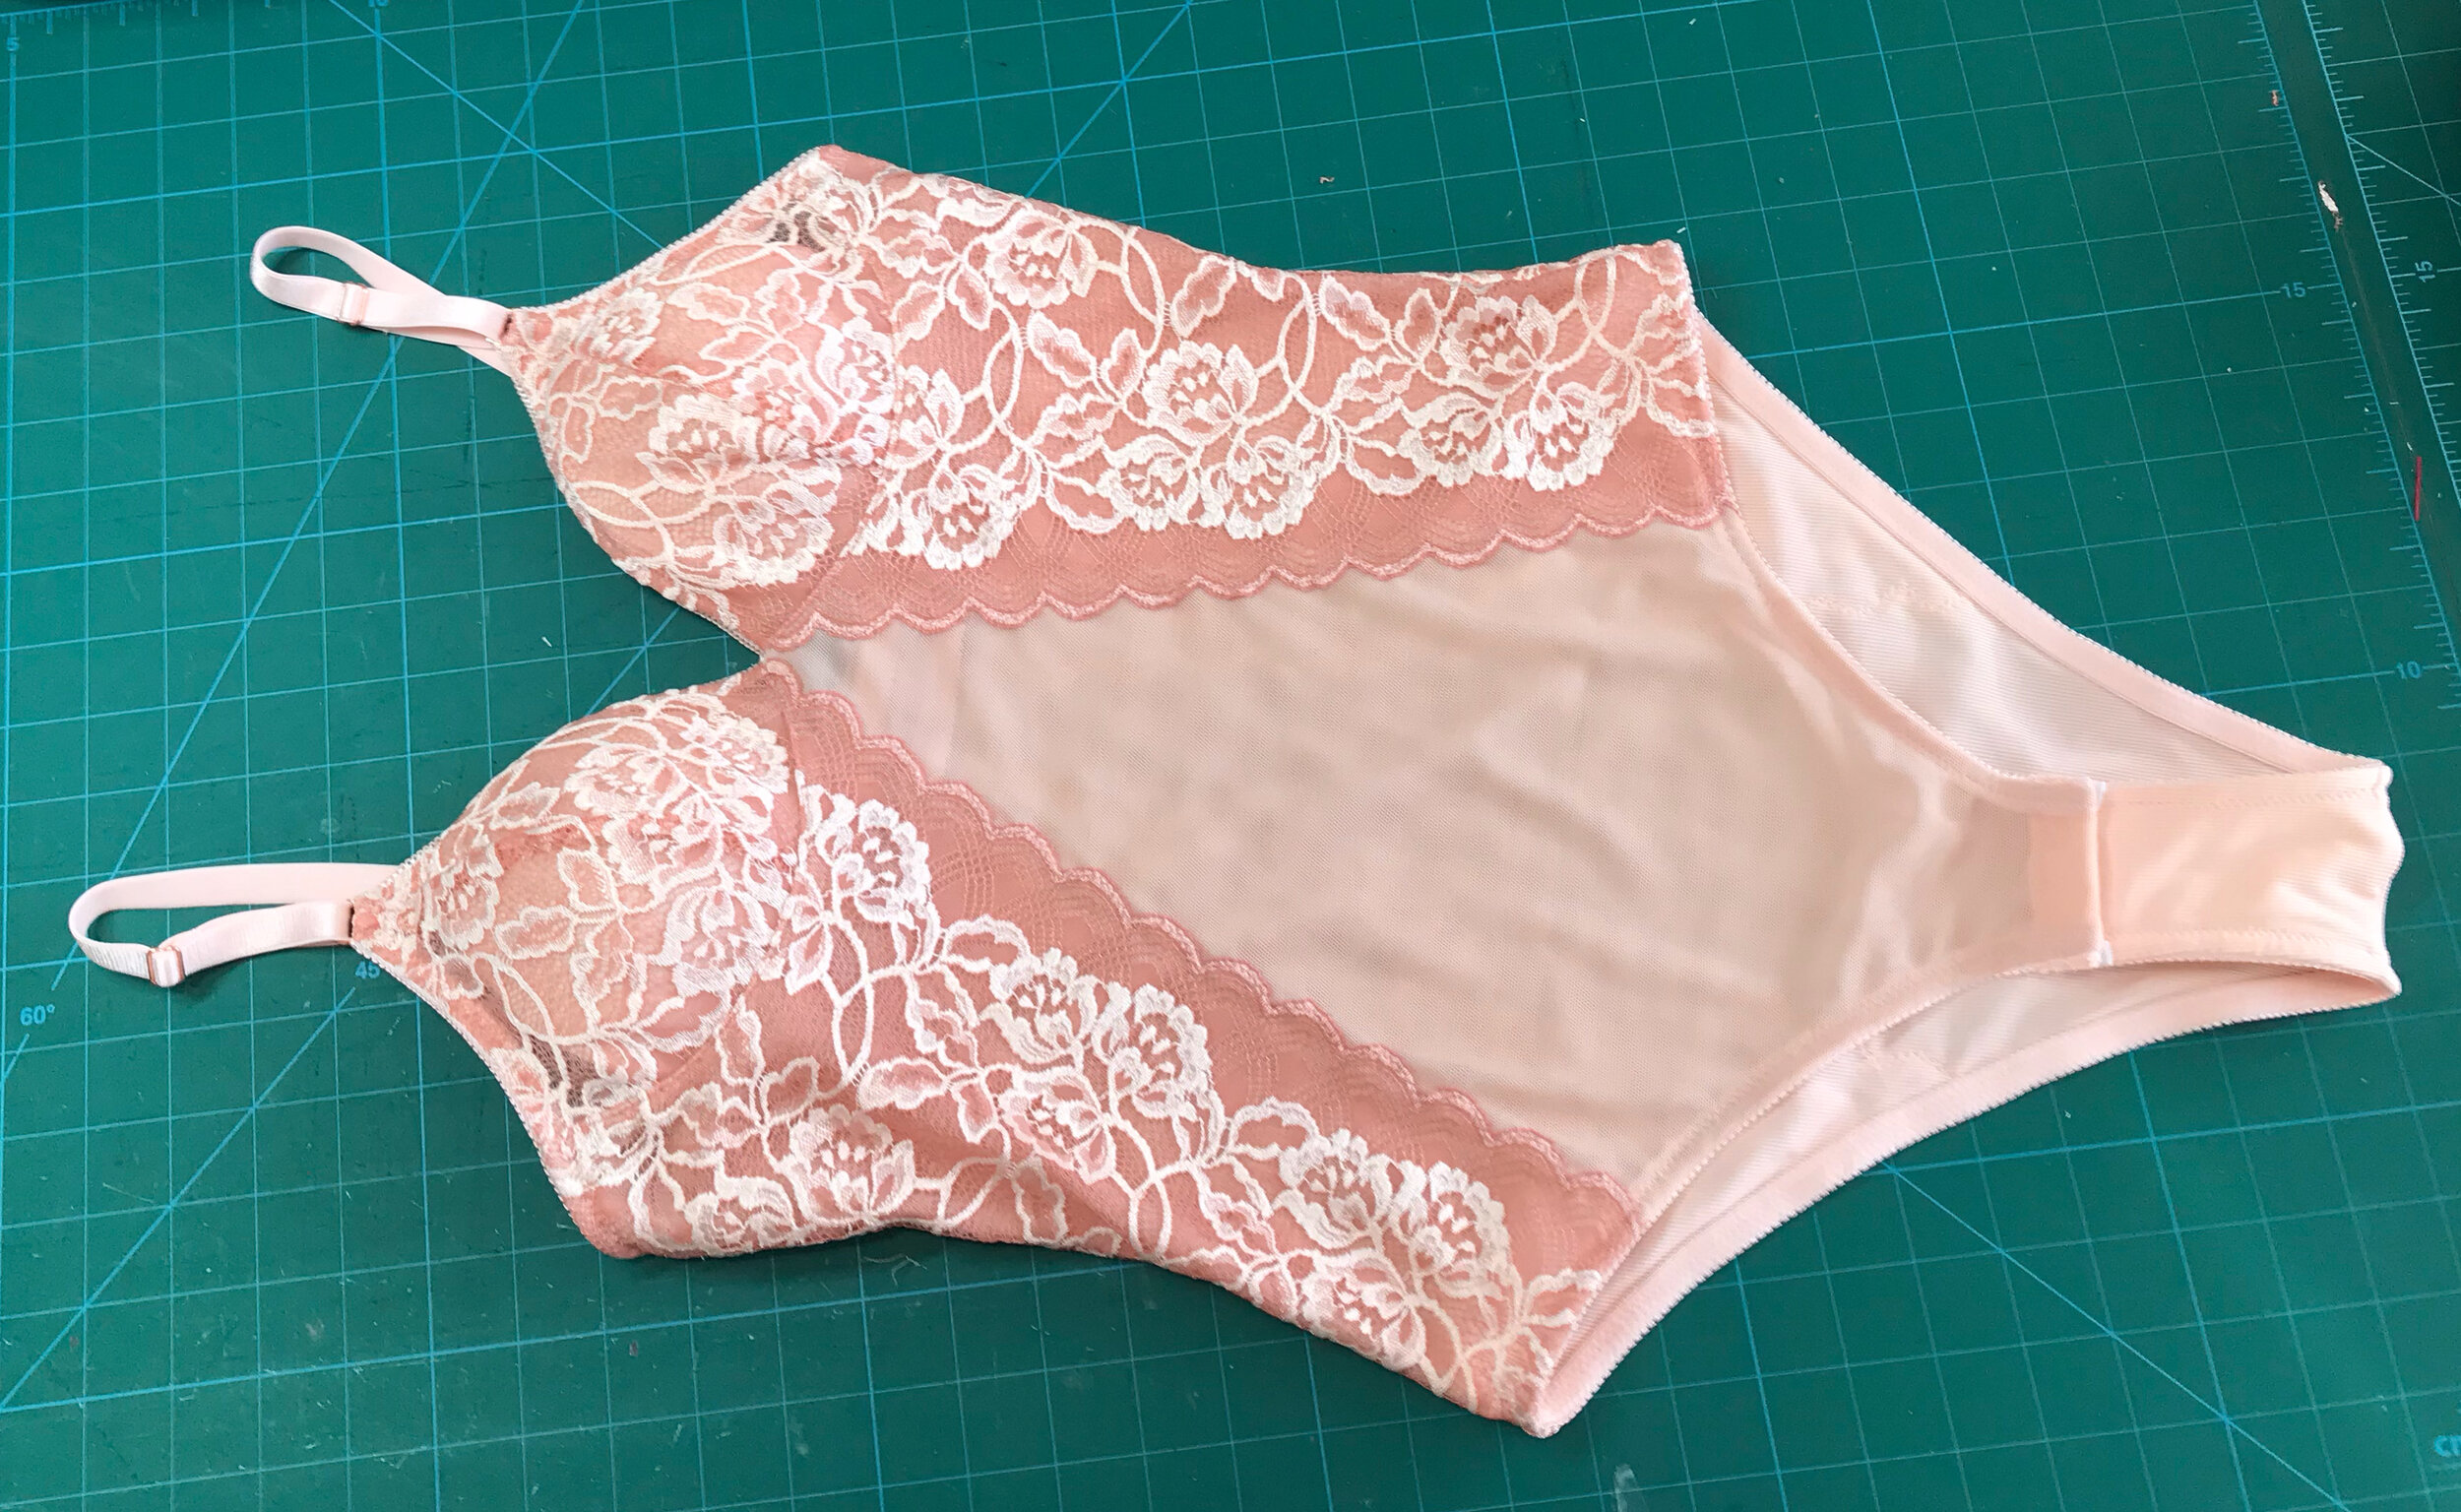
Jackie - The Fabulous New Zipper Front Sports Bra From Porcelynne
It’s been a while since I posted but I’ve got quite a few new patterns to share with you. As this has just been released I thought I would start with the Jackie, the new sports bra pattern, from Porcelynne. When the call went out I was eager to test this pattern for a number of reasons. The main reason was the zipper front as I’m having physio on my shoulder and using a back fastener is incredibly painful. I love the strap detail as well as the clean inside, no seams to rub or chaff. It also turns out it is interchangeable with all of Jennifer’s other sports bras as well as the Tankini Add On. So let’s see how I got on.
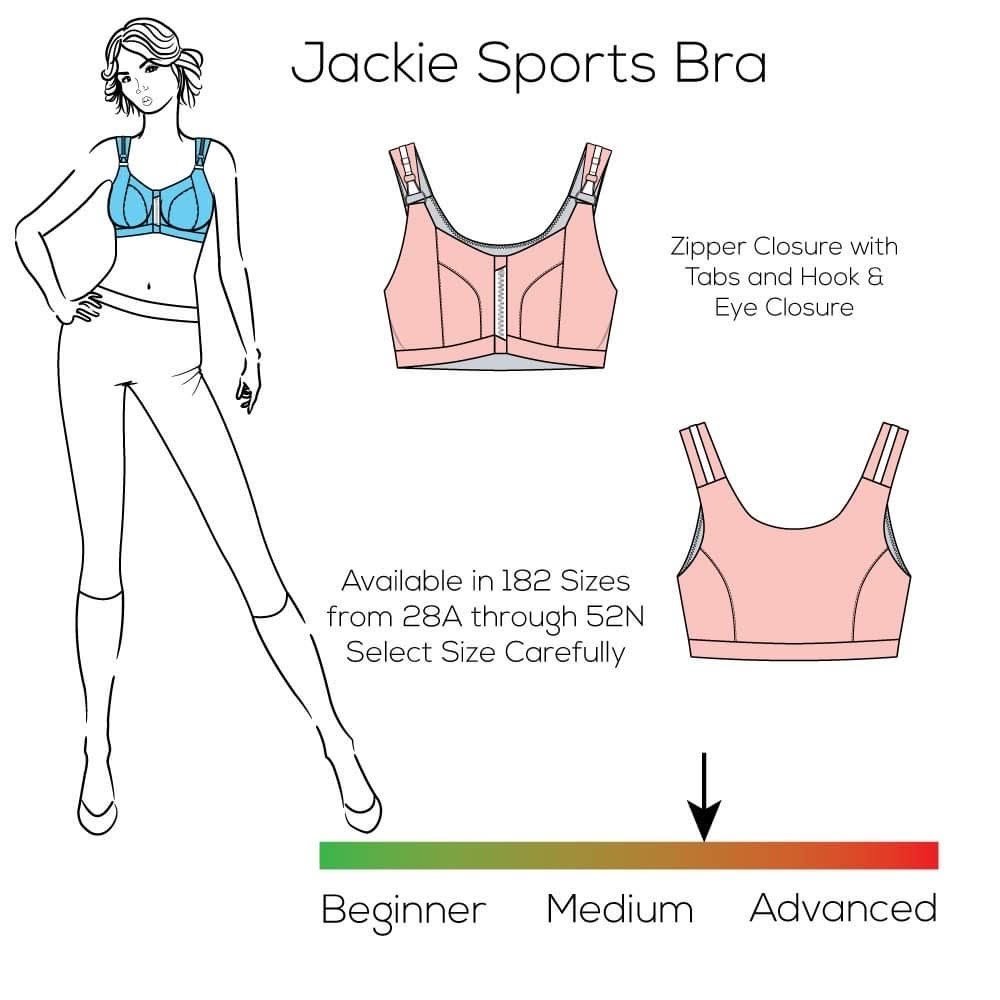
Starting with the pattern, as expected the size range is phenomenal. Jennifer had posted some pictures on the Porcelynne Facebook of makes with larger cups and the shape looked great so I was interested to see how this would look on me at the smaller end of the scale.
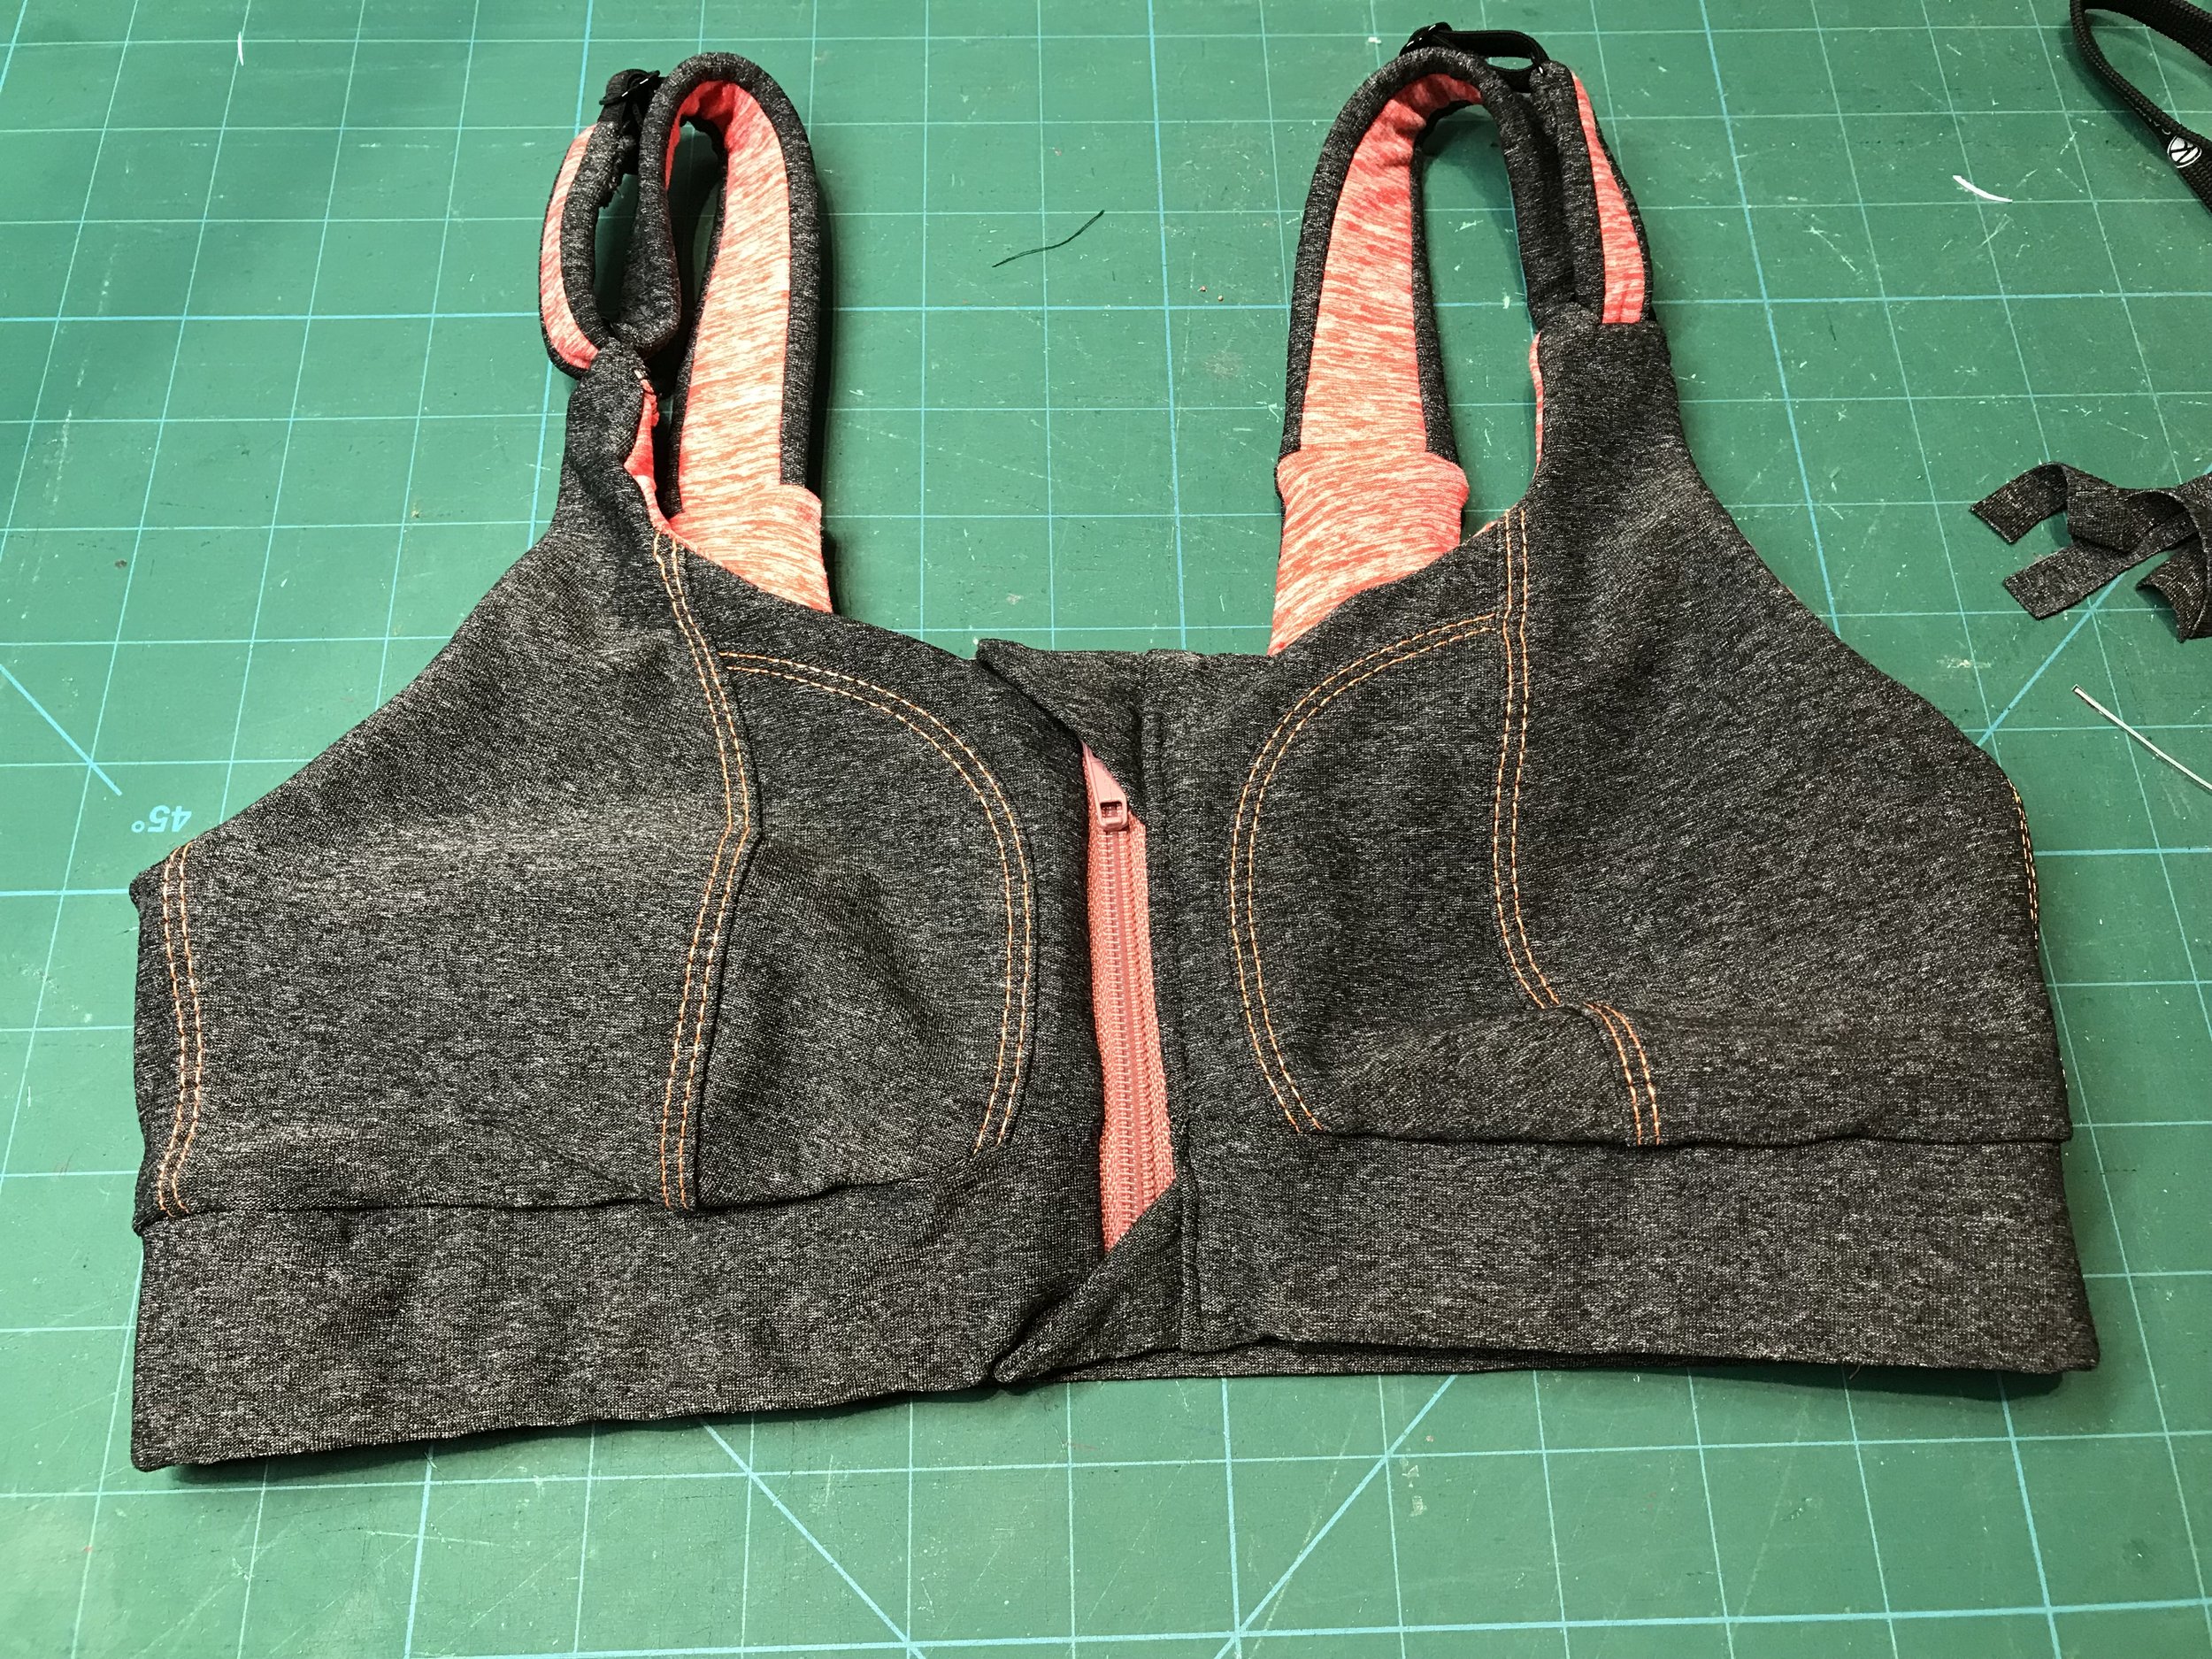
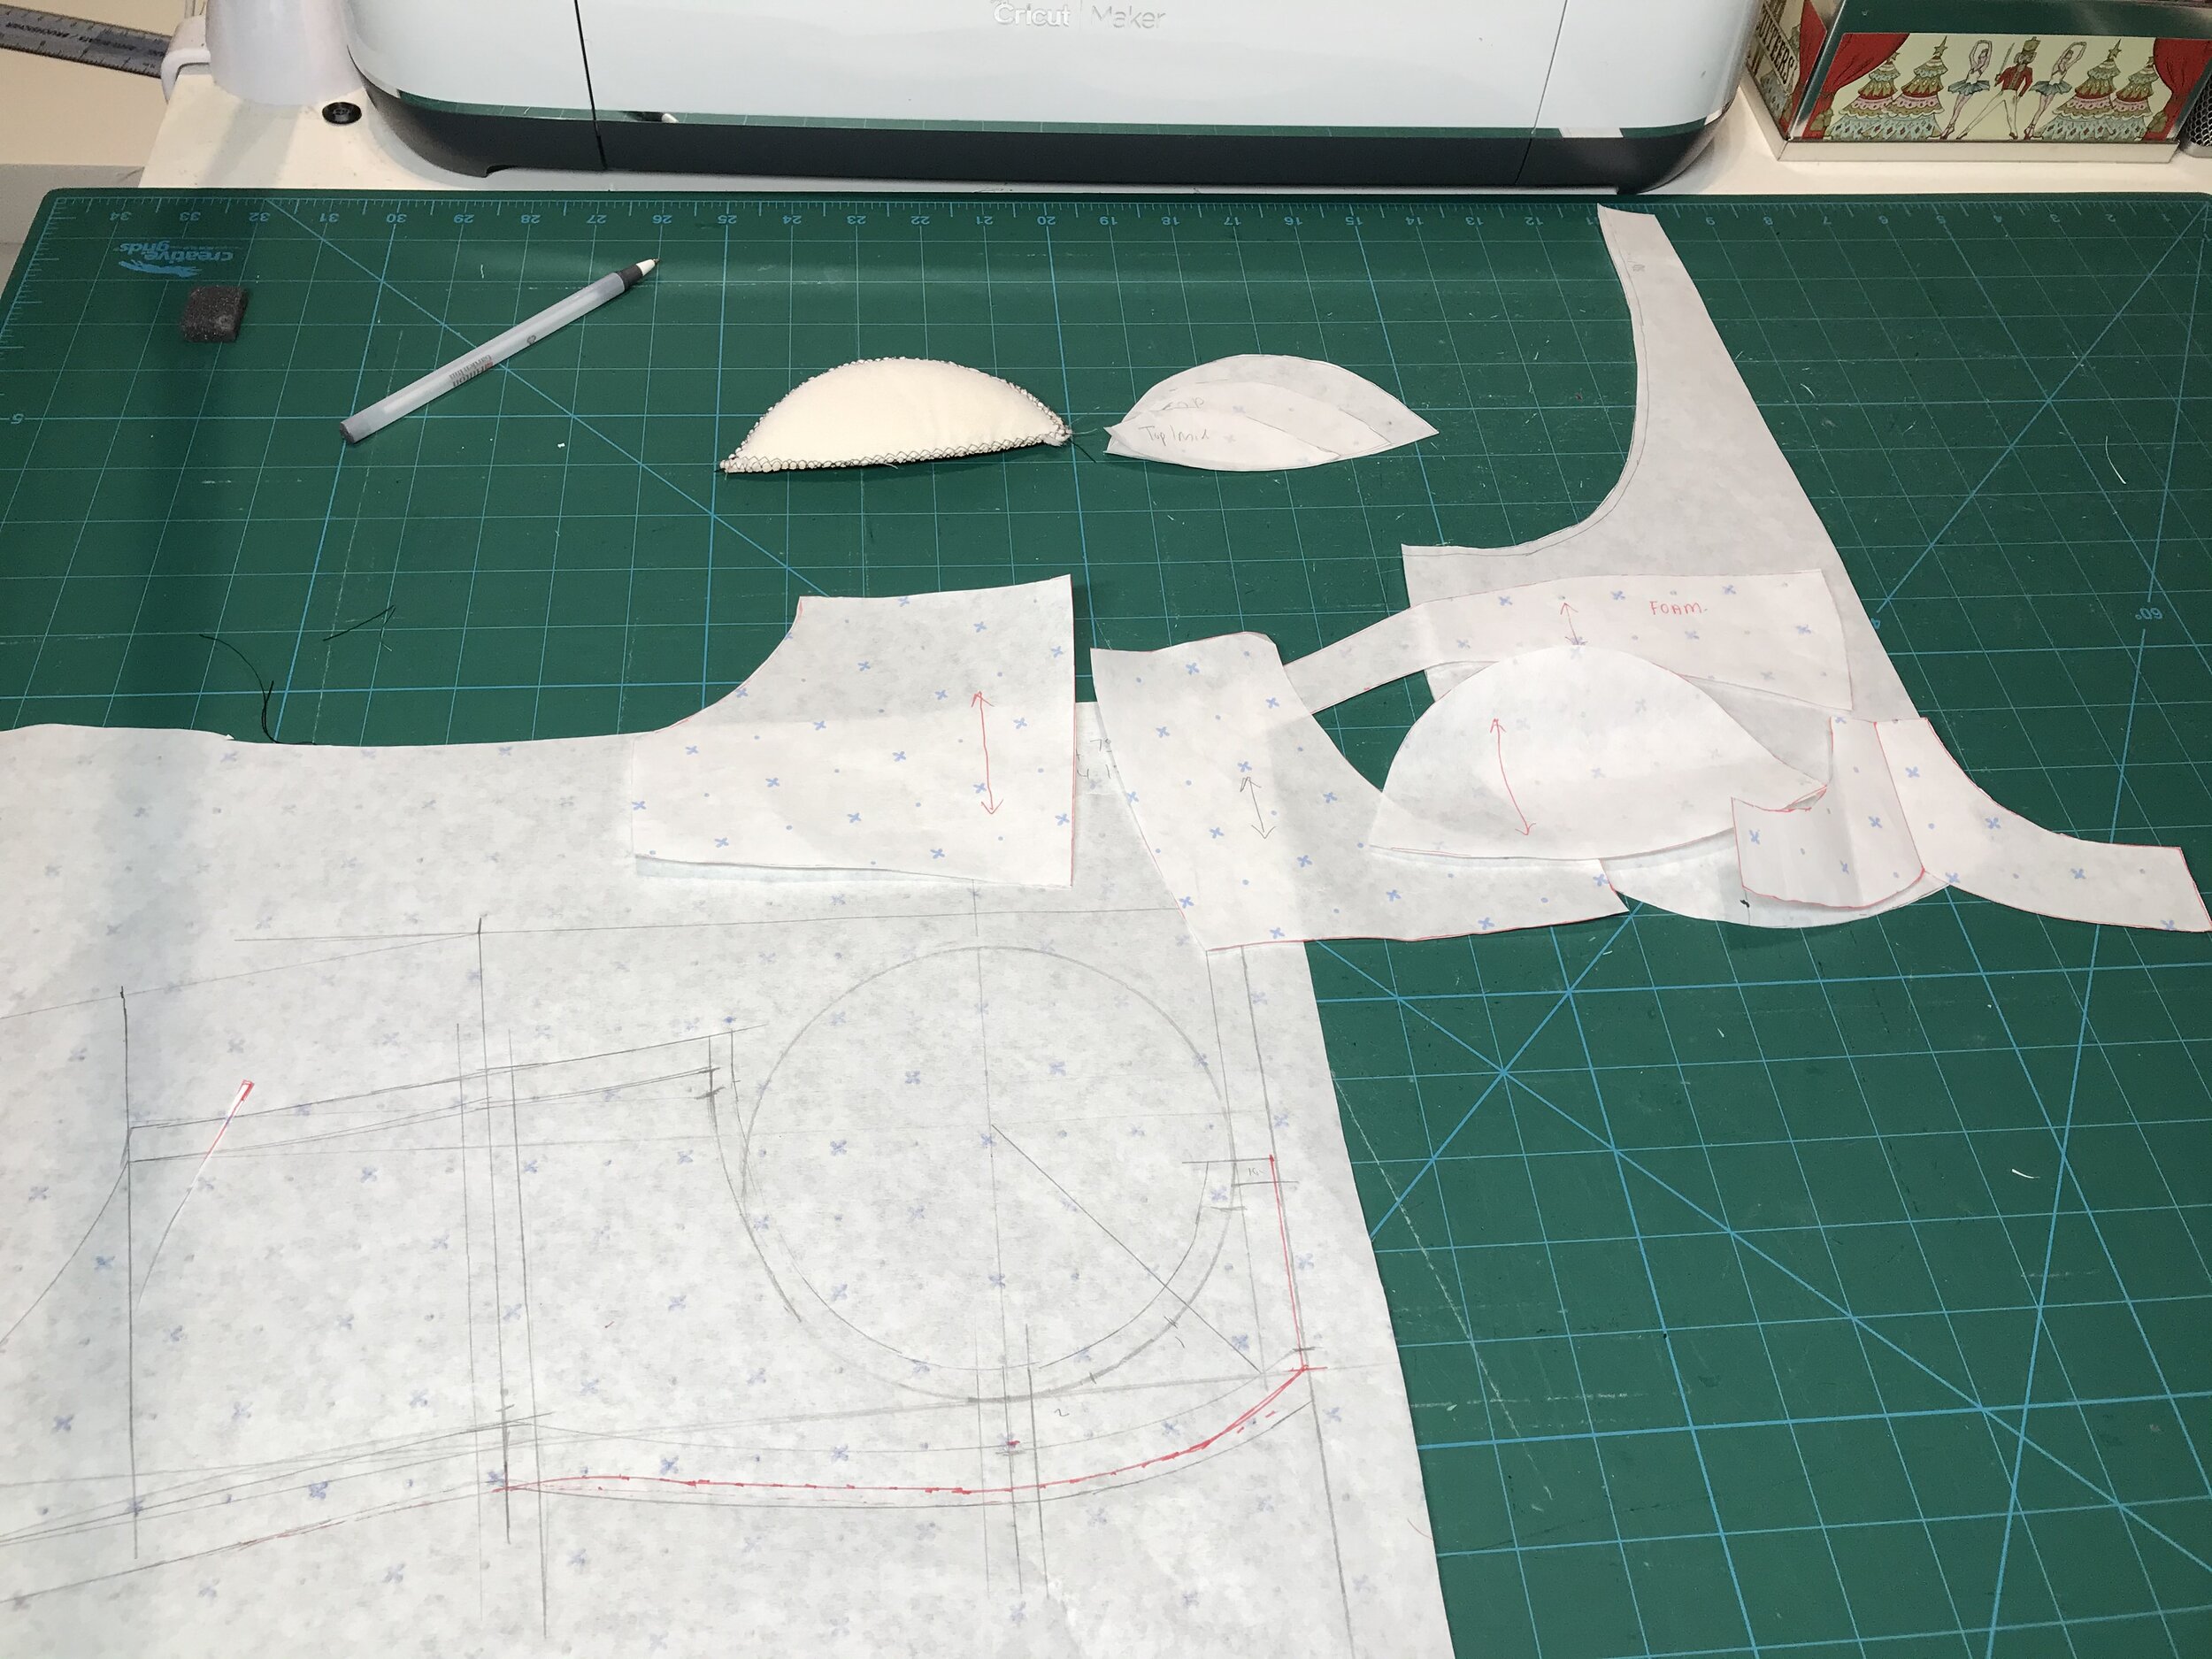
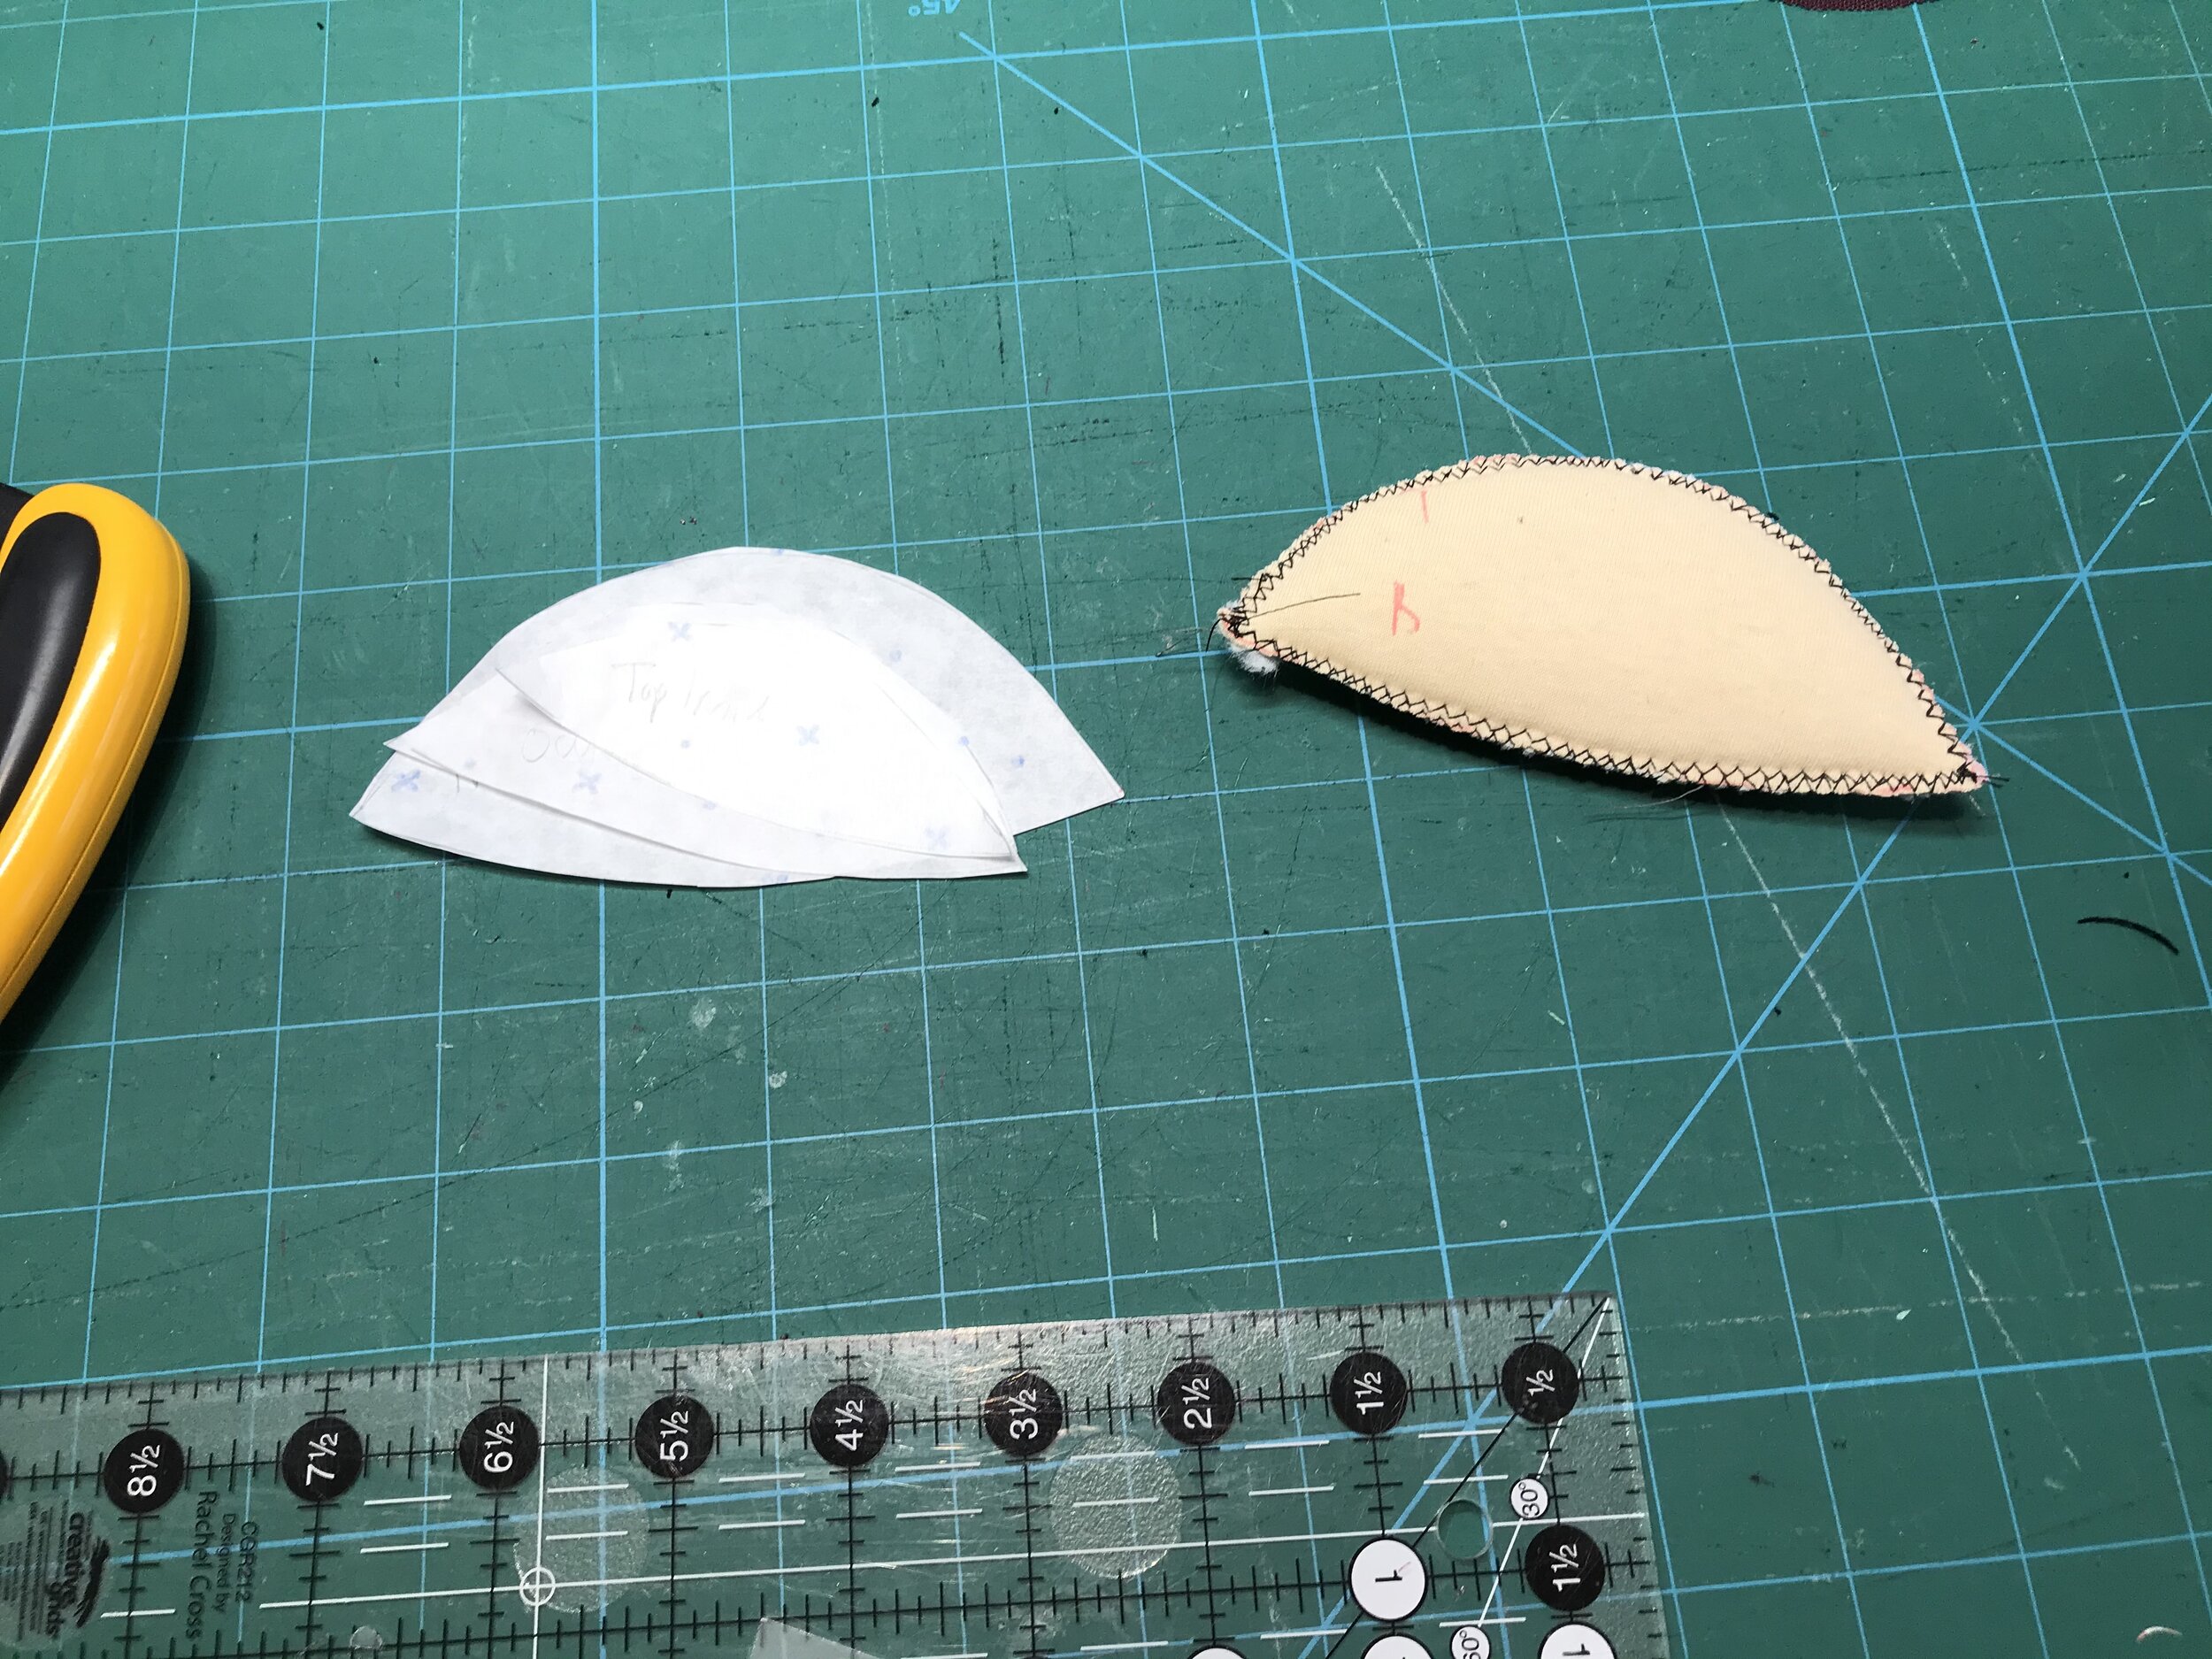
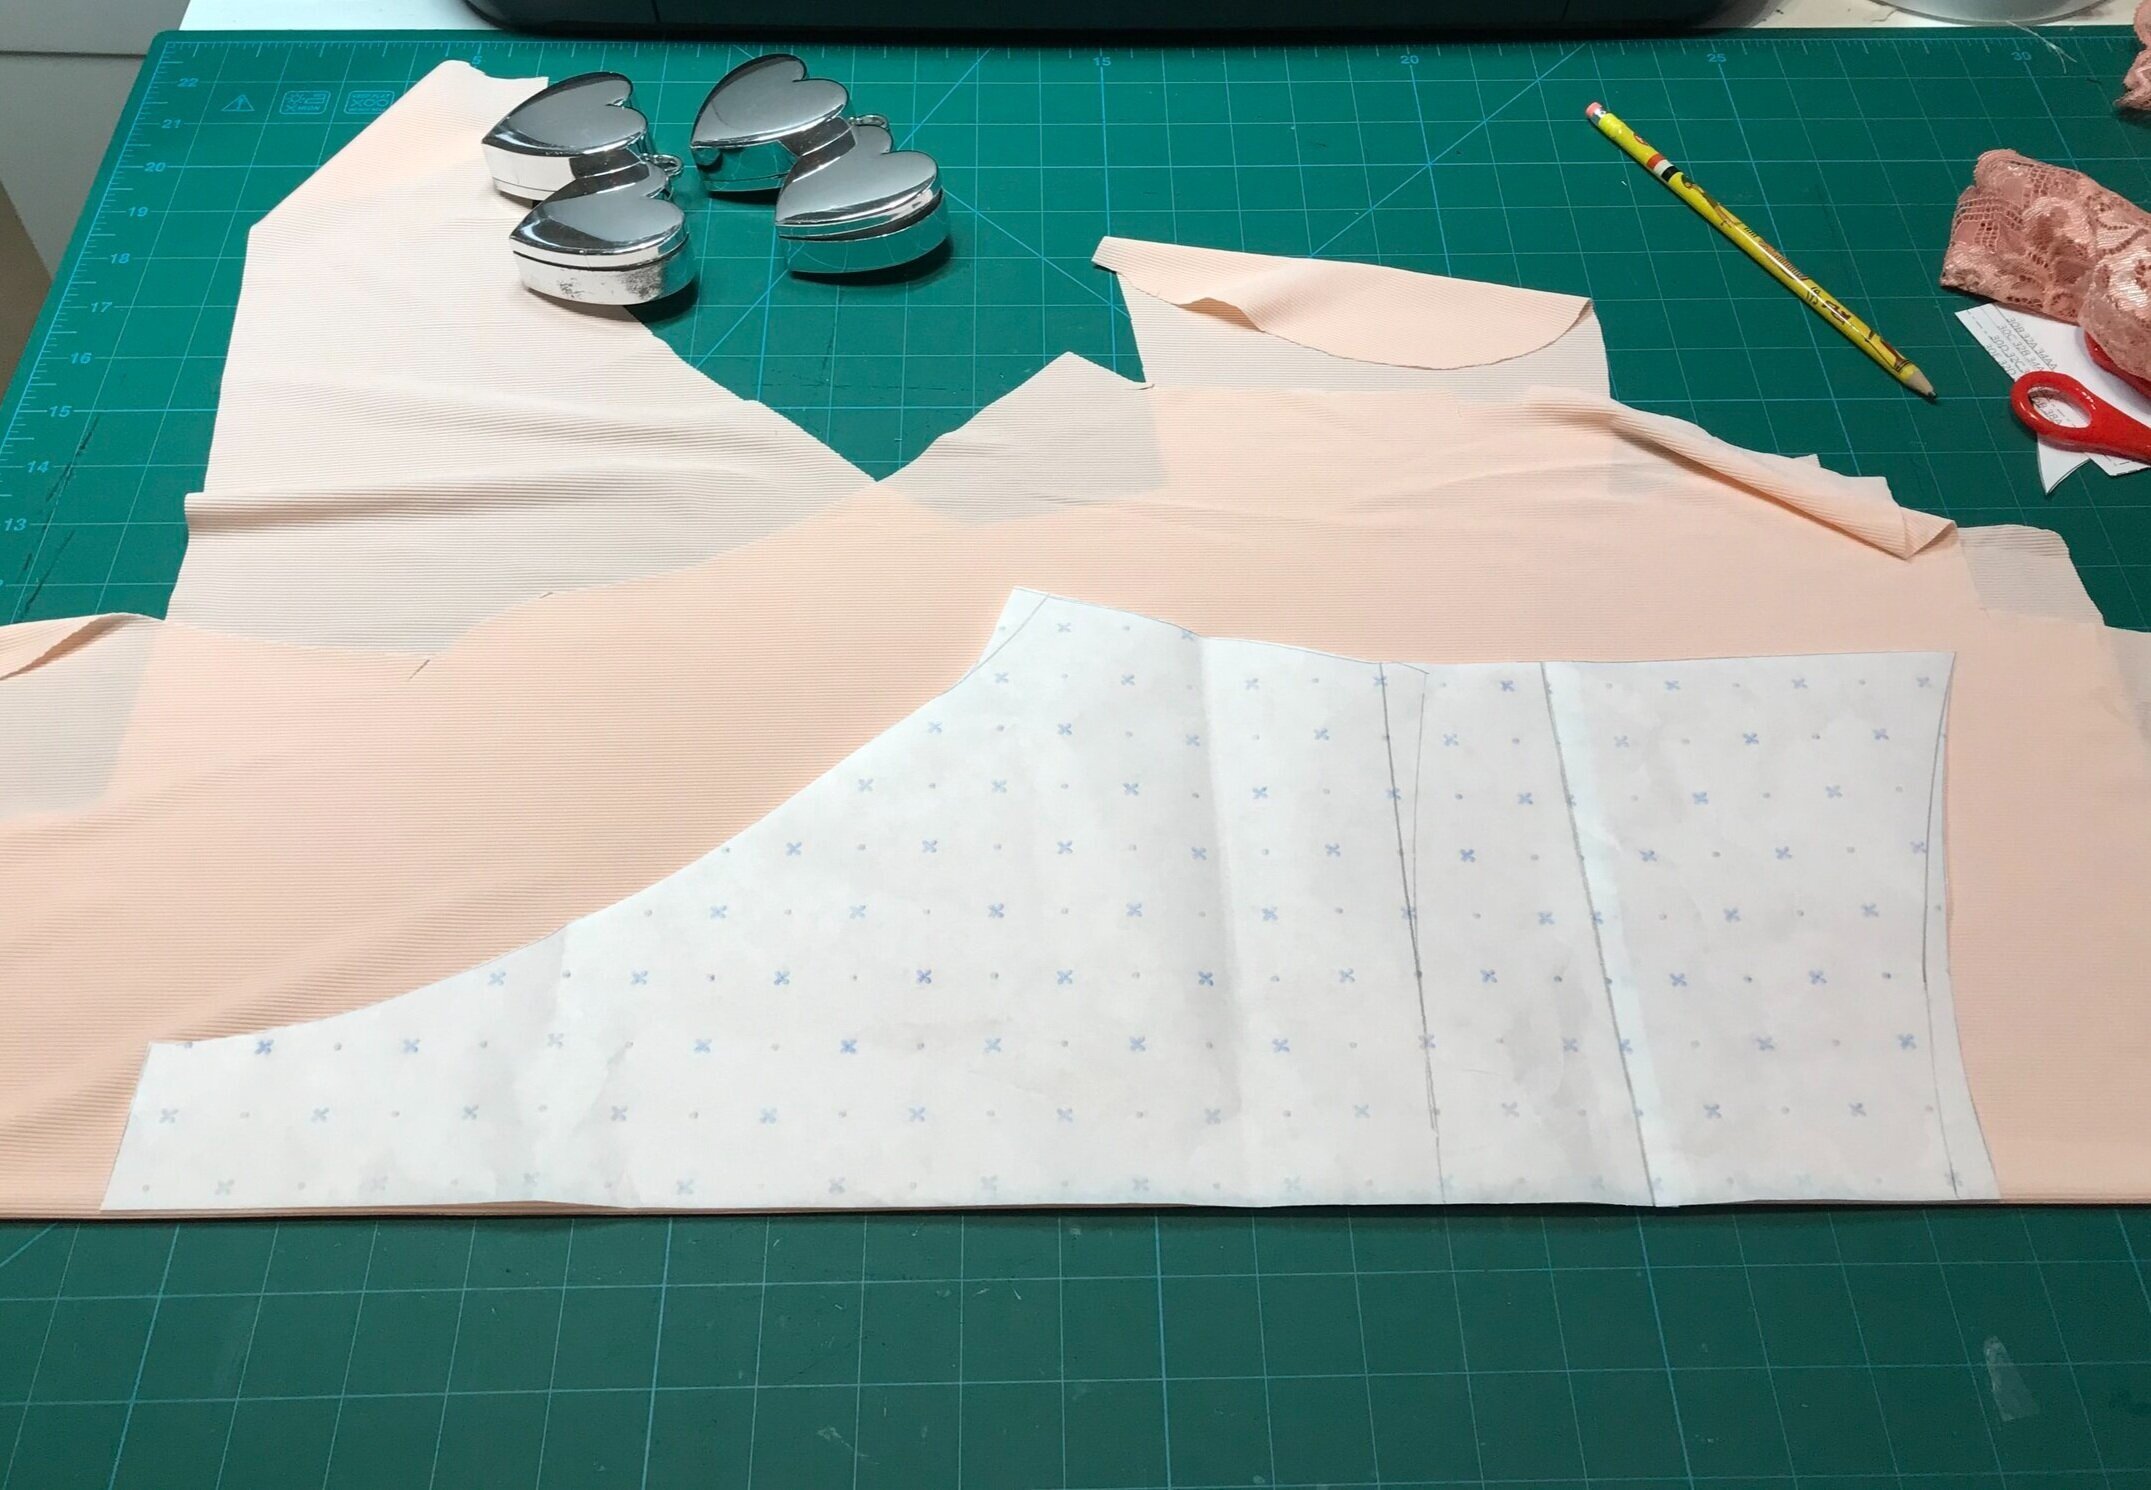
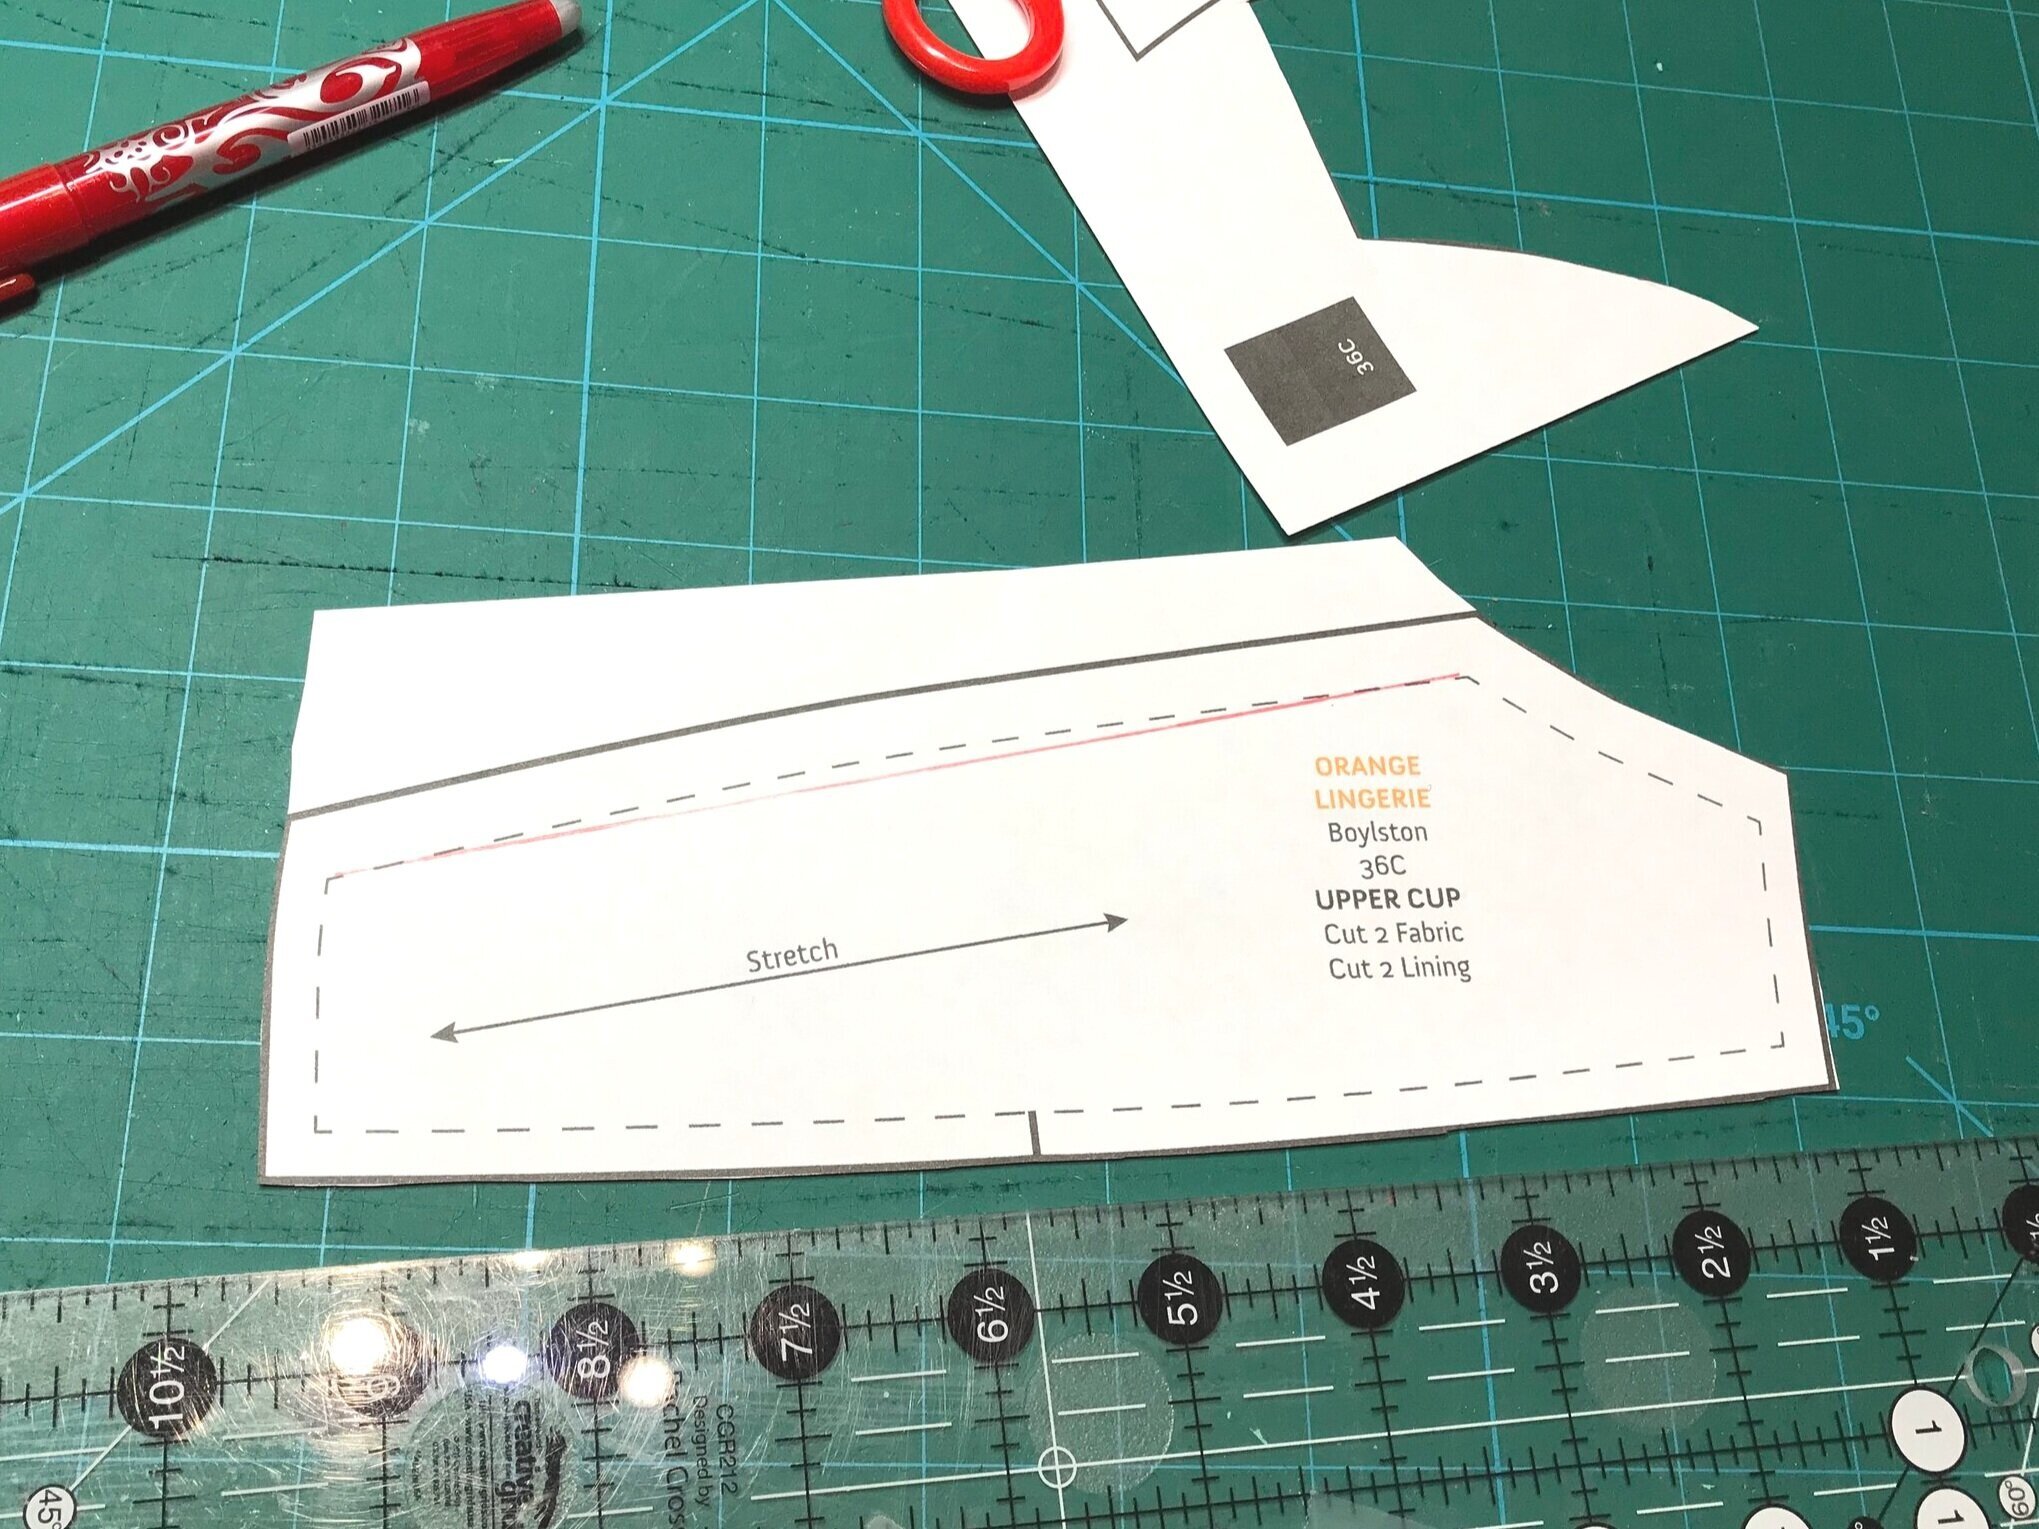
There are three pieces to the cup as well as a shaped back. The zipper has a top and bottom tab built into a hook and eye which you can fasten first to make pulling the zip up easier for the bigger cups. I chose the zipper shield option as I thought the fastener would not be necessary for my size.
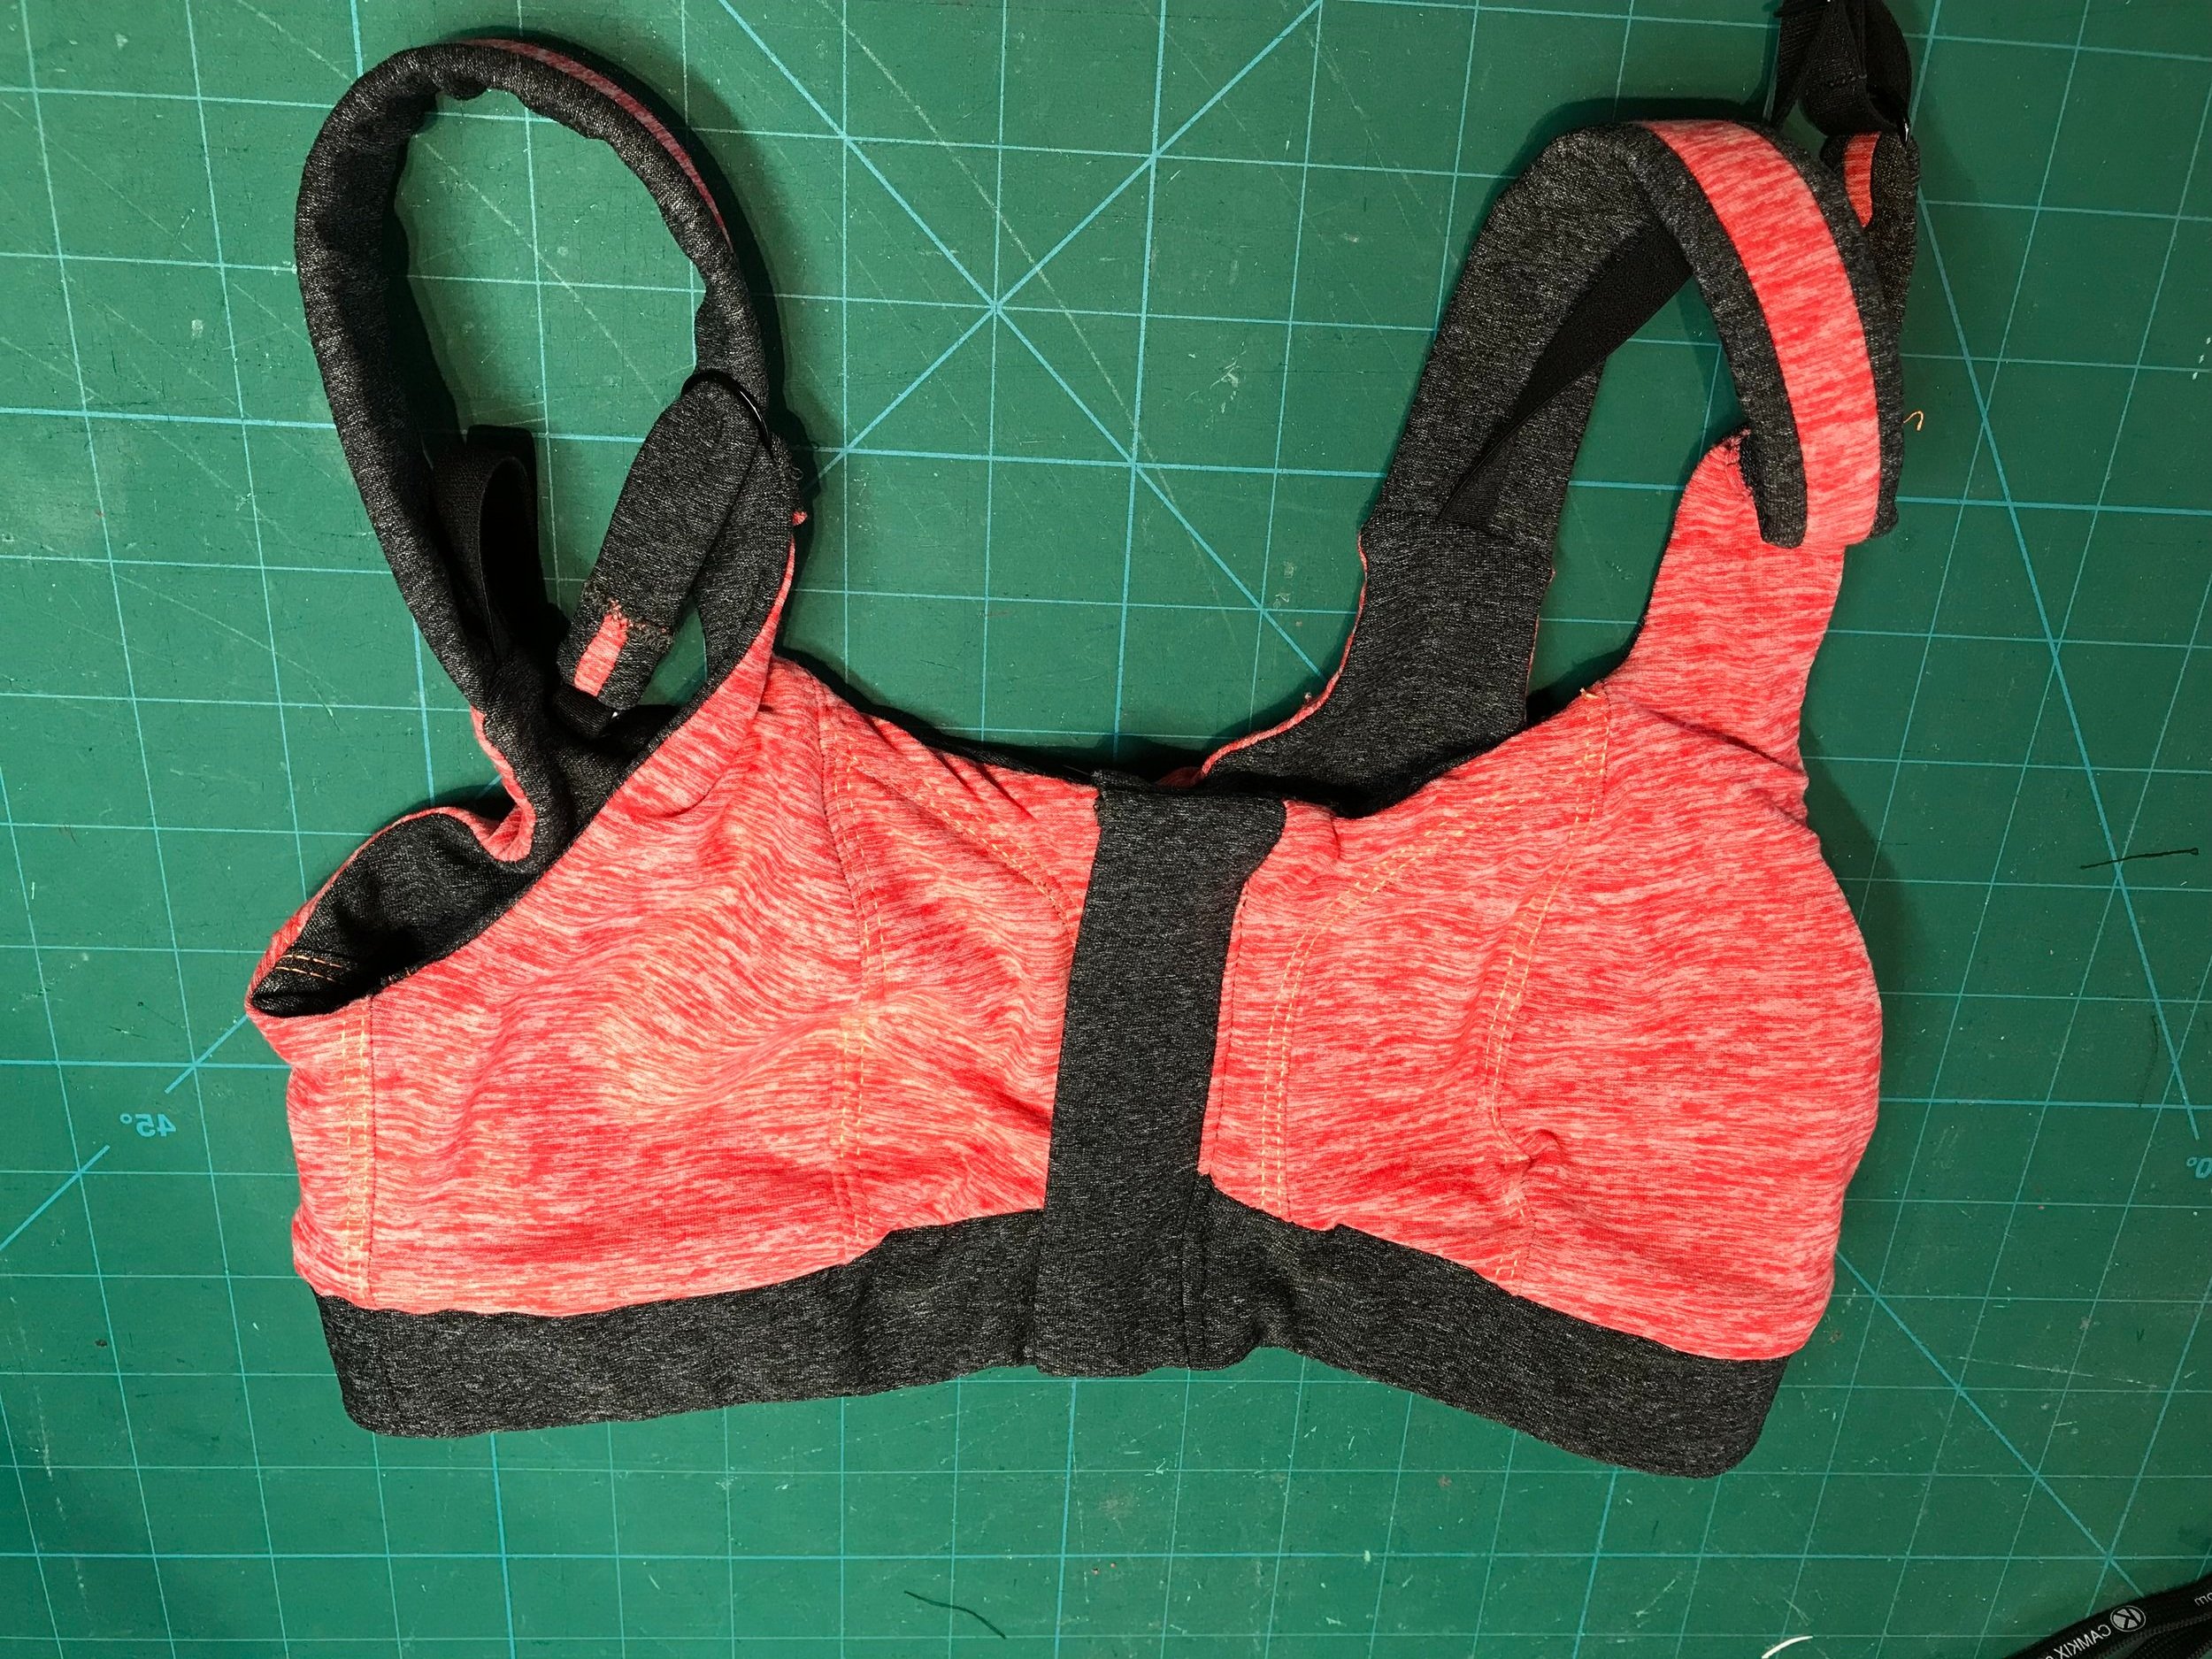
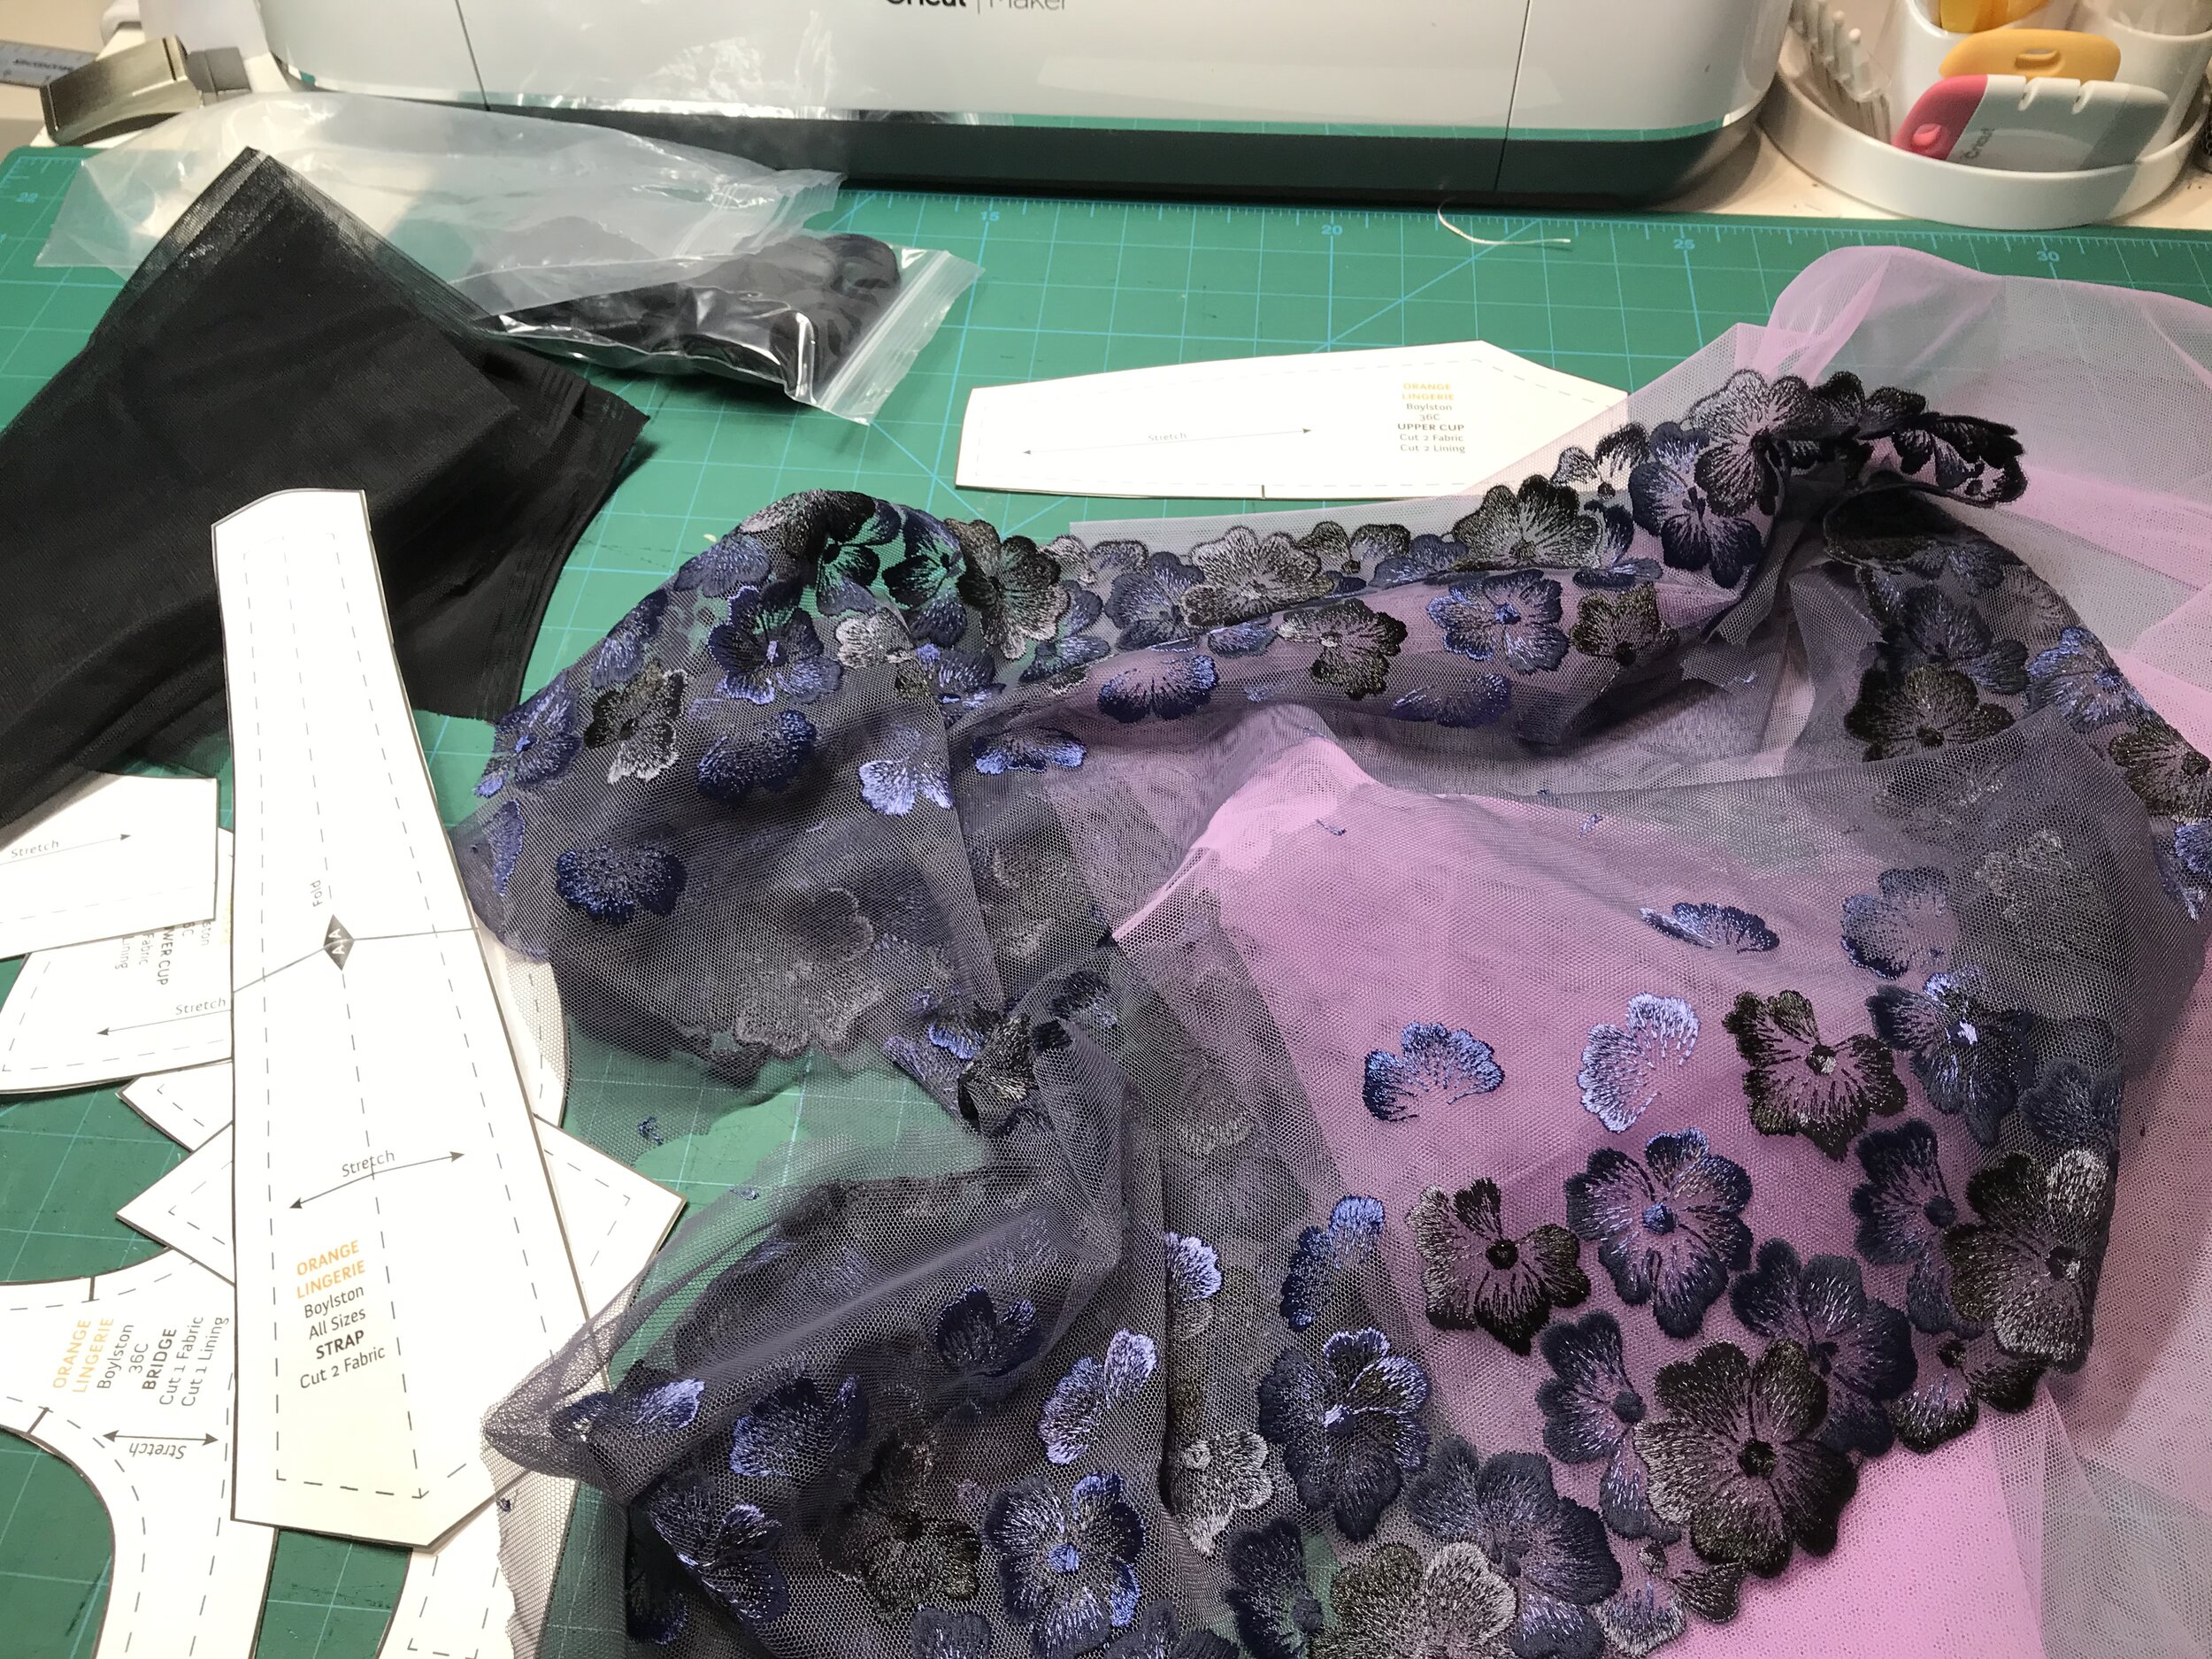
Moving on to the sizing. The pattern describes the fit as “more relaxed for low impact sports or daily wear”. My measurements put me in a 32D. As I wanted more compression I went down a band and cup size as suggested in the instructions. There are a lot of pieces so I have uploaded a short video of the pieces and the materials I have used. Tailormade still has the grey fabric in stock but the Orange Soda Space Dye Poly Lycra Knit is no longer available from Fabric Fairy but they have a huge range of similar products.
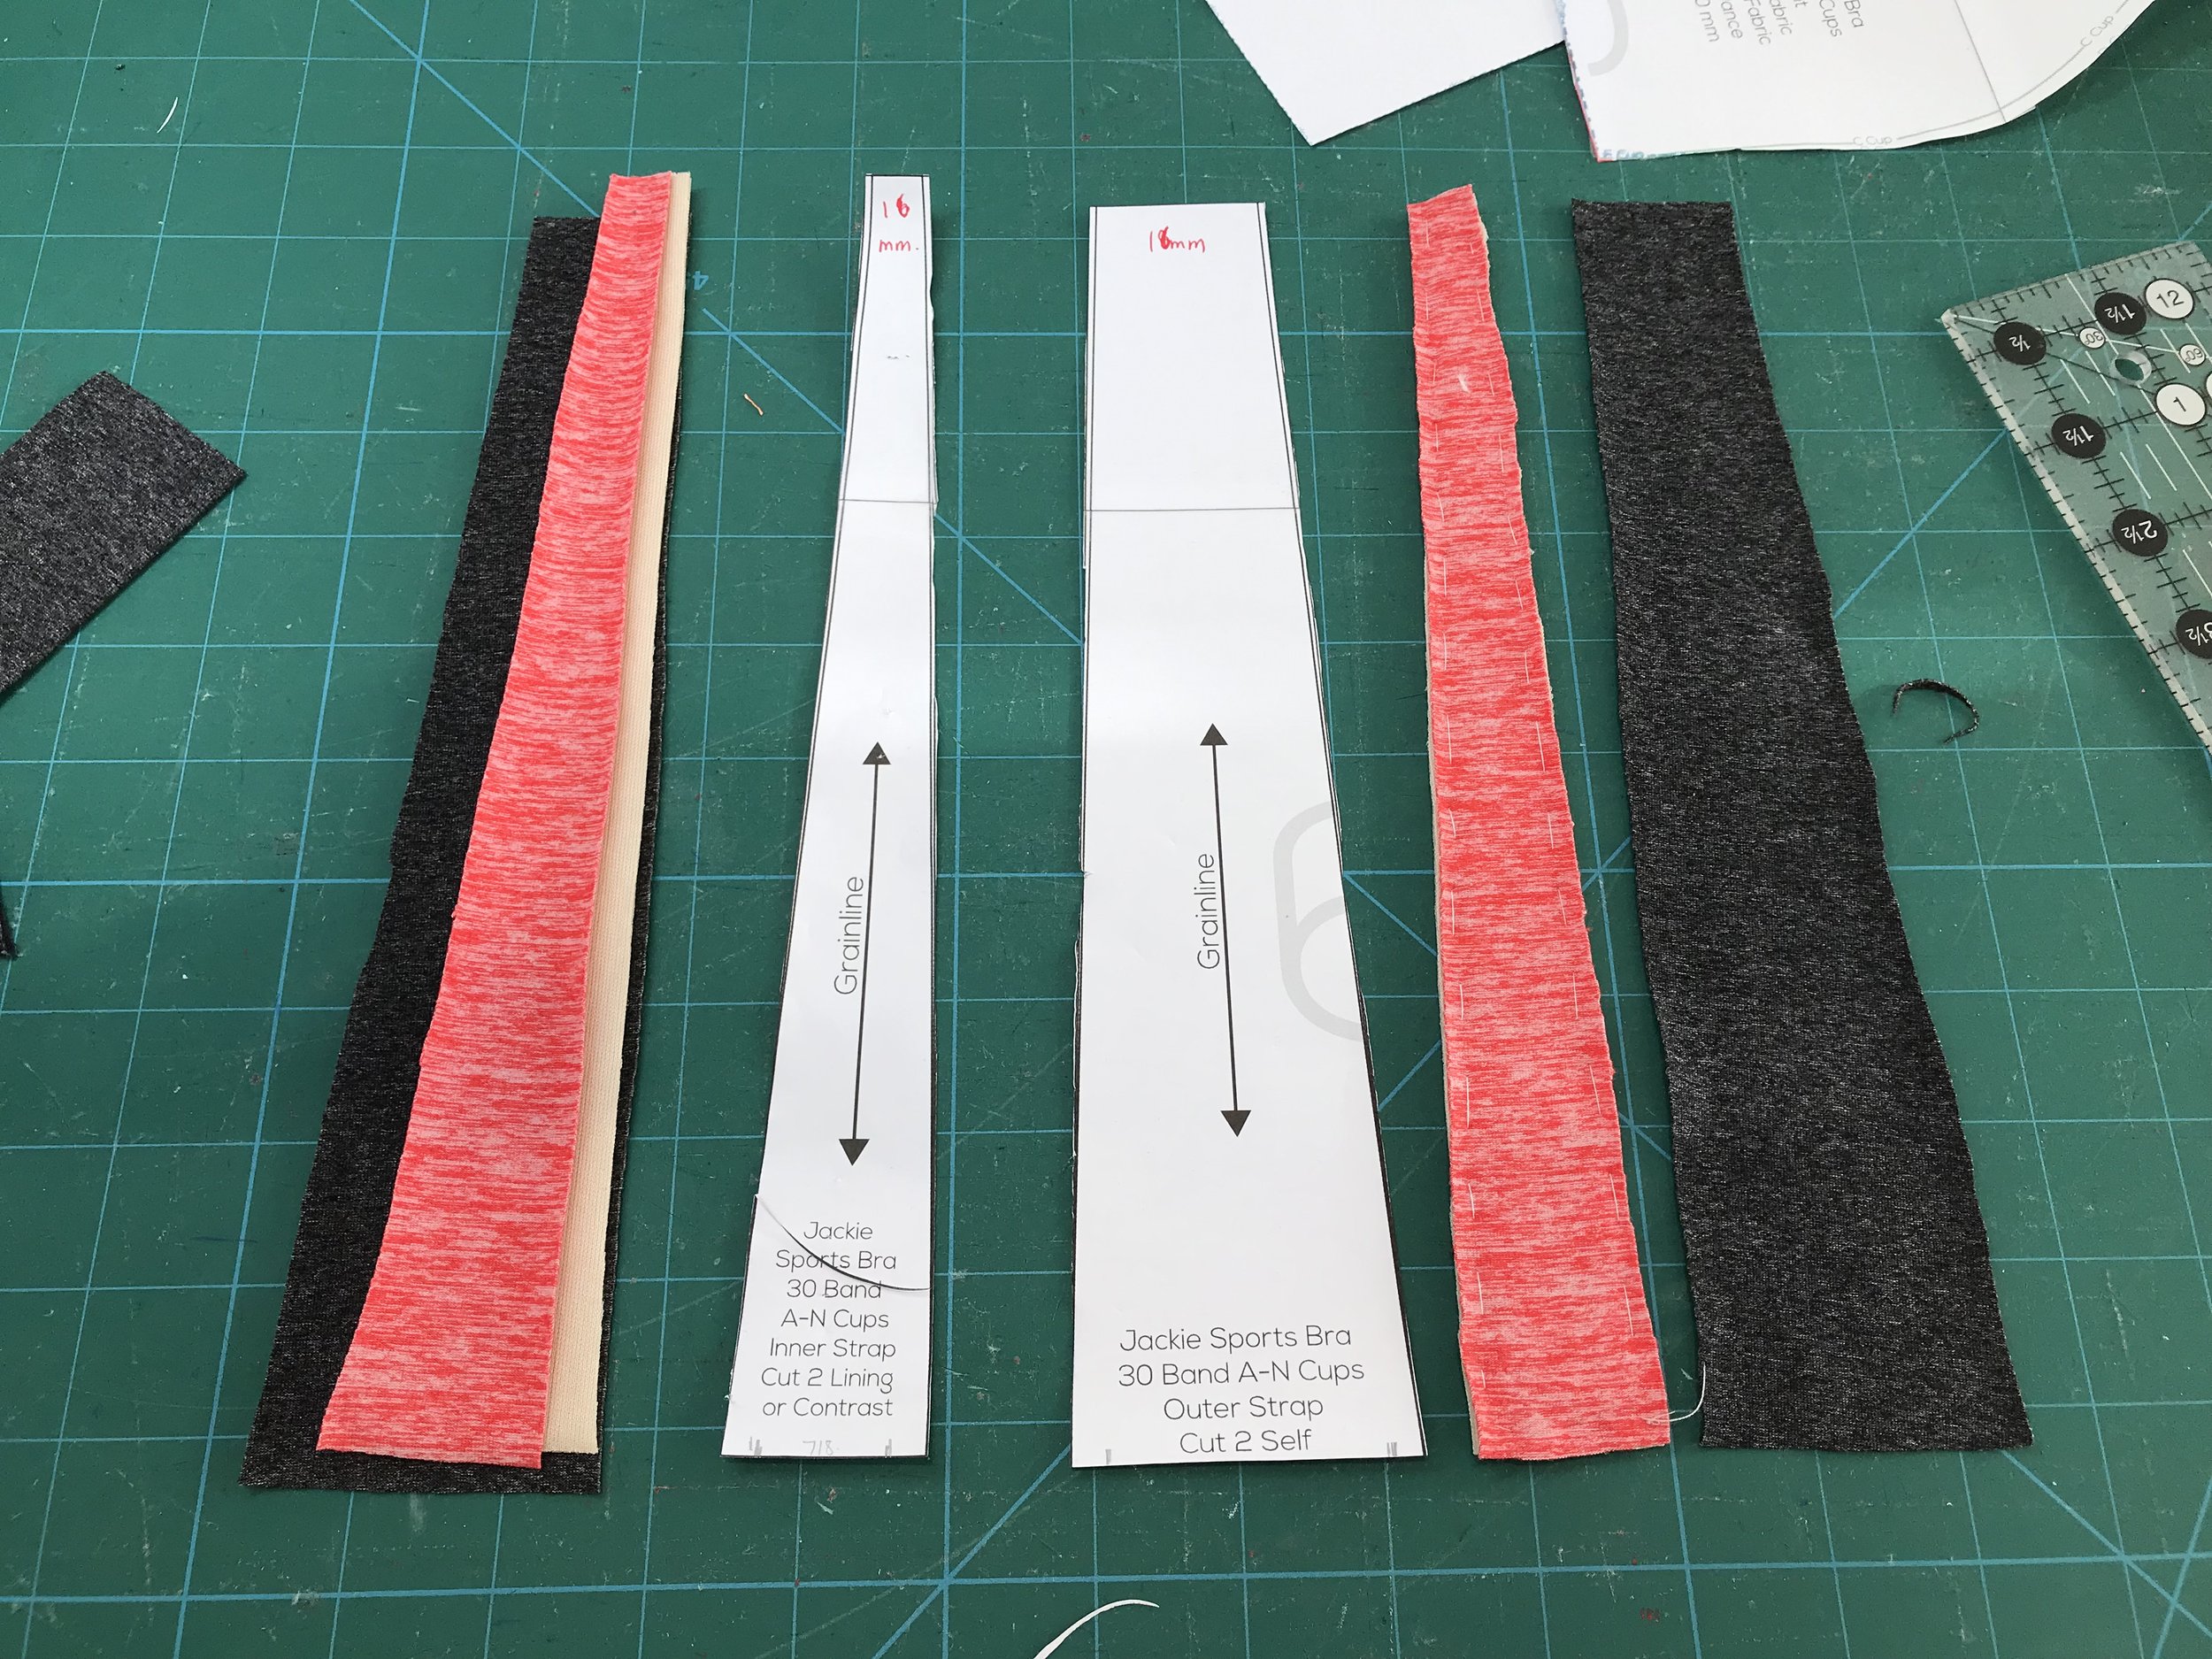
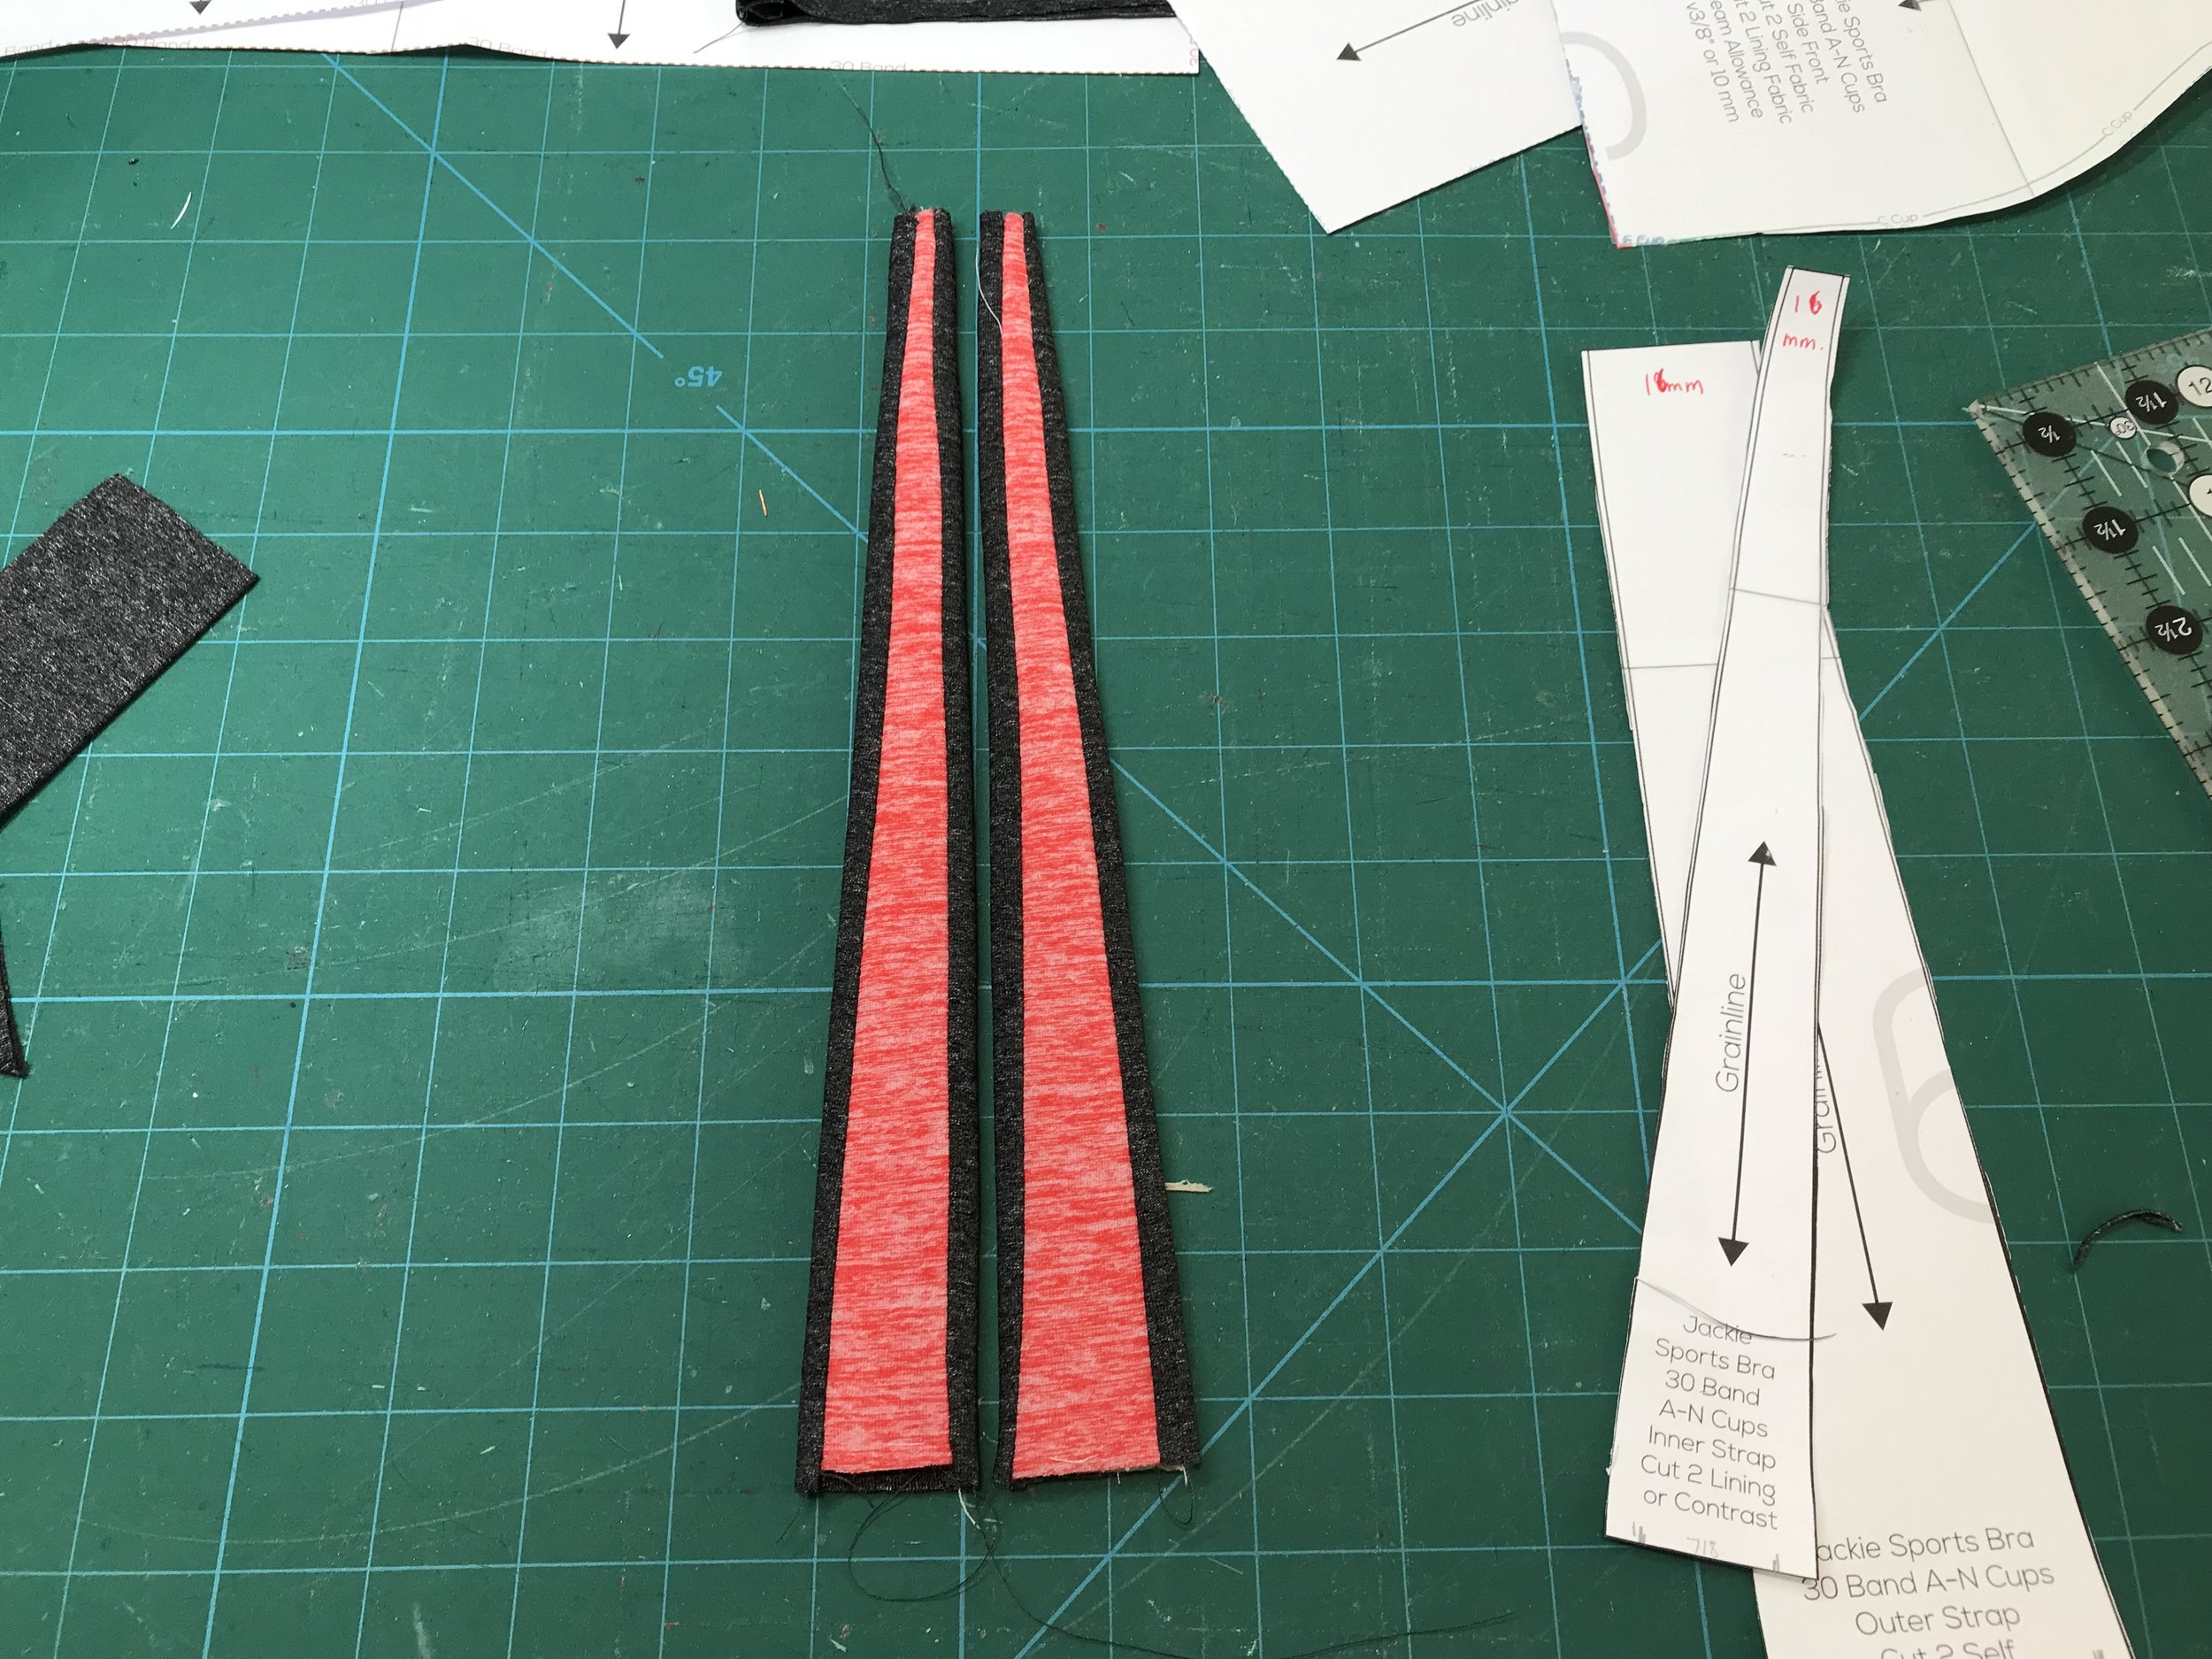
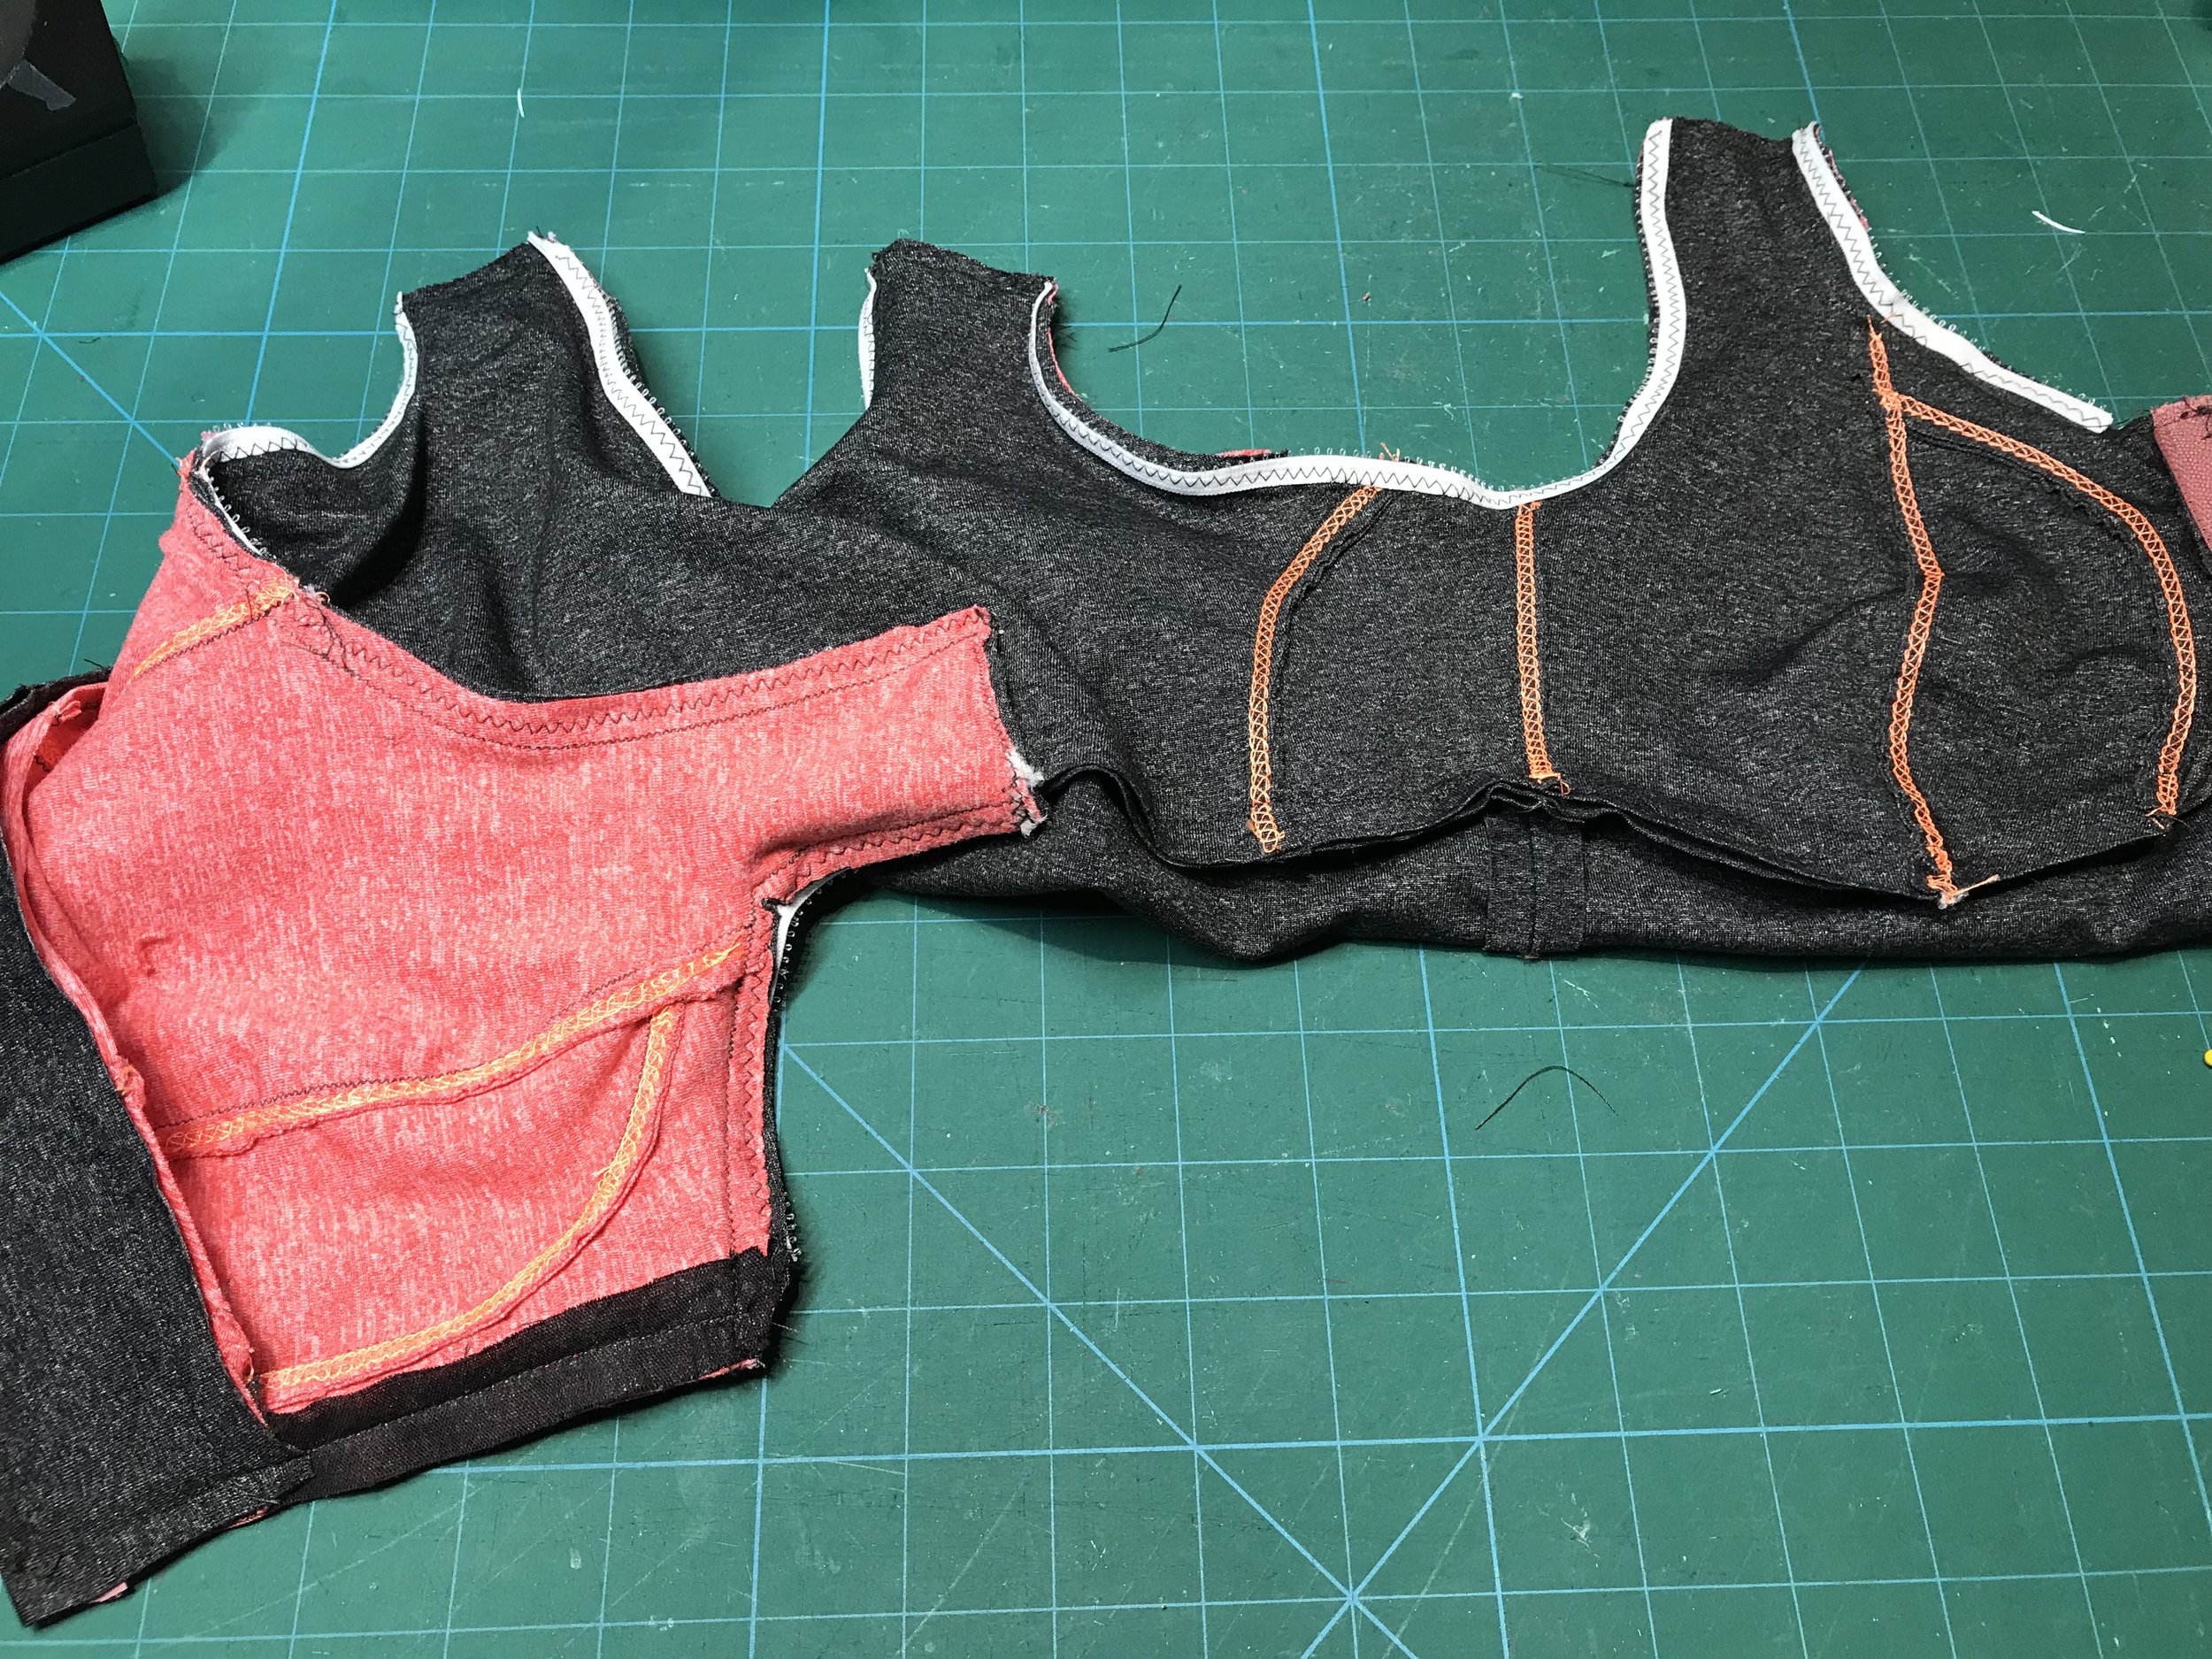
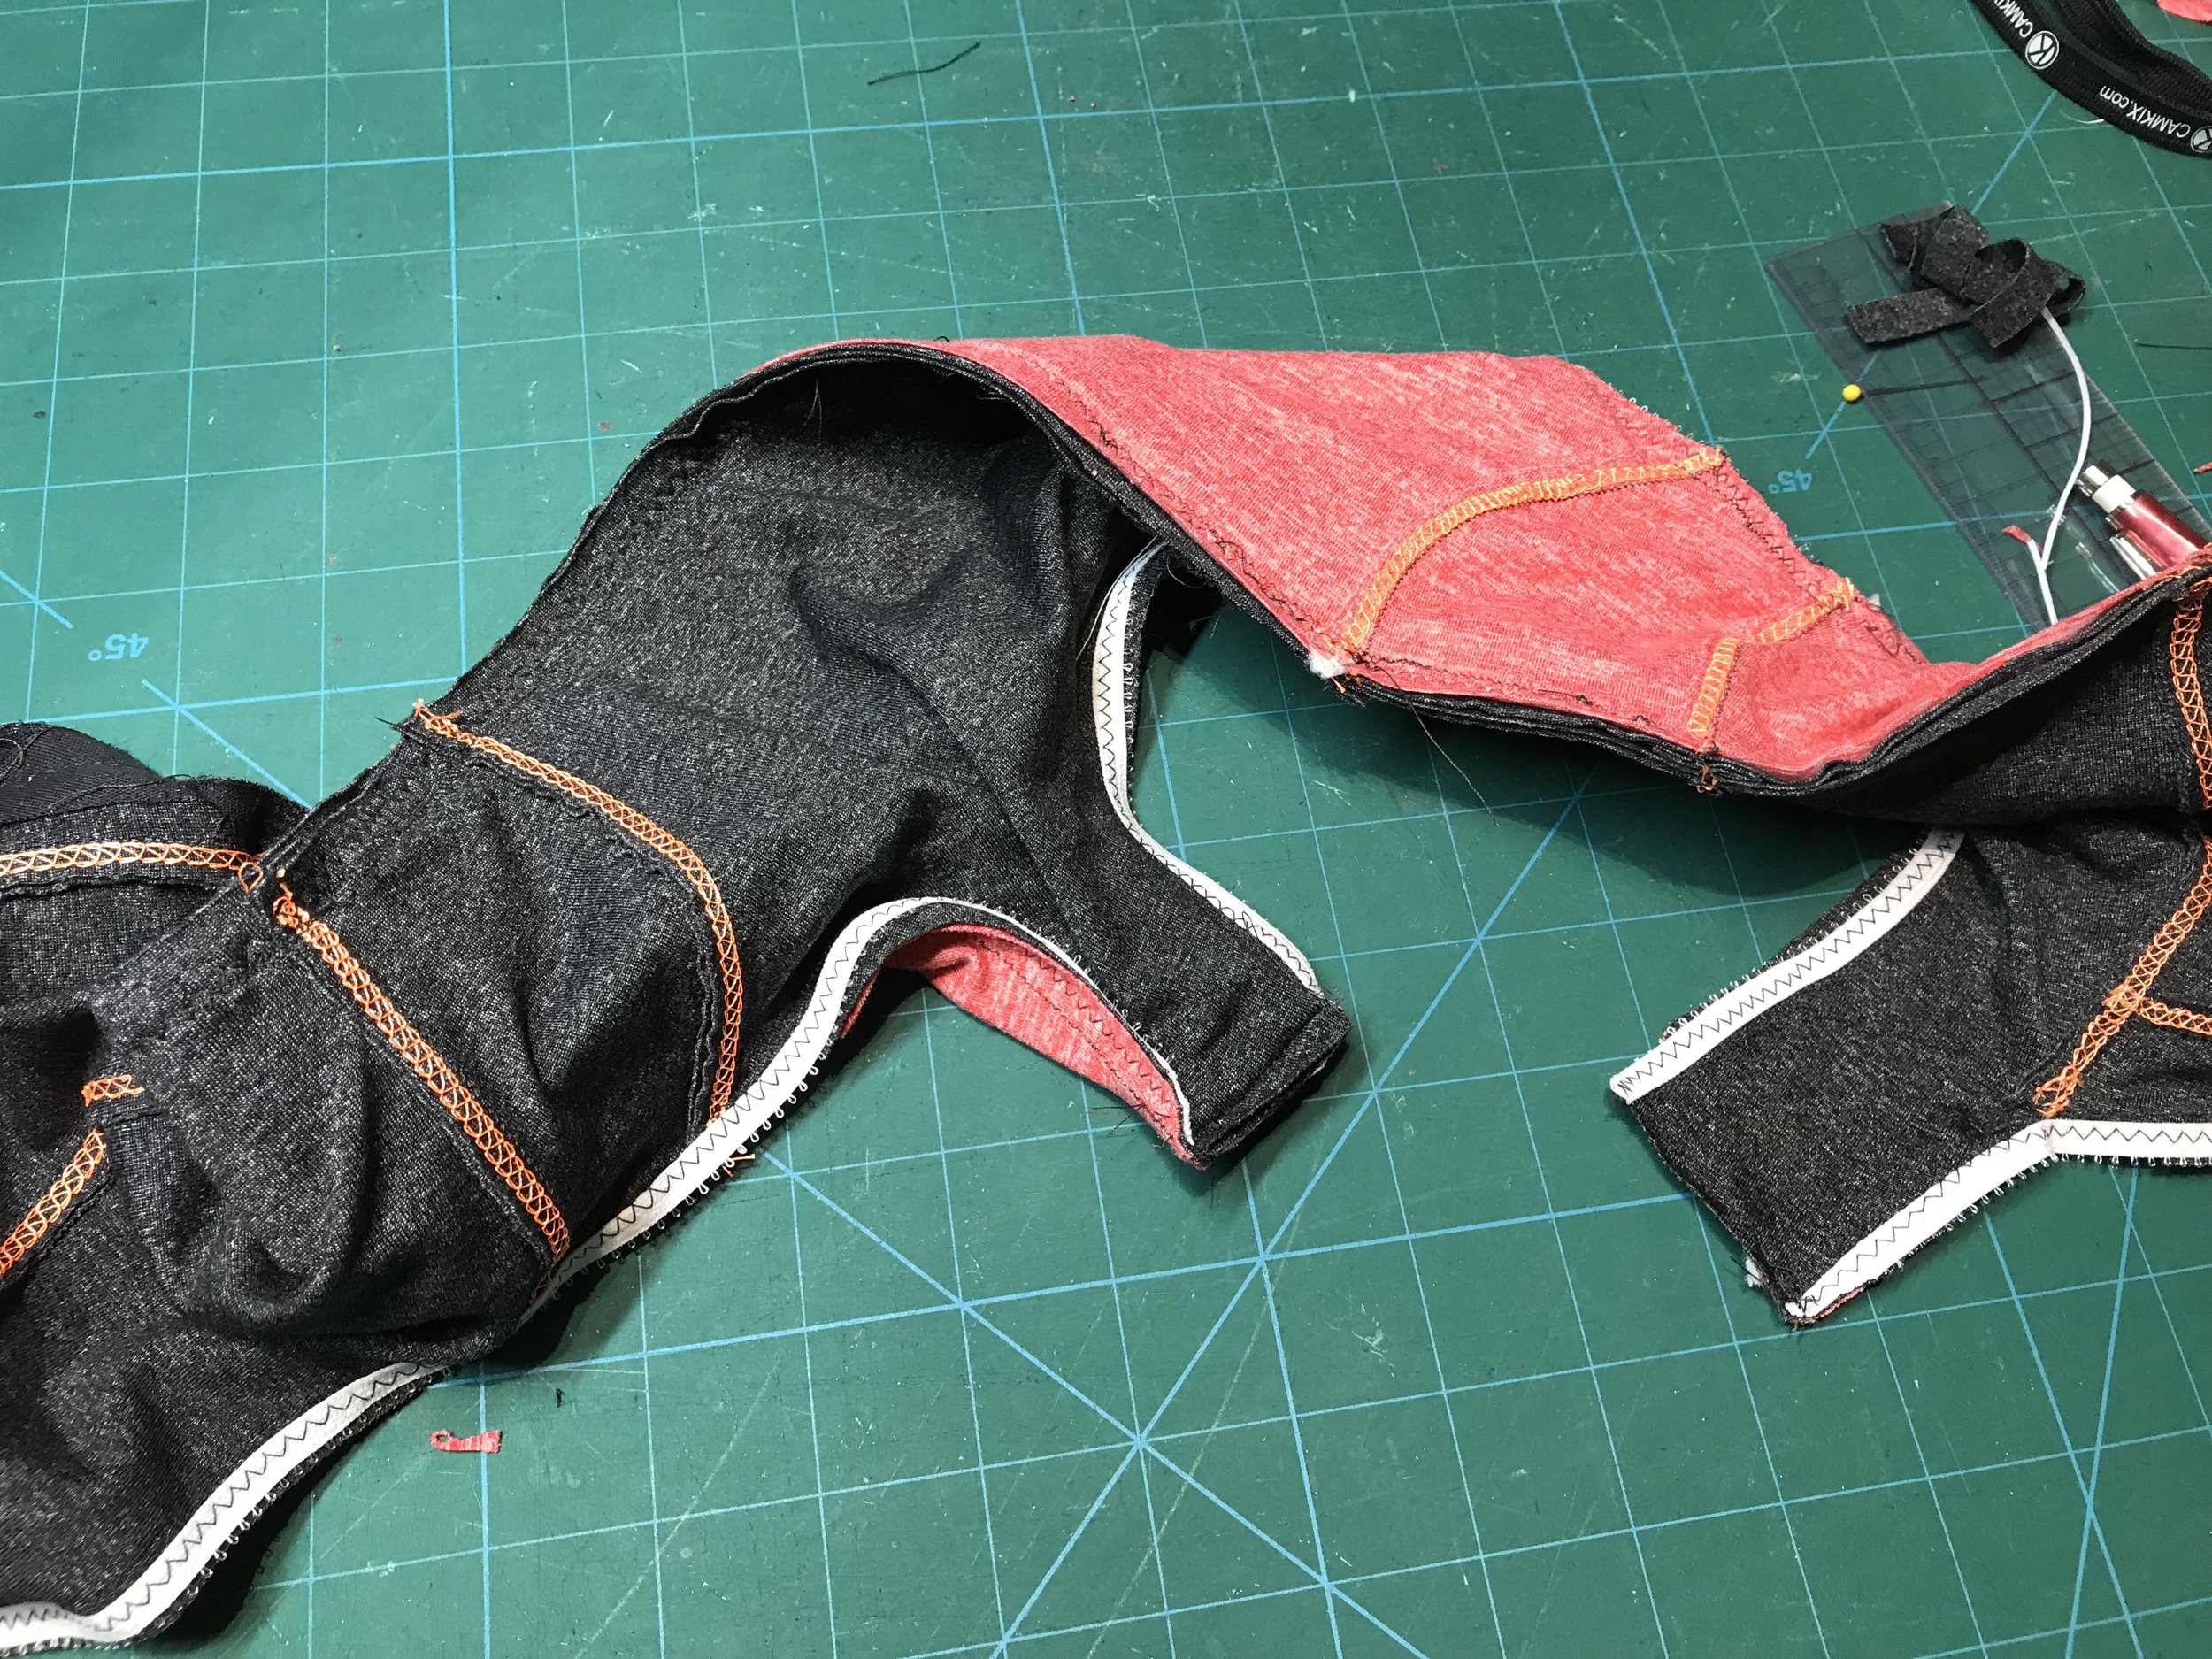
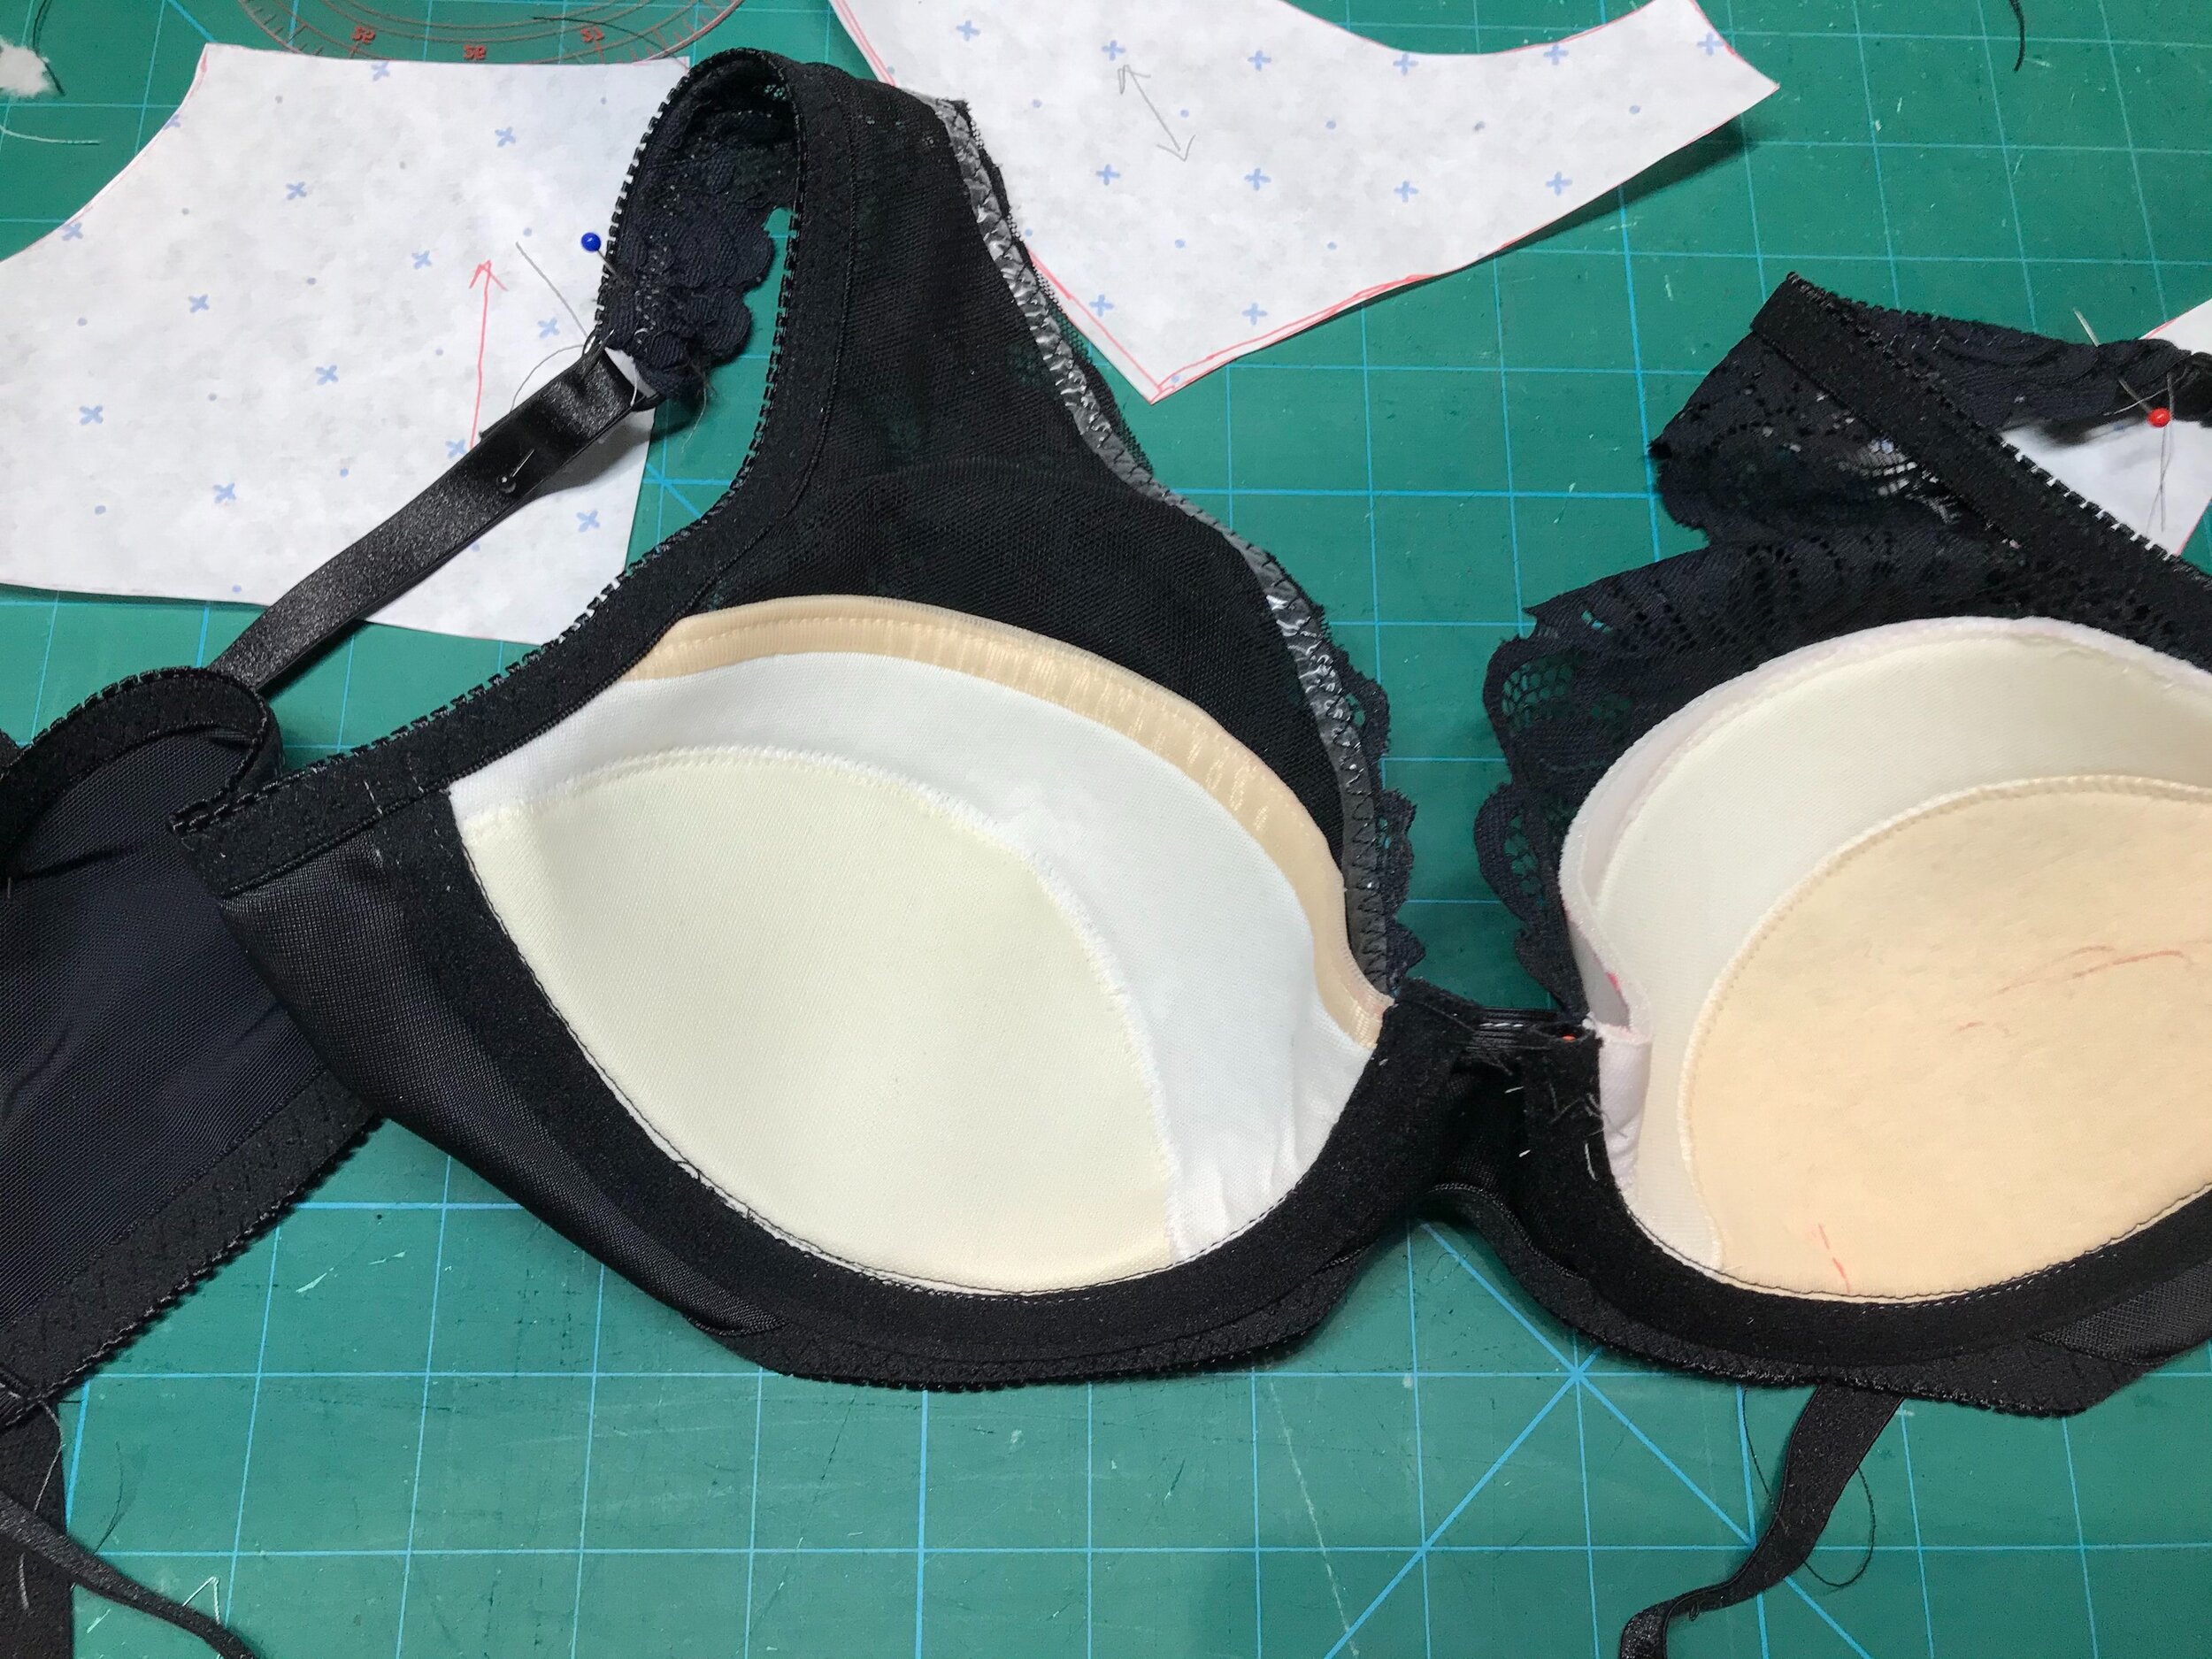
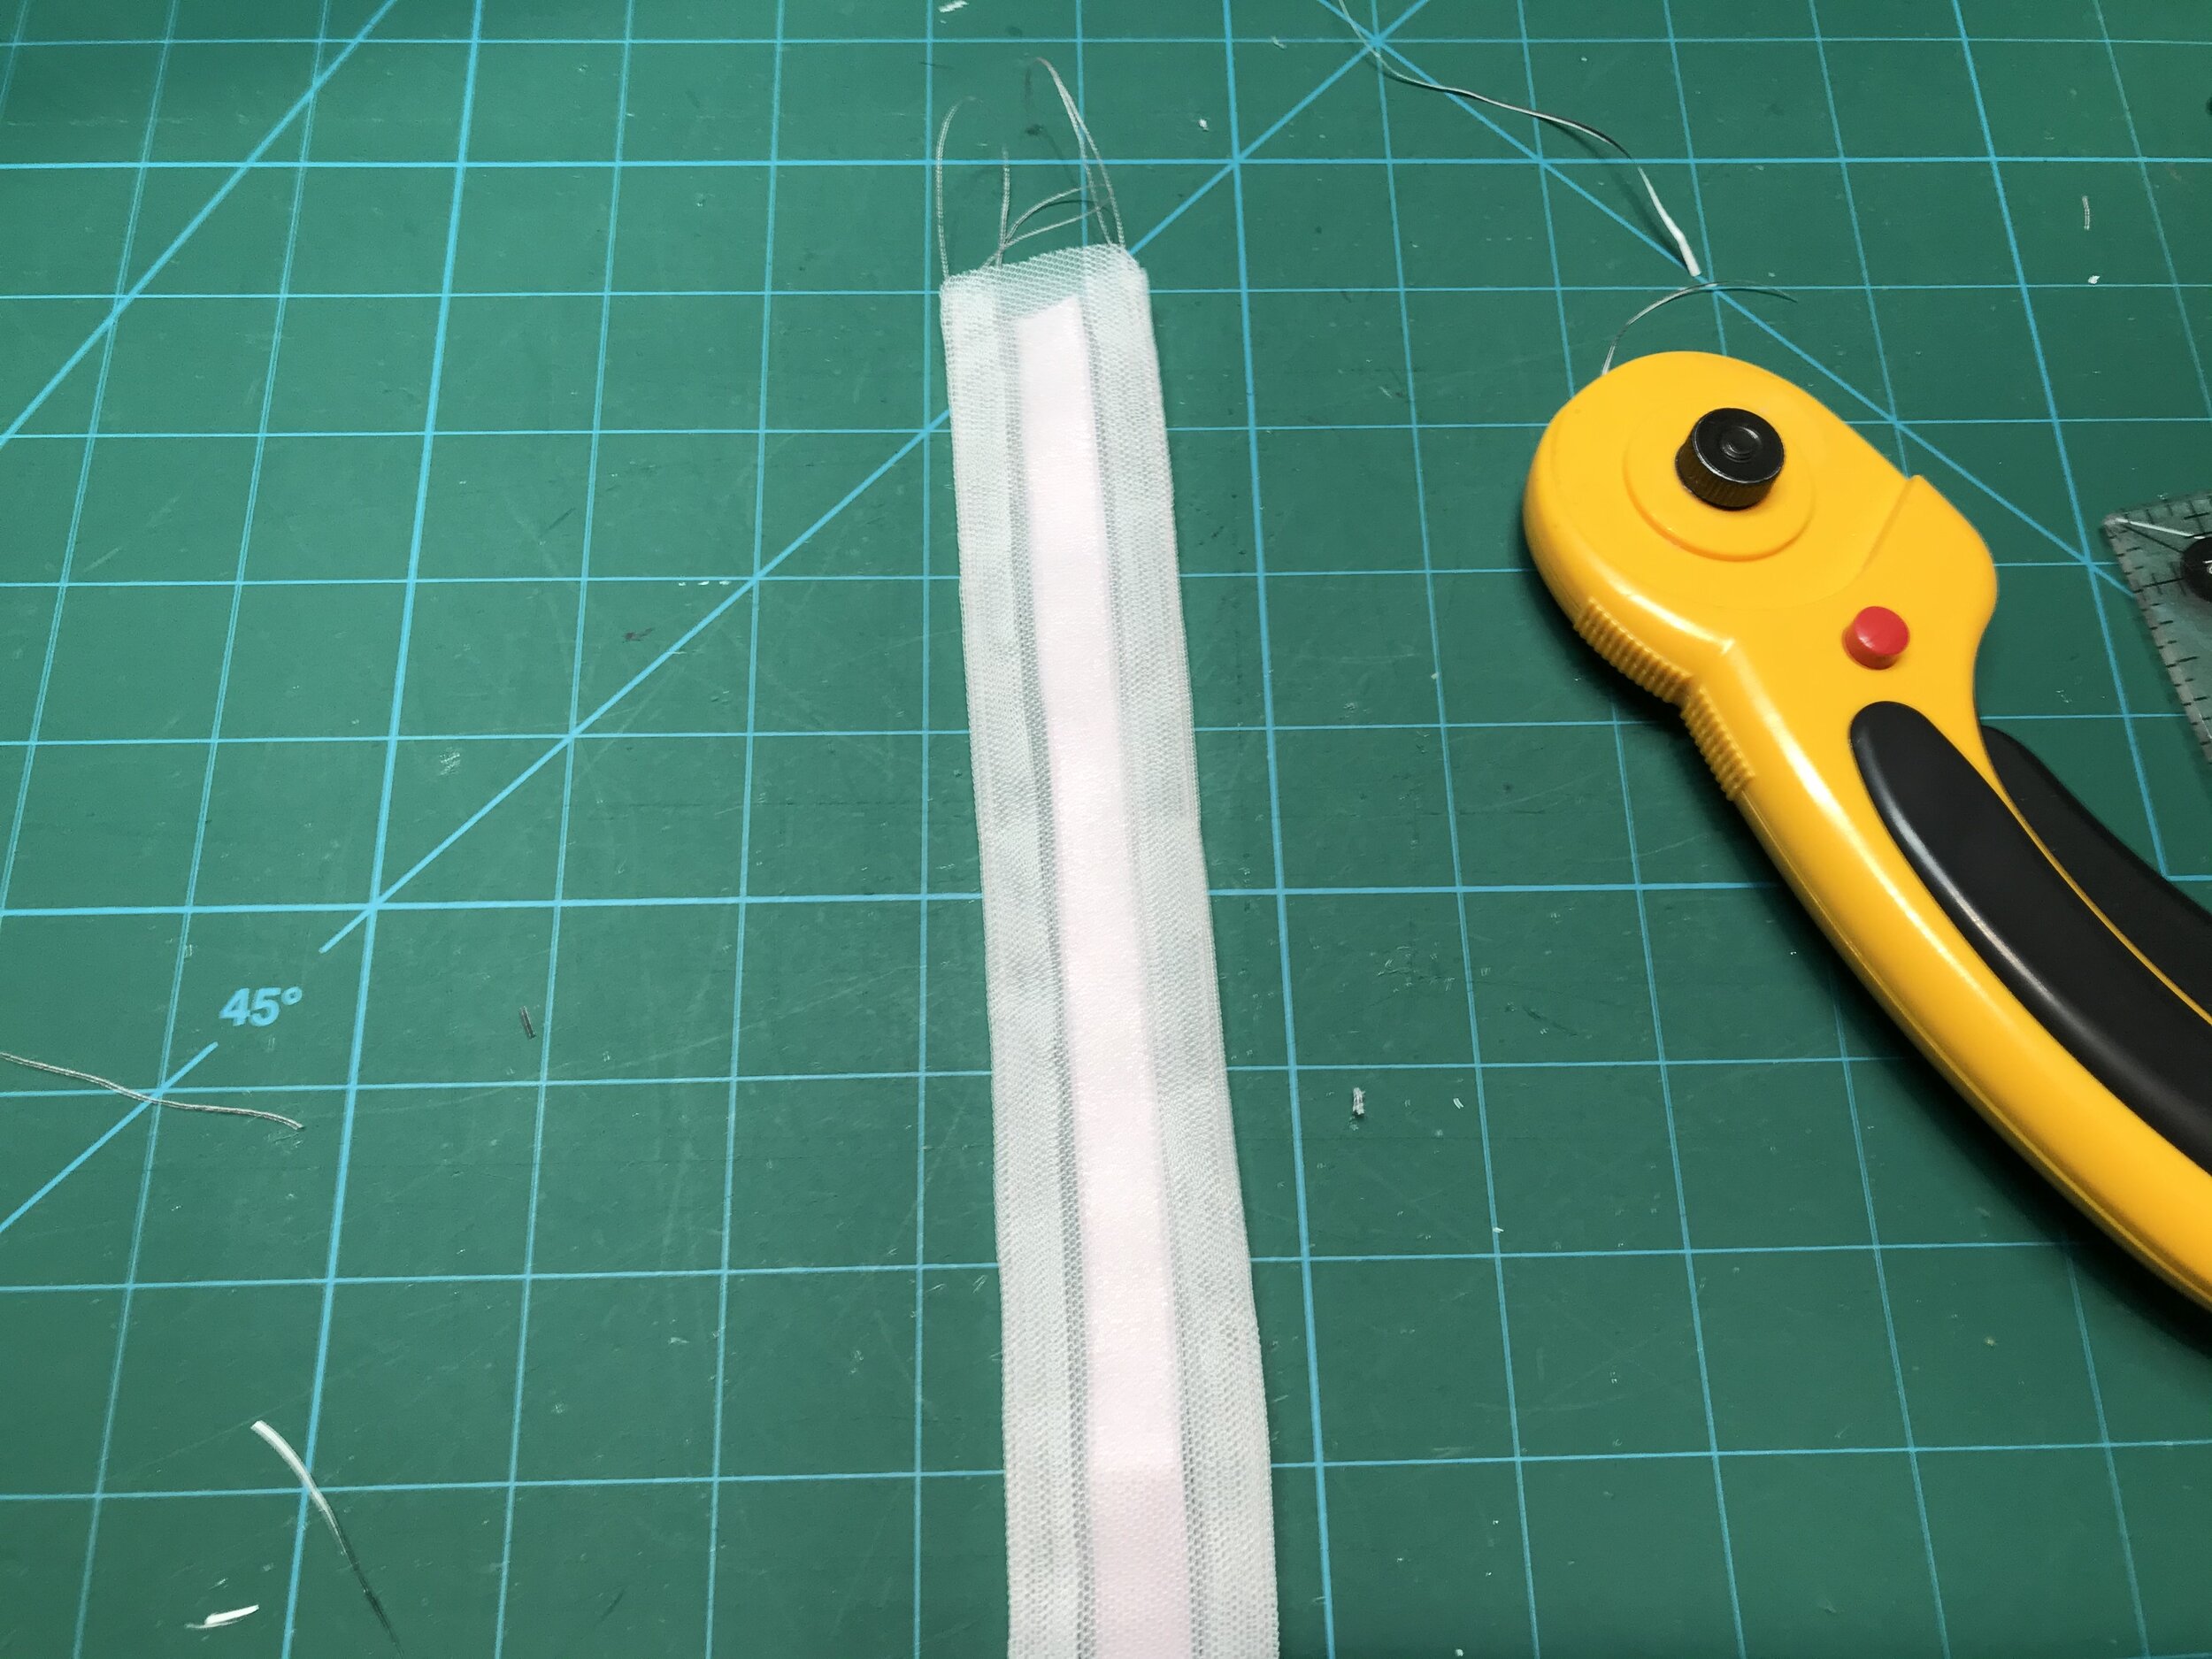
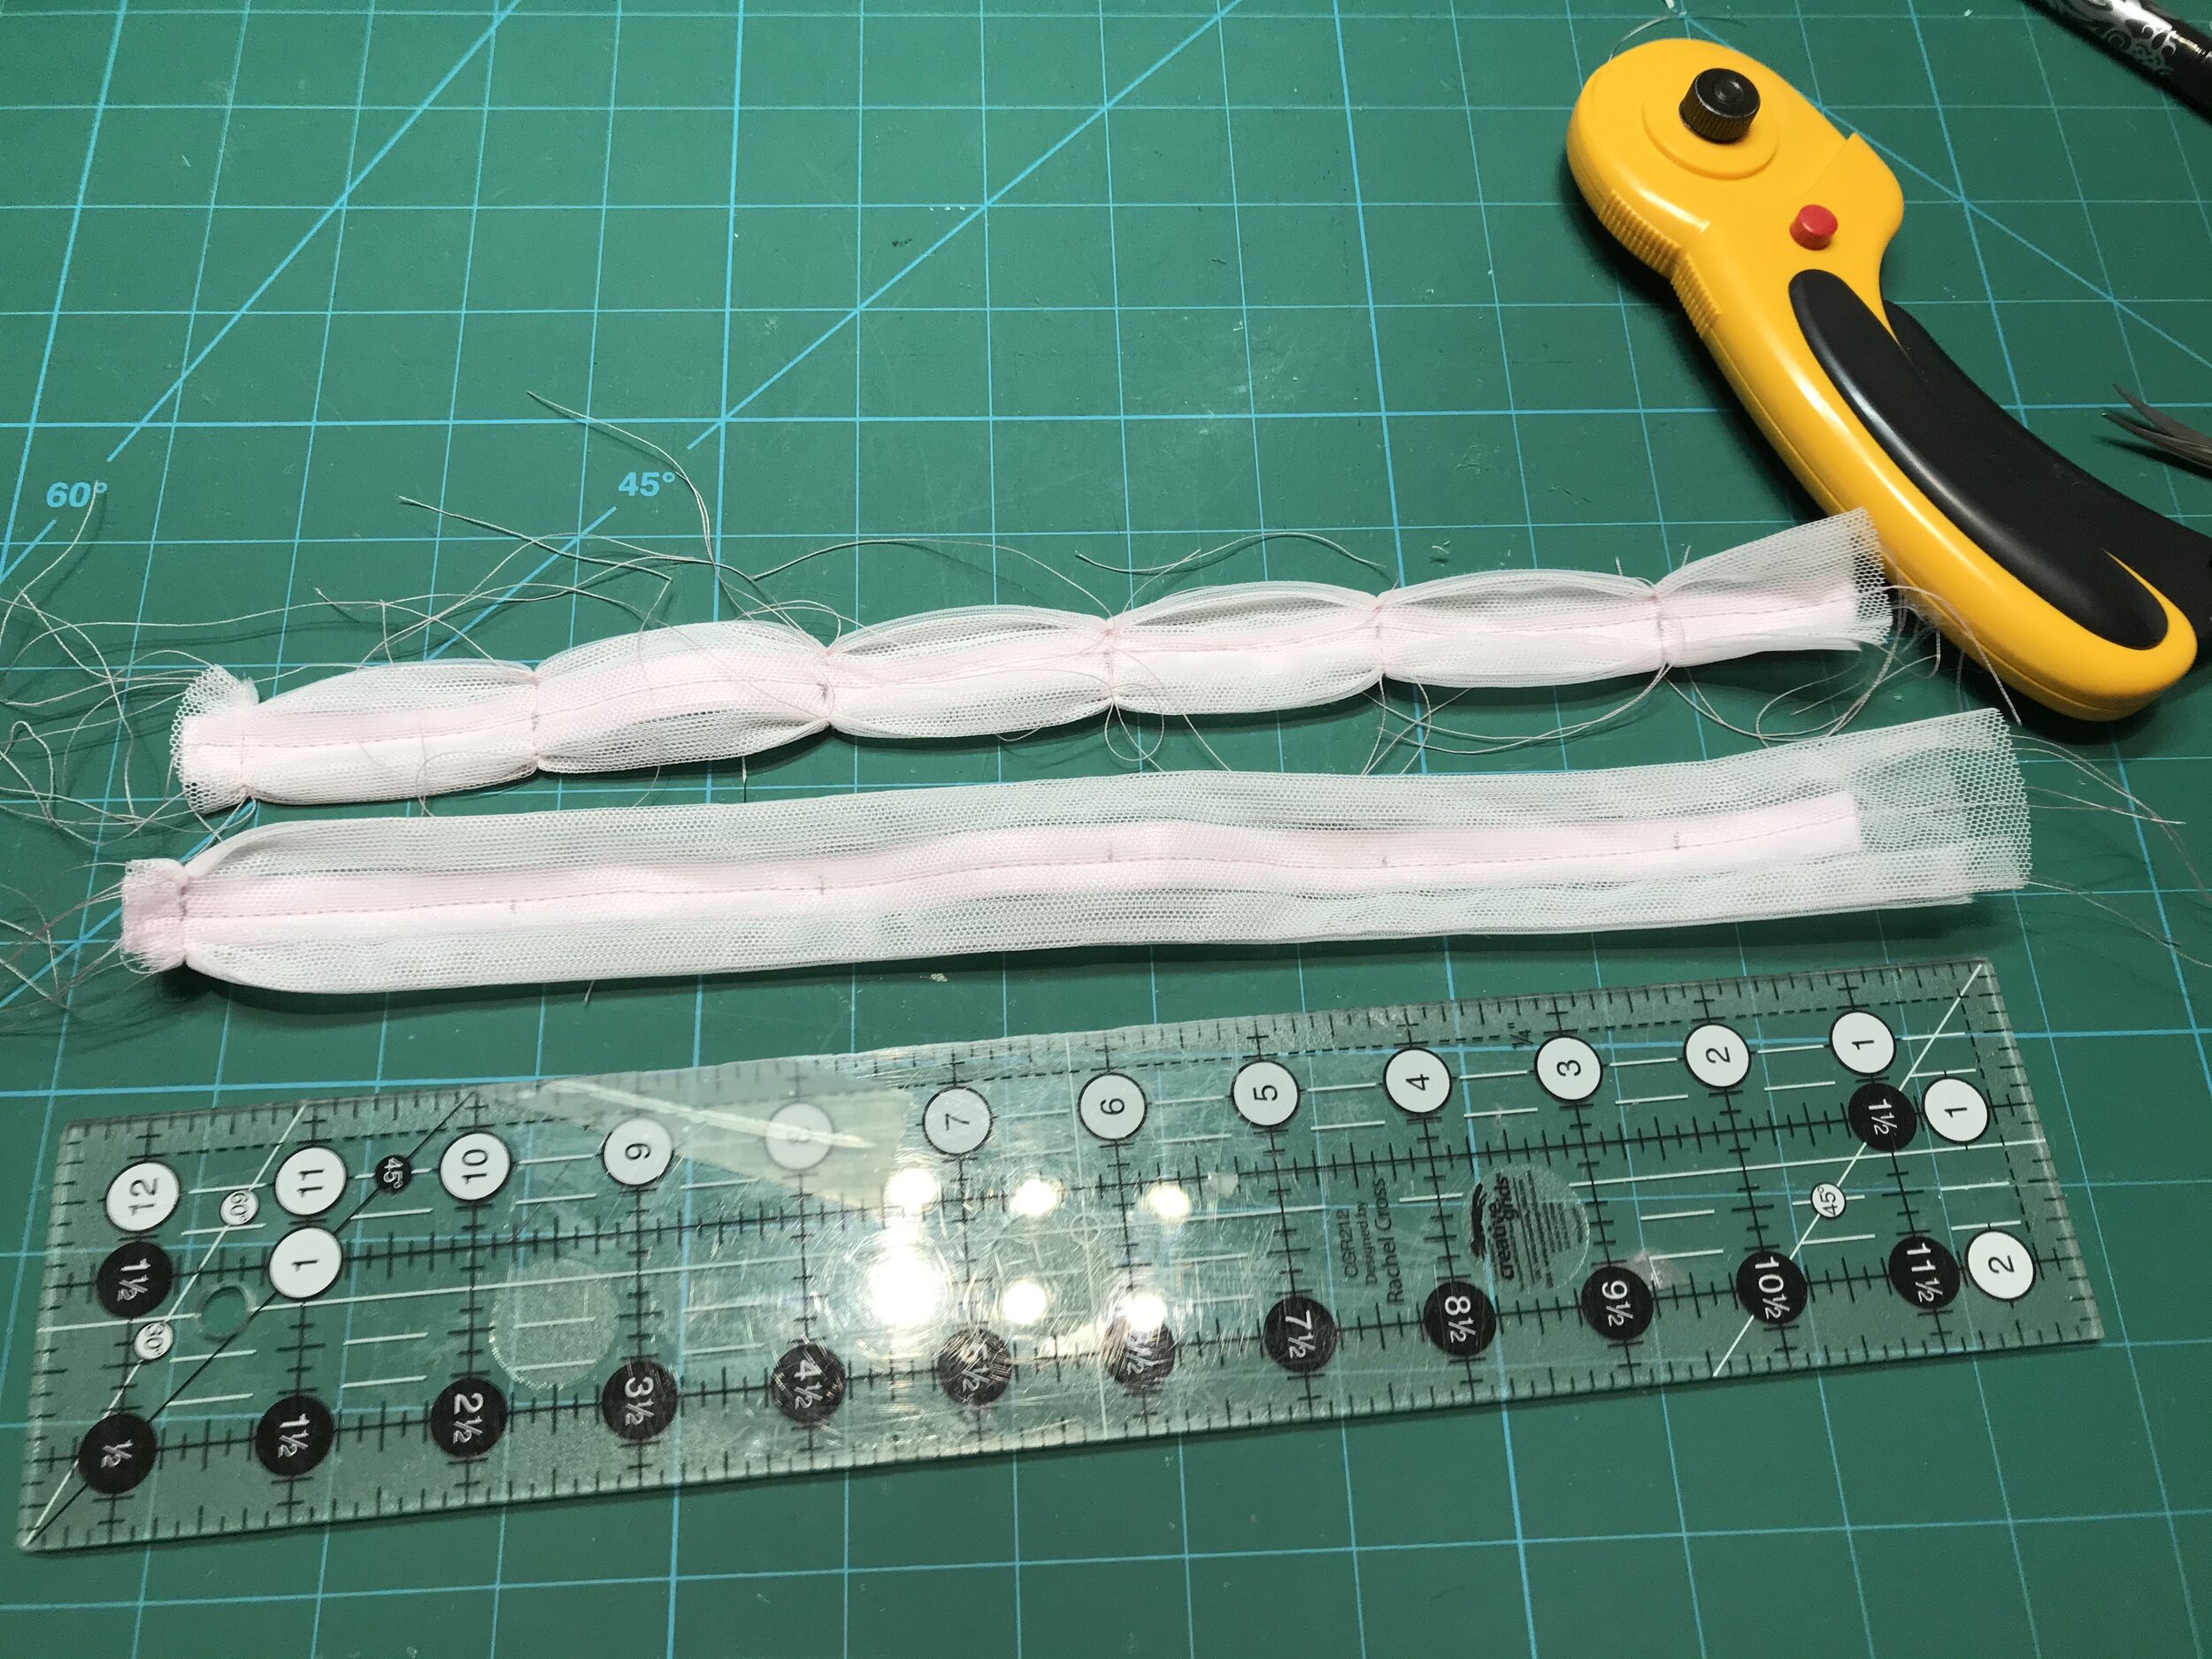
As there is a Facebook Sew Along Group I am not going to go into a lot of detail about the construction. I started with the straps. For my sports version I used foam for both comfort and to stabilise the inner strap. This does make them quite bulky but my machine didn’t have a problem. My comment here would to make sure you use the correct width pattern piece for your elastic and findings and adjust the front strap placement on the side front to match.
I only had a really long zipper to use but it is relatively simple to cut it down to size. I didn’t have any silver end stops left so I used a crimp bead cover from my jewellery making stash. The instructions have you leave an extra 3/4” but I found this a little short and only just fit into the band. Next time I think I will leave cutting until the shield is in place. Also remember to make sure you have the pull in the section you are using before you cut off the excess.
I would definitely recommend reading through the instructions as well as watching the Sew Along before construction as the steps to enclose all the seams are not straightforward. So in the end you are pulling the whole garment through the shield side of the zipper and then you topstitch through the main fabric, zipper and shield to close the gap. This is a lot of bulk to sew through and I changed to my walking foot and size 16 needle.
The fabric and fit are fabulous for a sports bra. I love the clean inside and it is so comfortable. I just love it when a test make goes so well and why I like to use appropriate fabrics for every make. This pattern is particular good for scraps of fabric and the grey is what I had left from making the Greenstyle Inspire Tights Moto Add On. I put the bra through a workout and I am pretty impressed with the support from the compression without being squashed flat. Personally, there is too much bounce for a long run but pretty good for everything else.
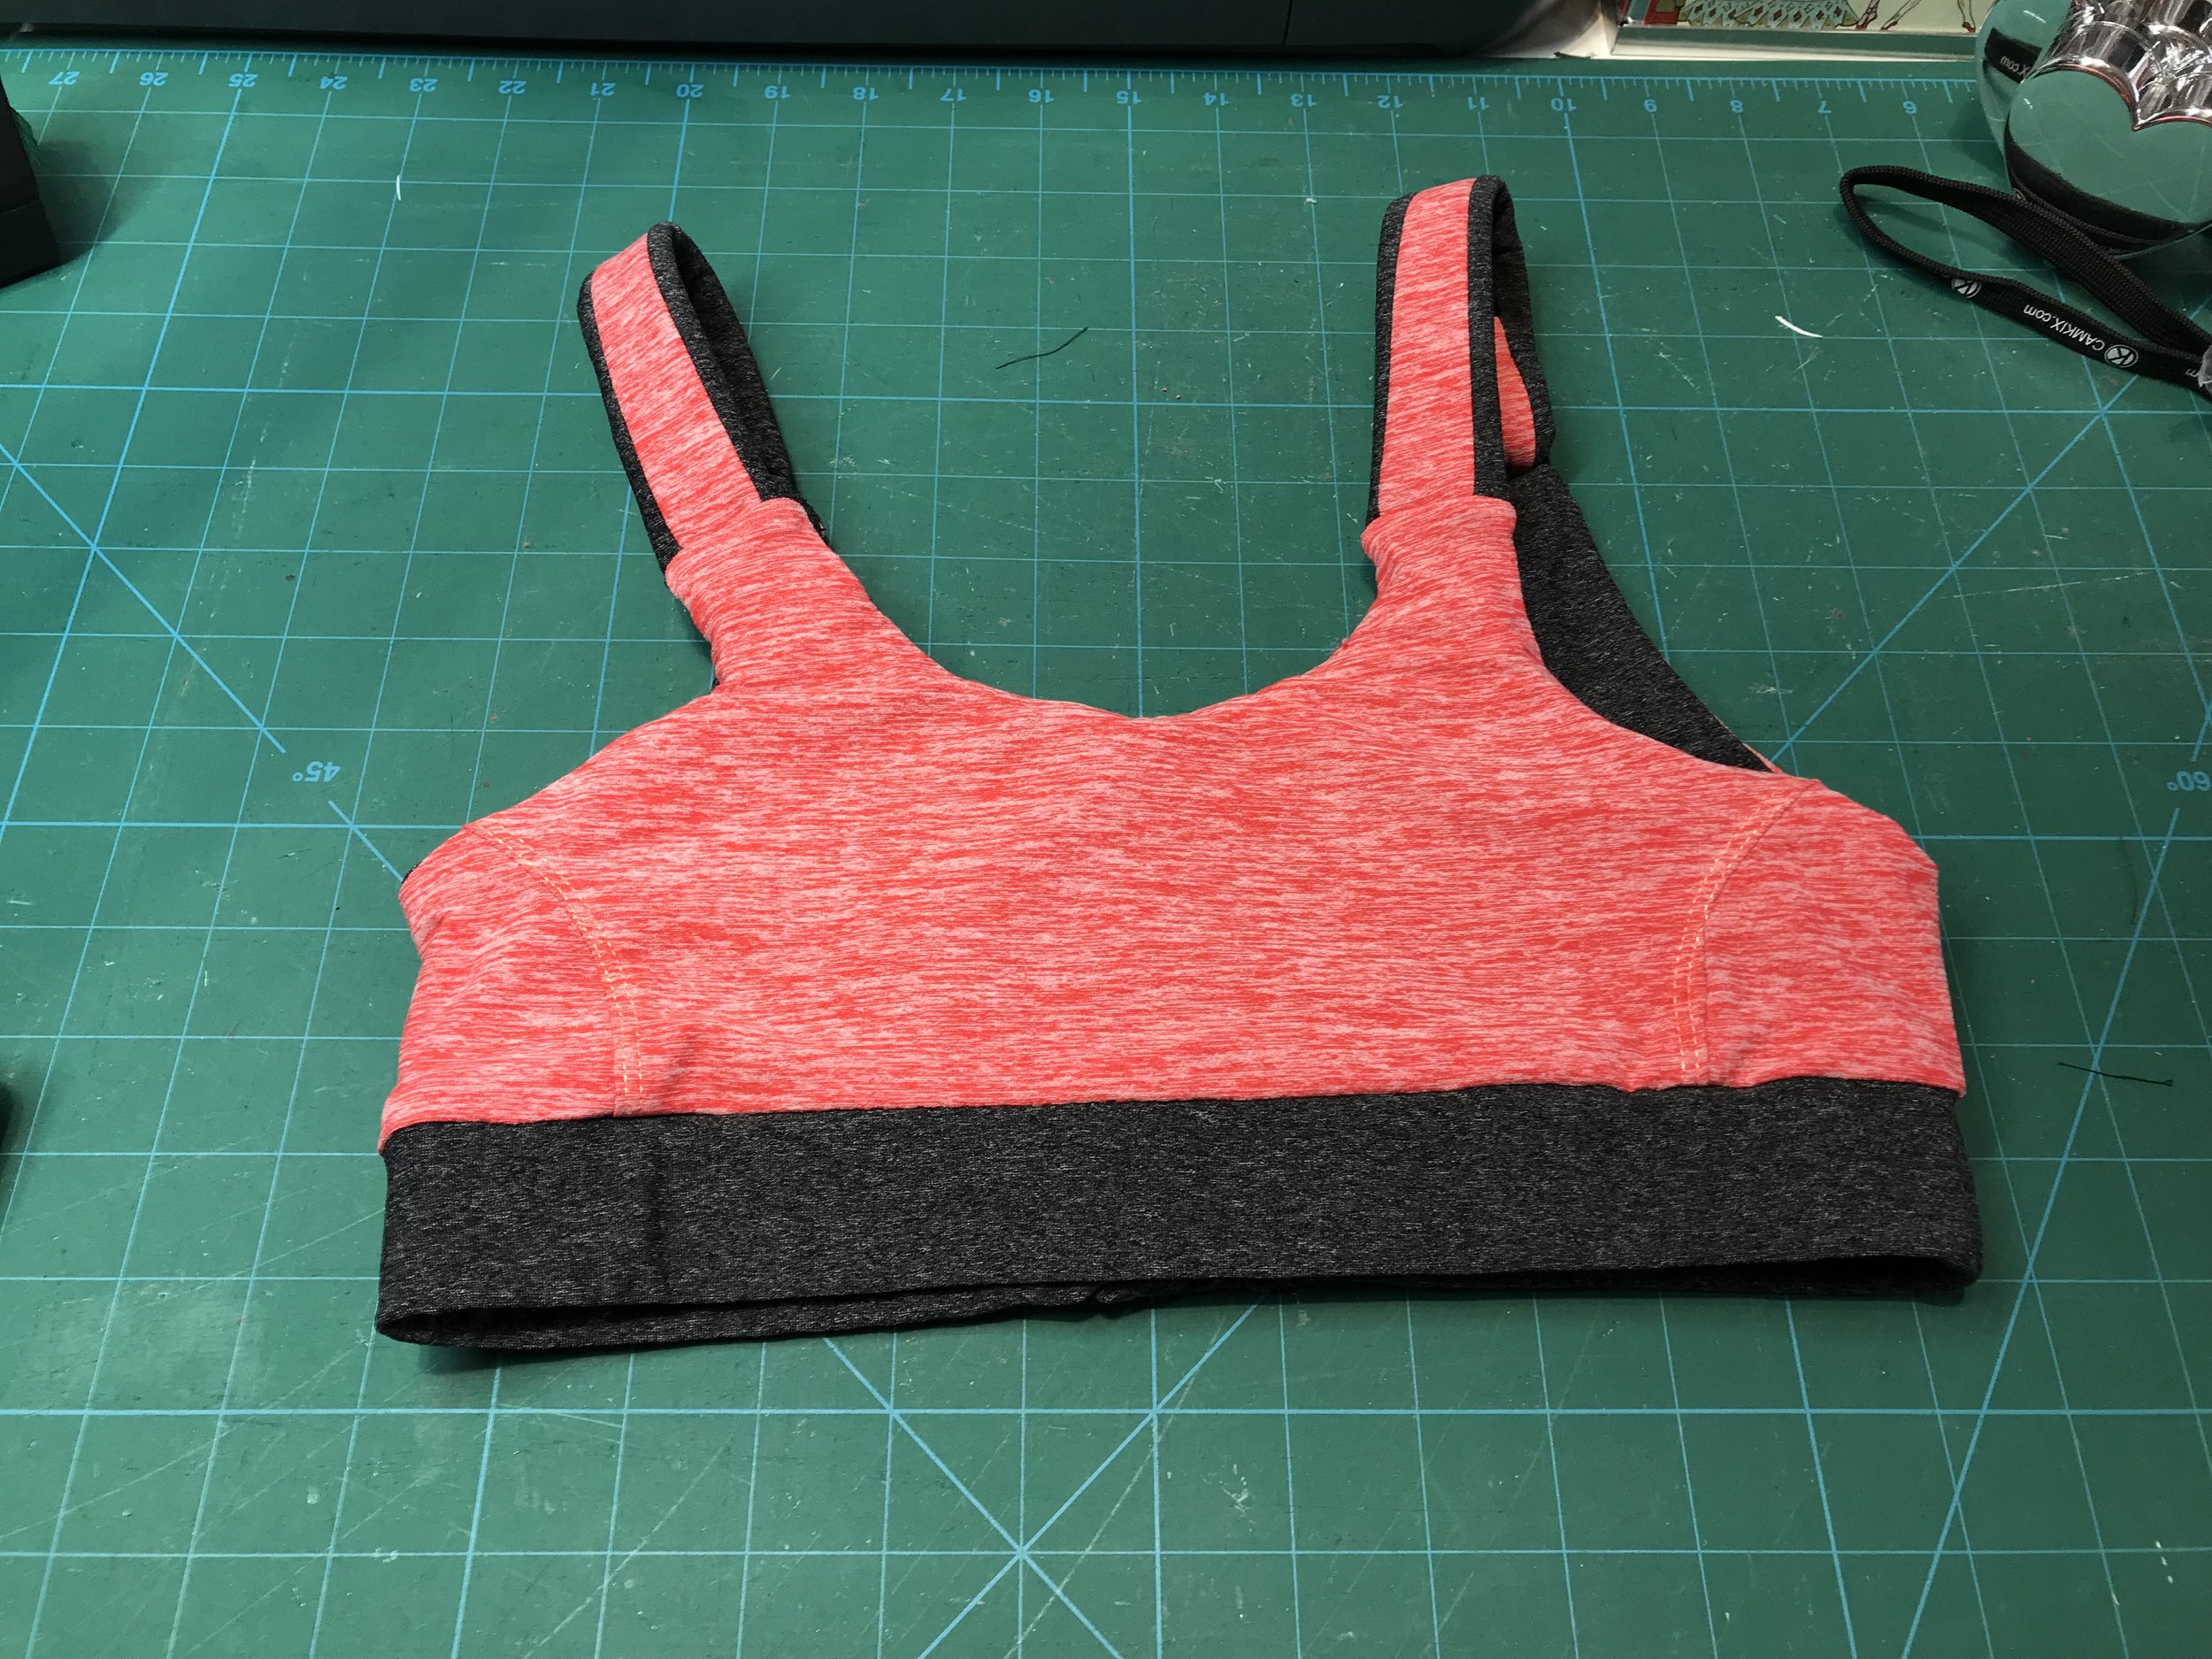
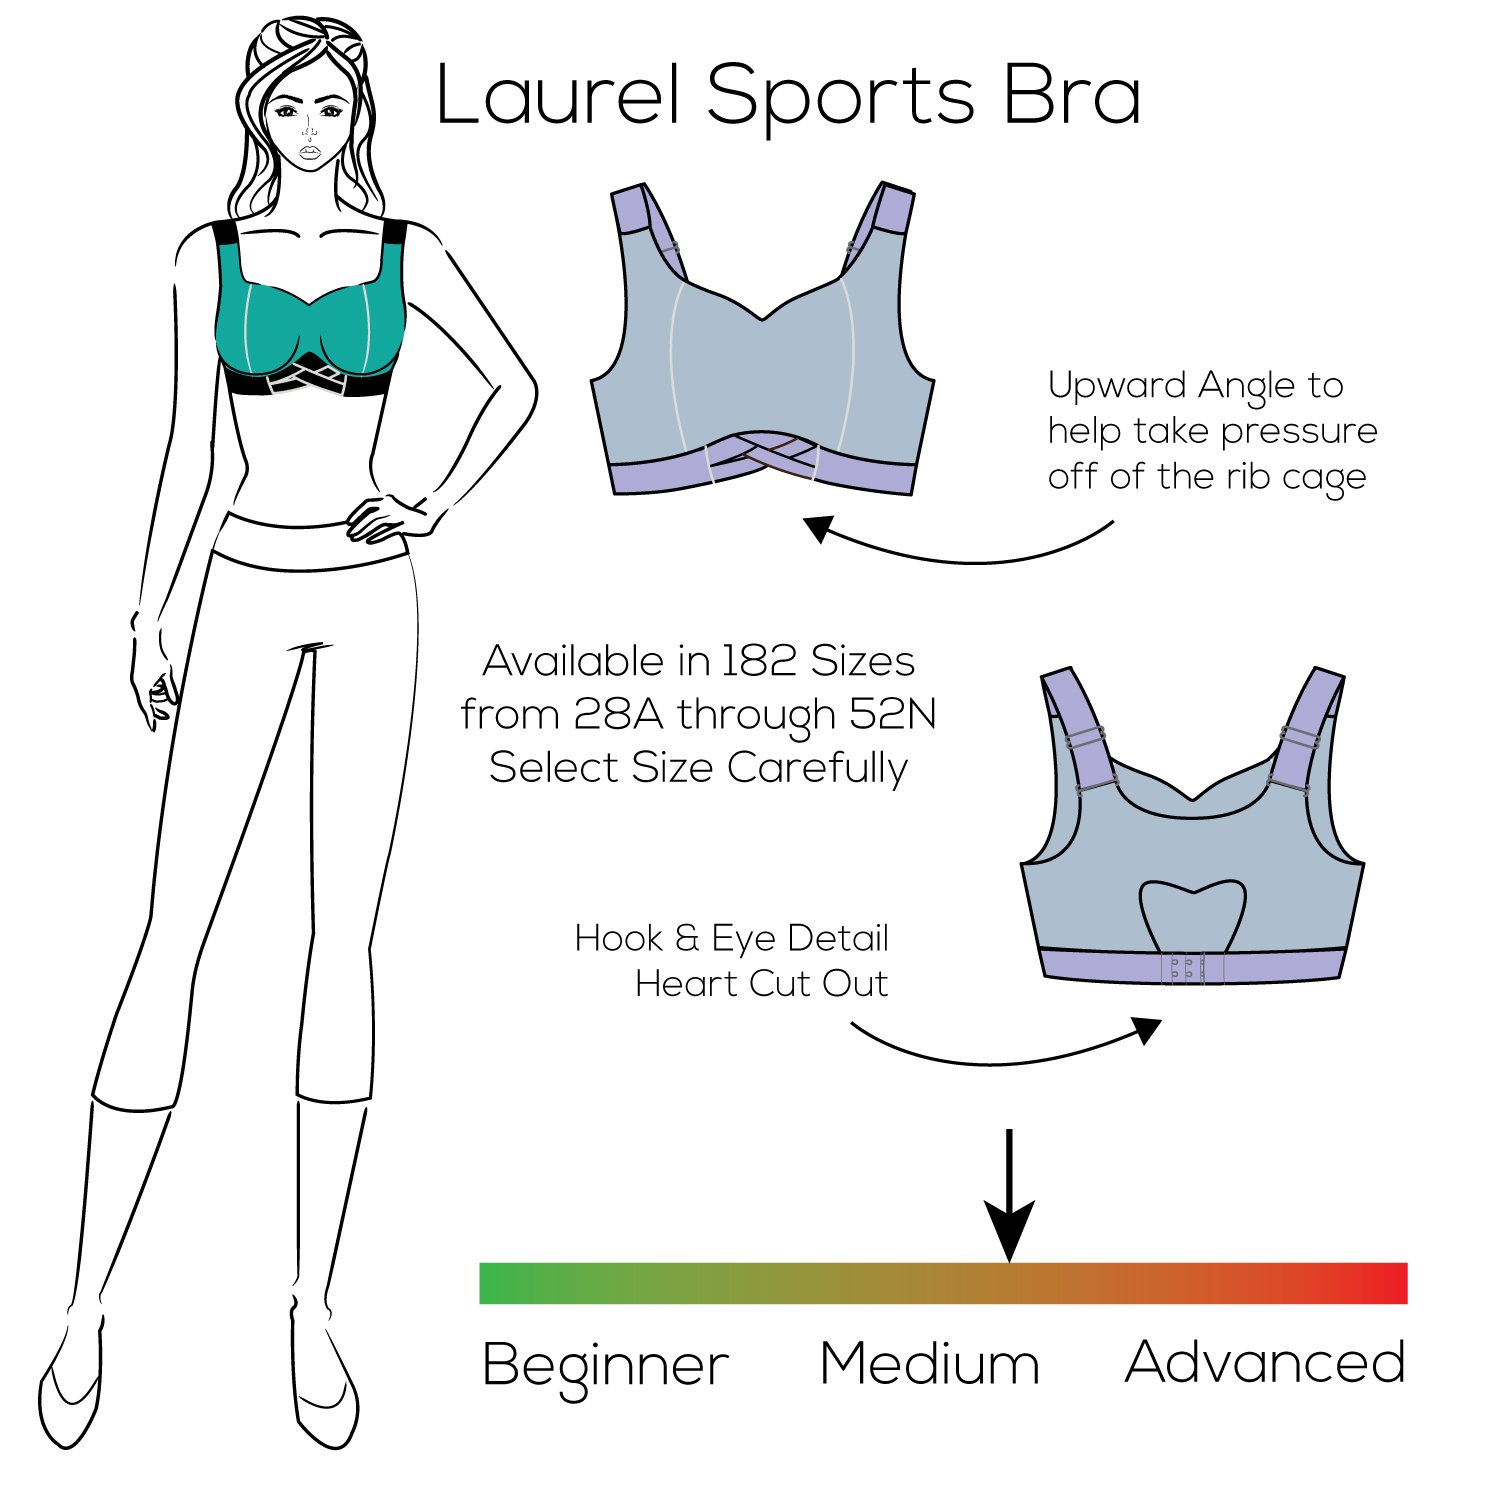
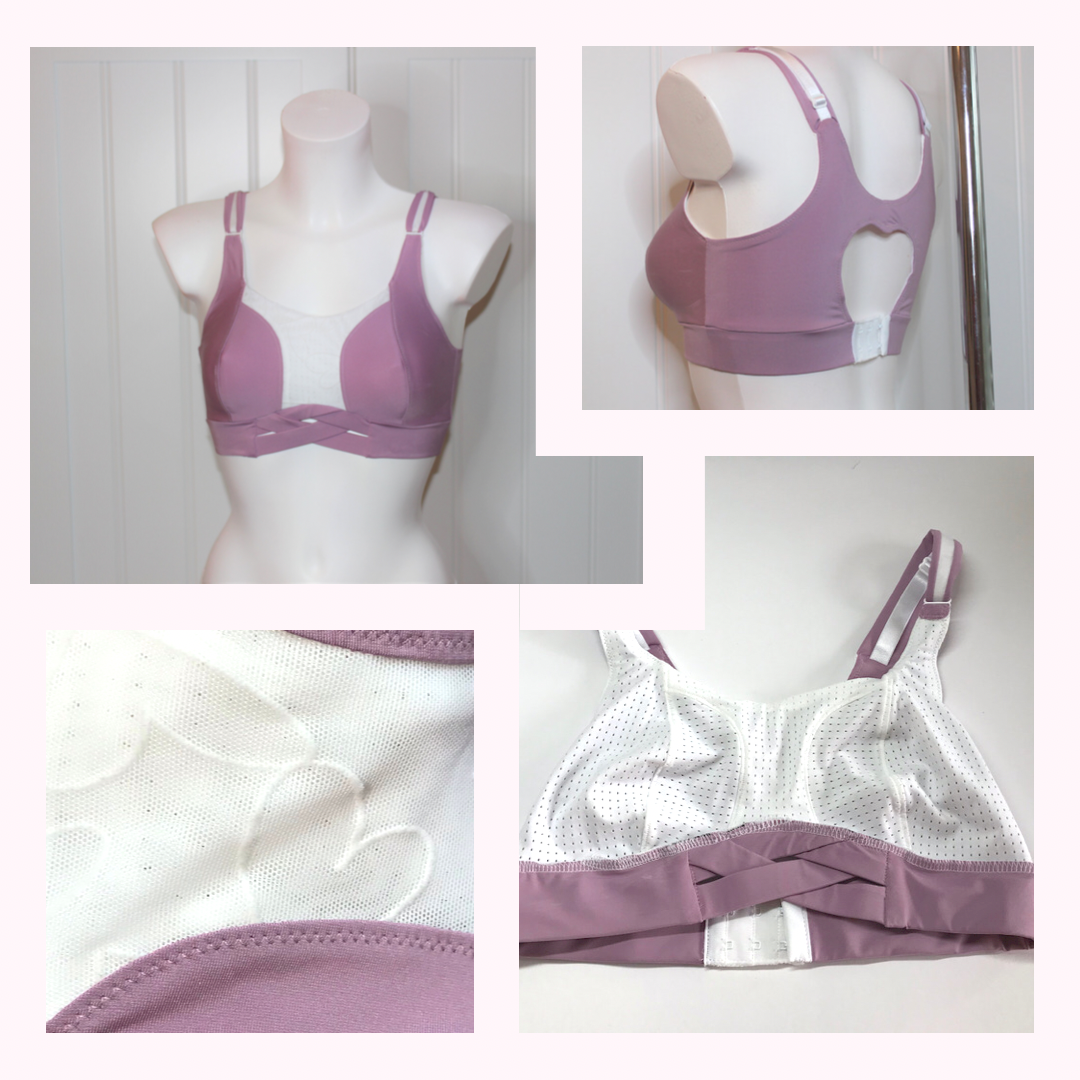
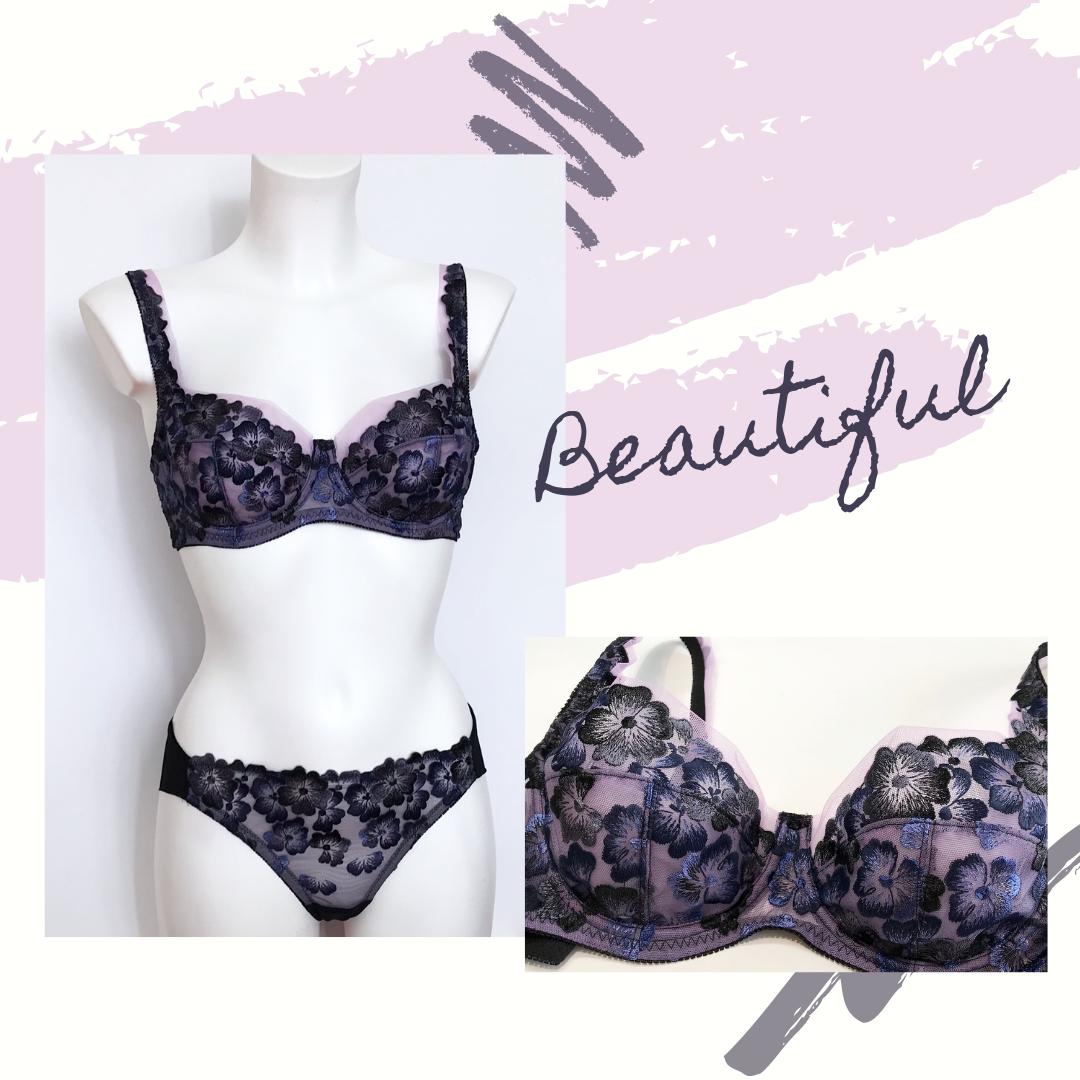
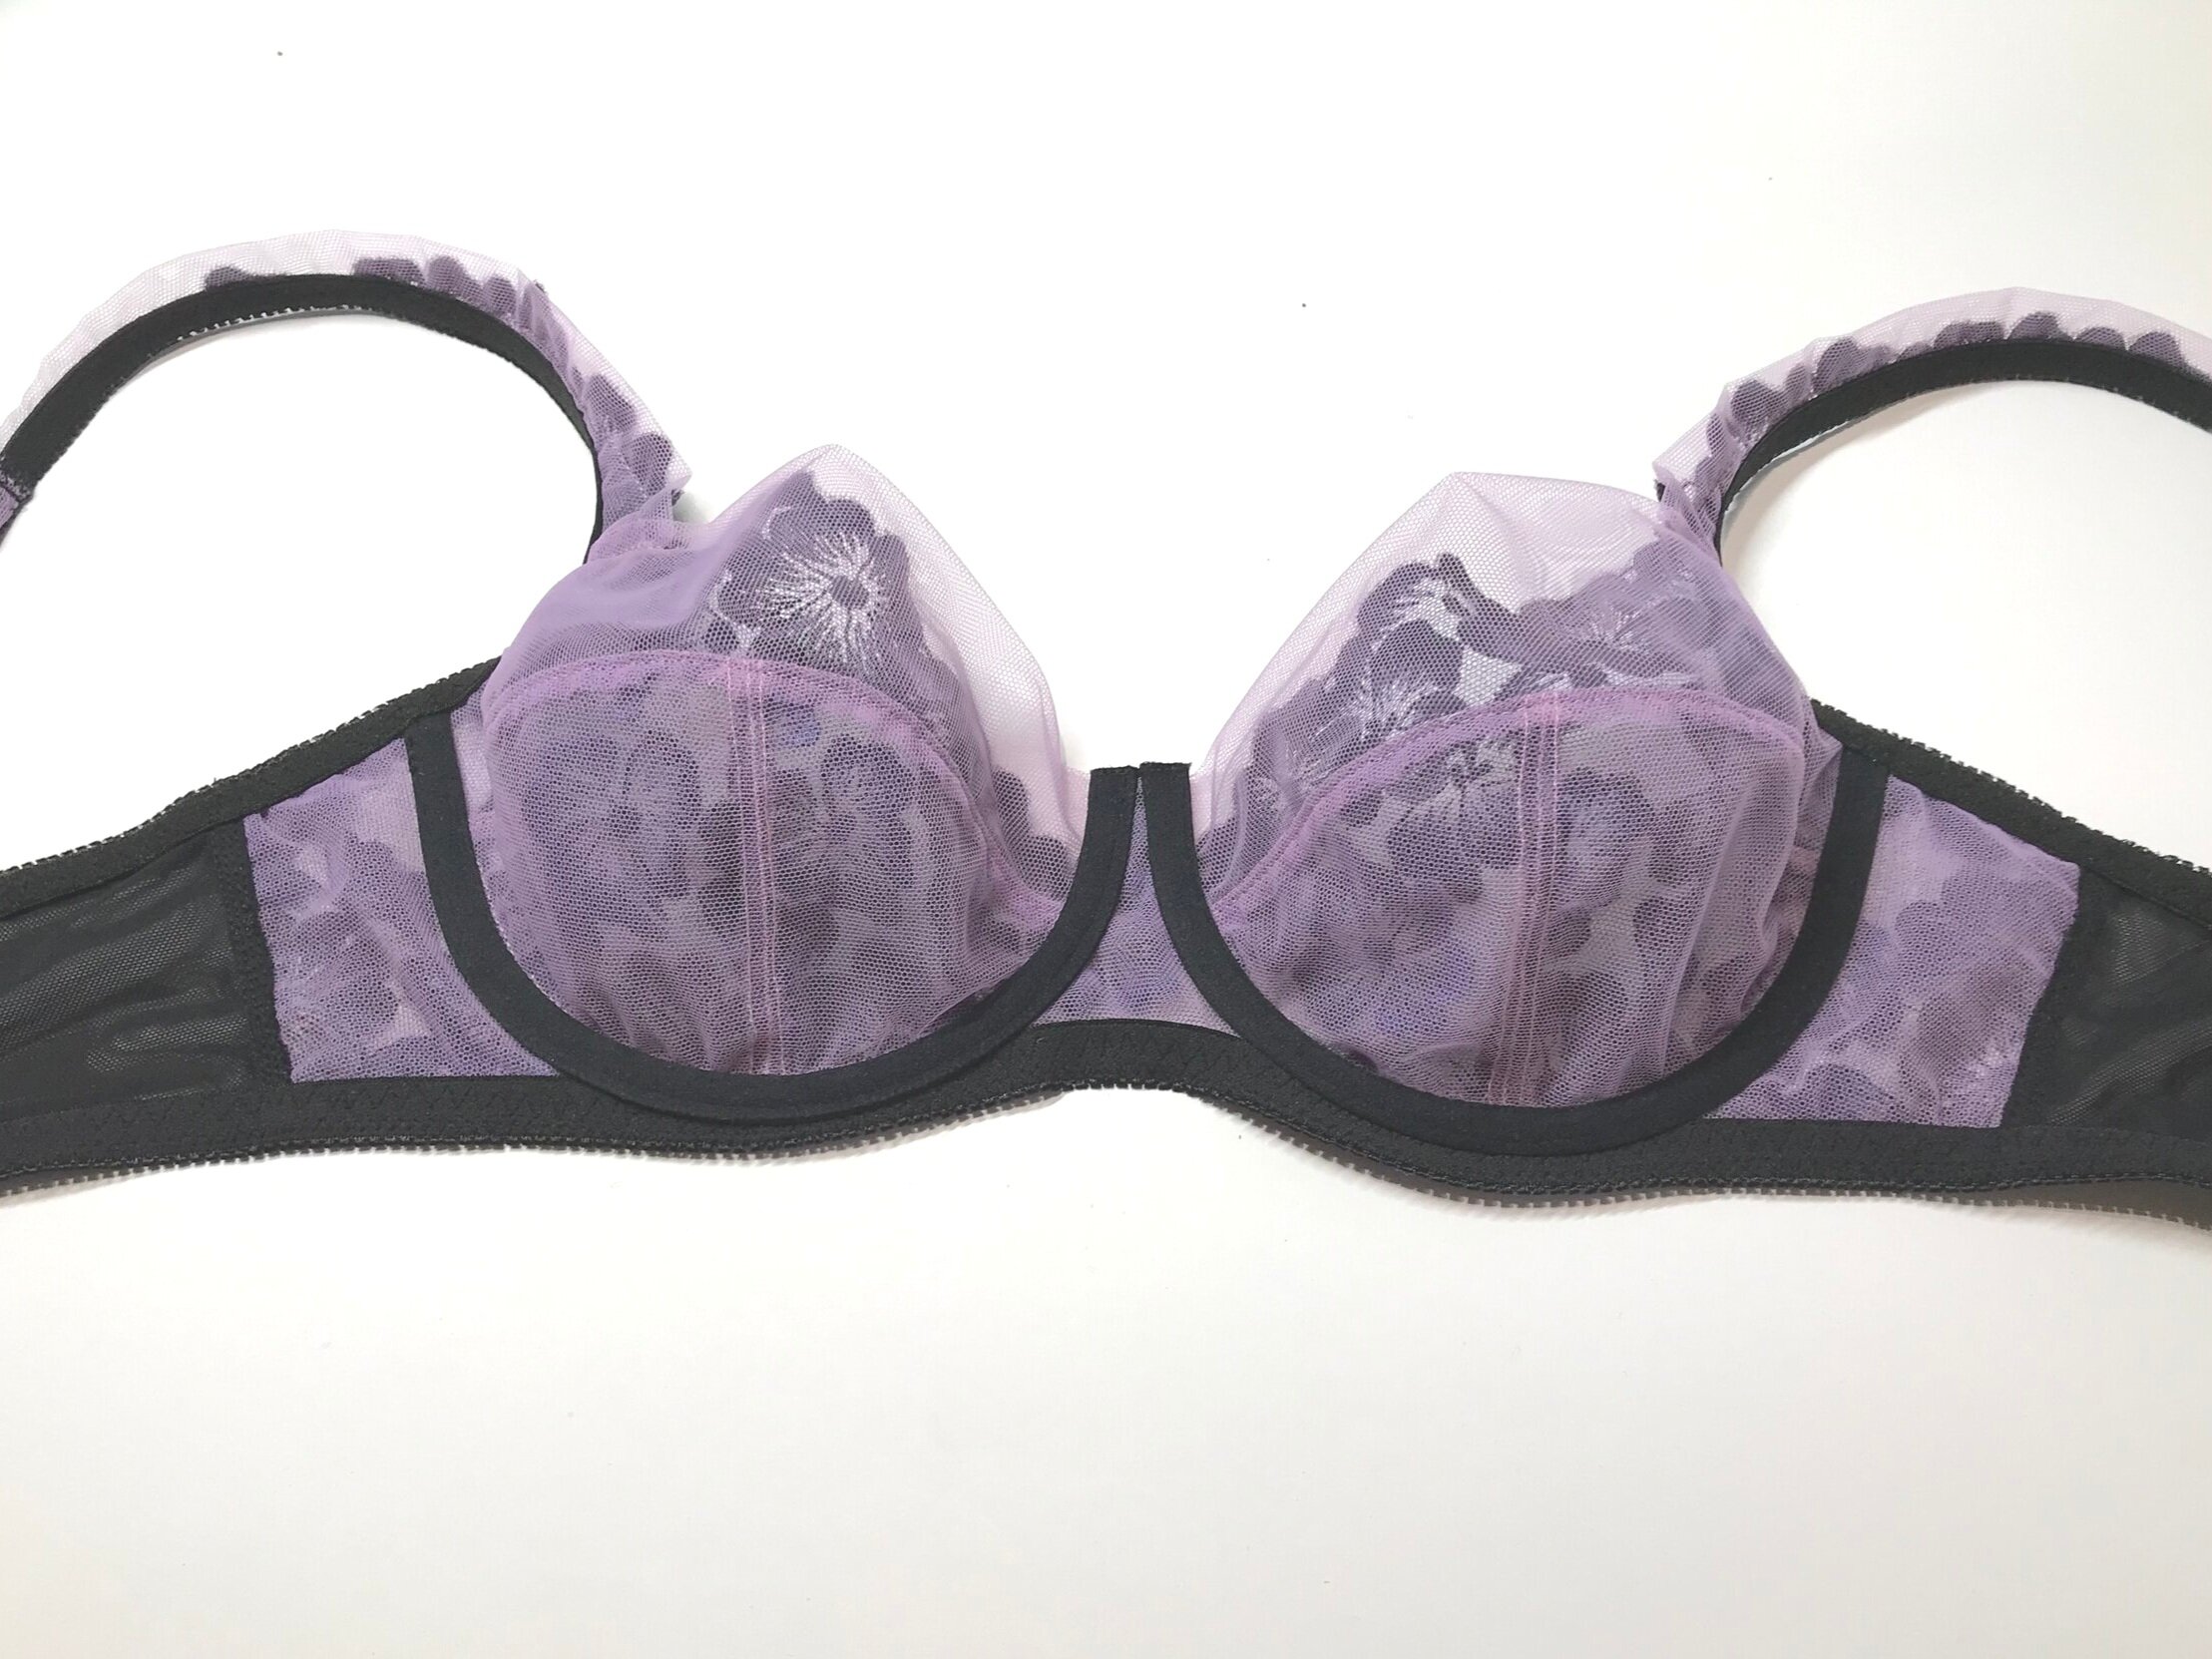
As the pattern is interchangeable with the other sports bra patterns I thought it would be good to combine with the Laurel as I loved the hook and eye details with a heart cut out and the criss-cross front band.
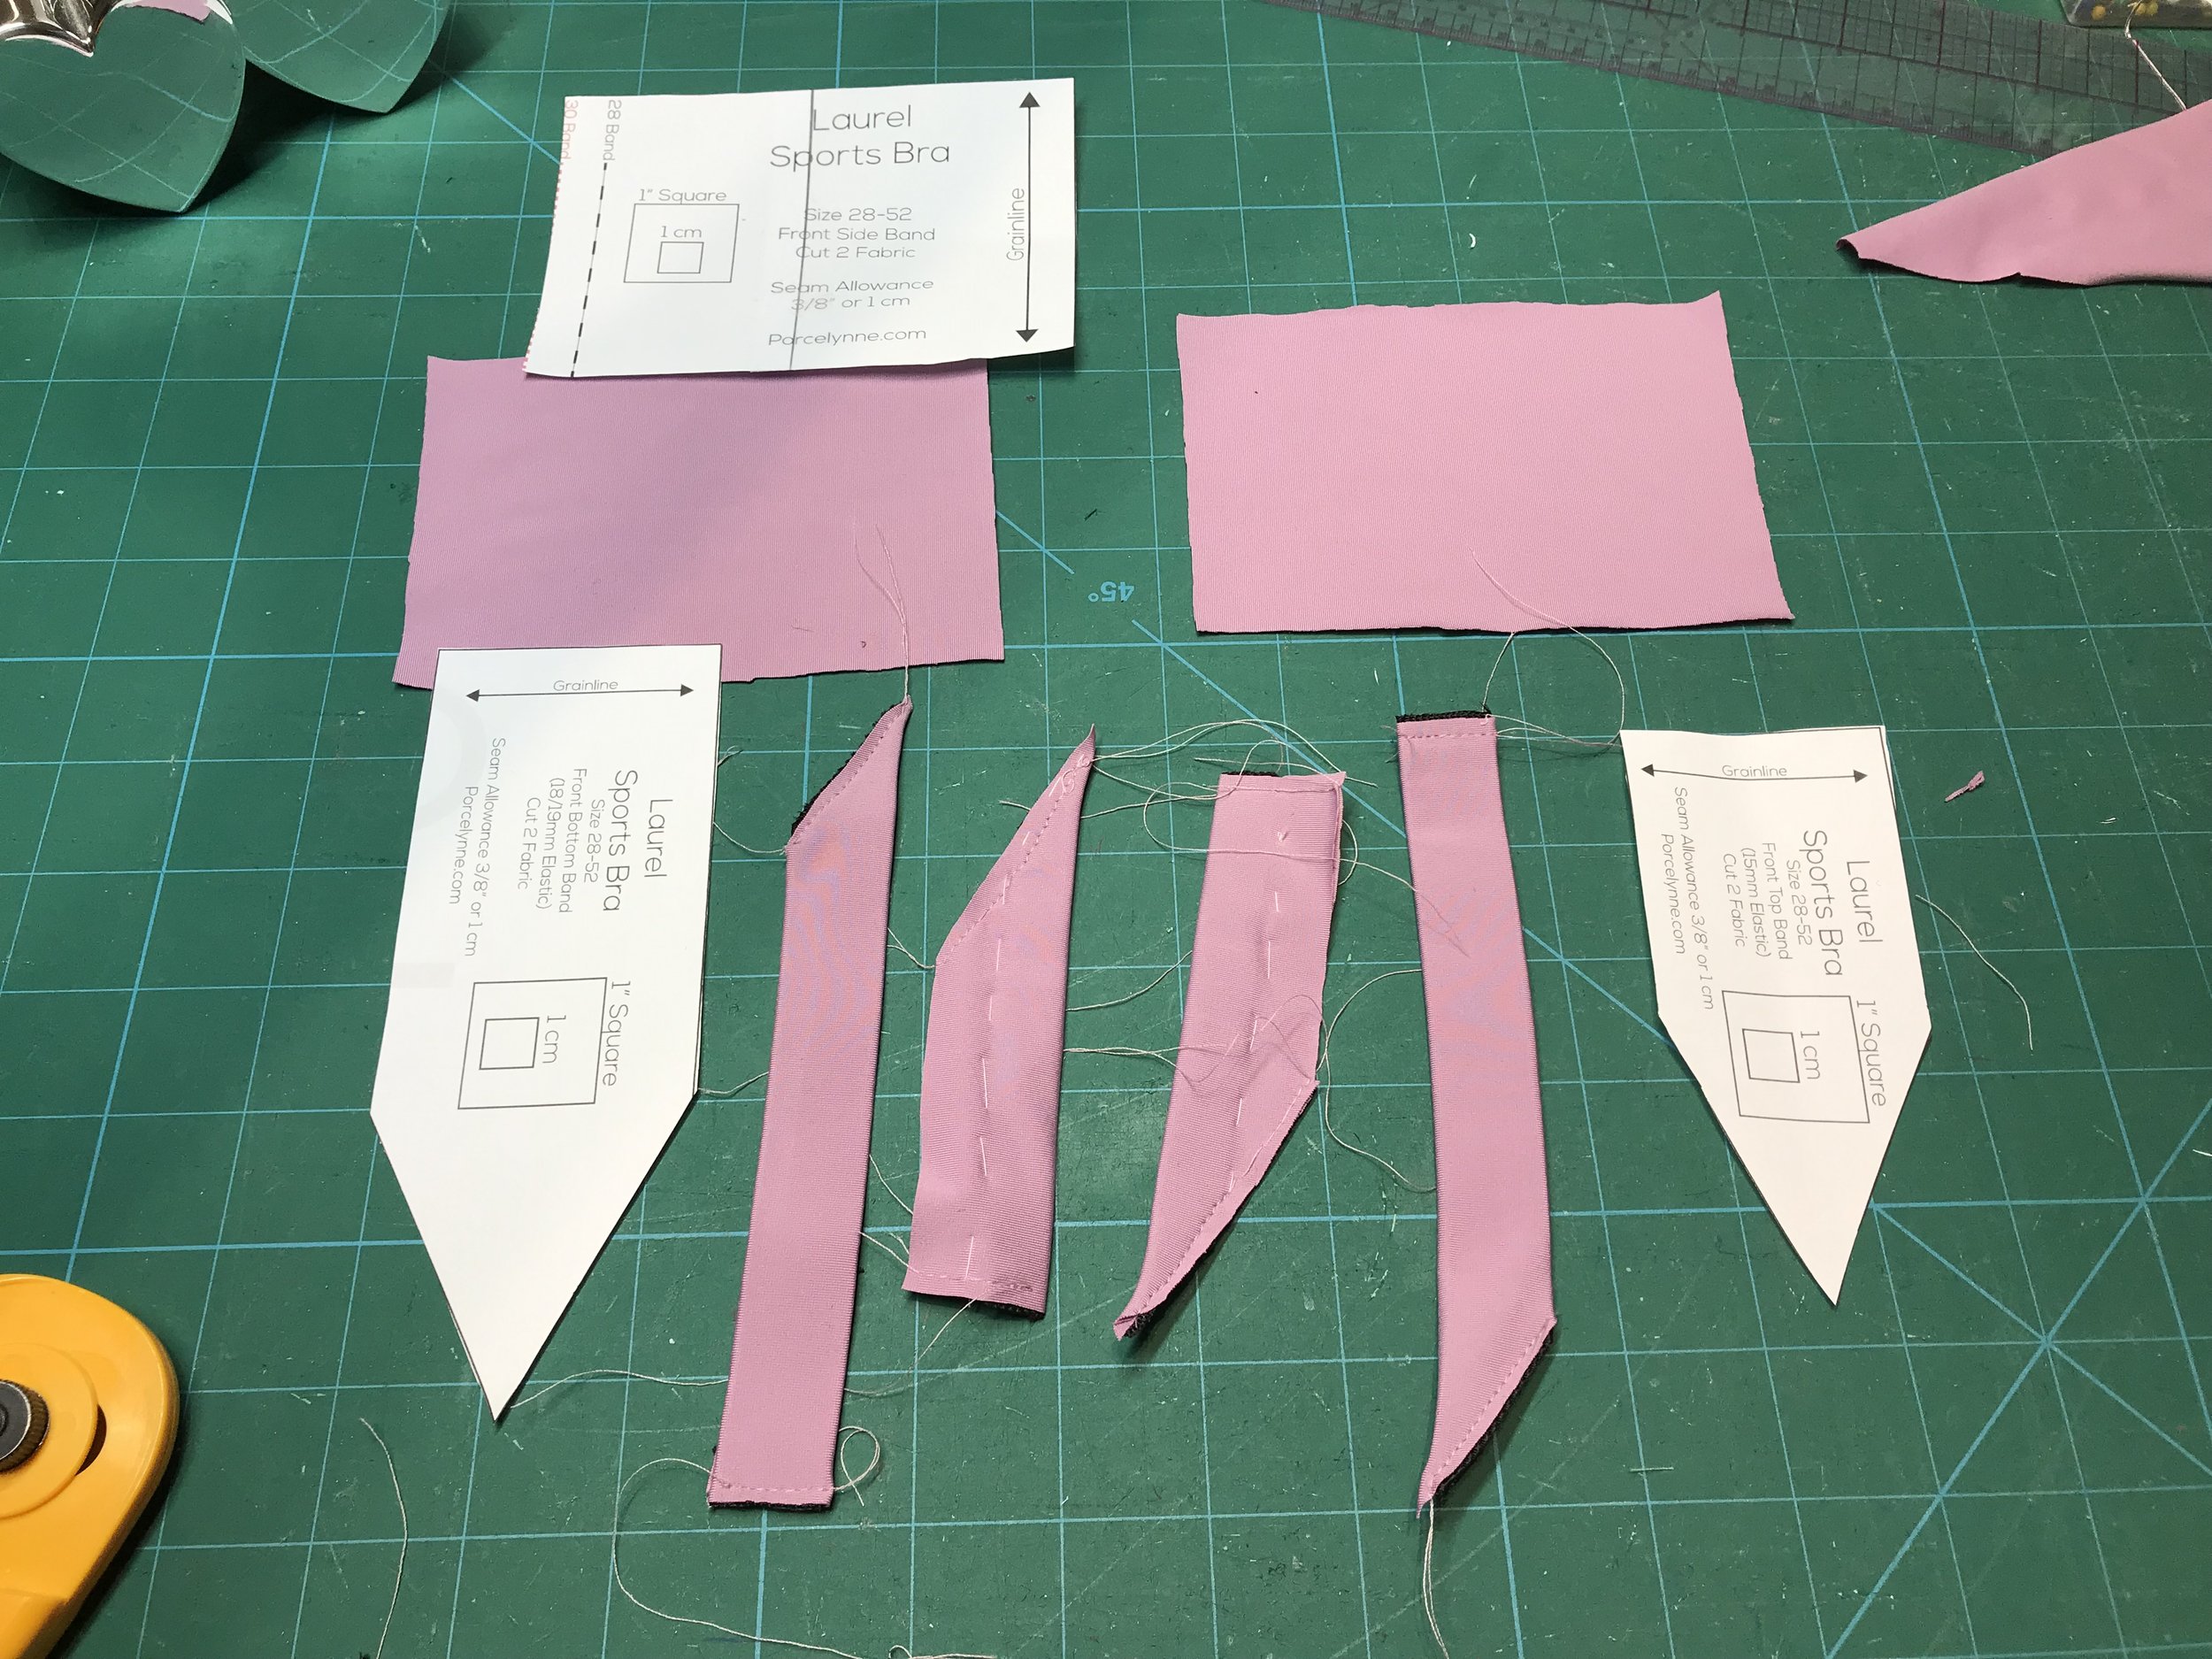
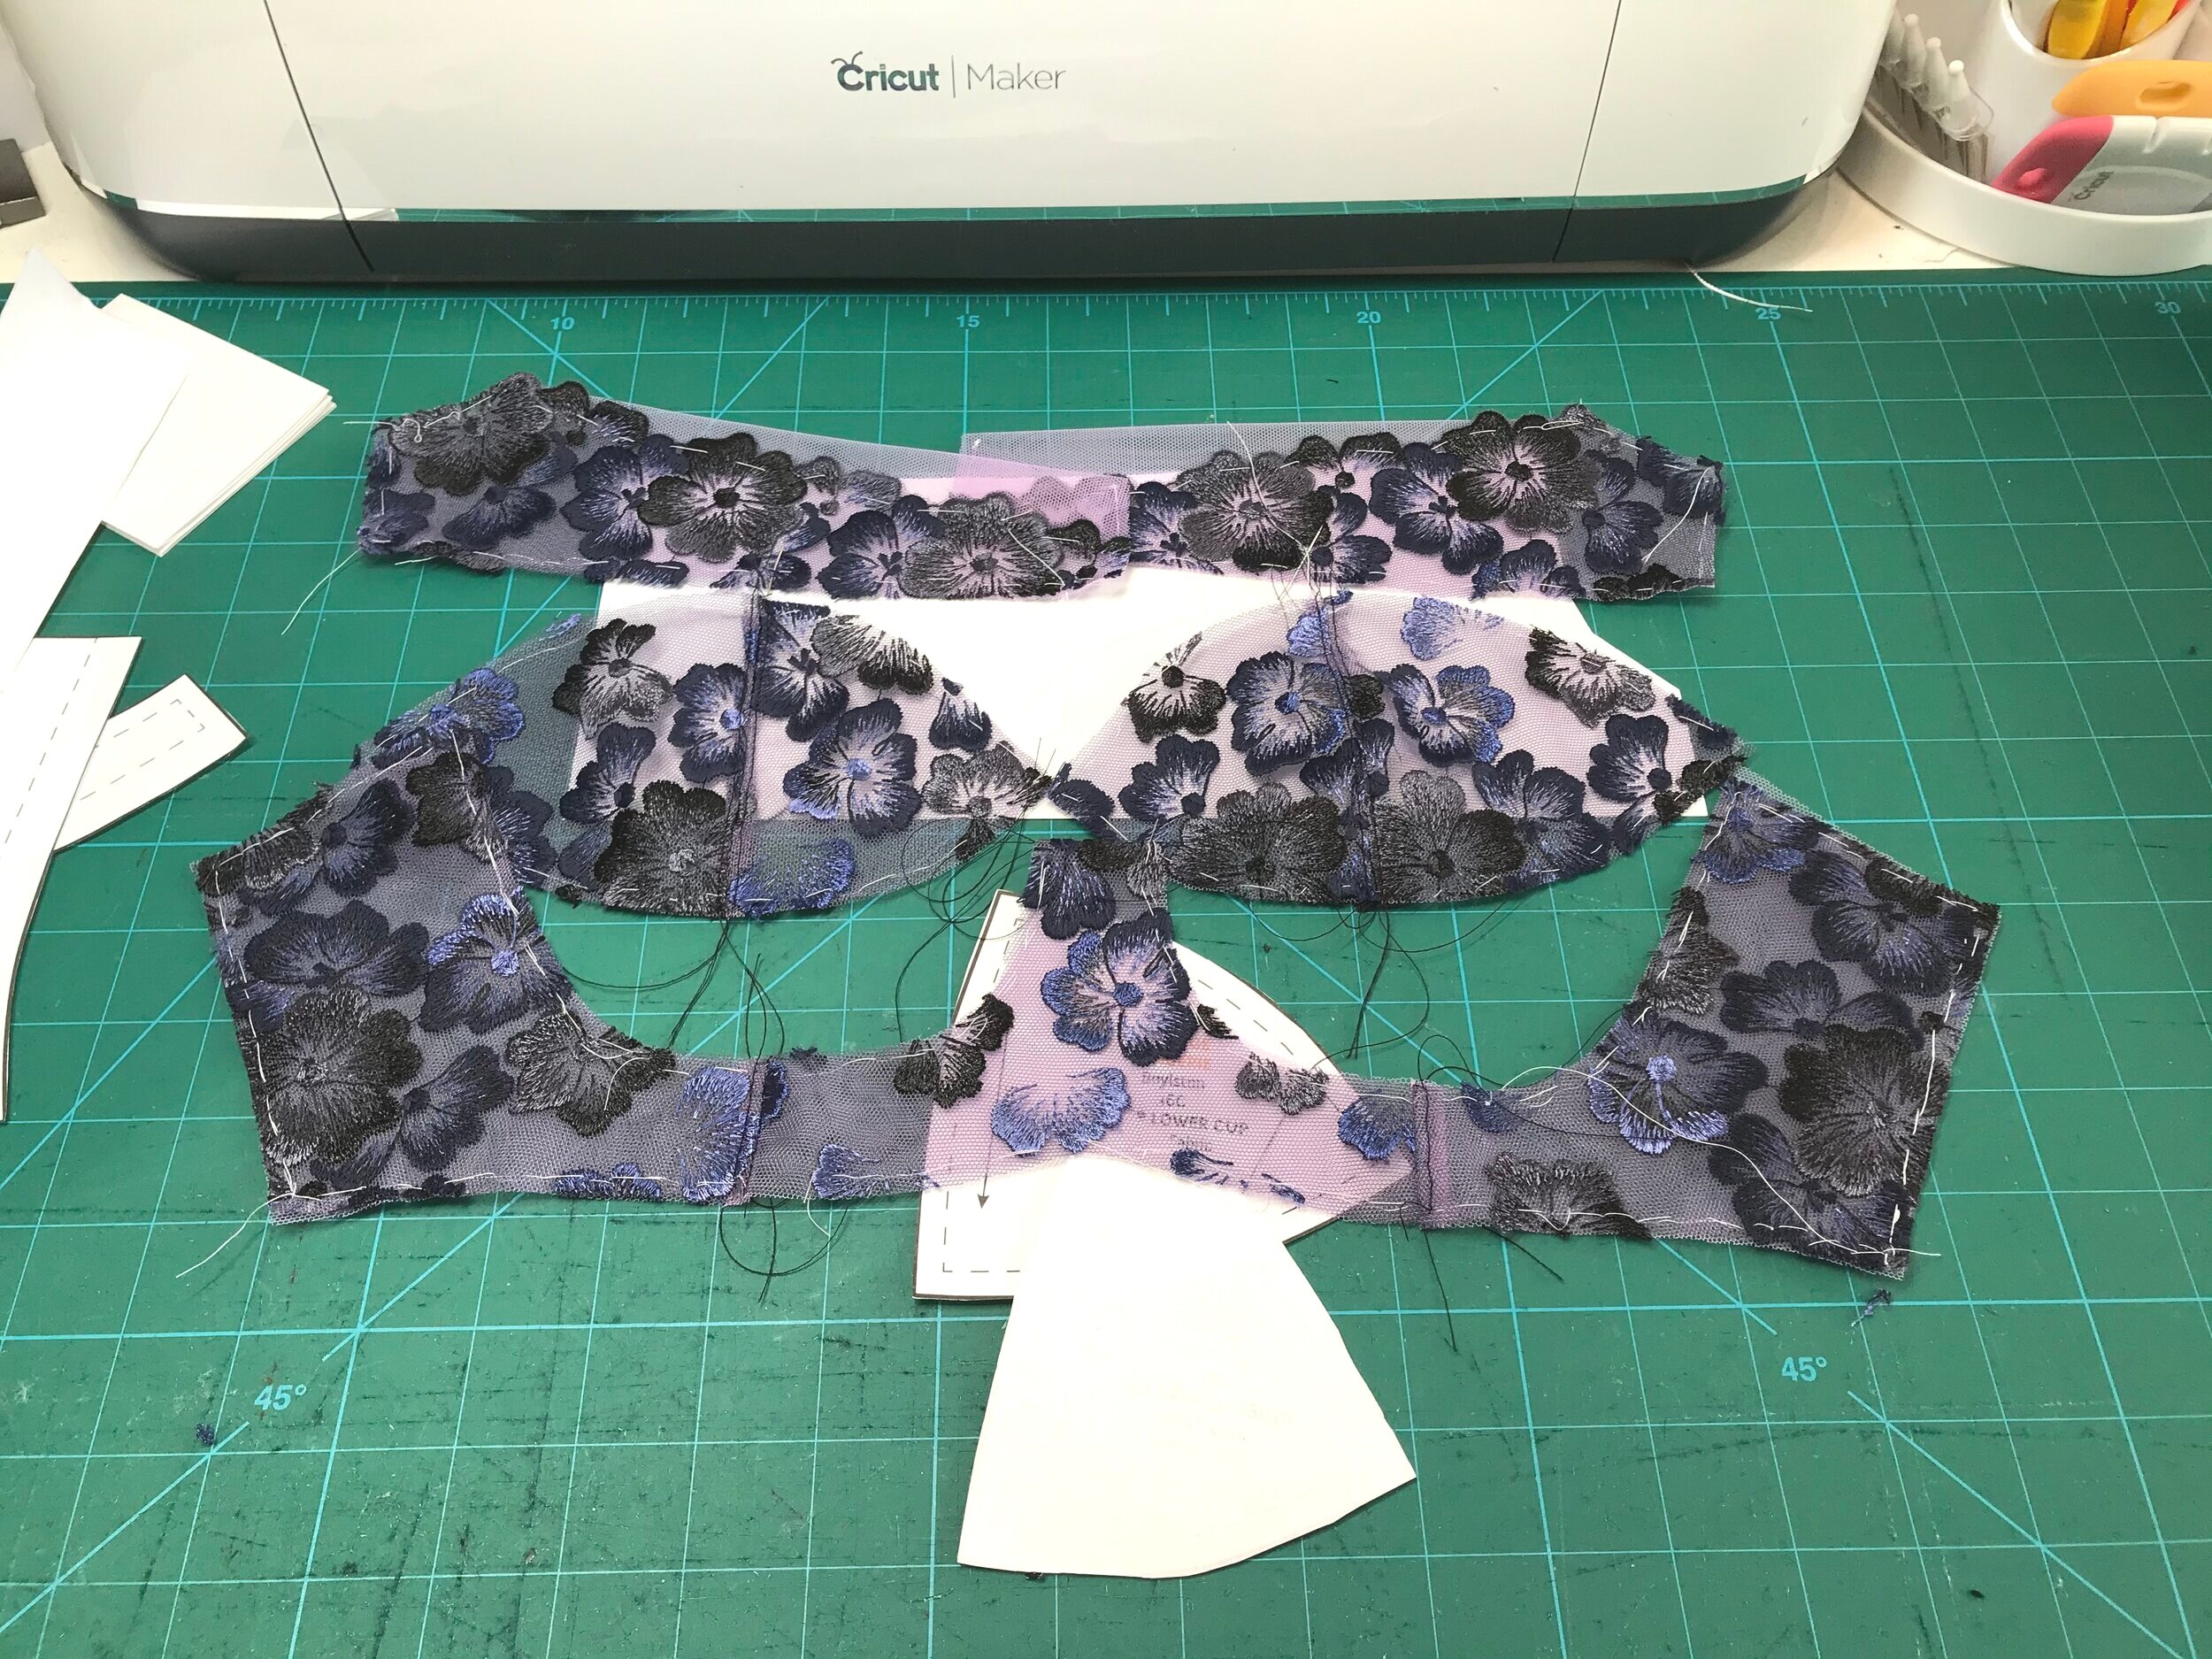
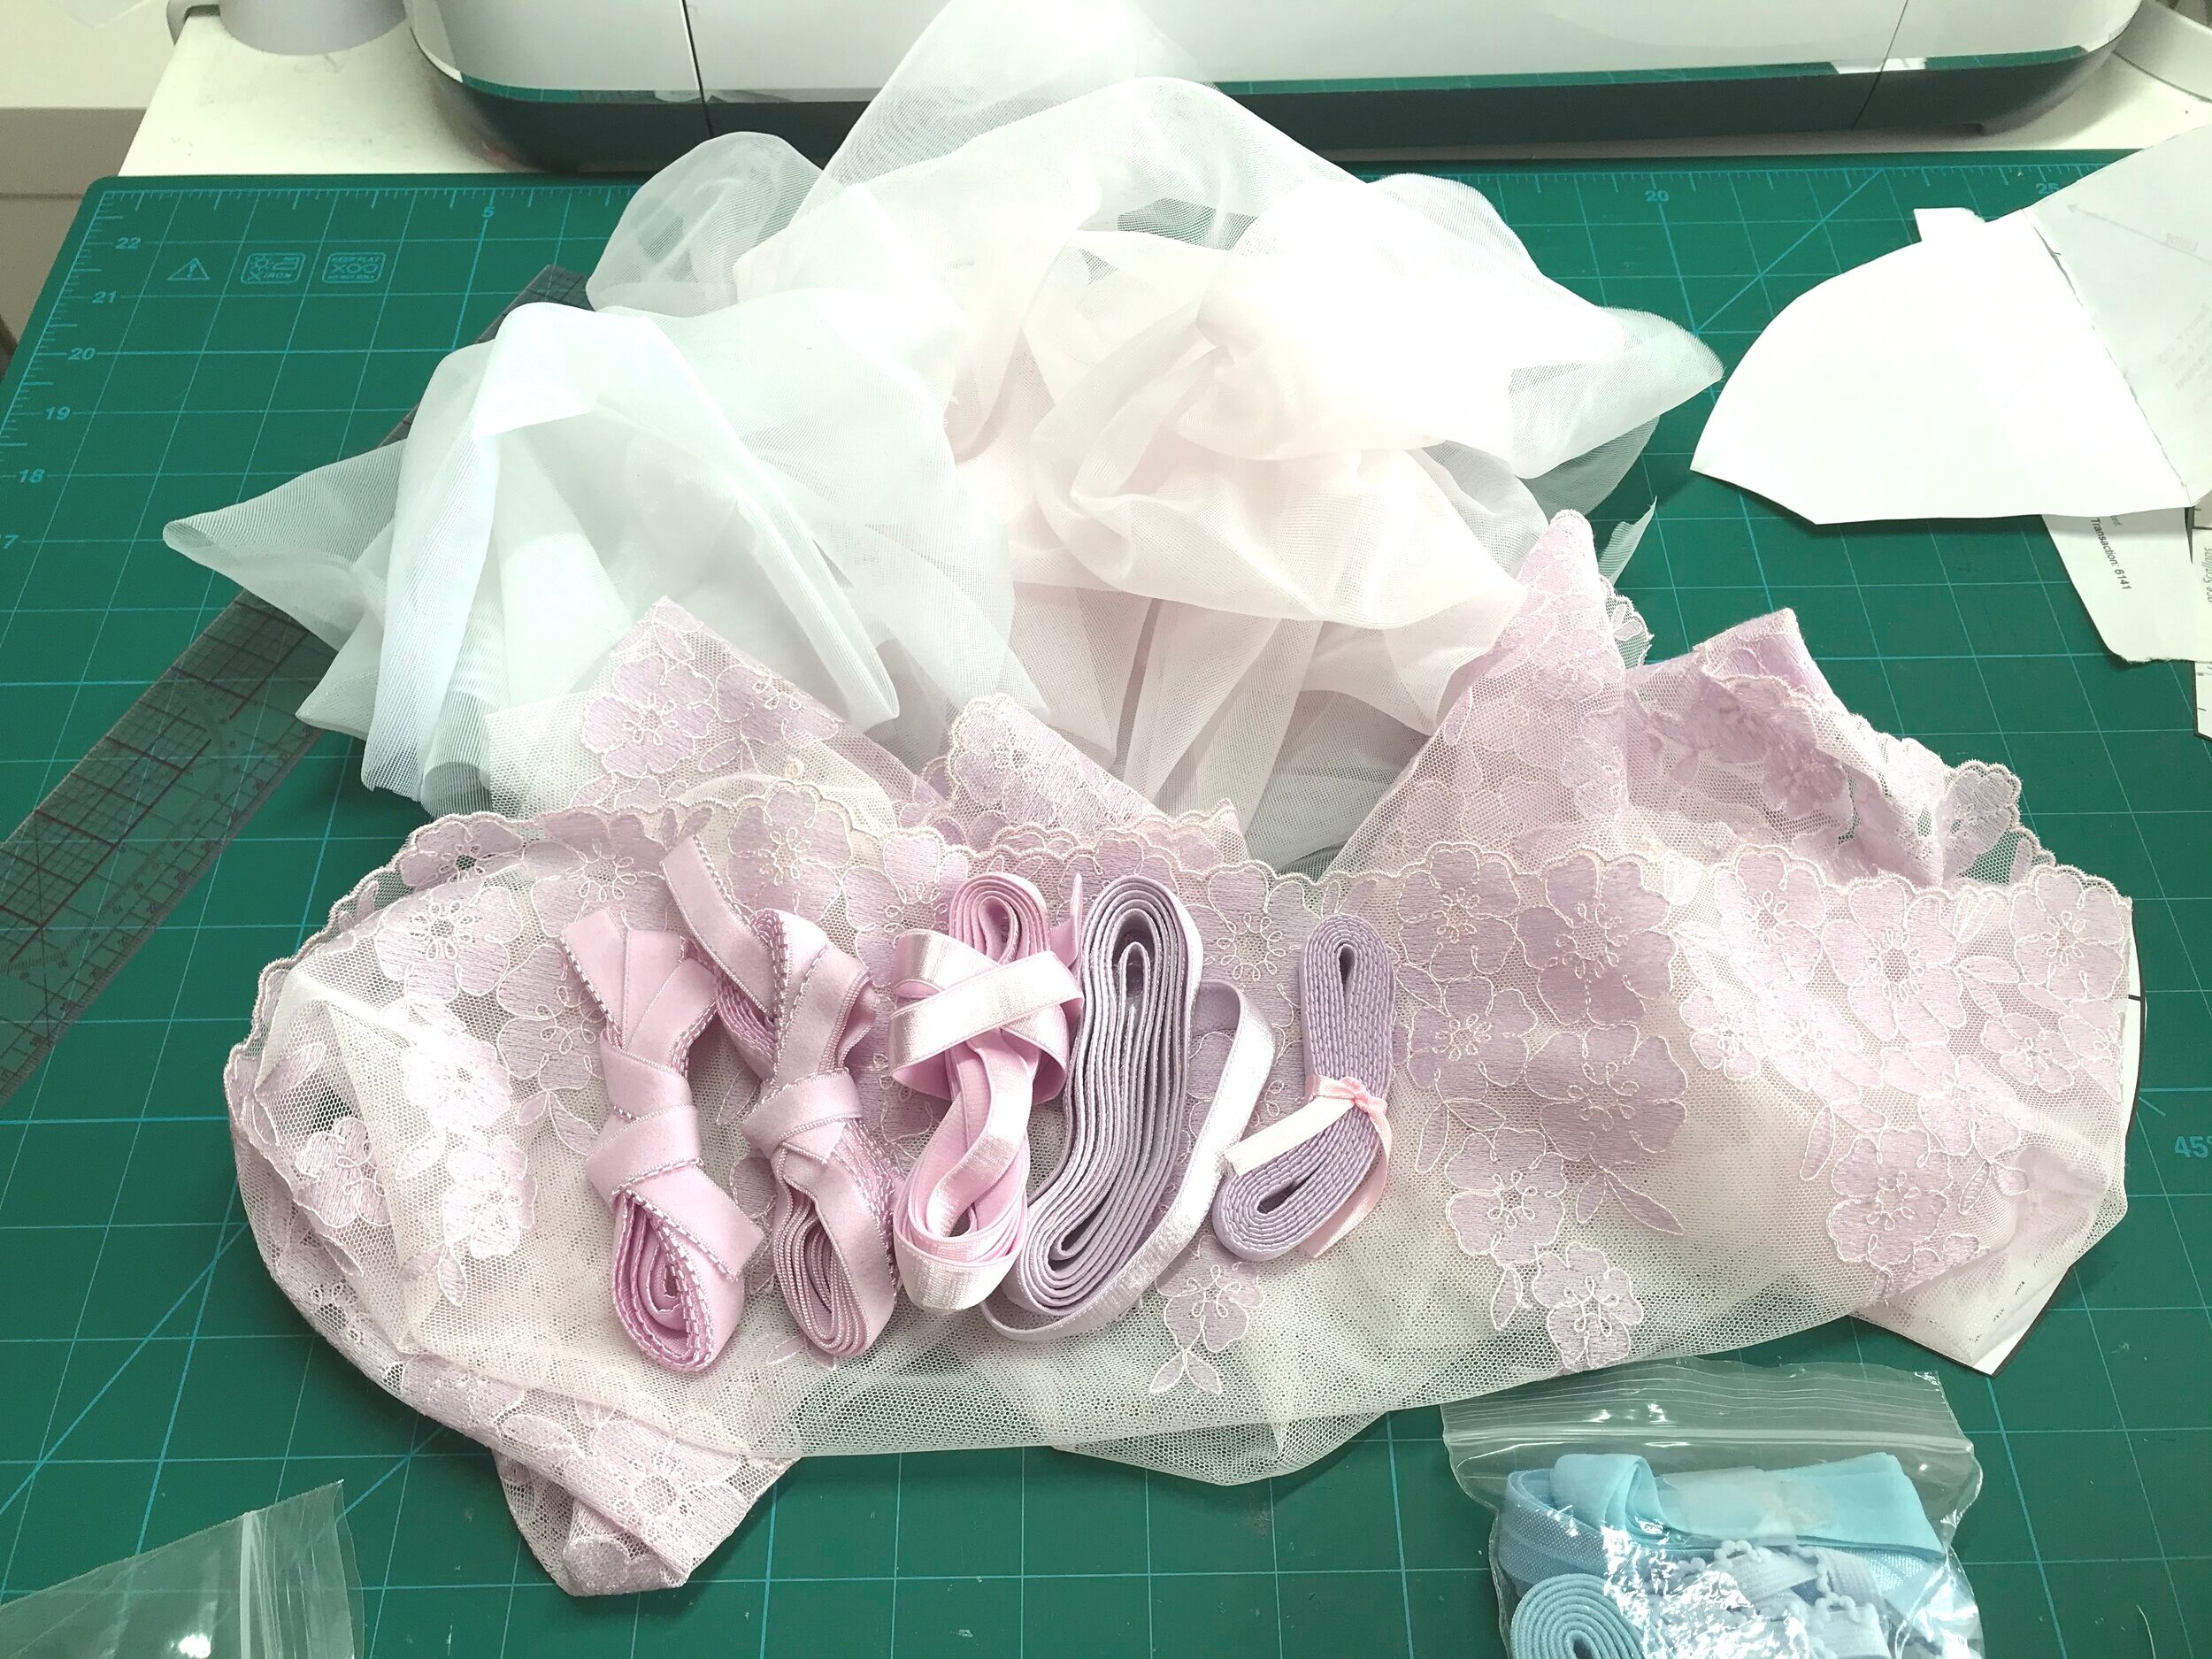
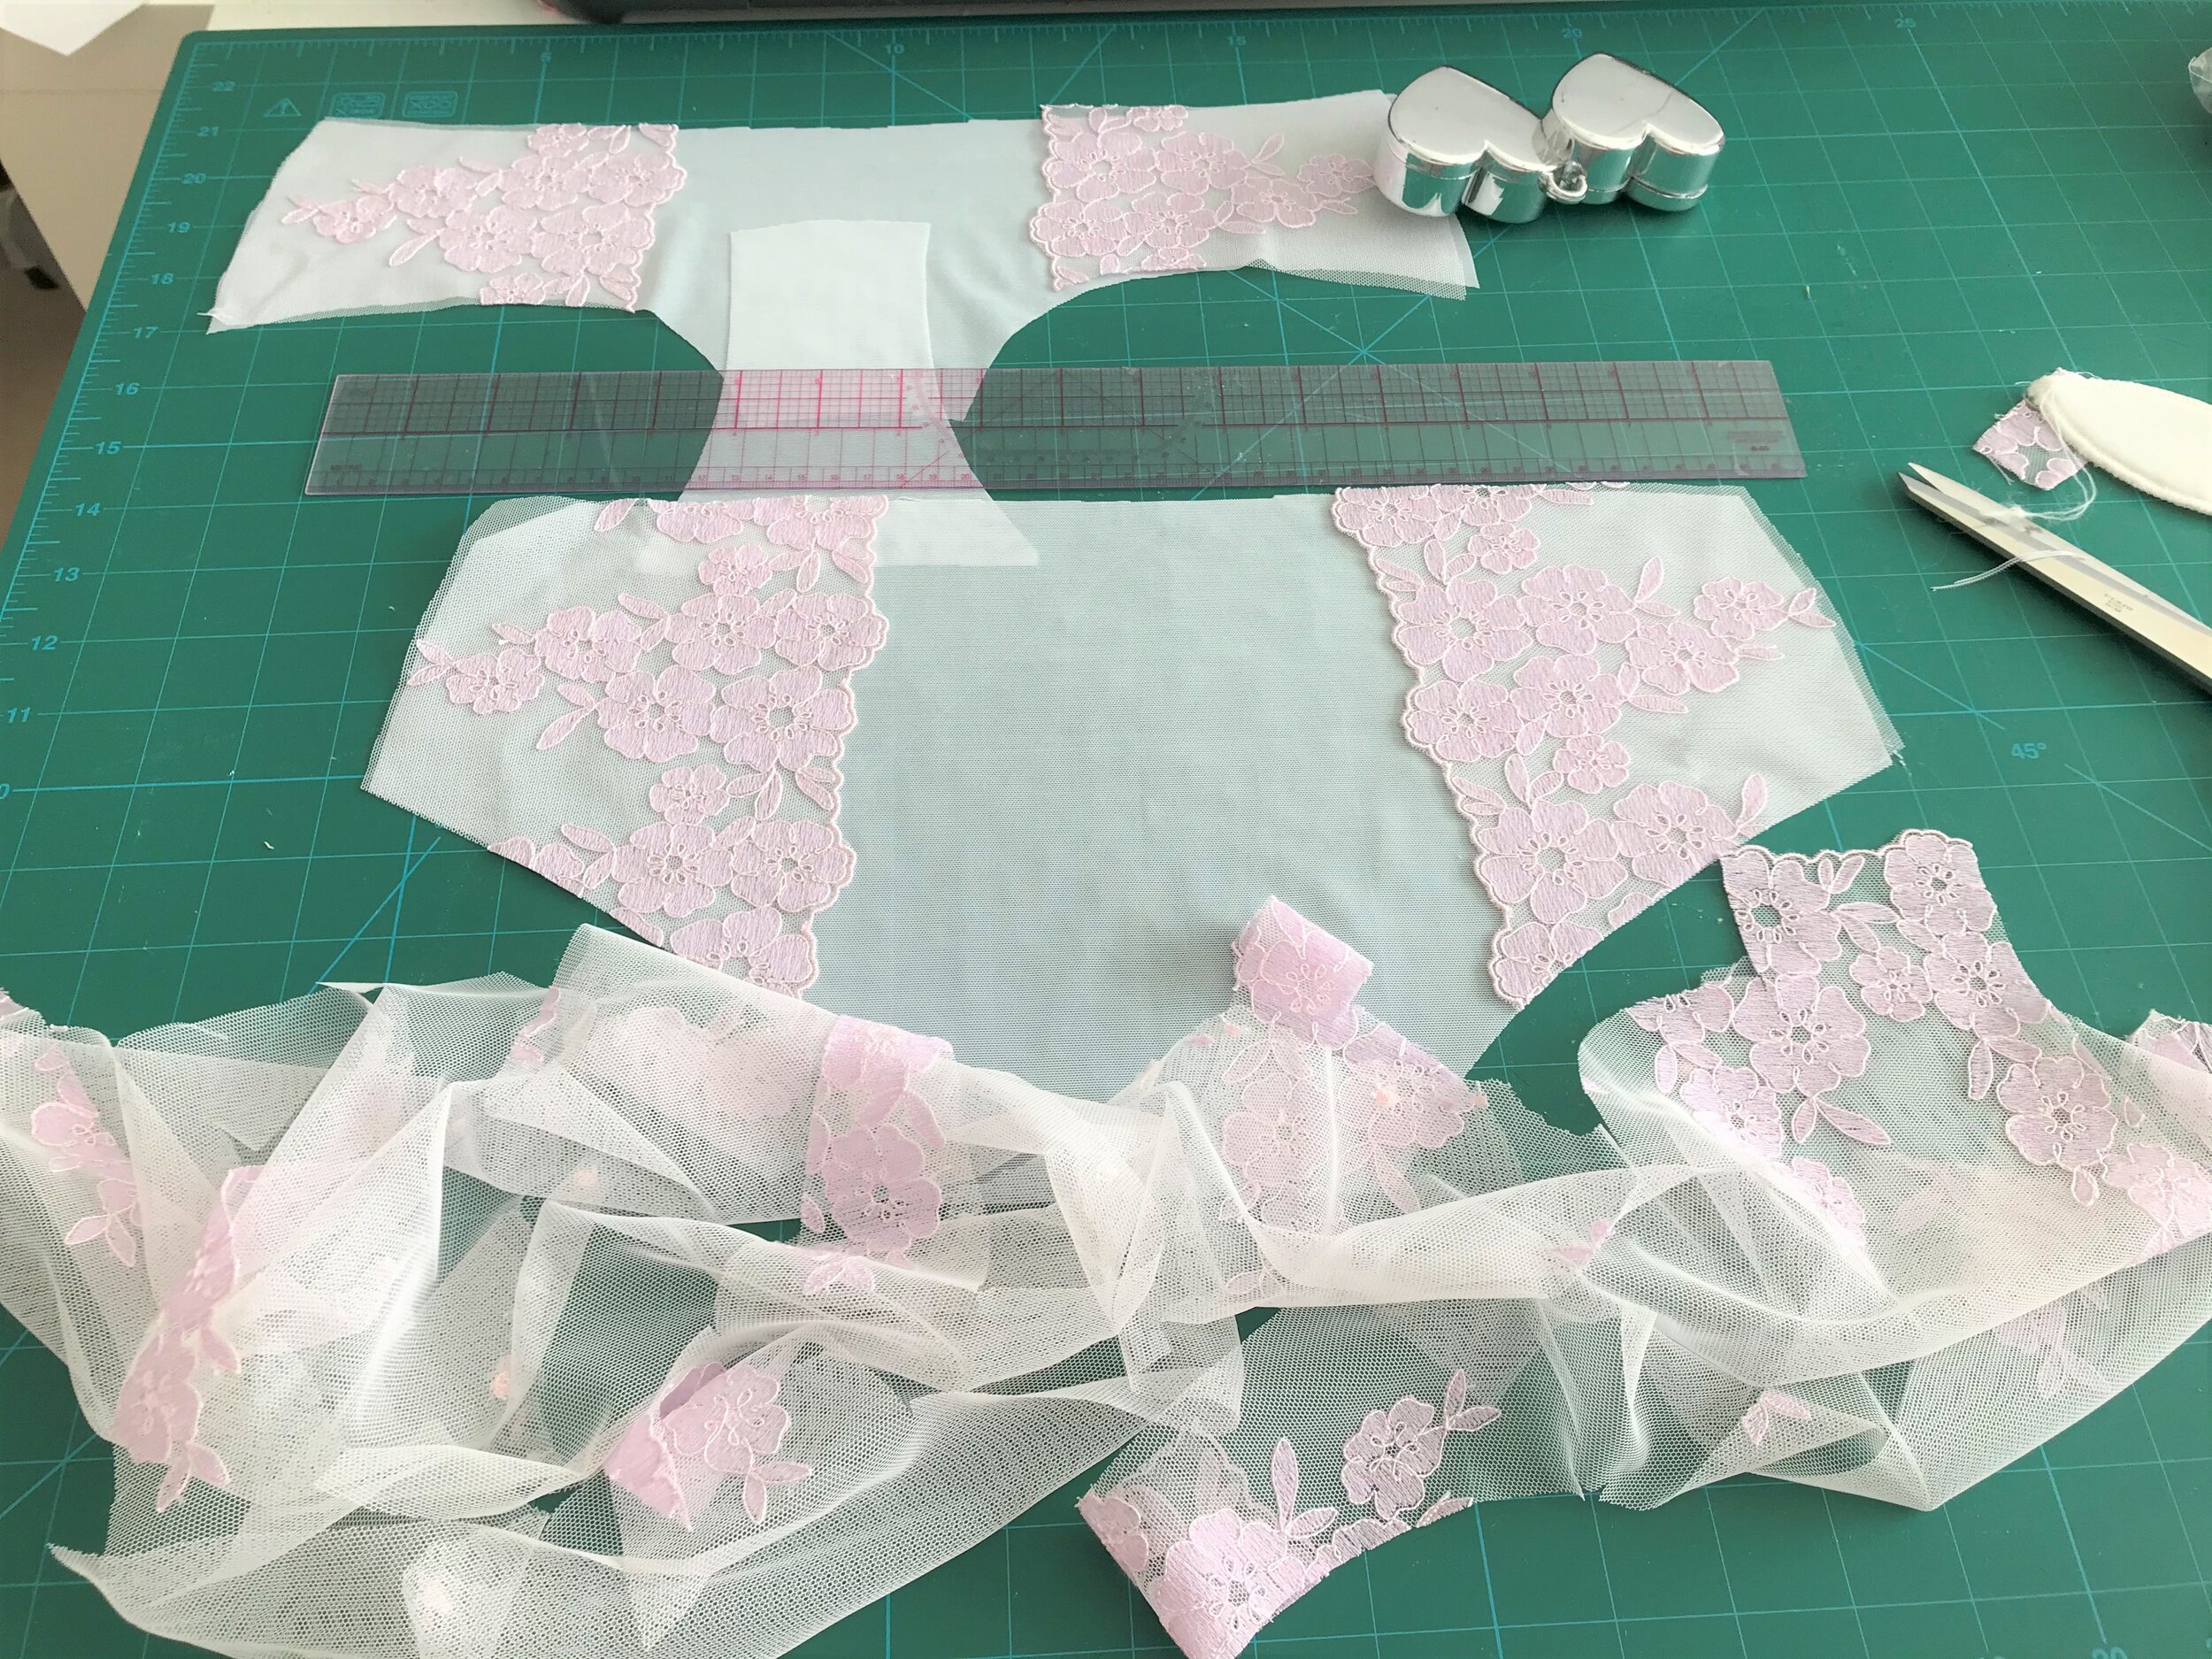
For this make I decided to go with a comfortable day bra. I kept the band size the same as I like a snug fit but went up a cup size for less compression. I’ve uploaded another short video for the pattern pieces and materials used. This was before I realised I had gone a step too far without reading the instructions for the Laurel.
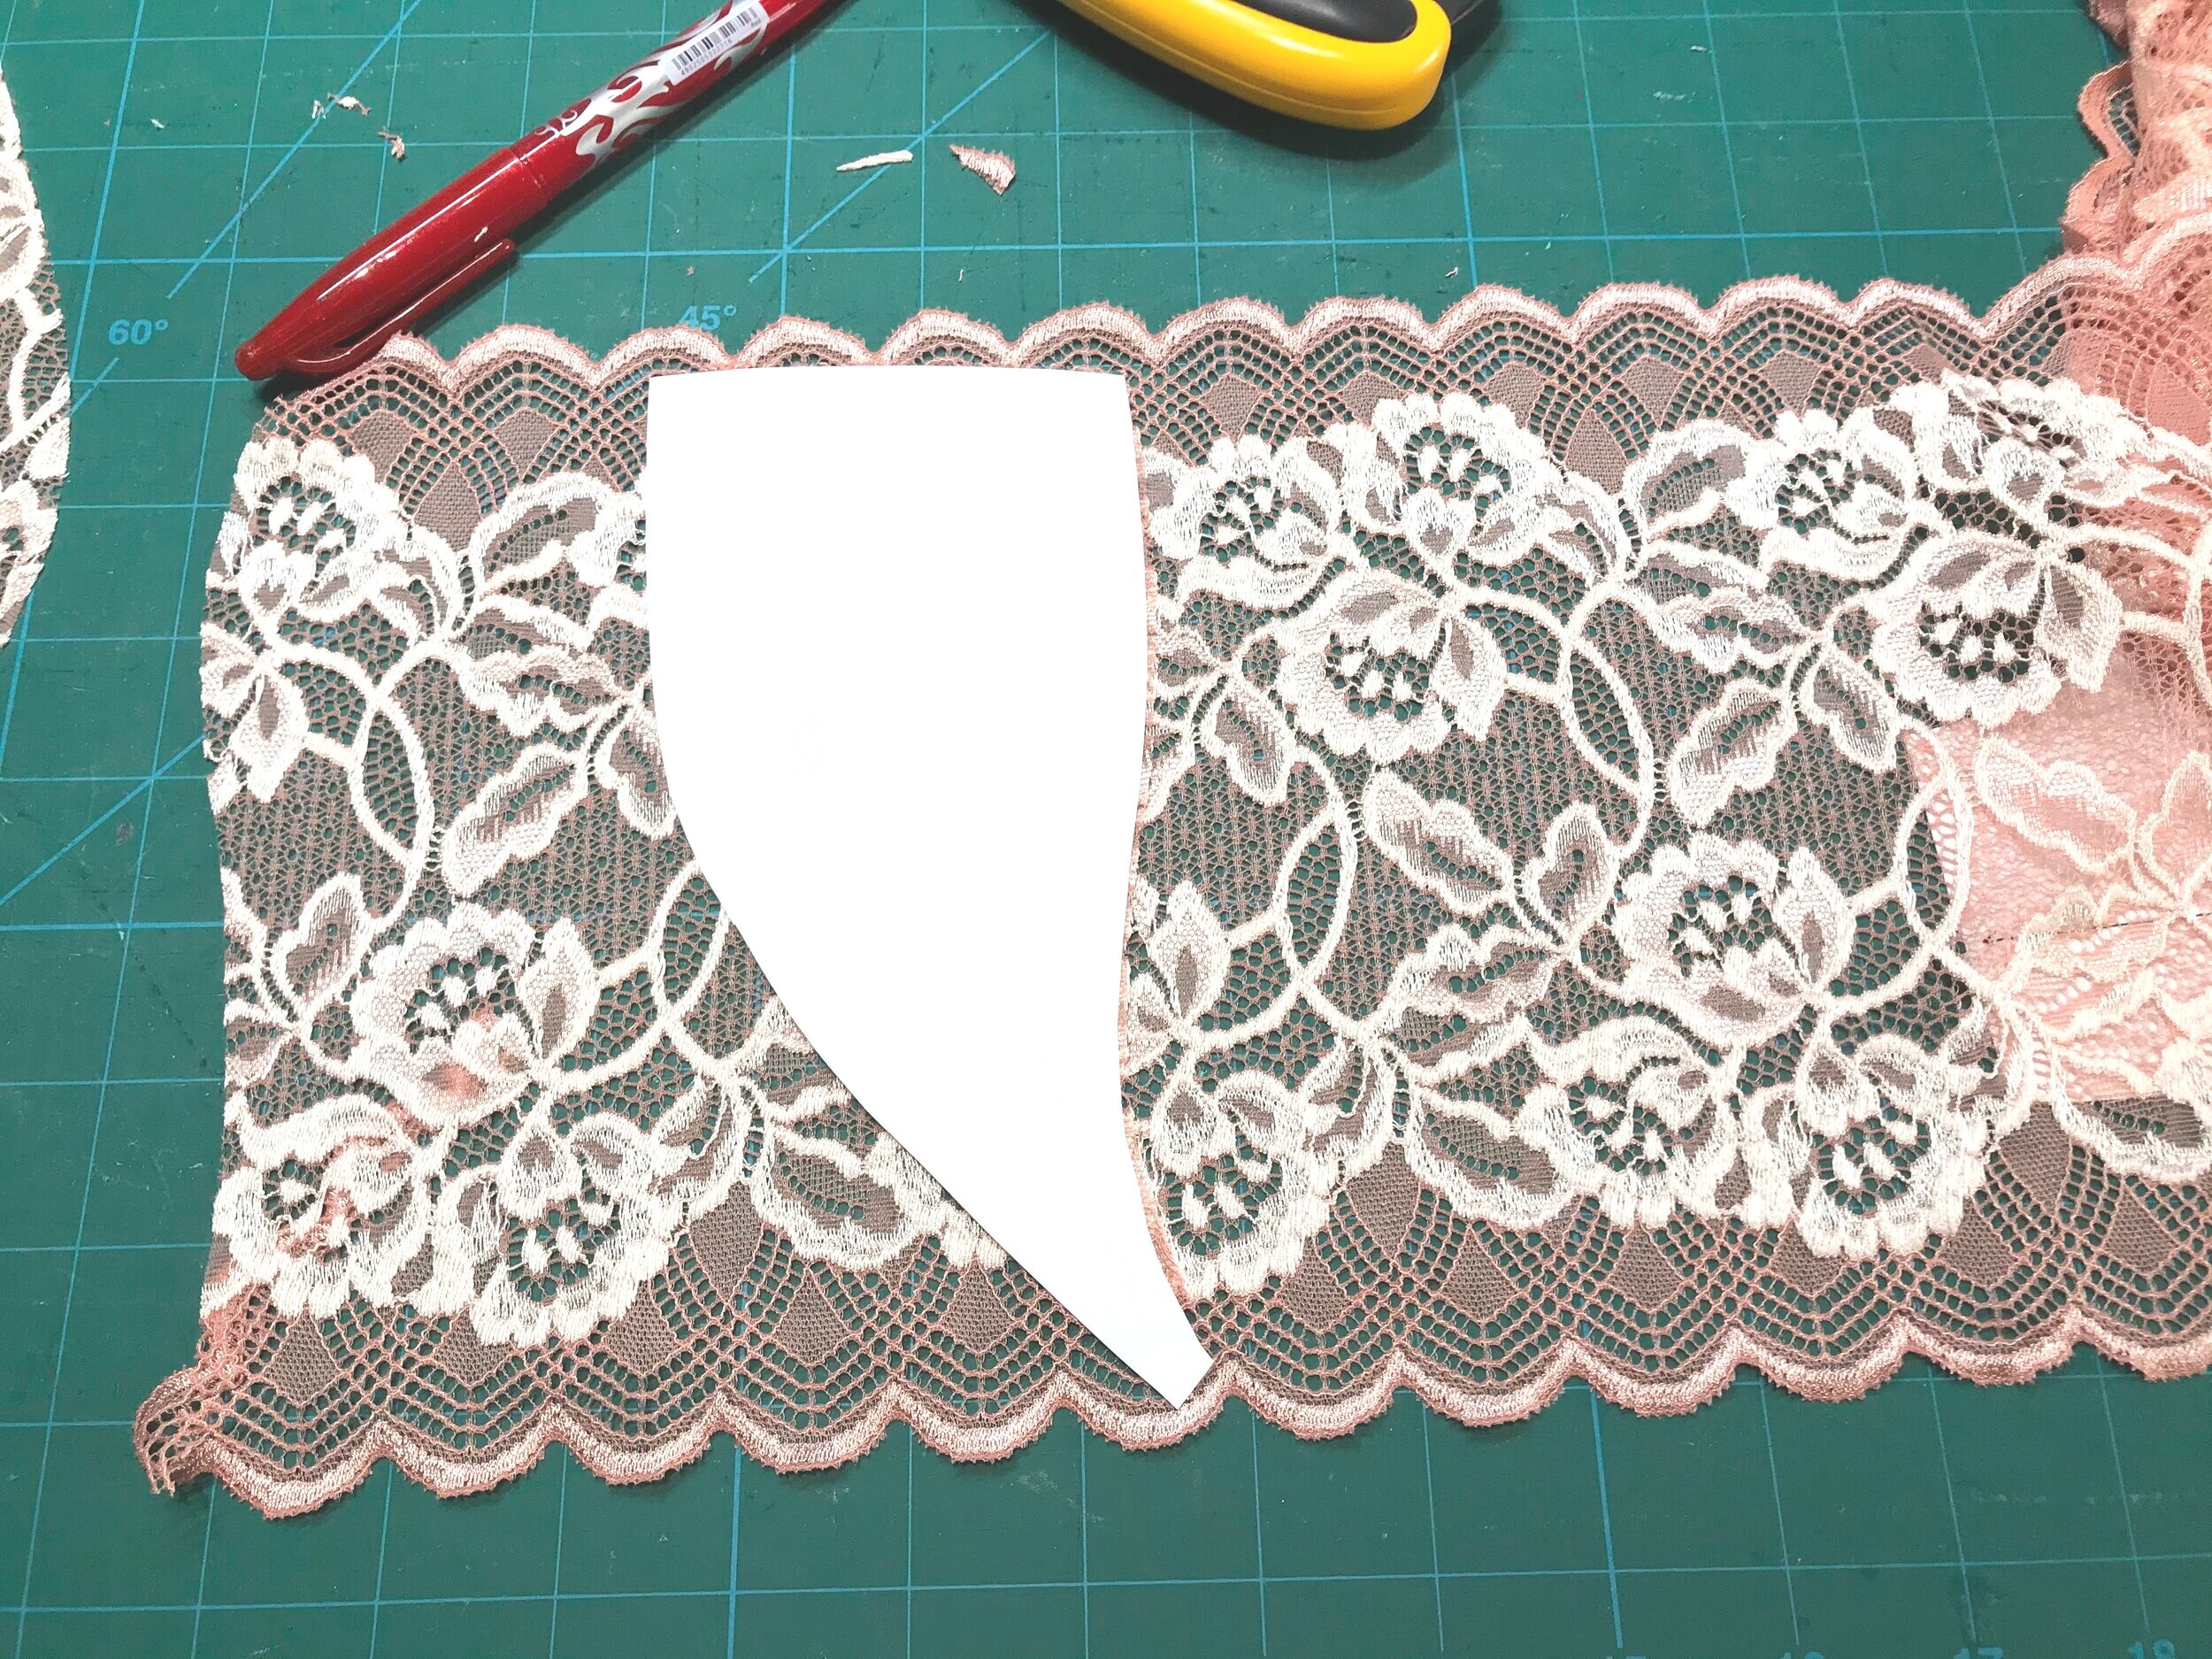
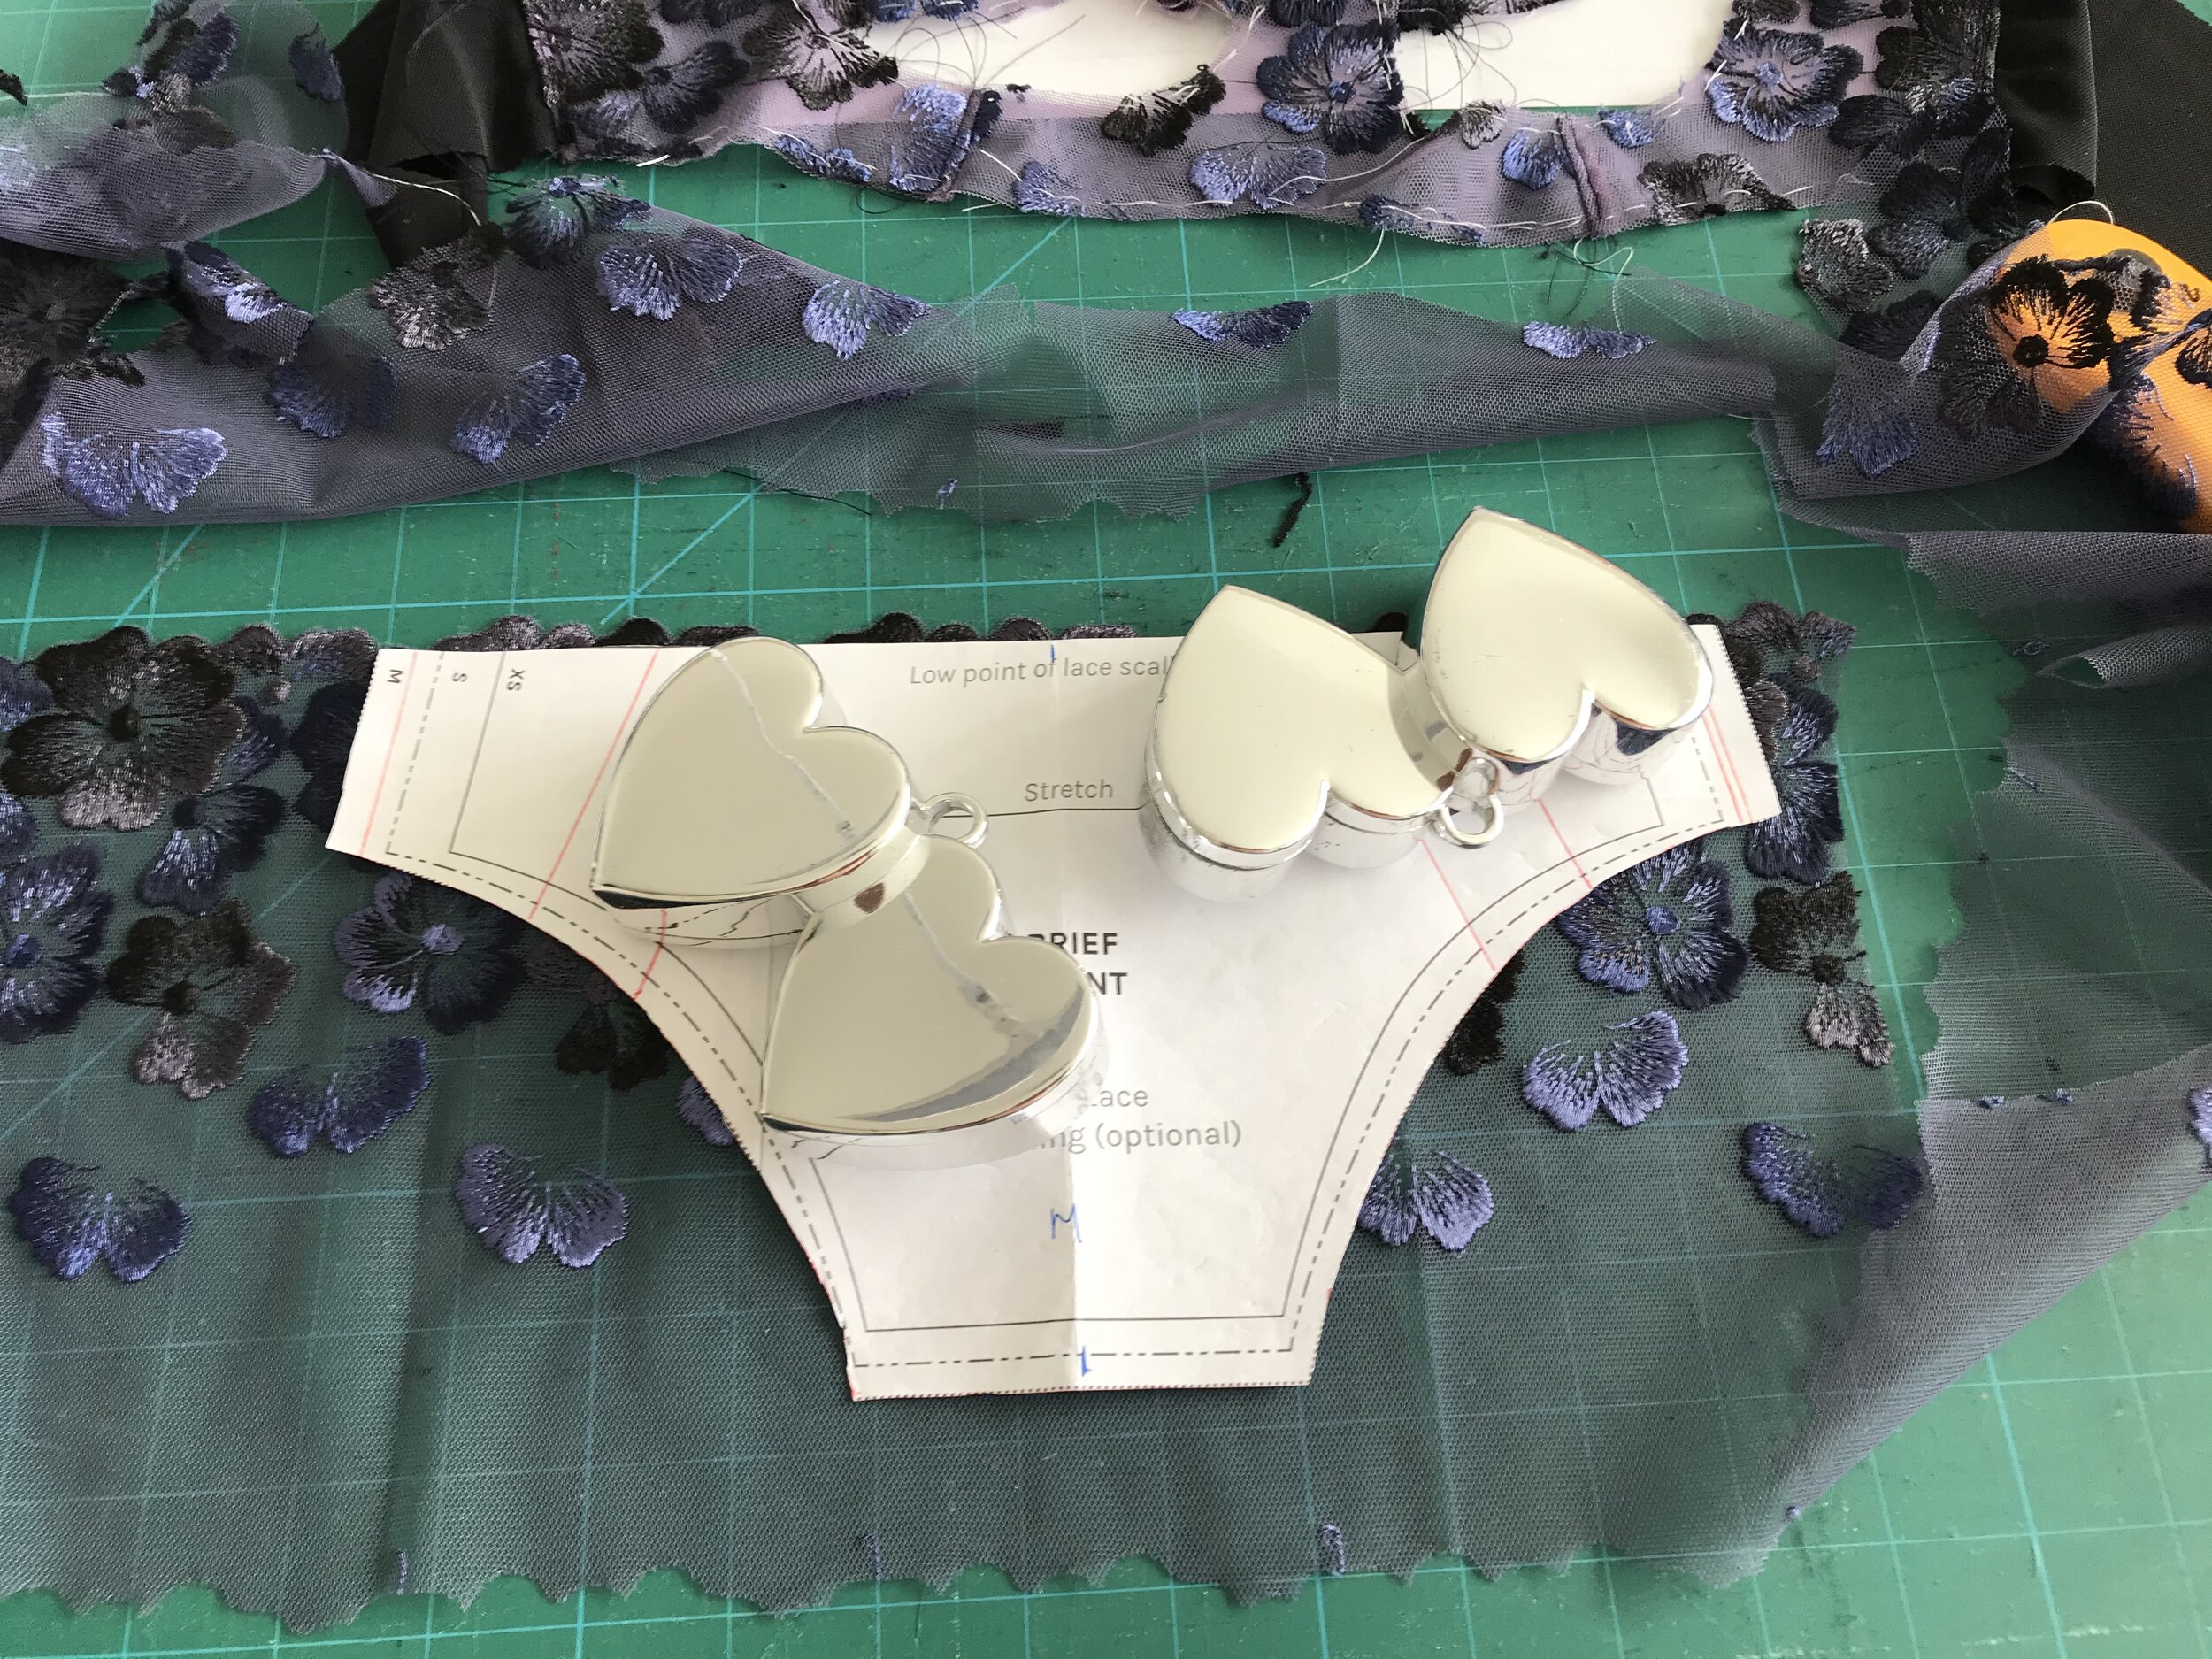
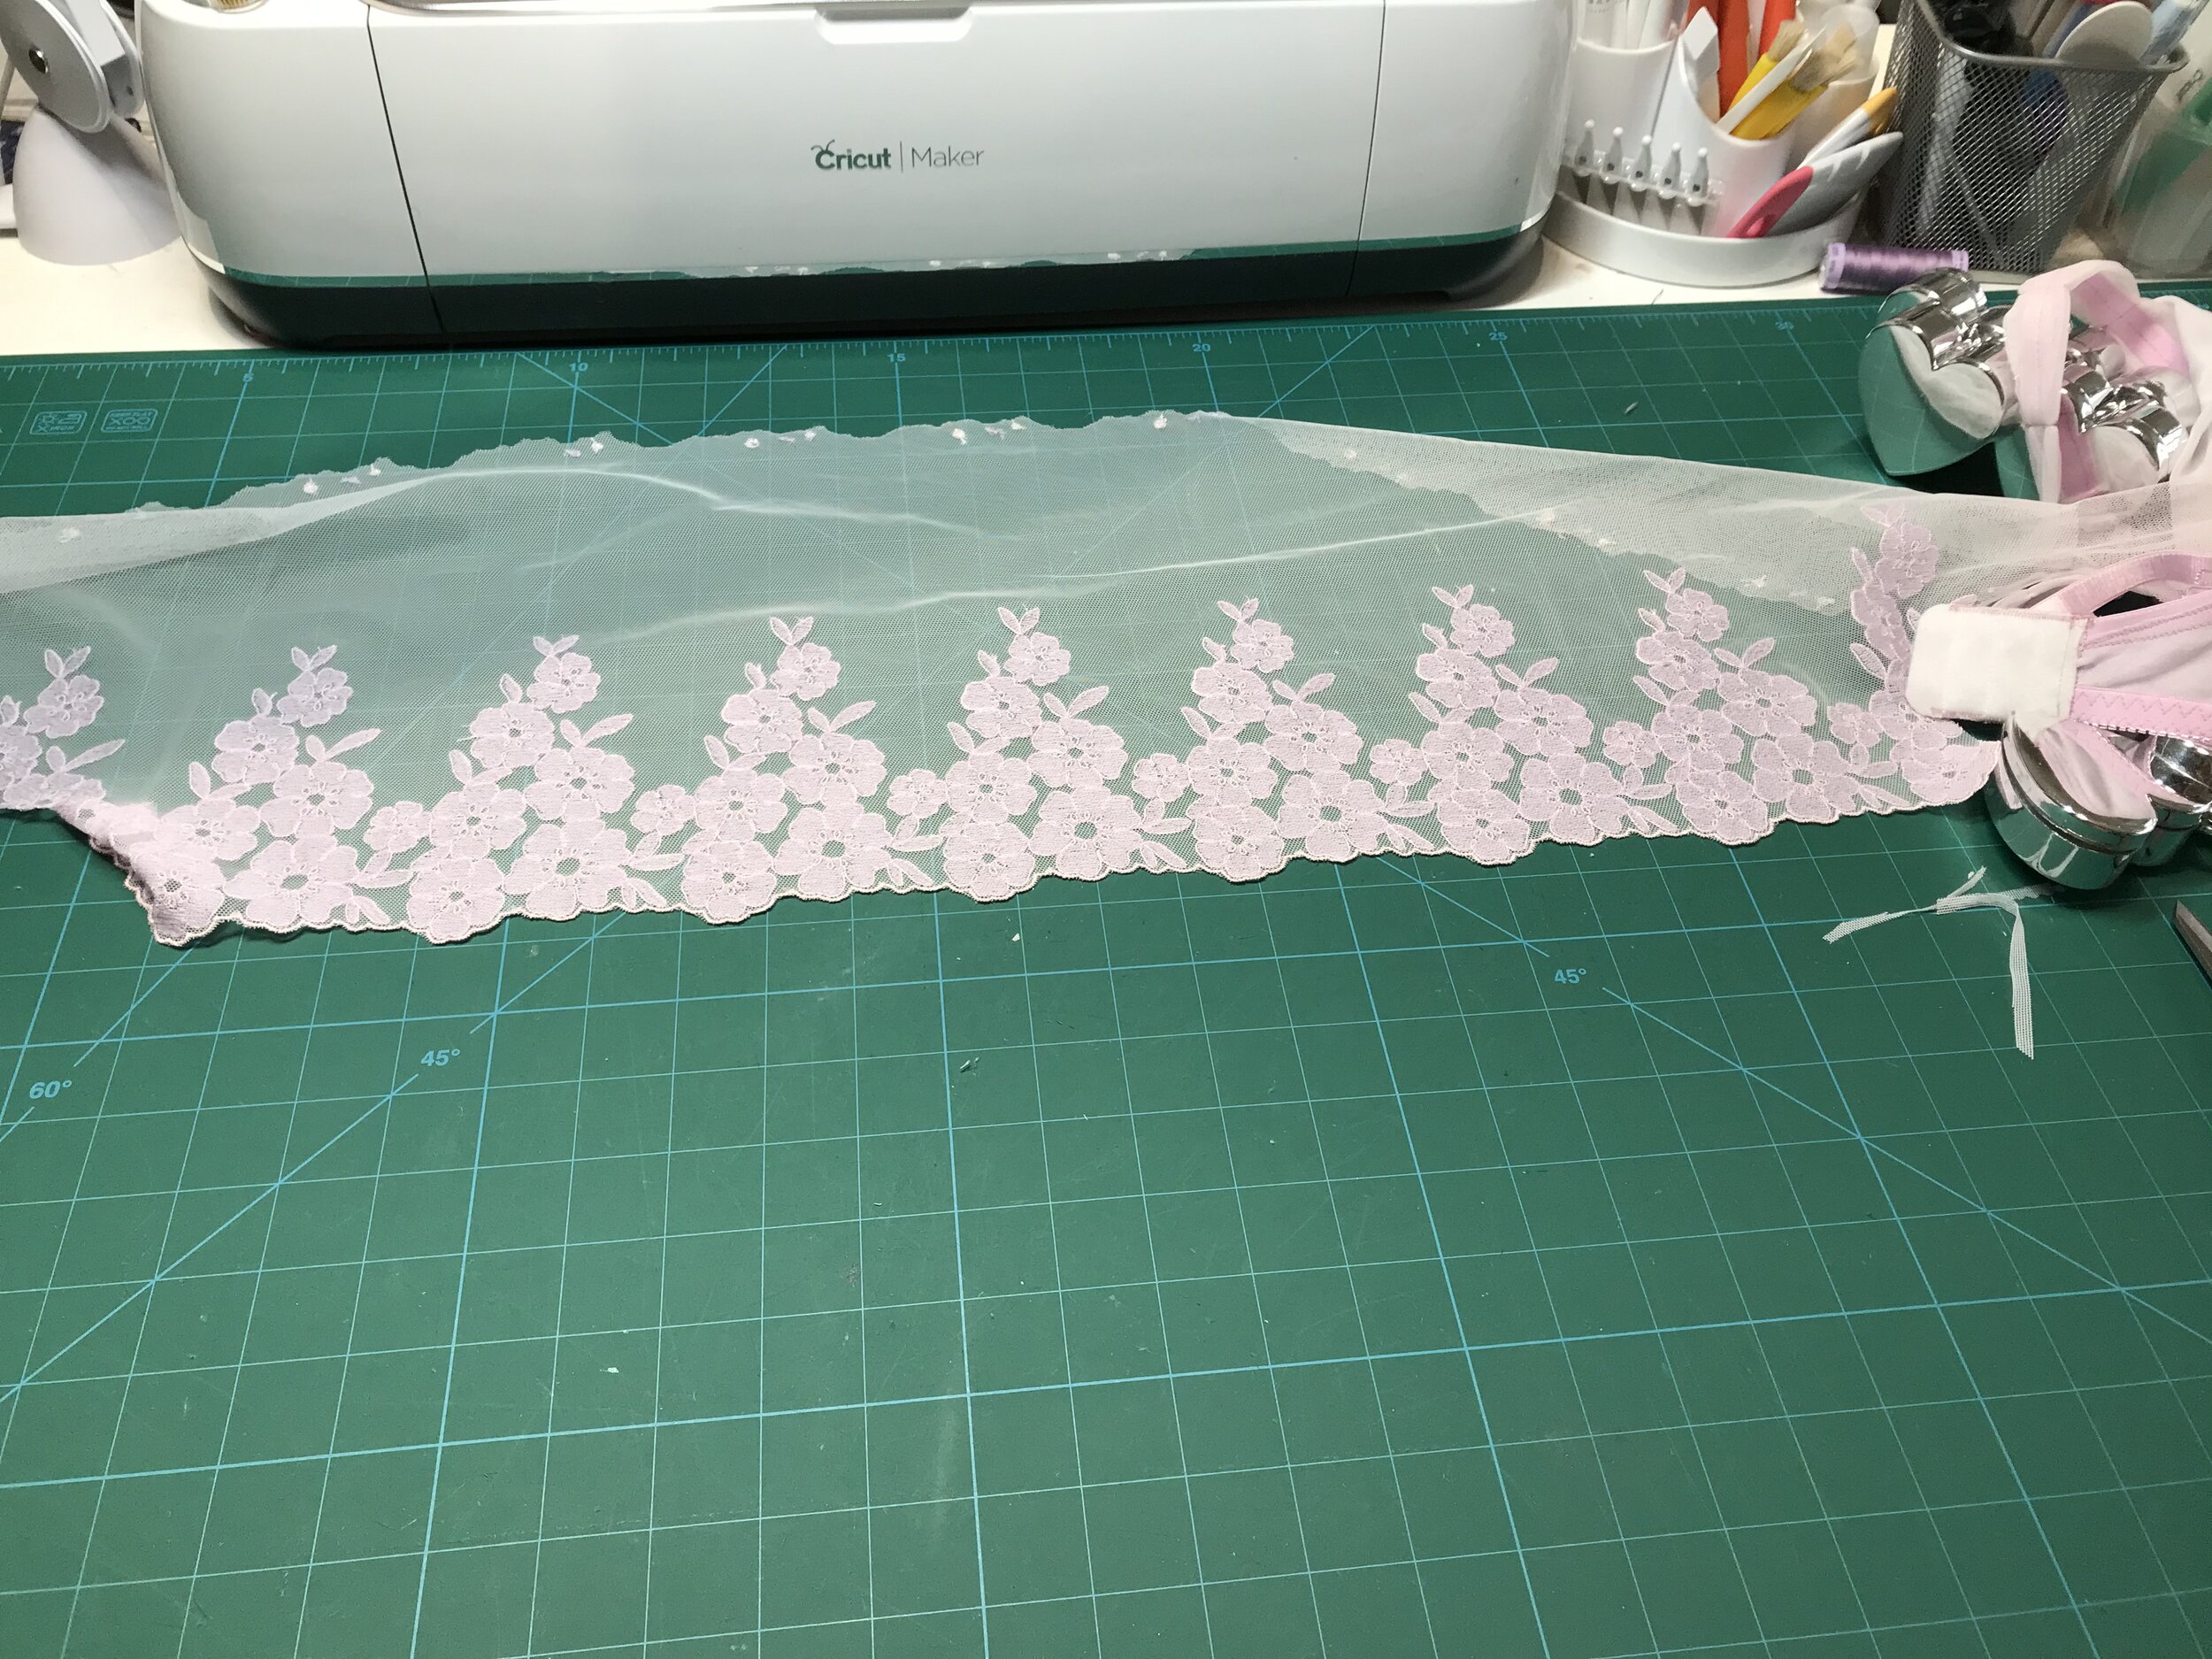
I’ll come to the seam ripper moment later but first I thought I would share the links to the fabrics I used. The main fabric is from BWear and comes in a number of colours but the one I have used is Lavender. The white athletic mesh is no longer available but Tailormade still have the black. Again the heart mesh is no longer available but Madalynne always has some fabulous and unusual fabric to add to your stash.
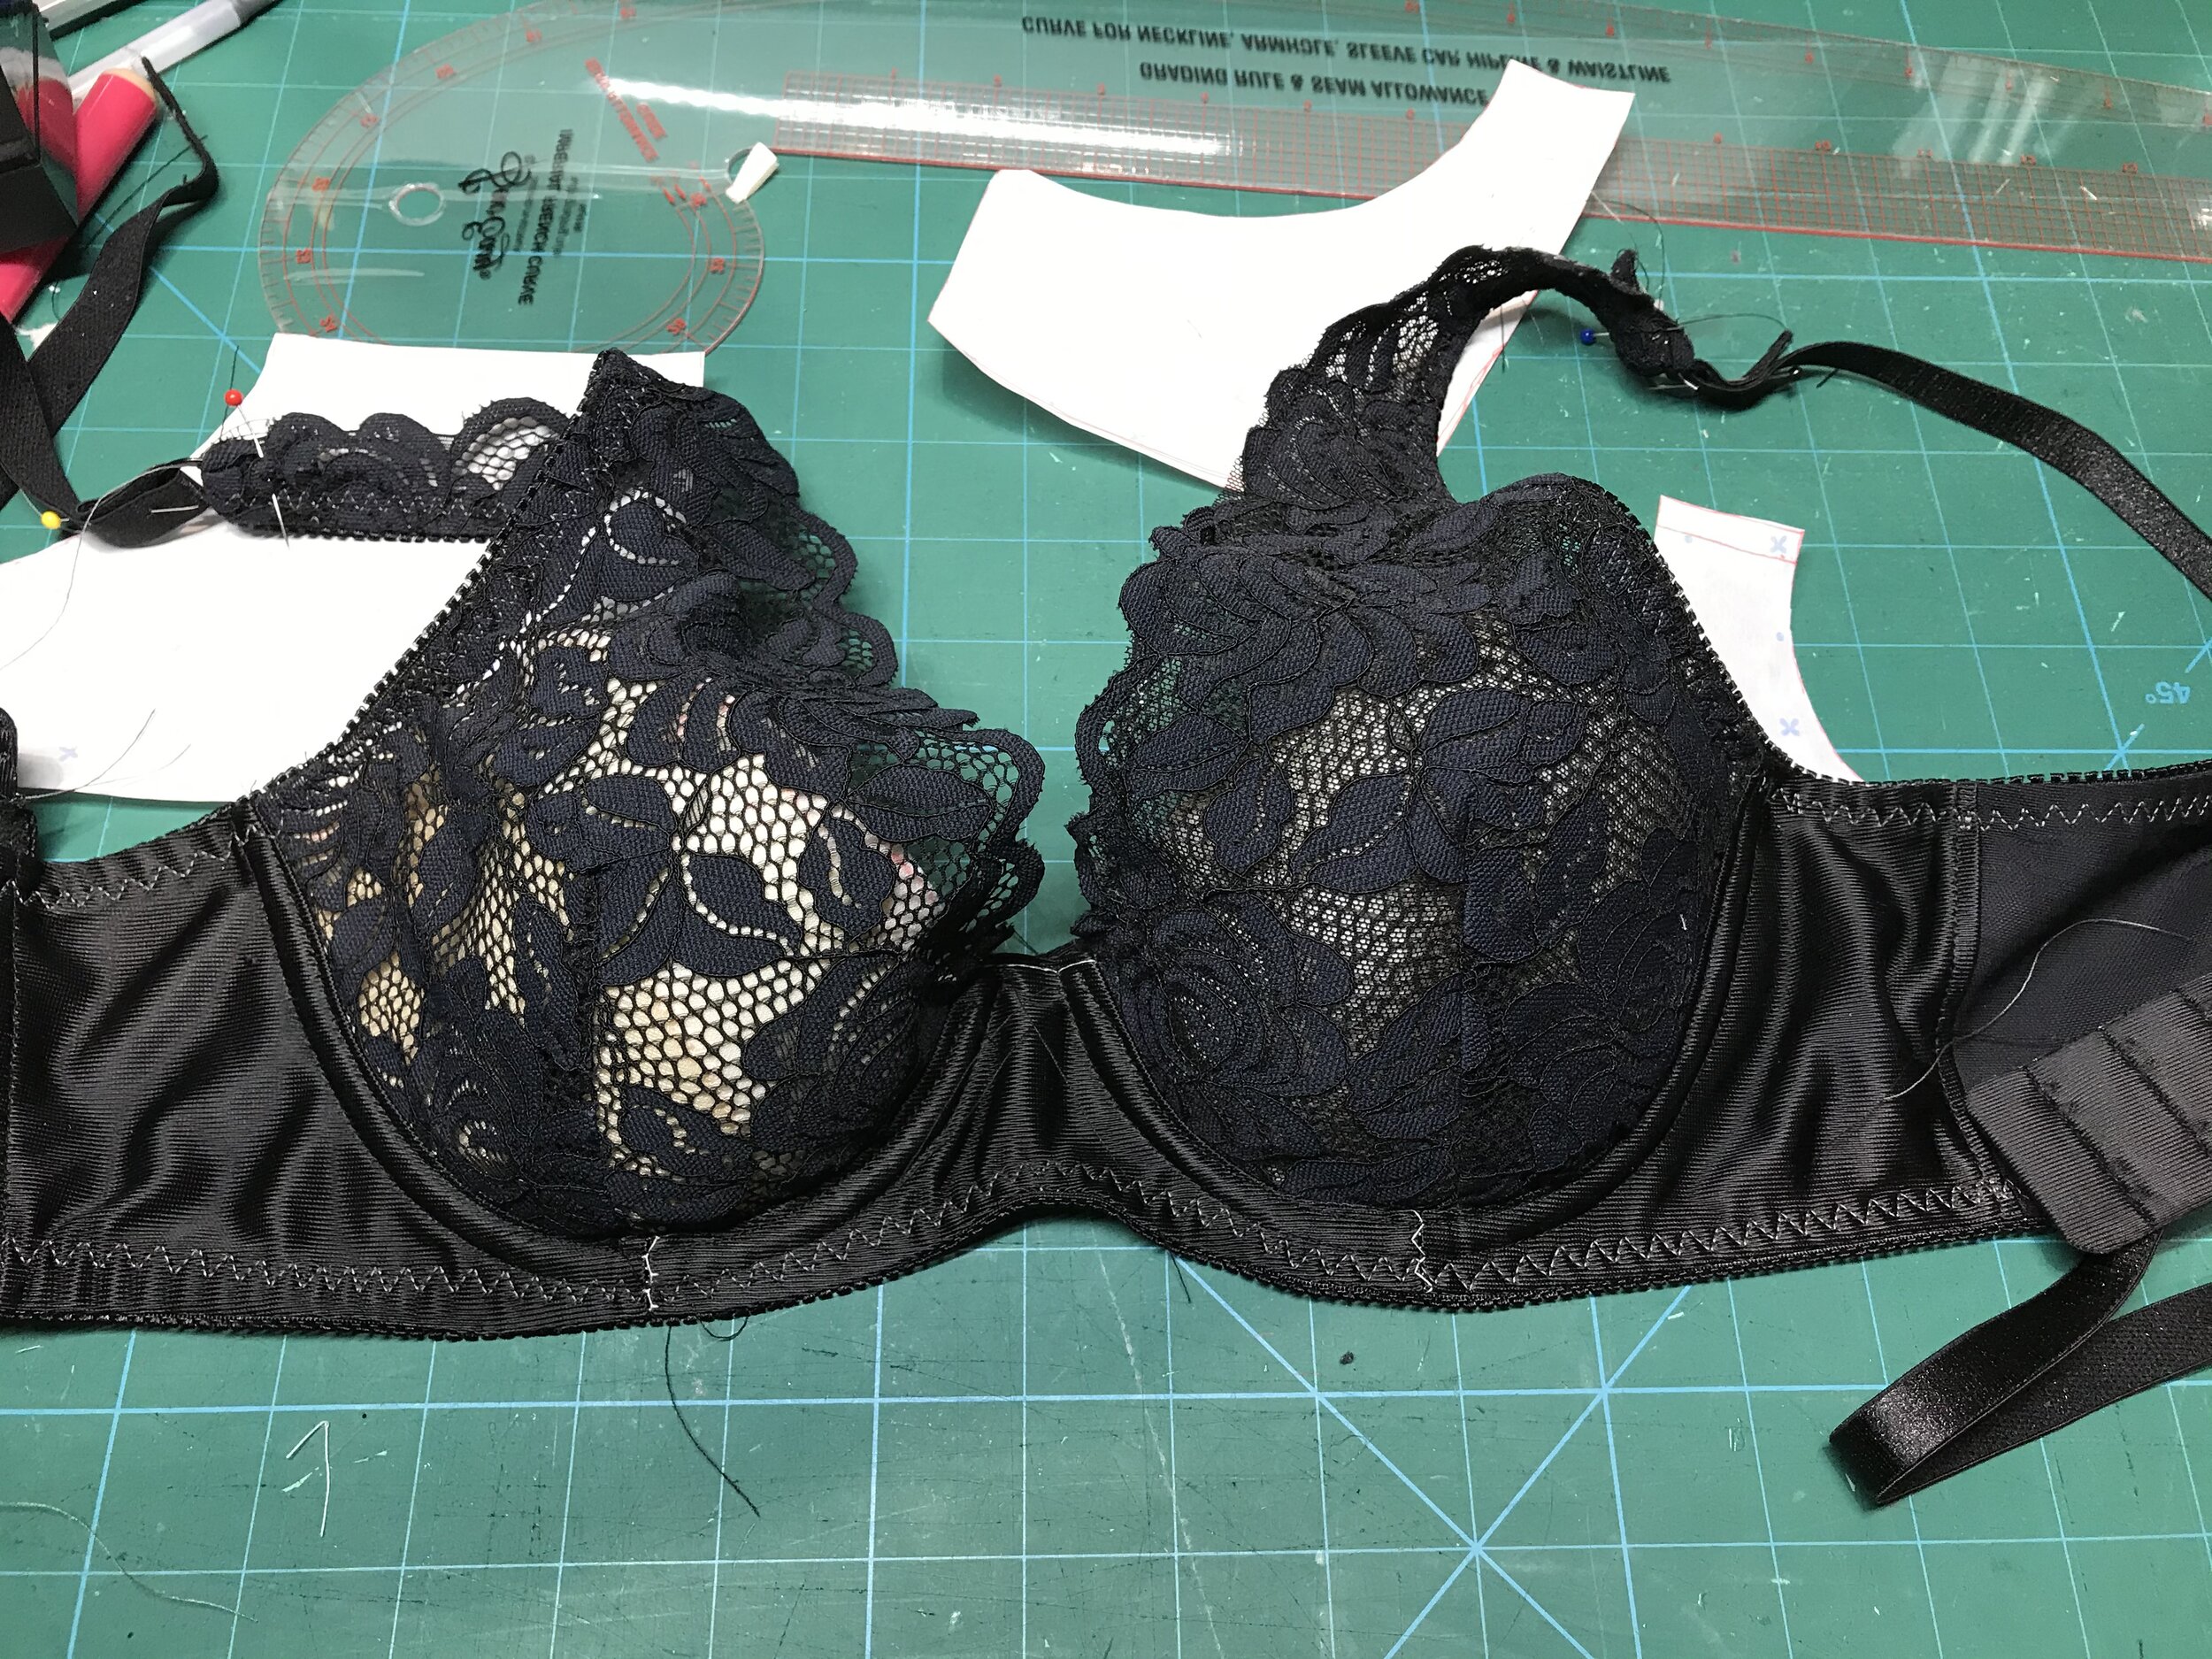
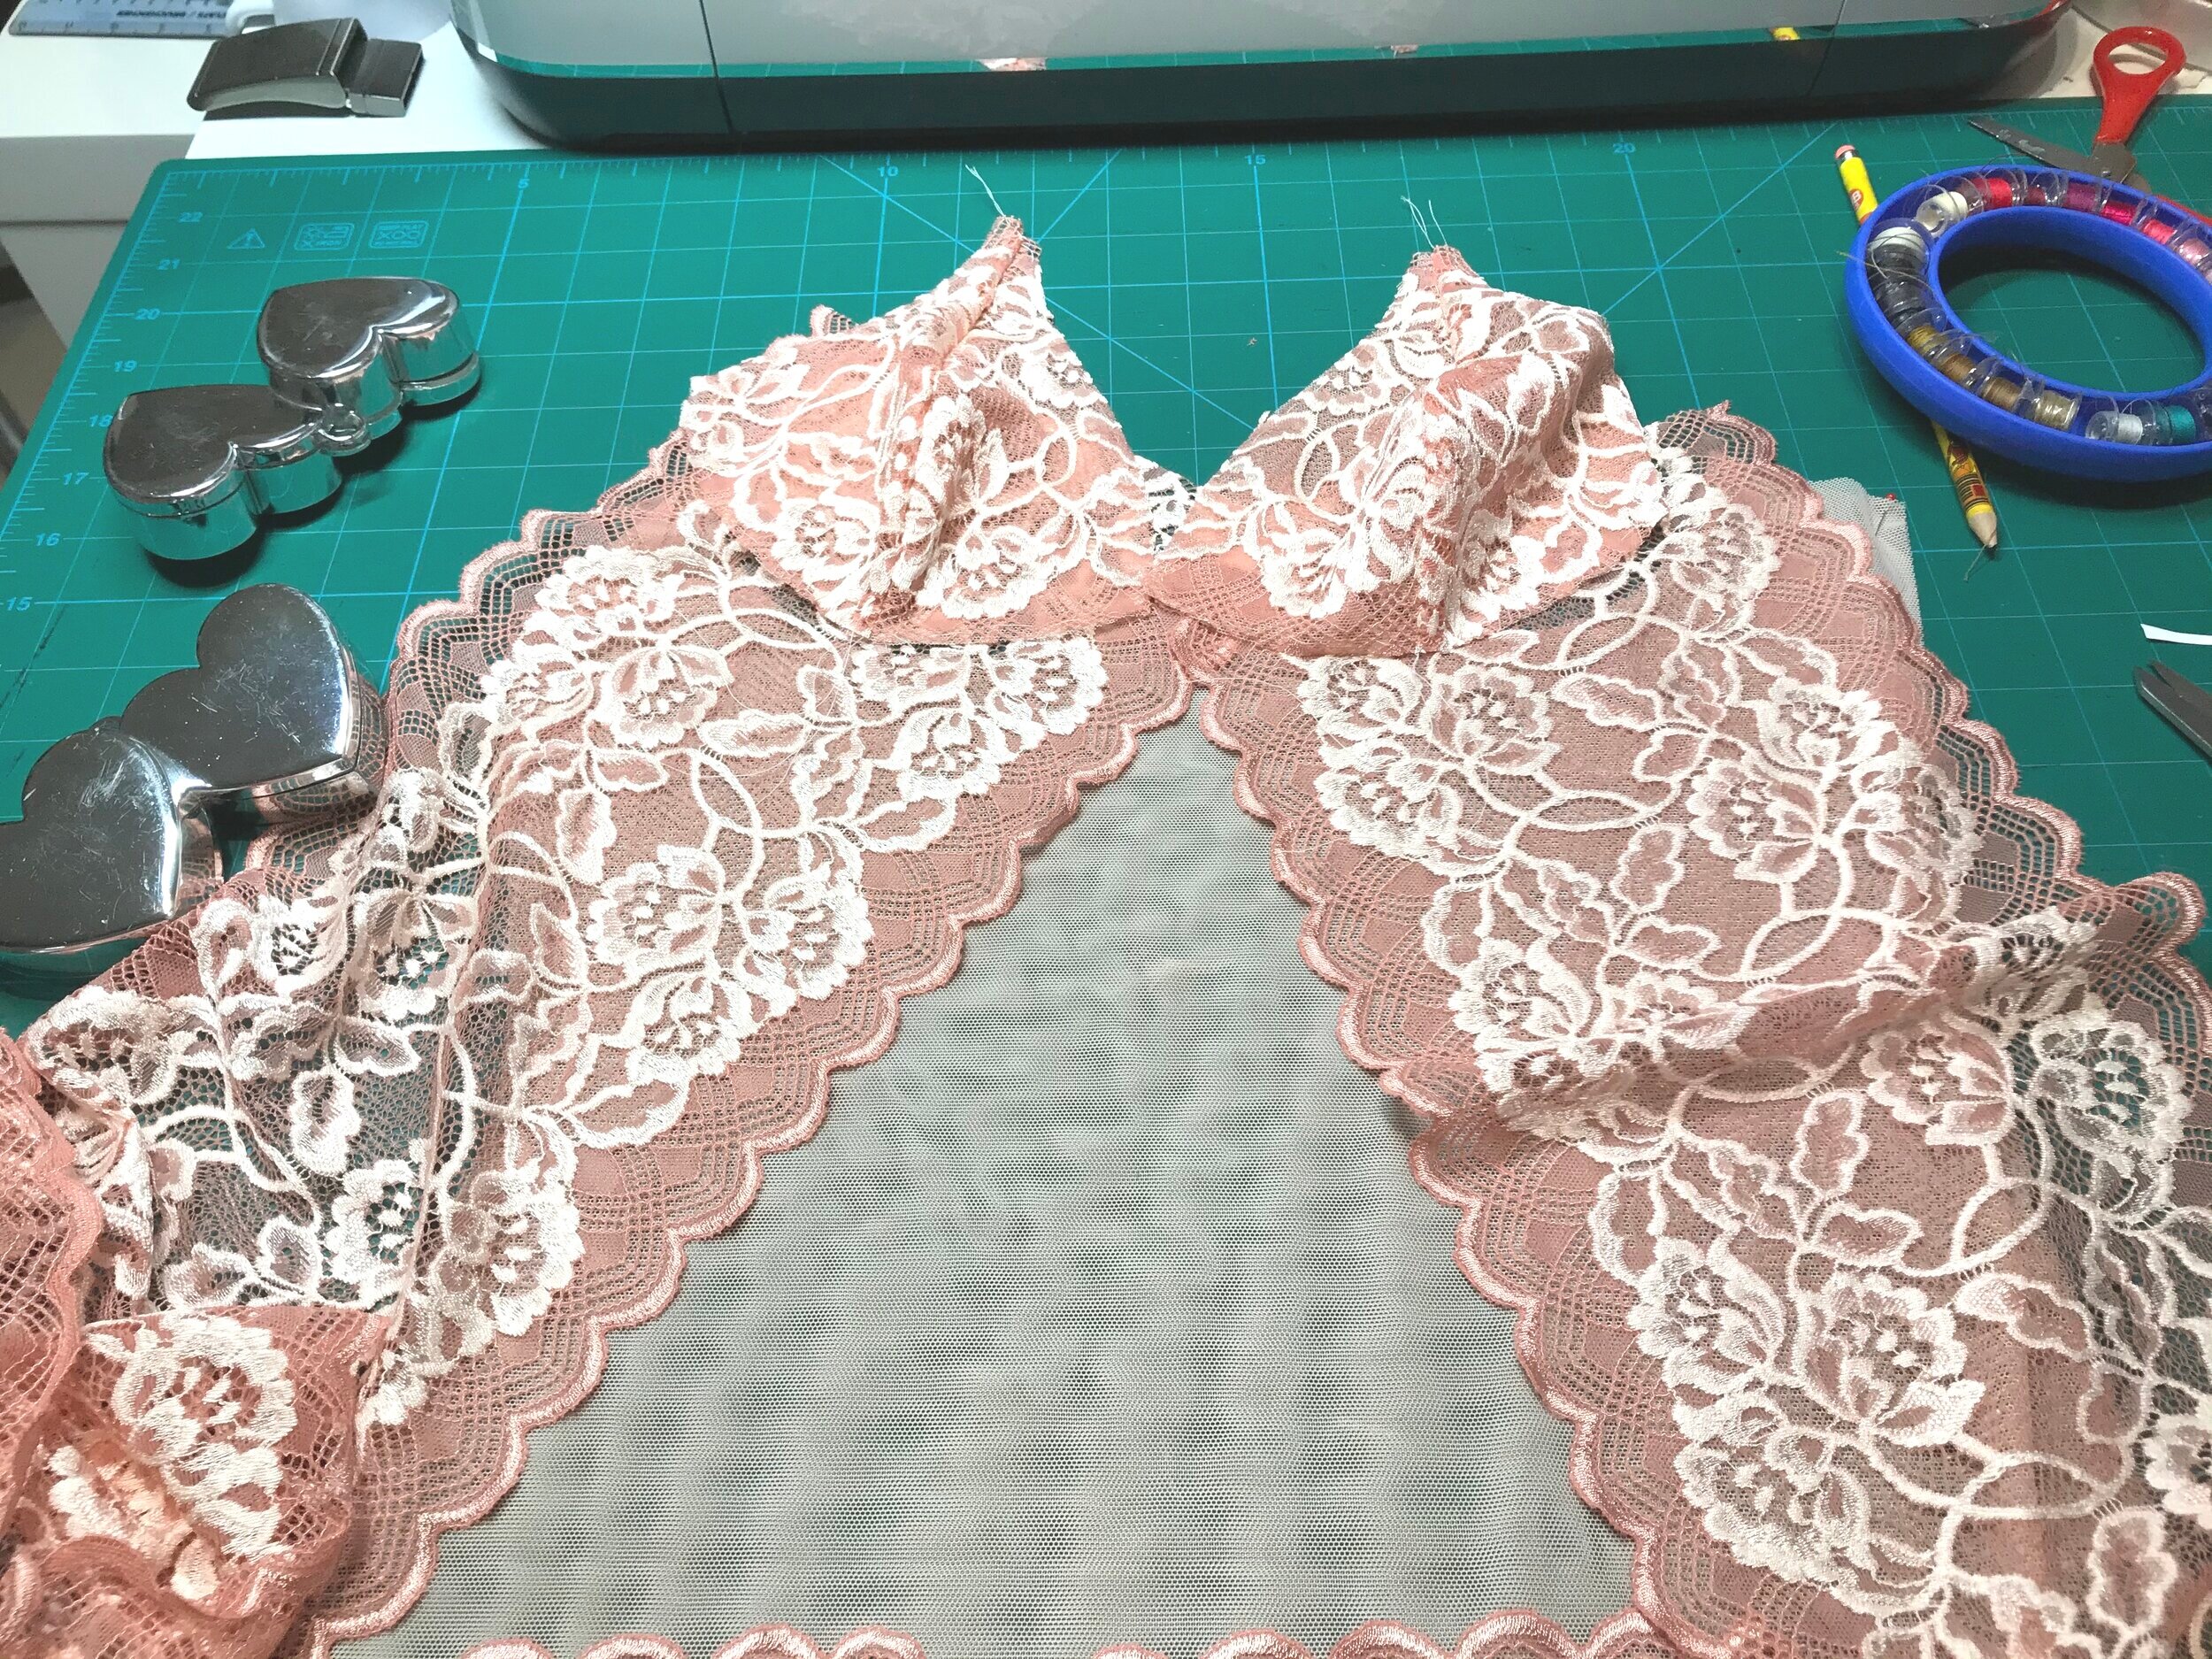
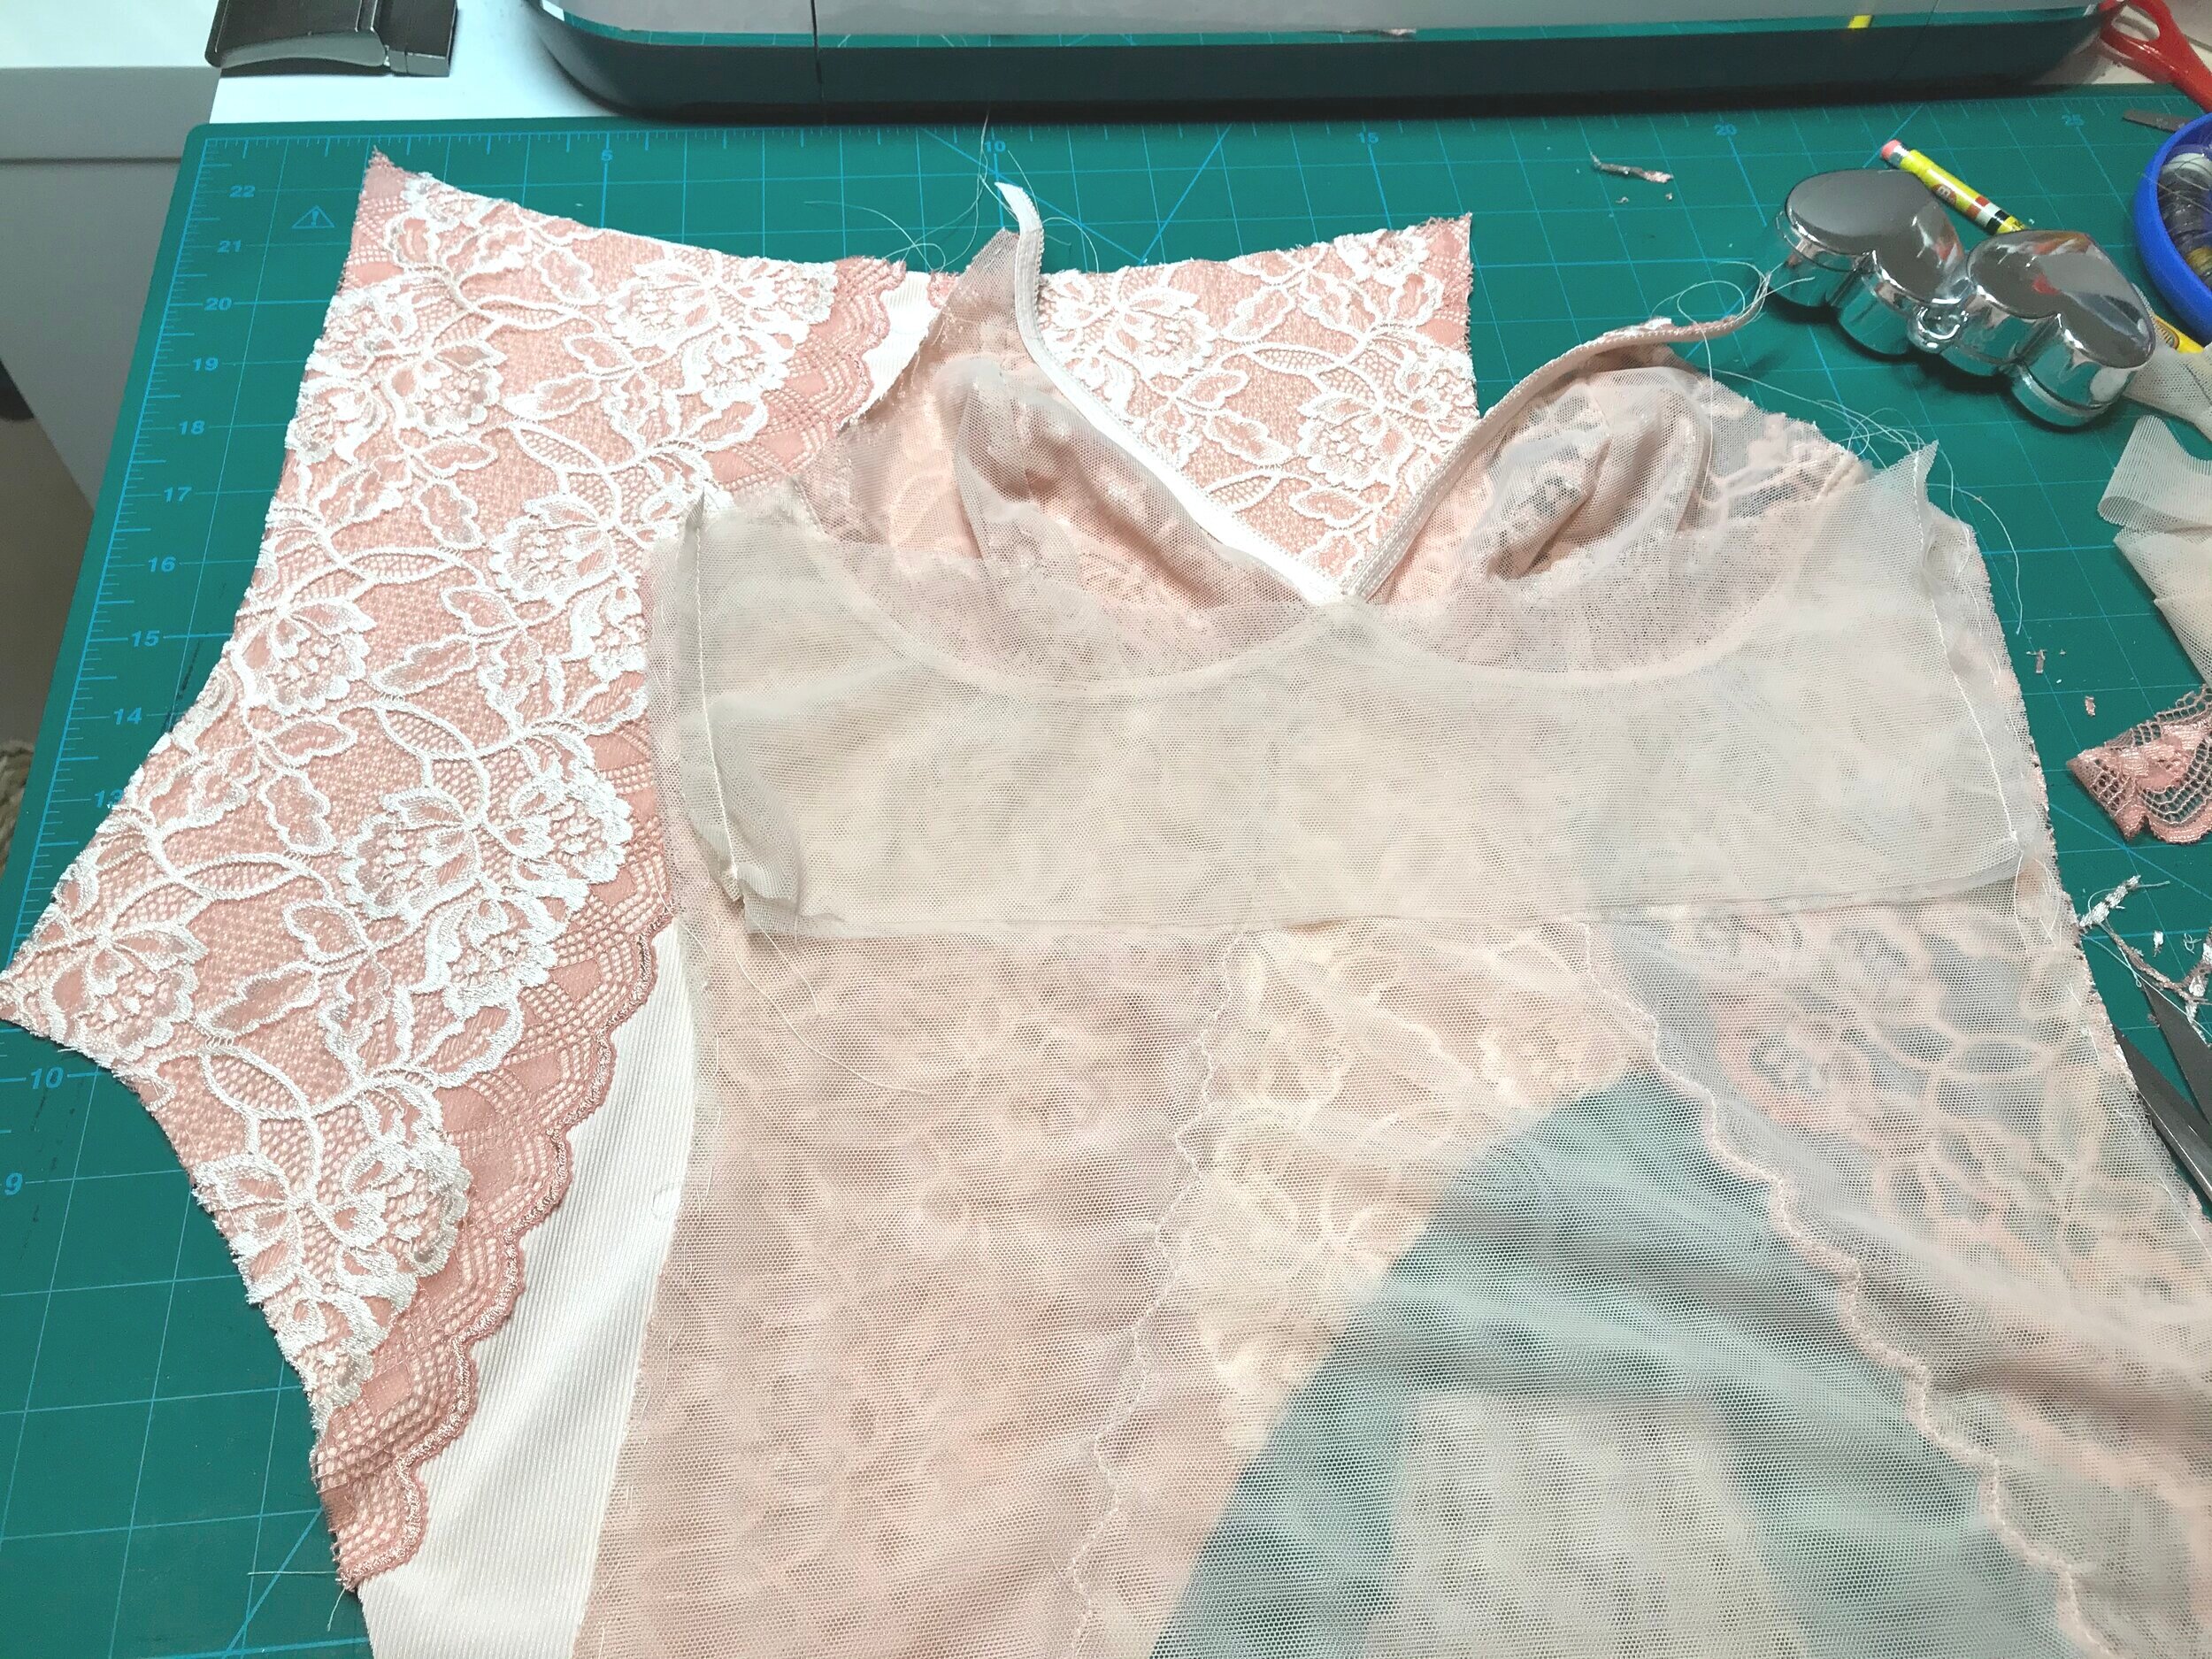
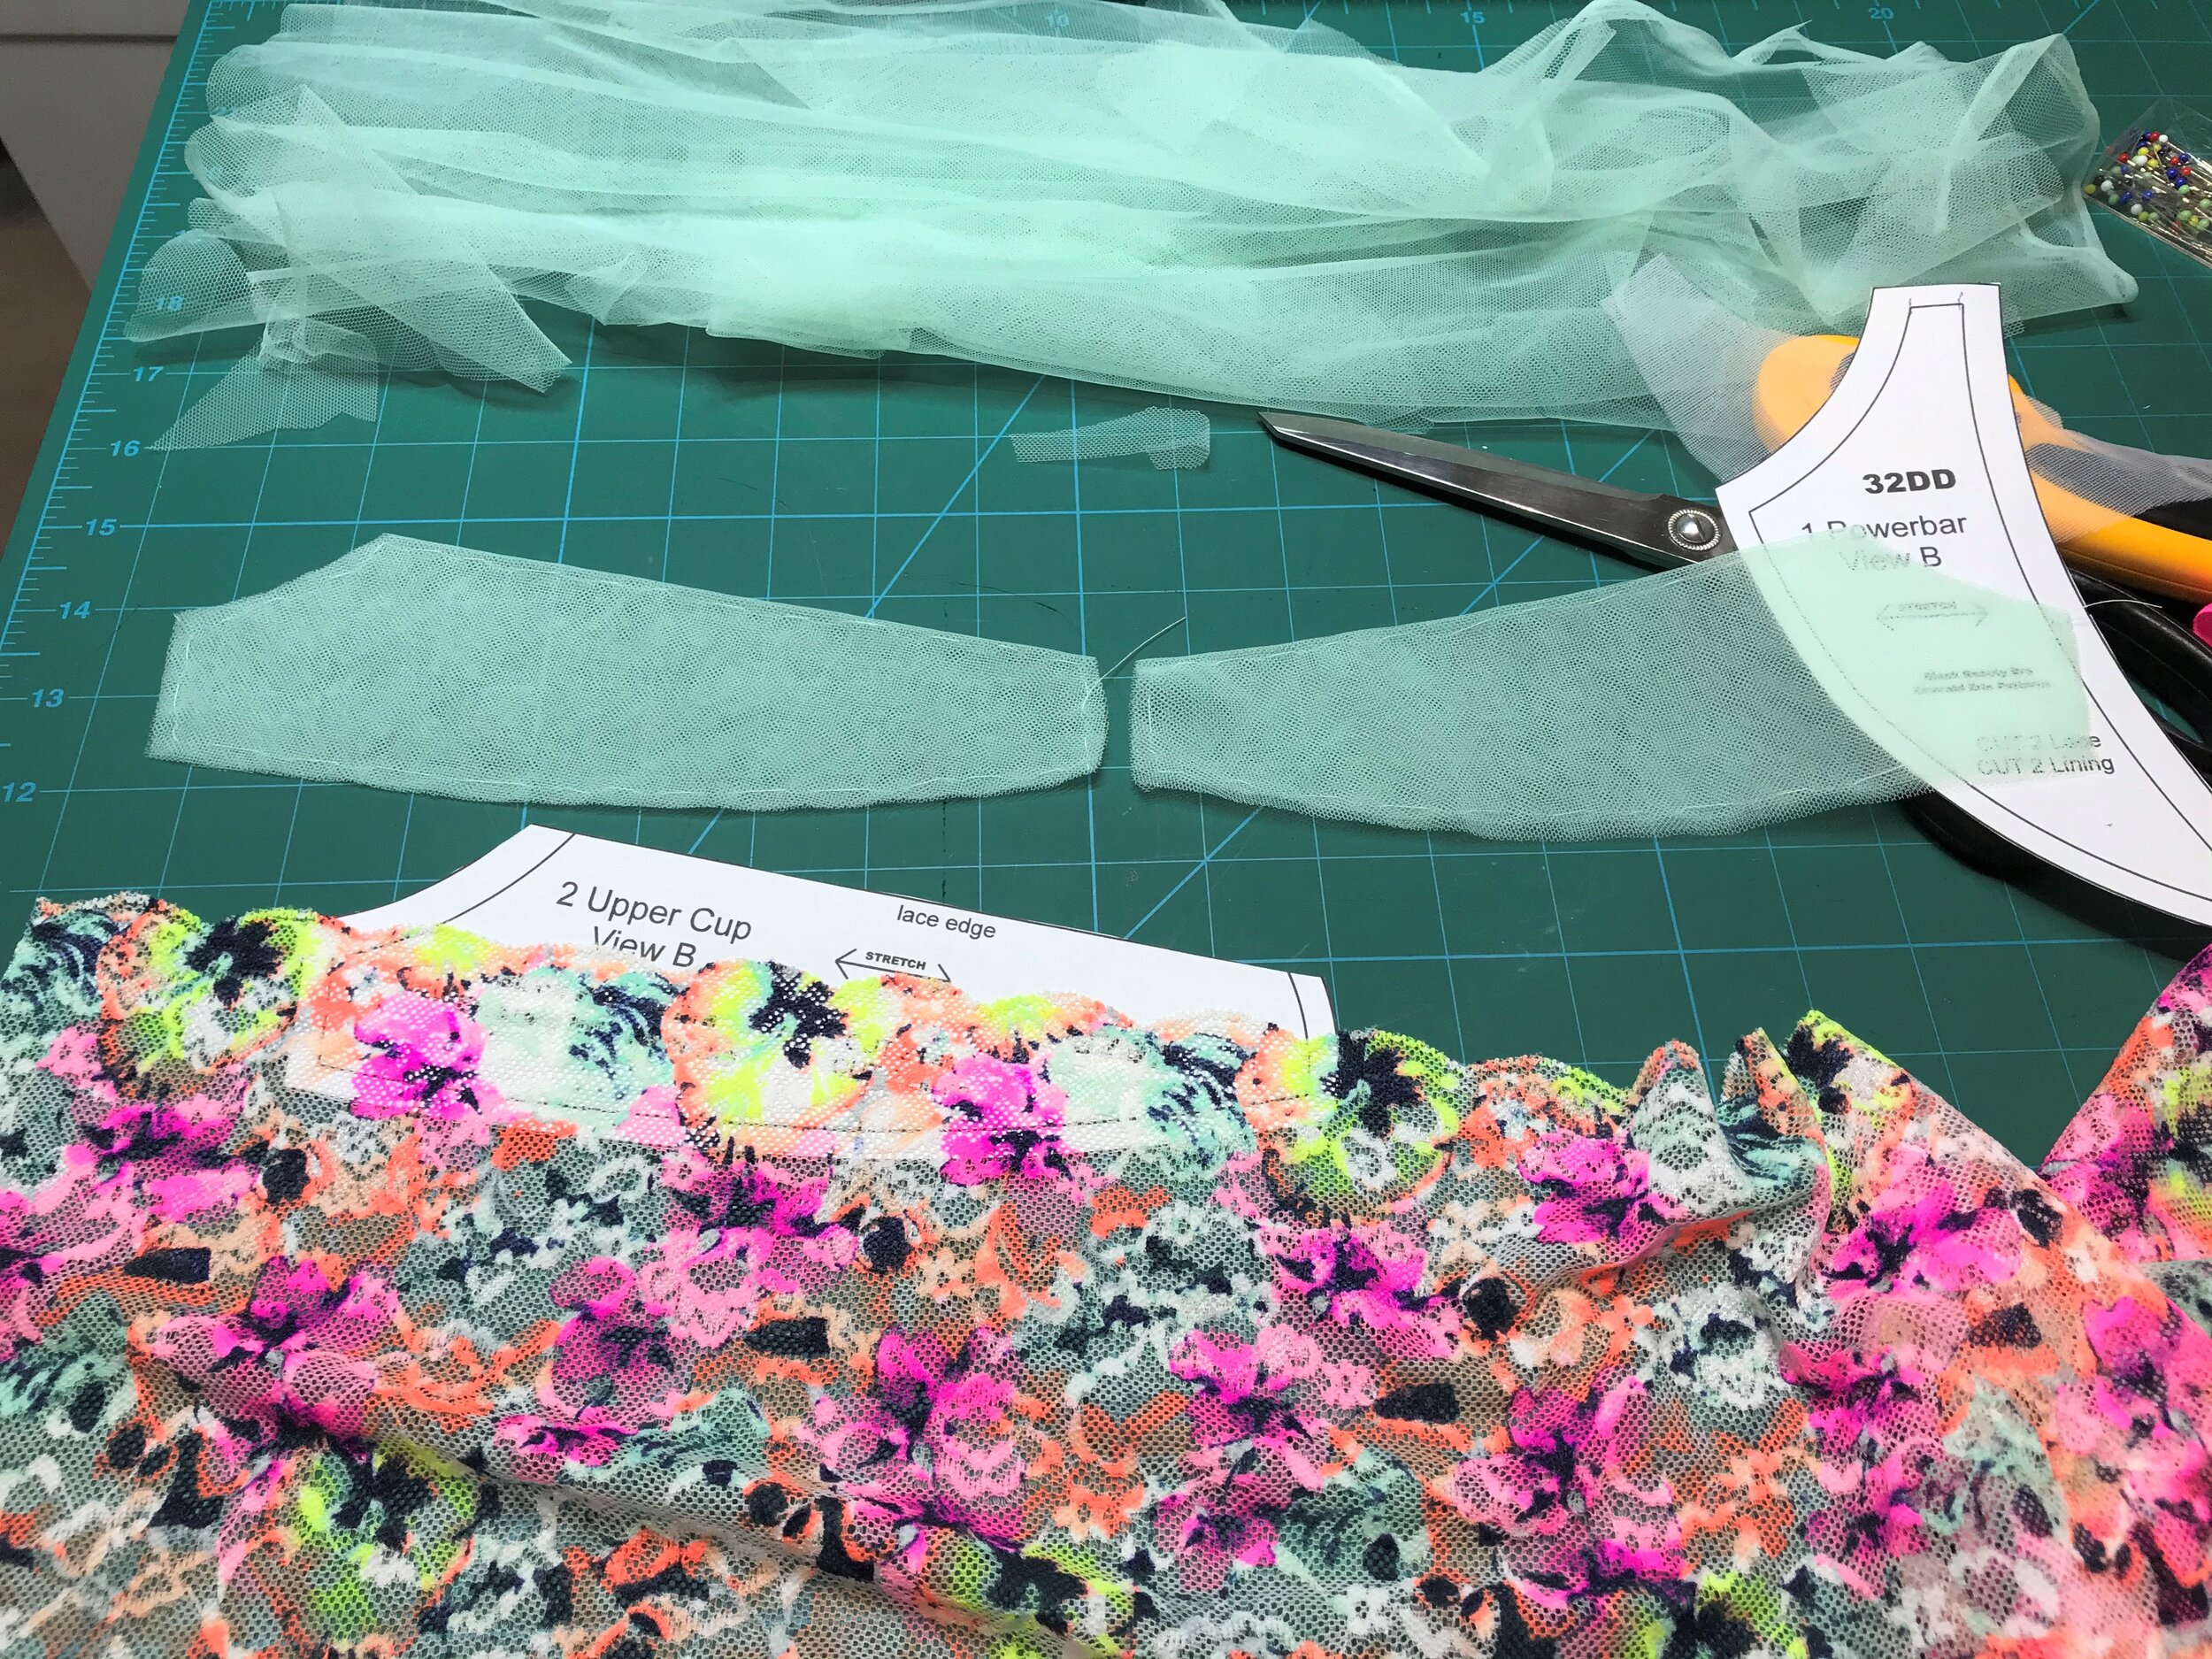
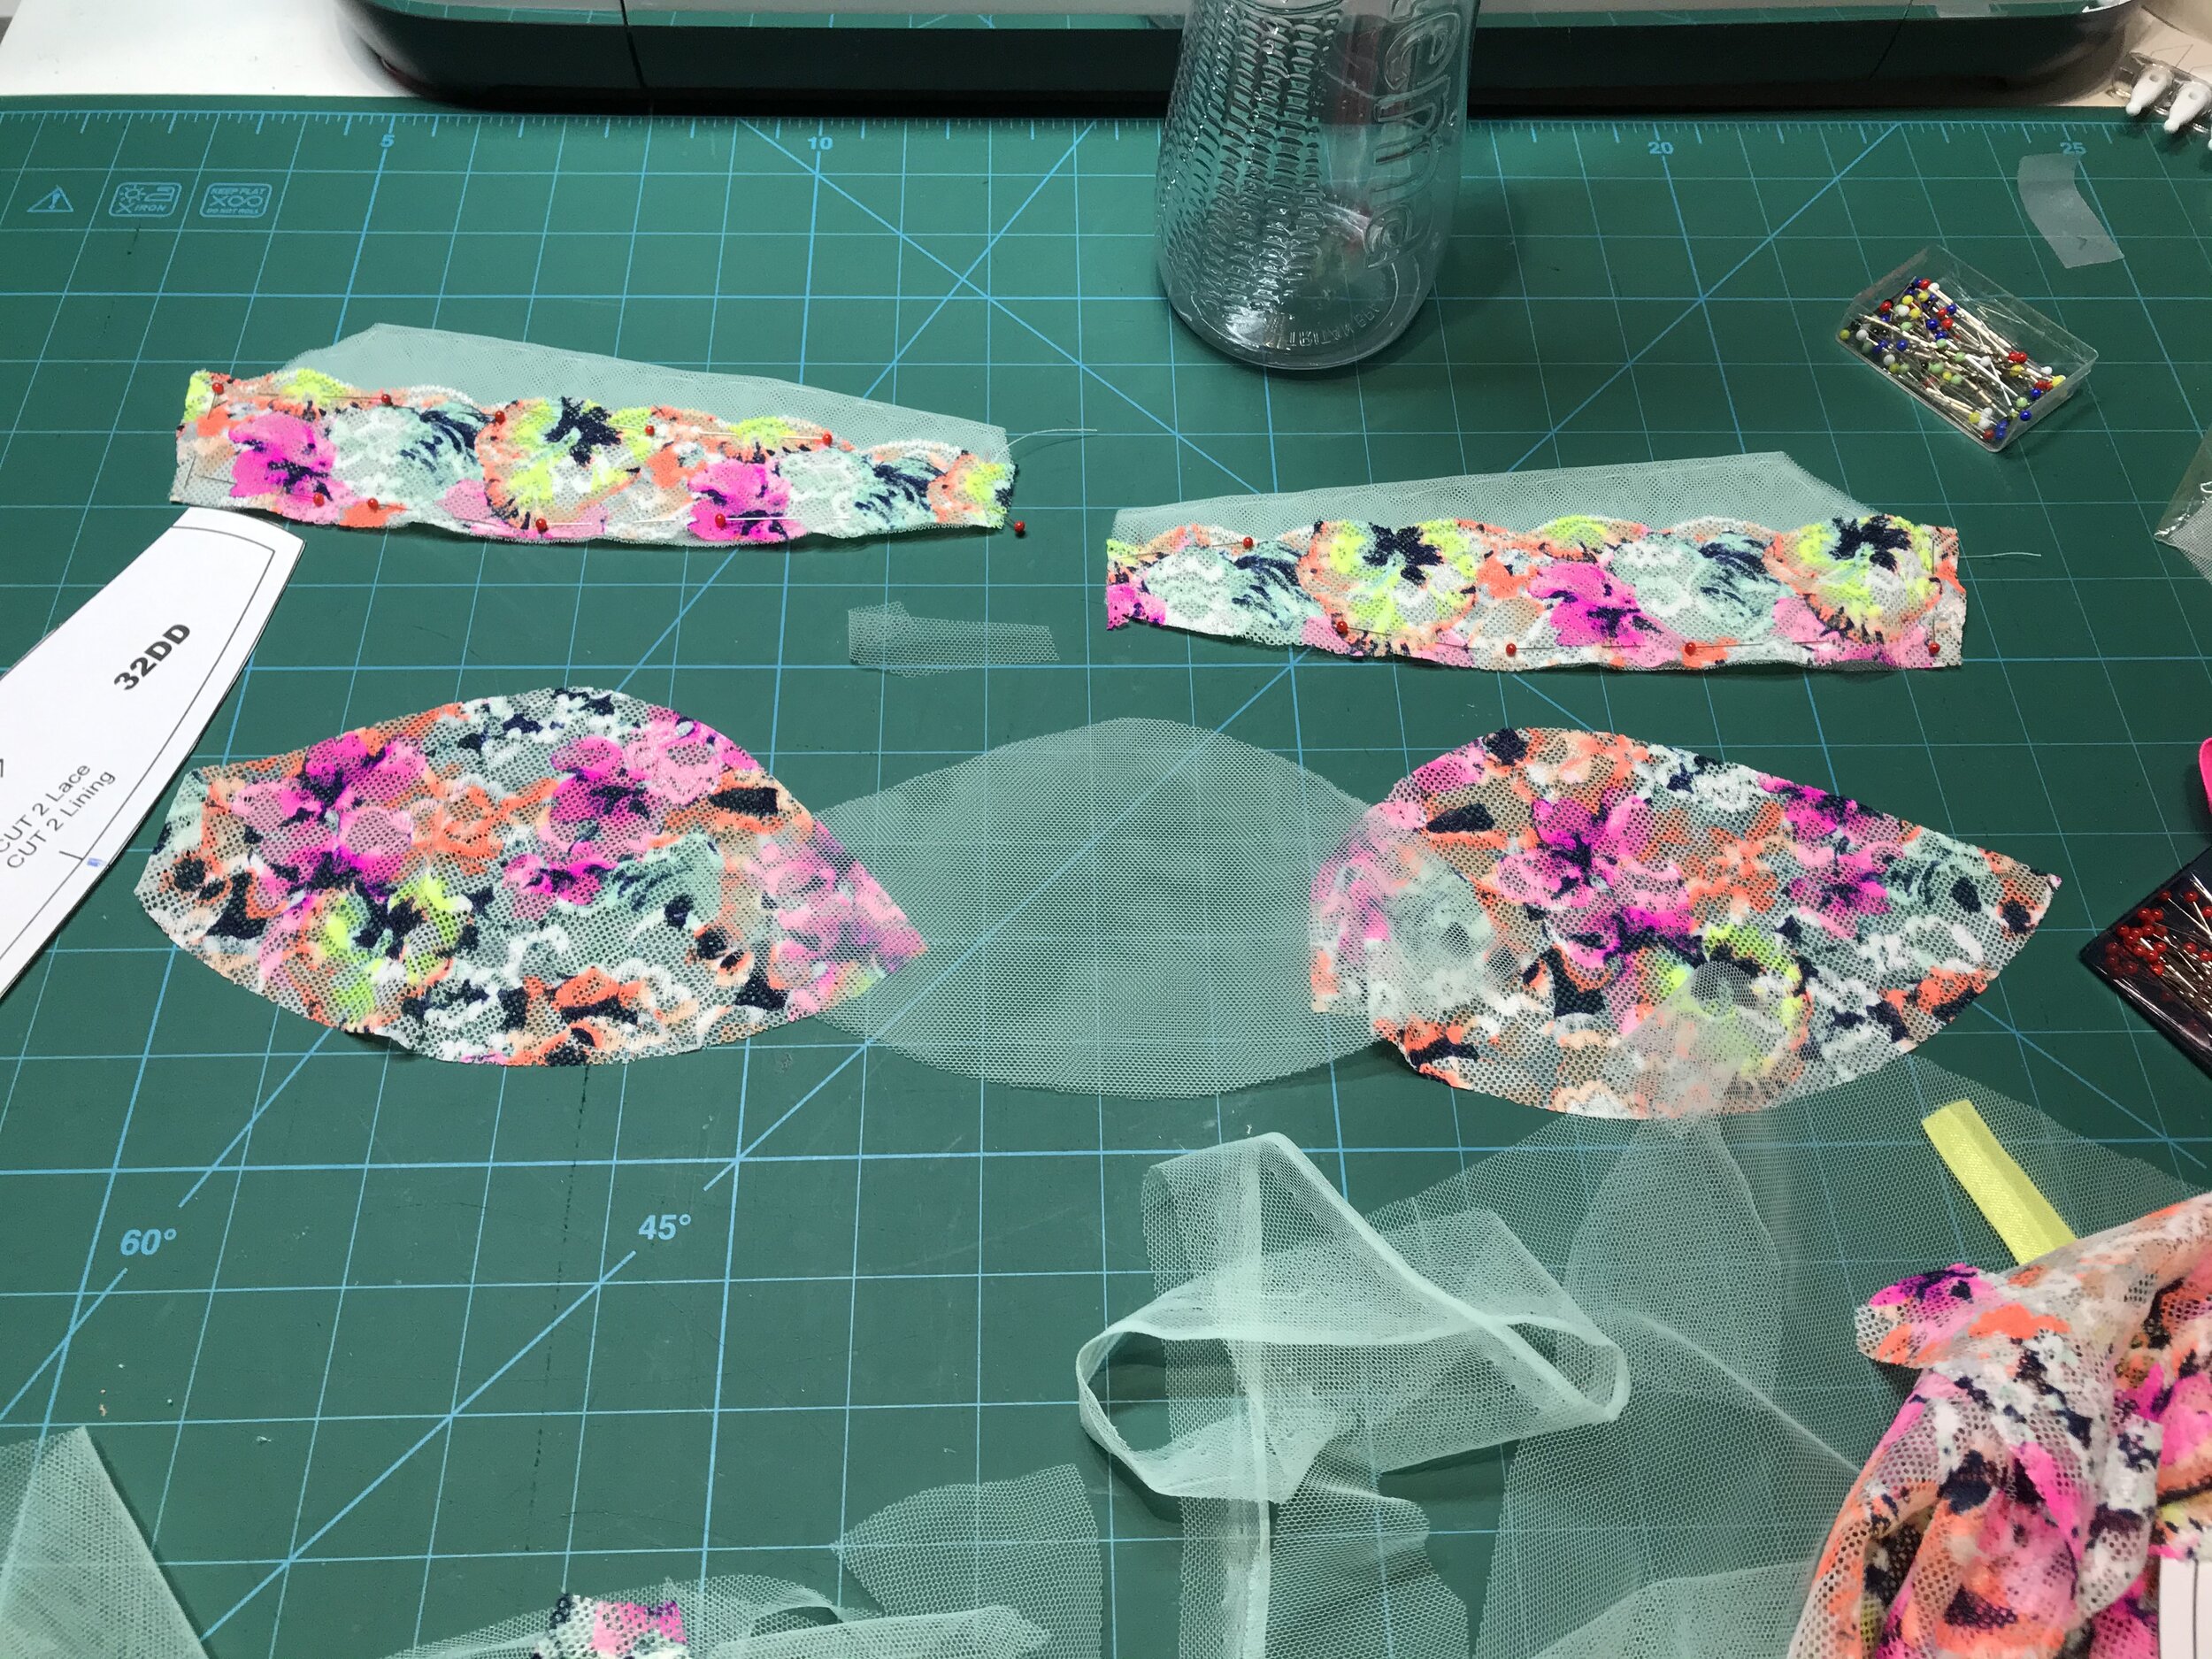
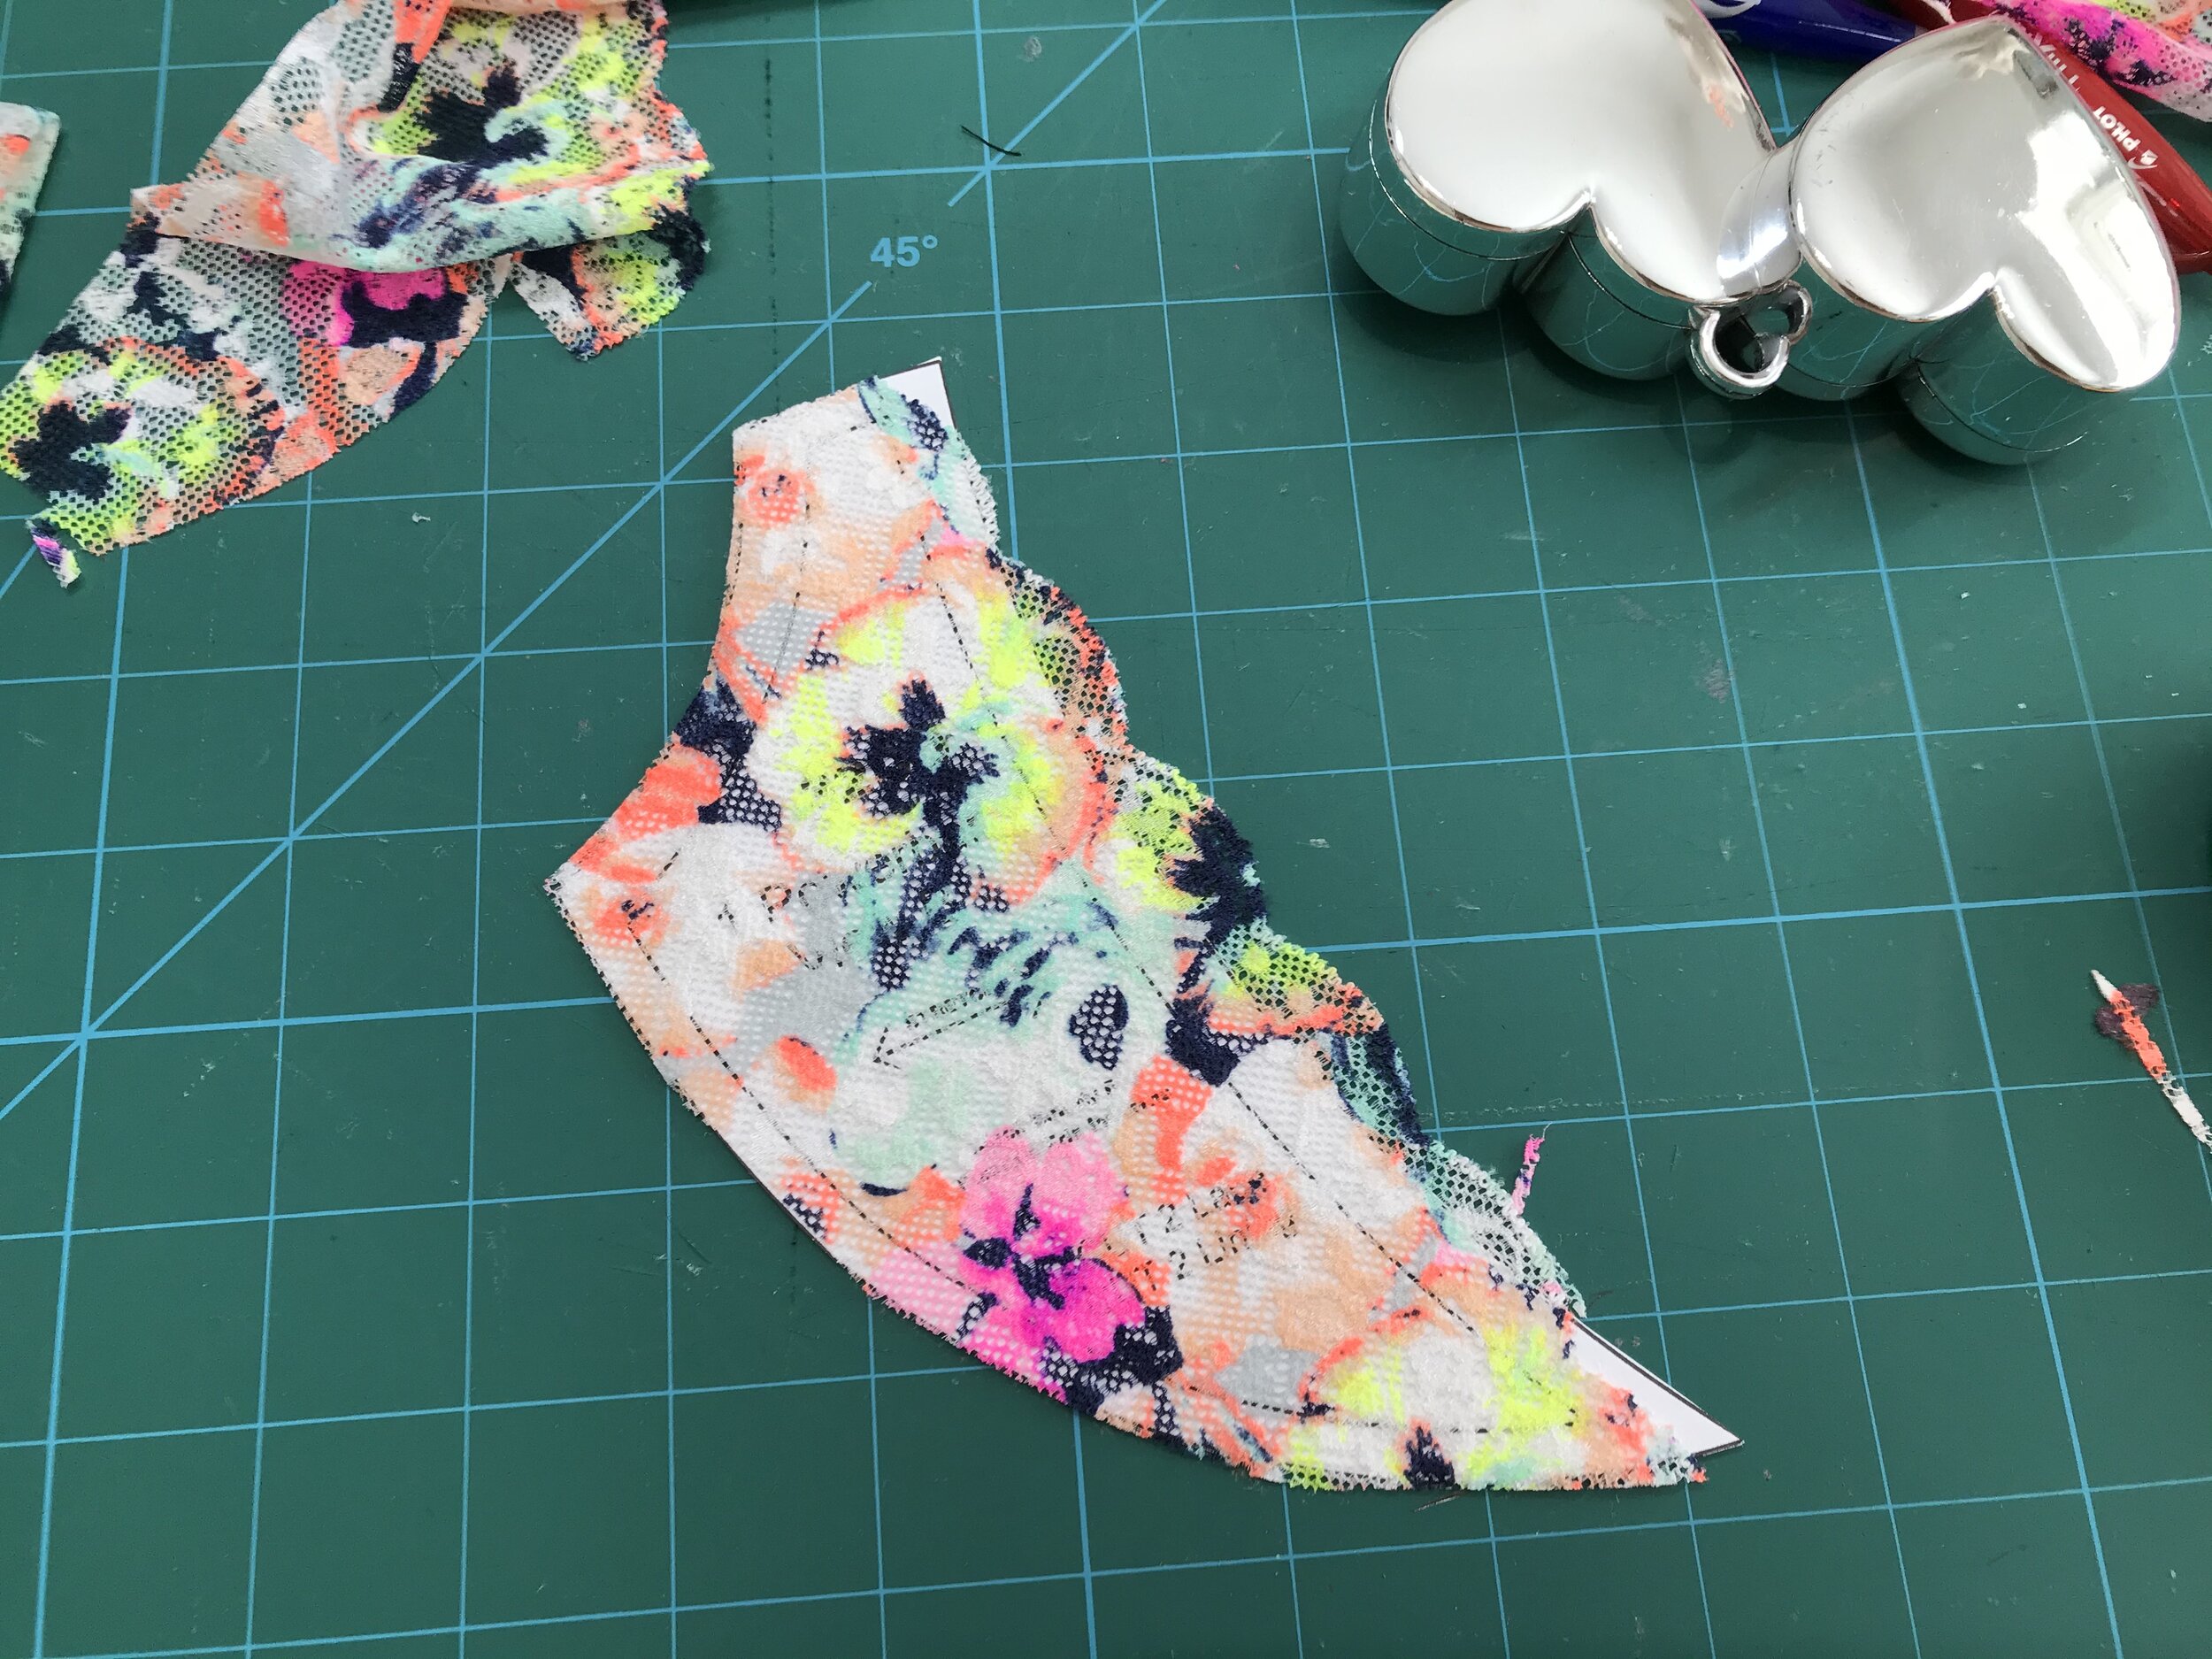
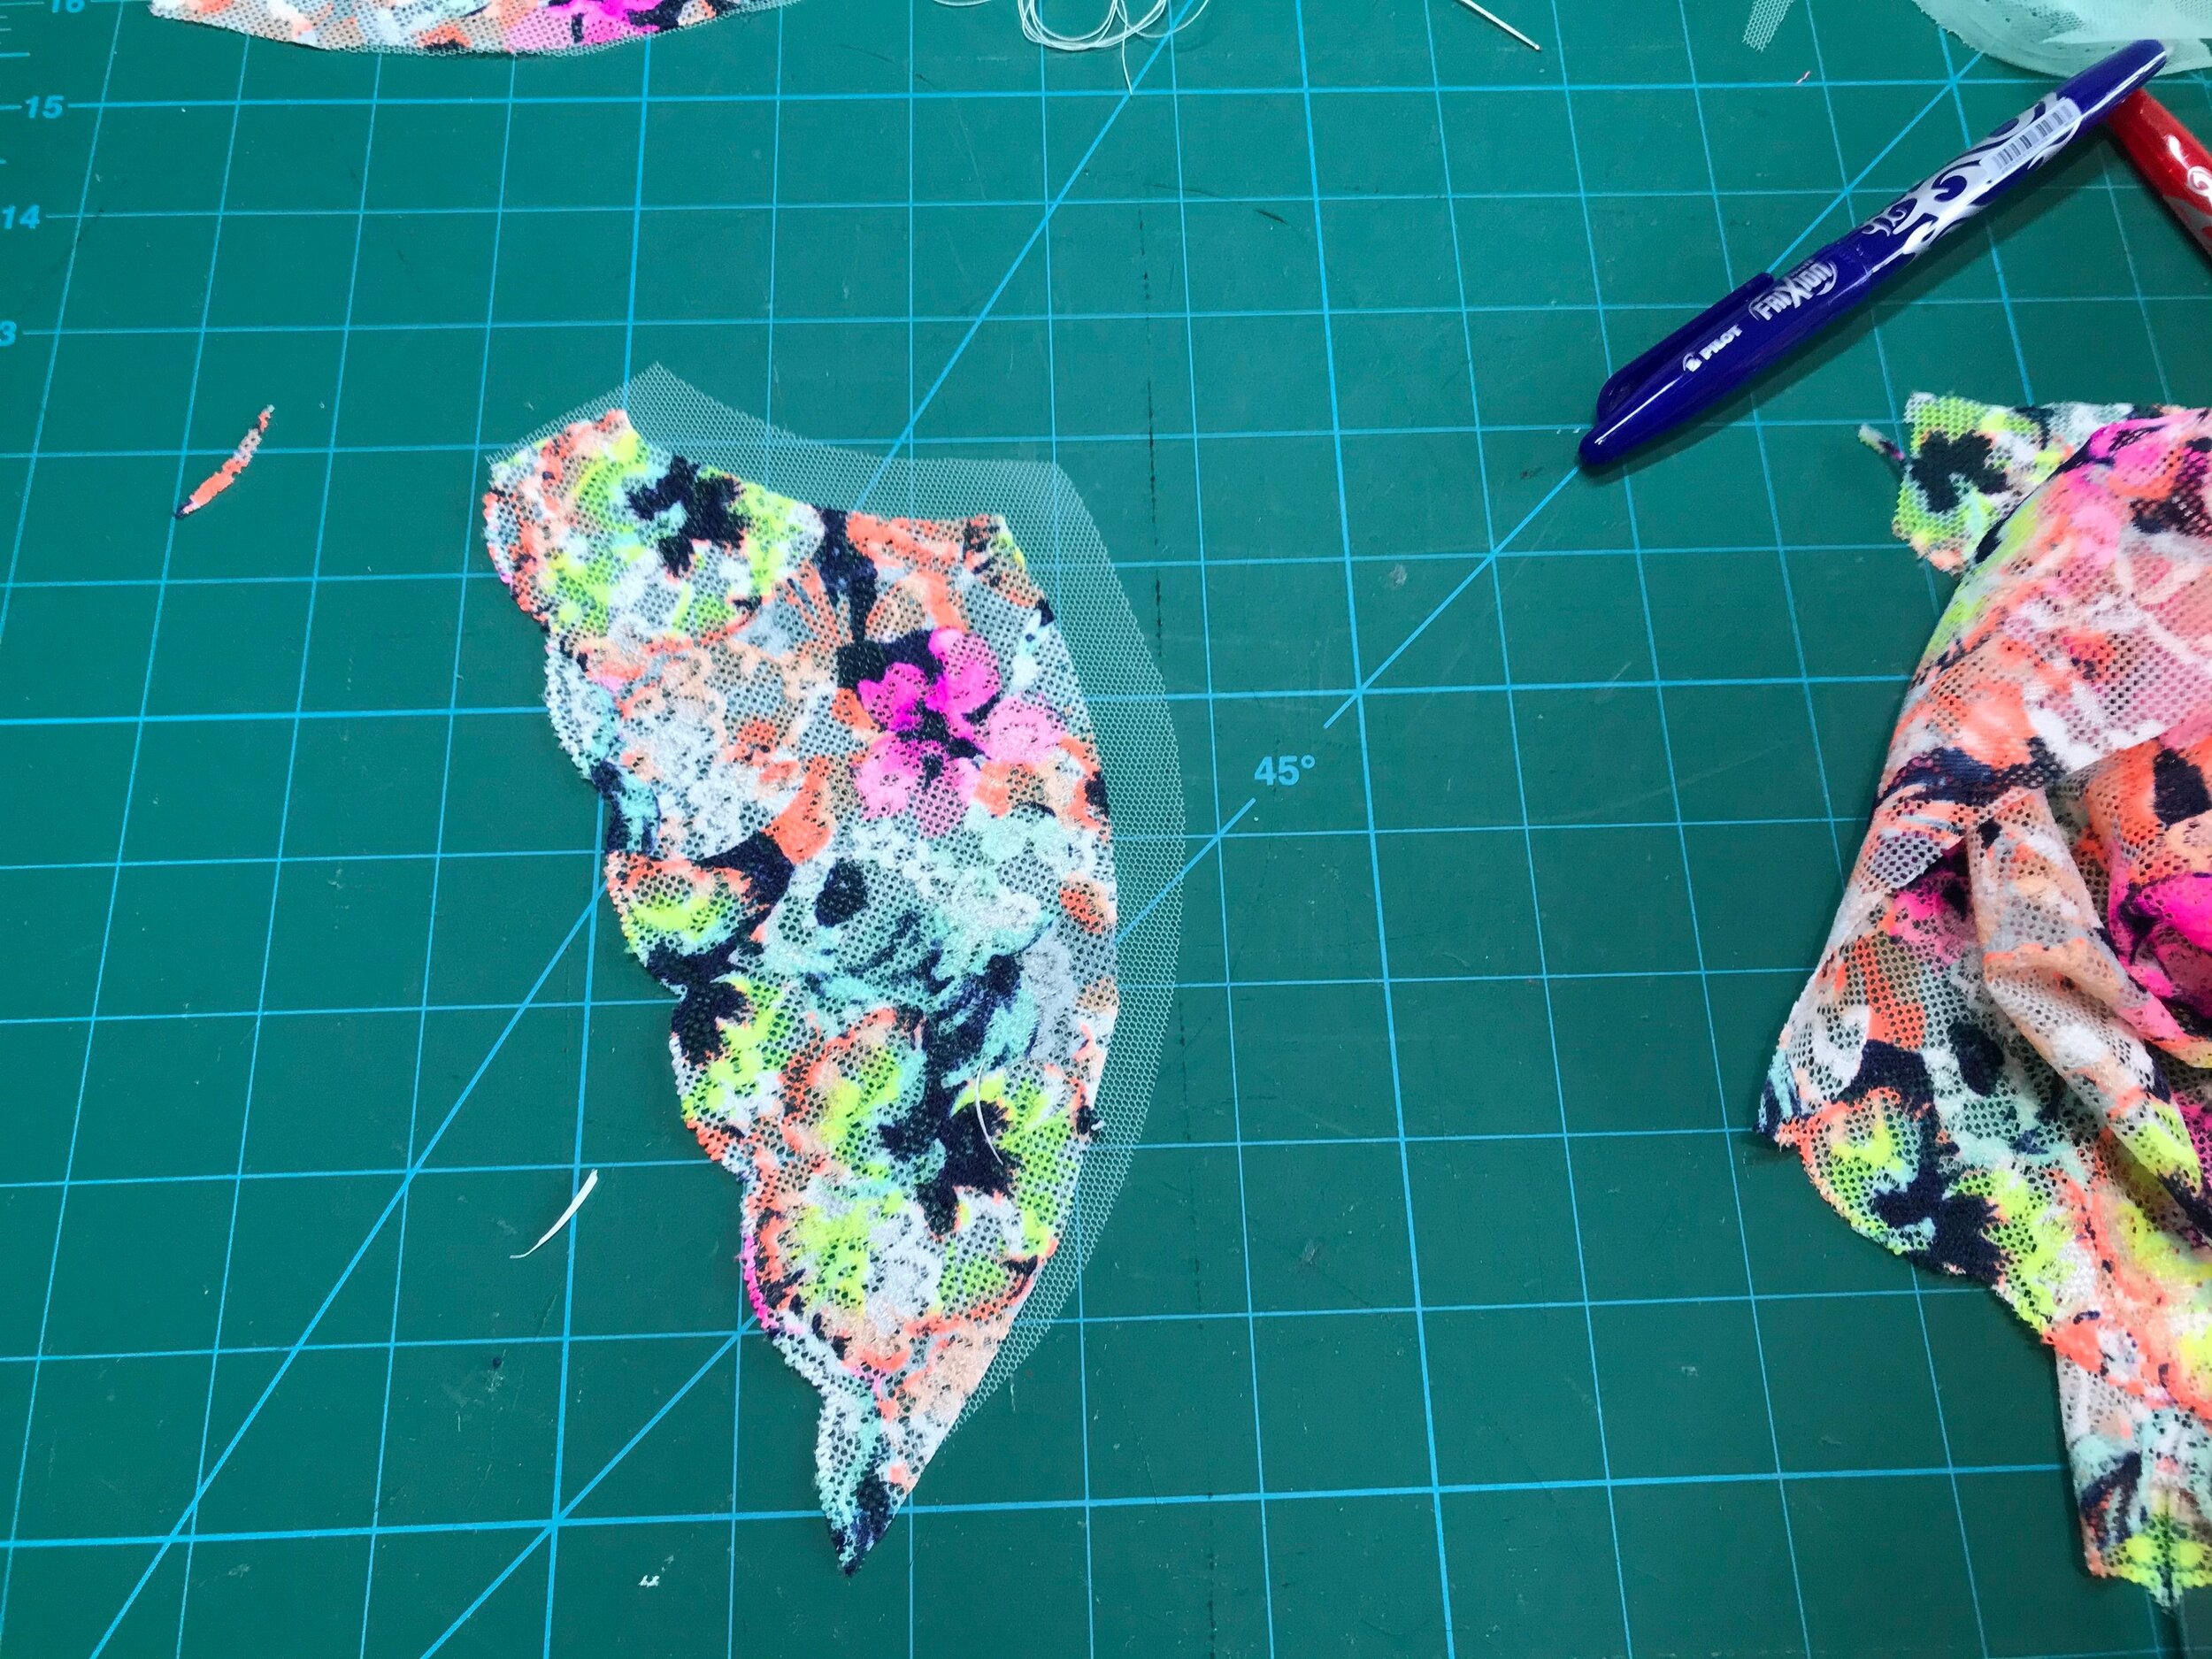
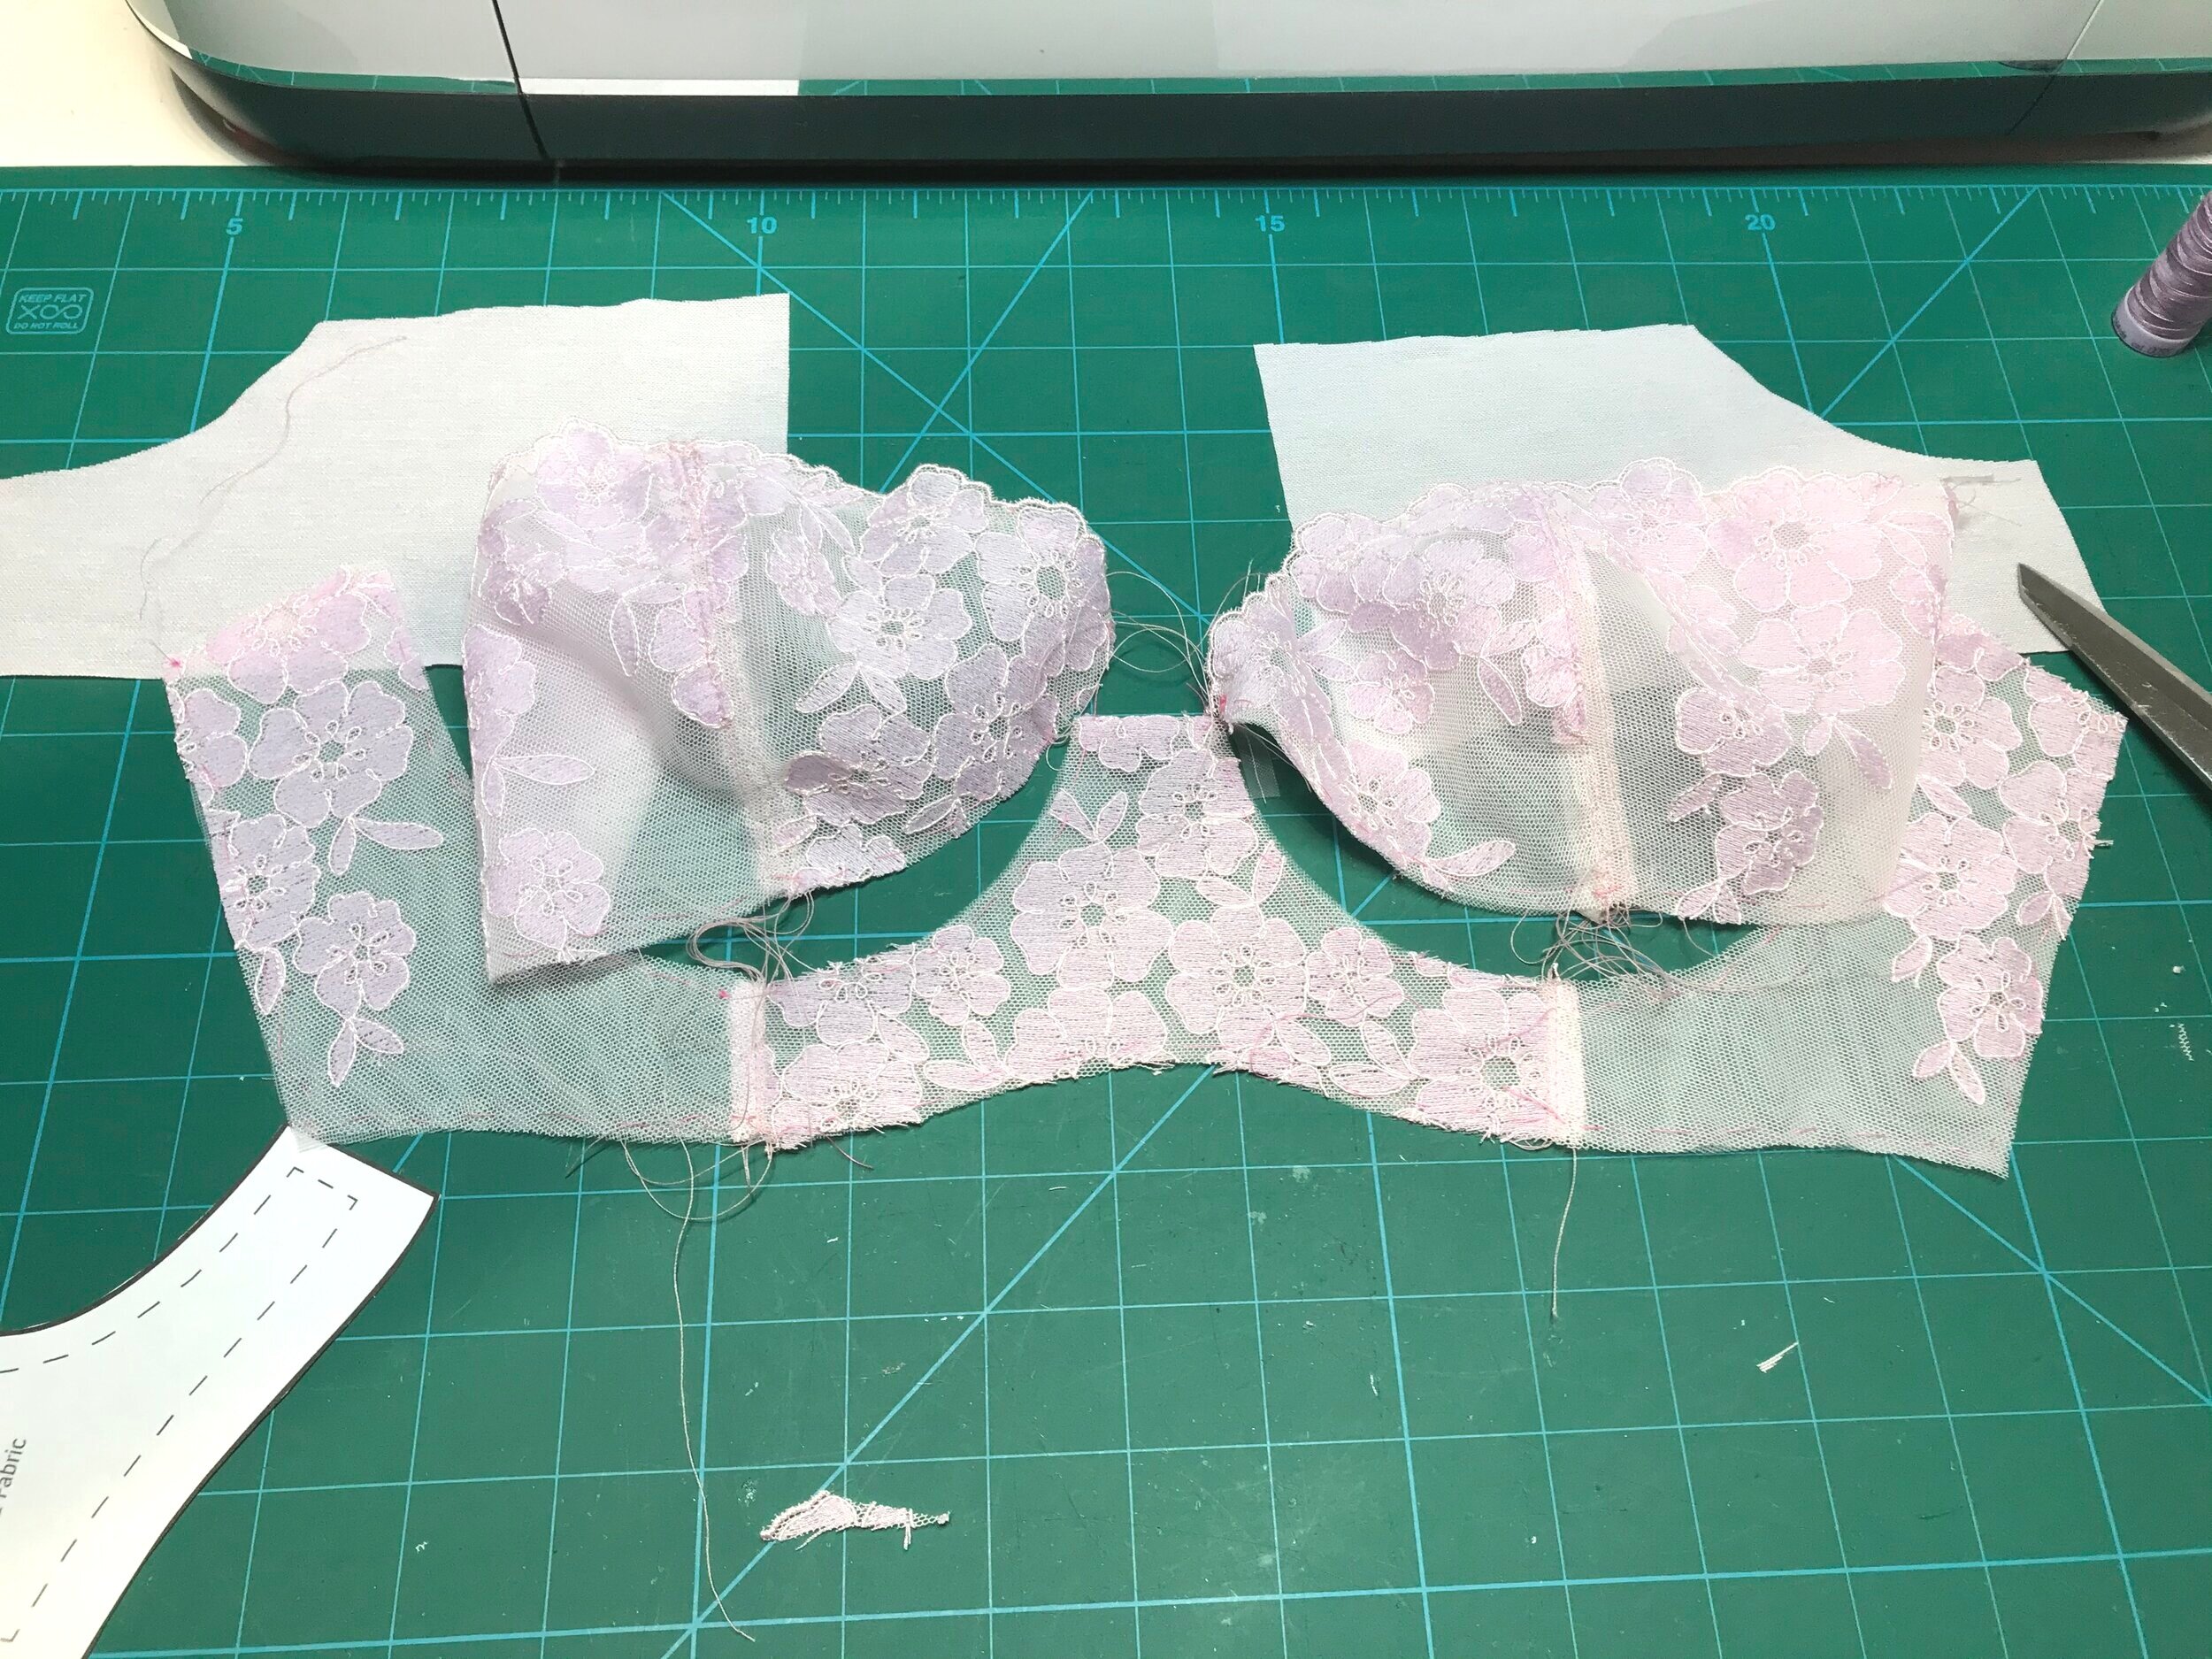
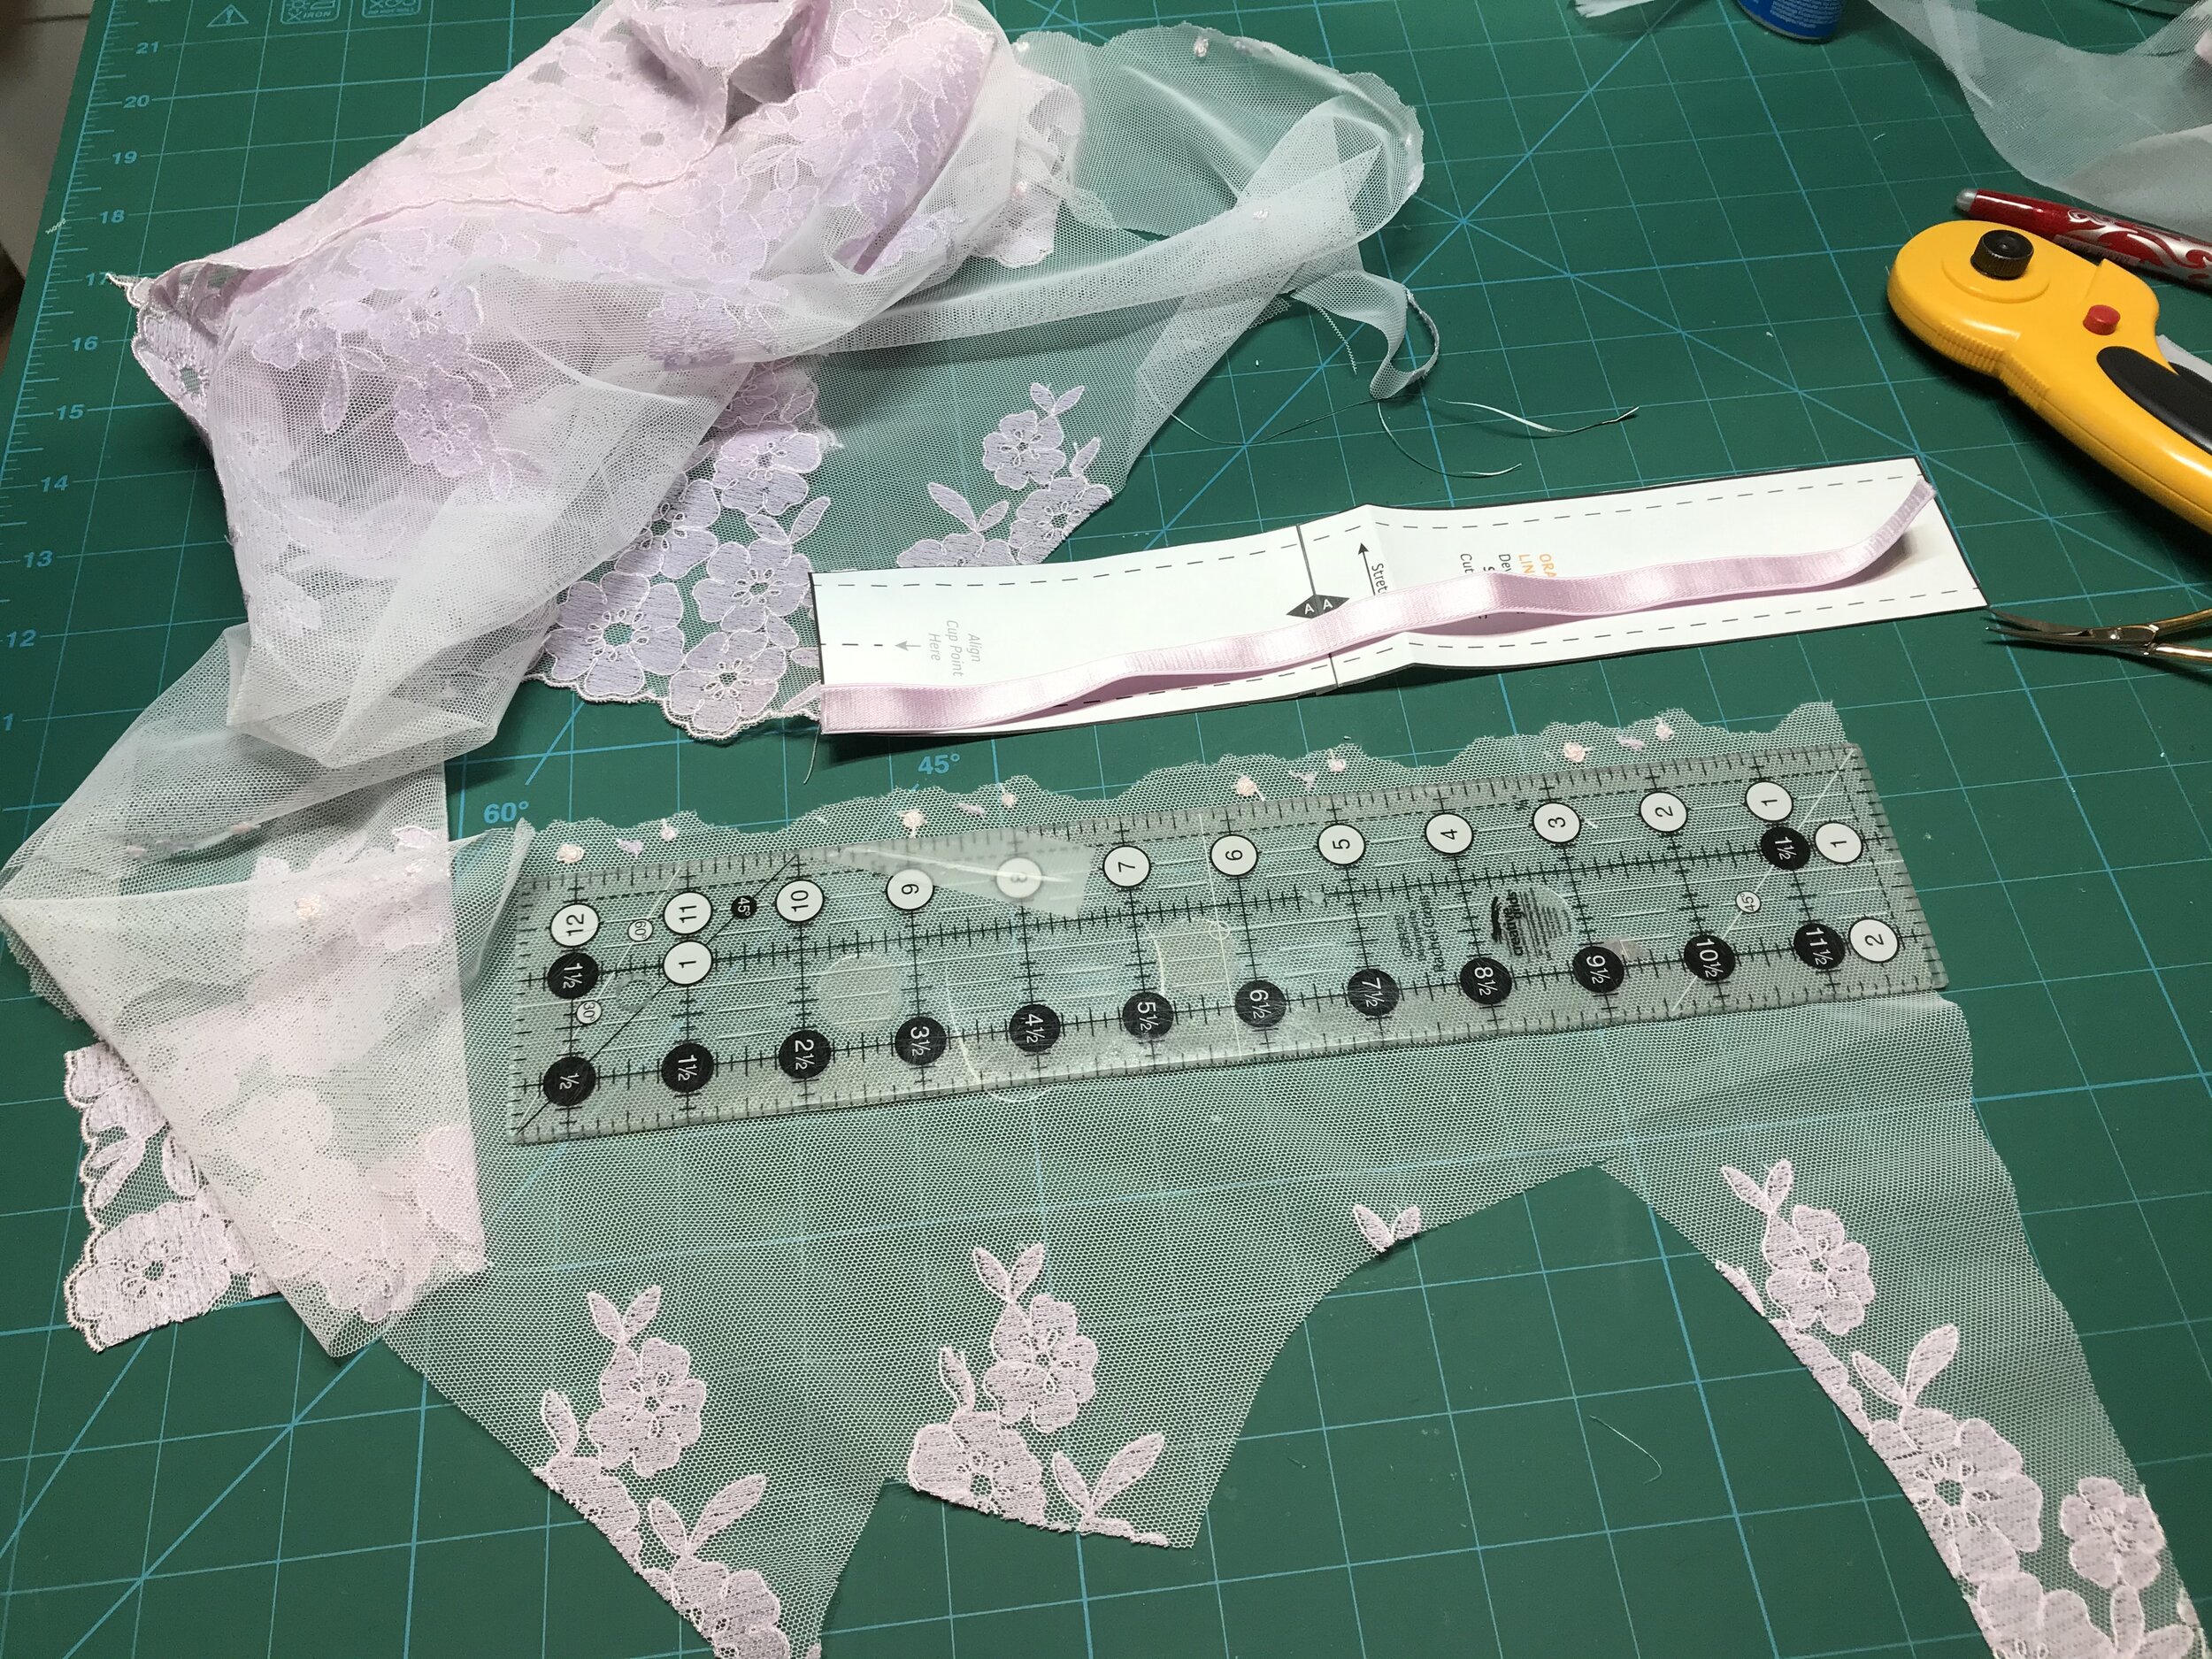
Moving on to the construction, I started with the criss-cross pieces. It was a little fiddly to get the pieces in place as you have multiple layers of fabric and elastic. I tried to machine baste in place but the fabric is very slippery so I did this by hand several times so I could place before attaching to the front.
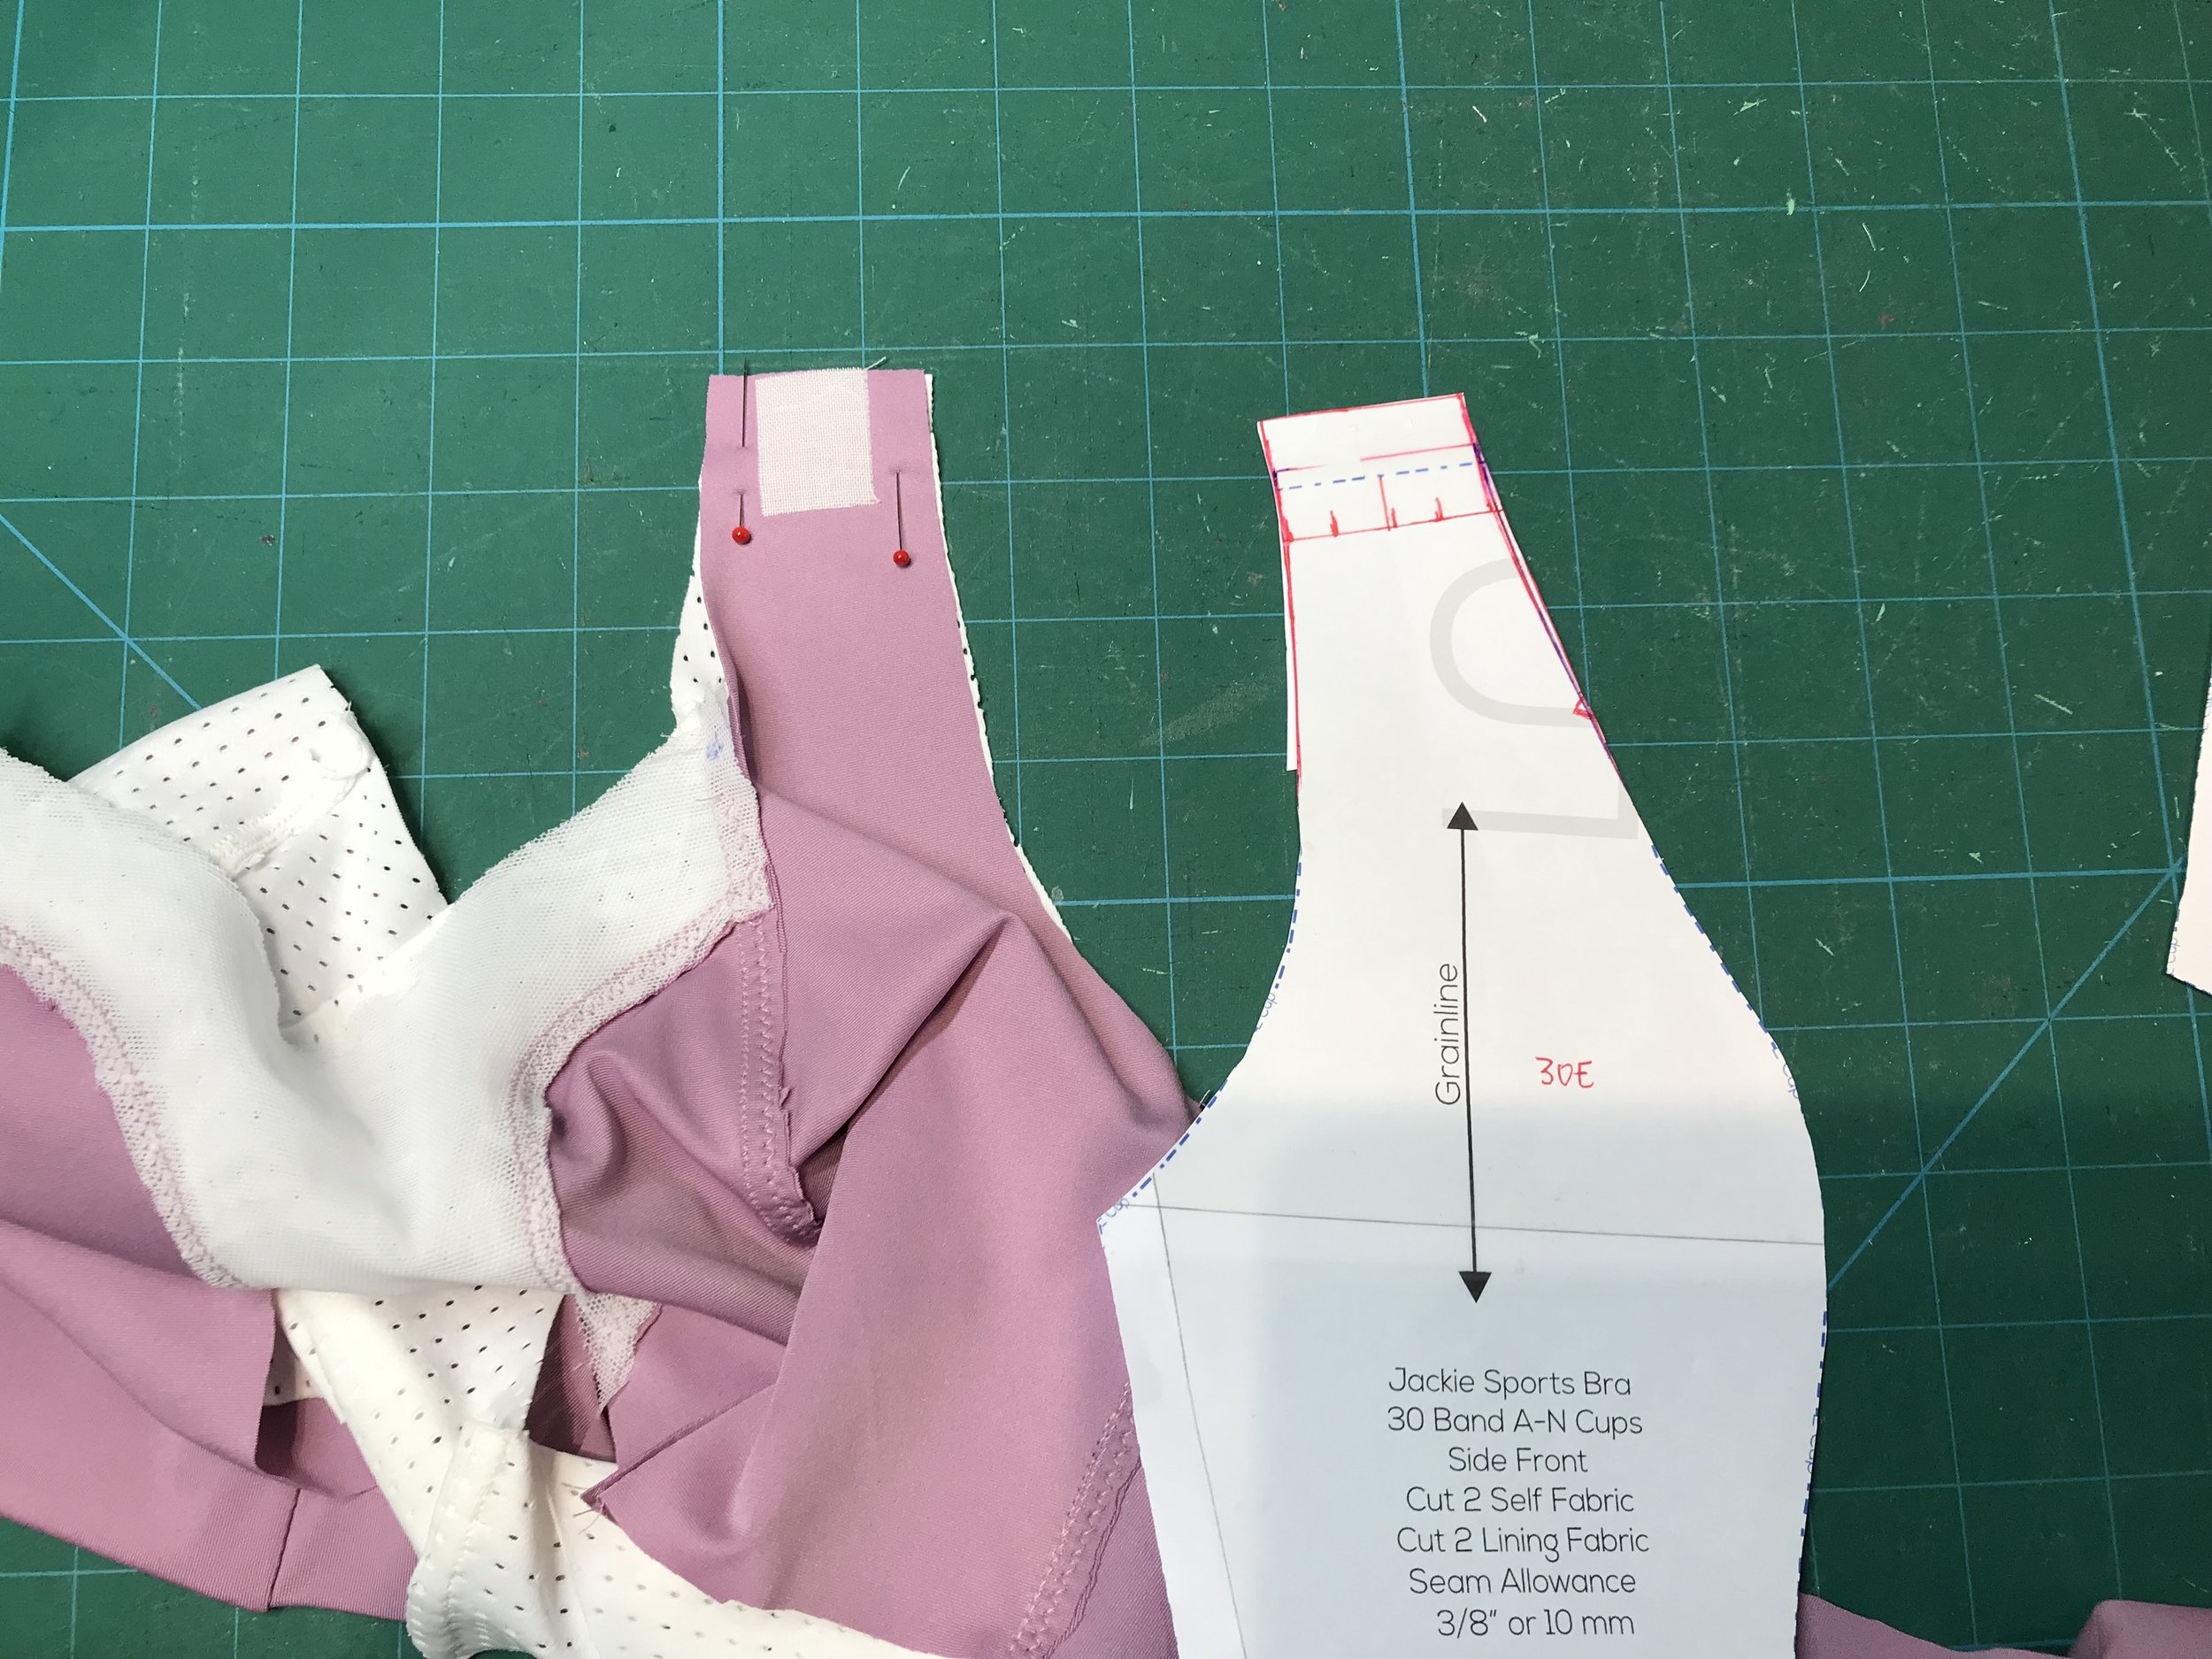
I didn’t have much room to adjust the straps for the first make so for this one I added some length to the side front. I redrew the sides so that I had a straight tab for folding over the slider as I found the shape a little bulky on the first make. I also stabilised both the main and lining fabric at this point to stop them stretching out.
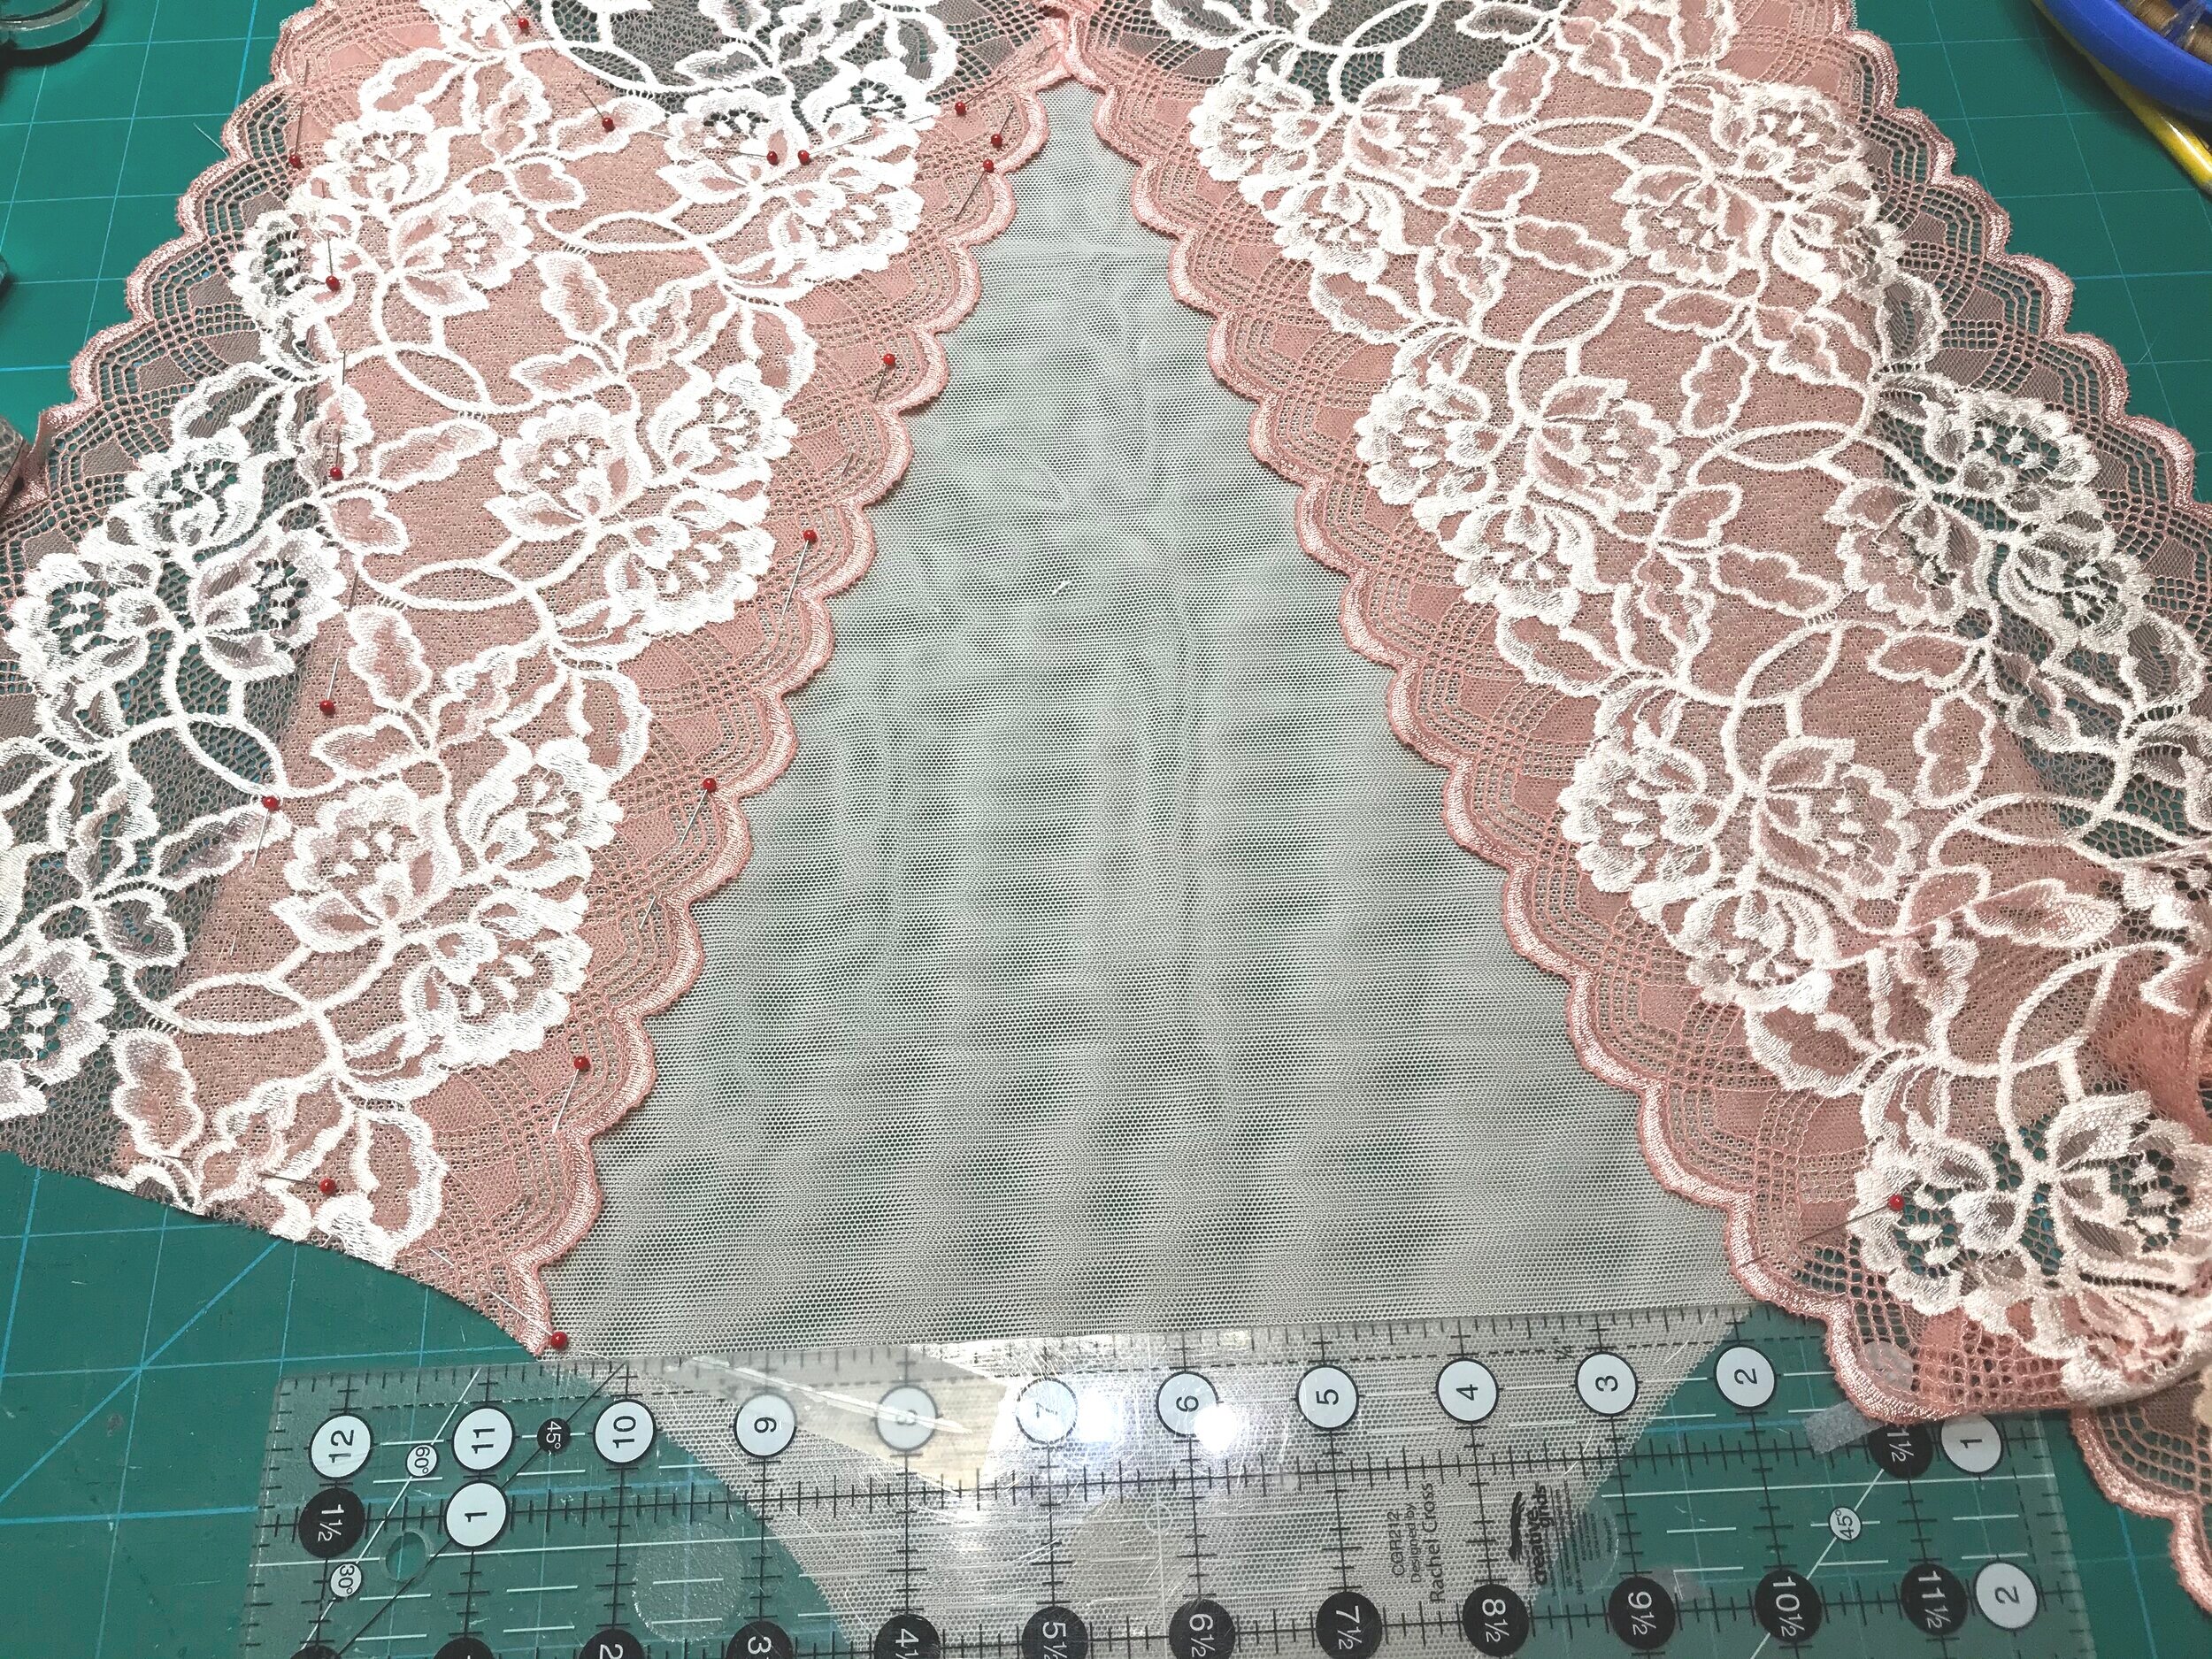
So it wasn’t until after the video when I was trying to work out how to keep the seams enclosed that I realized I couldn’t construct the Laurel in the same way as the Jackie. For the Laurel I needed to sew the back neckline and heart cut out, attach elastic and then turn through to finish. Seam ripping lightning stitches is not fun but I had to undo the four side seams. Also, the heart cut out is not as neat as I would like as I used 3/8” clear elastic and when I watched the videos on the website it said to use 1/4”. I think this is a bigger issue with the smaller sizes as there is very little distance between the neckline and where the scallops of the heart meet.
Combining the two patterns worked out brilliantly although I did have to think through the construction to put the two together. The only difference is that the band seam is not enclosed.
Despite the hiccups along the way it turned out pretty well. In conclusion the sizing is spot on and the shaping is beautiful. This is a fabulous day bra and will be perfect for long walks and cycling and trips out in the motorhome.
If you are interested you can buy the Jackie at half price until the 26th November and, in addition, on Black Friday itself (the 26th November) there is a 25% discount on all Porcelynne patterns. For my test makes I have used scraps of fabric but Jennifer has put together some kits specifically for the Jackie as well as having some sports bra knit fabric by the yard in some lovely colours. BWear has also put together some kits that are suitable for the Jackie (both the Jackie and Emily kit).
Back with a new blog soon.
