A perfect Marlborough Bra to finish the year - Sketching and Shirring Elastic!
Being part of Tailormade’s #TMCollaBRAtory and Emerald Erin’s Bra-a-week Challenge has made me really push myself in terms of design and technique so I wanted something really special for my December project to finish the year off in style. Given the issues with the post, at Christmas, I was lucky my delivery arrived in time.
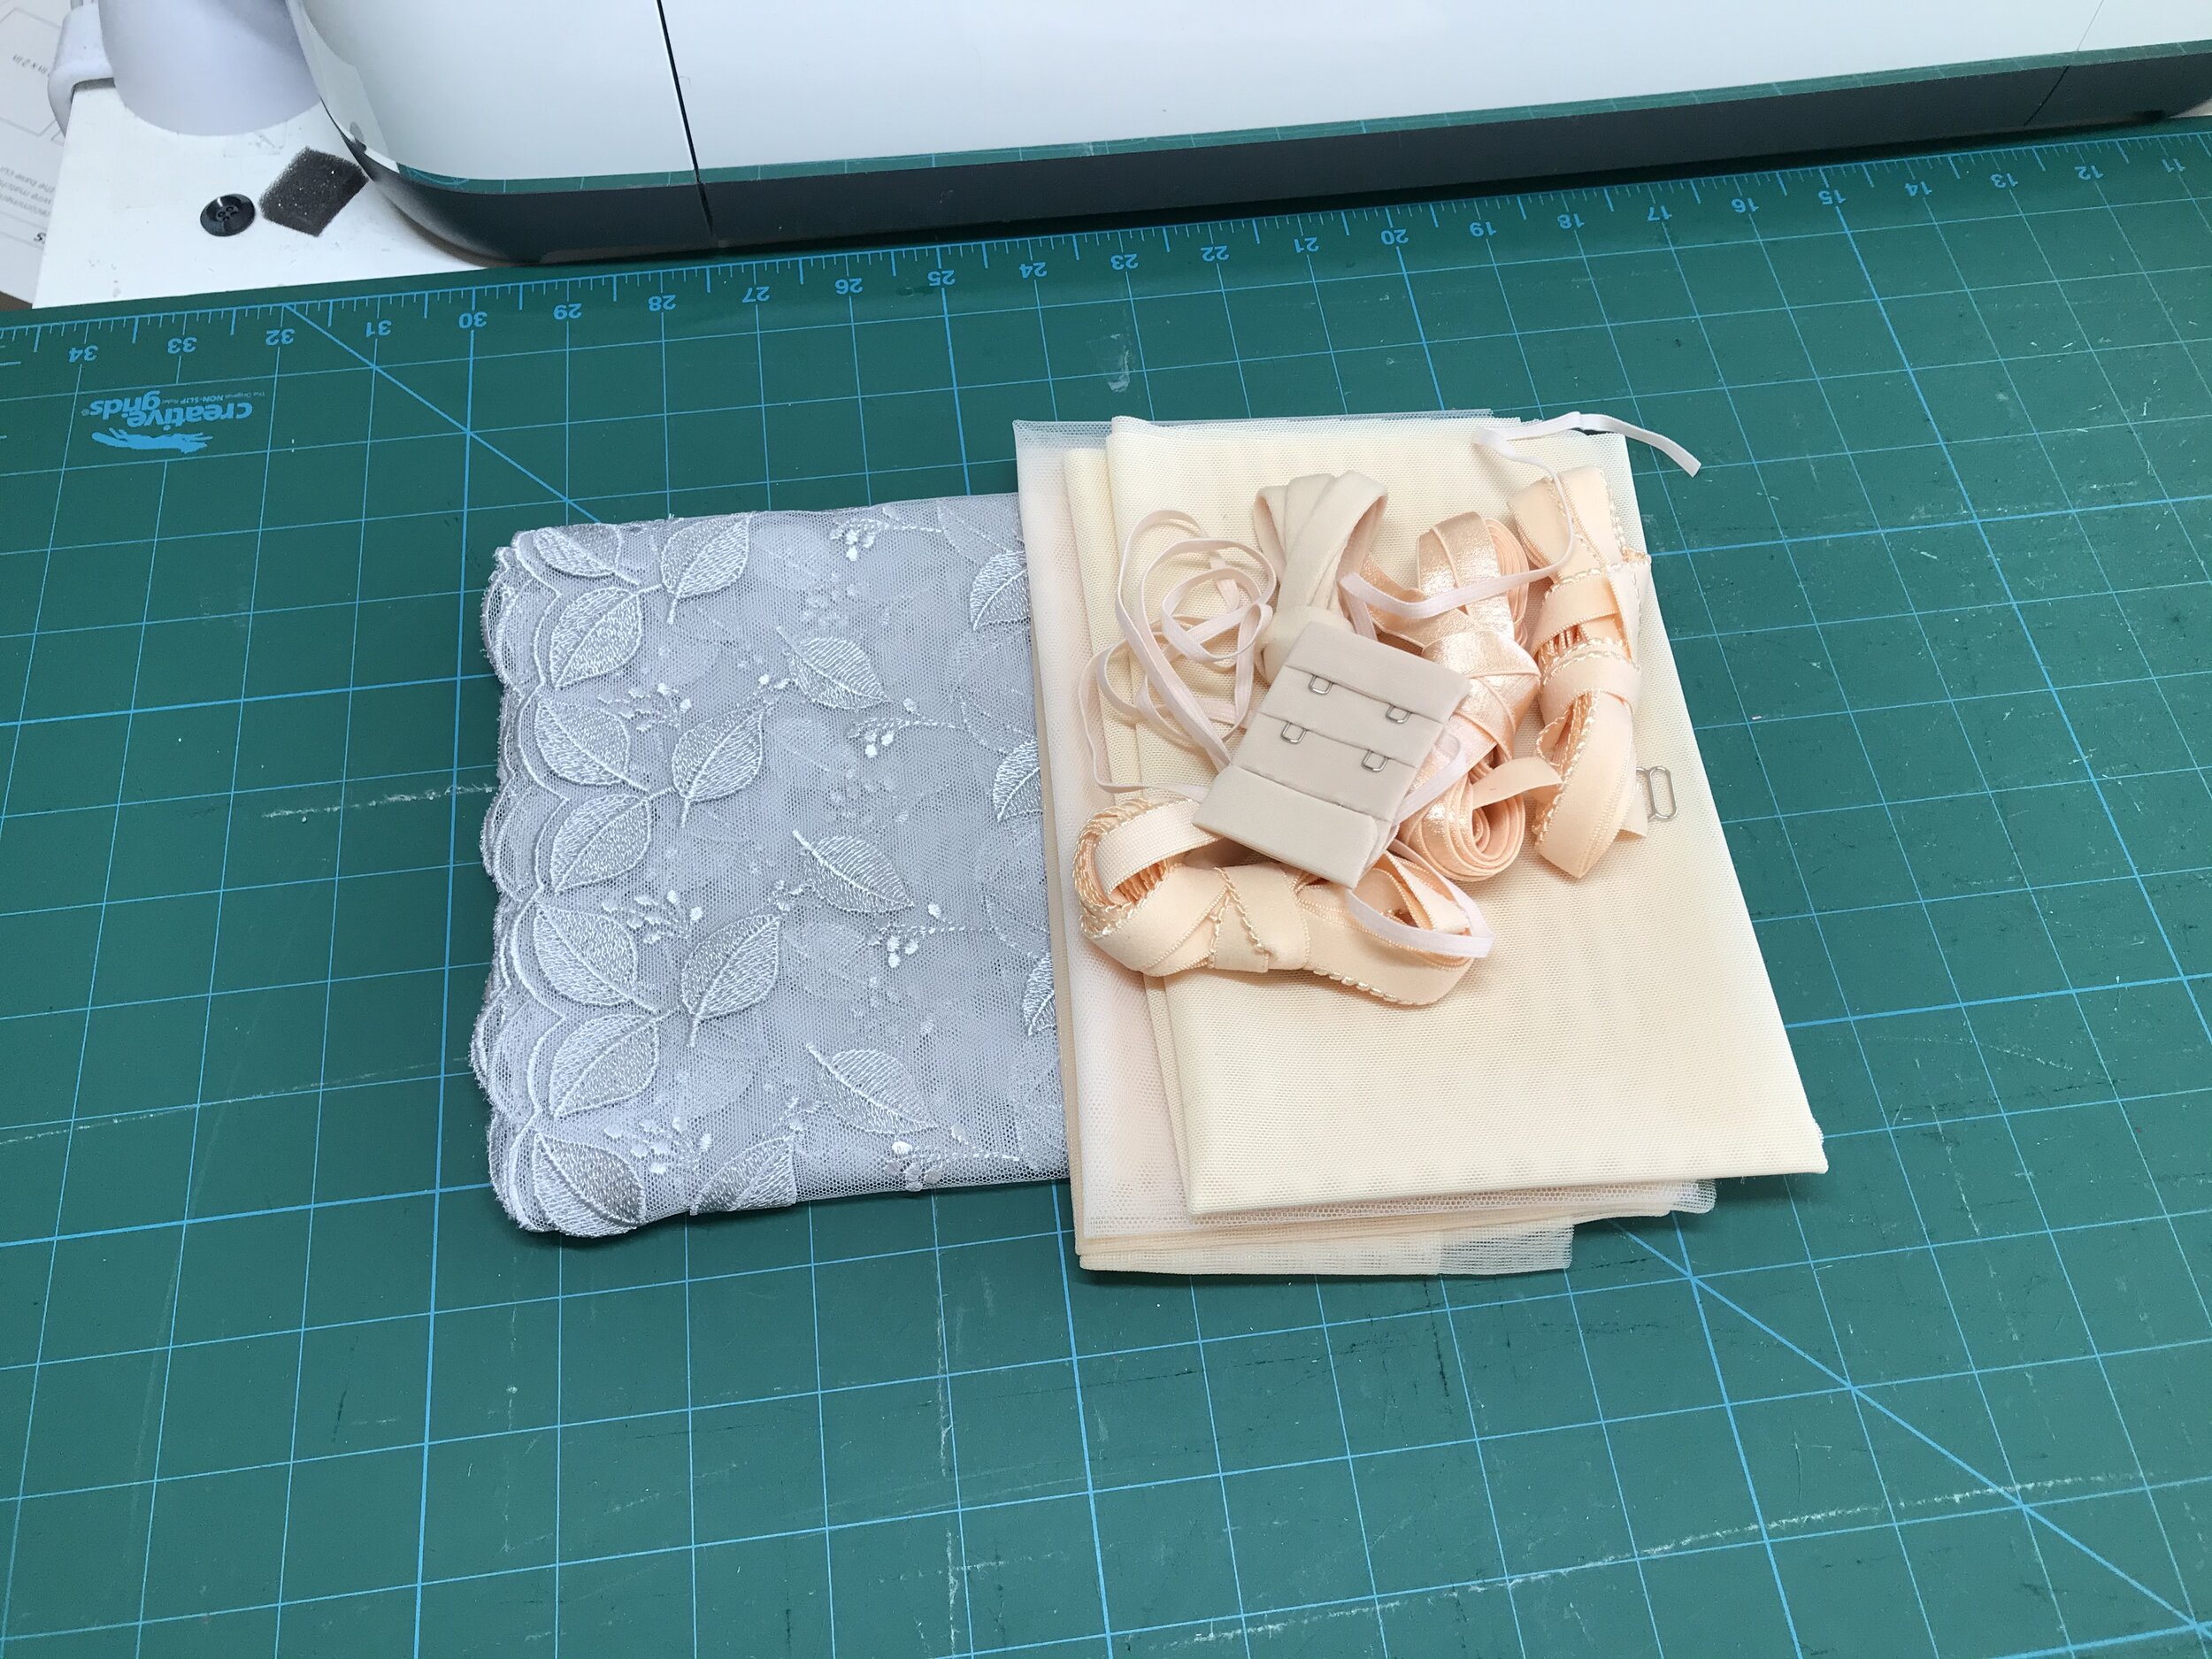
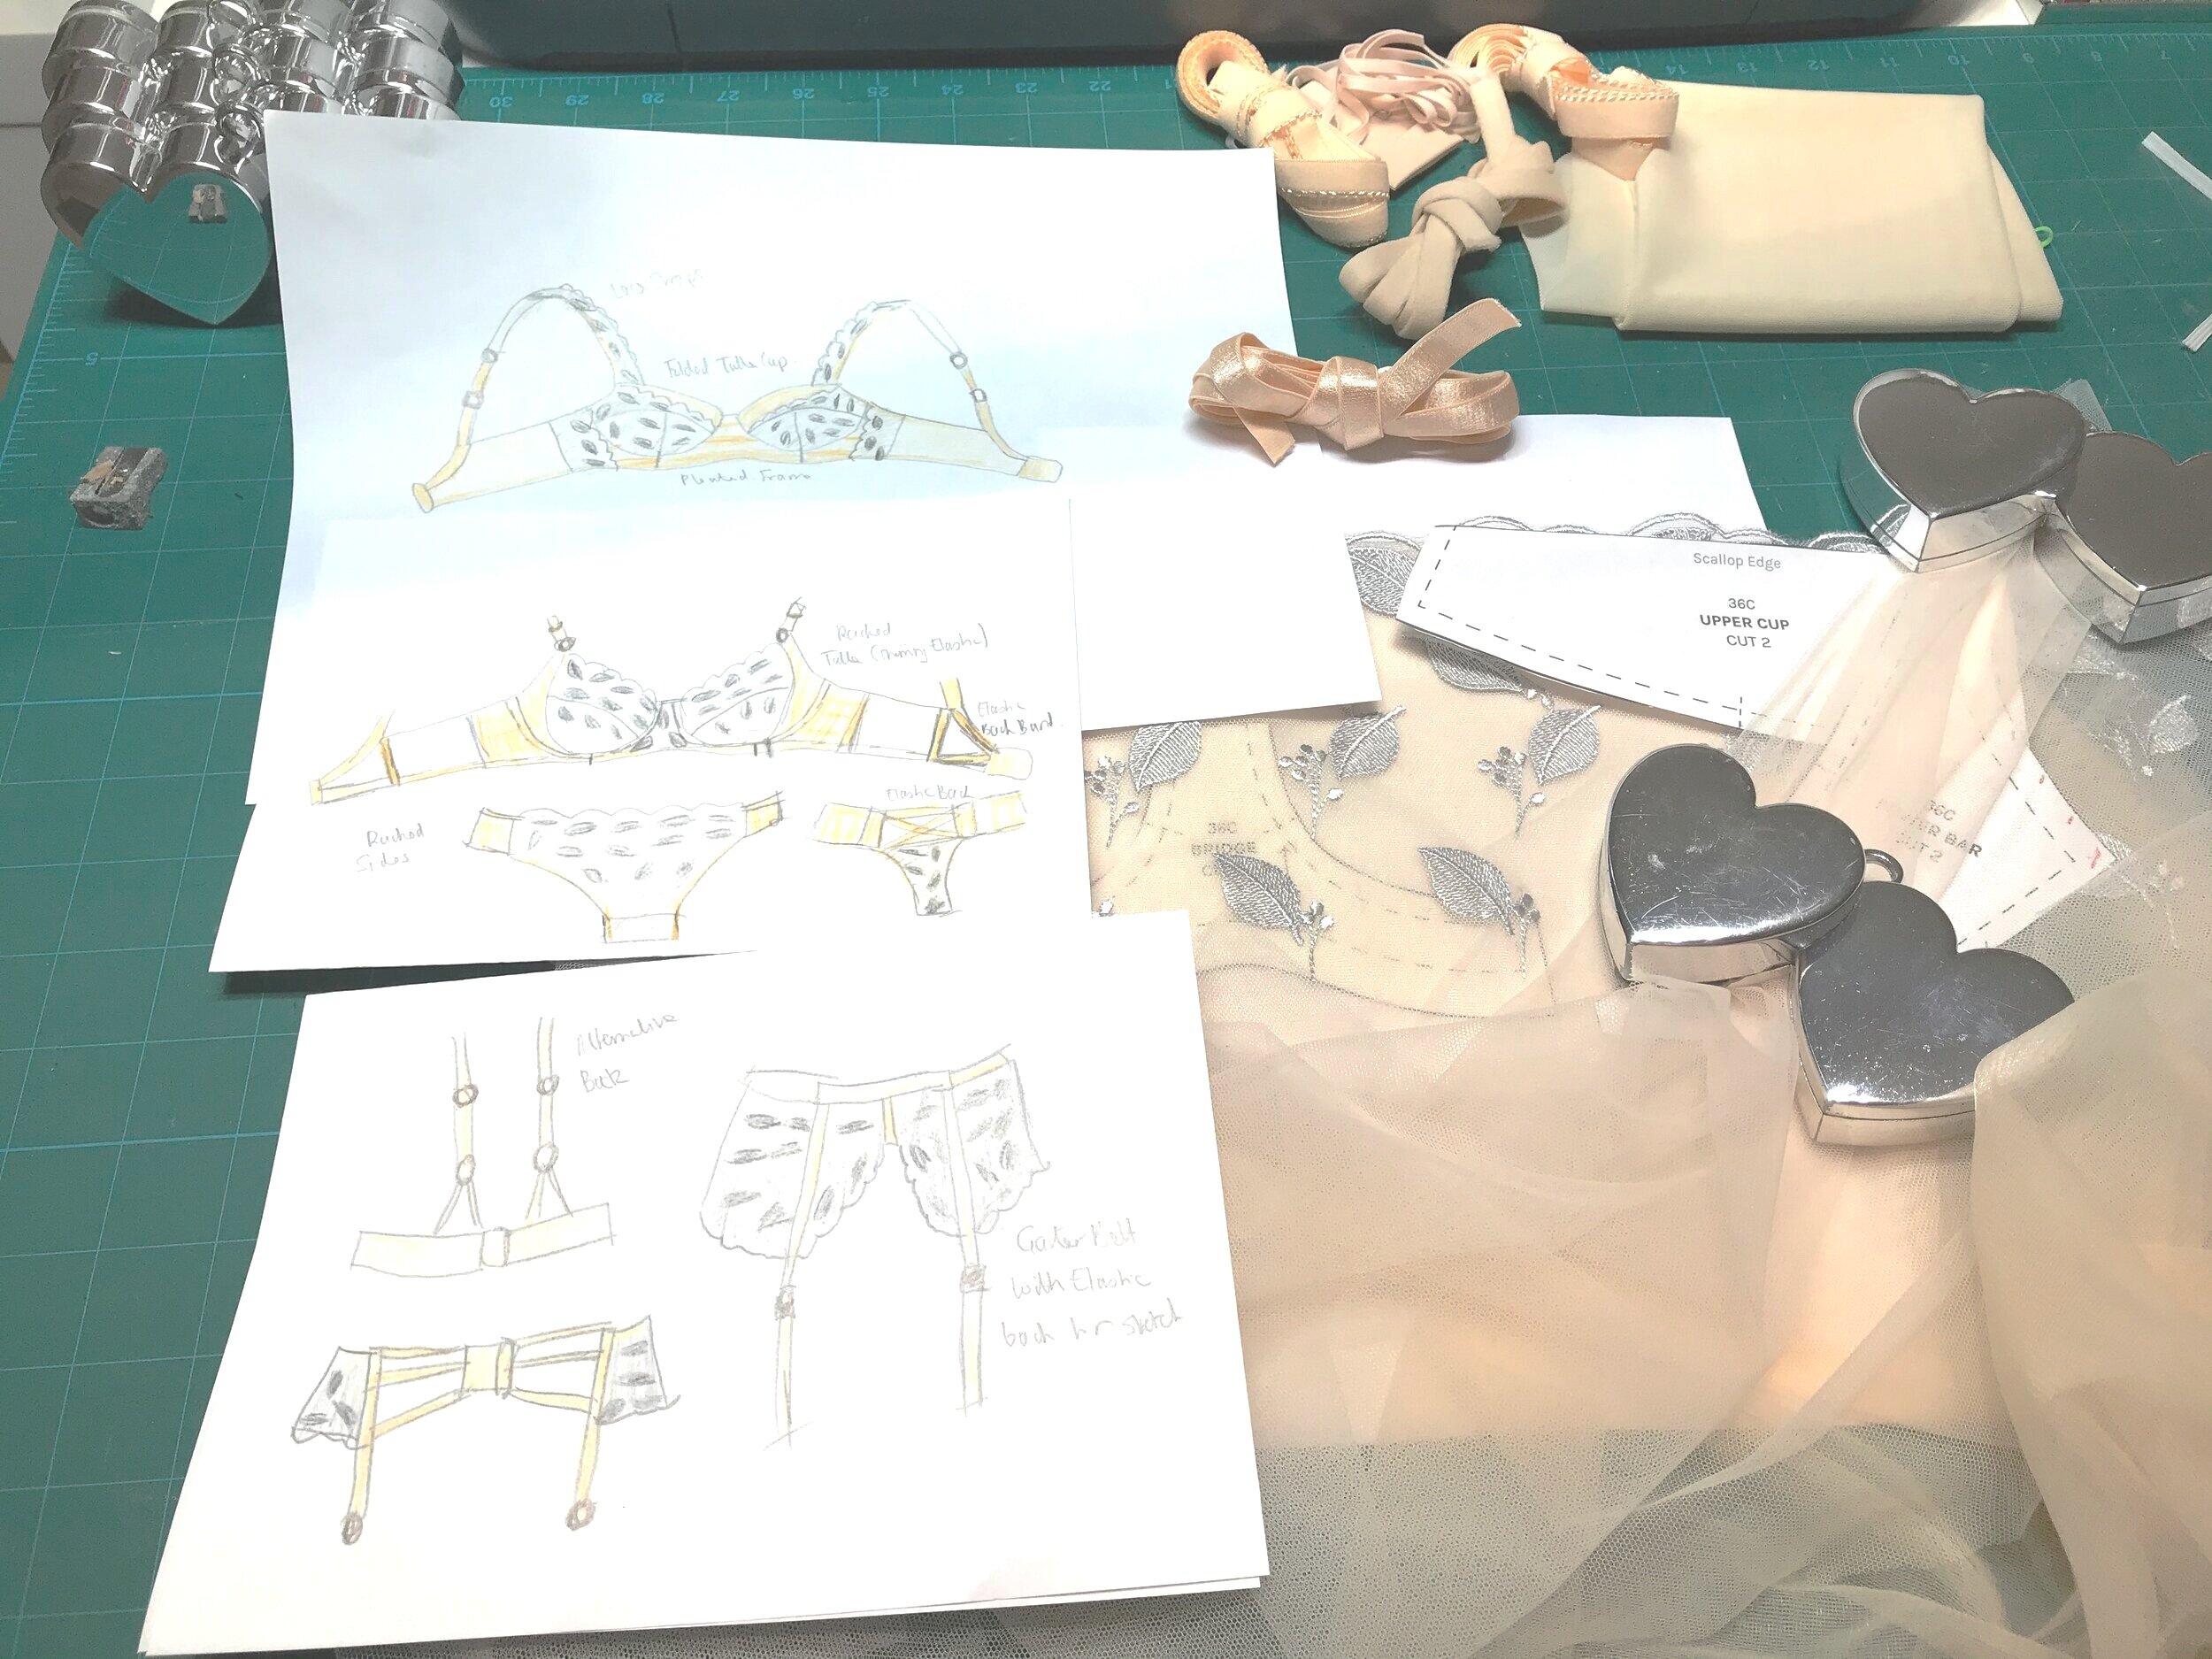
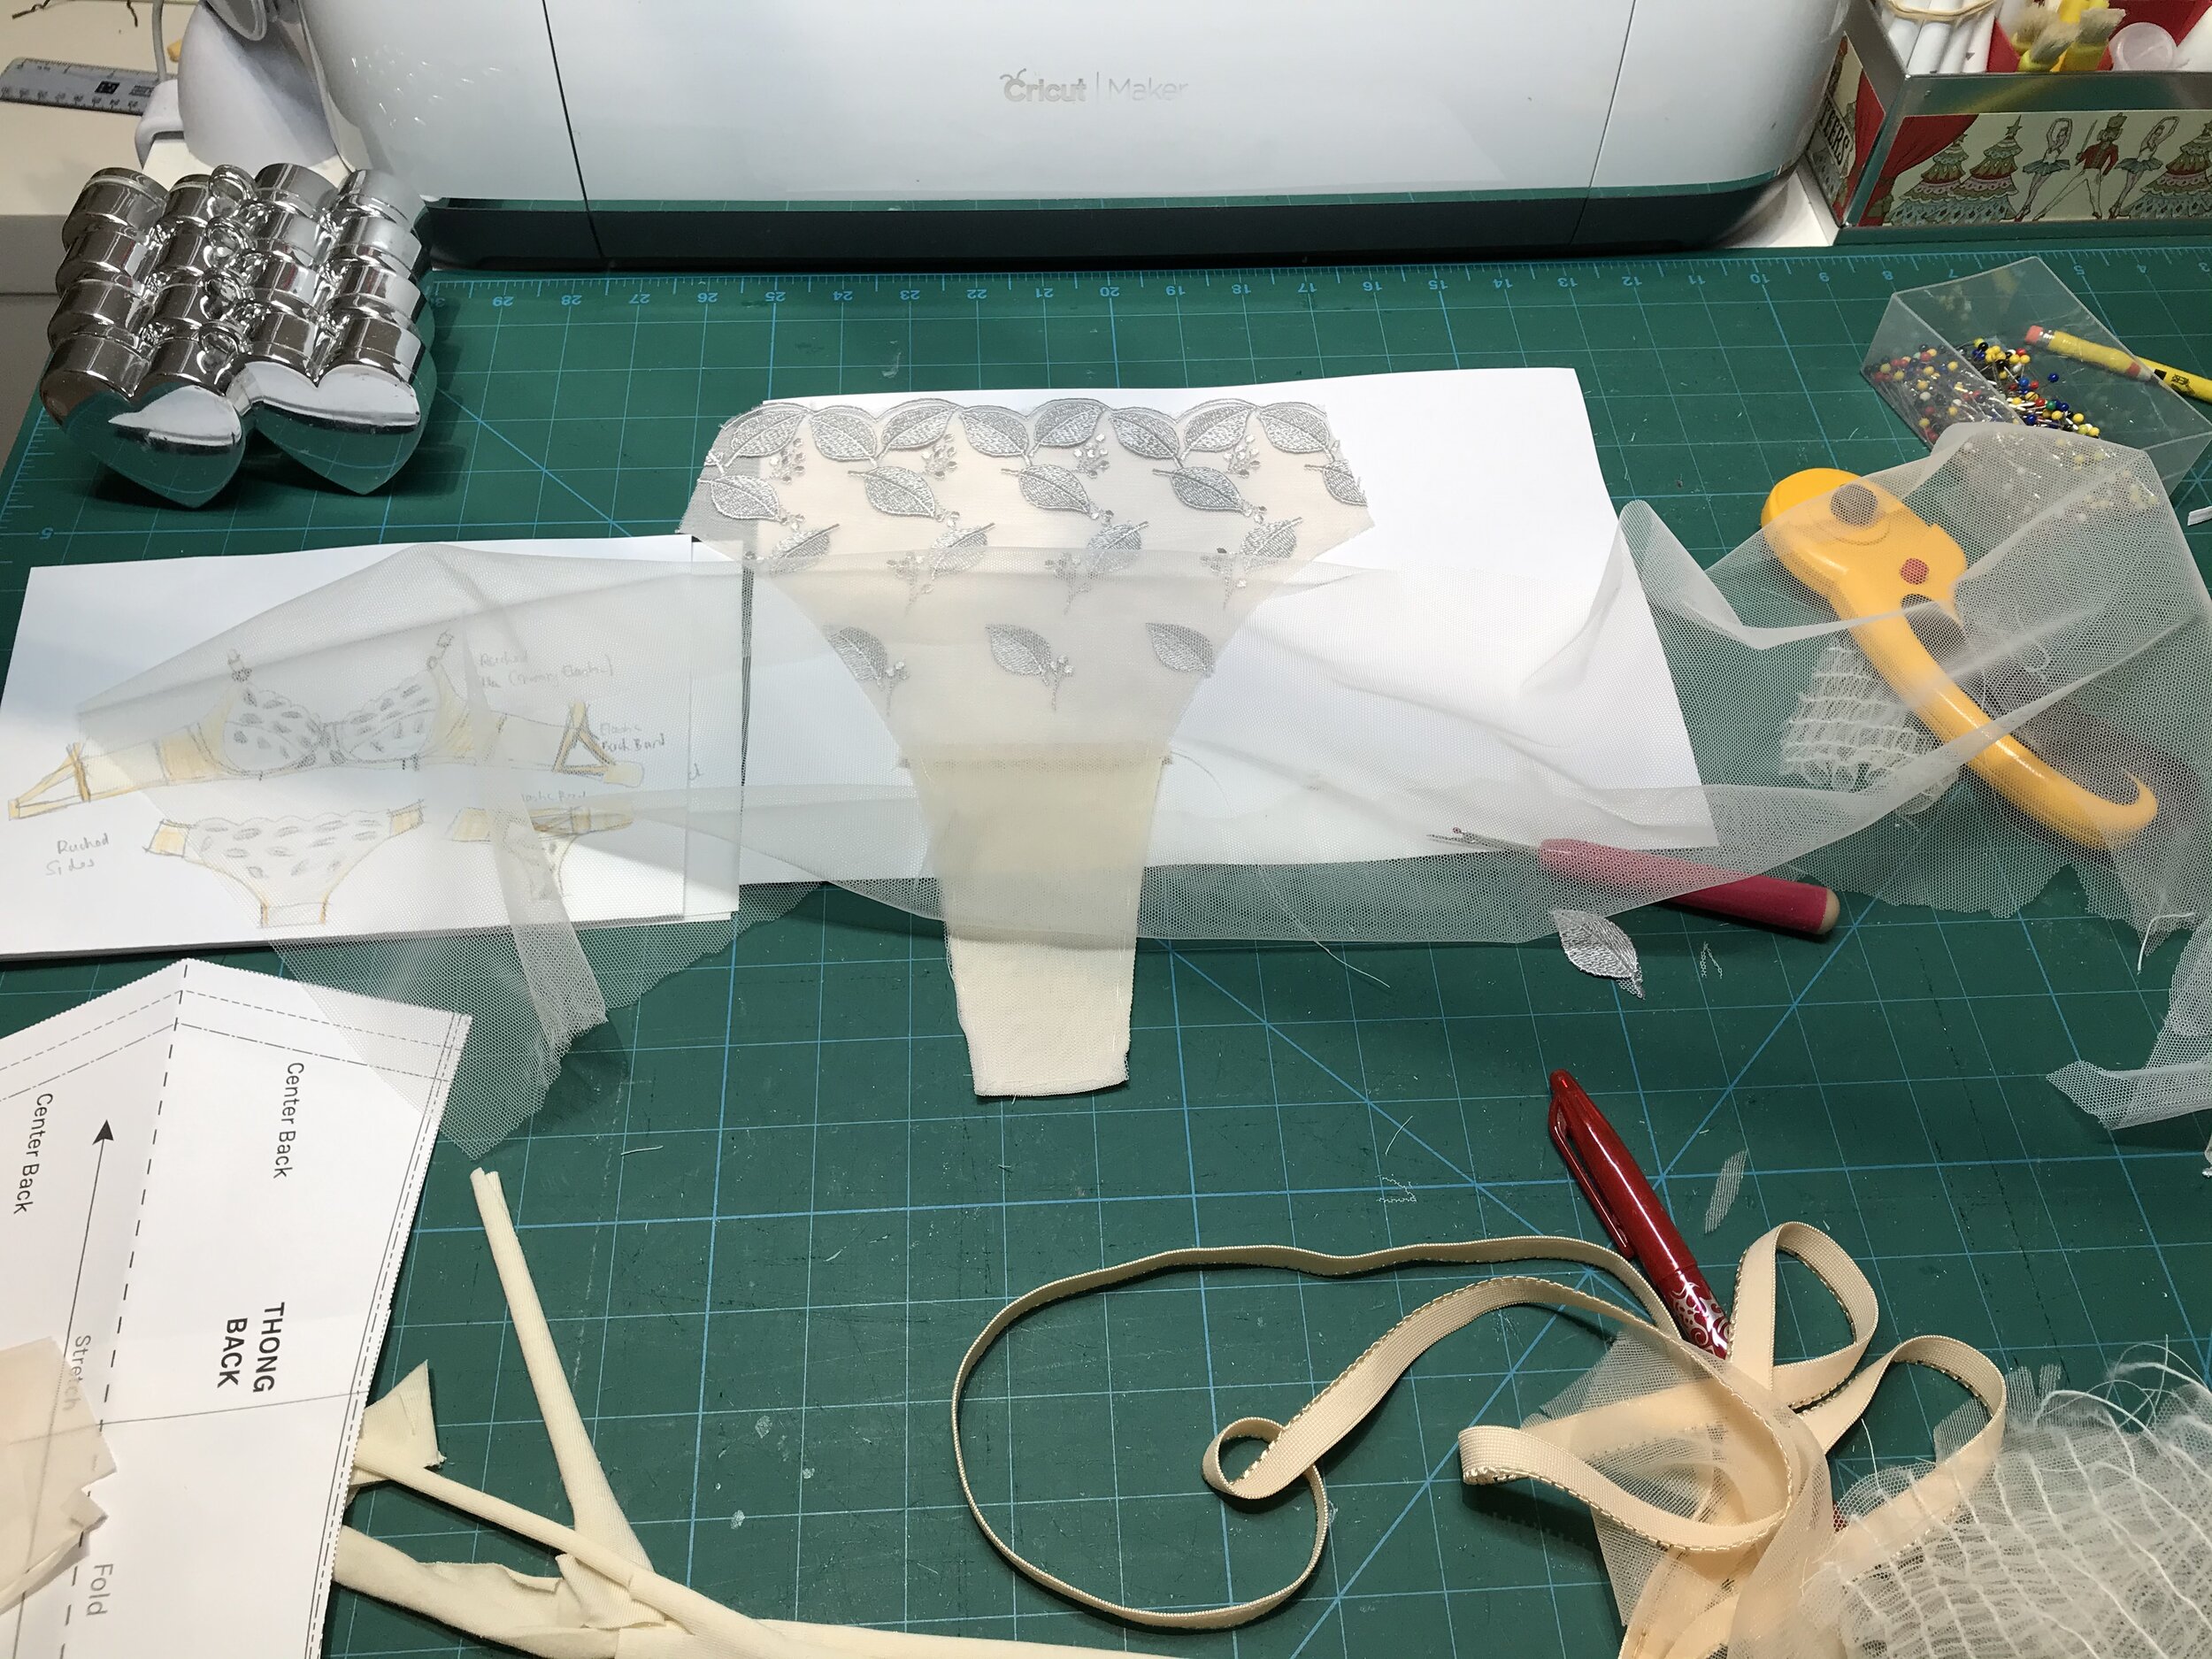
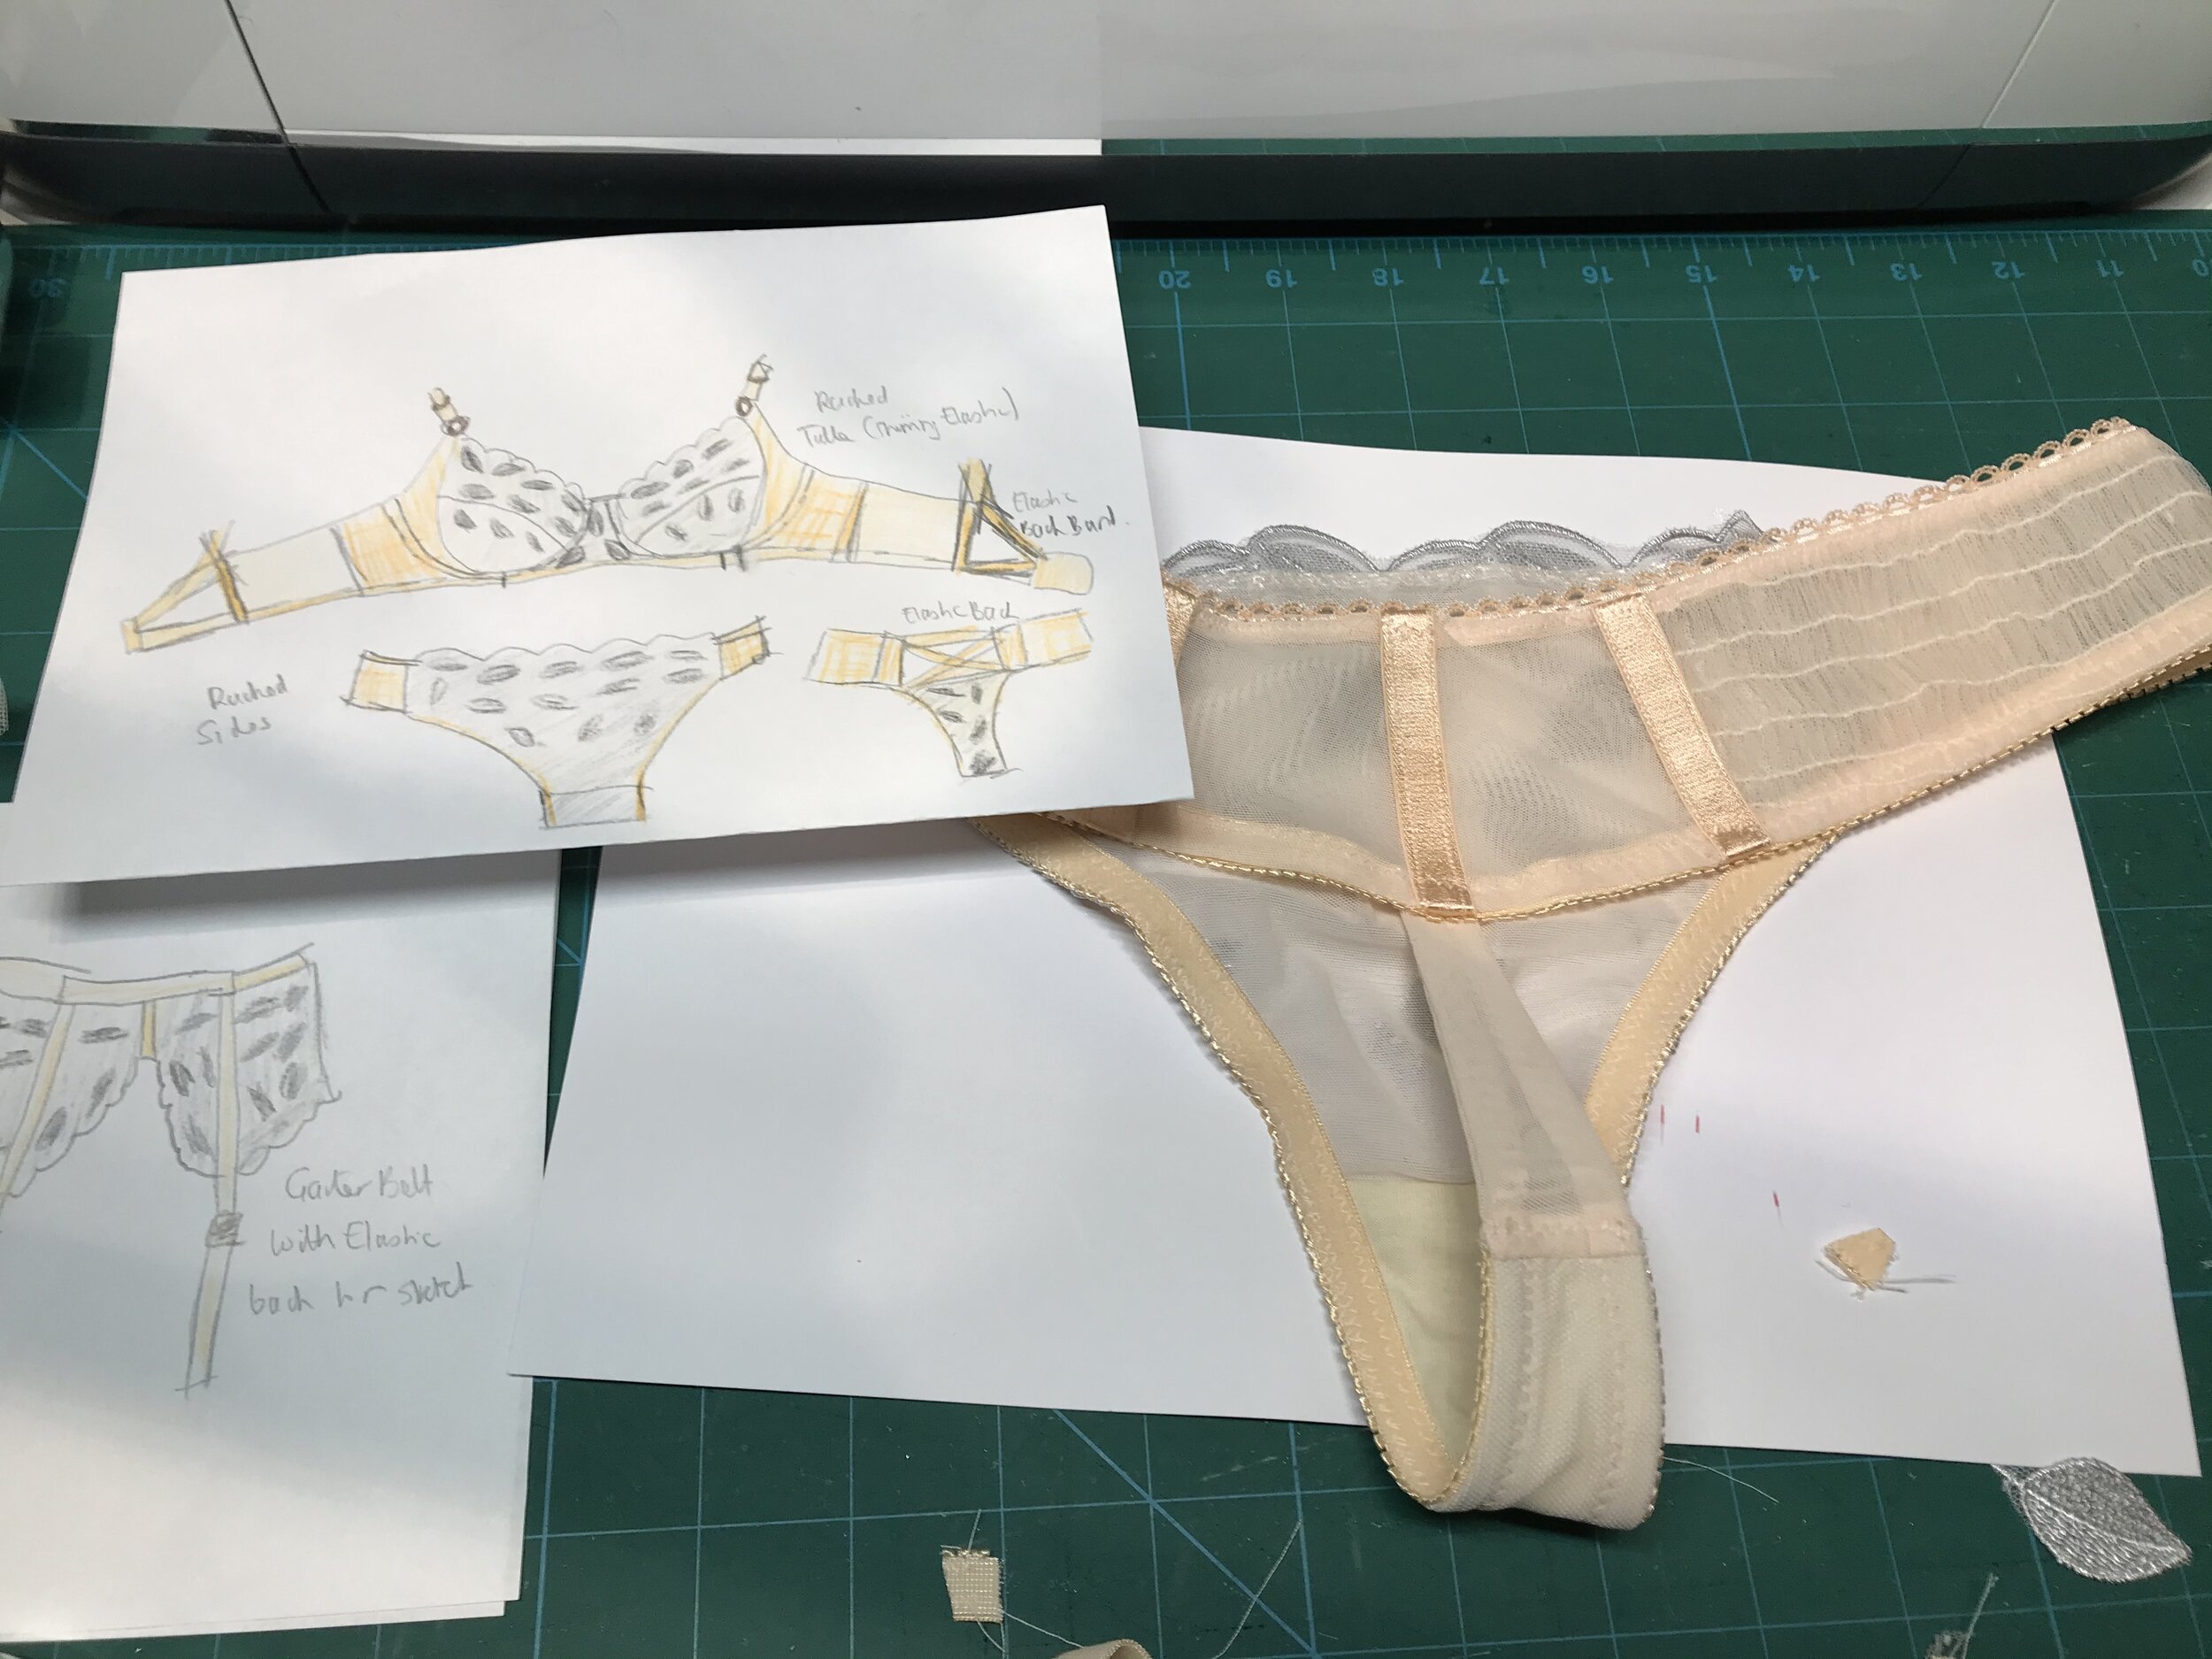
The kit was a non stretch embroidered tulle lace with peach elastic, powernet, tulle and sheer lining. My first thought was a vertical seam cup like the Orange Lingerie Devonshire but I wanted to bring more of the peach into the cup. After playing with the fabric for a while I decided it was time to try sketching my ideas. Hubby provided his very best colouring pencils and I already had some metallic pencils for the silver. The drawings are only really scribbles but it really did help with the design process.
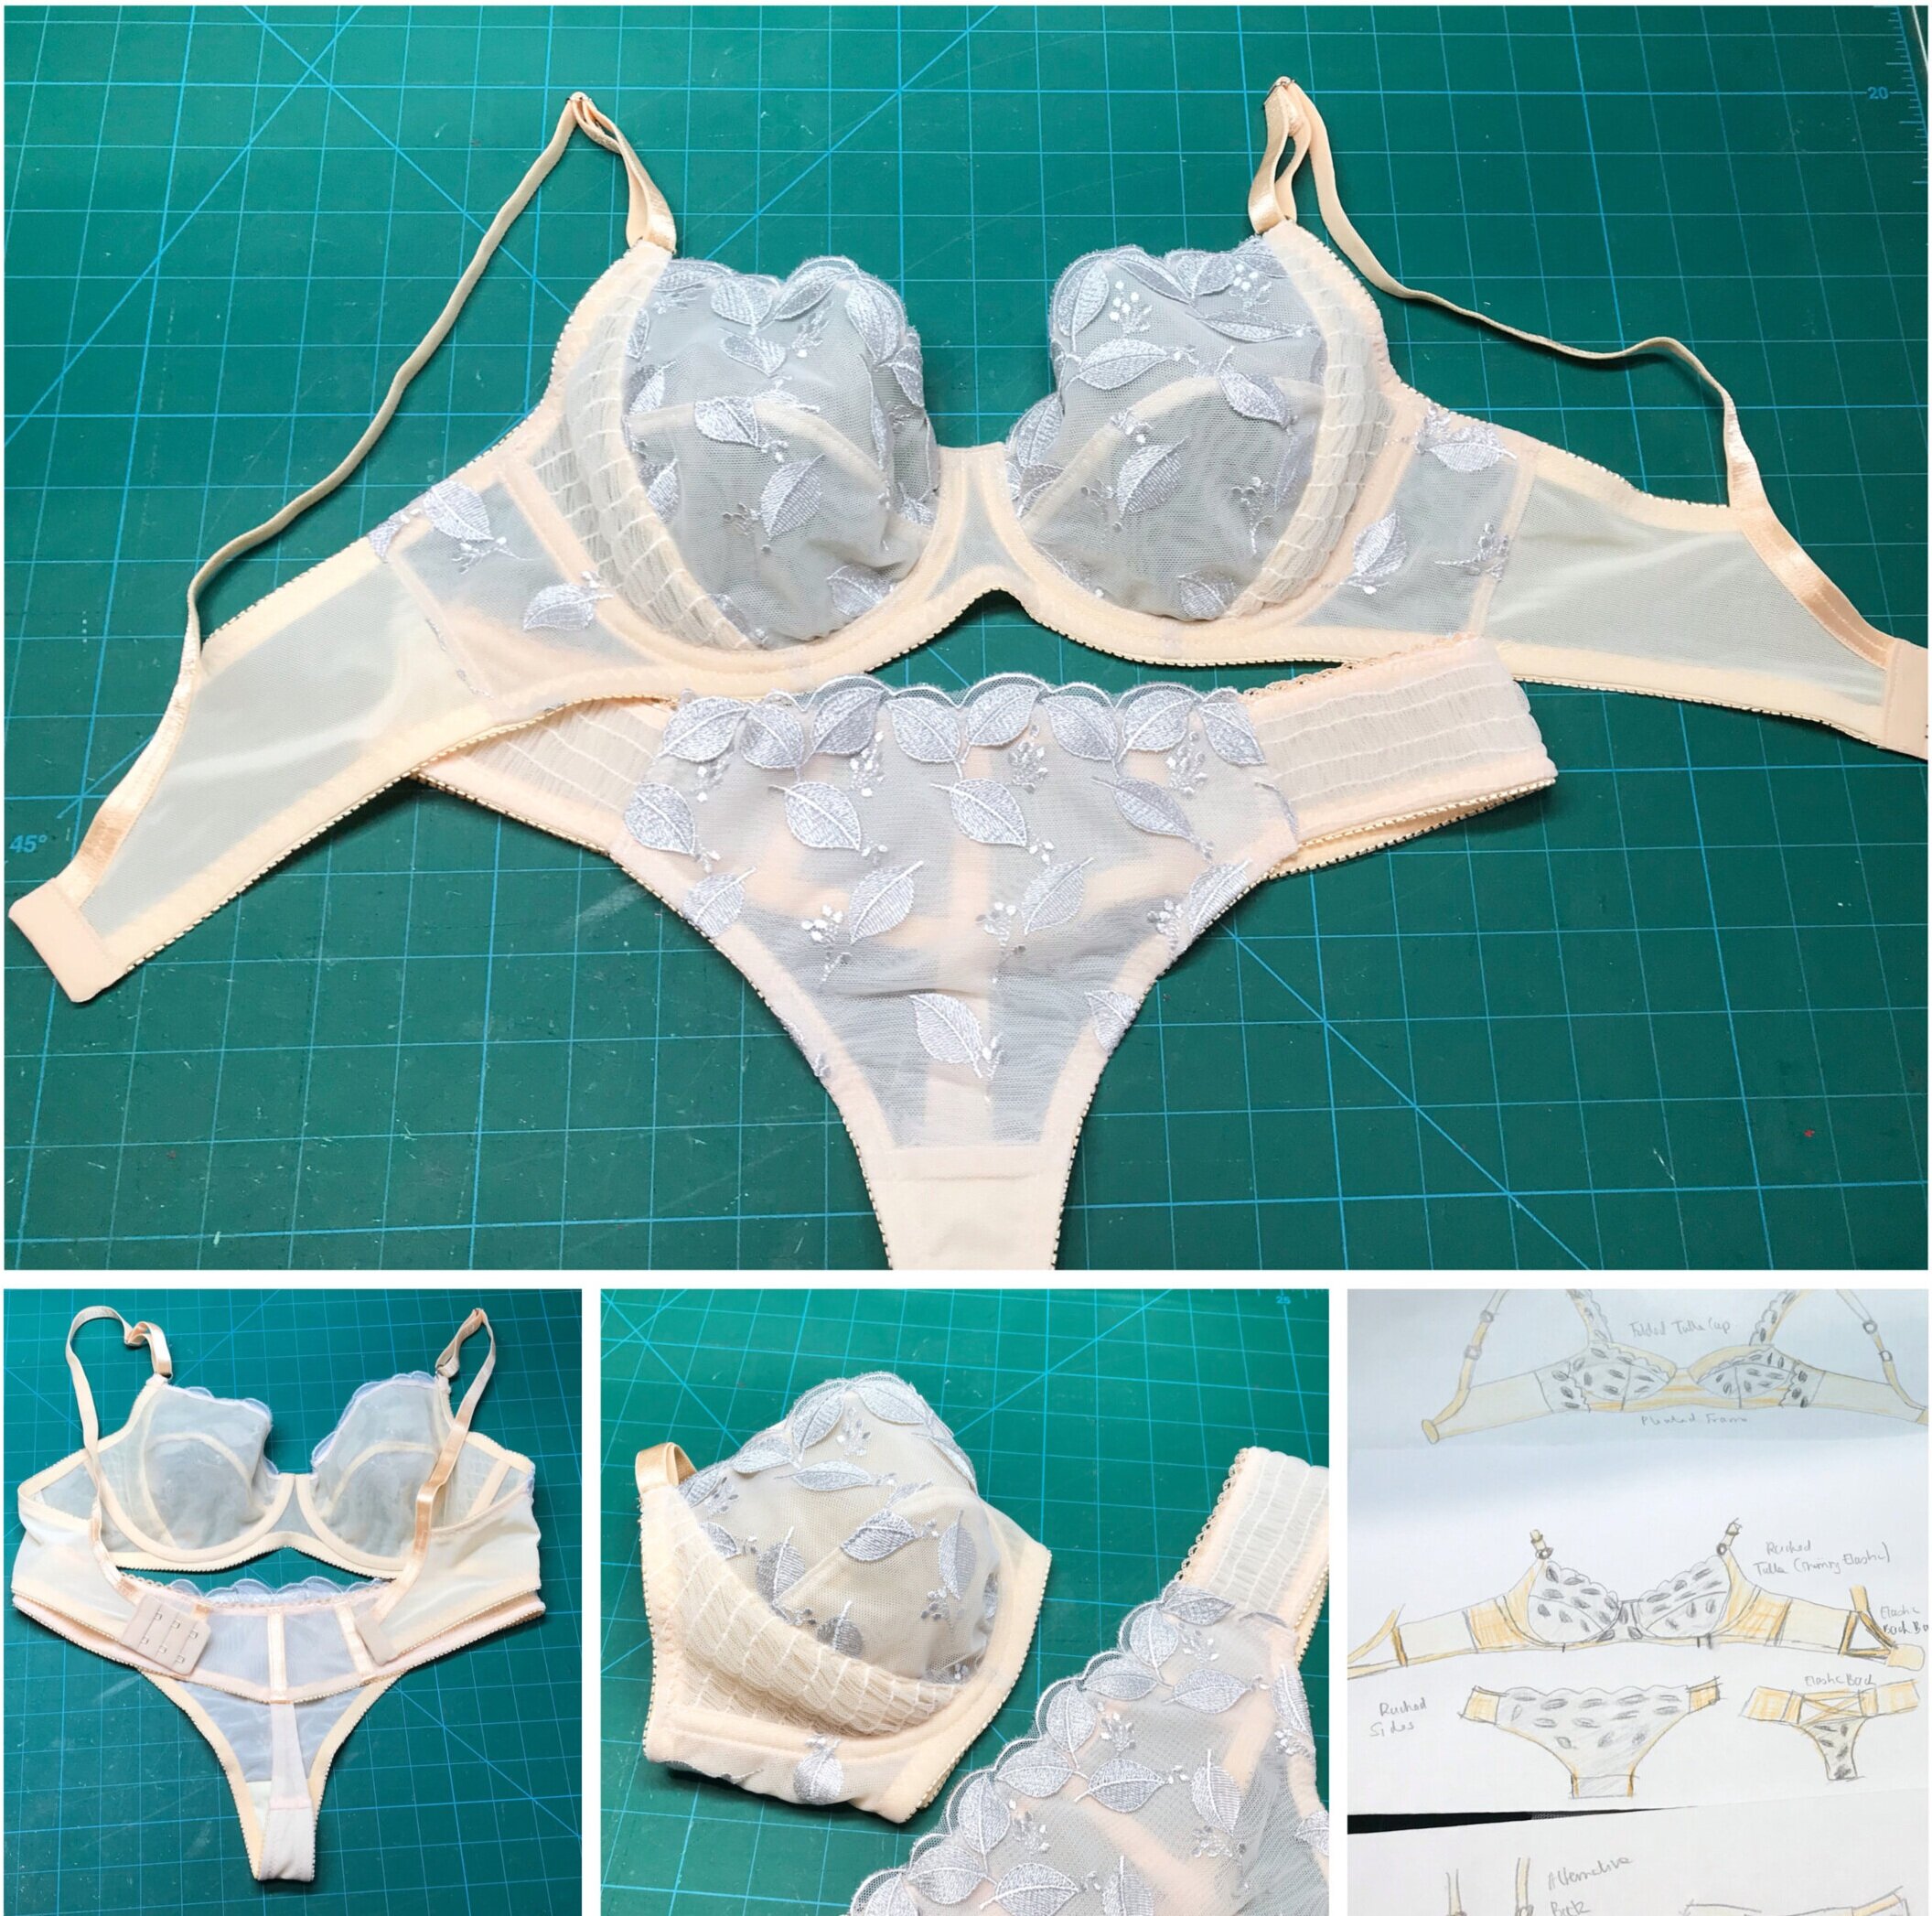
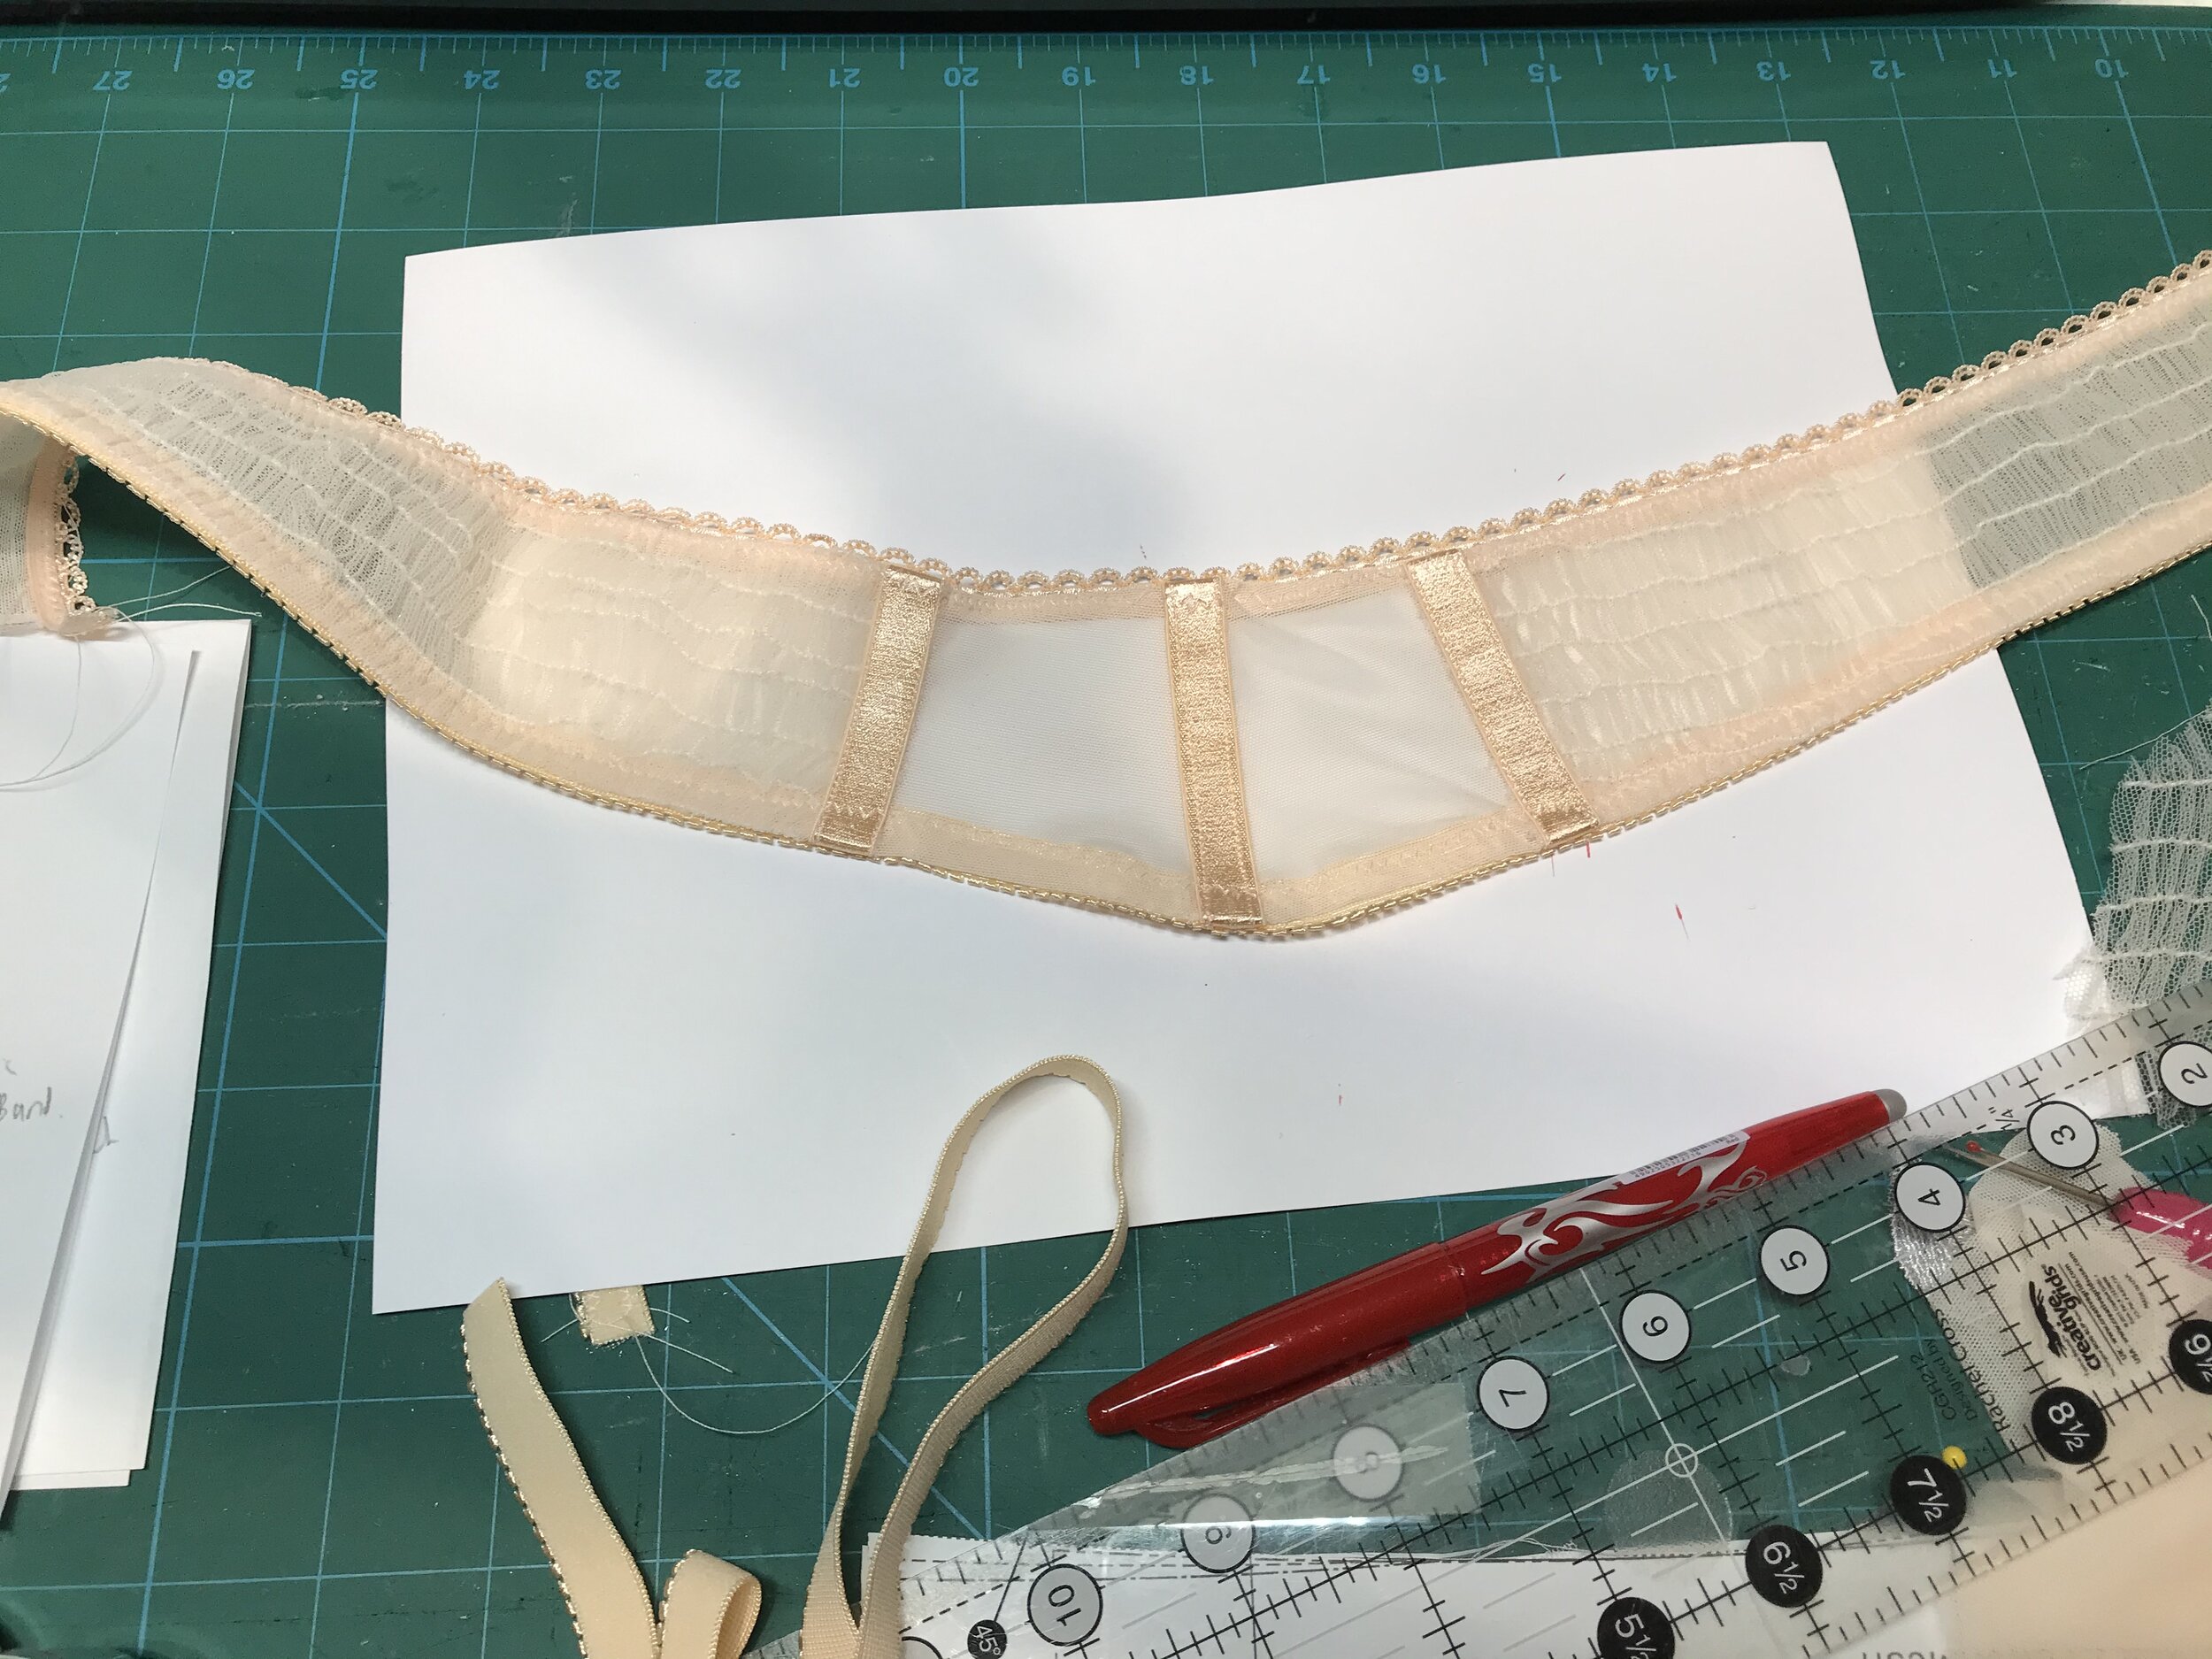
The outcome was to make an Orange Lingerie Marlborough bra with the inner cup in the lace lined with the peach and the powerbar in tulle gathered using shirring elastic. The underwear was designed to have a lace front panel with the sides being made from the gathered tulle which would stretch. I also sketched out some alternative strap ideas and a garter belt.
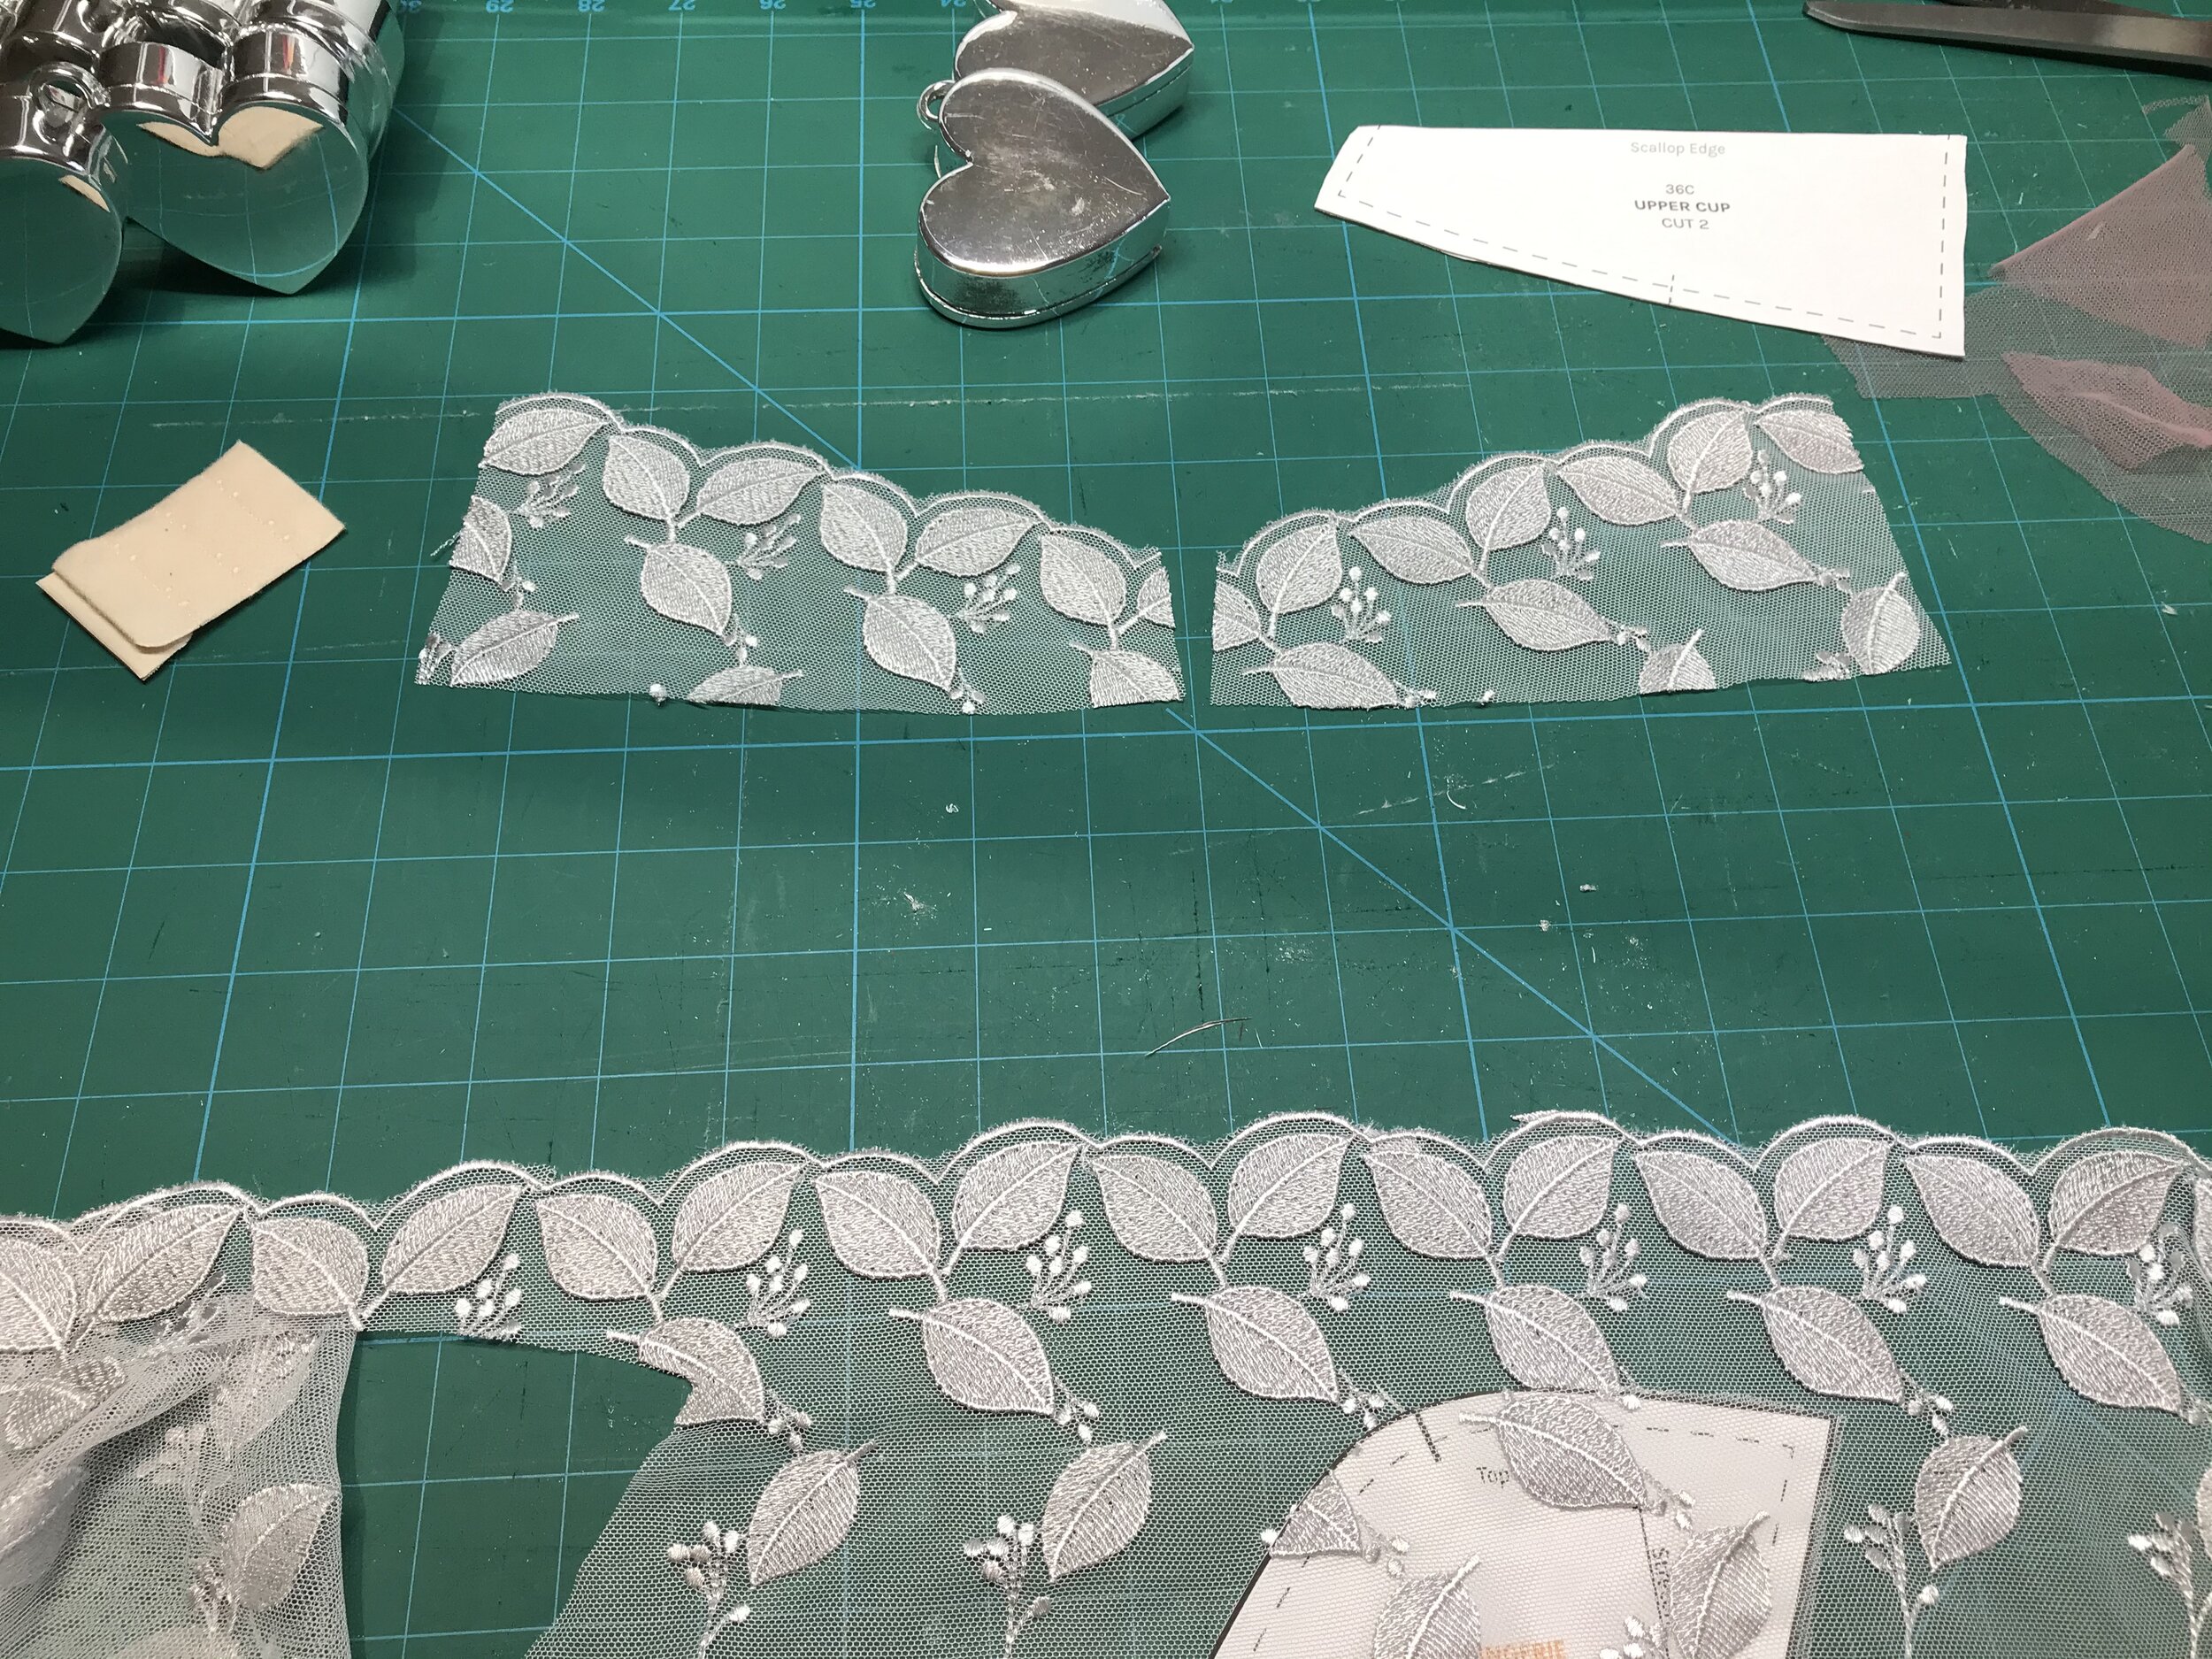
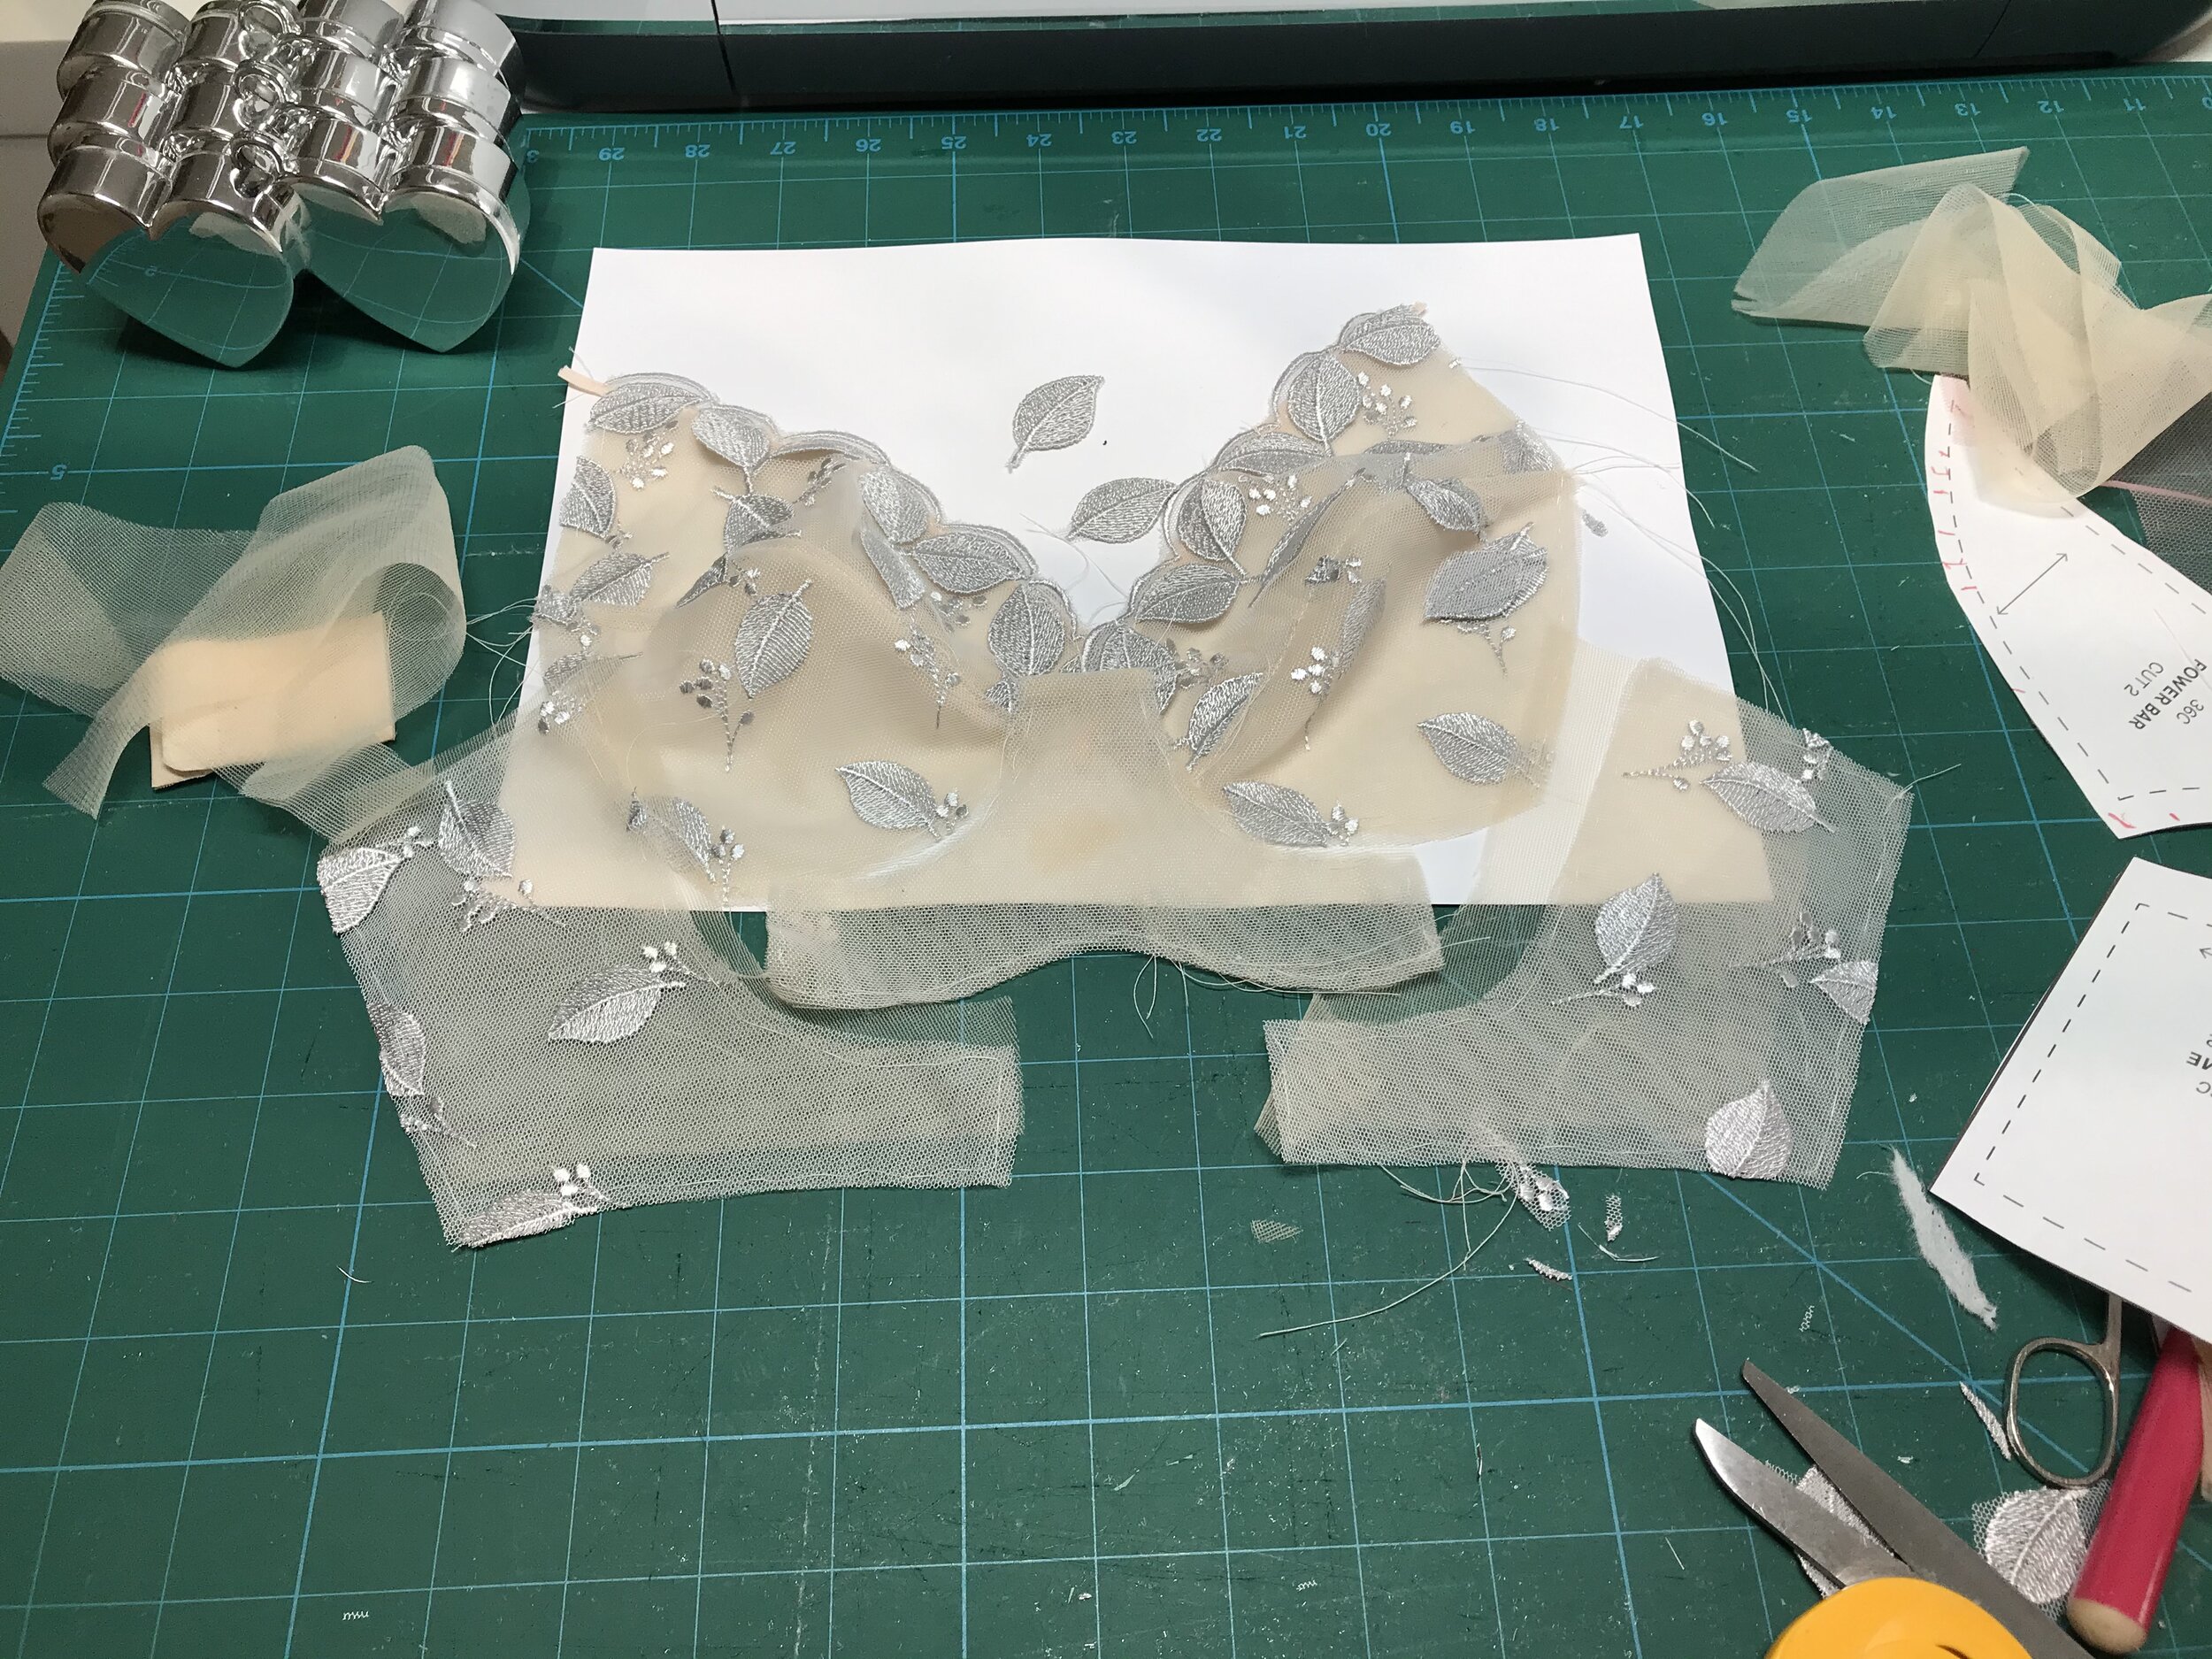
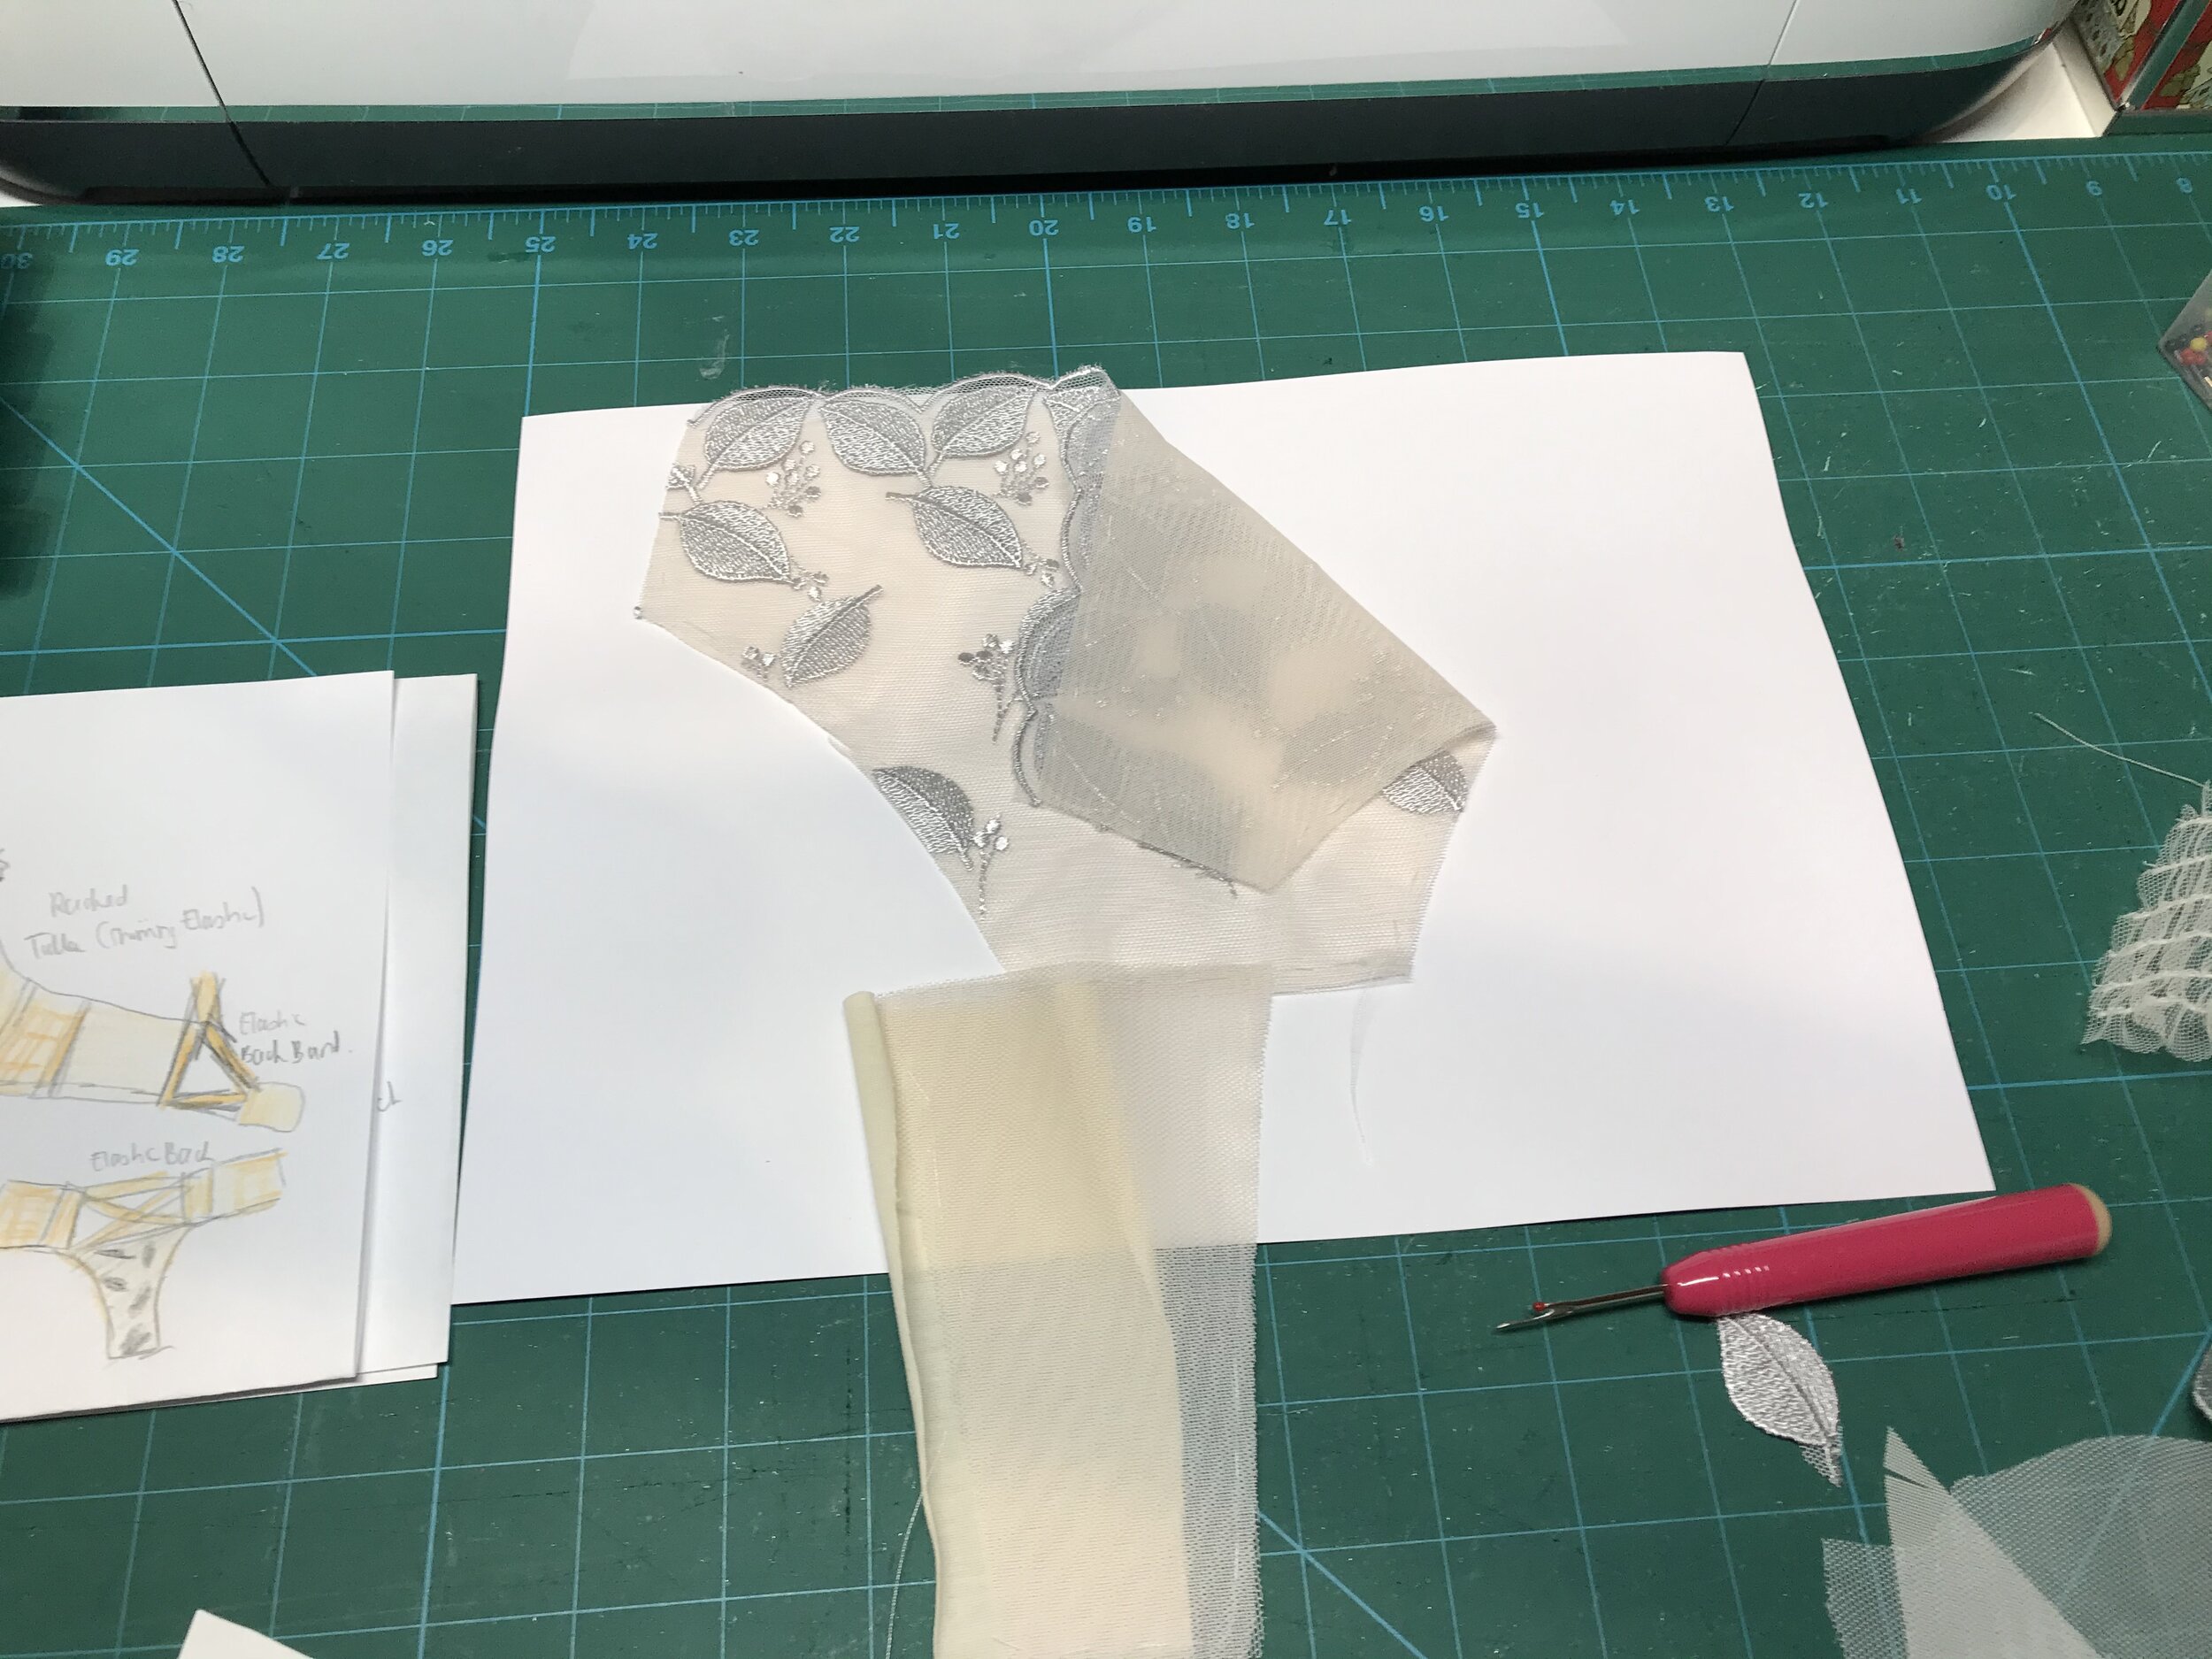
The first issue was that the lace only had one scallop edge and could not be mirrored. Normally I would start the second cup with the same pattern as the other side but for this pattern the leaves would be in a different sequence and the way I have placed it is more aesthetically pleasing to me. I lined the upper cups with a piece of sheer lining on the fold and even though this gave a neat edge I still finished with narrow elastic. To get the peach colour to show through the lace I basted a layer of sheer lining to the other pieces and also used a separate layer as lining which allowed me to enclose all the seams.
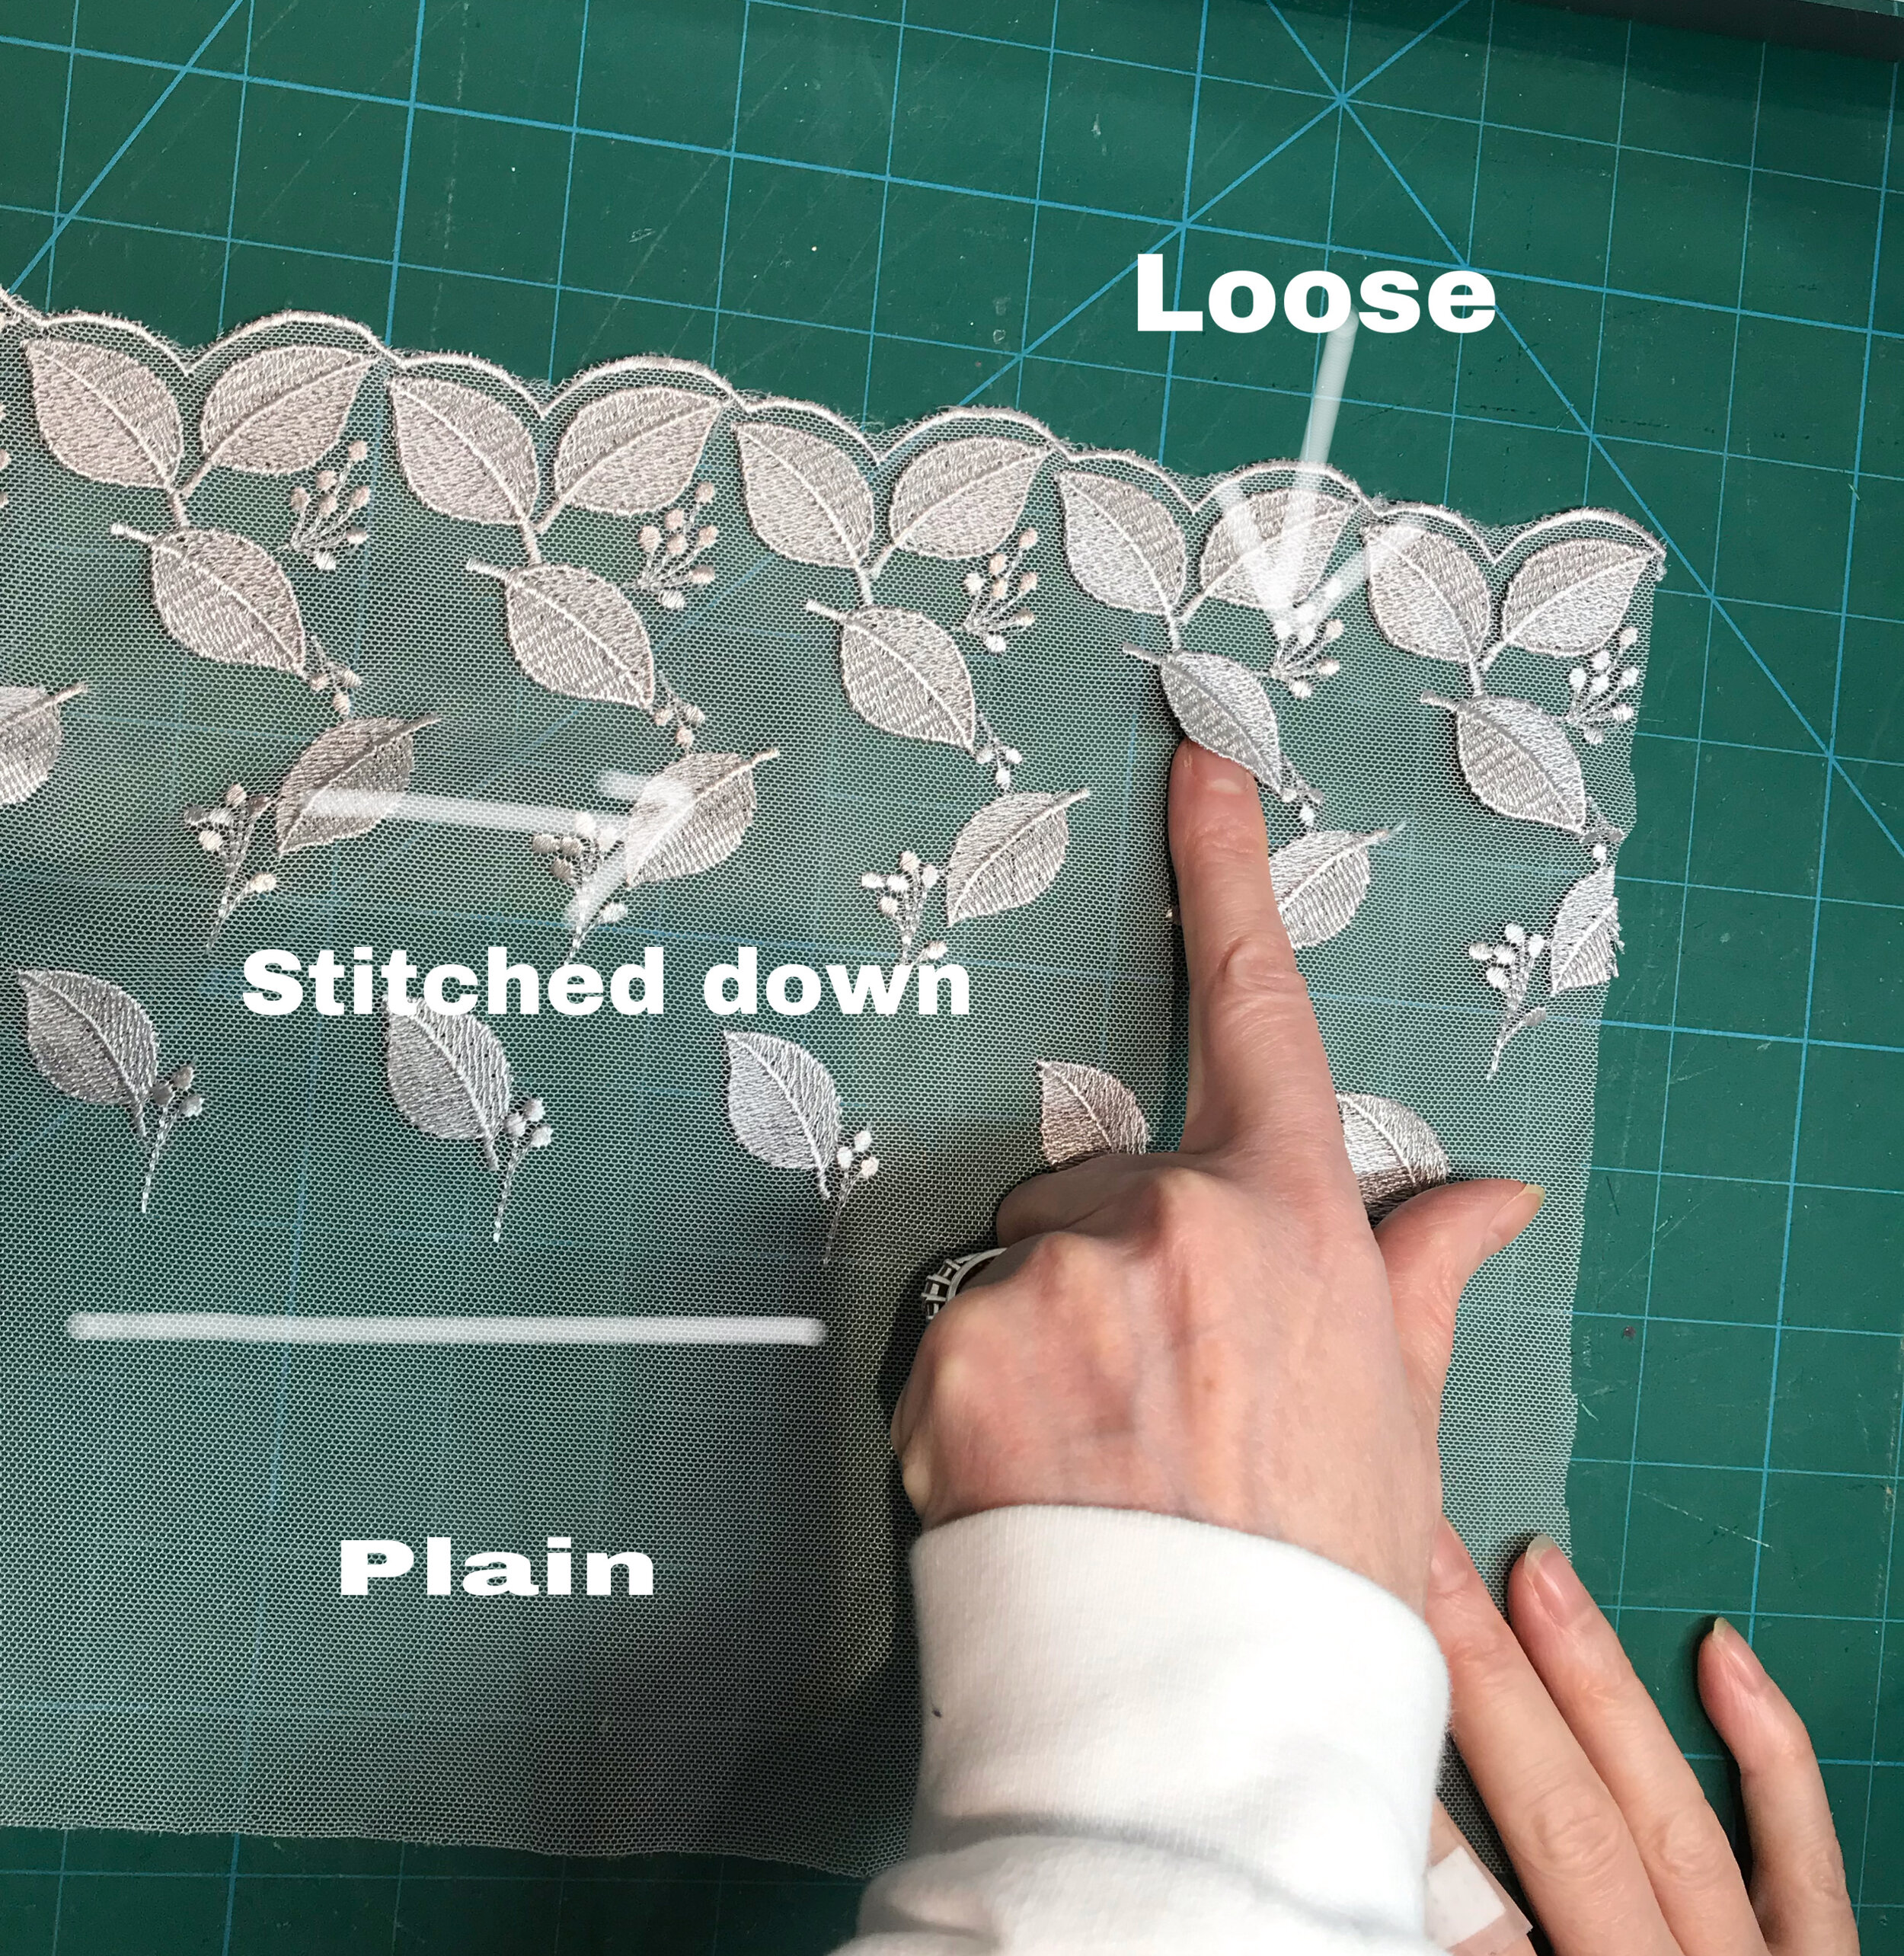
In the sketches I had envisaged using the lace for the bridge but the gathered tulle for the side frame. Once I had started gathering I realised I wouldn’t have enough tulle for this. The leaves on the scallop edge are only attached along the vein unlike lower down the lace and are quite bulky. To make the bridge I used just the bottom section which has no leaves and the attached leaves from the middle section for the side frame.
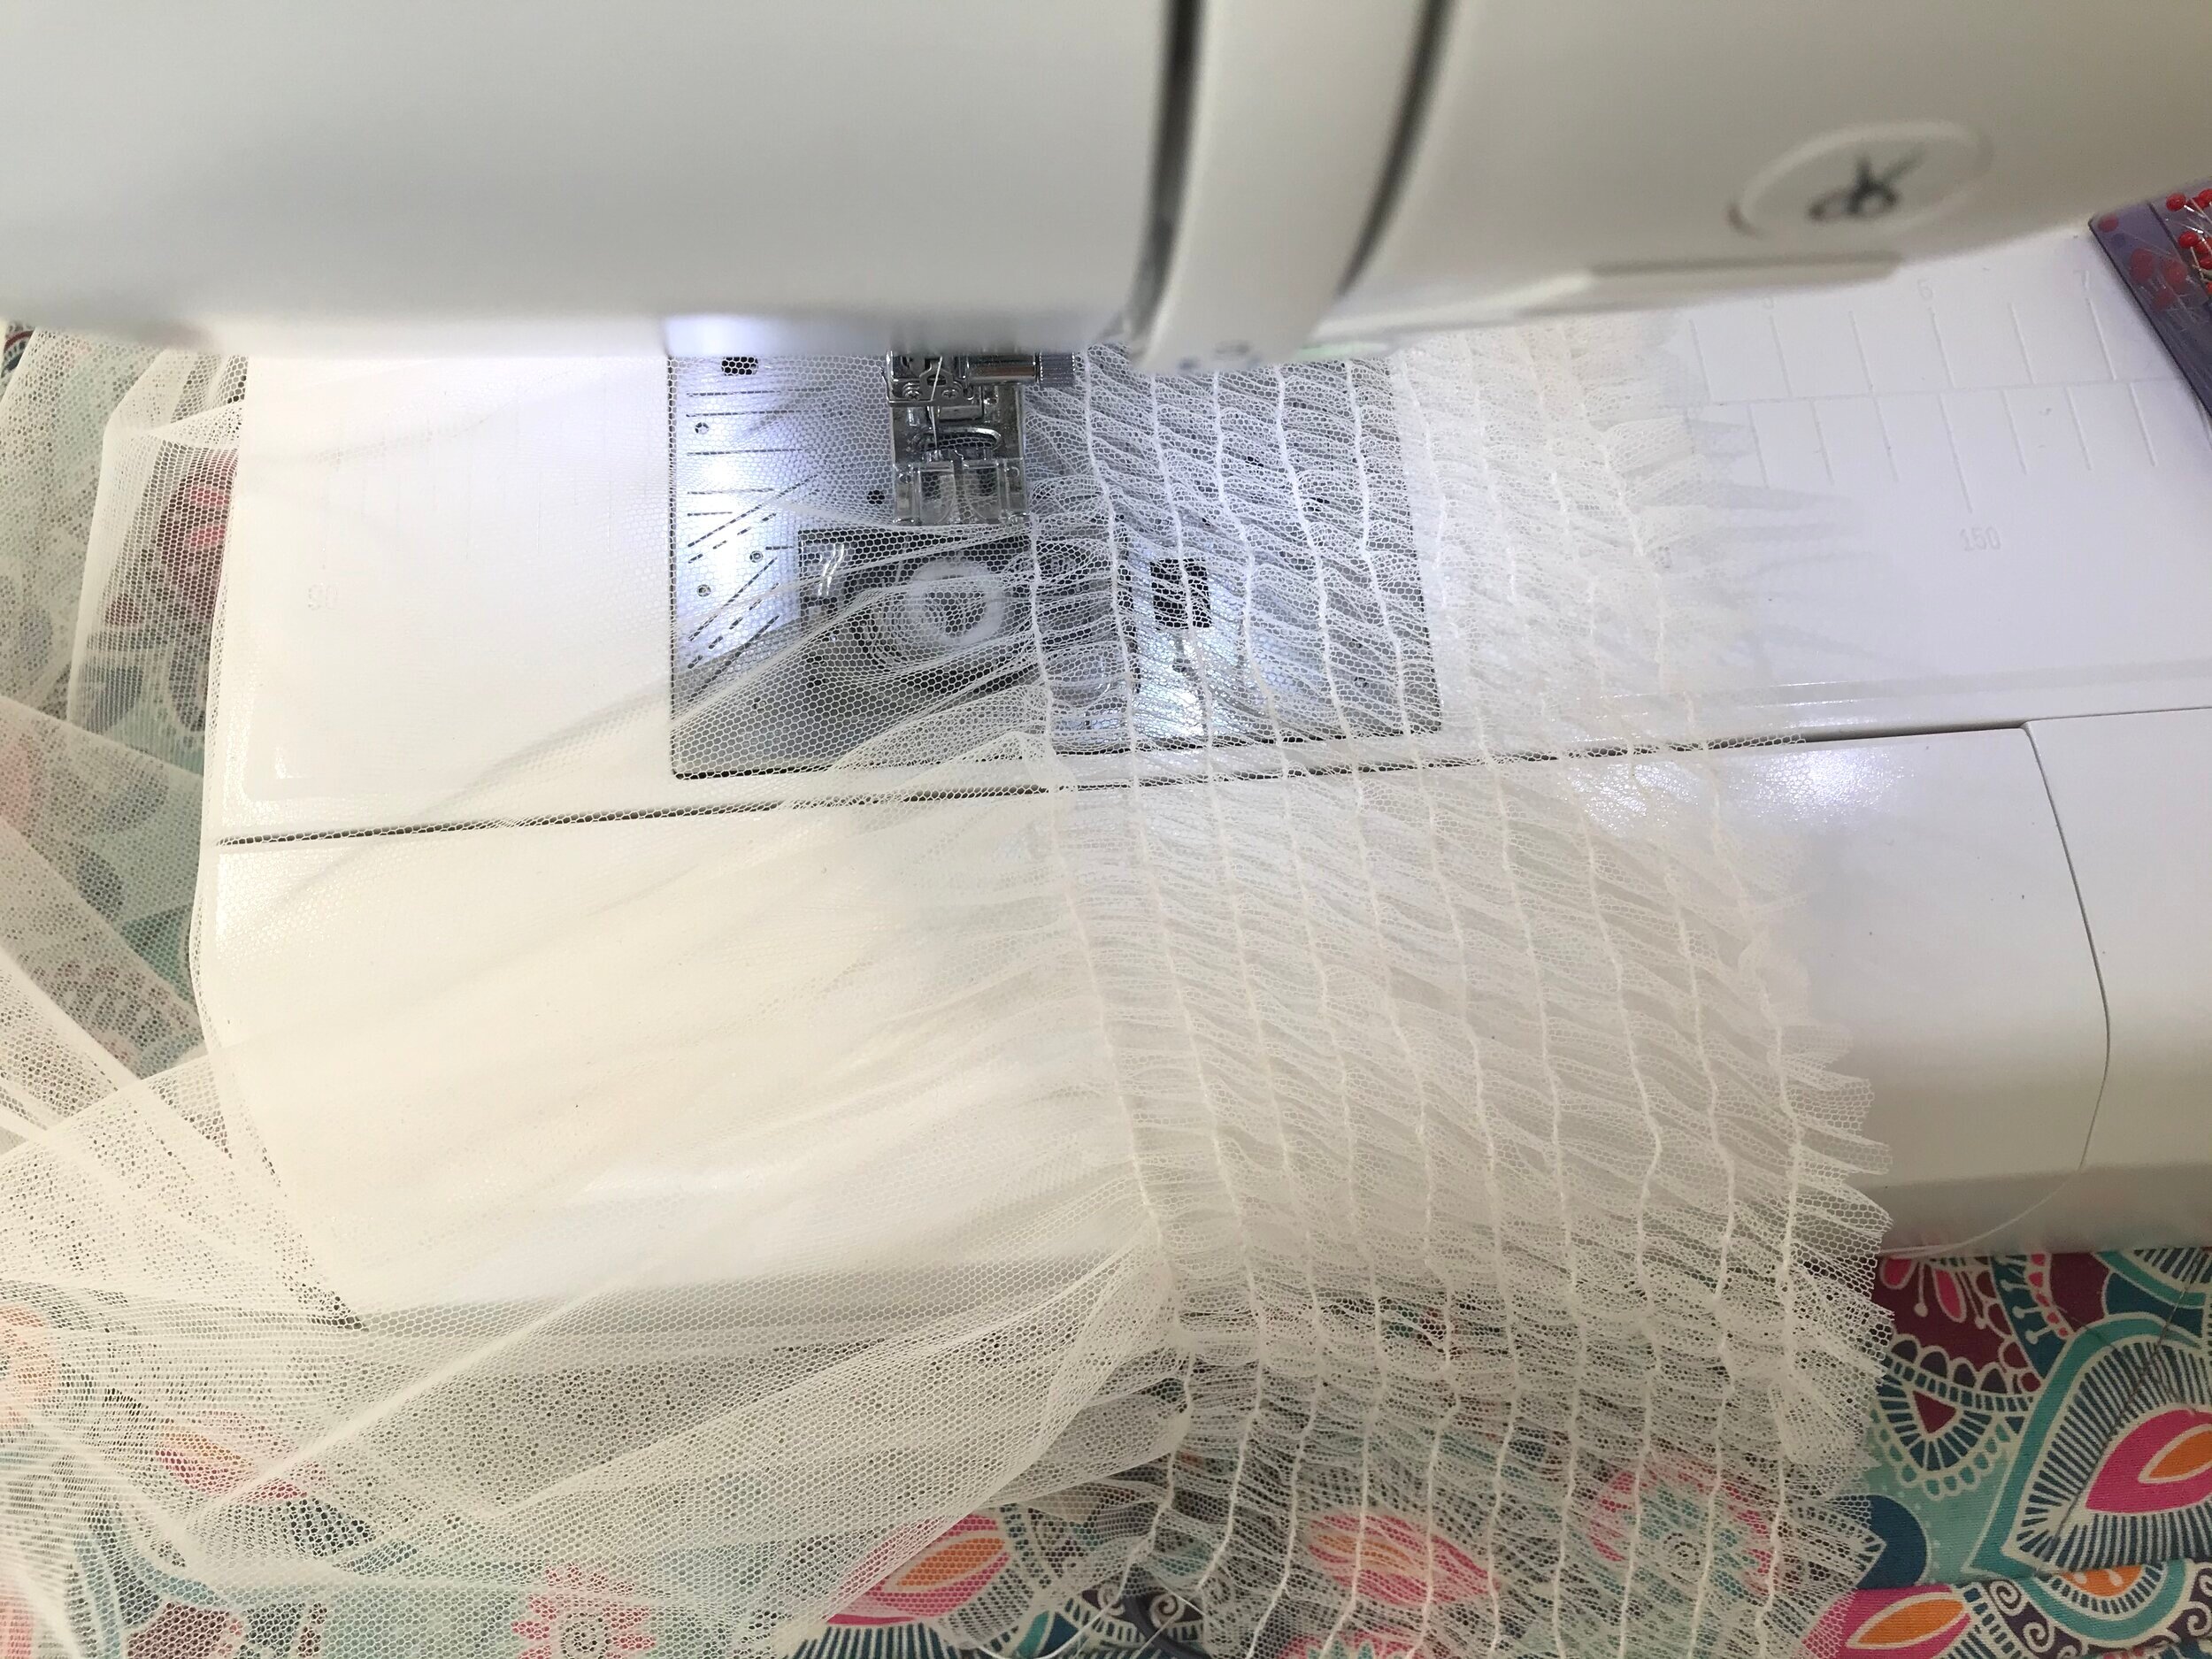
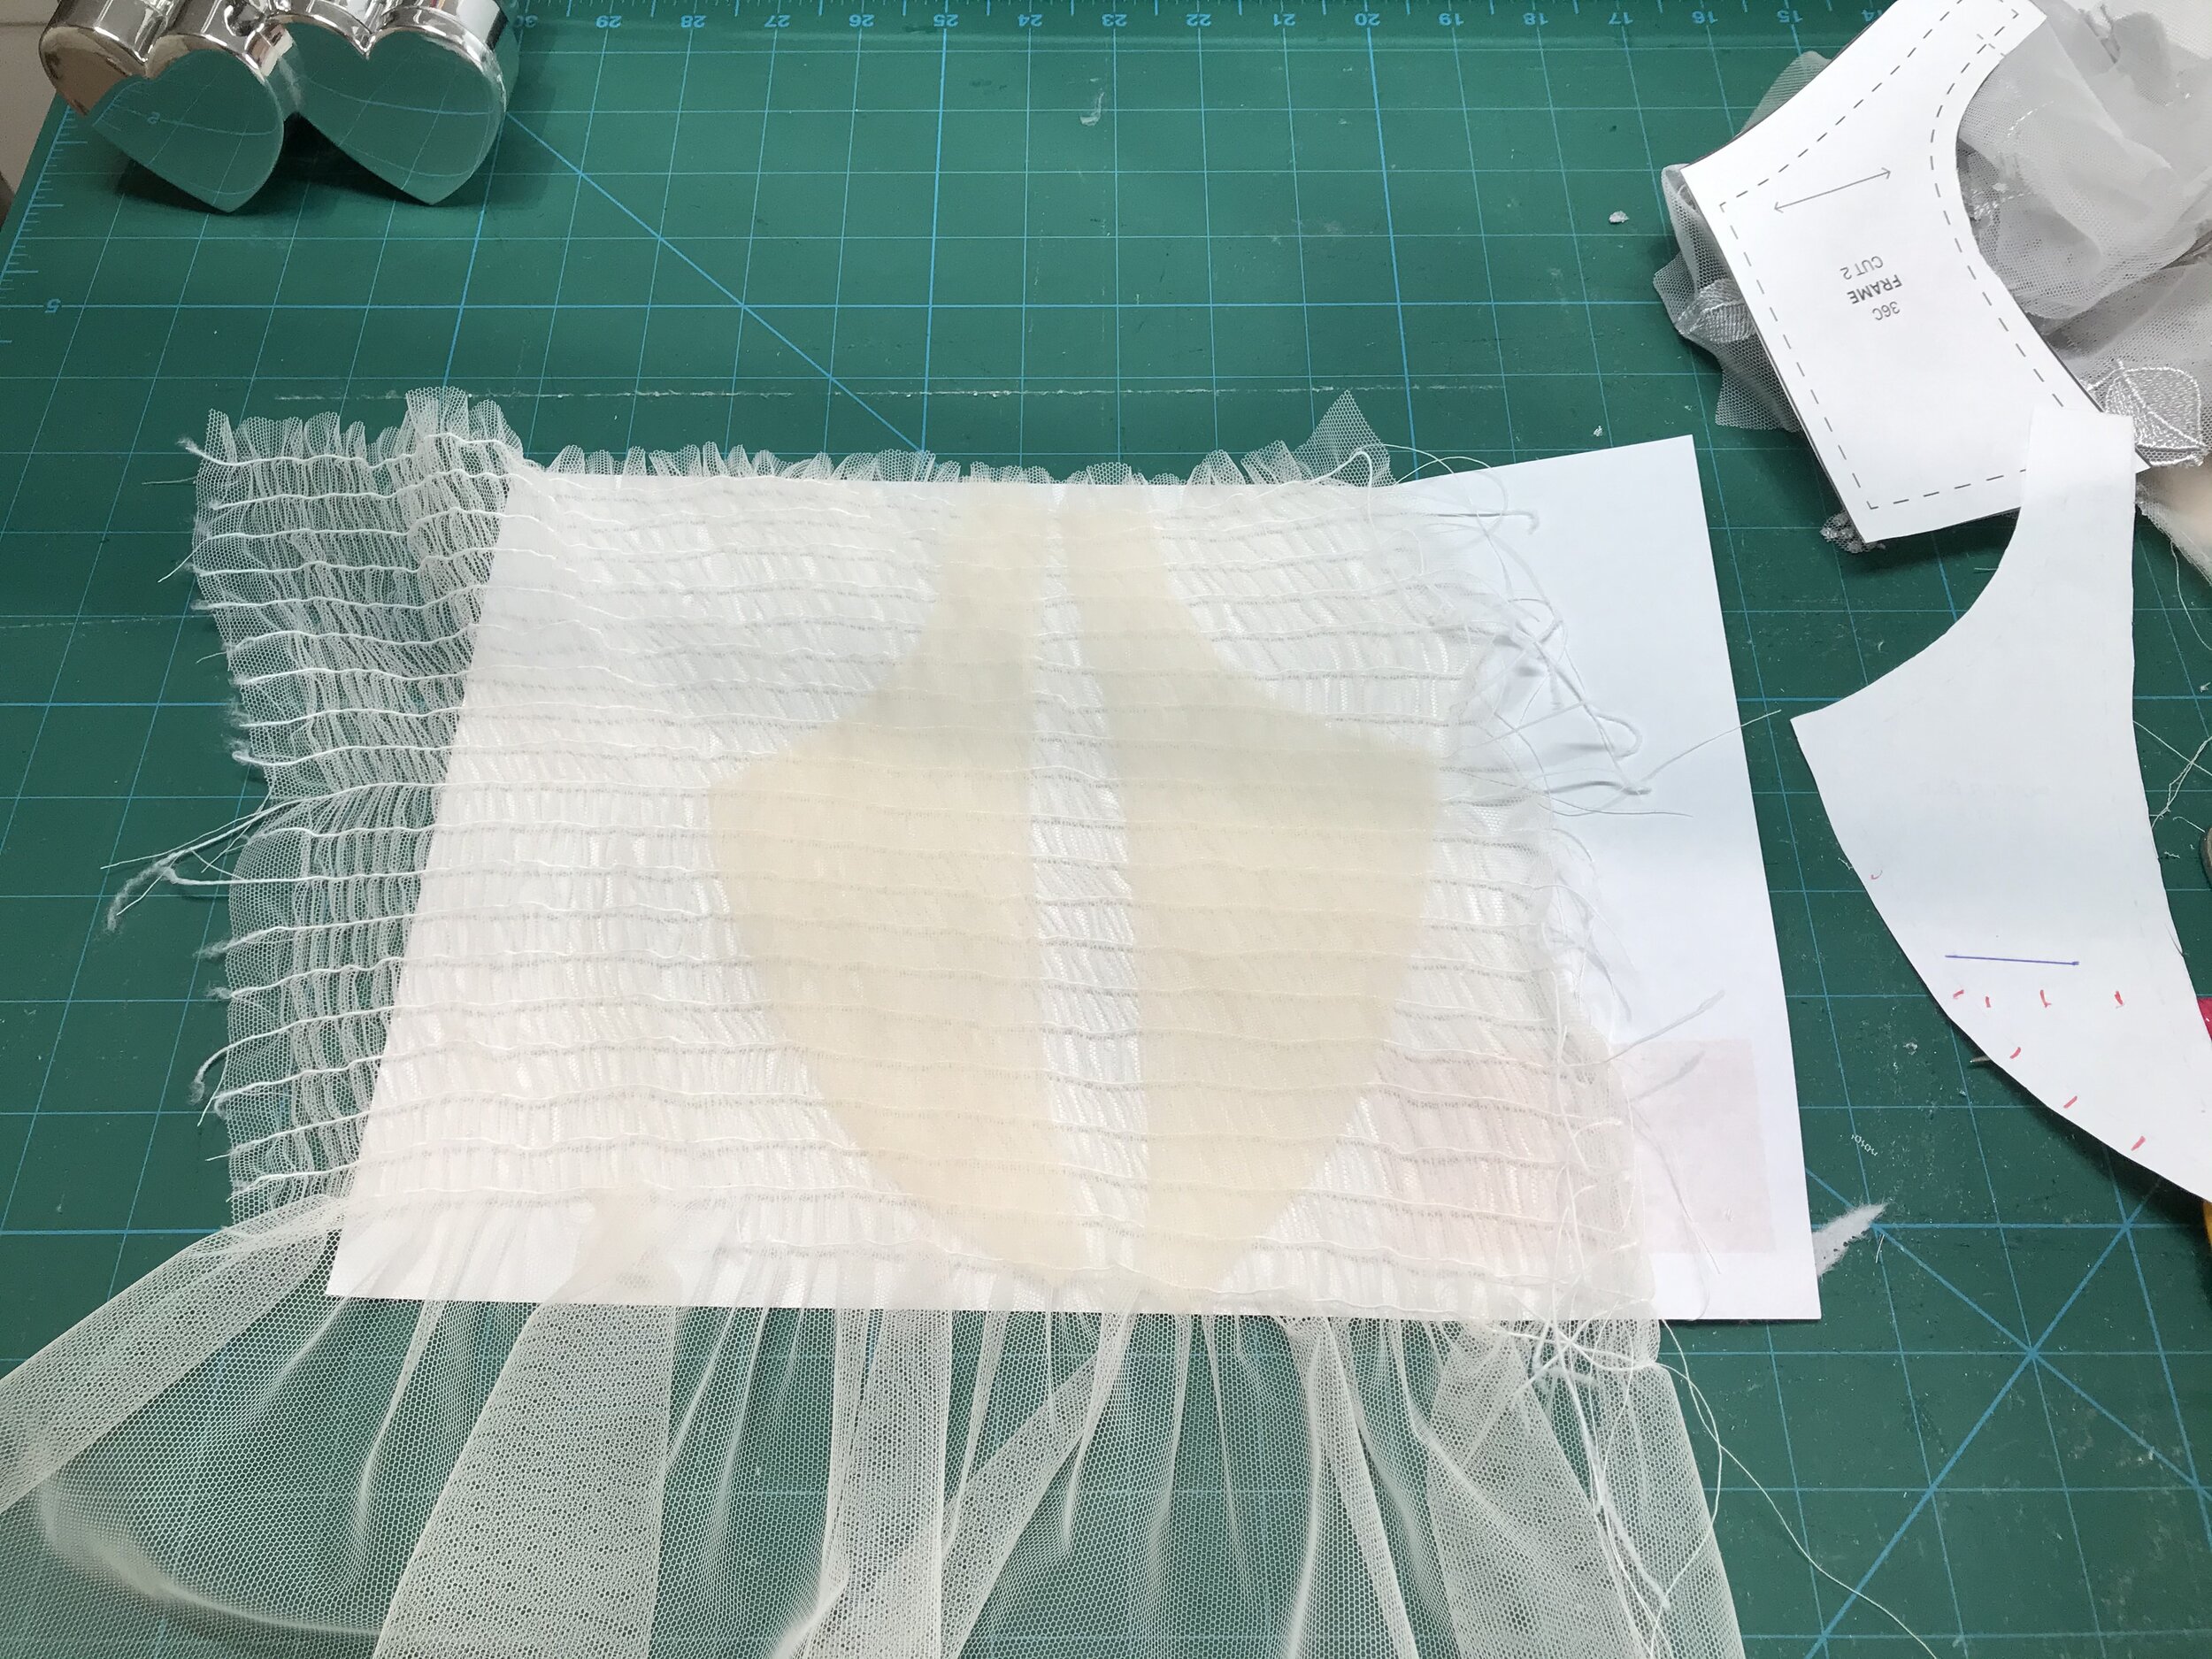
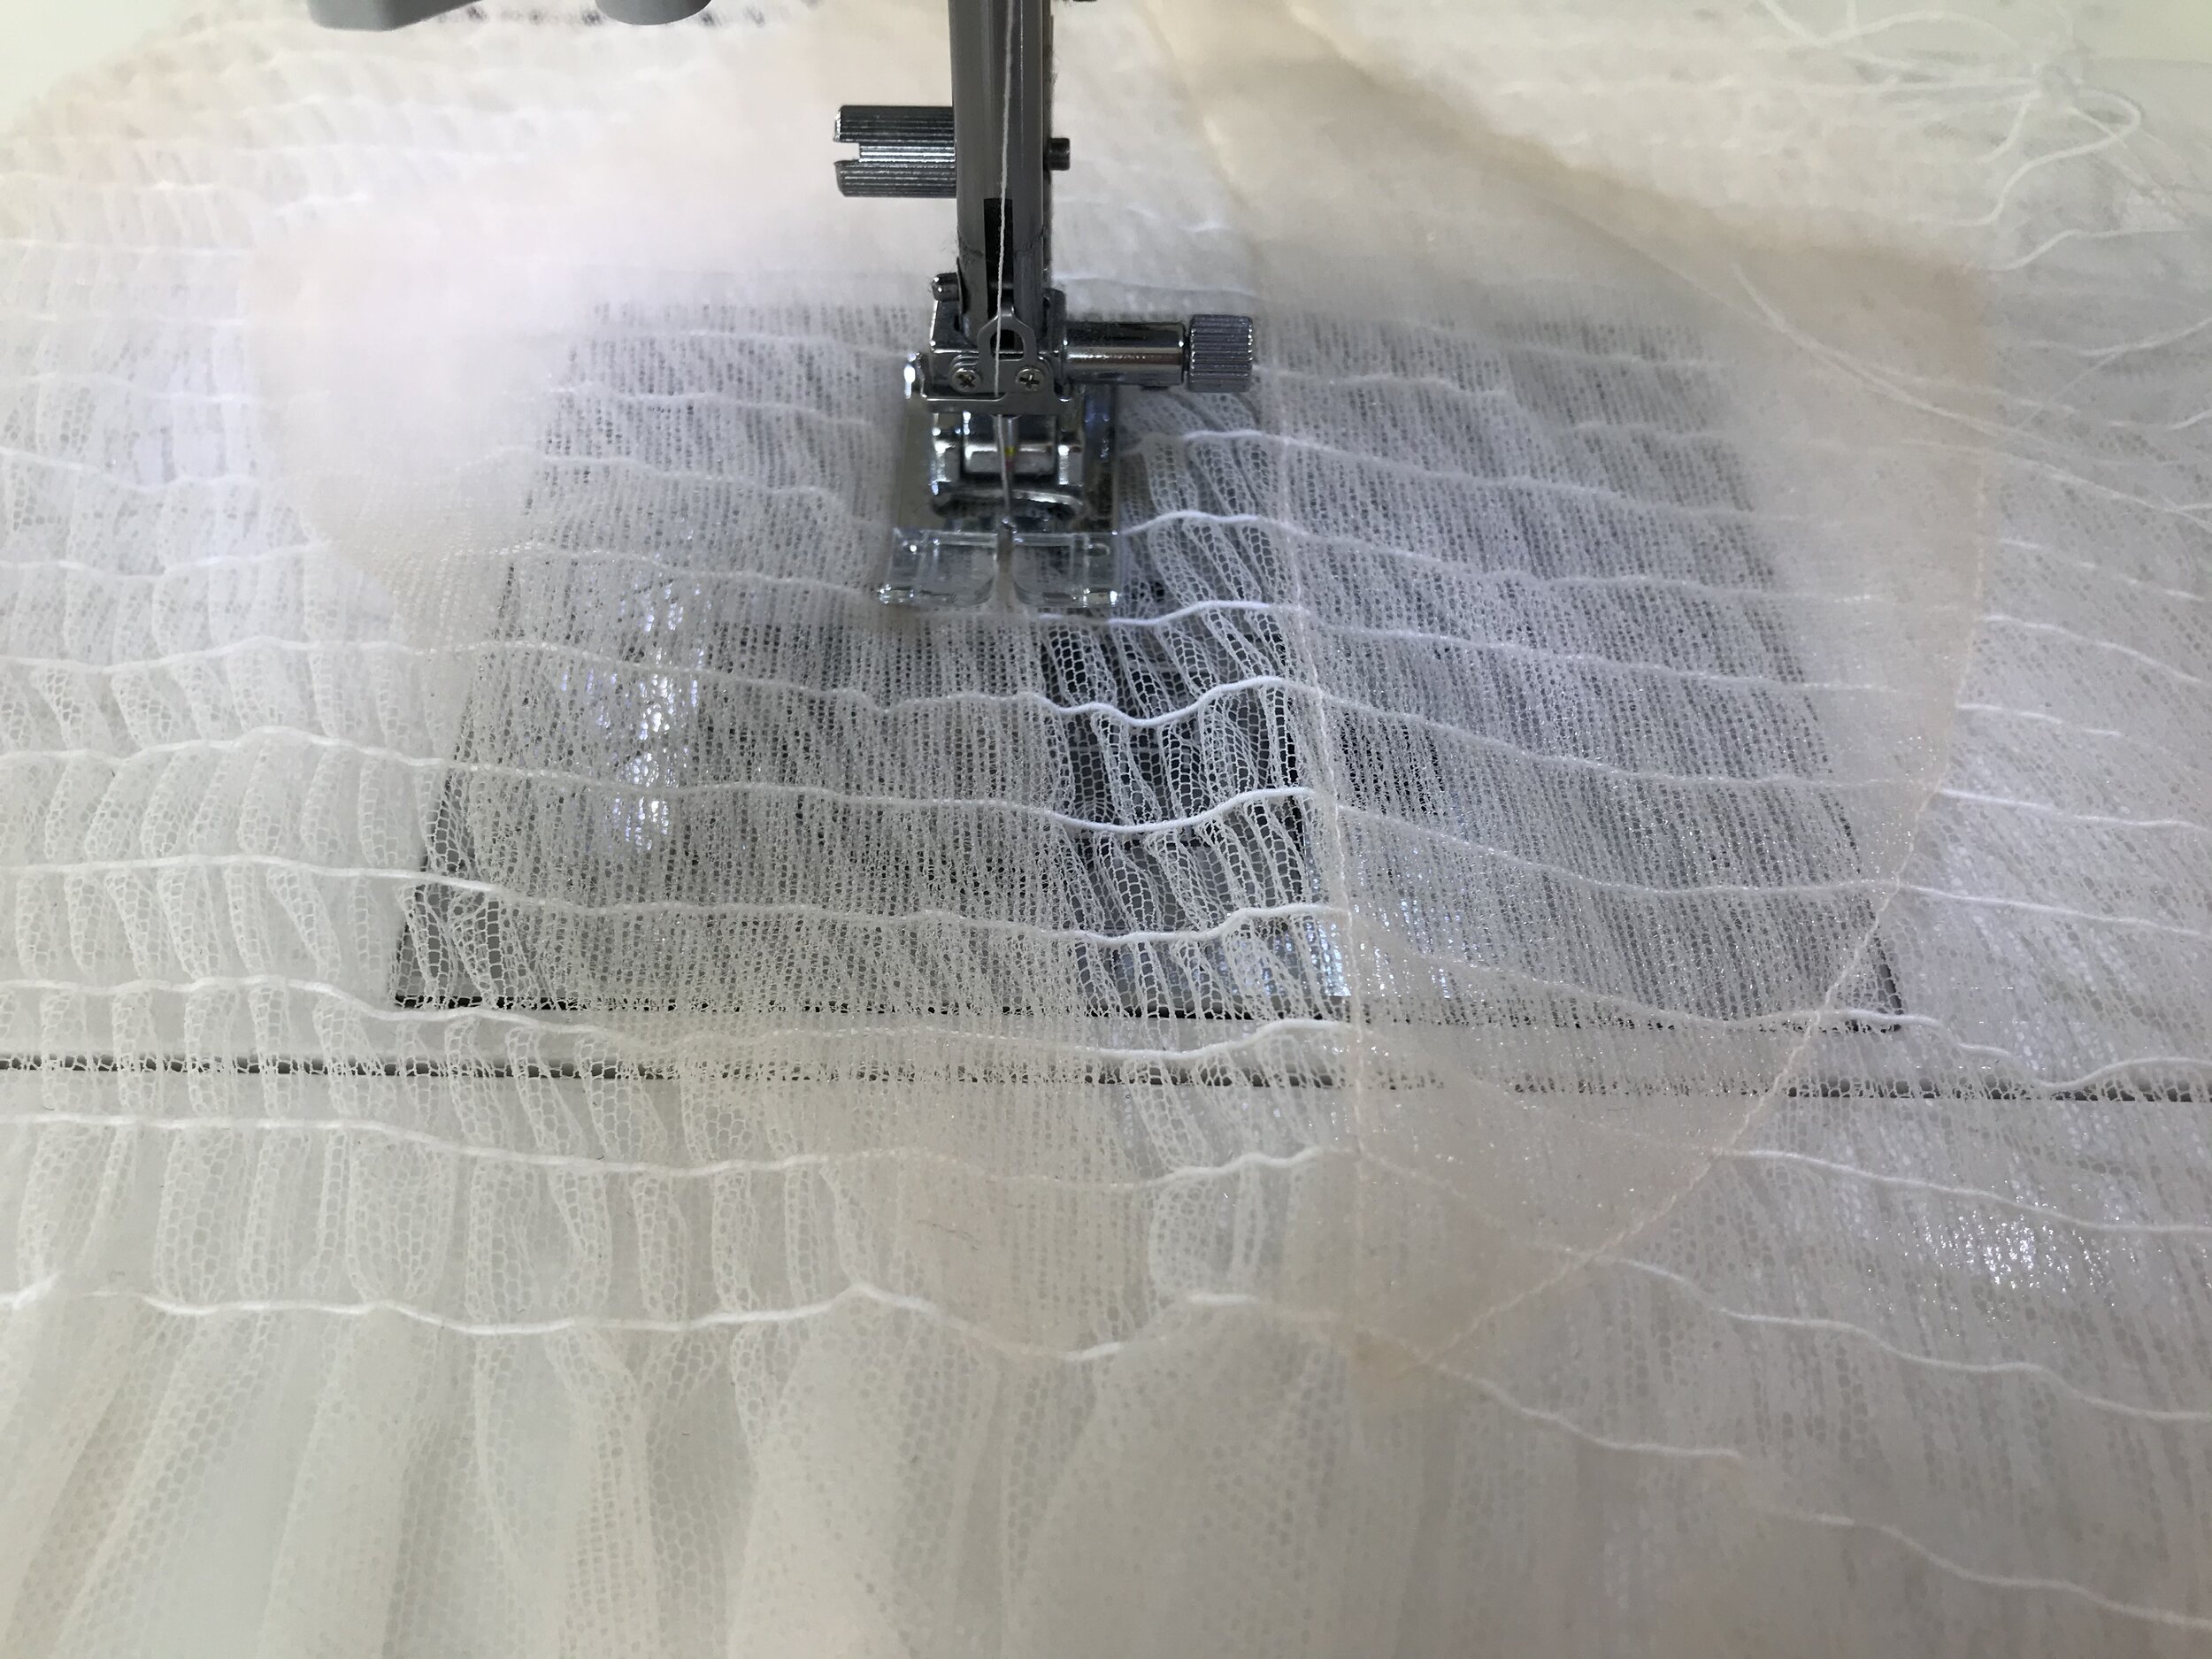
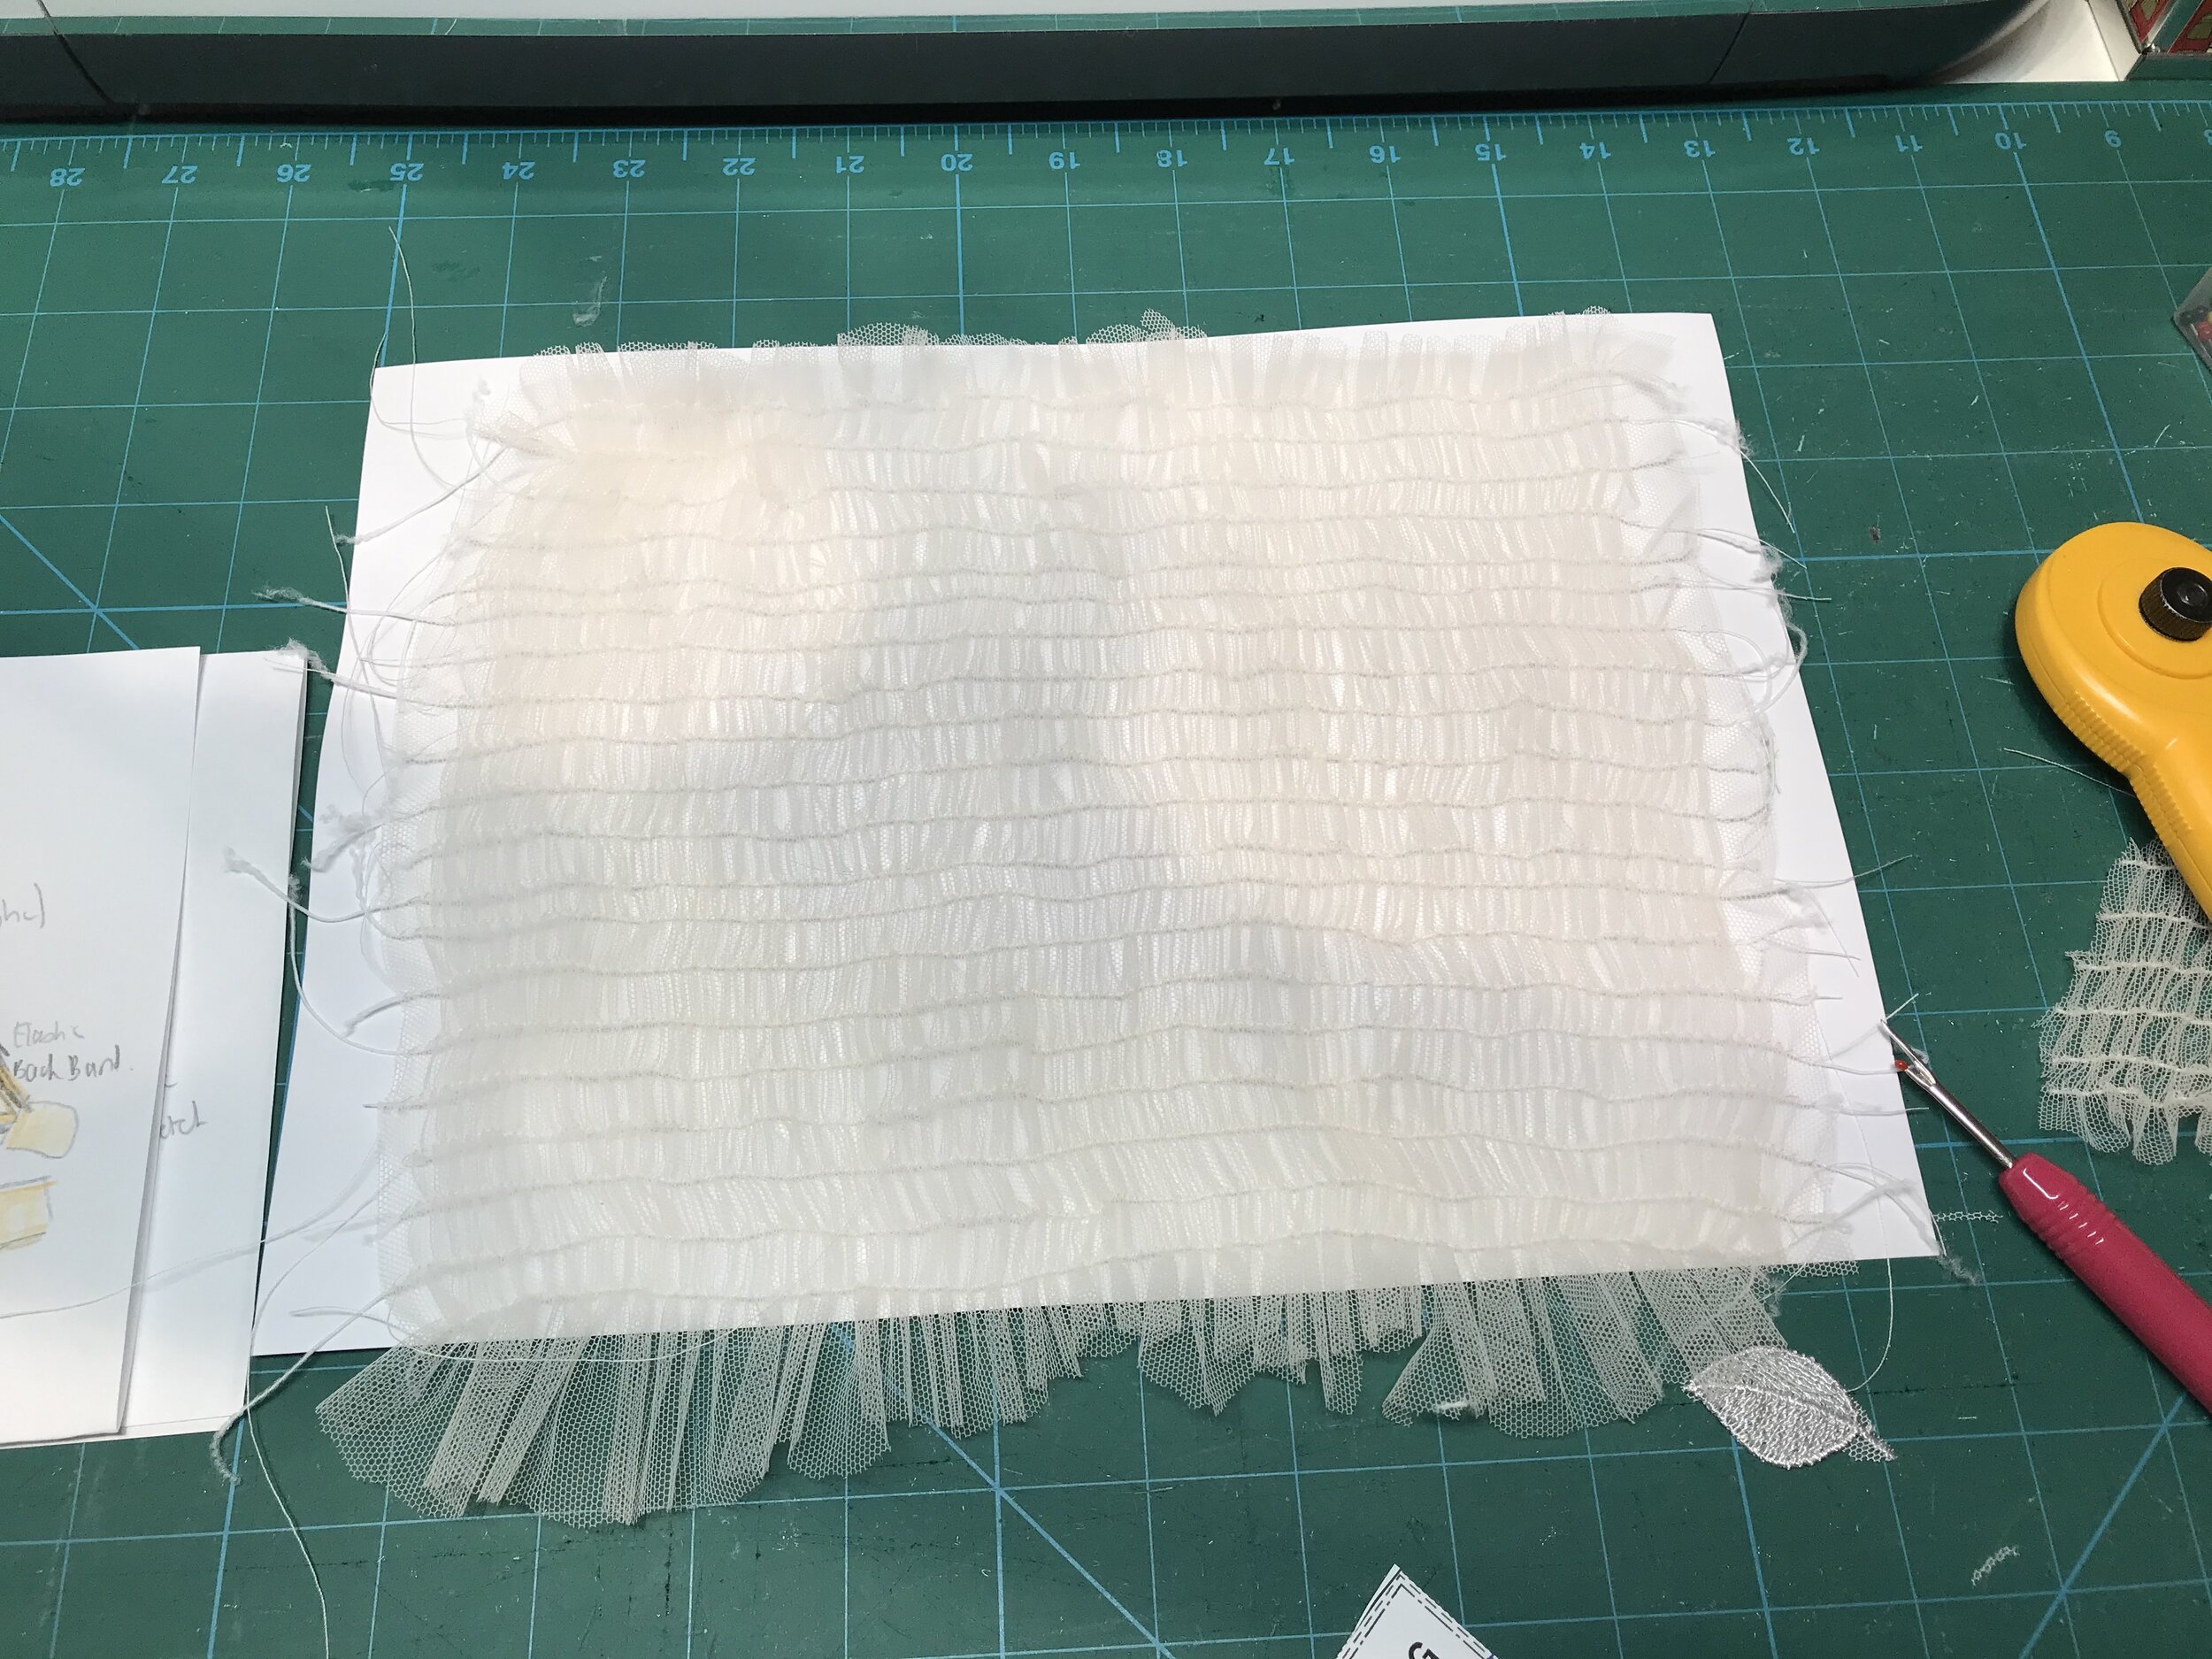
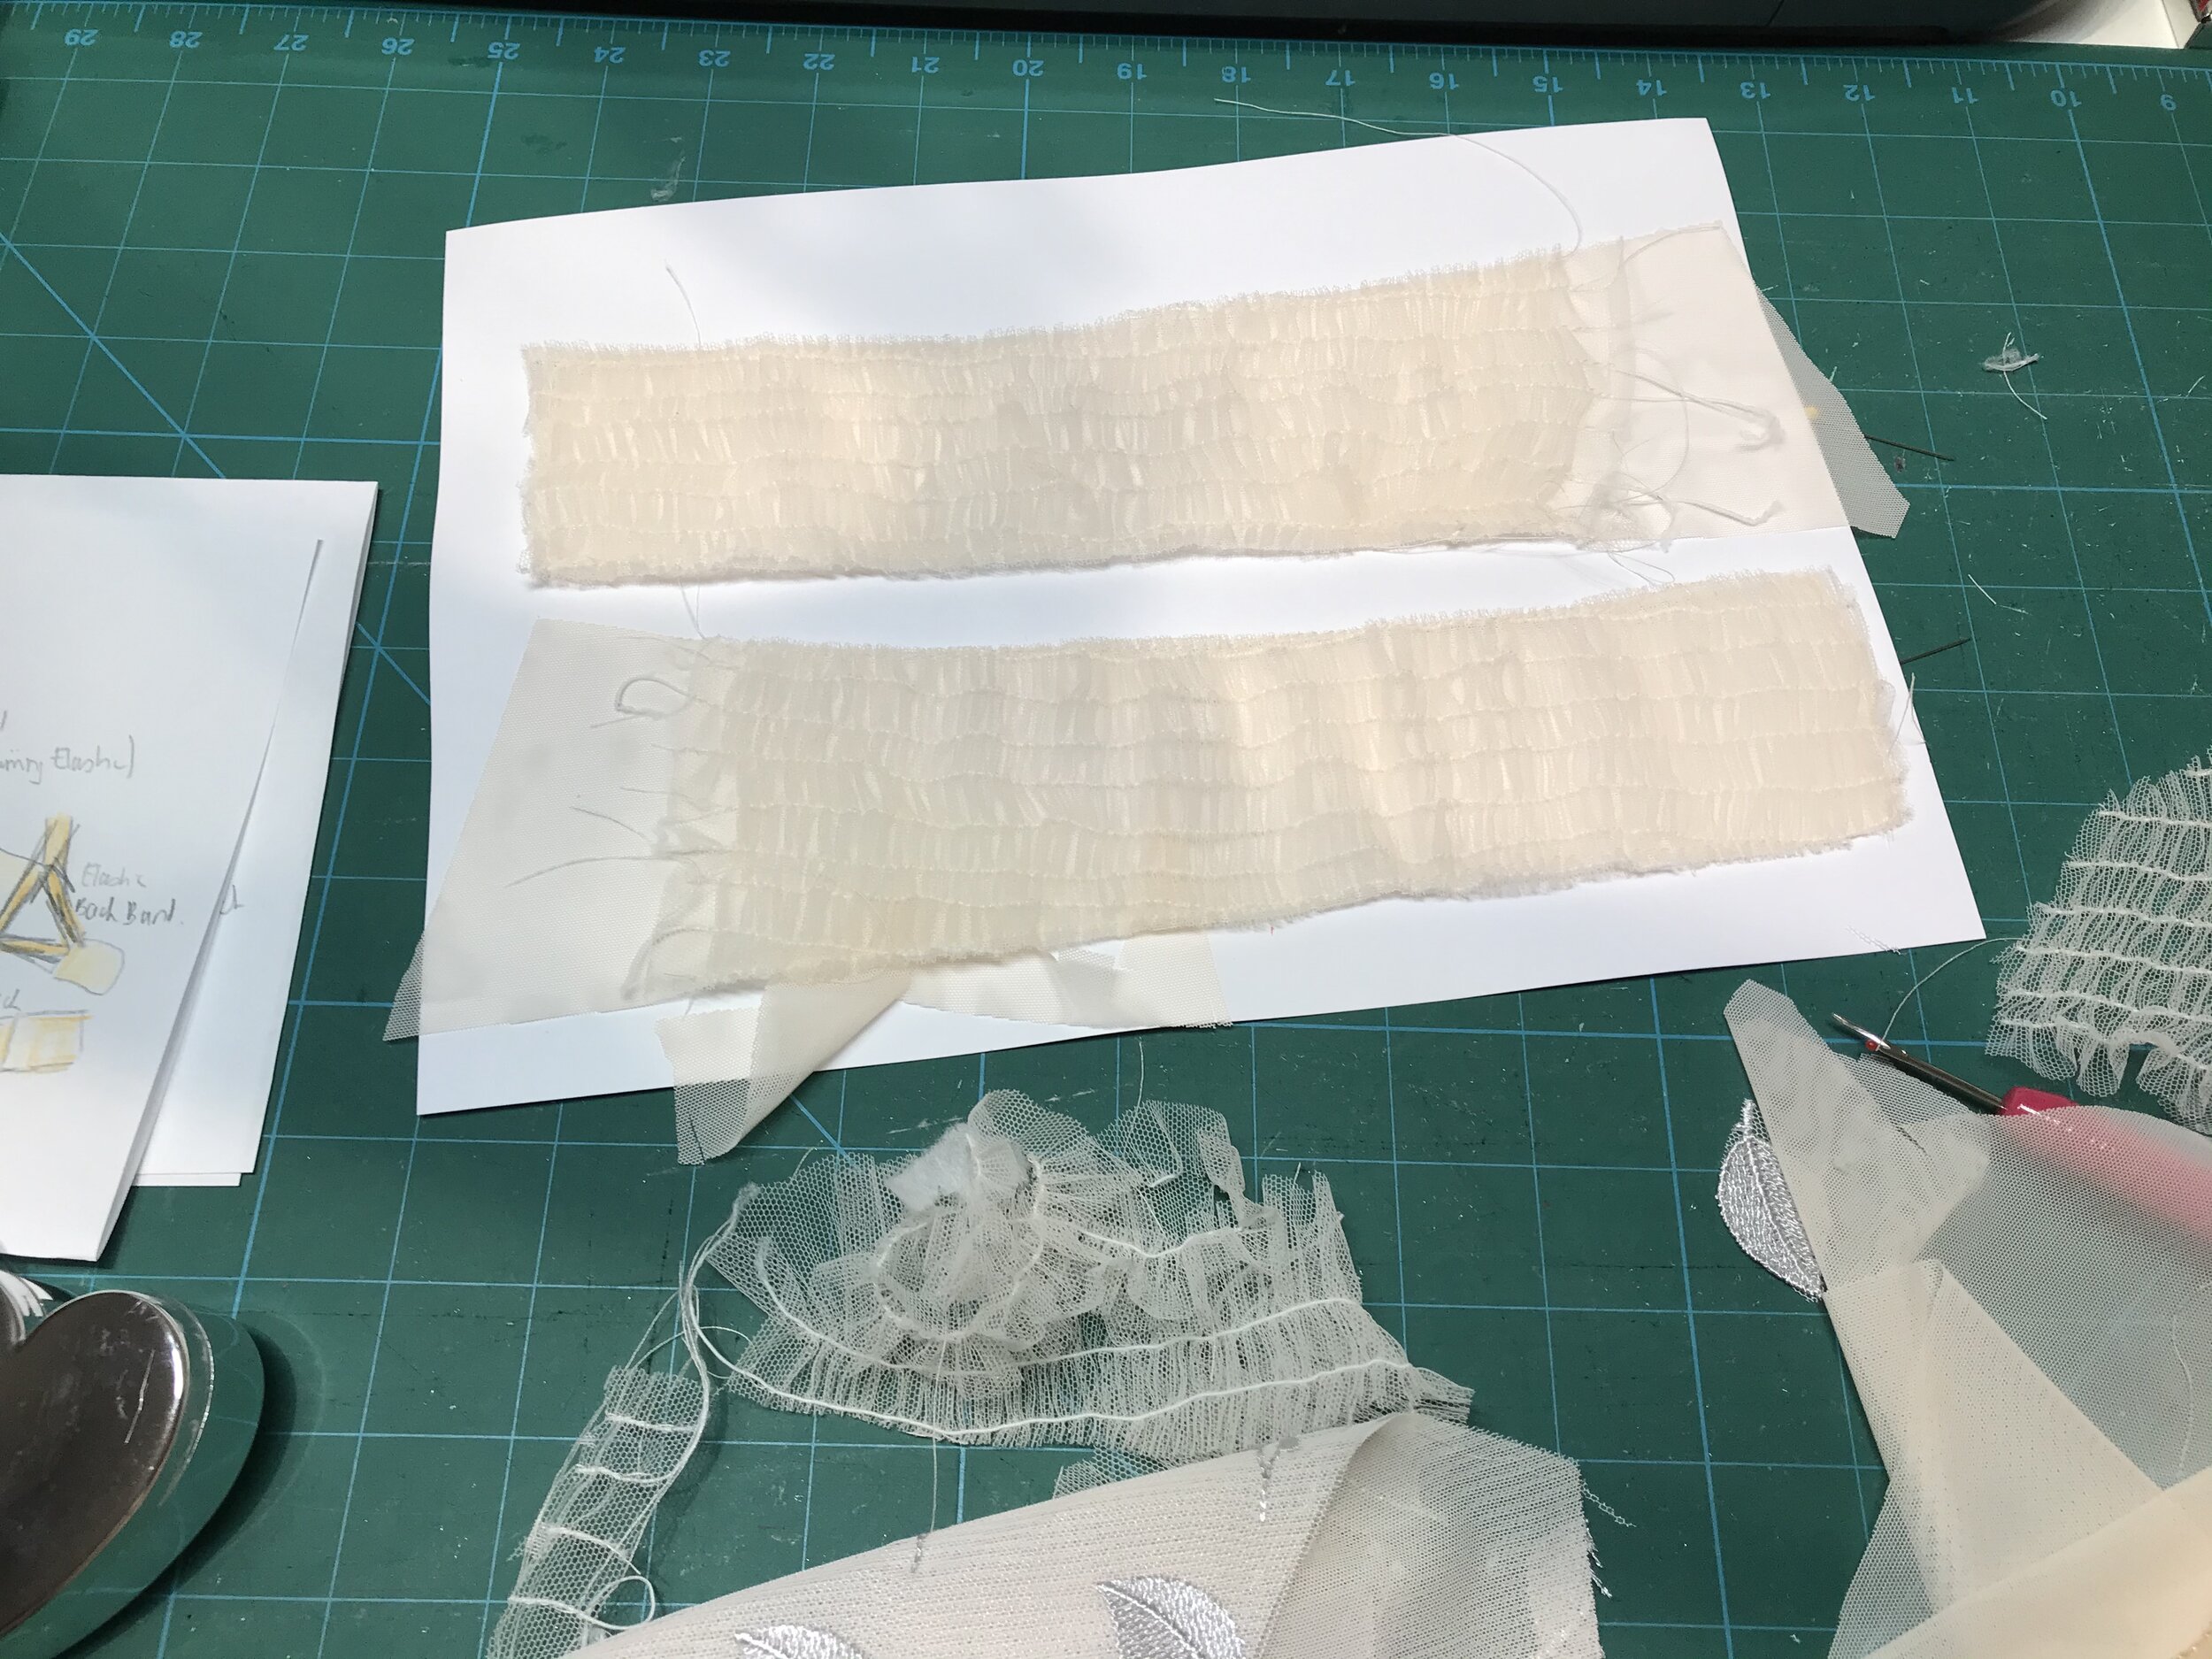
Previously I had only used shirring elastic to gather a sleeve into a cuff so this was going to be a real experiment. I hand wound the elastic on to the bobbin and used a stitch length of 4 based on the research I had done. Tulle is difficult to mark so I moved my needle so that I could sew at 1/2” intervals at the foot edge and stitched enough rows to be able to cut out the powerbars before steaming to relax the elastic. I used temporary adhesive spray to tack the sheer lining pieces I had cut to the wrong side. Next I stitched all around the very edge before cutting out. Finally I used another layer of sheer lining to enclose the seam with the inner cup. In my sketch I had used strapping to create a more open back but in practice I finished as normal in order that I would have enough strapping left for the underwear.
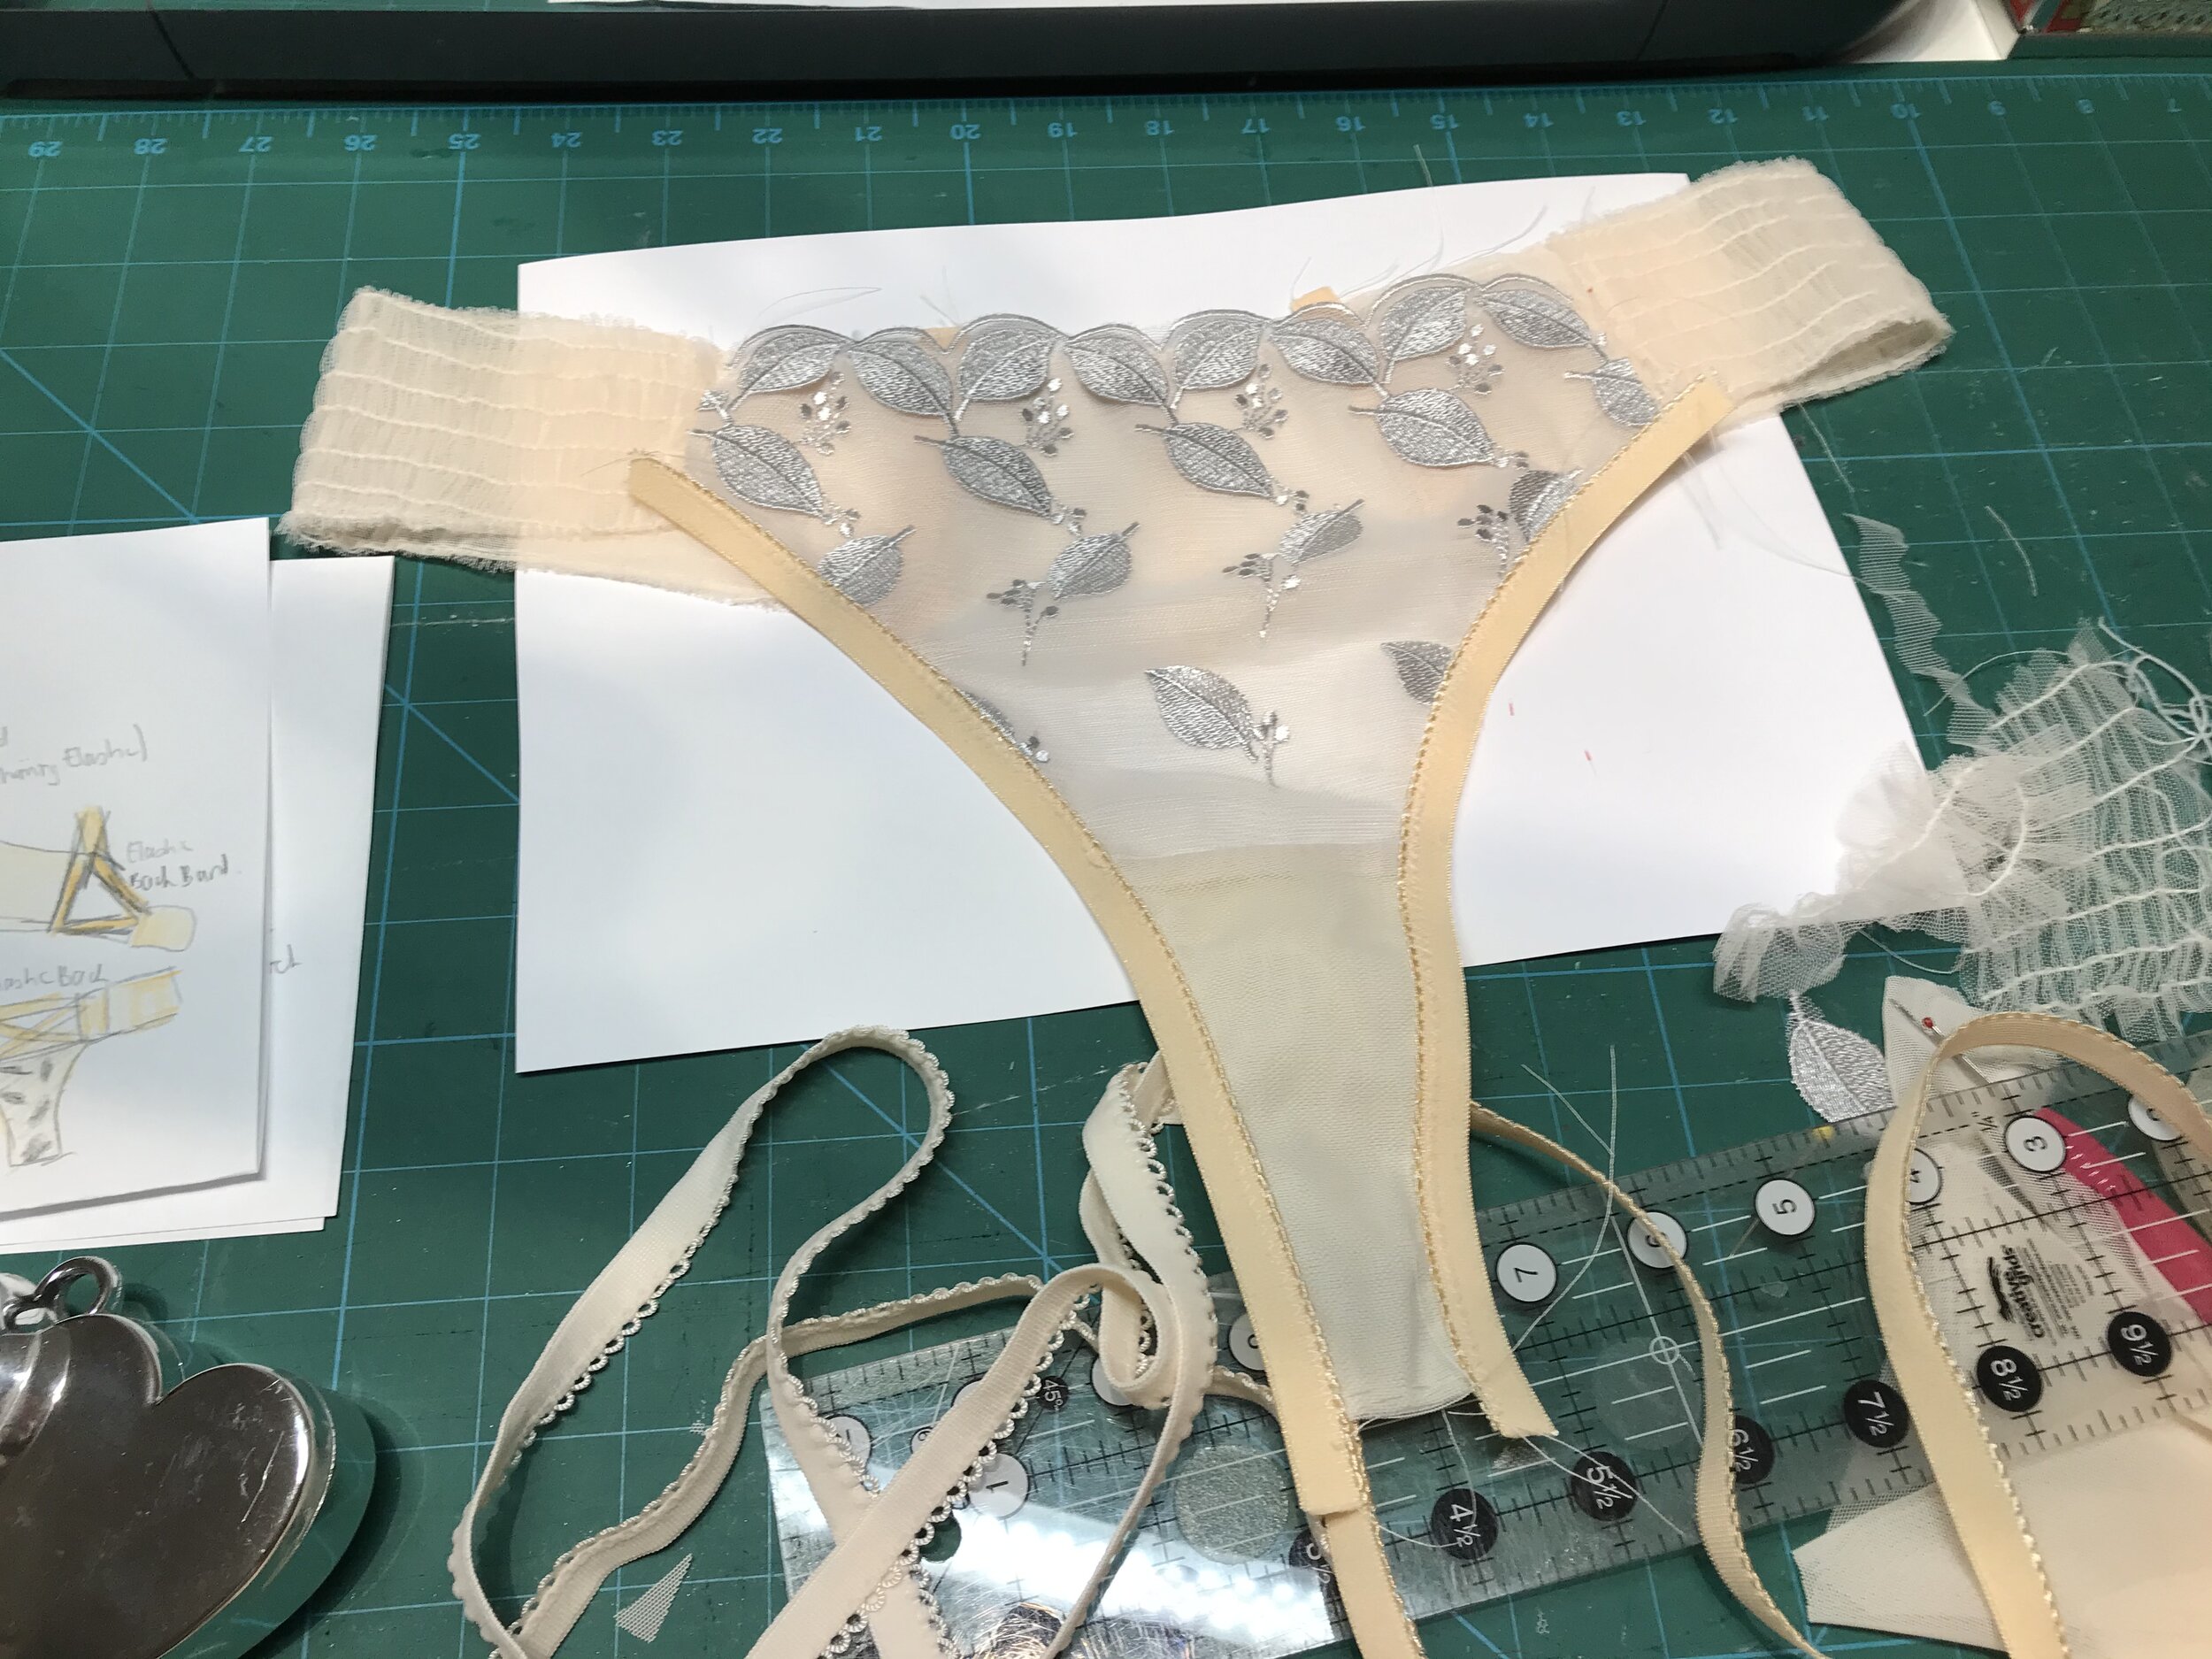
With the bra done I moved on to the thong I had sketched. I started with the Orange Lingerie Kingston pattern pieces. This uses stretch mesh on the fold for the leg edge so I thought I would use the folded pattern piece with the width of the elastic added at the fold line.
I cut out the front from the lace and lined with peach stretch mesh before attaching clear elastic to the waist. For the gusset I used just a plain piece of lace so as not to have any bulky embroidery before again lining with the mesh to get the peach colour as well as the cotton jersey lining.
At that point I decided to gather the remaining tulle to see what size piece I would be left to work with.
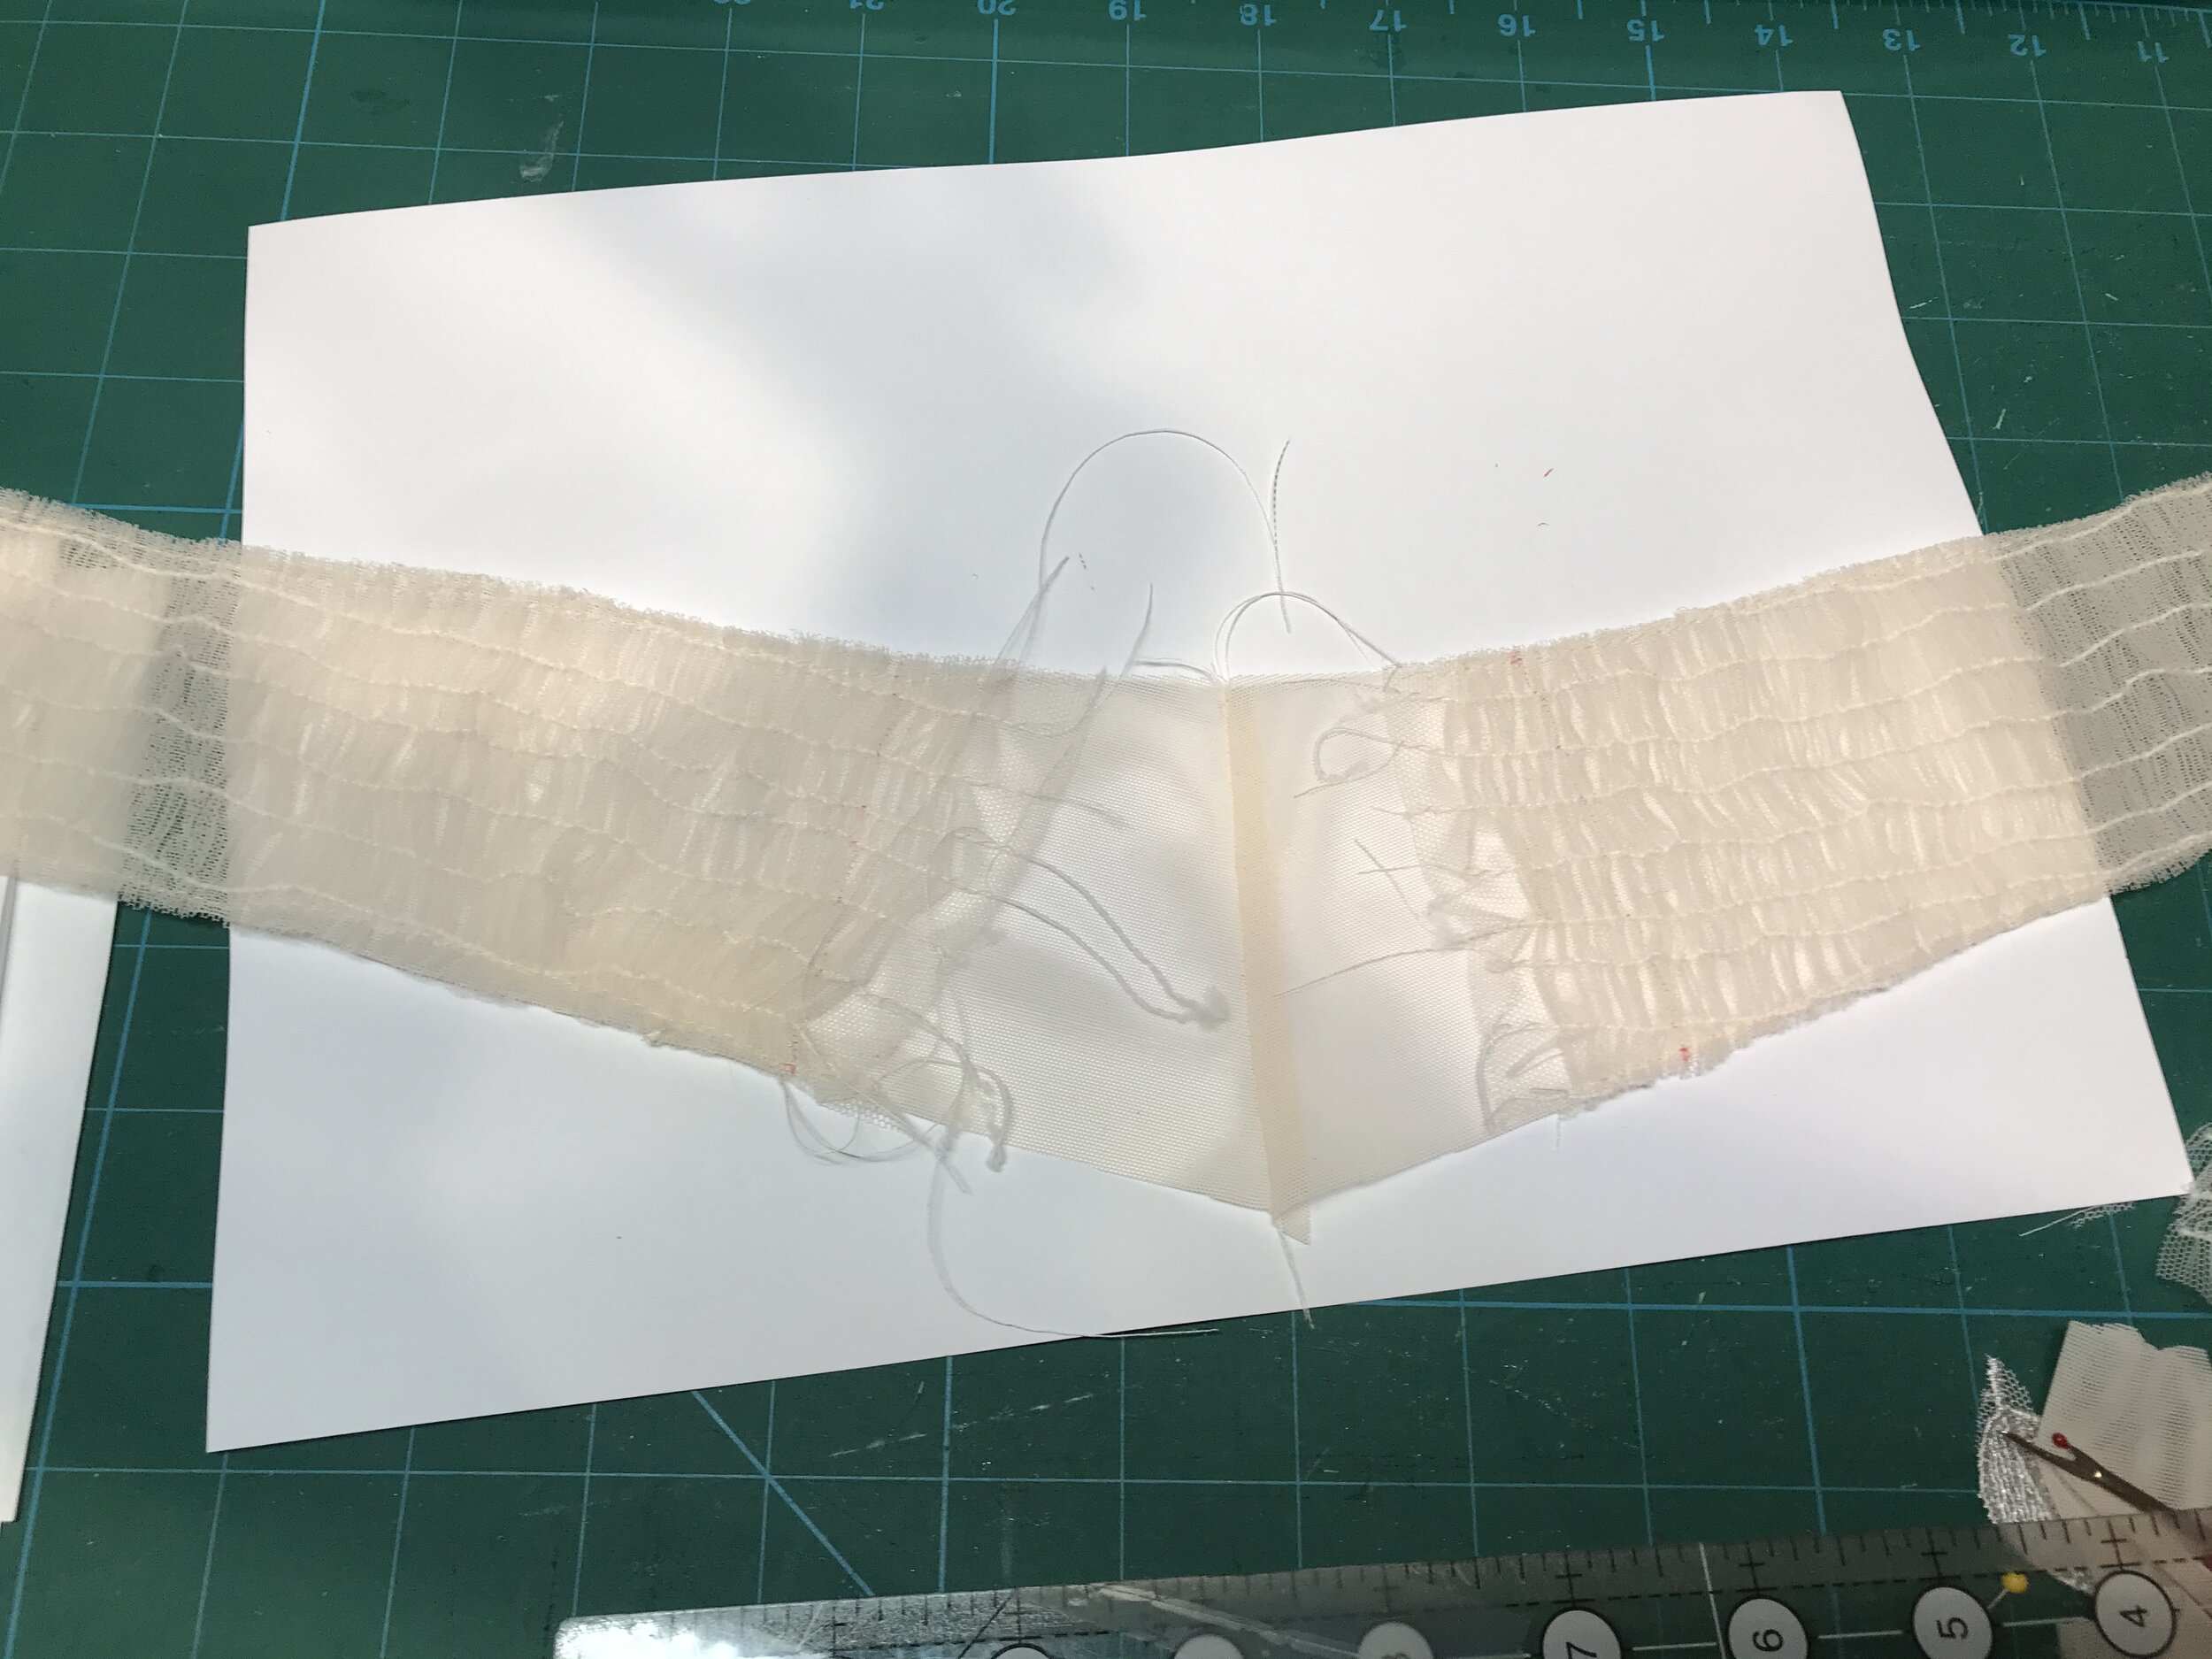
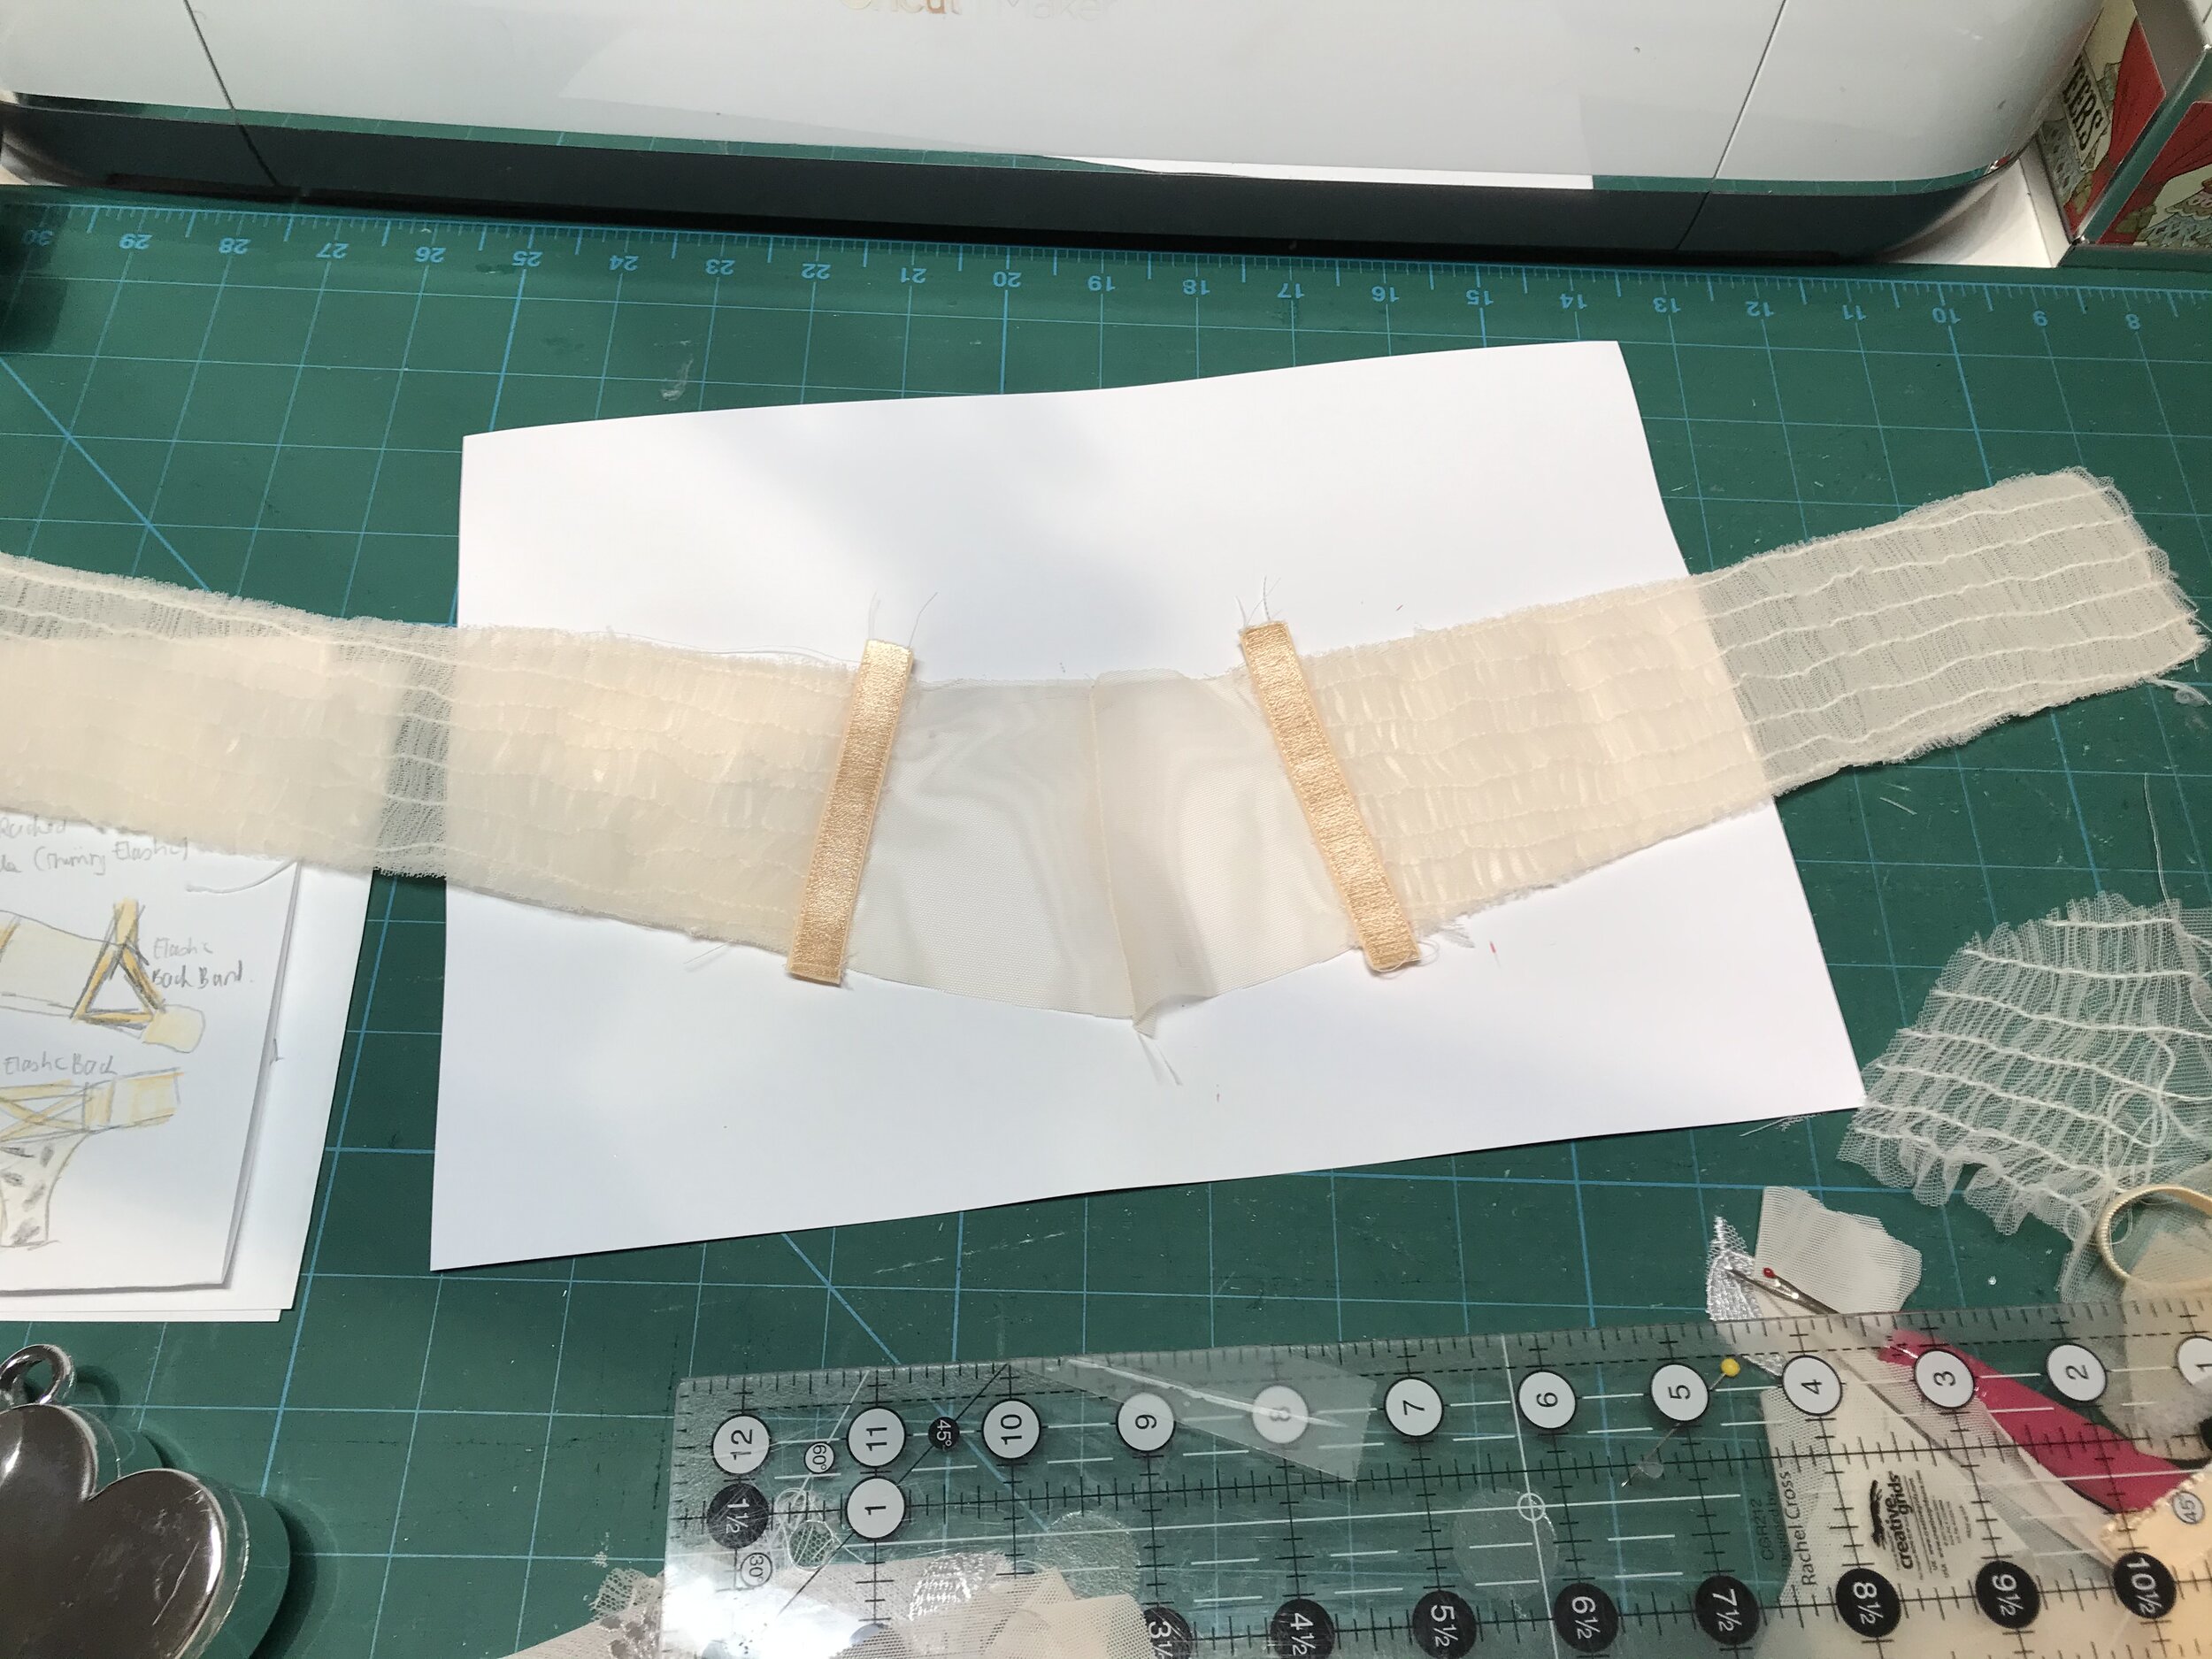
I cut out the sides in stretch mesh and checked against the gathered tulle. It wasn’t wide enough to cover the whole piece so I came up with the idea of attaching what I had to the stretch mesh starting at the front and then applying strap elastic on top where it ended before cutting back to the strapping so there was no unsightly or bulky finish on the inside. The two pieces were different sizes so I measured the shortest and marked lines to place the strapping.
Next I covered the open back seam with another piece of strap elastic and trimmed back to the stitching. The plan was to use the lace for the back extension but I decided it didn’t have enough stretch so I used the stretch mesh.
I did want to make a garter but I only had rose gold fasteners so I will leave that for another time. To be honest the set was perfect as it was and I need a rest!
