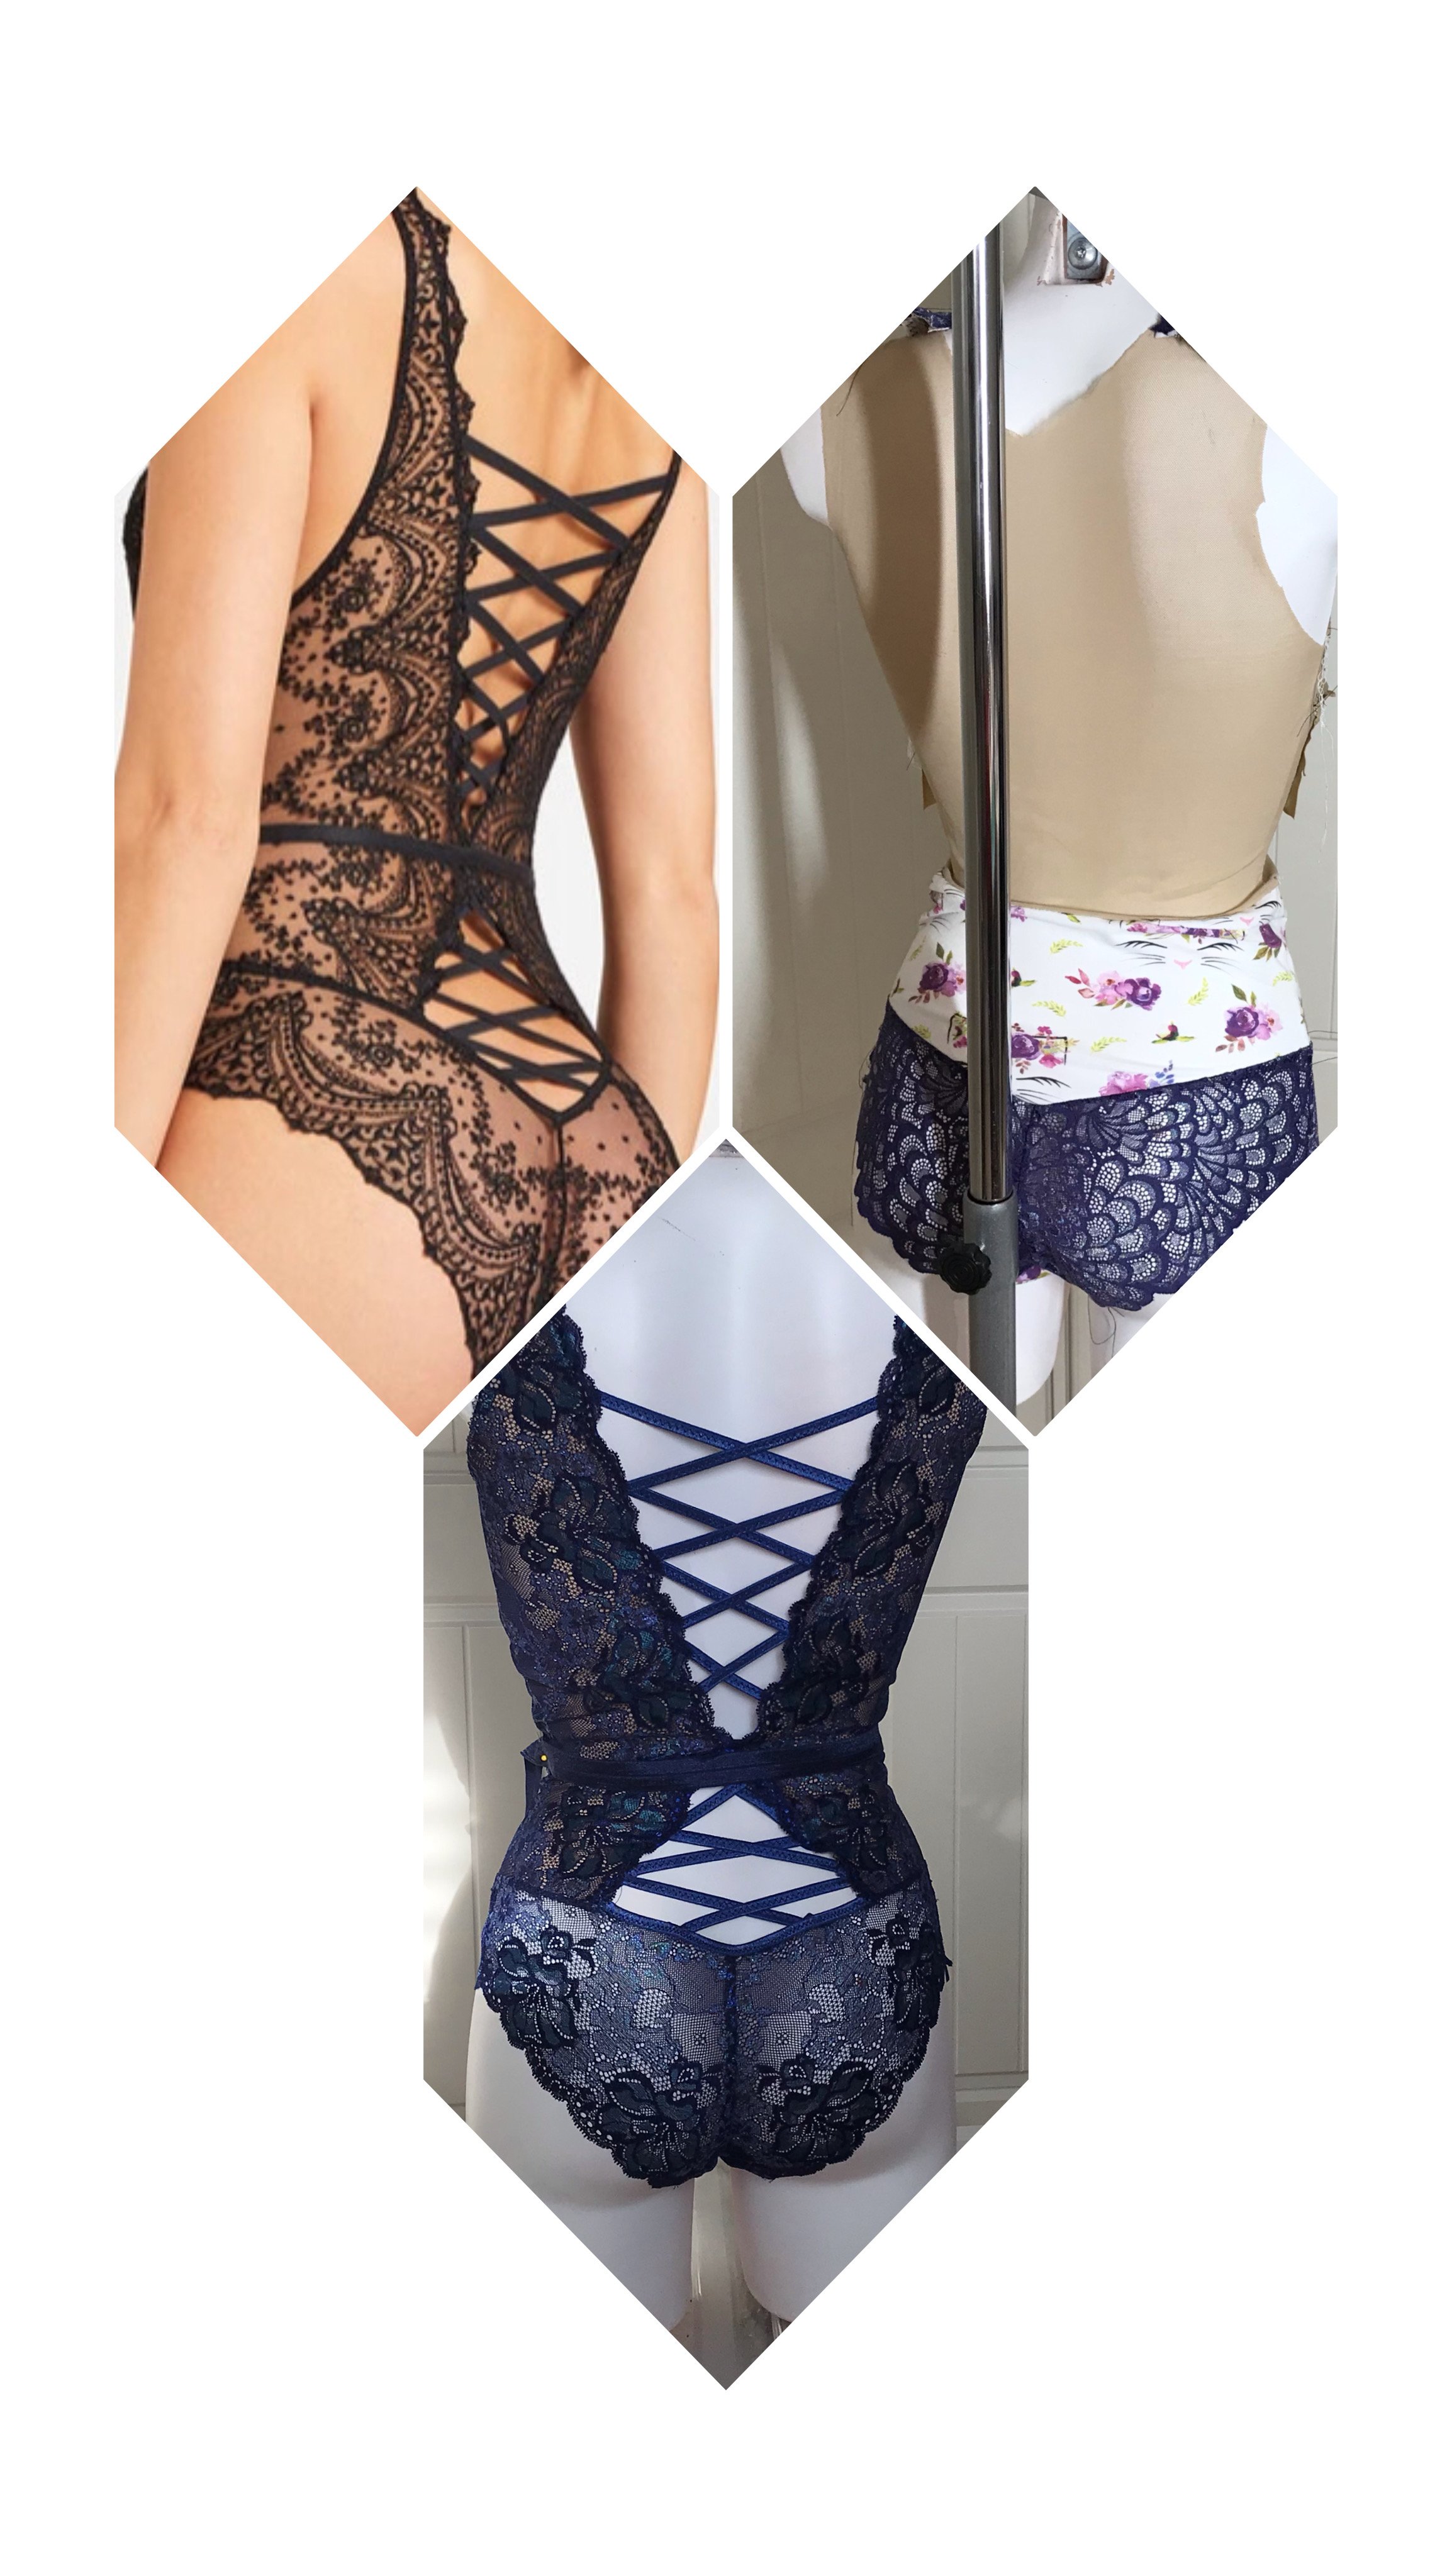
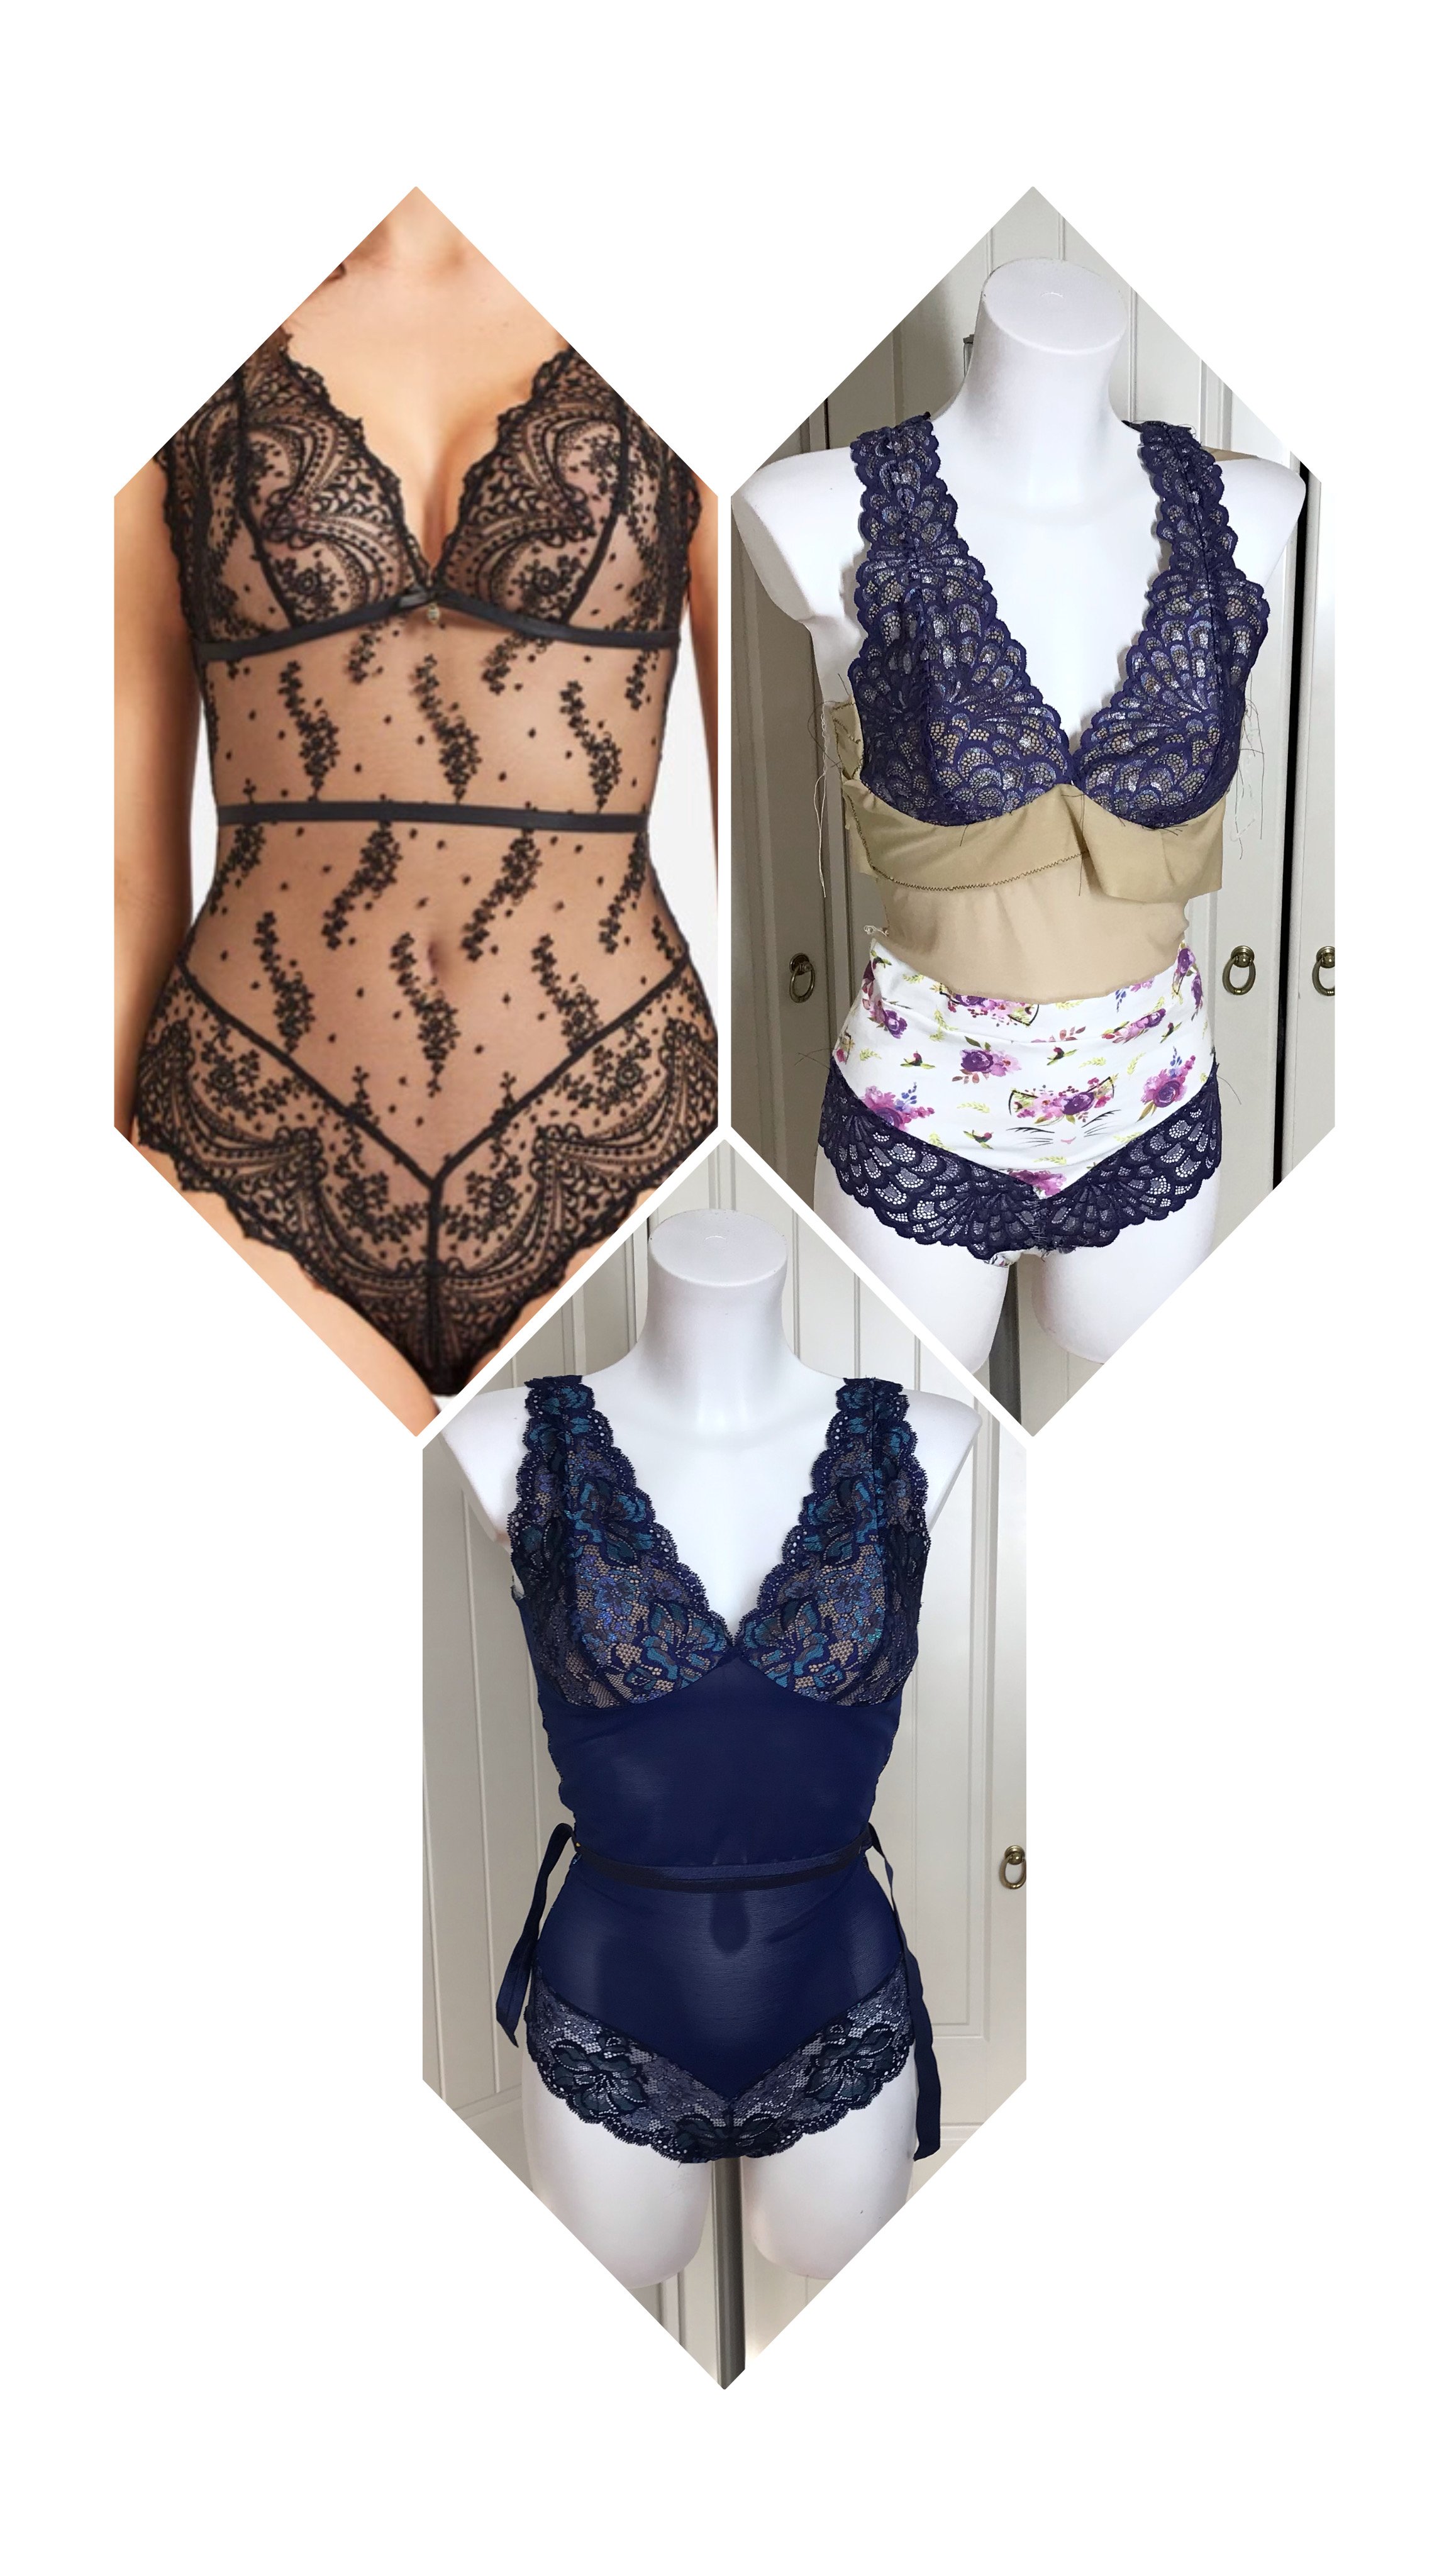
It's All About the Back Bodysuit

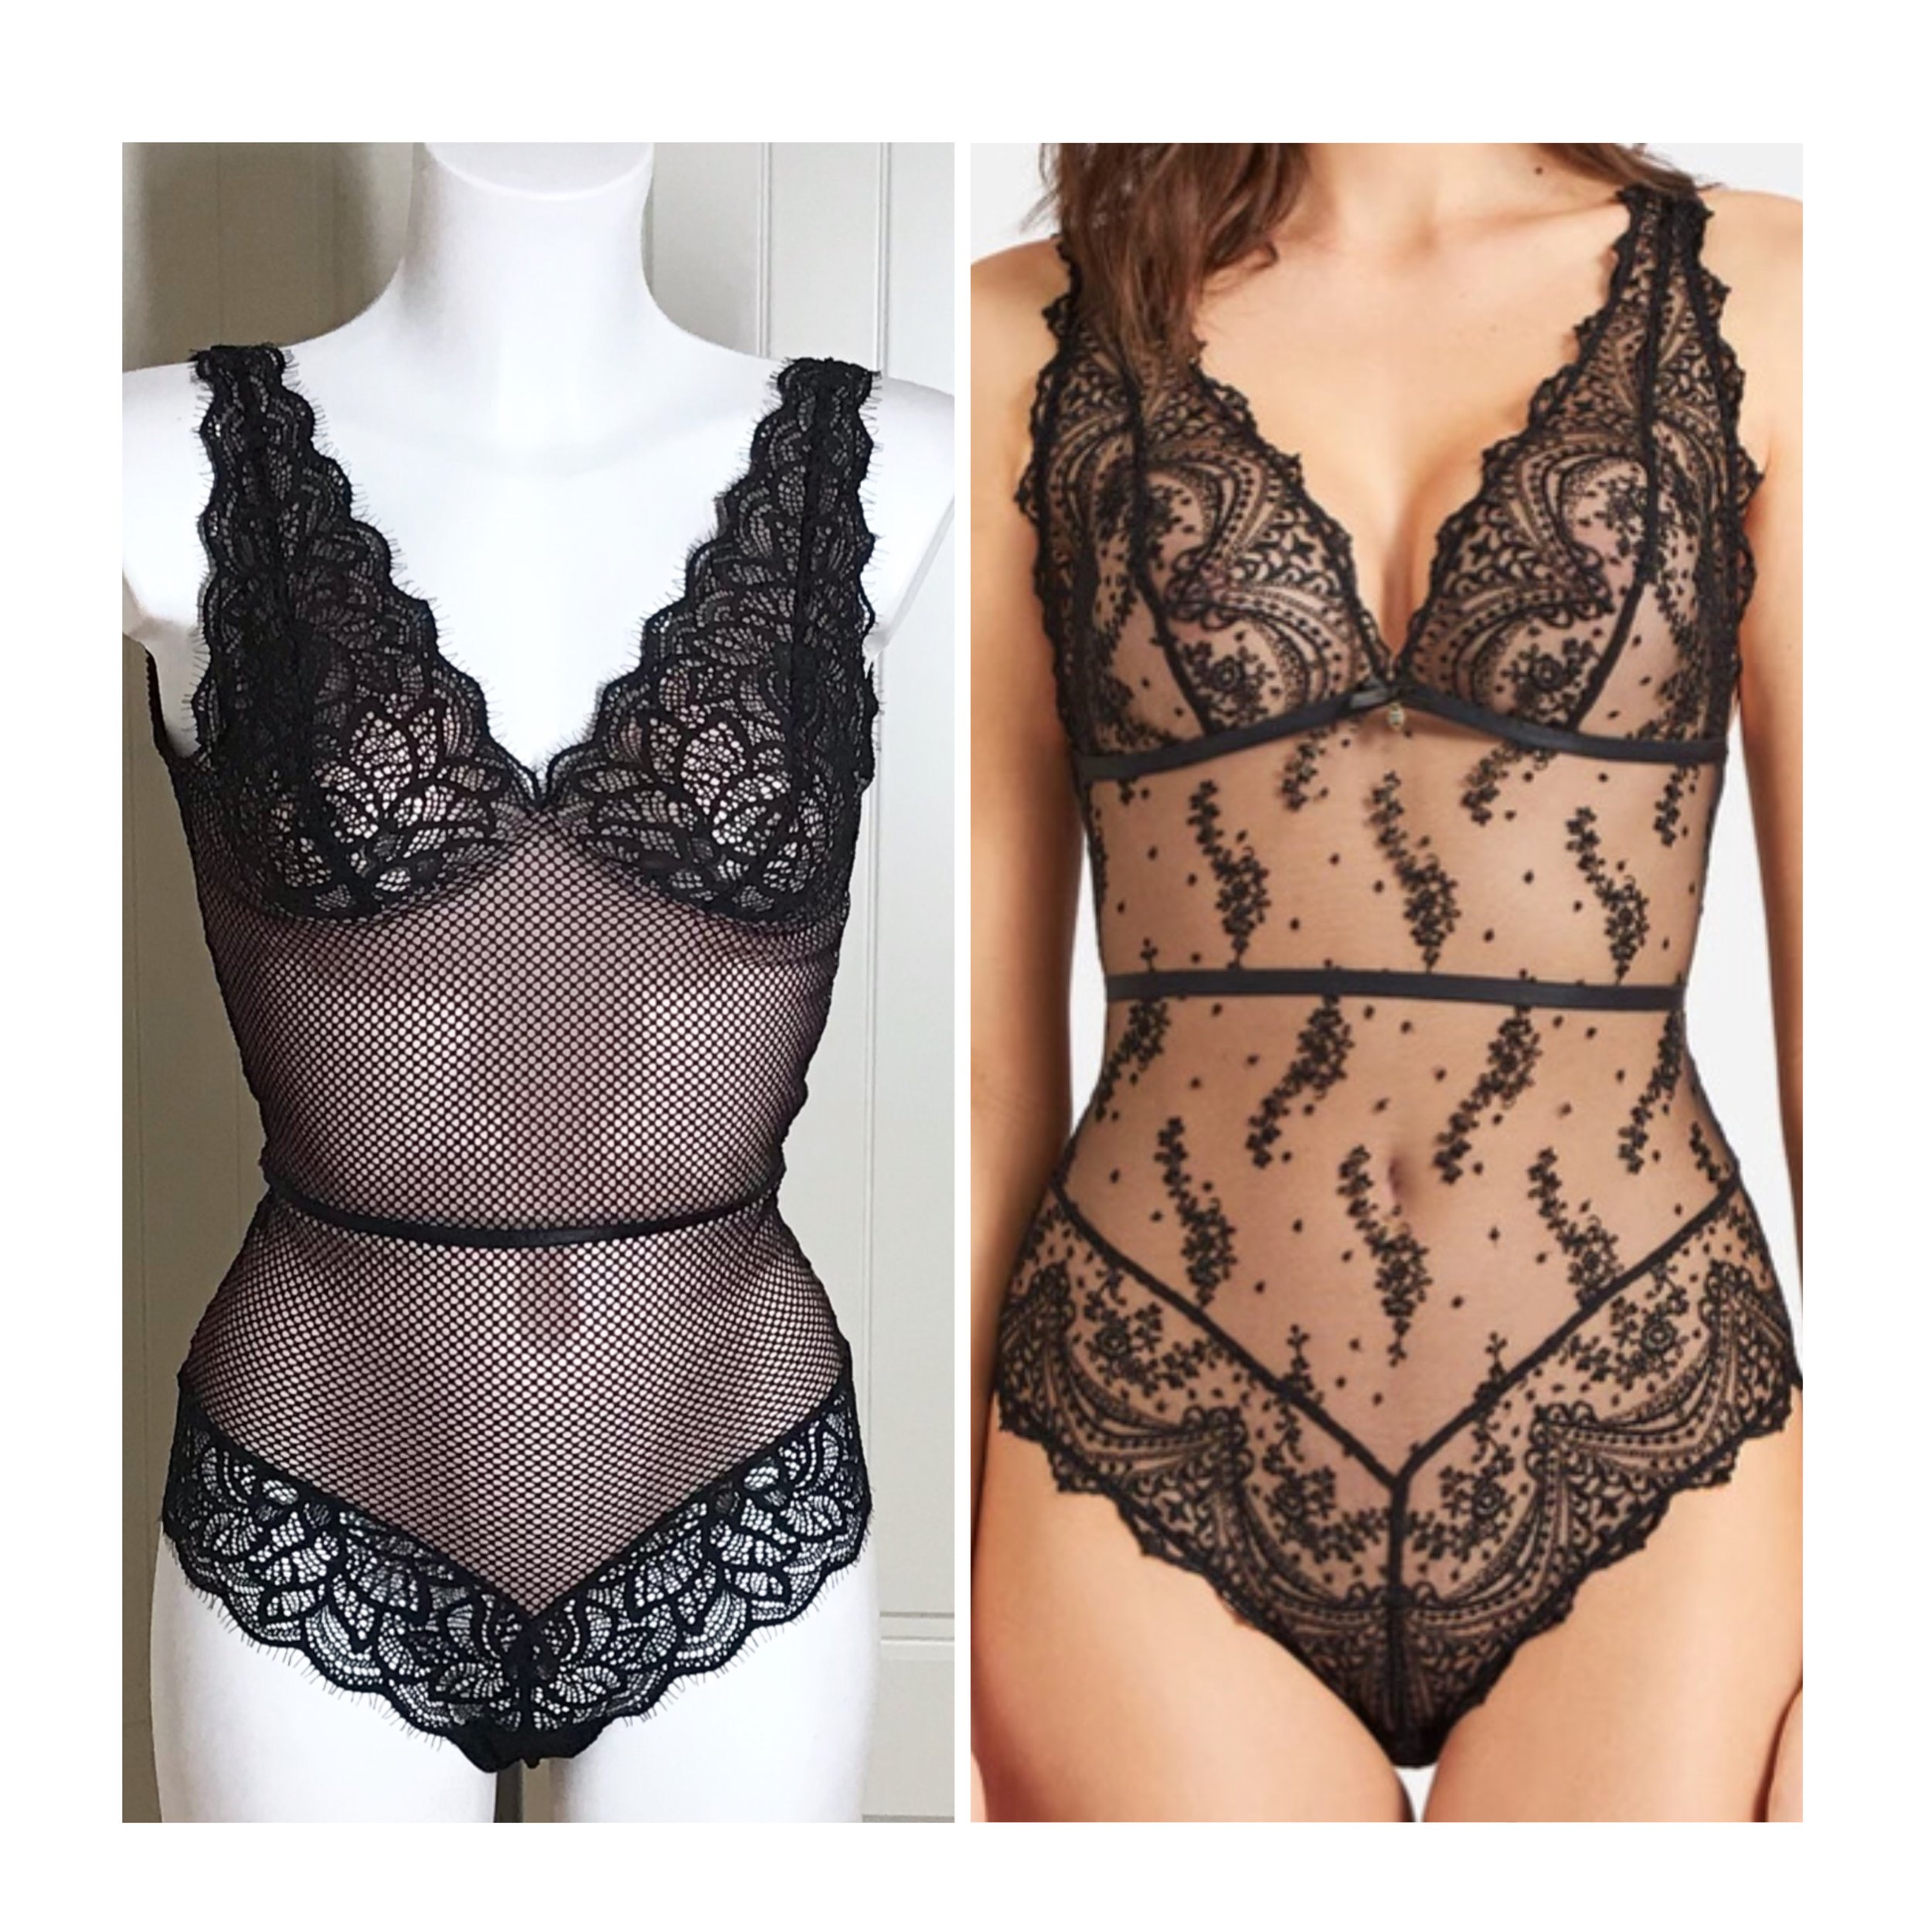
It’s been such a long time since the last post but life has changed so much. The first part of the year was taken up with preparing my International Bra Sewing Bee classes and then I was busy getting ready for the birth of my granddaughter. It meant I didn’t have much time to make much for myself but I did manage to try some new patterns as well as make some lingerie suitable for life on the road in the motorhome, where we spend most of our time walking and cycling once we arrive at a site. No wild camping for me! I did get chance to set myself a challenge of recreating the look of a ready to wear bodysuit that I really loved.

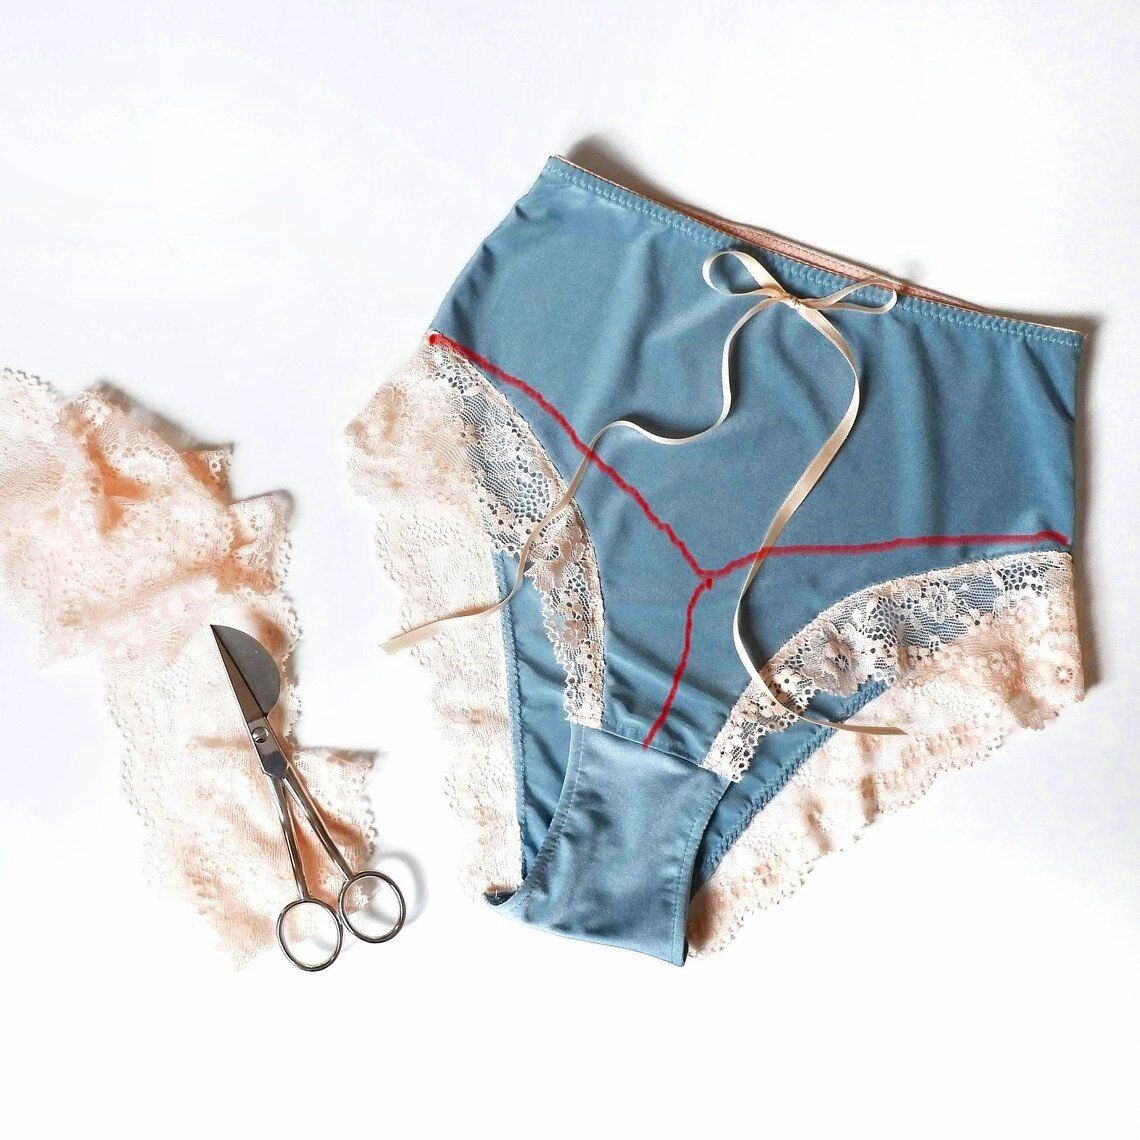
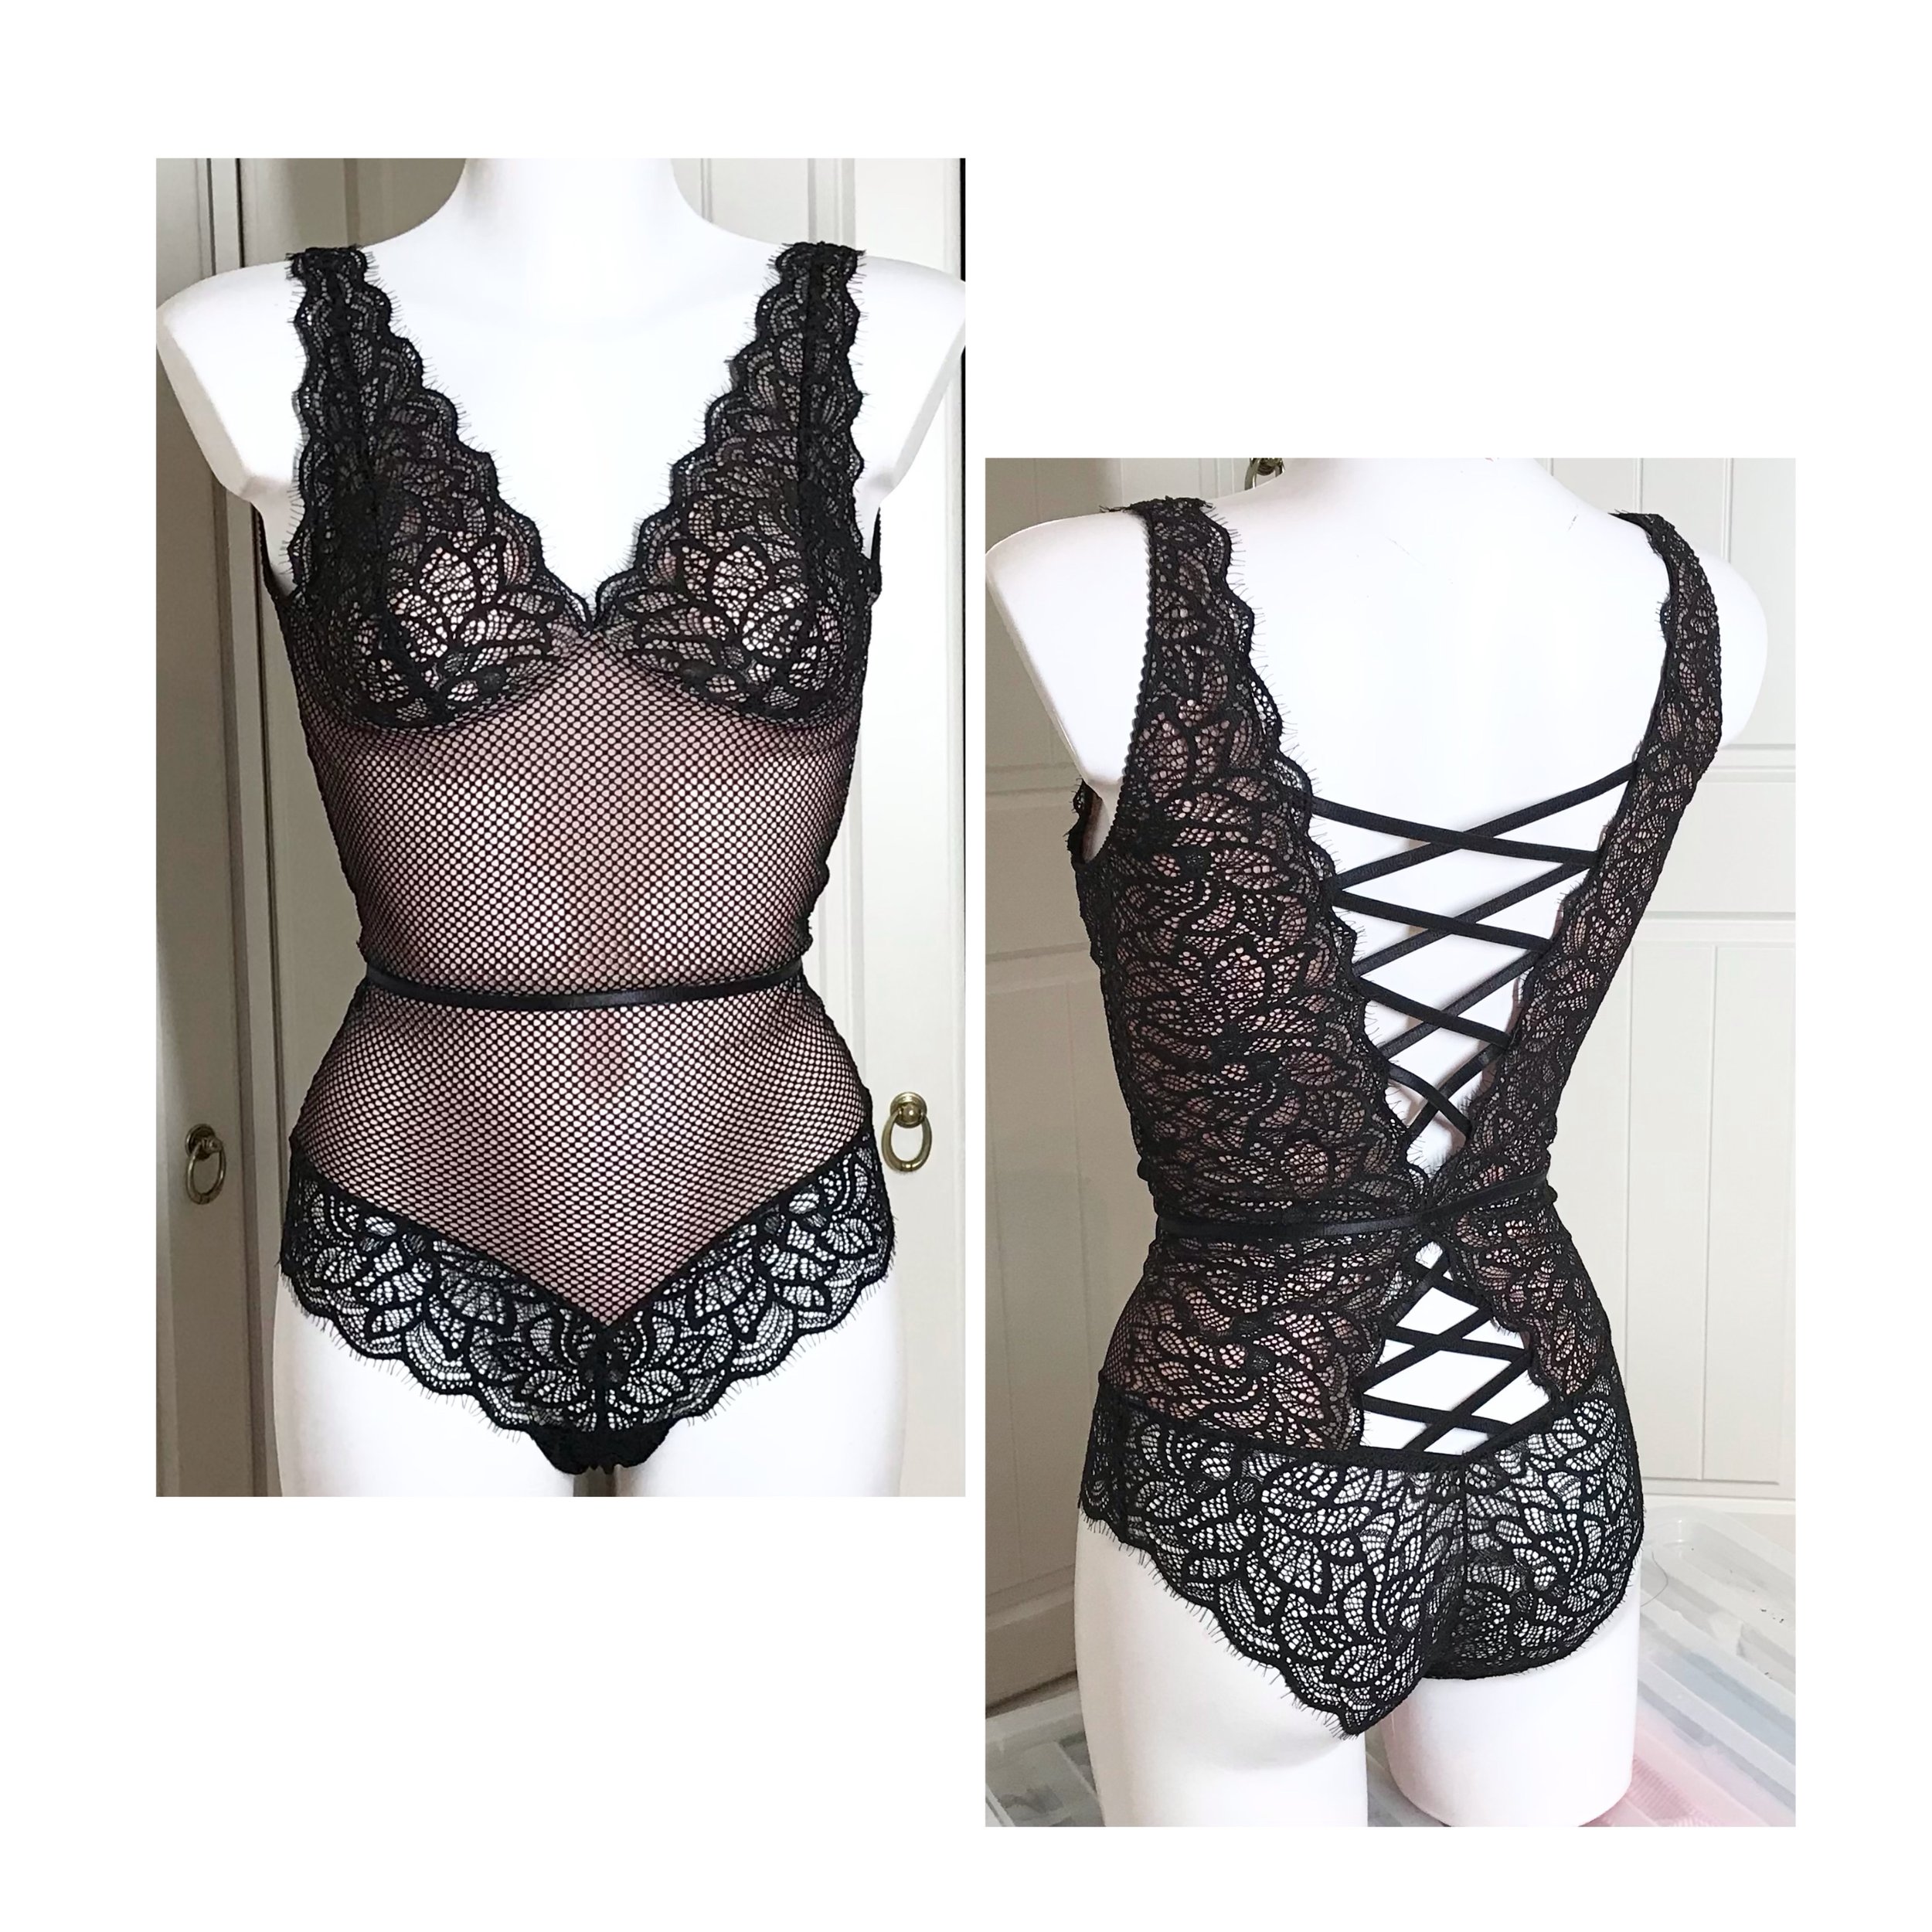
Trying to recreate the look of RTW is what I love doing. It does take a lot of effort but is so worthwhile. With something like this I tend to start with patterns that I know fit and combine these with some hacking and drafting. So, the starting point for this was the Studio Costura Eva panties which are high waisted with a bikini cut on the leg openings.

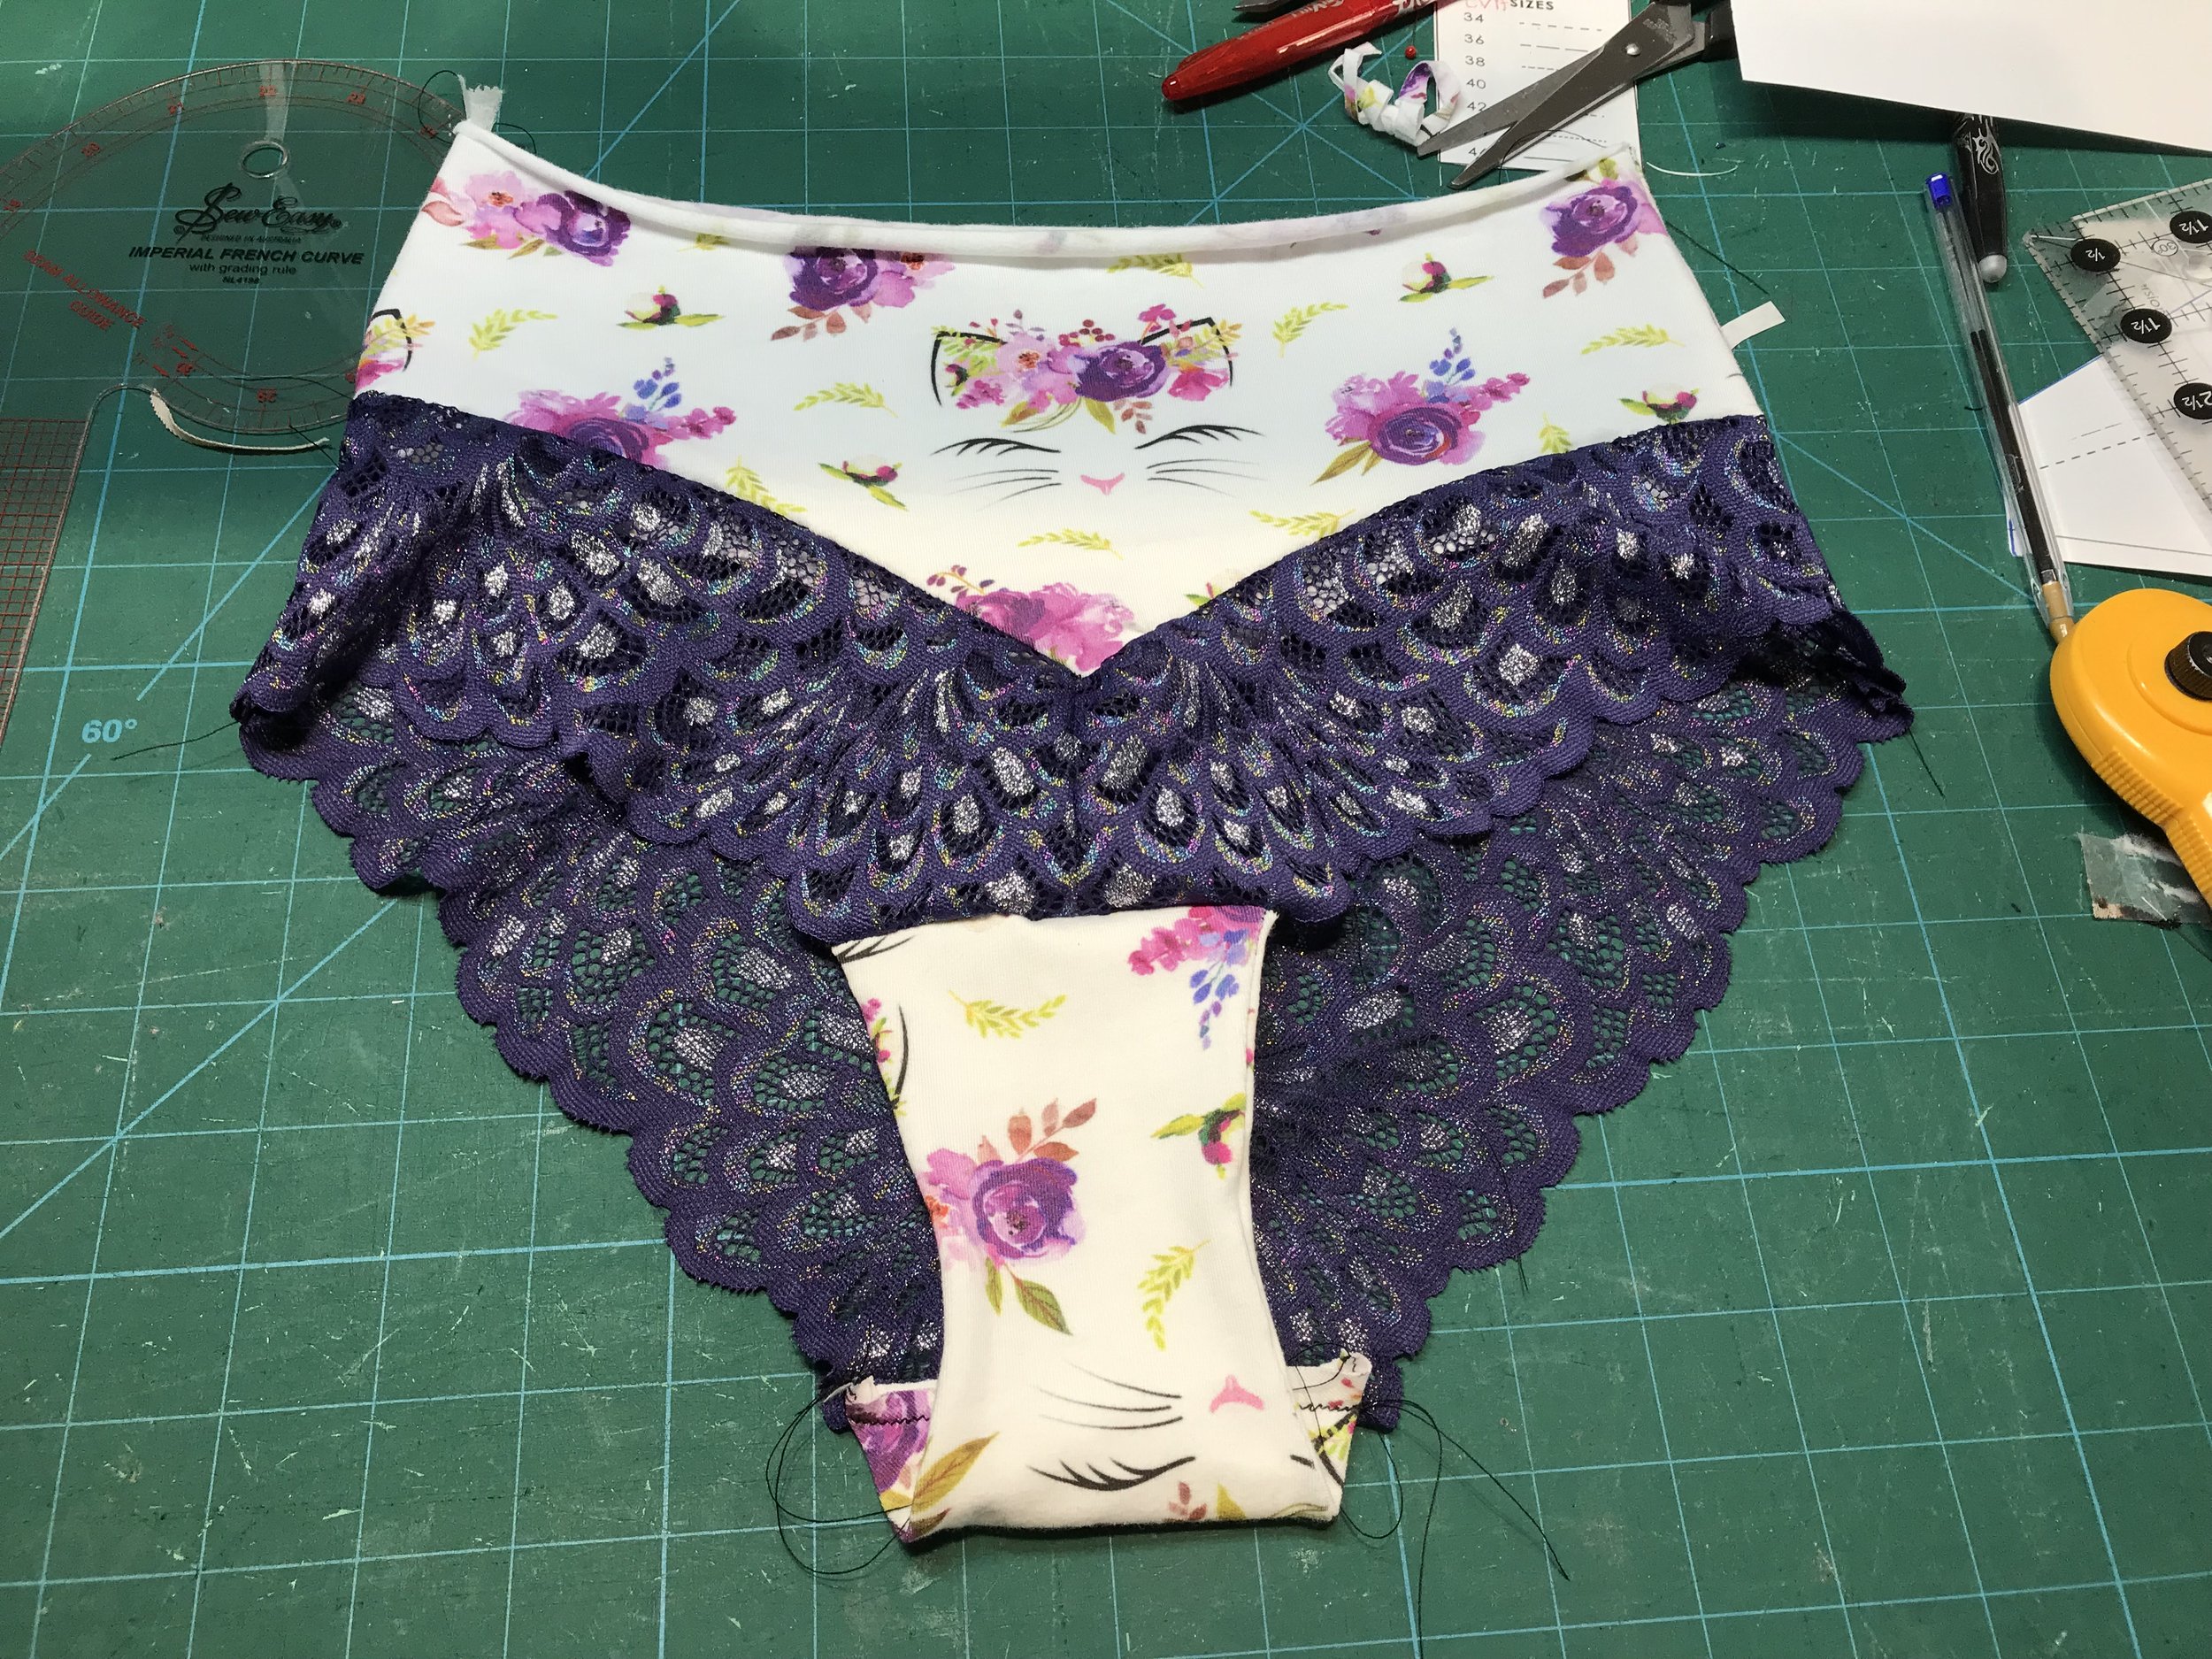
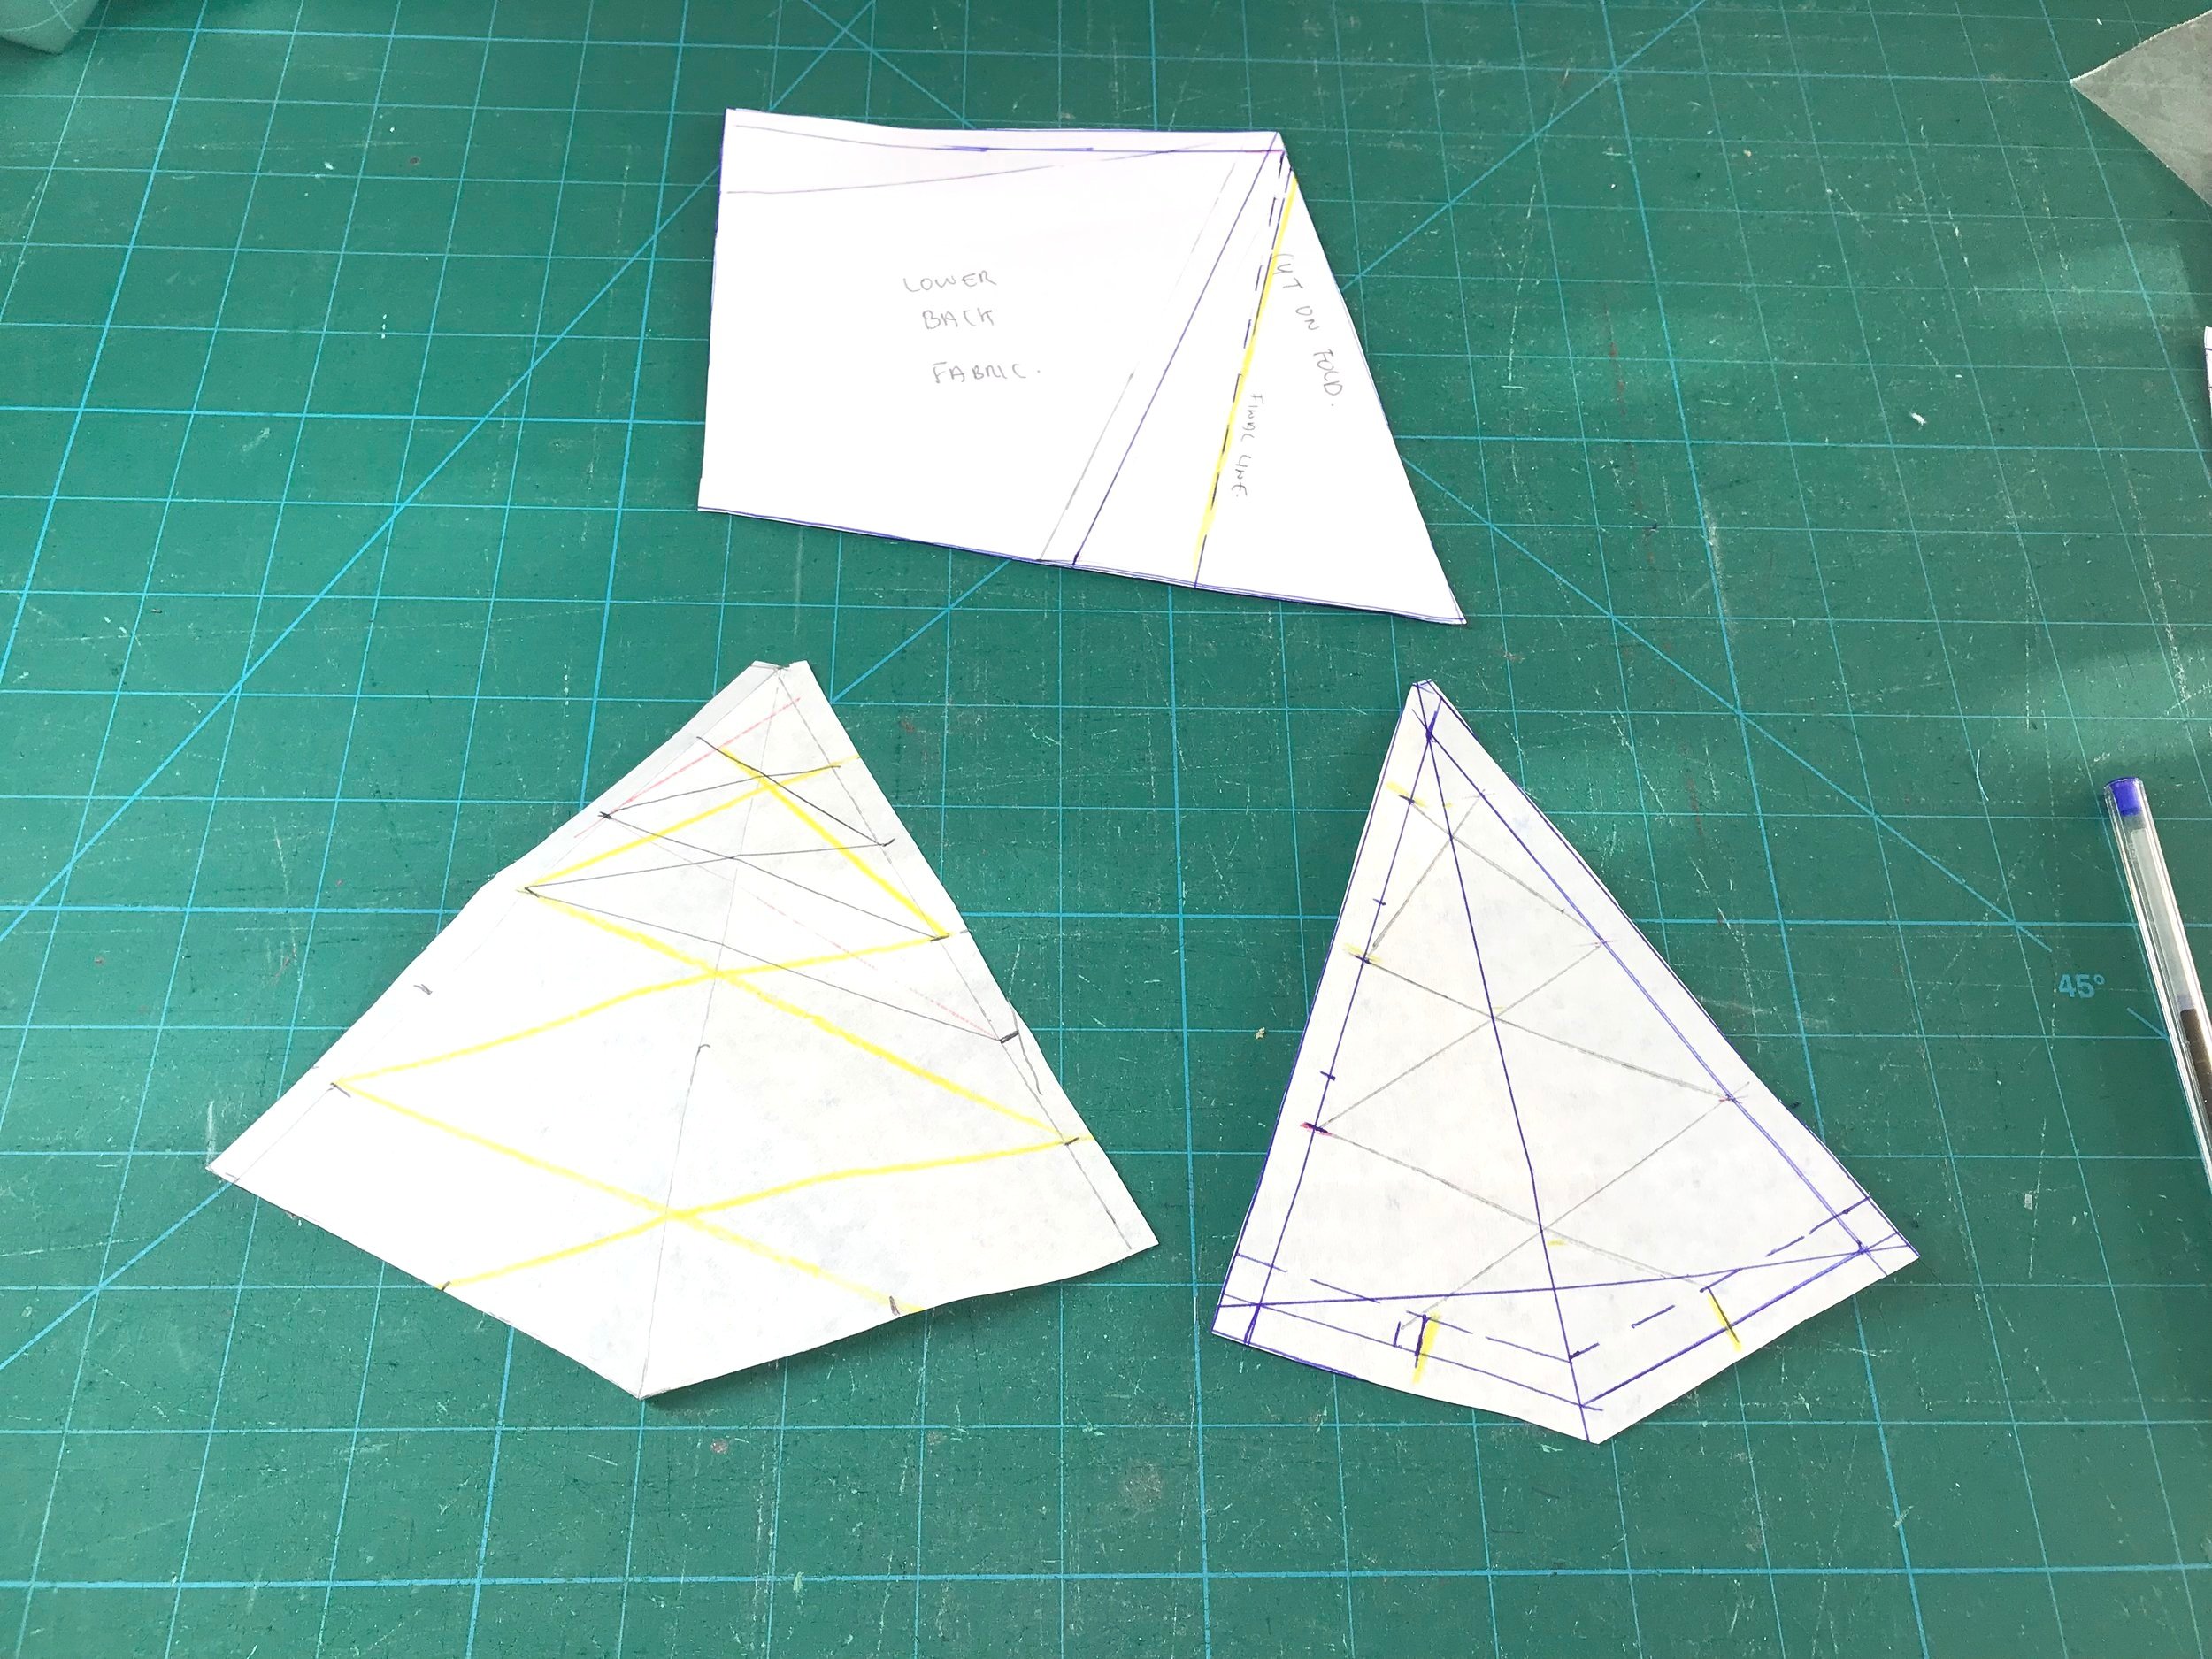
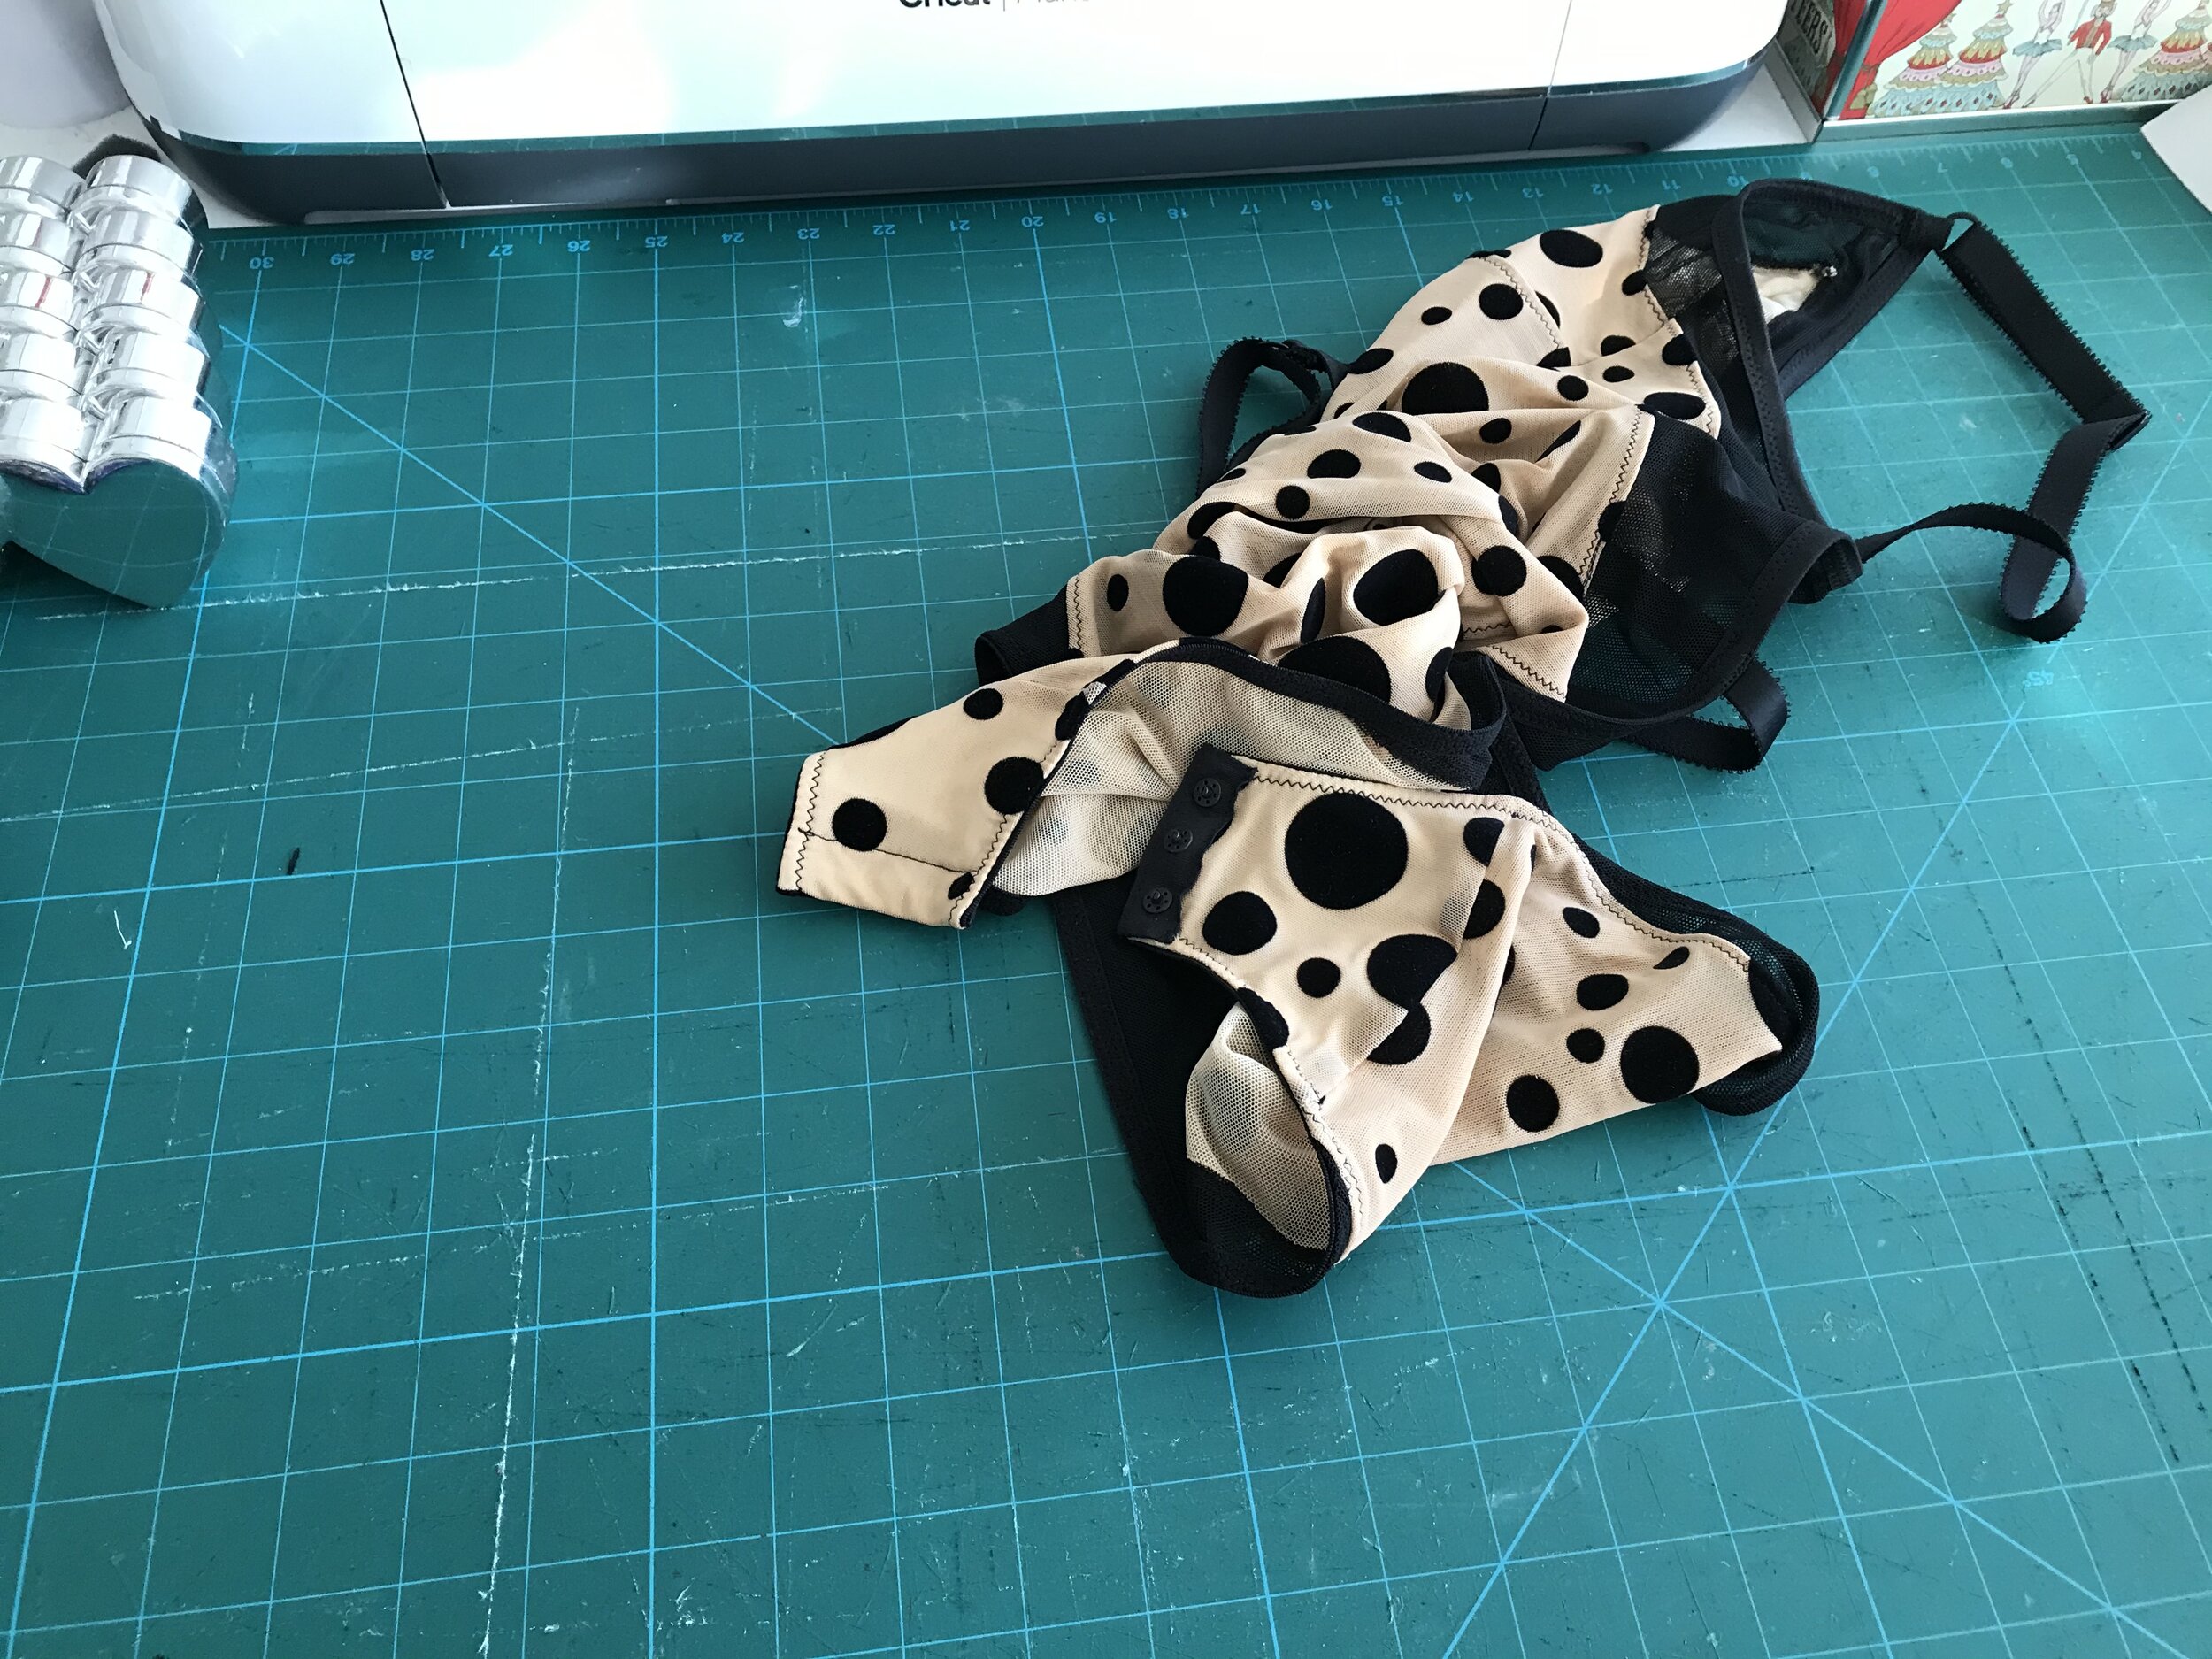
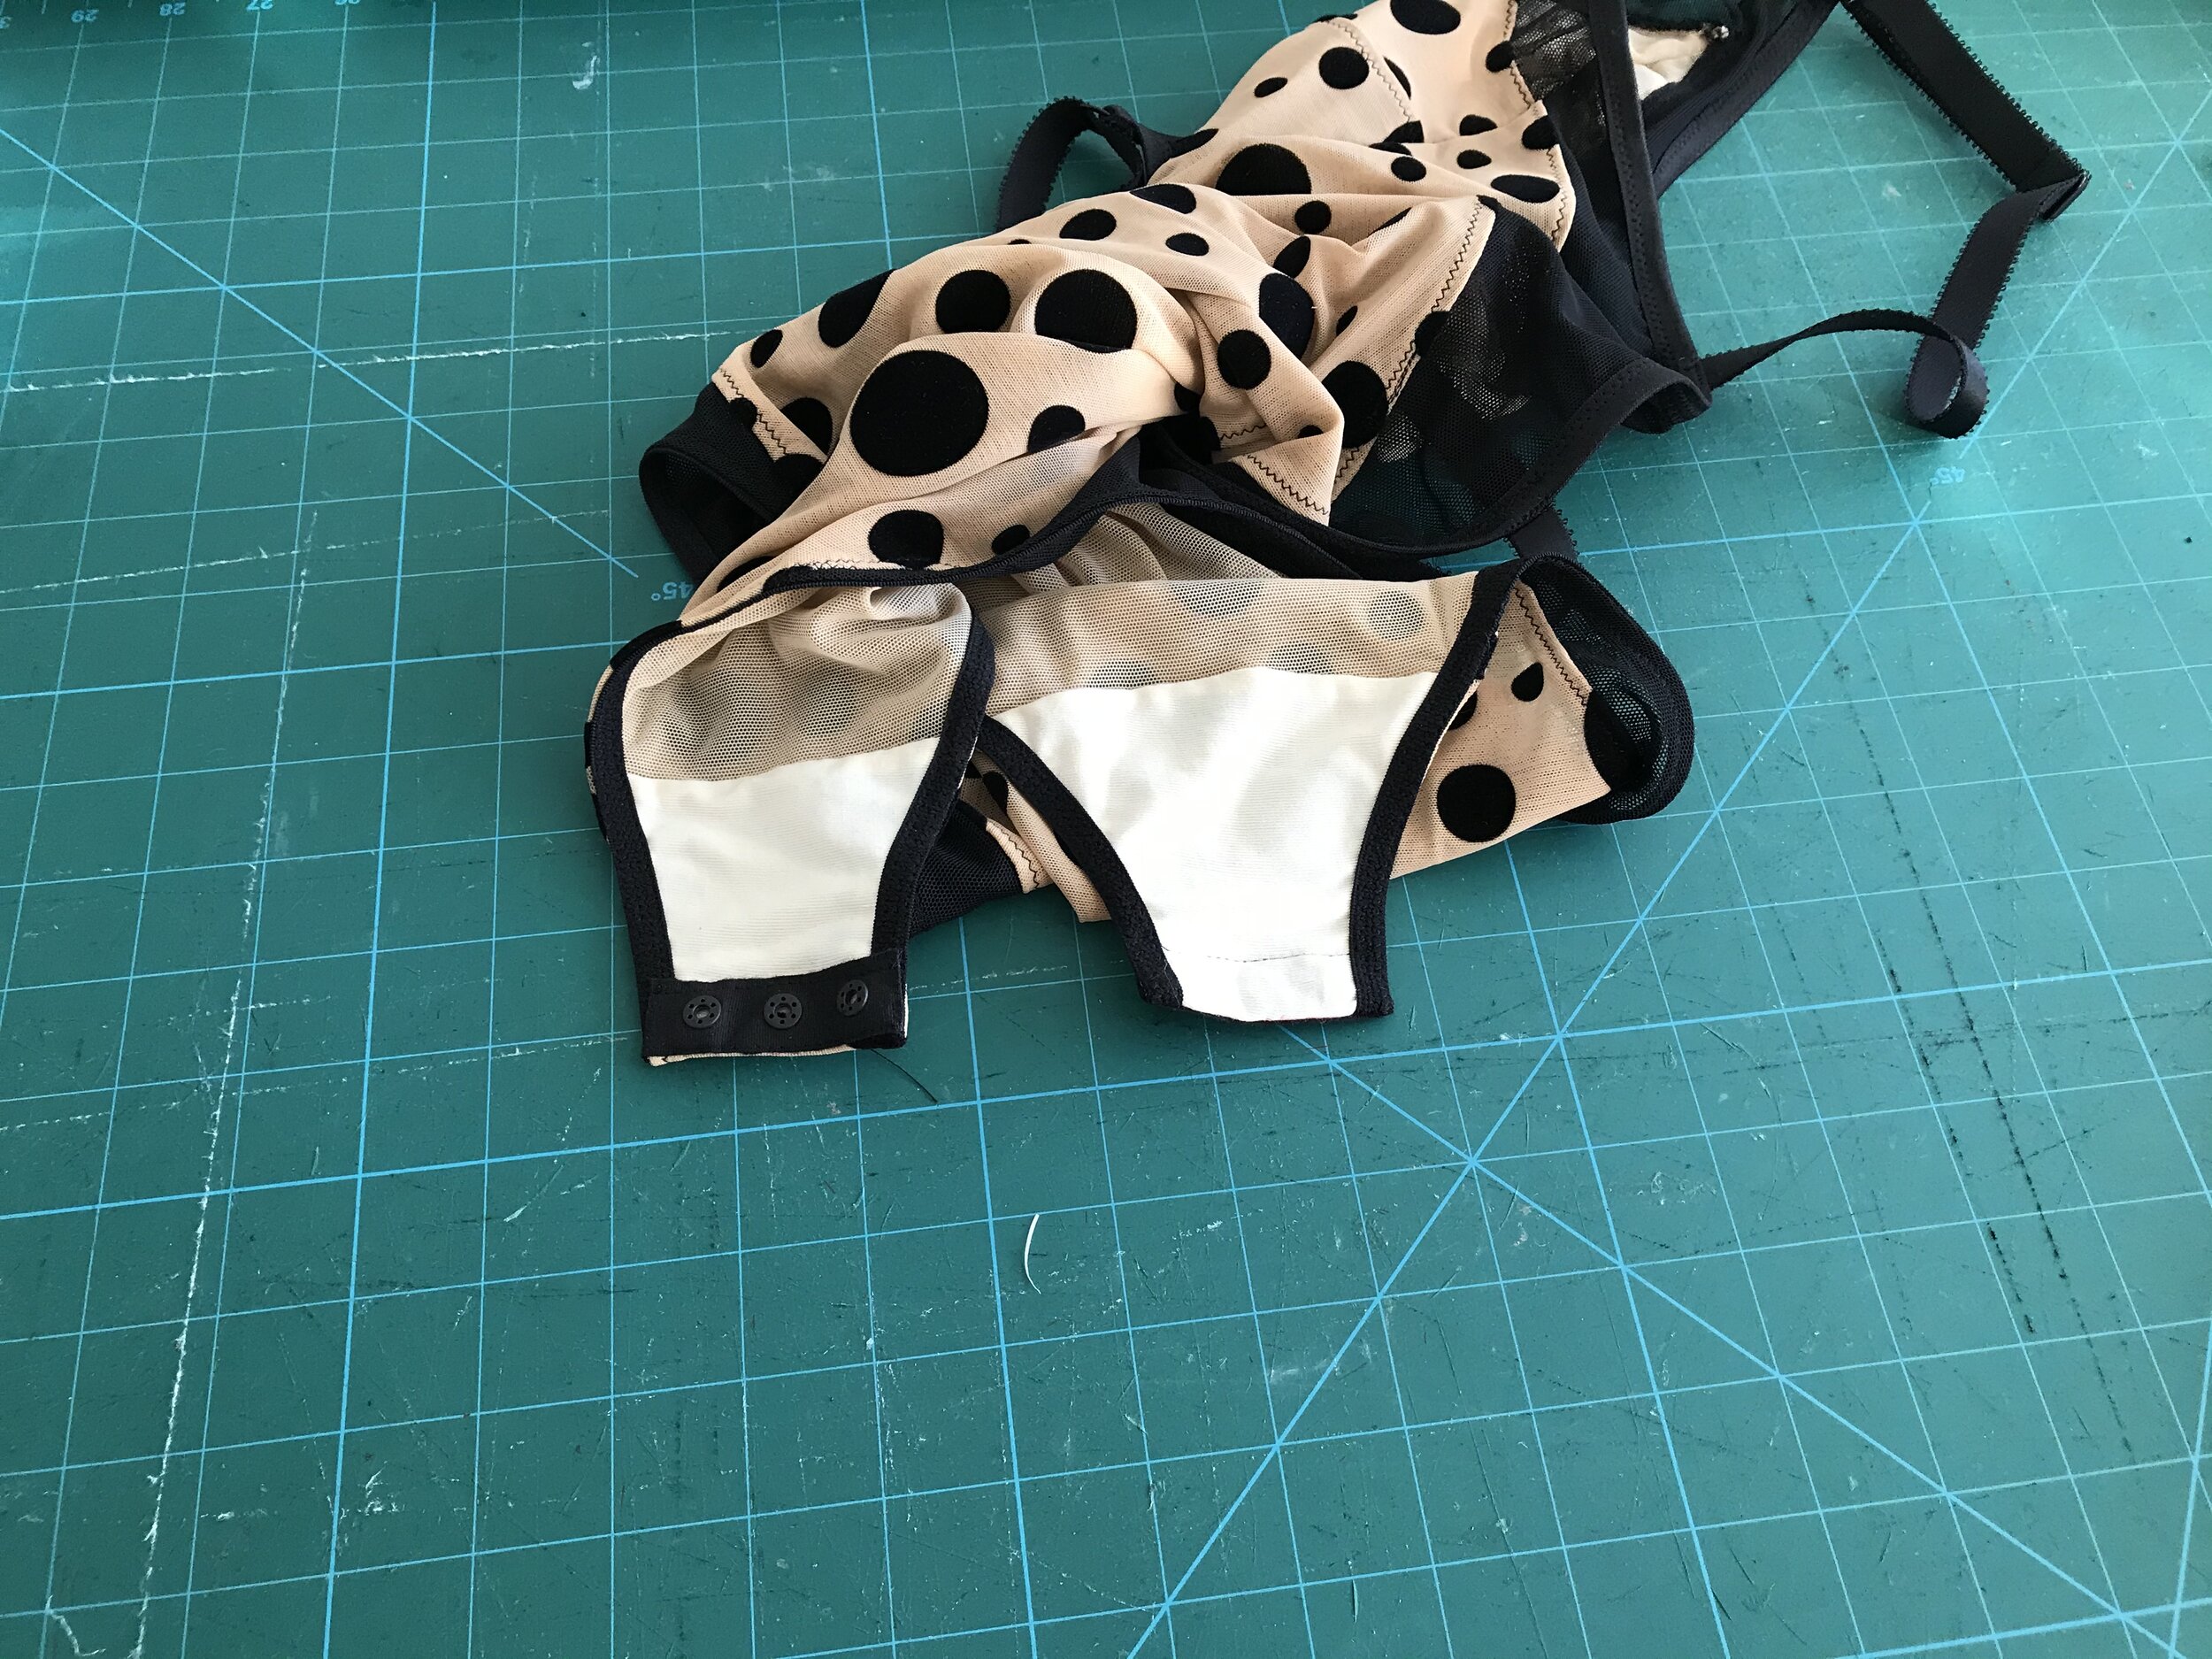
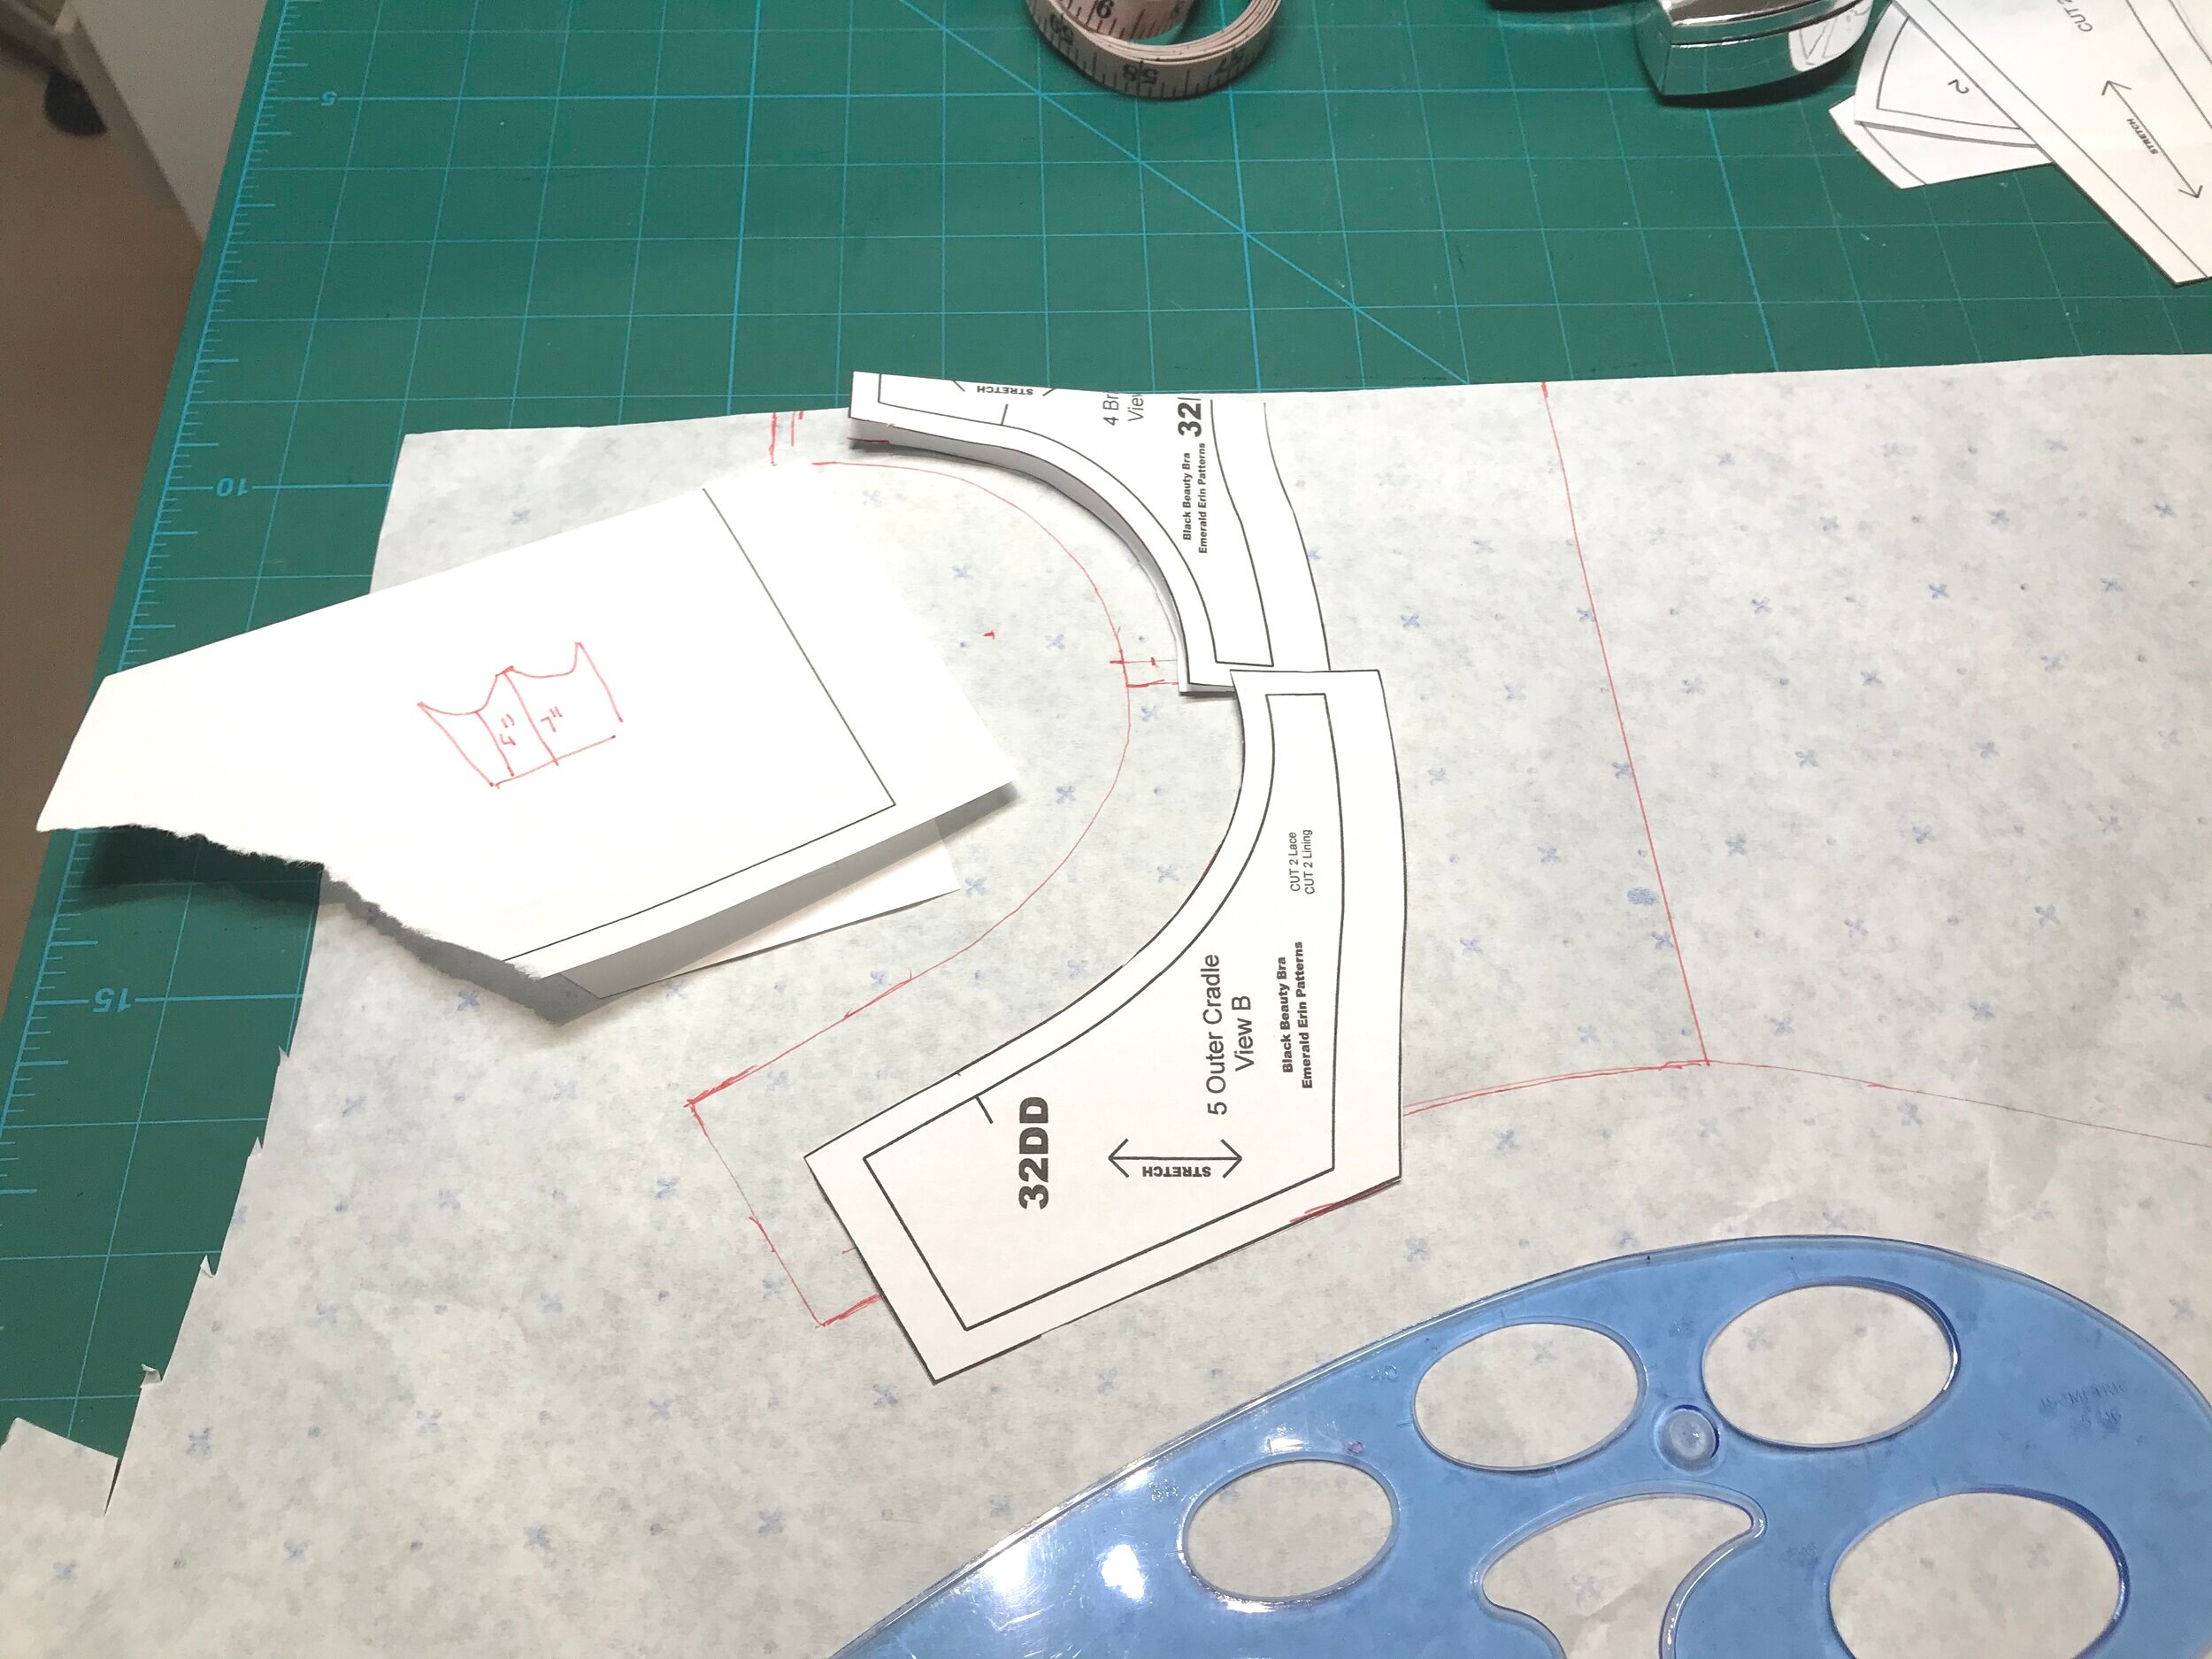
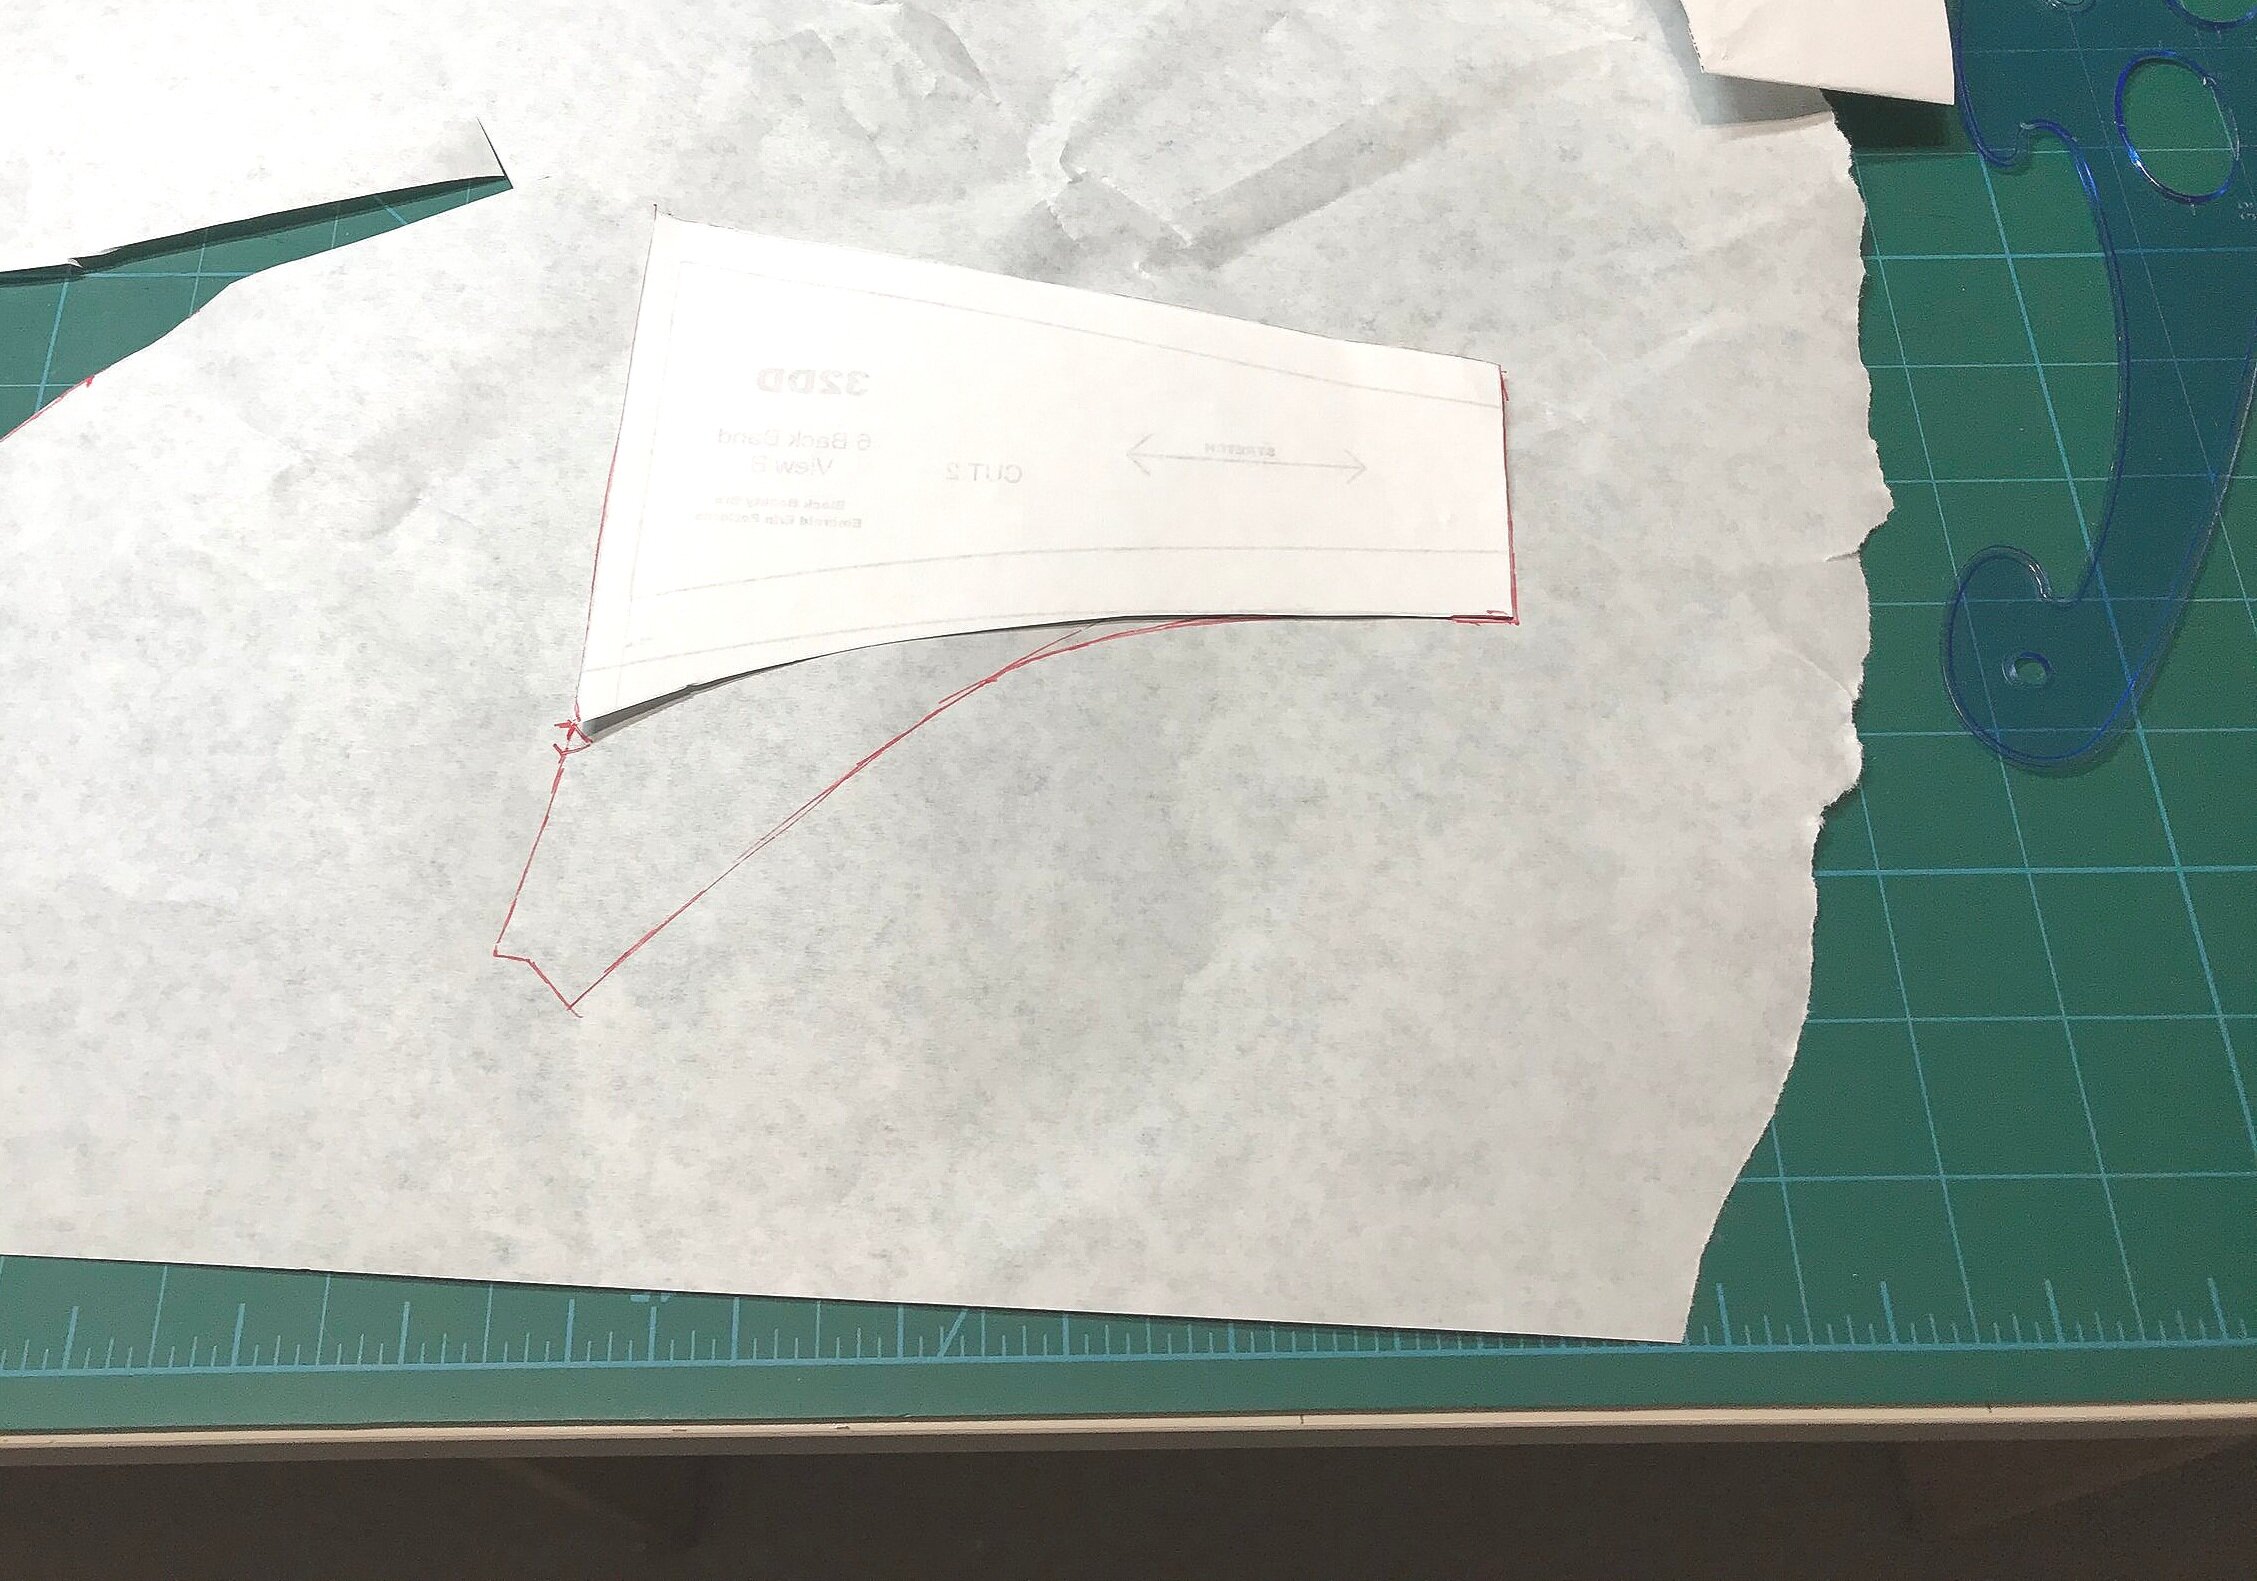
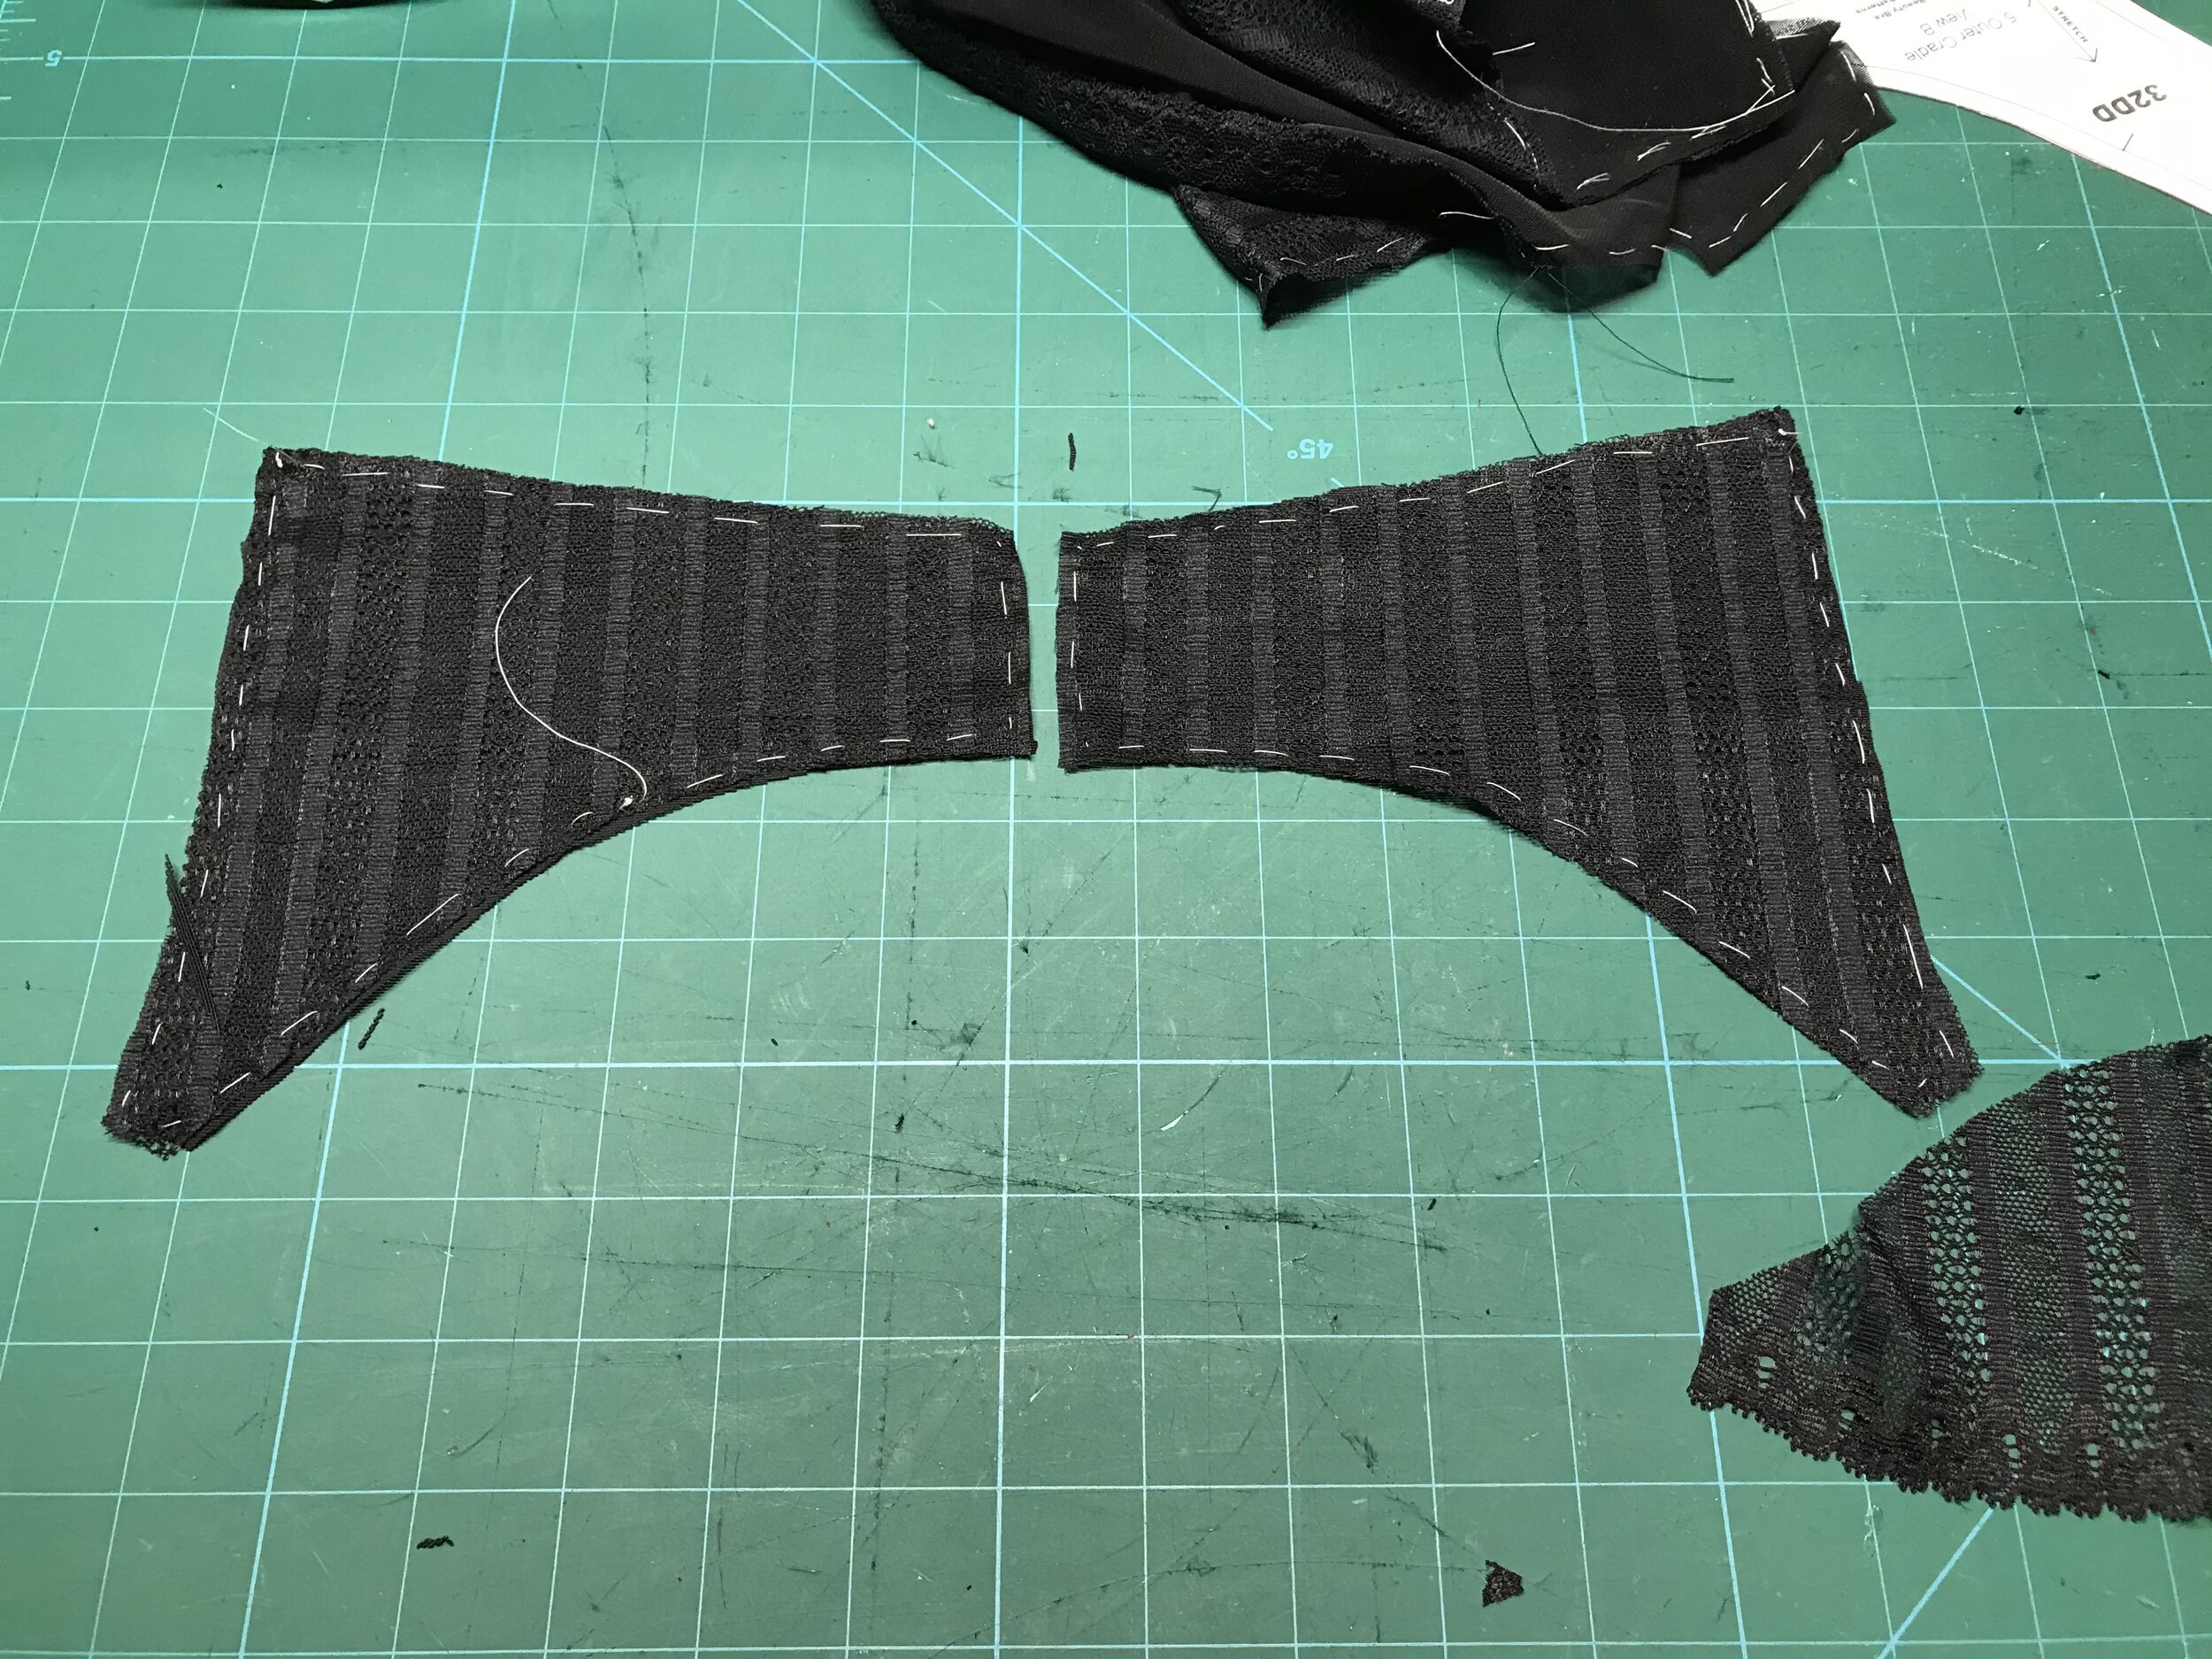
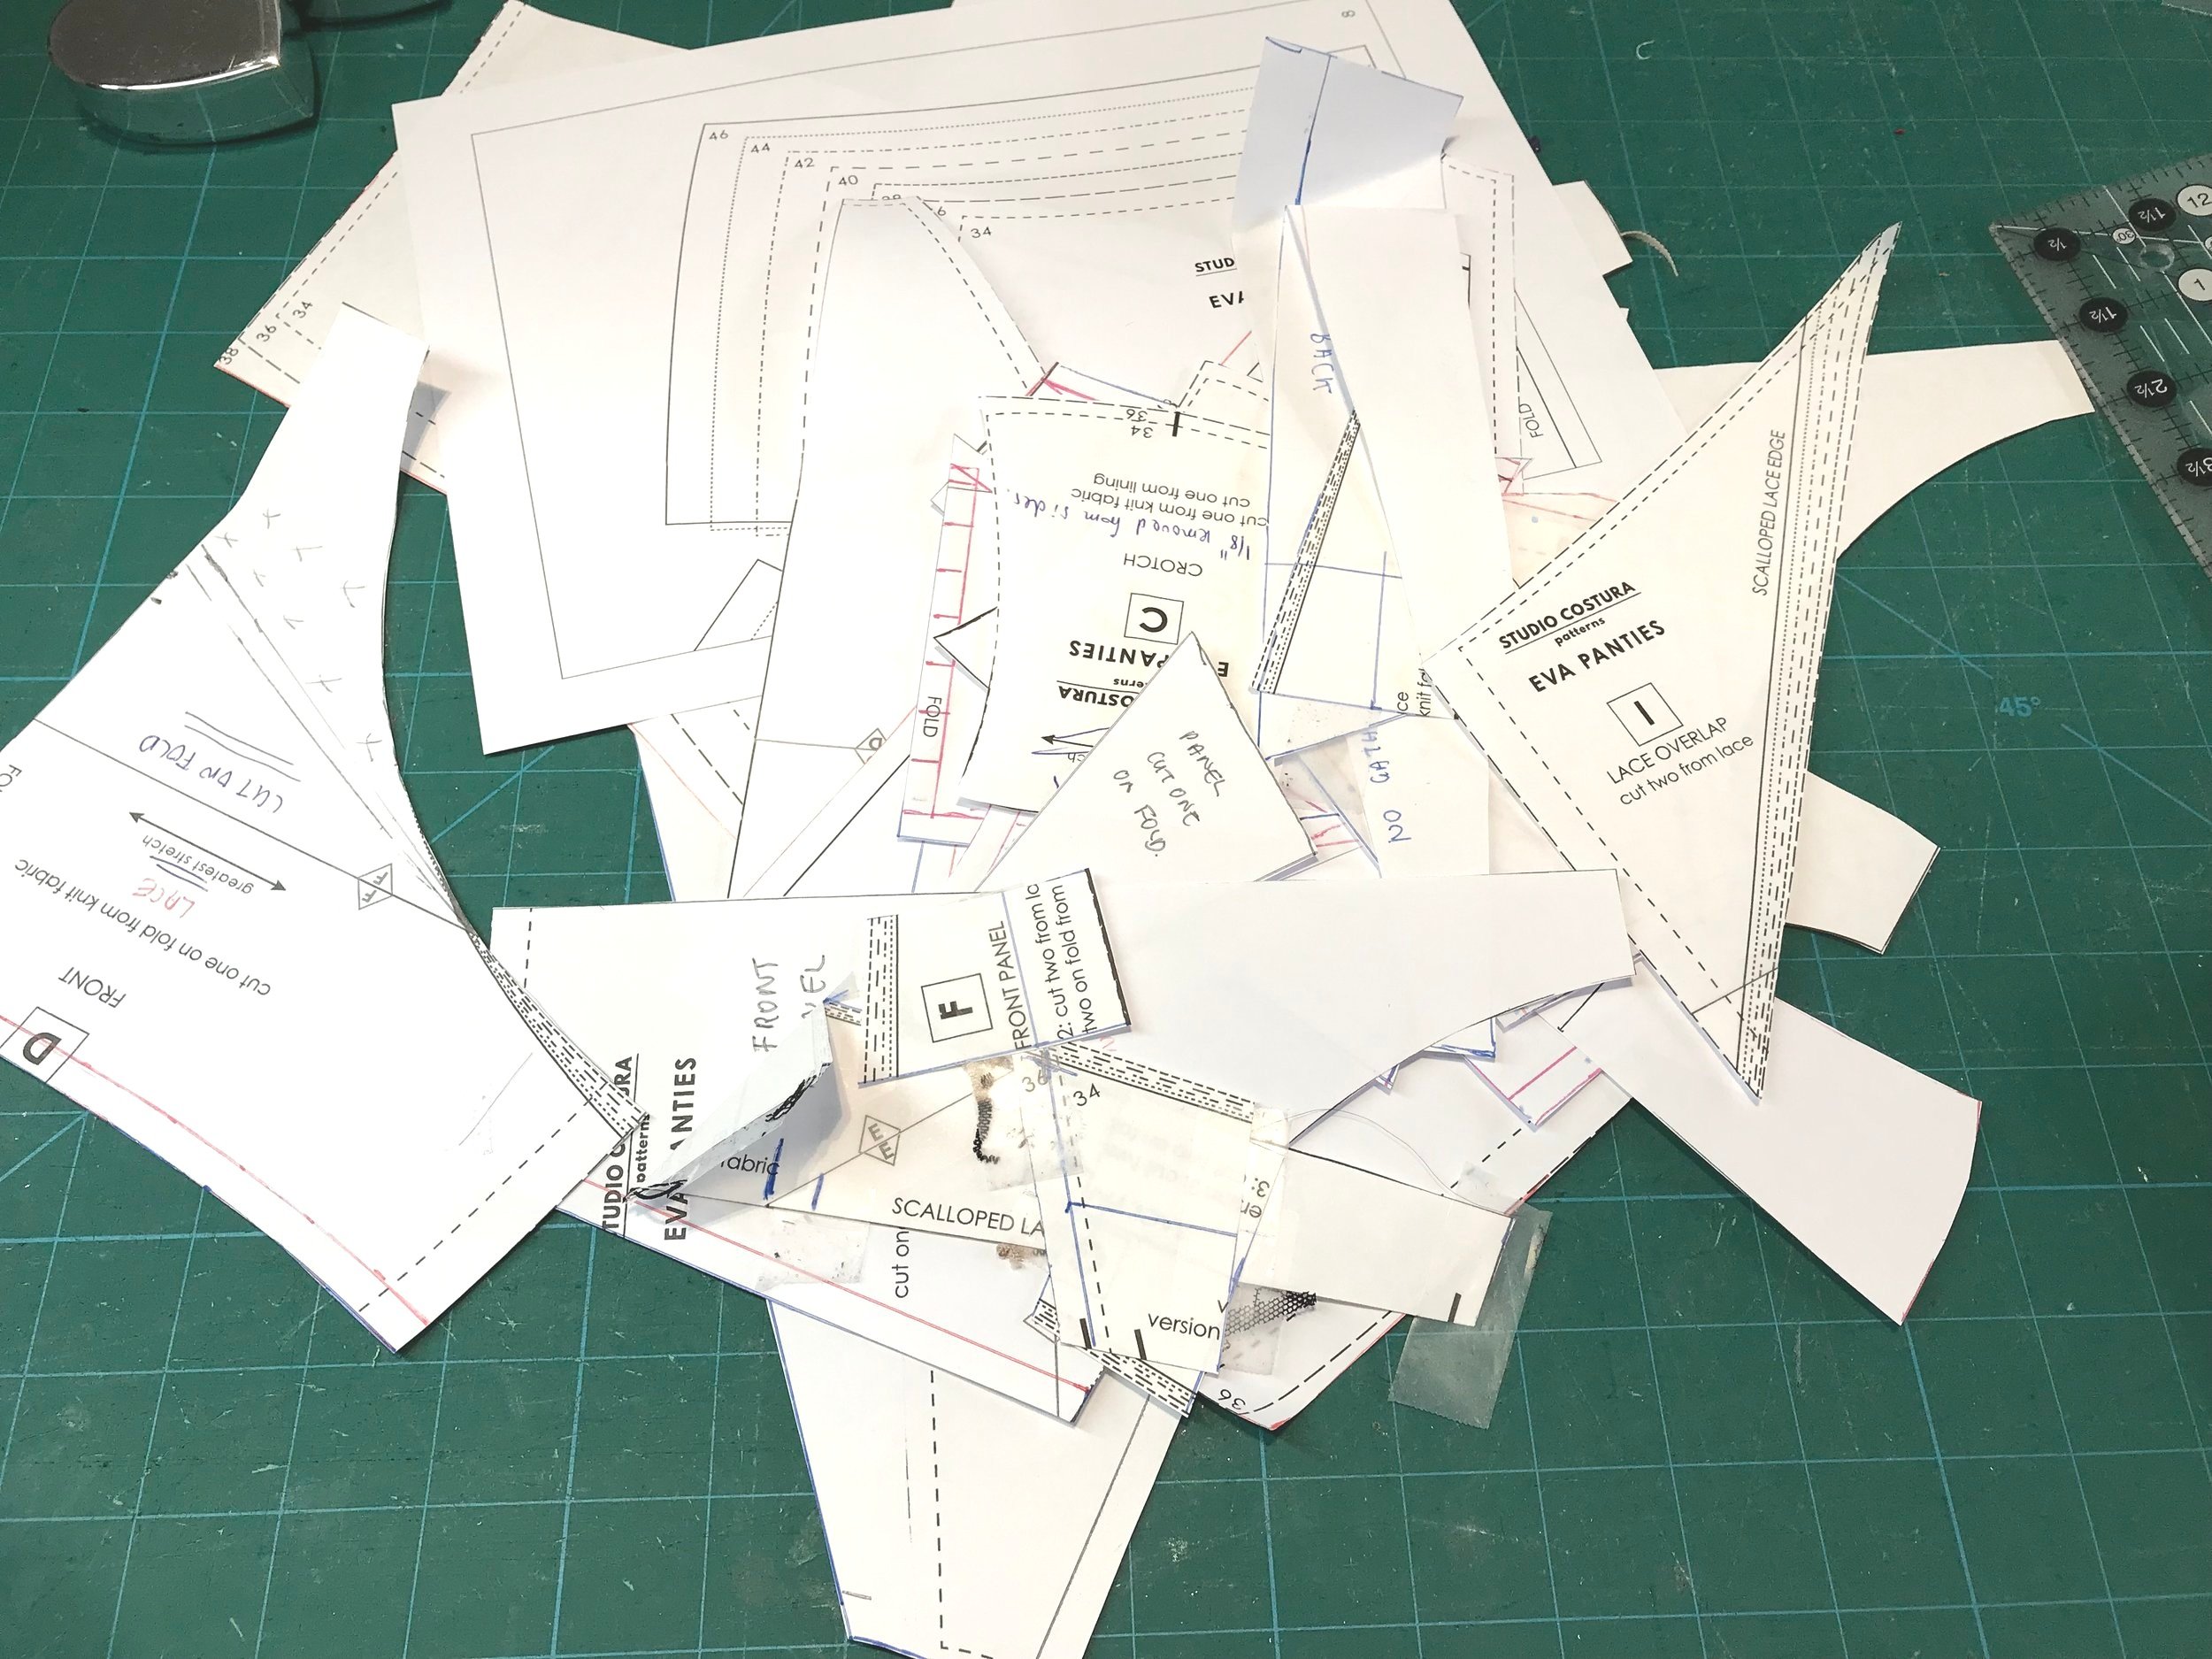
As you can see from the picture I have hacked this pattern a few times! Rather than have the lace go into the gusset I wanted to create a V as in the RTW. This involves adding the leg bands back to the main pattern and deciding on the shape. For the front I followed the line of the RTW. For the back I tried on a previous make and decided where I wanted the strapping to finish and this would determine the back lace pieces. For the test make I made up a solid front and back in jersey and once I had got the fit right I worked out the strapping.

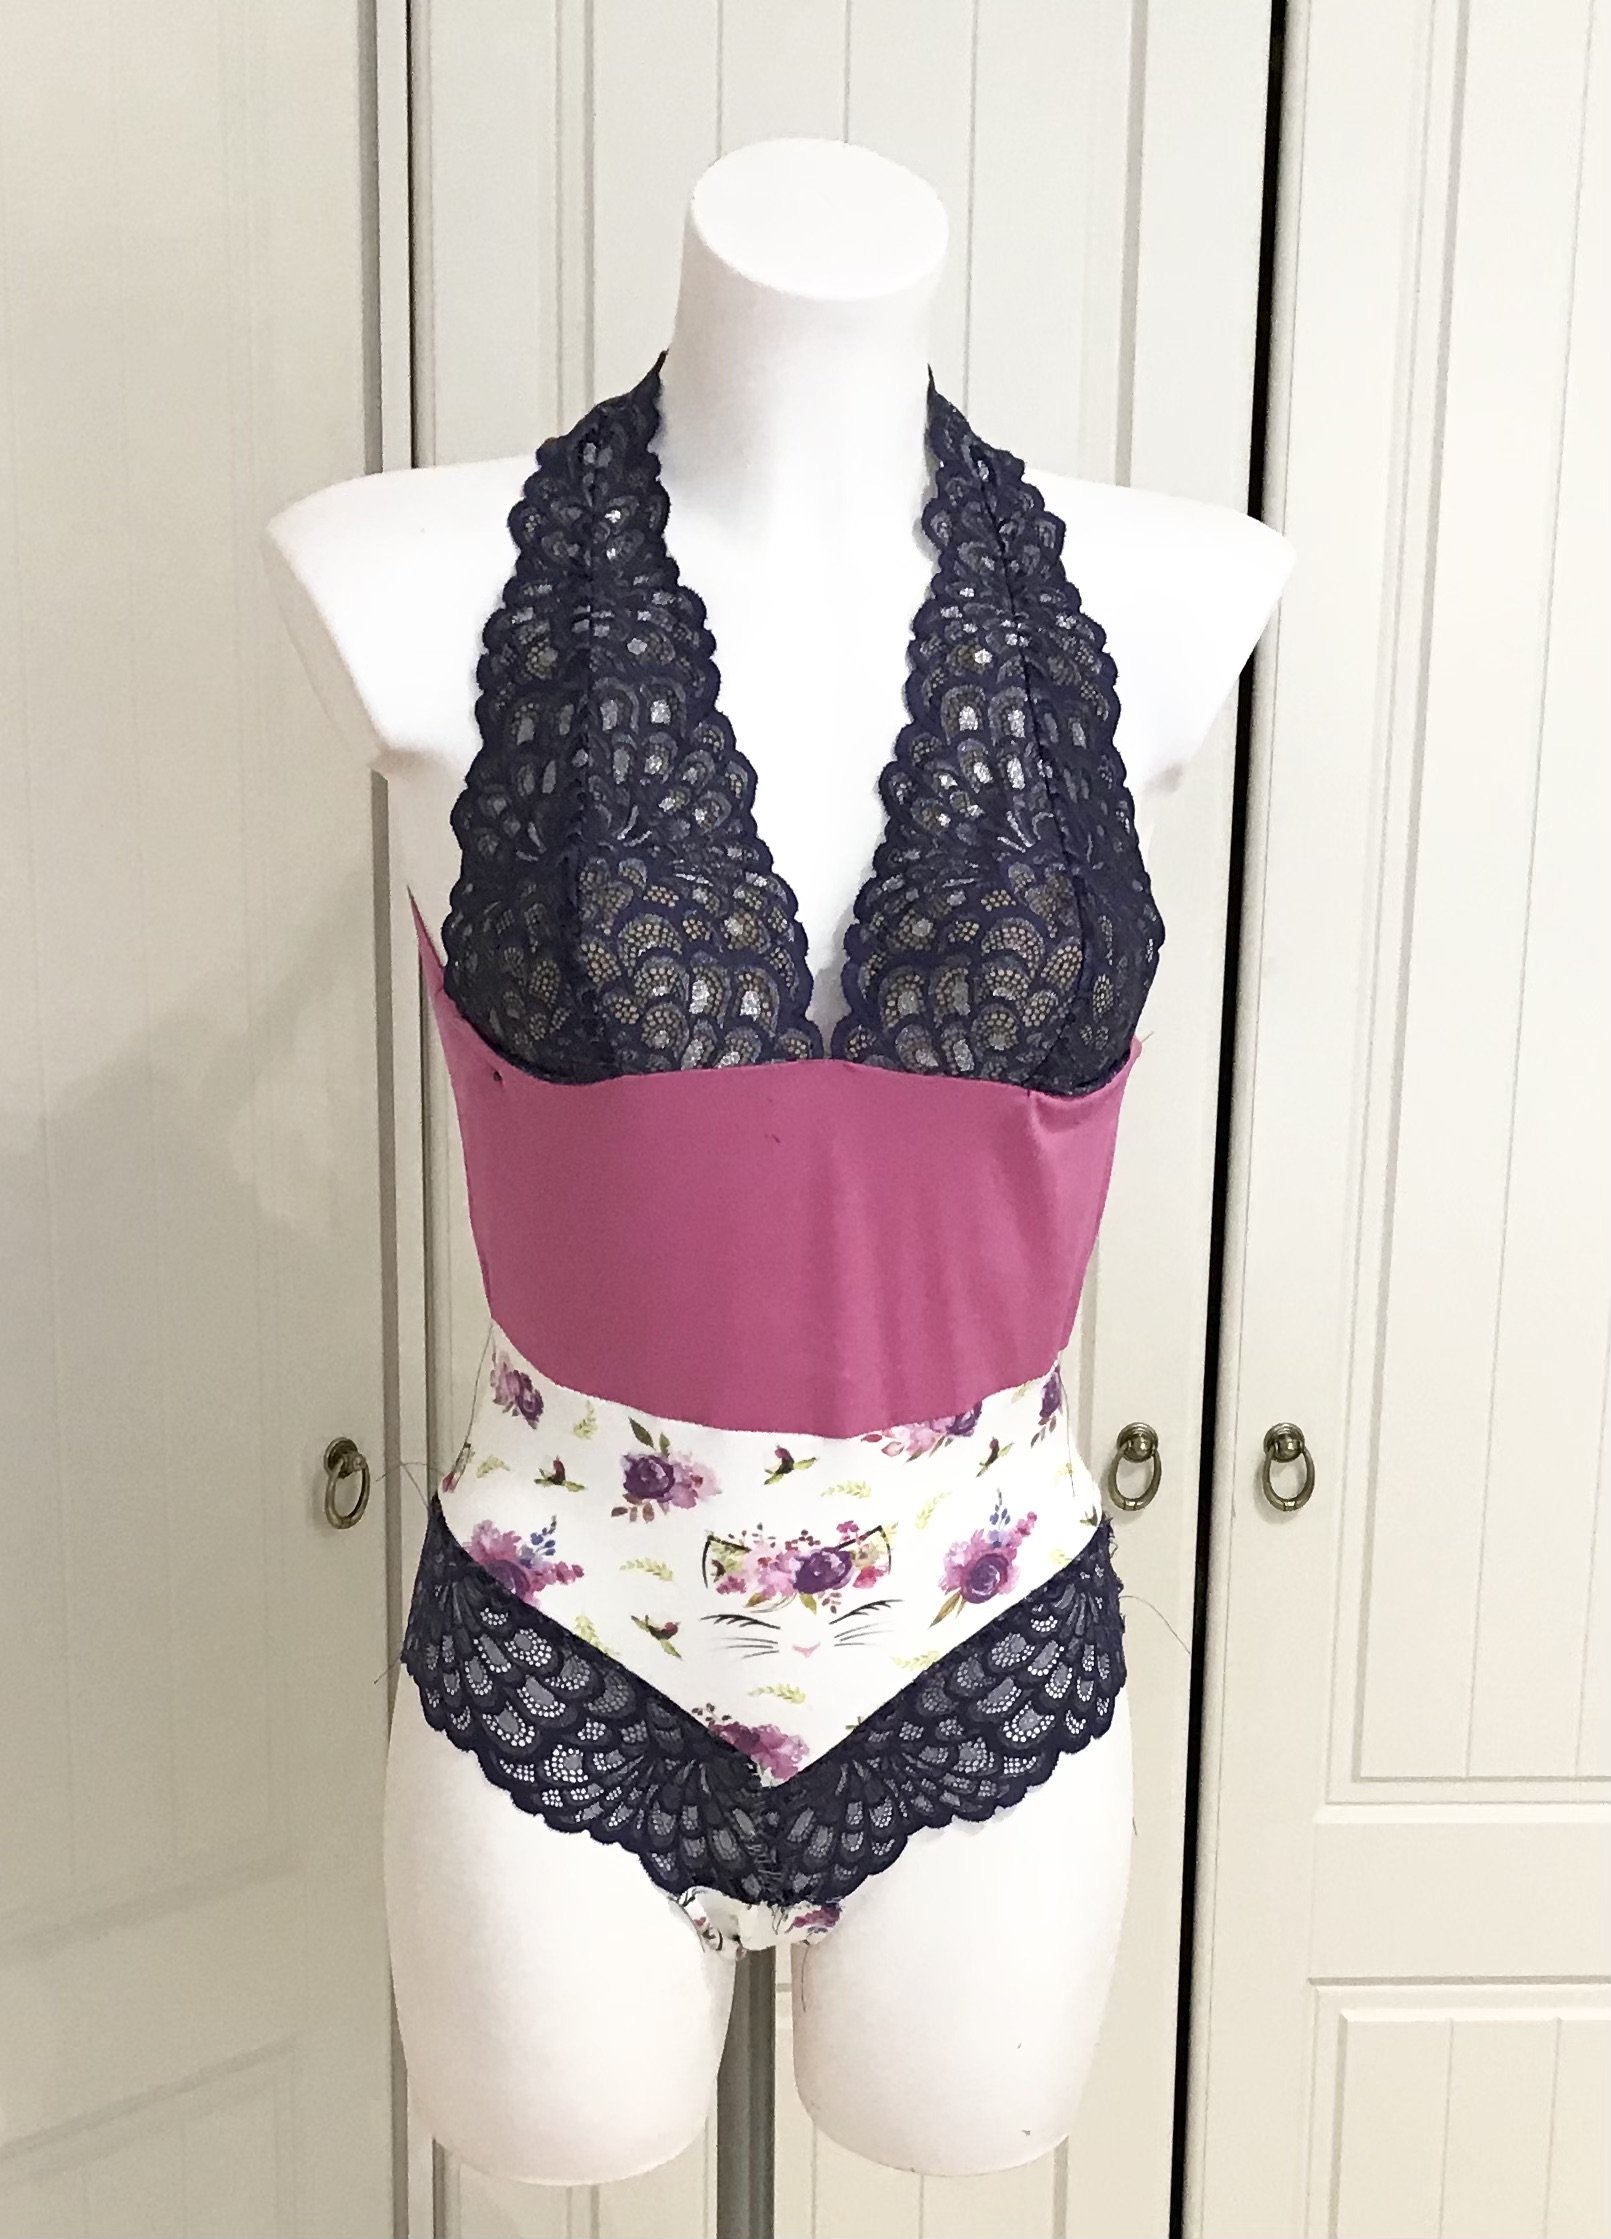
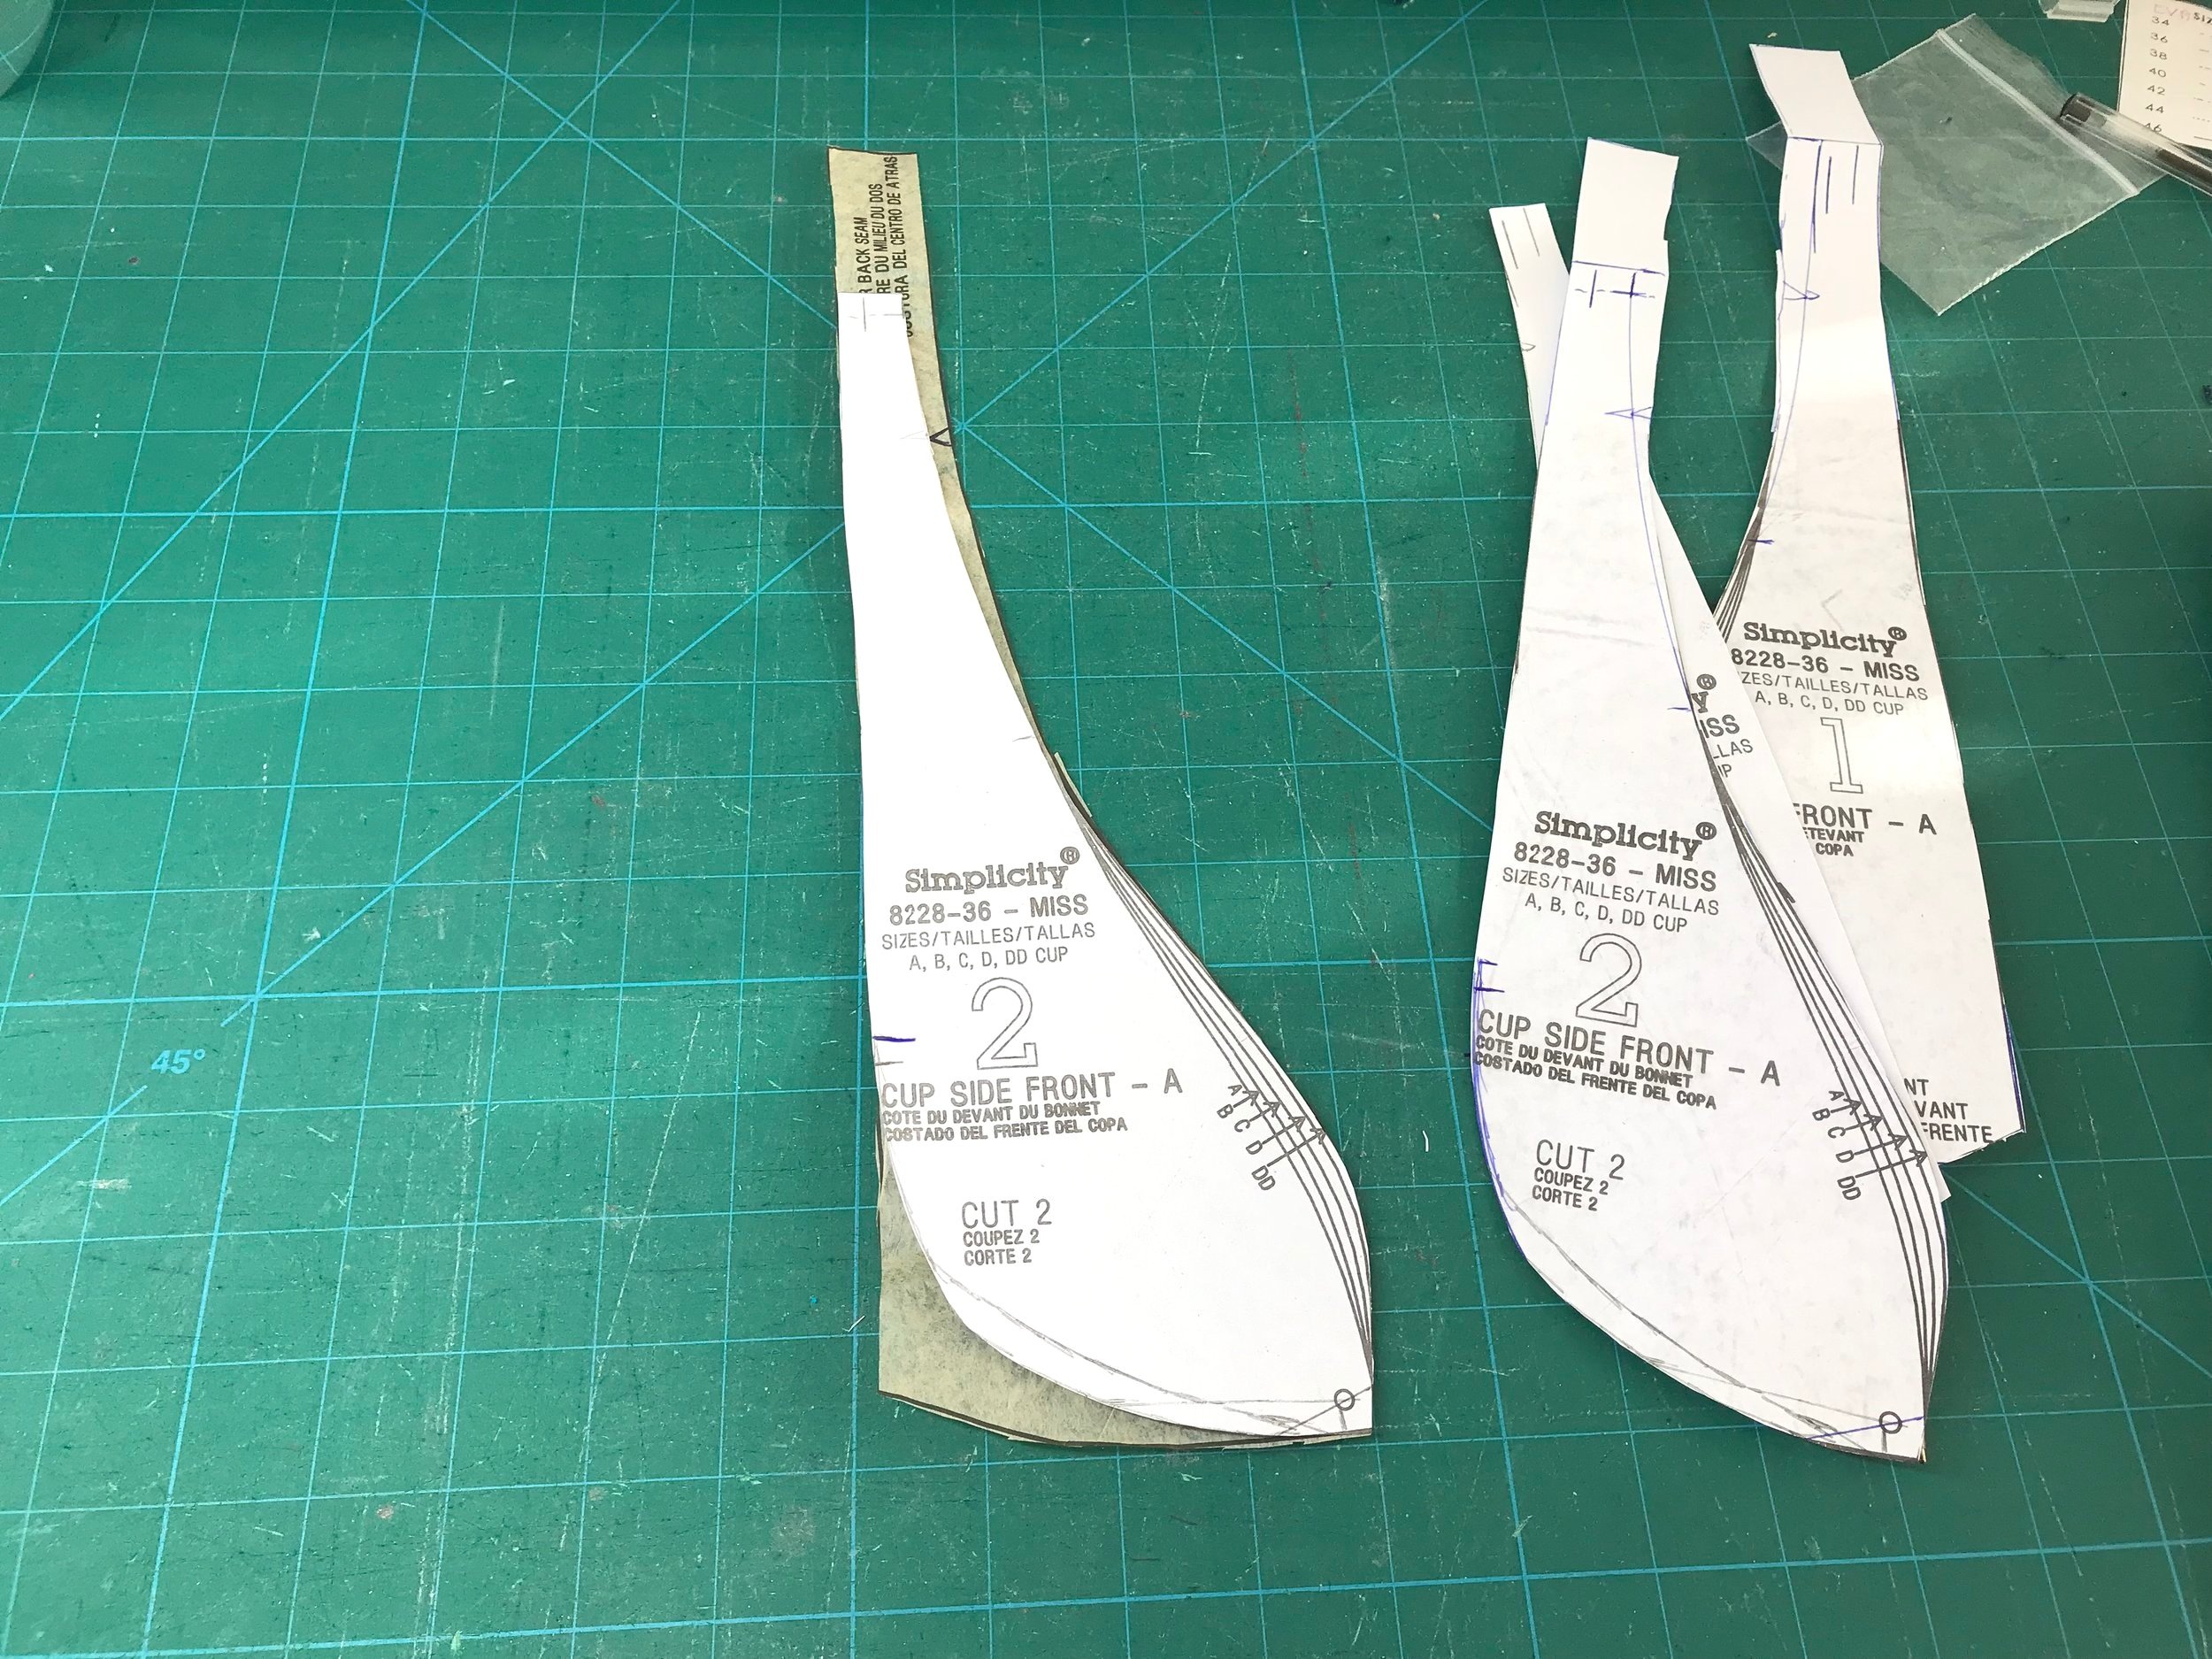
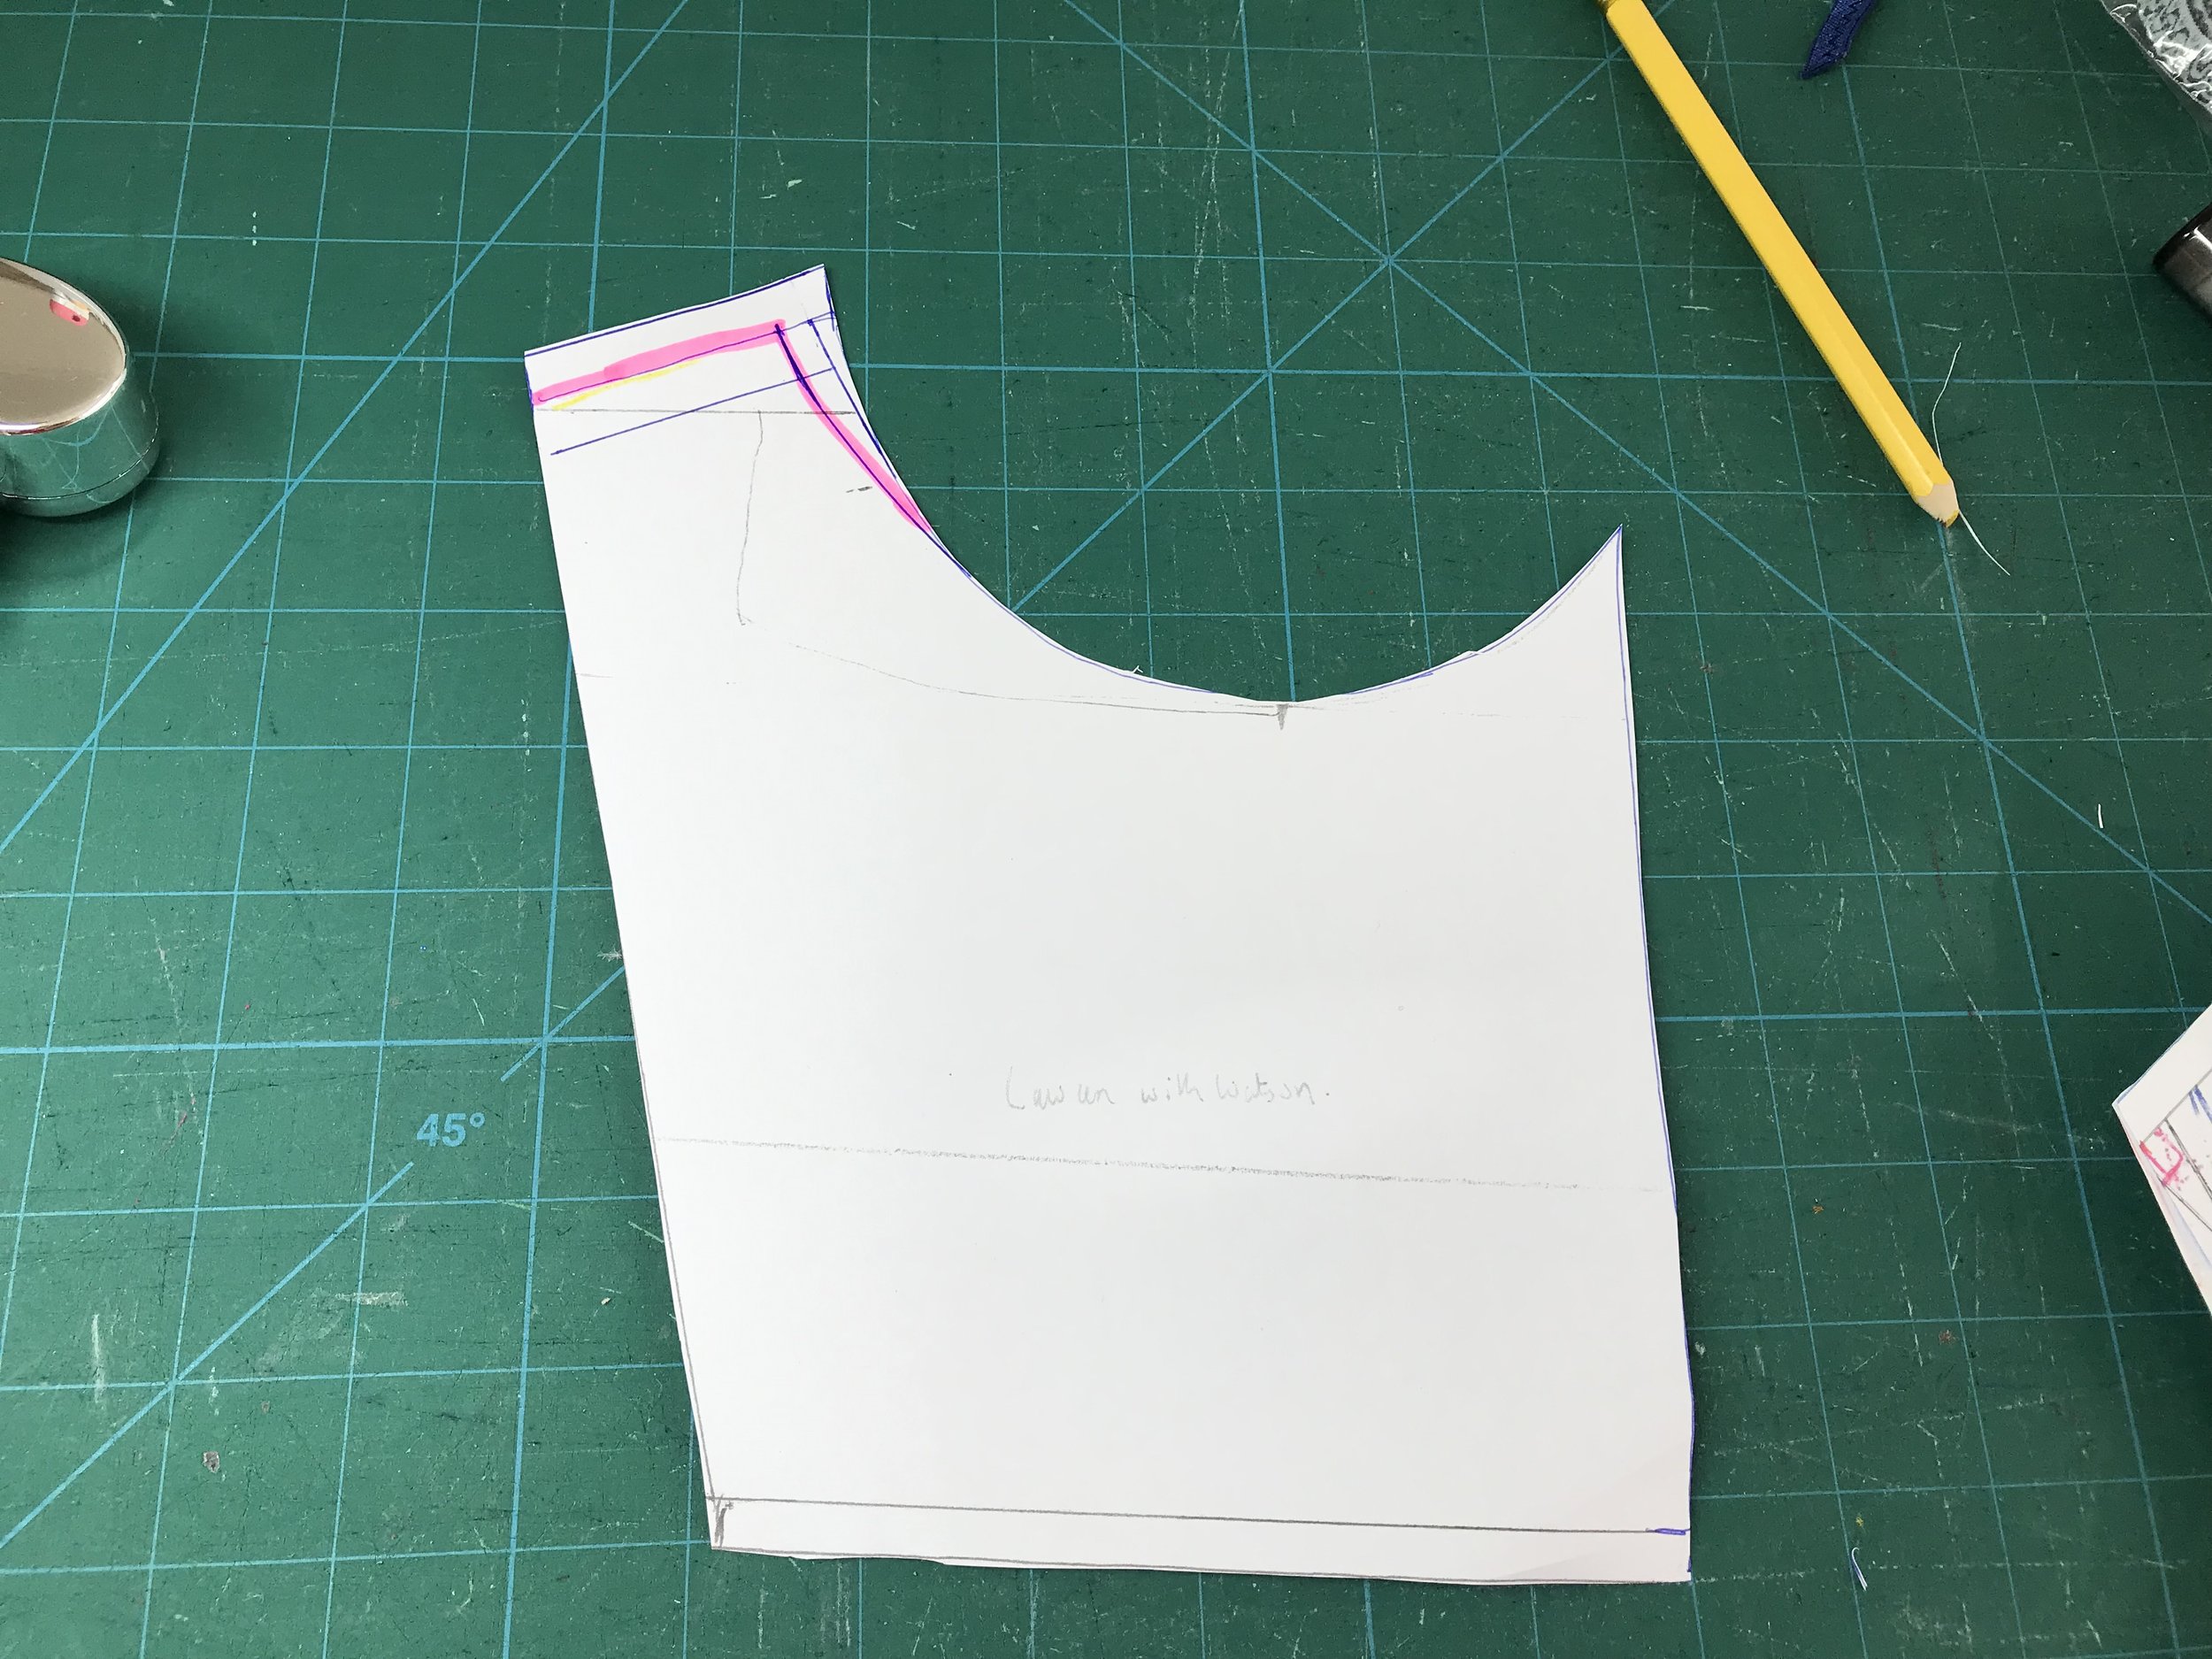
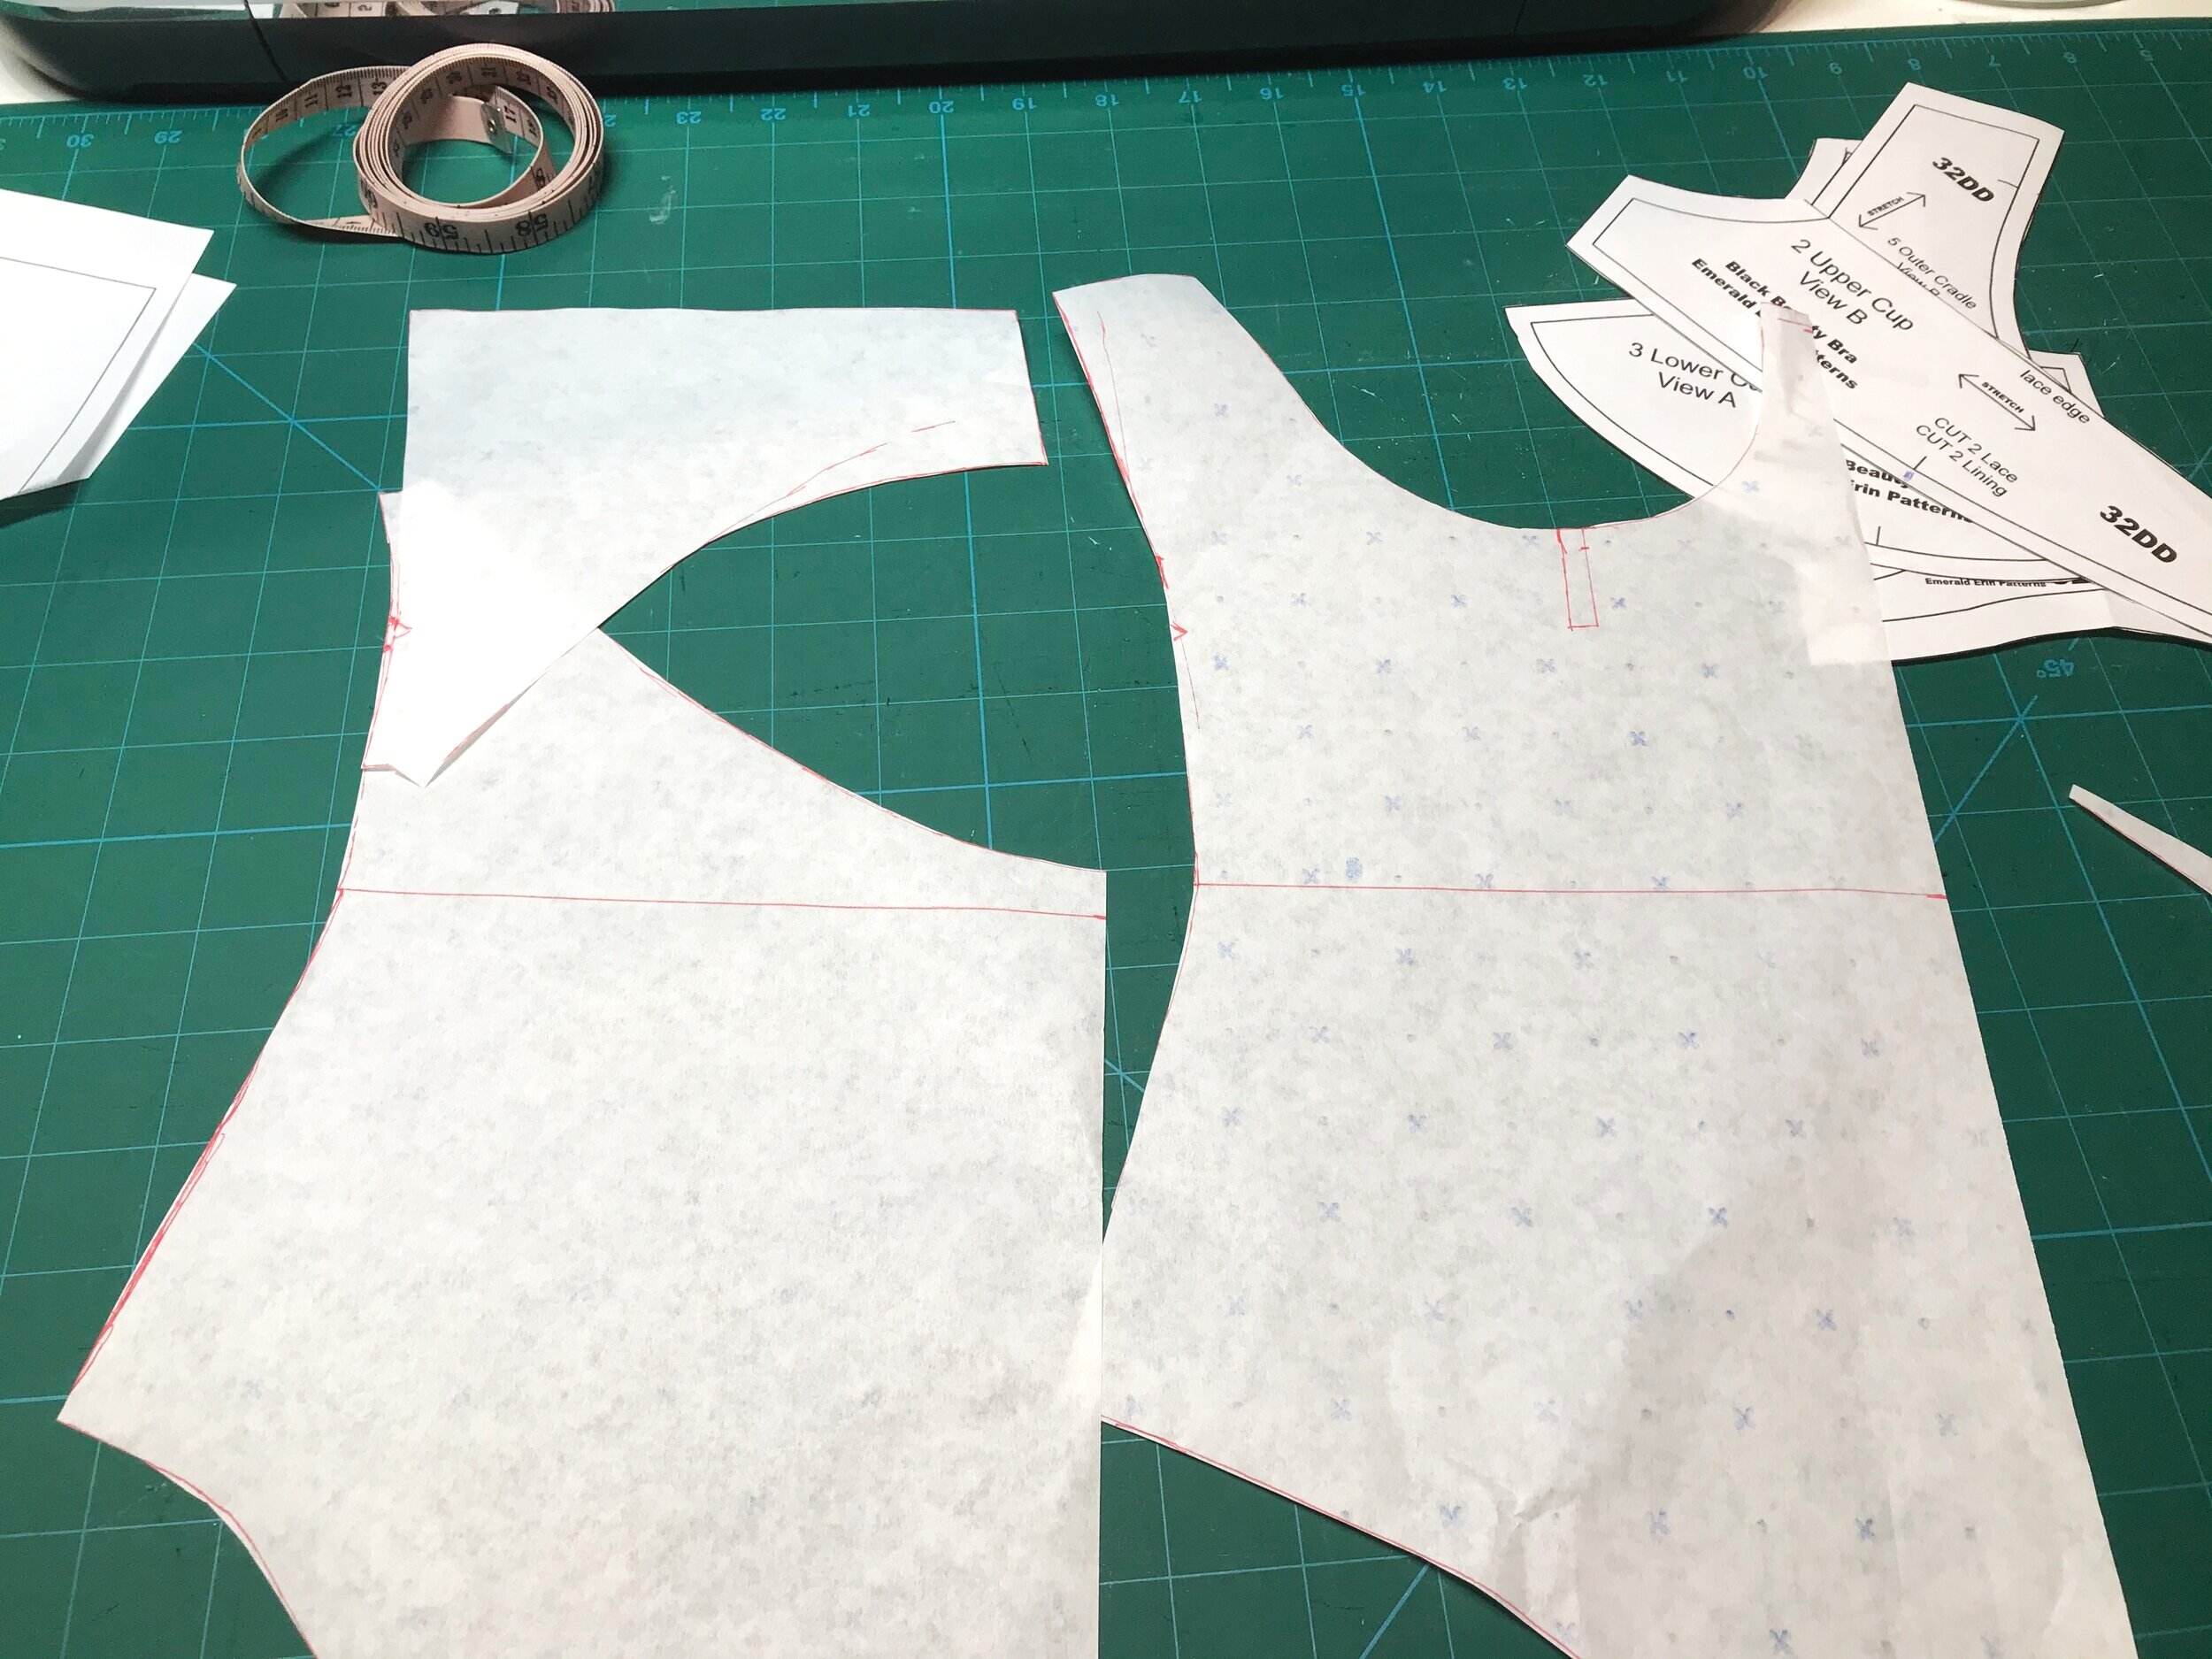
Then I moved on to the cups. The RTW has a triangular cup. I thought of a couple of options, the Emerald Erin Jordy bralette and the Madalynne Simplicity 8228. I decided to use the 8228 as this already had an all lace front and I thought it would need less adjusting. I extended the frame down to the waist. For the back I started with the Madalynne Lawren Bodysuit. I put it all together so I could try it on and see how it fit.

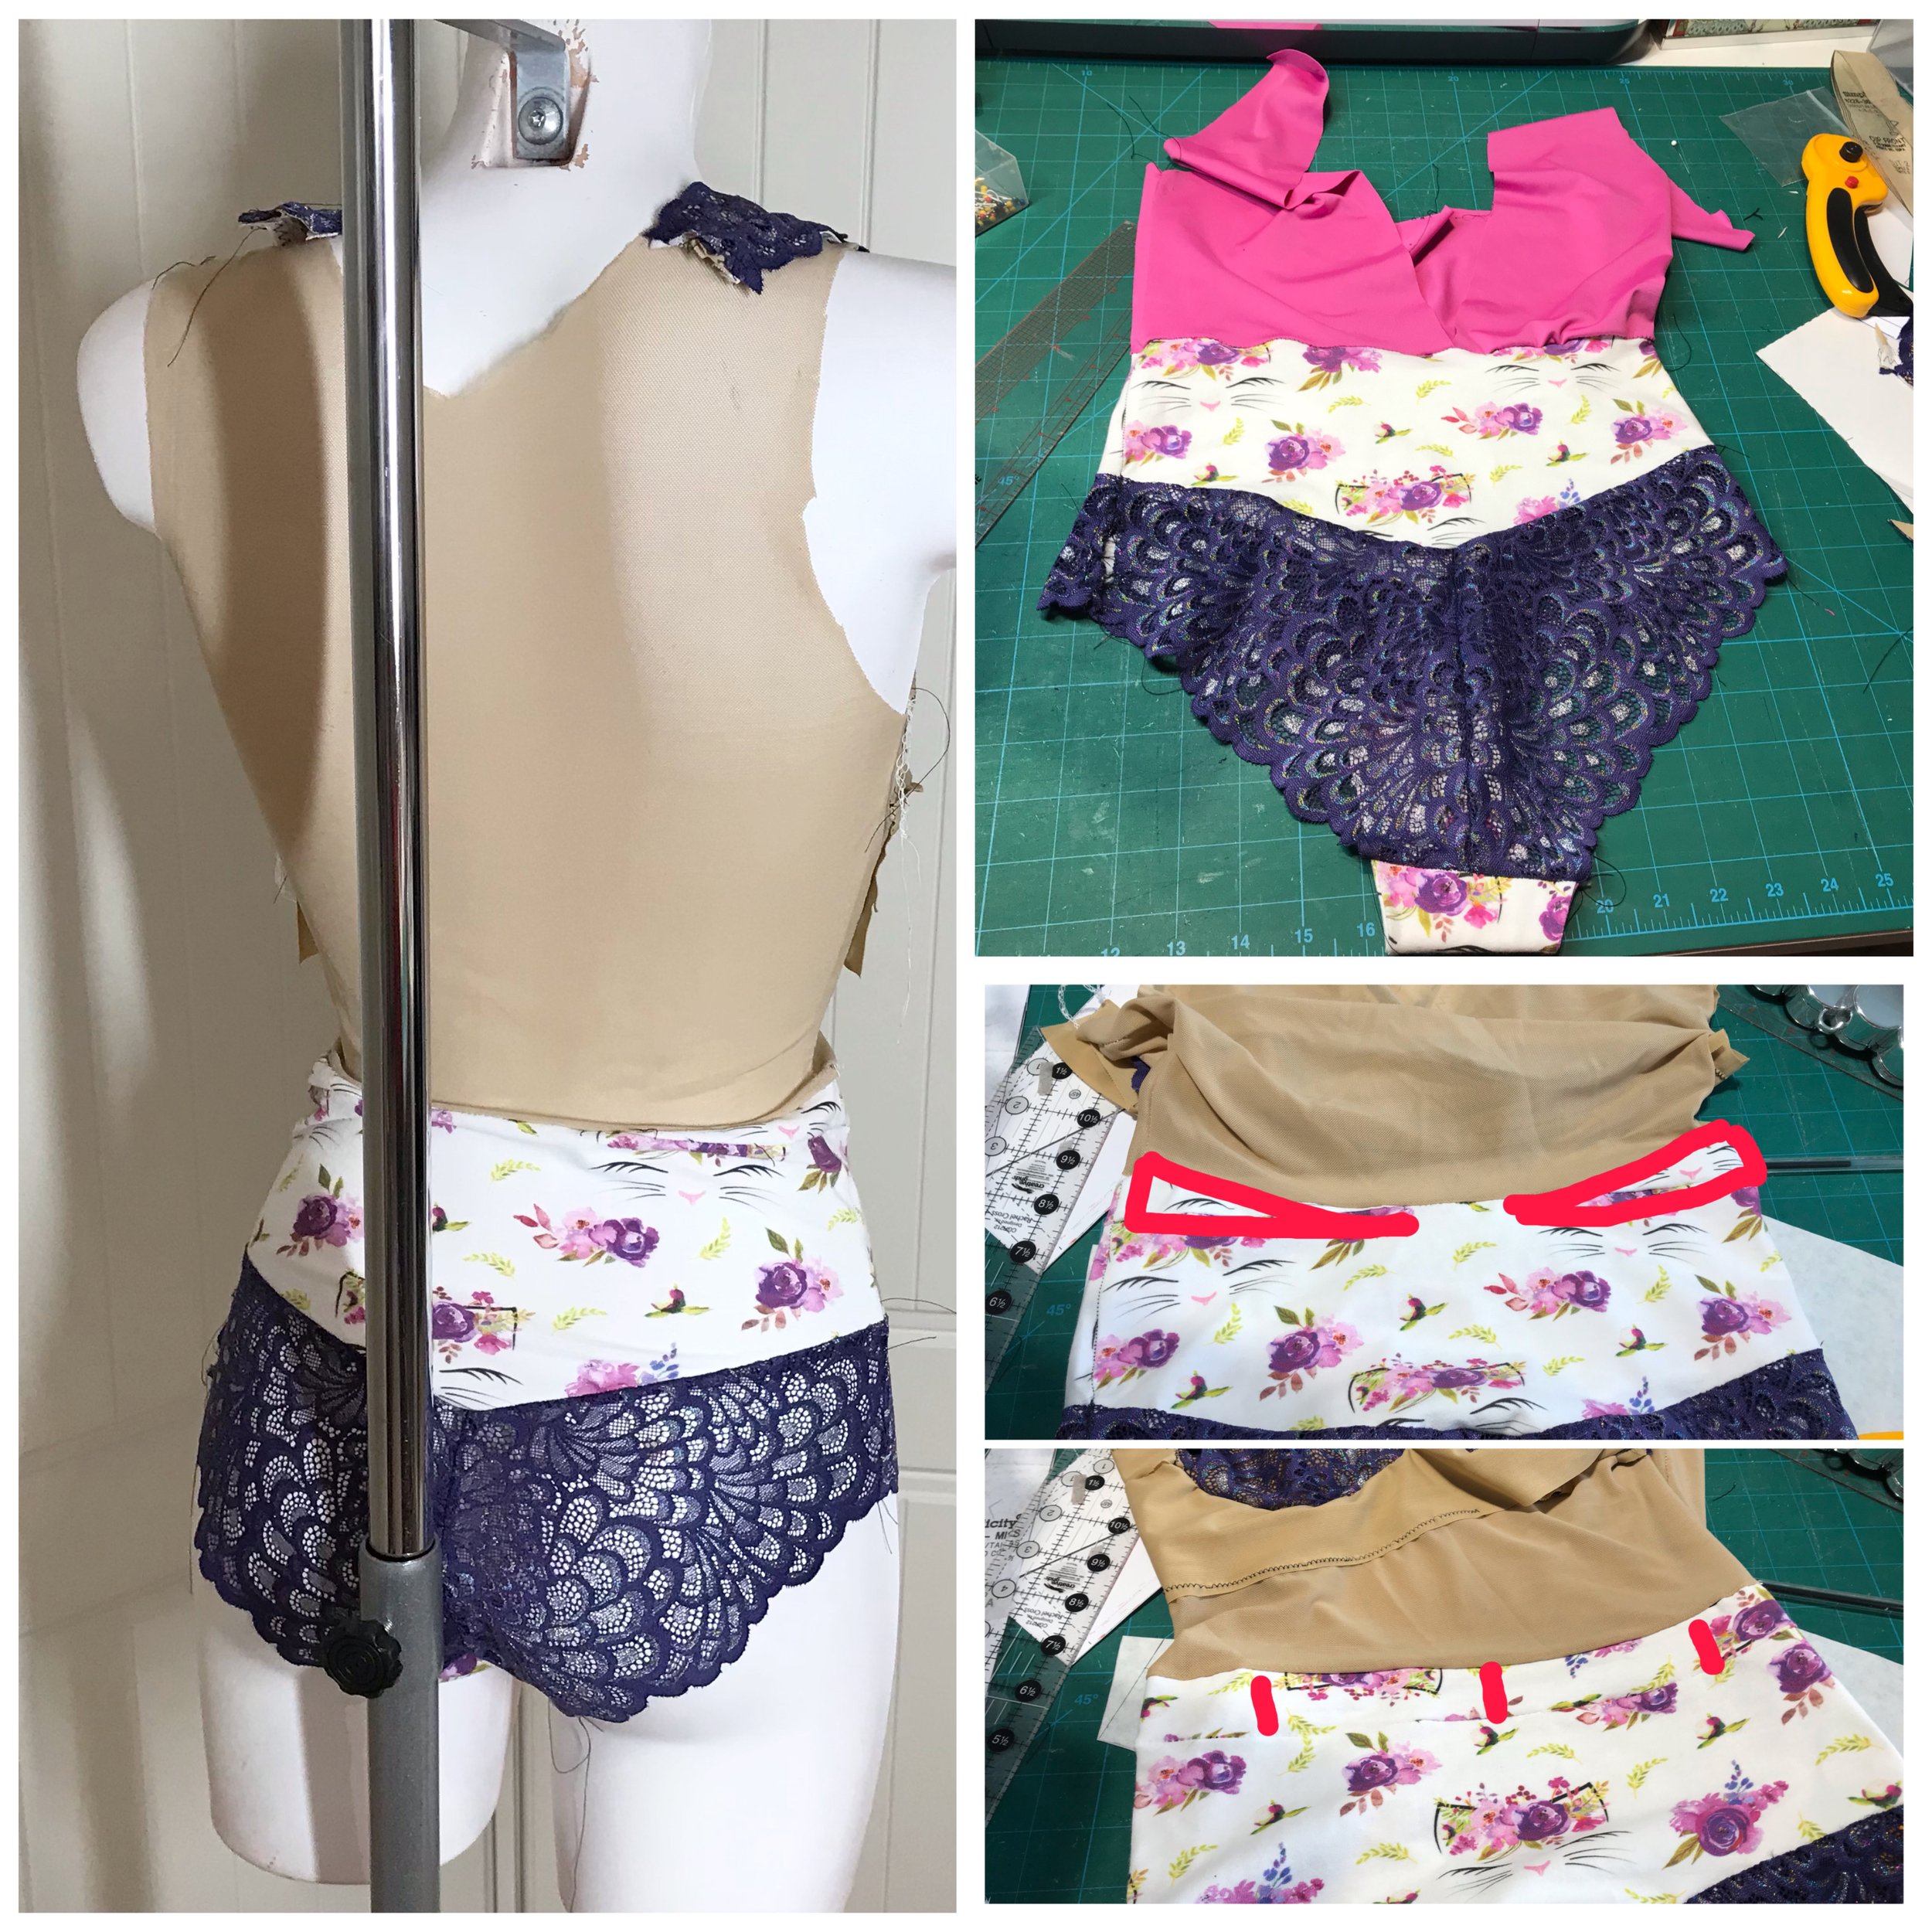
For a first fit it was actually pretty good. The cups fit well but were too wide at the shoulder for the look I wanted. Also the triangular shape didn’t provide enough support as I wanted this to be wearable. So I needed to create some shaping to the side of the cup. It was hard to assess the fit of the back as I had slashed to to the waist. So I swapped this out for a solid back.

Unlike the RTW, which sits above, I wanted my make to sit on my natural waist. To fit in length I needed to add a wedge all across the front and blend from the side to nothing at the centre back.

So with these adjustments done I was ready to try out the pattern pieces and think about the strapping. I wasn’t ready to use my chosen fabrics so I found a long length of navy stretch lace and lightweight lycra so it would give a better idea of how it would look made up rather than the scraps I had used on the first version. If it all worked I would have something that was wearable.

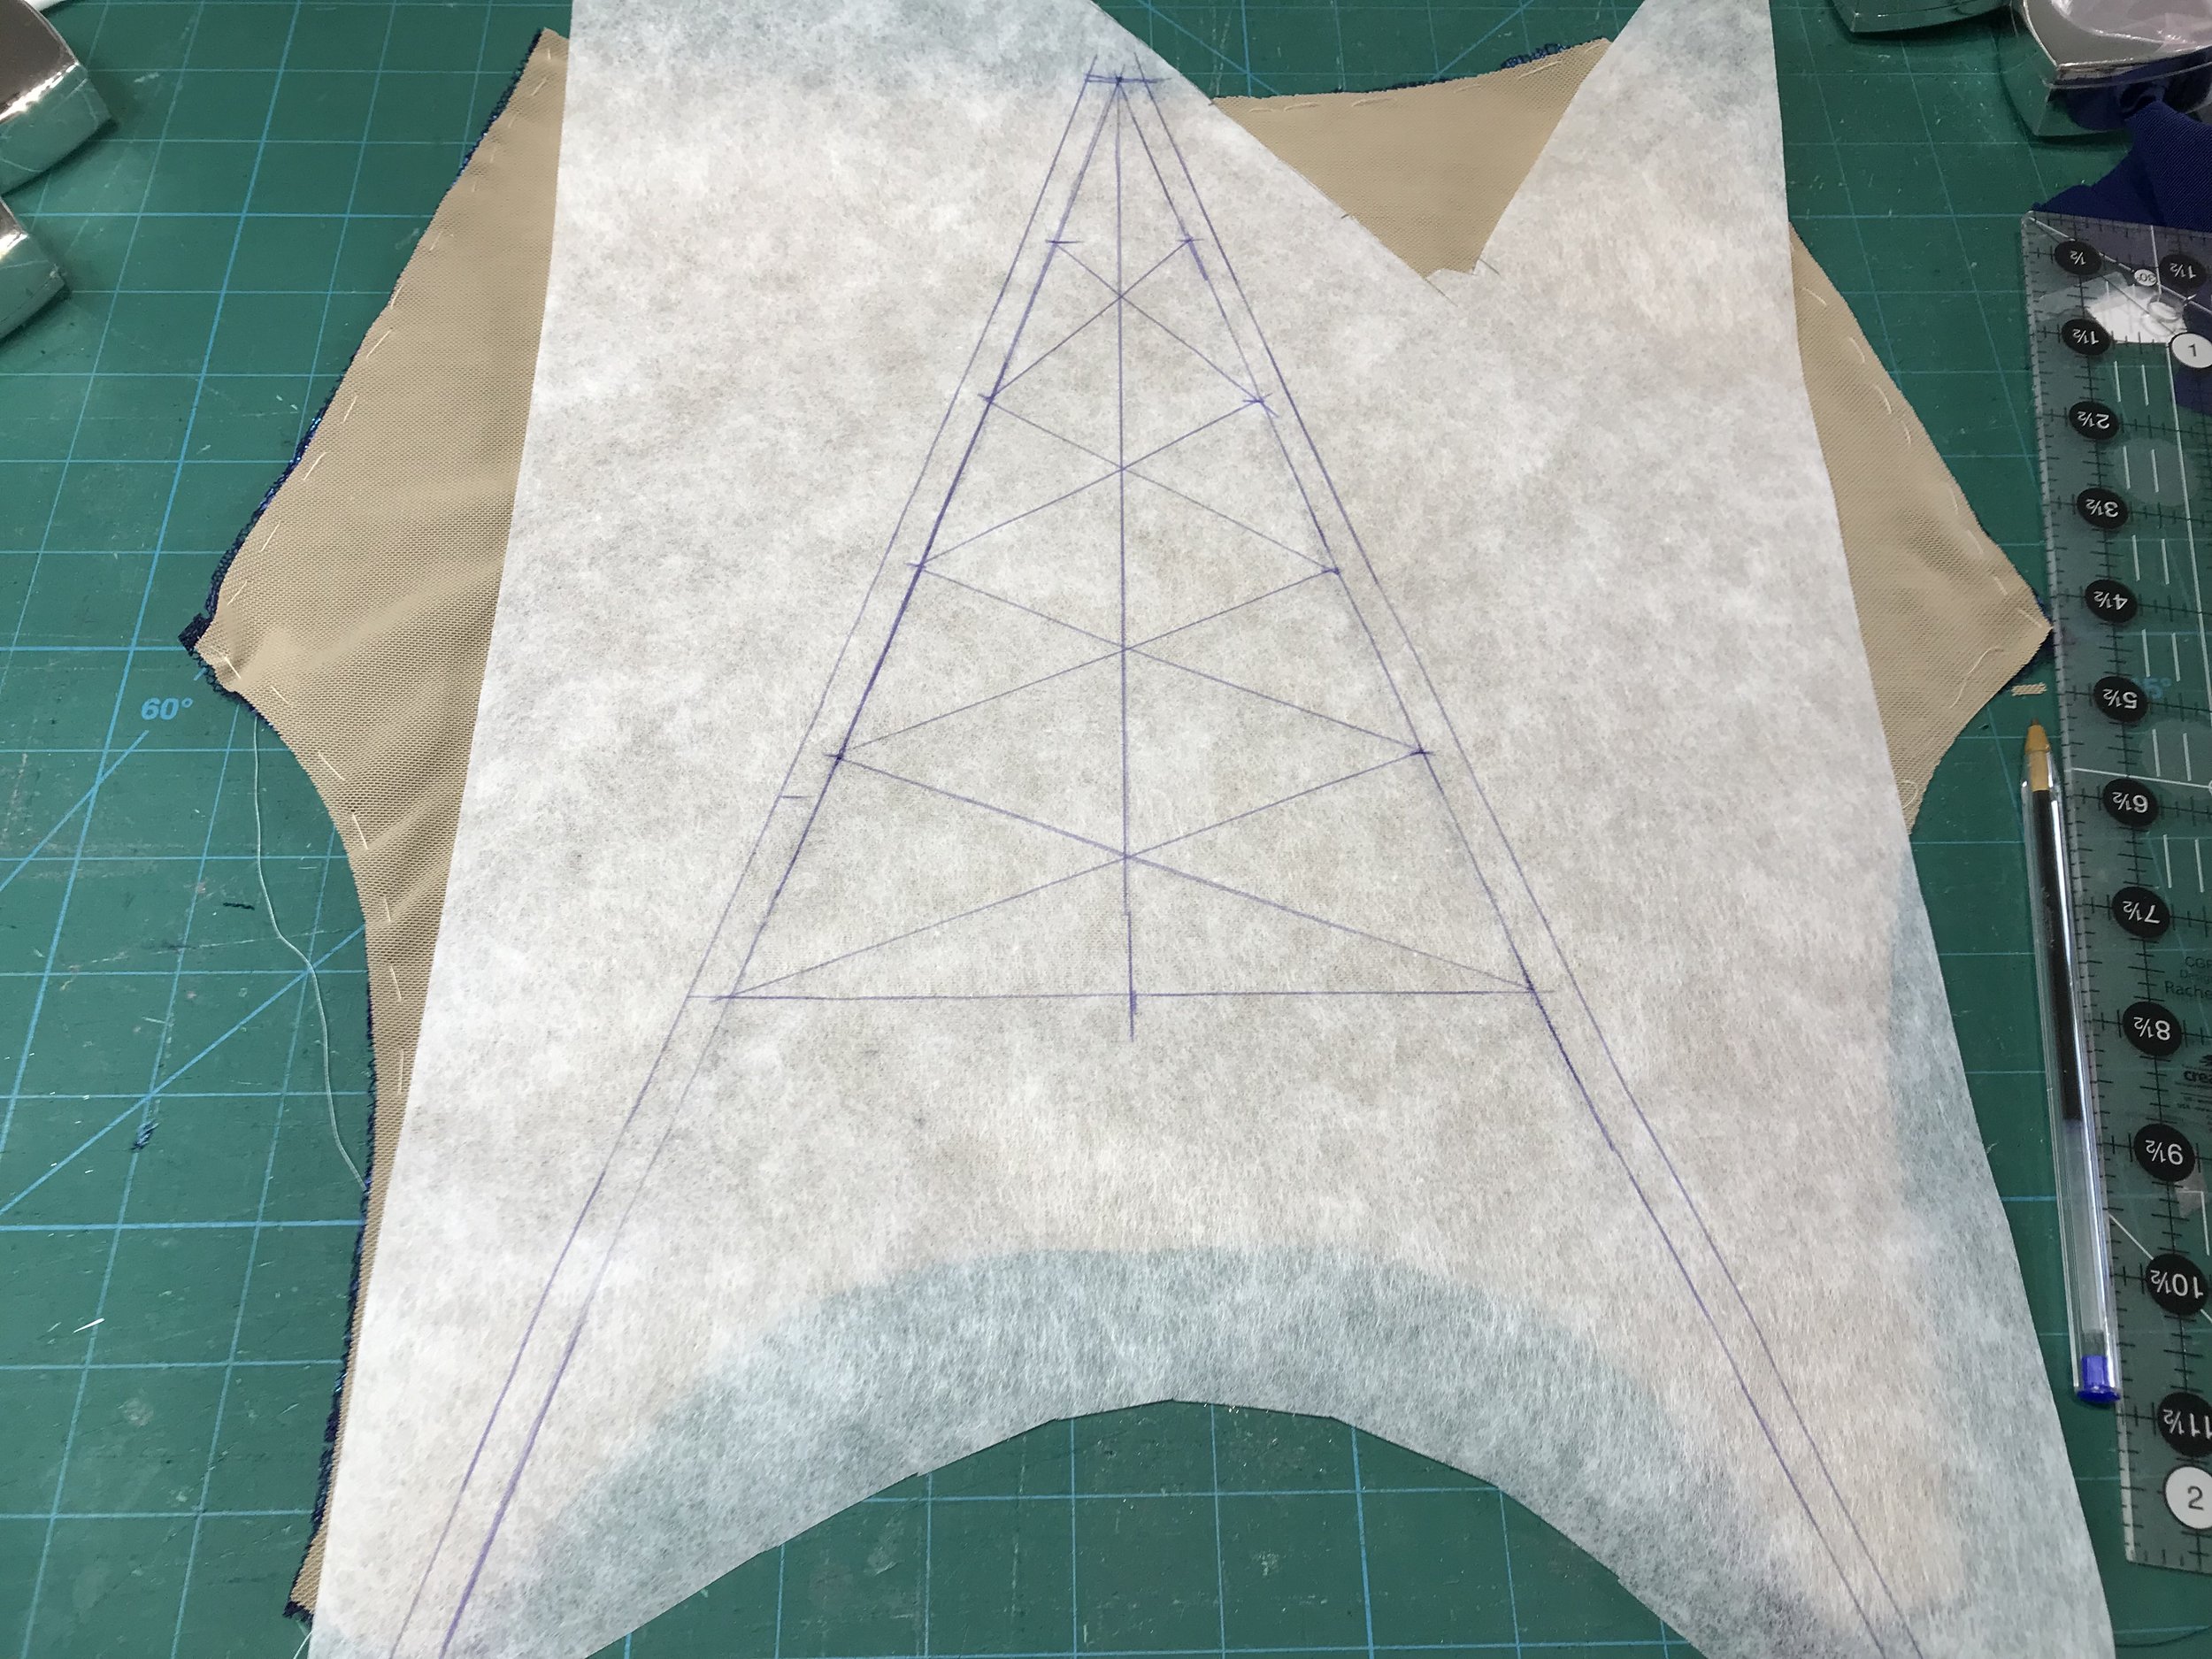
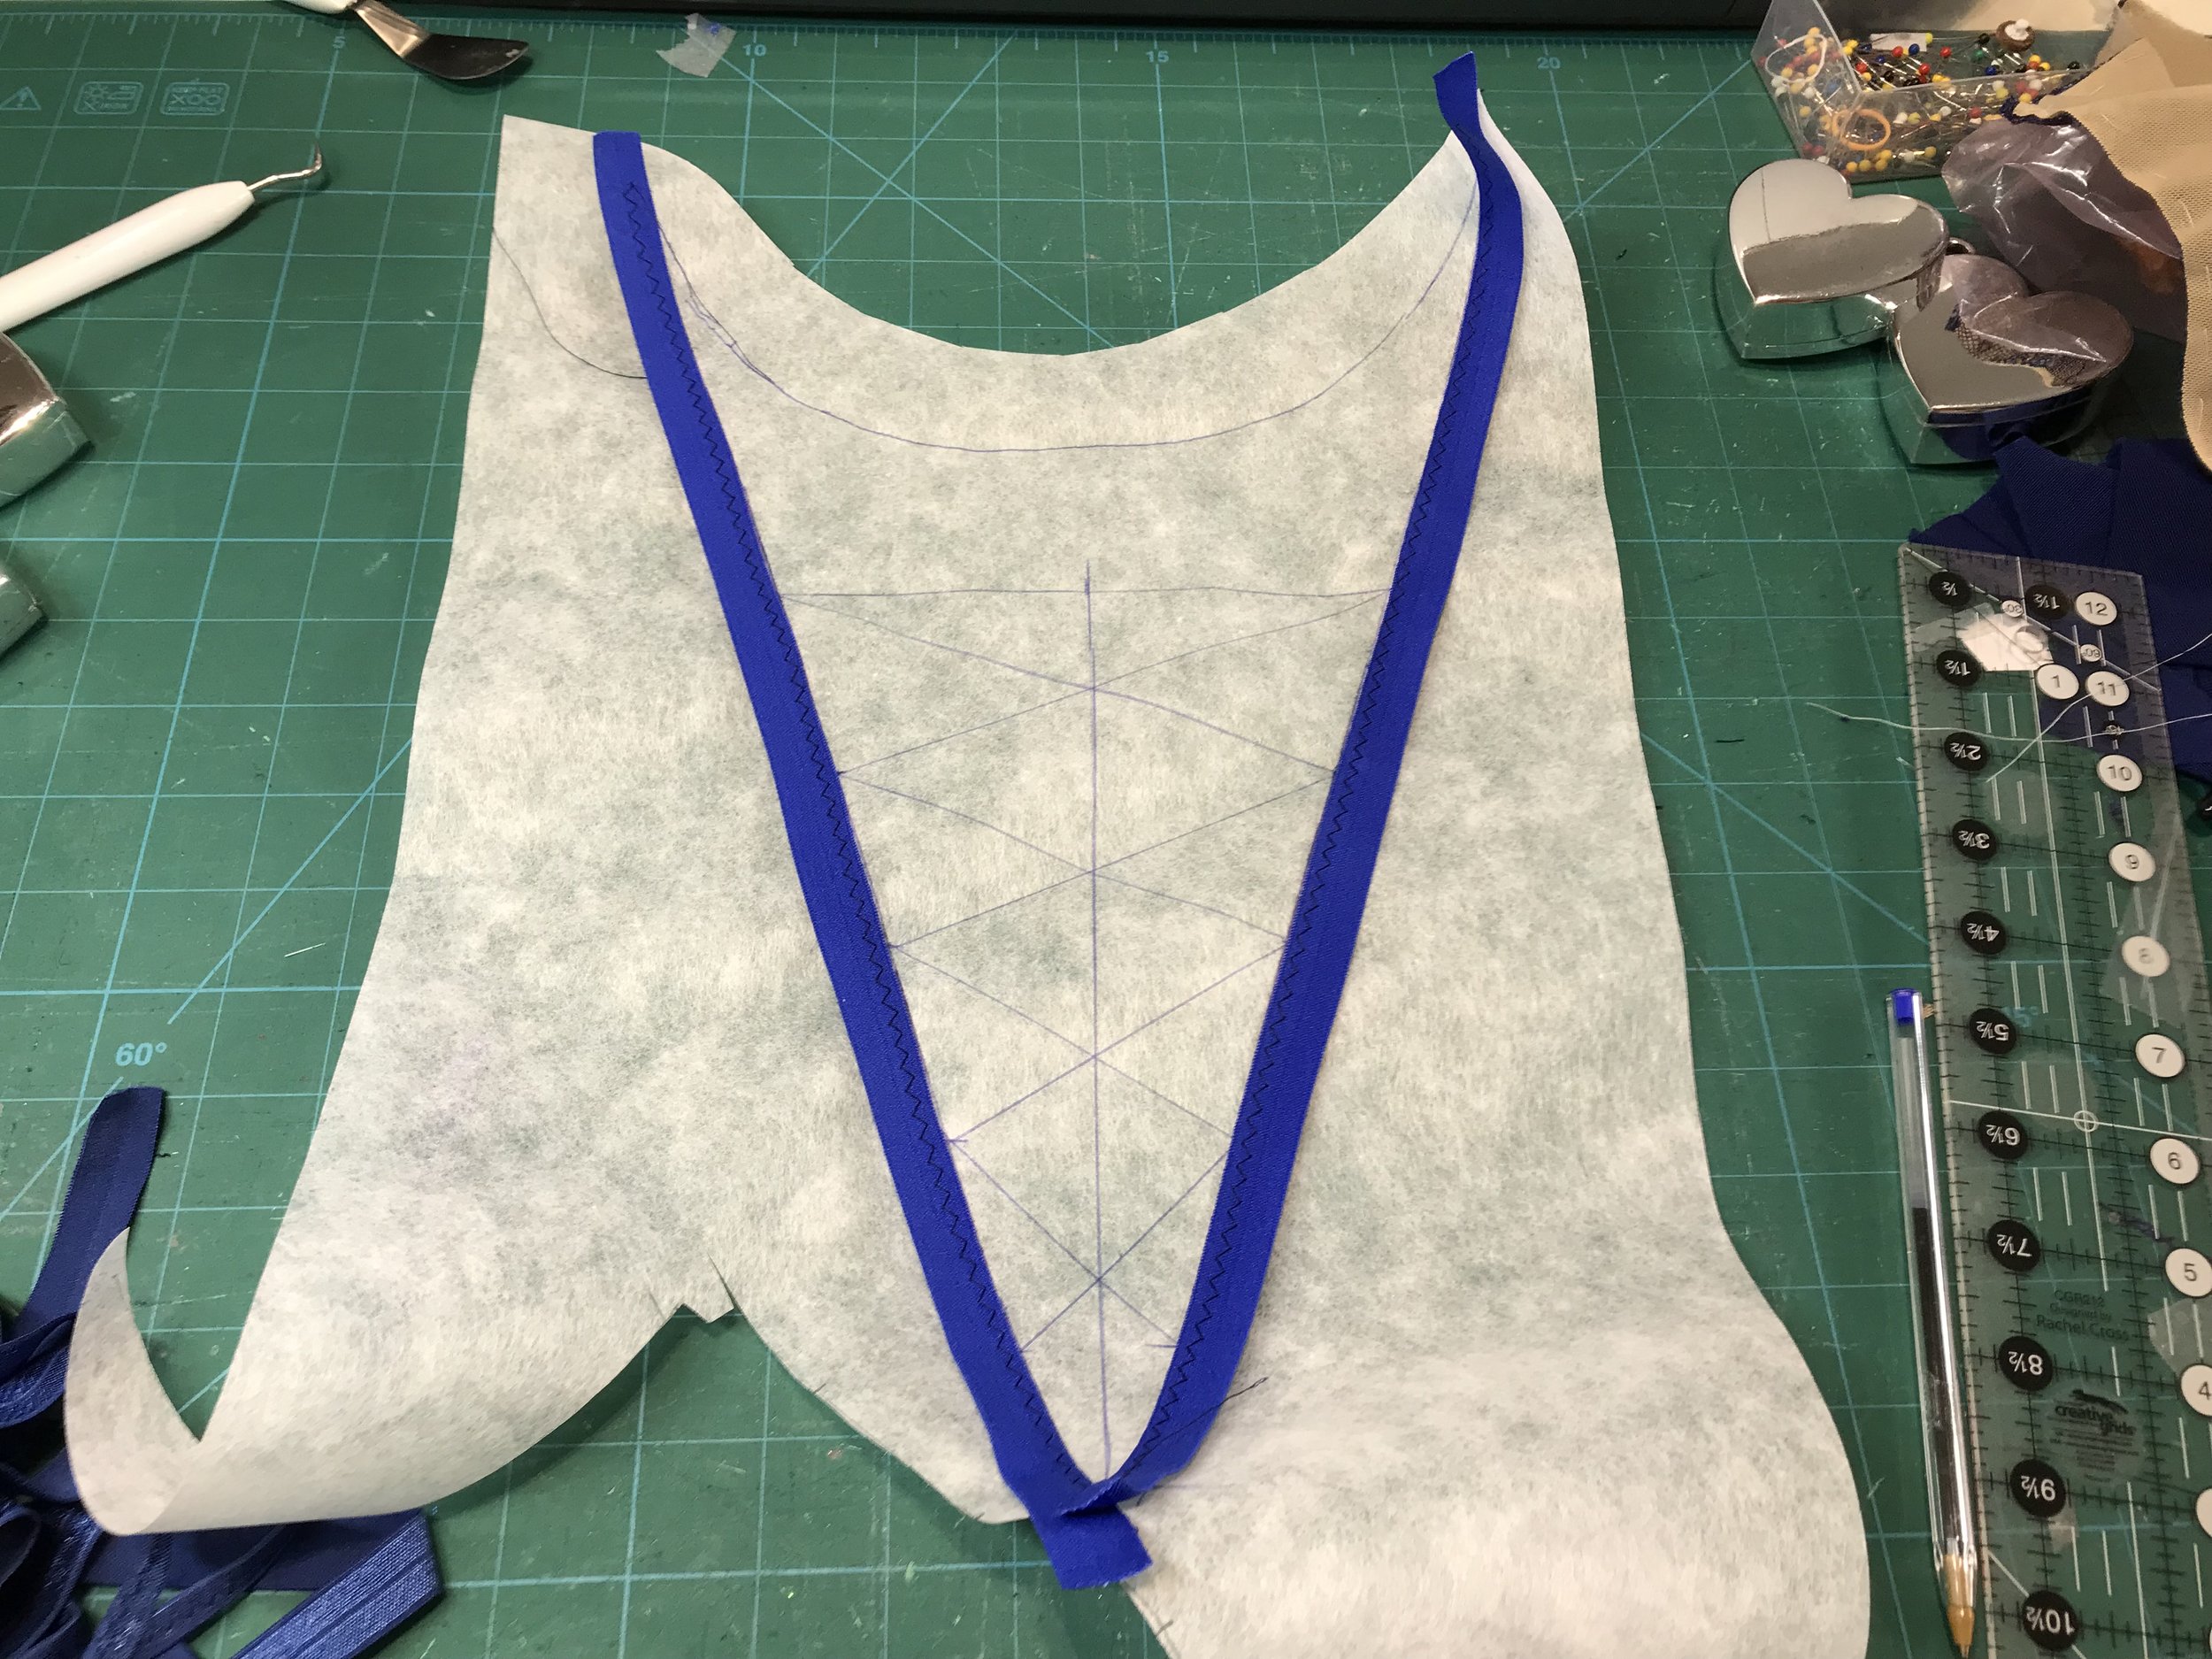
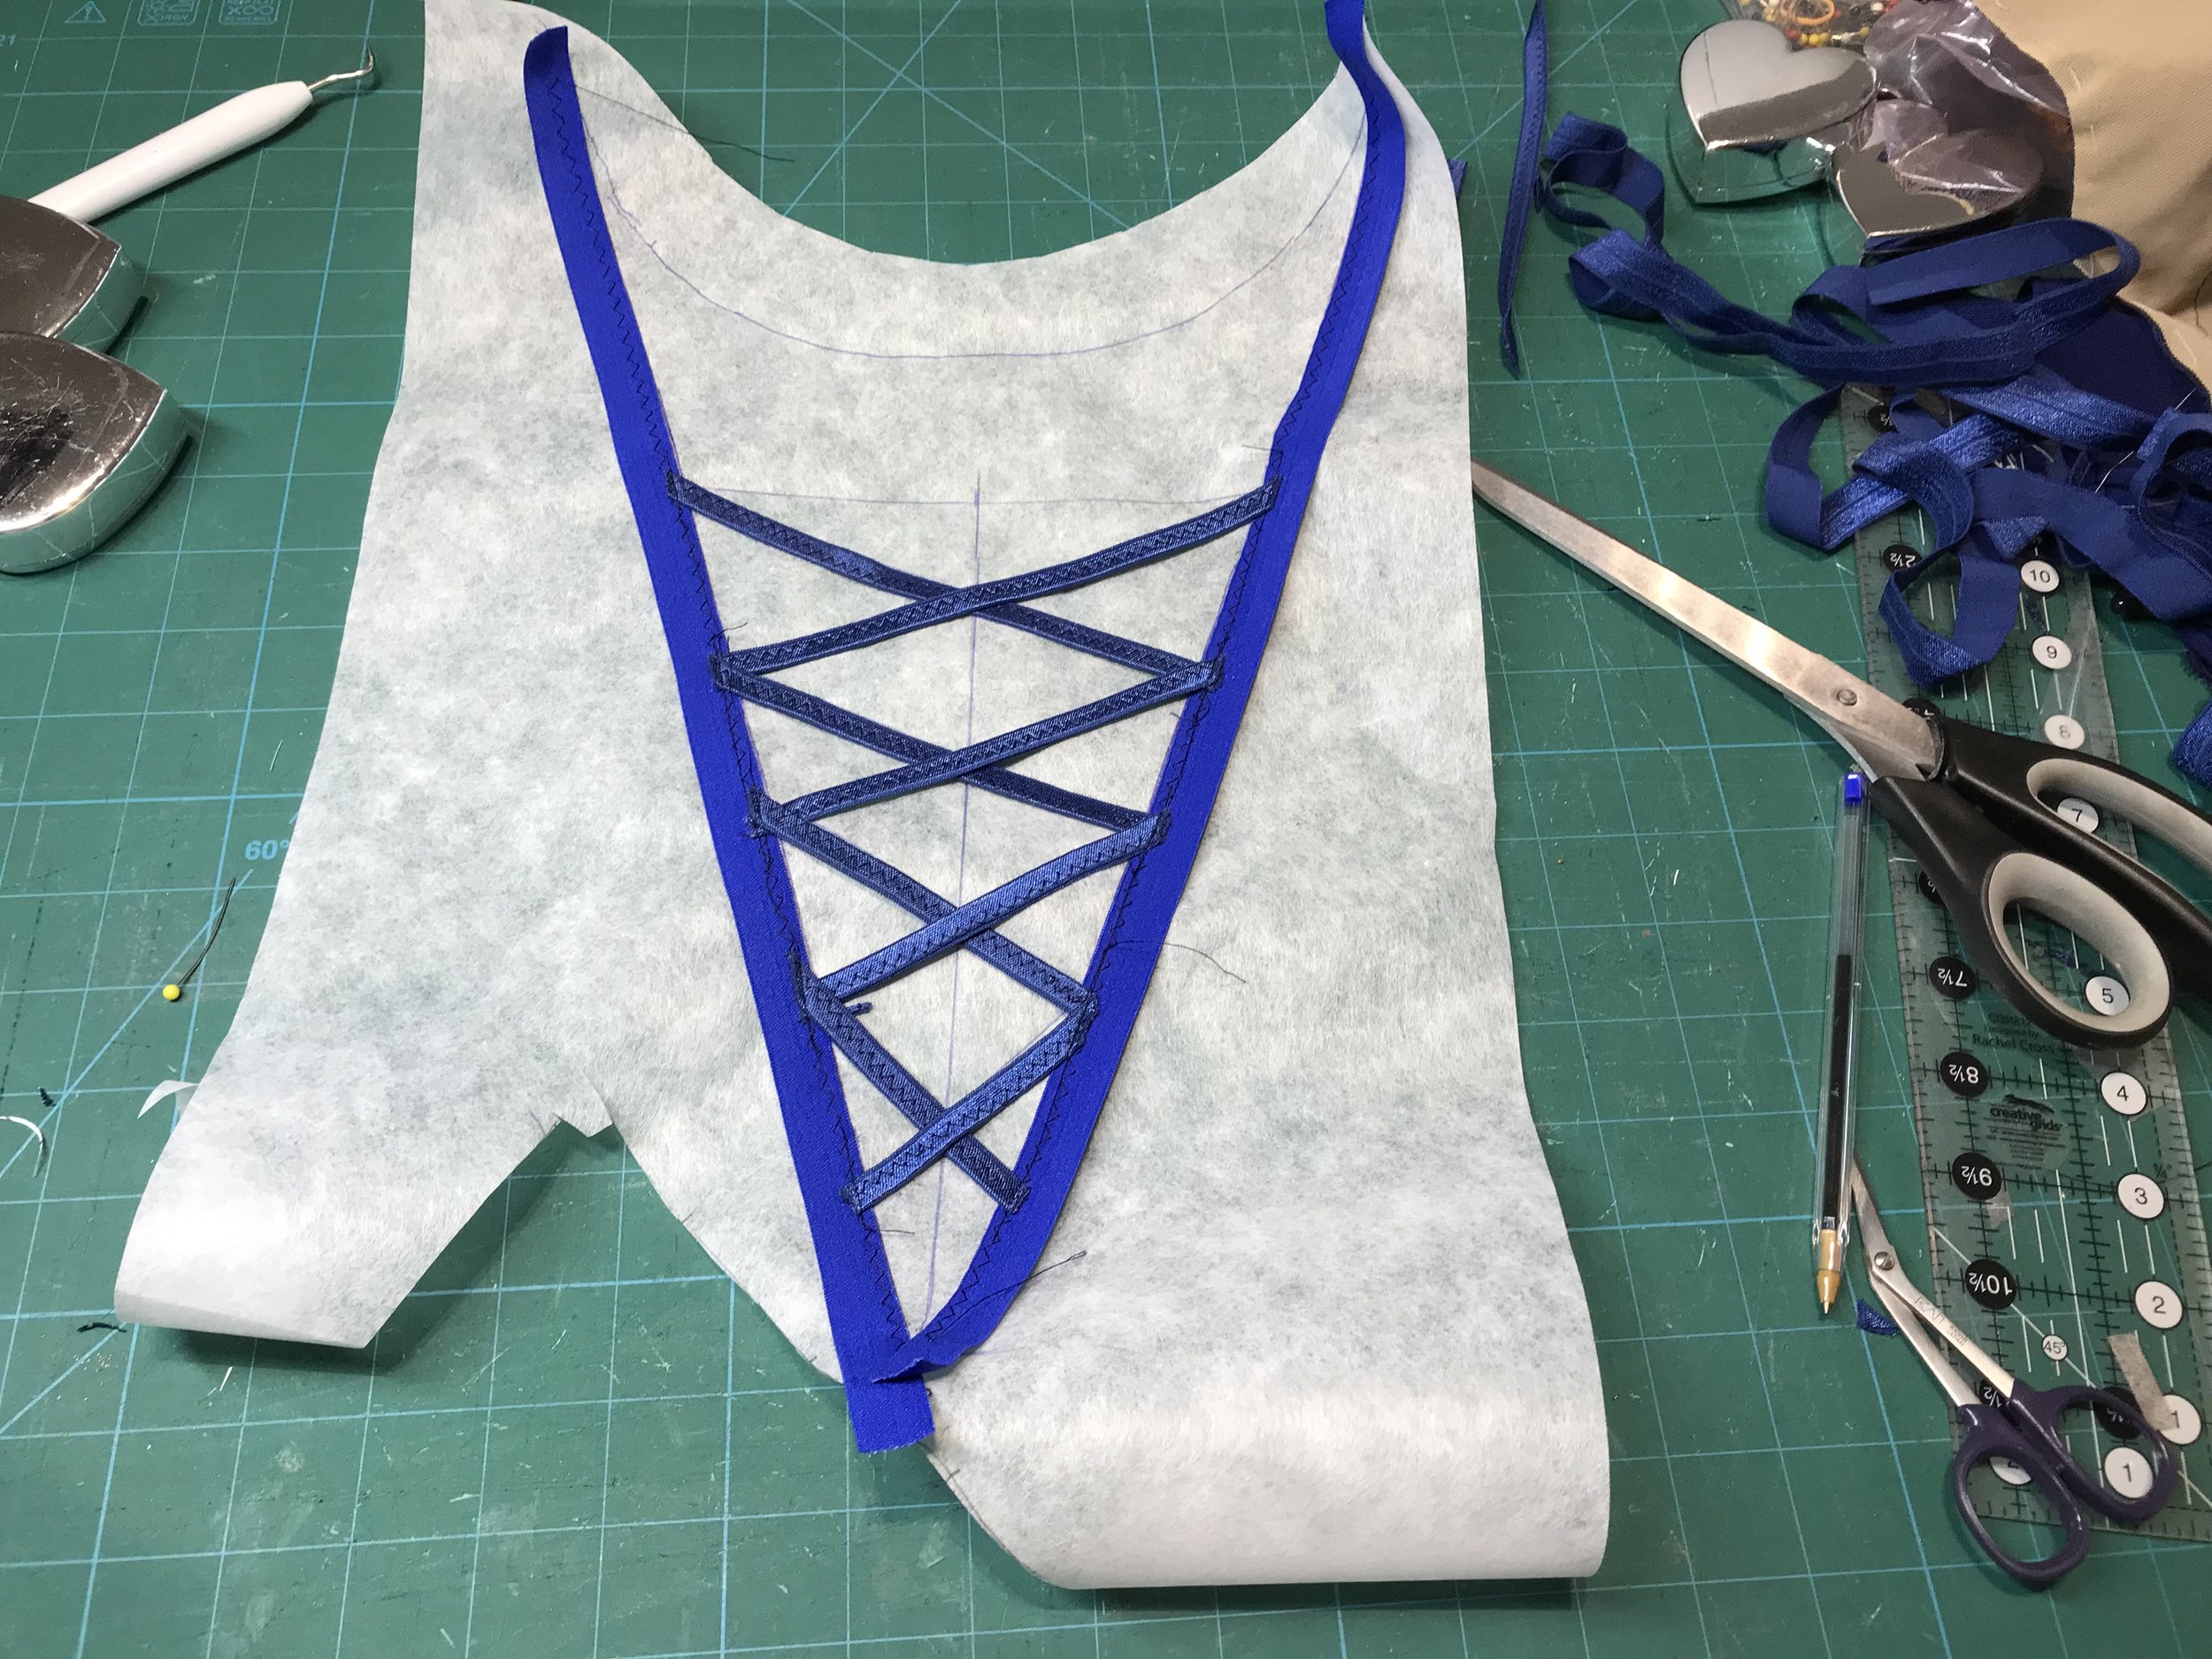
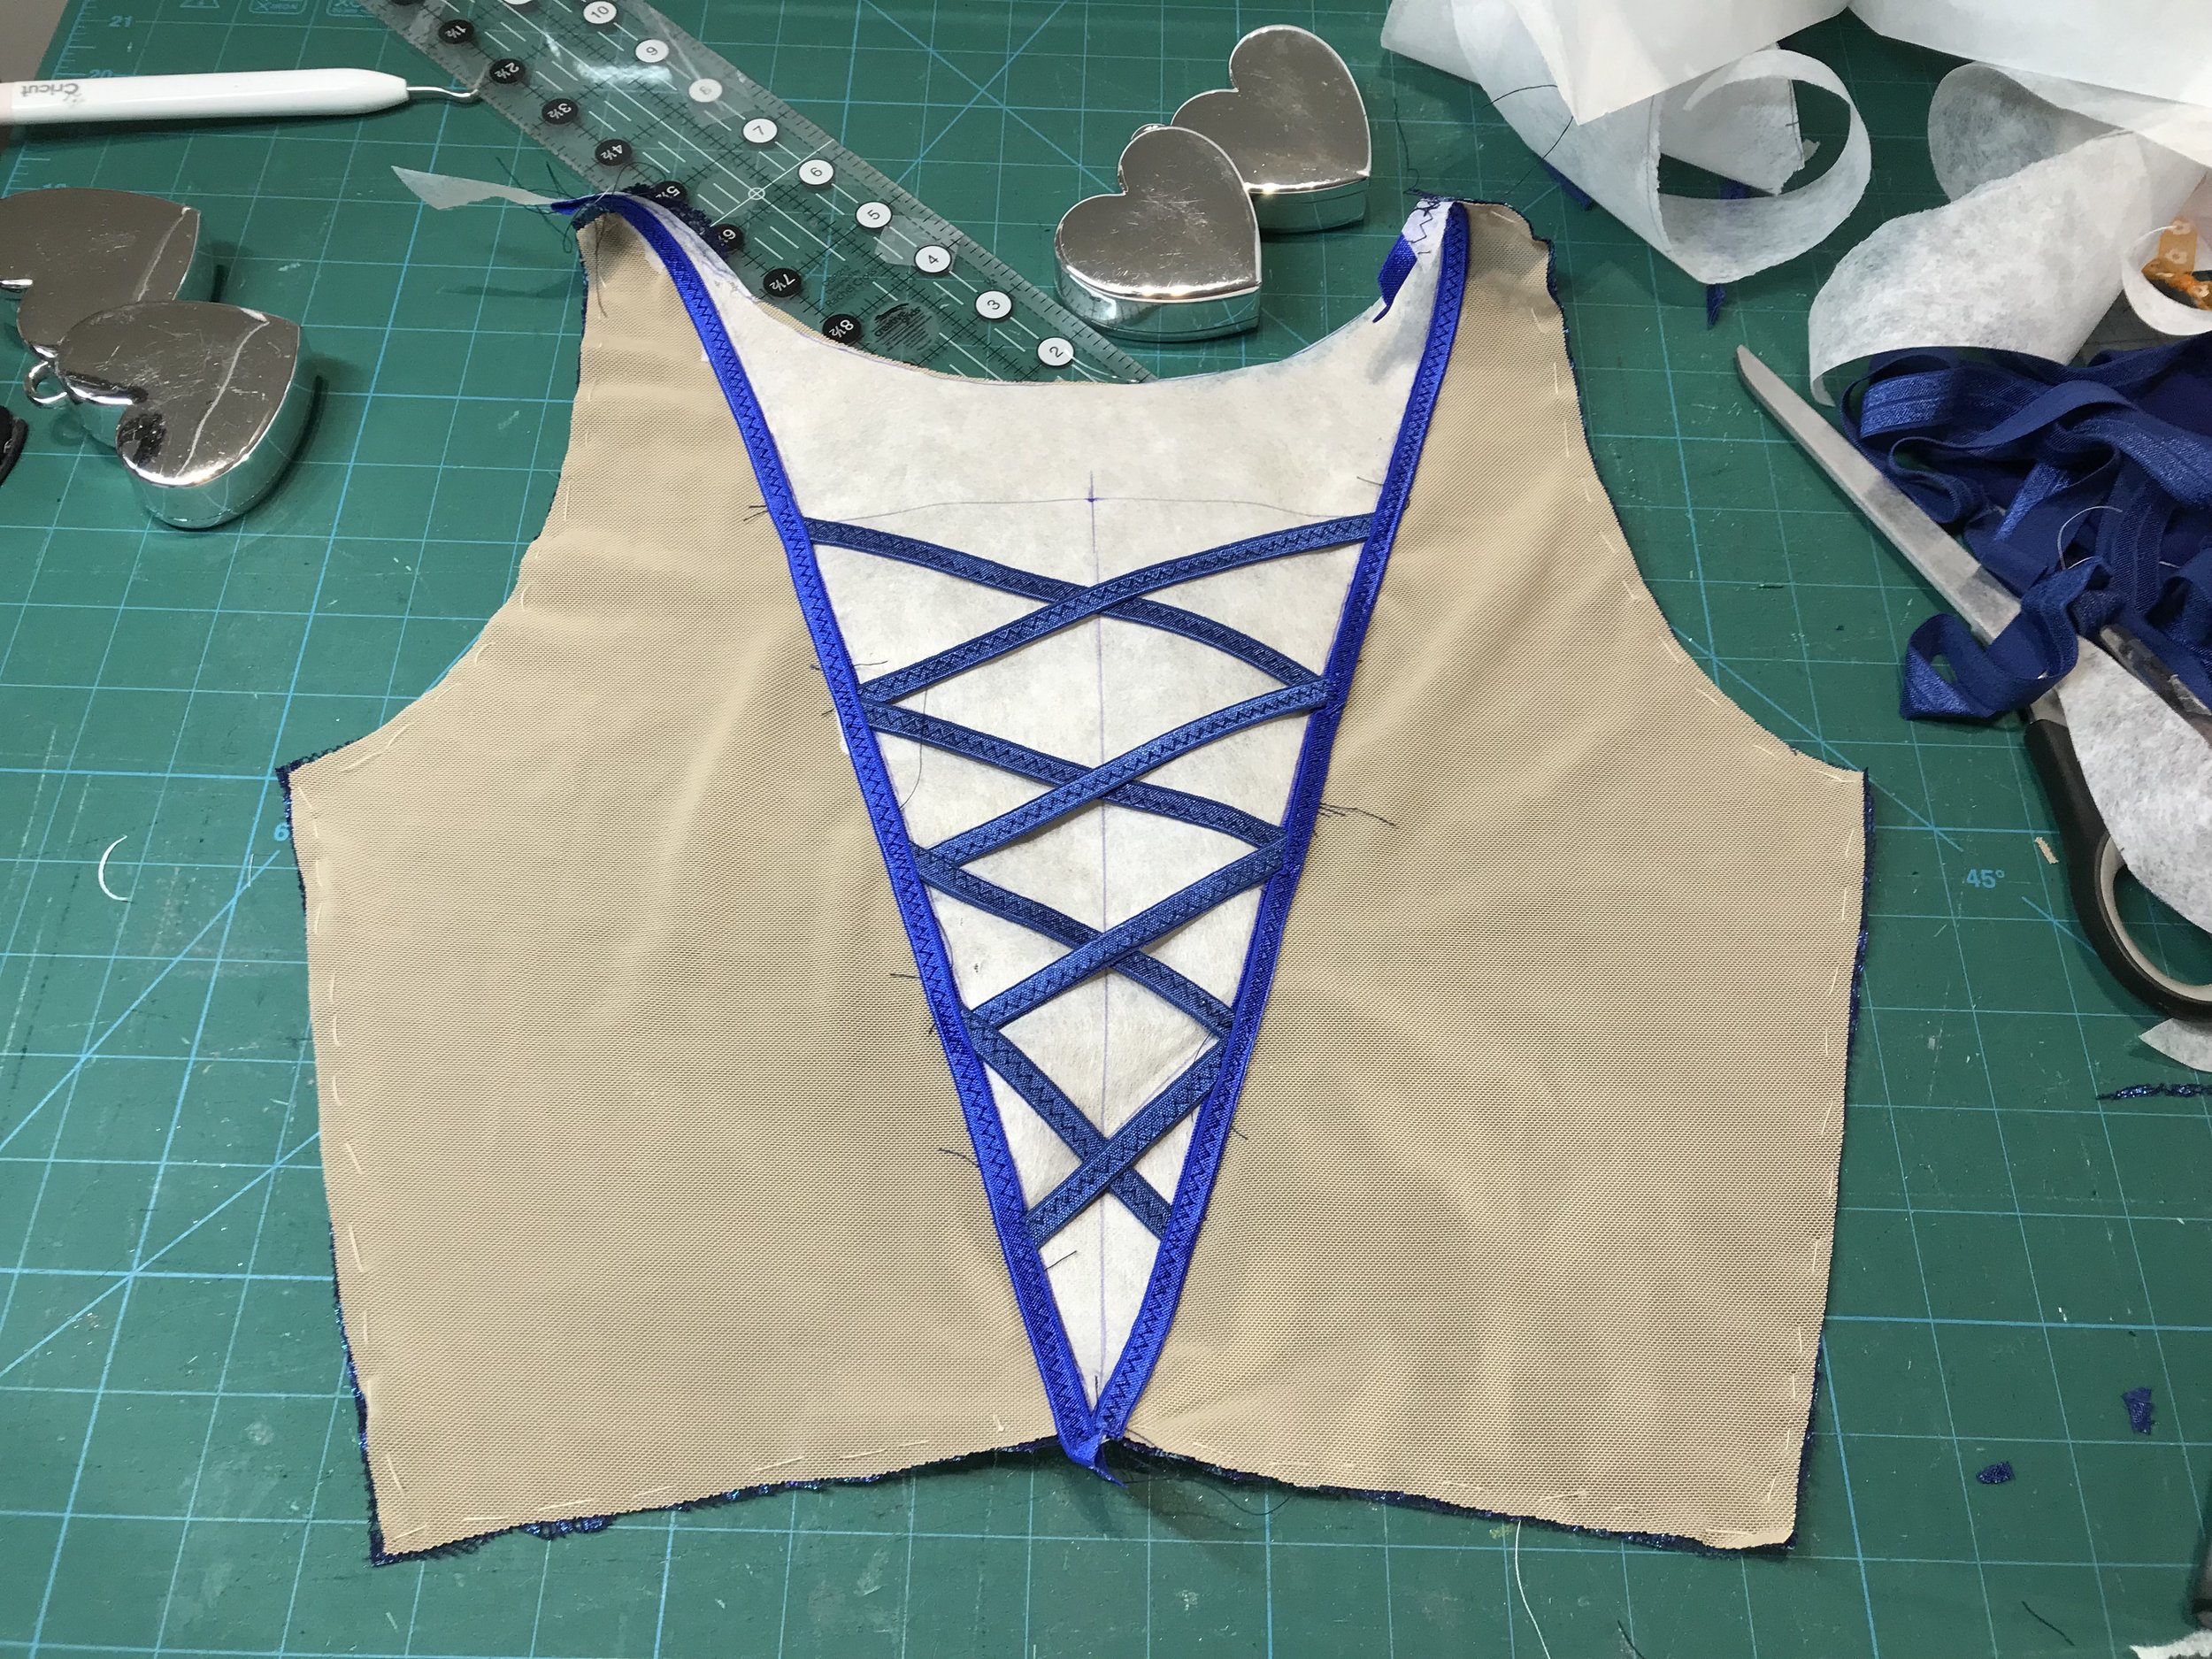
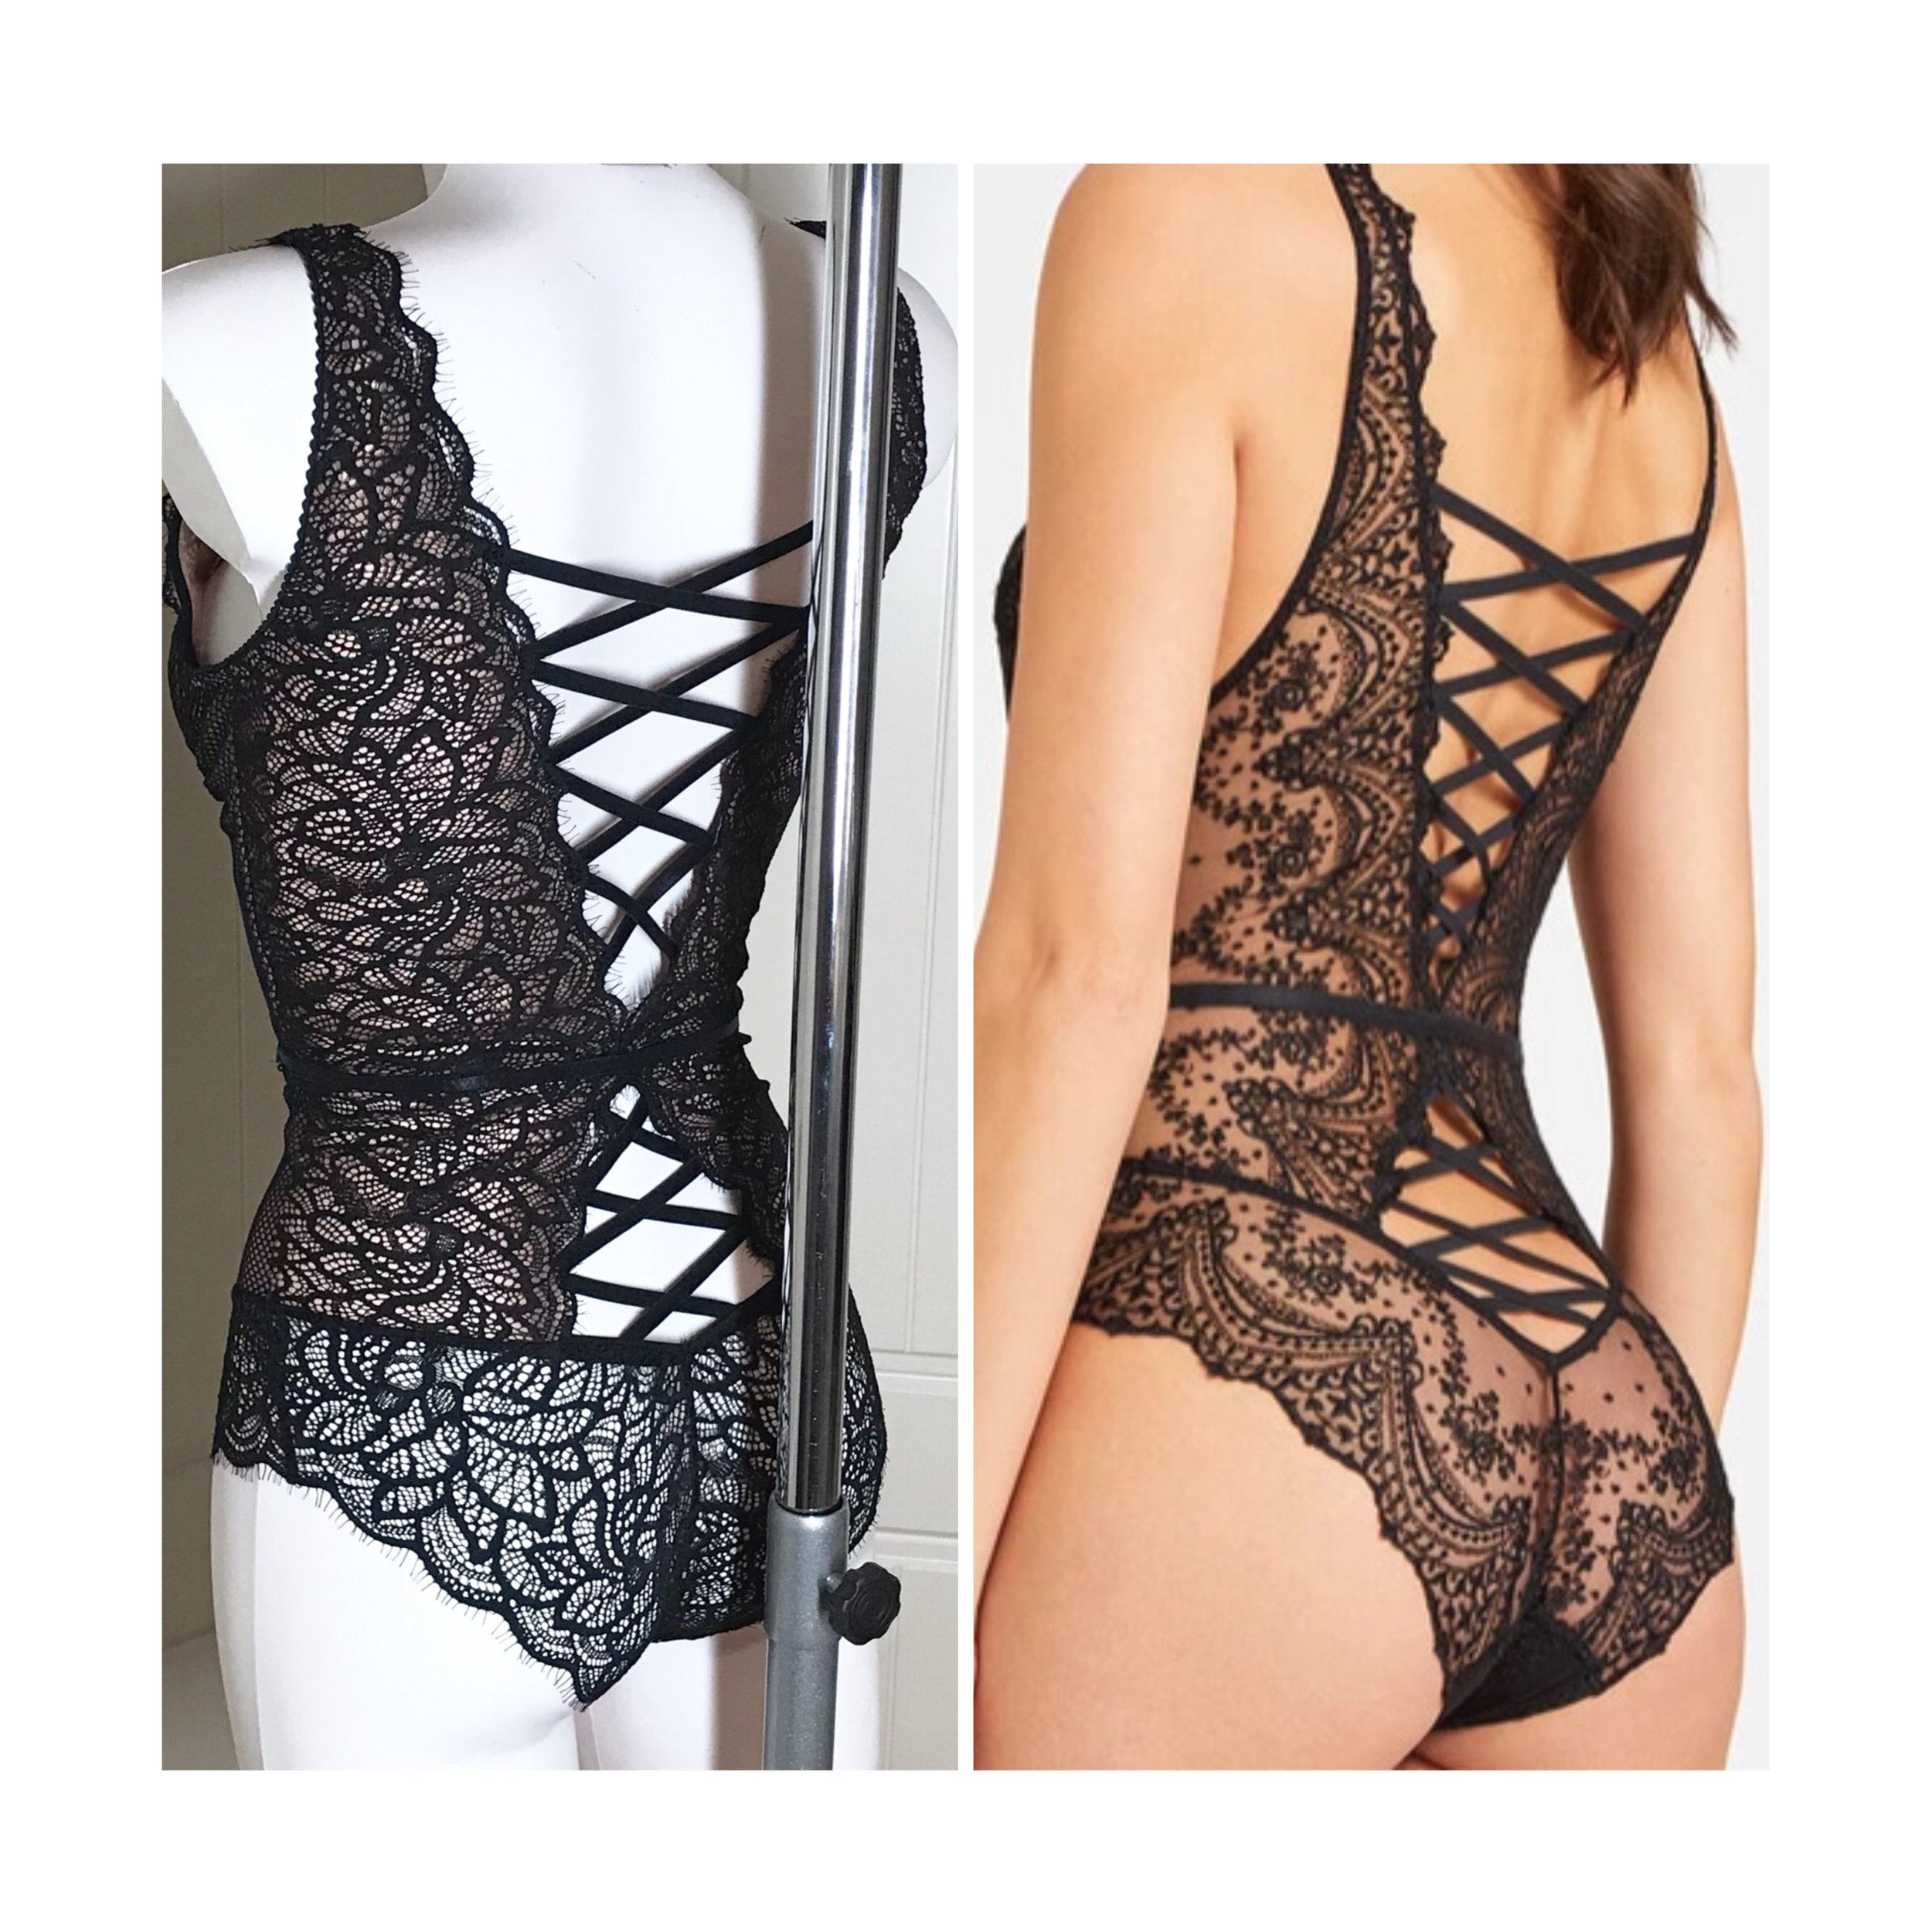
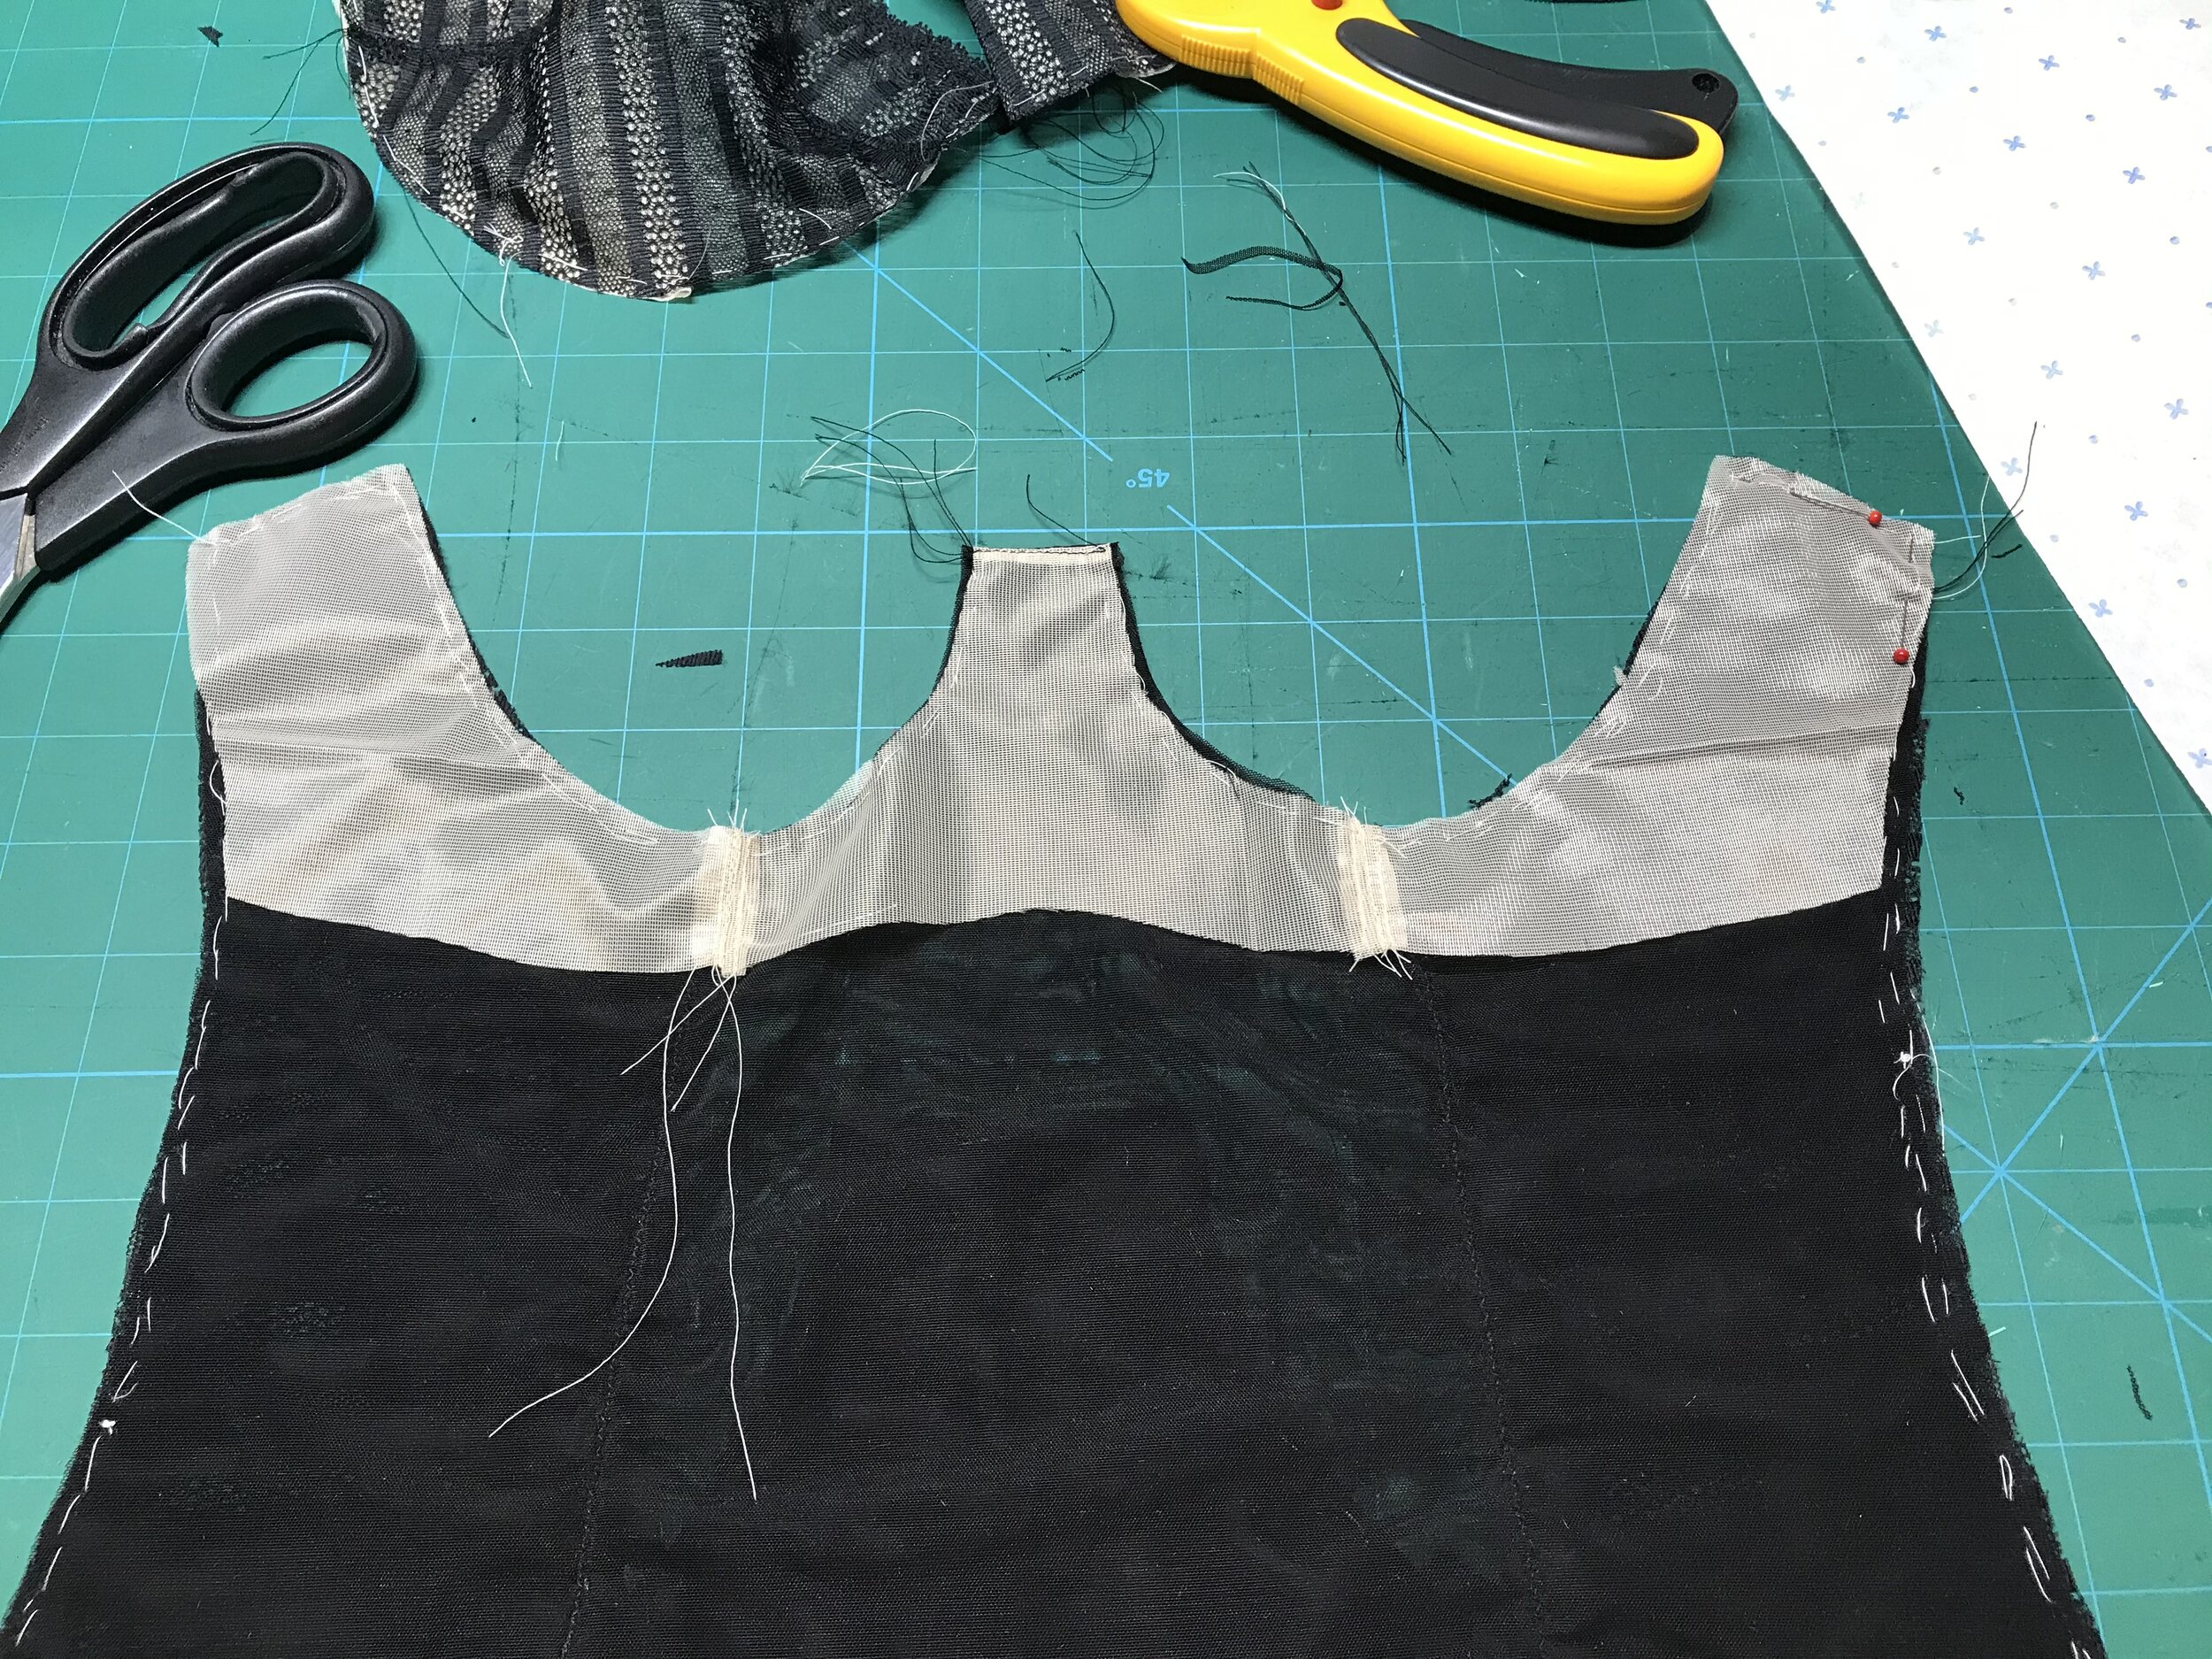
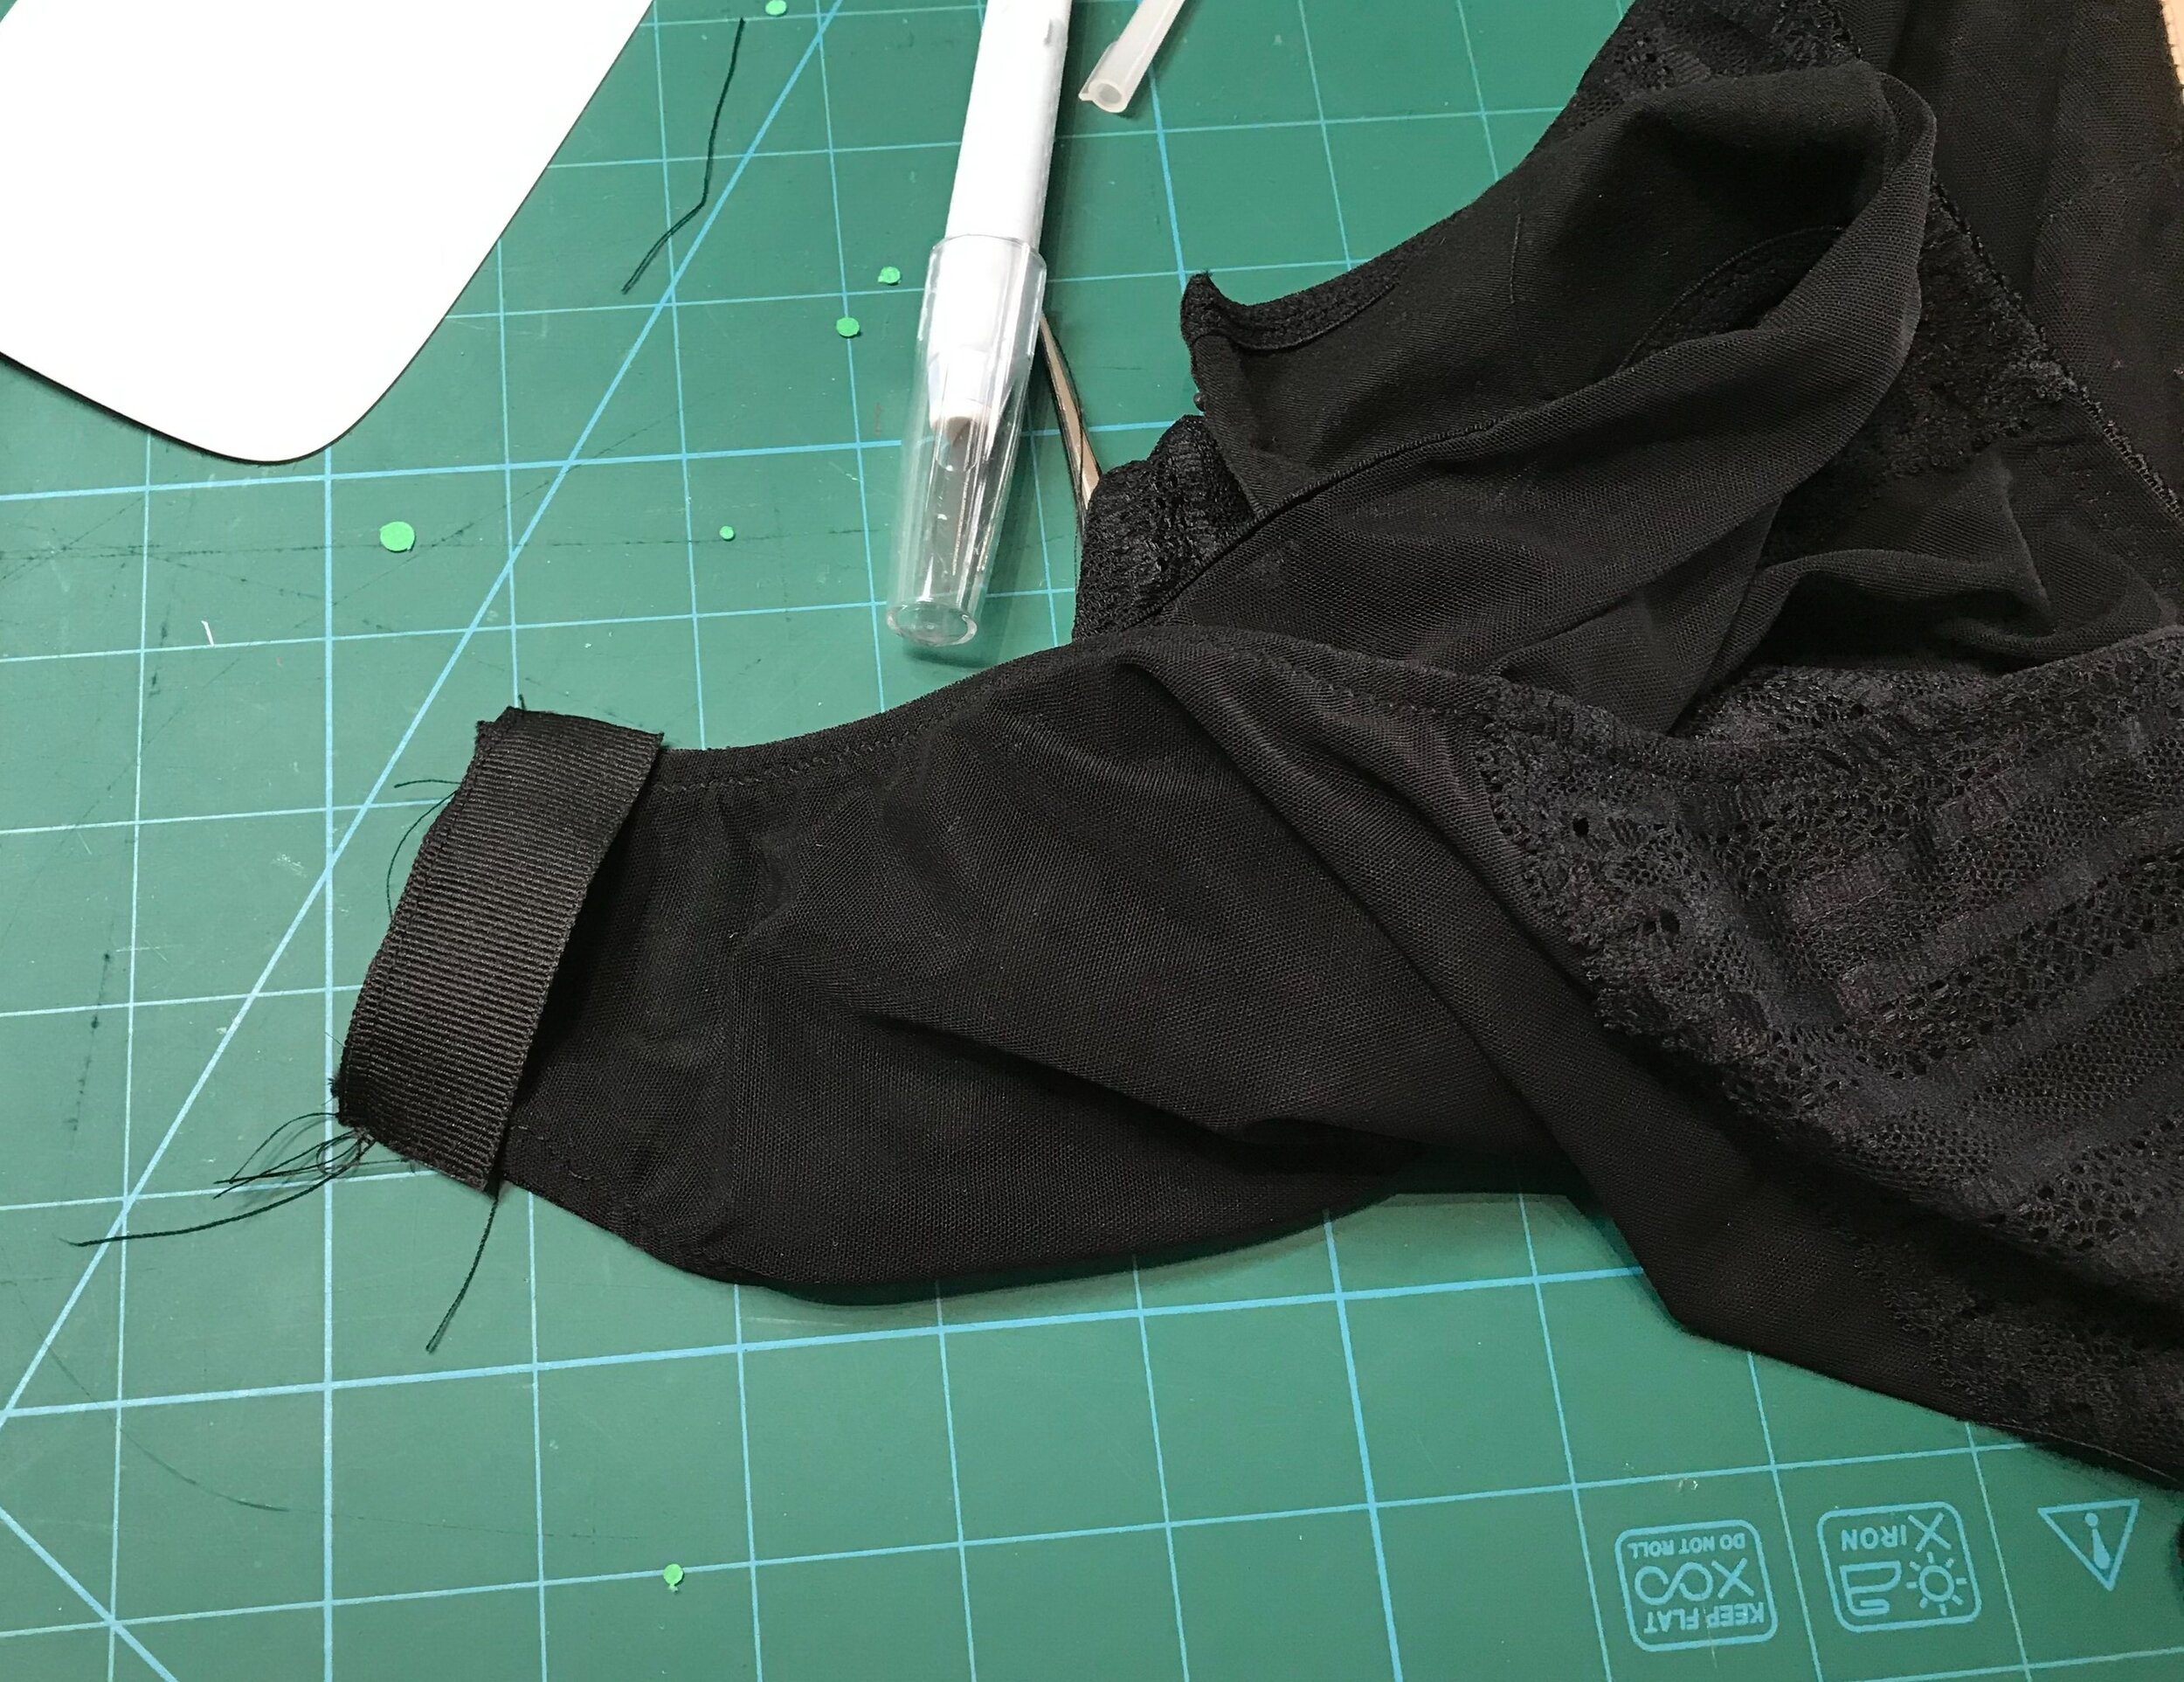
A lot of RTW have really messy strapping on the inside. I wanted something neat and tidy that wouldn’t irritate my skin. Using a method I have used before I played around with the placement for both the top and bottom back. I then drew this on tear away stabiliser. I stitched down the open fold over elastic on the seam allowance.

Then I added the strapping, stitching down under the fold line. This was then ready to transfer to my back fabric pieces. I then folded the fold over elastic down to encase the strapping. Then, I just had to tear away the stabiliser to reveal an open back.

Top Left RTW, Top Right First Draft, Bottom Second Draft

So although very wearable I still needed to tweak a little. The lace cups were still too wide at the shoulder so I blended down to allow just for the width of the elastic on both neck and armhole edges and reduced the width of the back to match. I had over adjusted the frame so I moved out the seam leaving the cup the same size. The back top strapping was perfect but I needed to narrow the bottom section for a better fit. So now I had all my pieces ready for the actual make..

I had been keeping the eyelash lace and open mesh from Madalynne for something special and I thought this would be the perfect match. Next I had to decide on the lining fabric. The beautifully soft antique rose mesh from Small Bobbins looked perfect. For the strapping I used some narrow matt strap from Bratastic. Photographed on the white dress form doesn’t do it justice. Next to the skin the bodysuit looks amazing.

This is one of my favourite makes. Not only does it recreate the inspirational look but fits perfectly as it is made to my exact measurements. Now to the next challenge, whatever it may be.
BRAugust and a Monowire Bra Design Challenge

BRAugust is a month long photo a-day Instagram challenge hosted by Ying of Tailormade and is a great place for sharing makes and ideas. My favourite posts were the monowire bras of @EvielaLuve and @Miniguinea so I challenged myself to design a bra using a monowire. I am just so pleased with the result.

IMG_6997.jpg

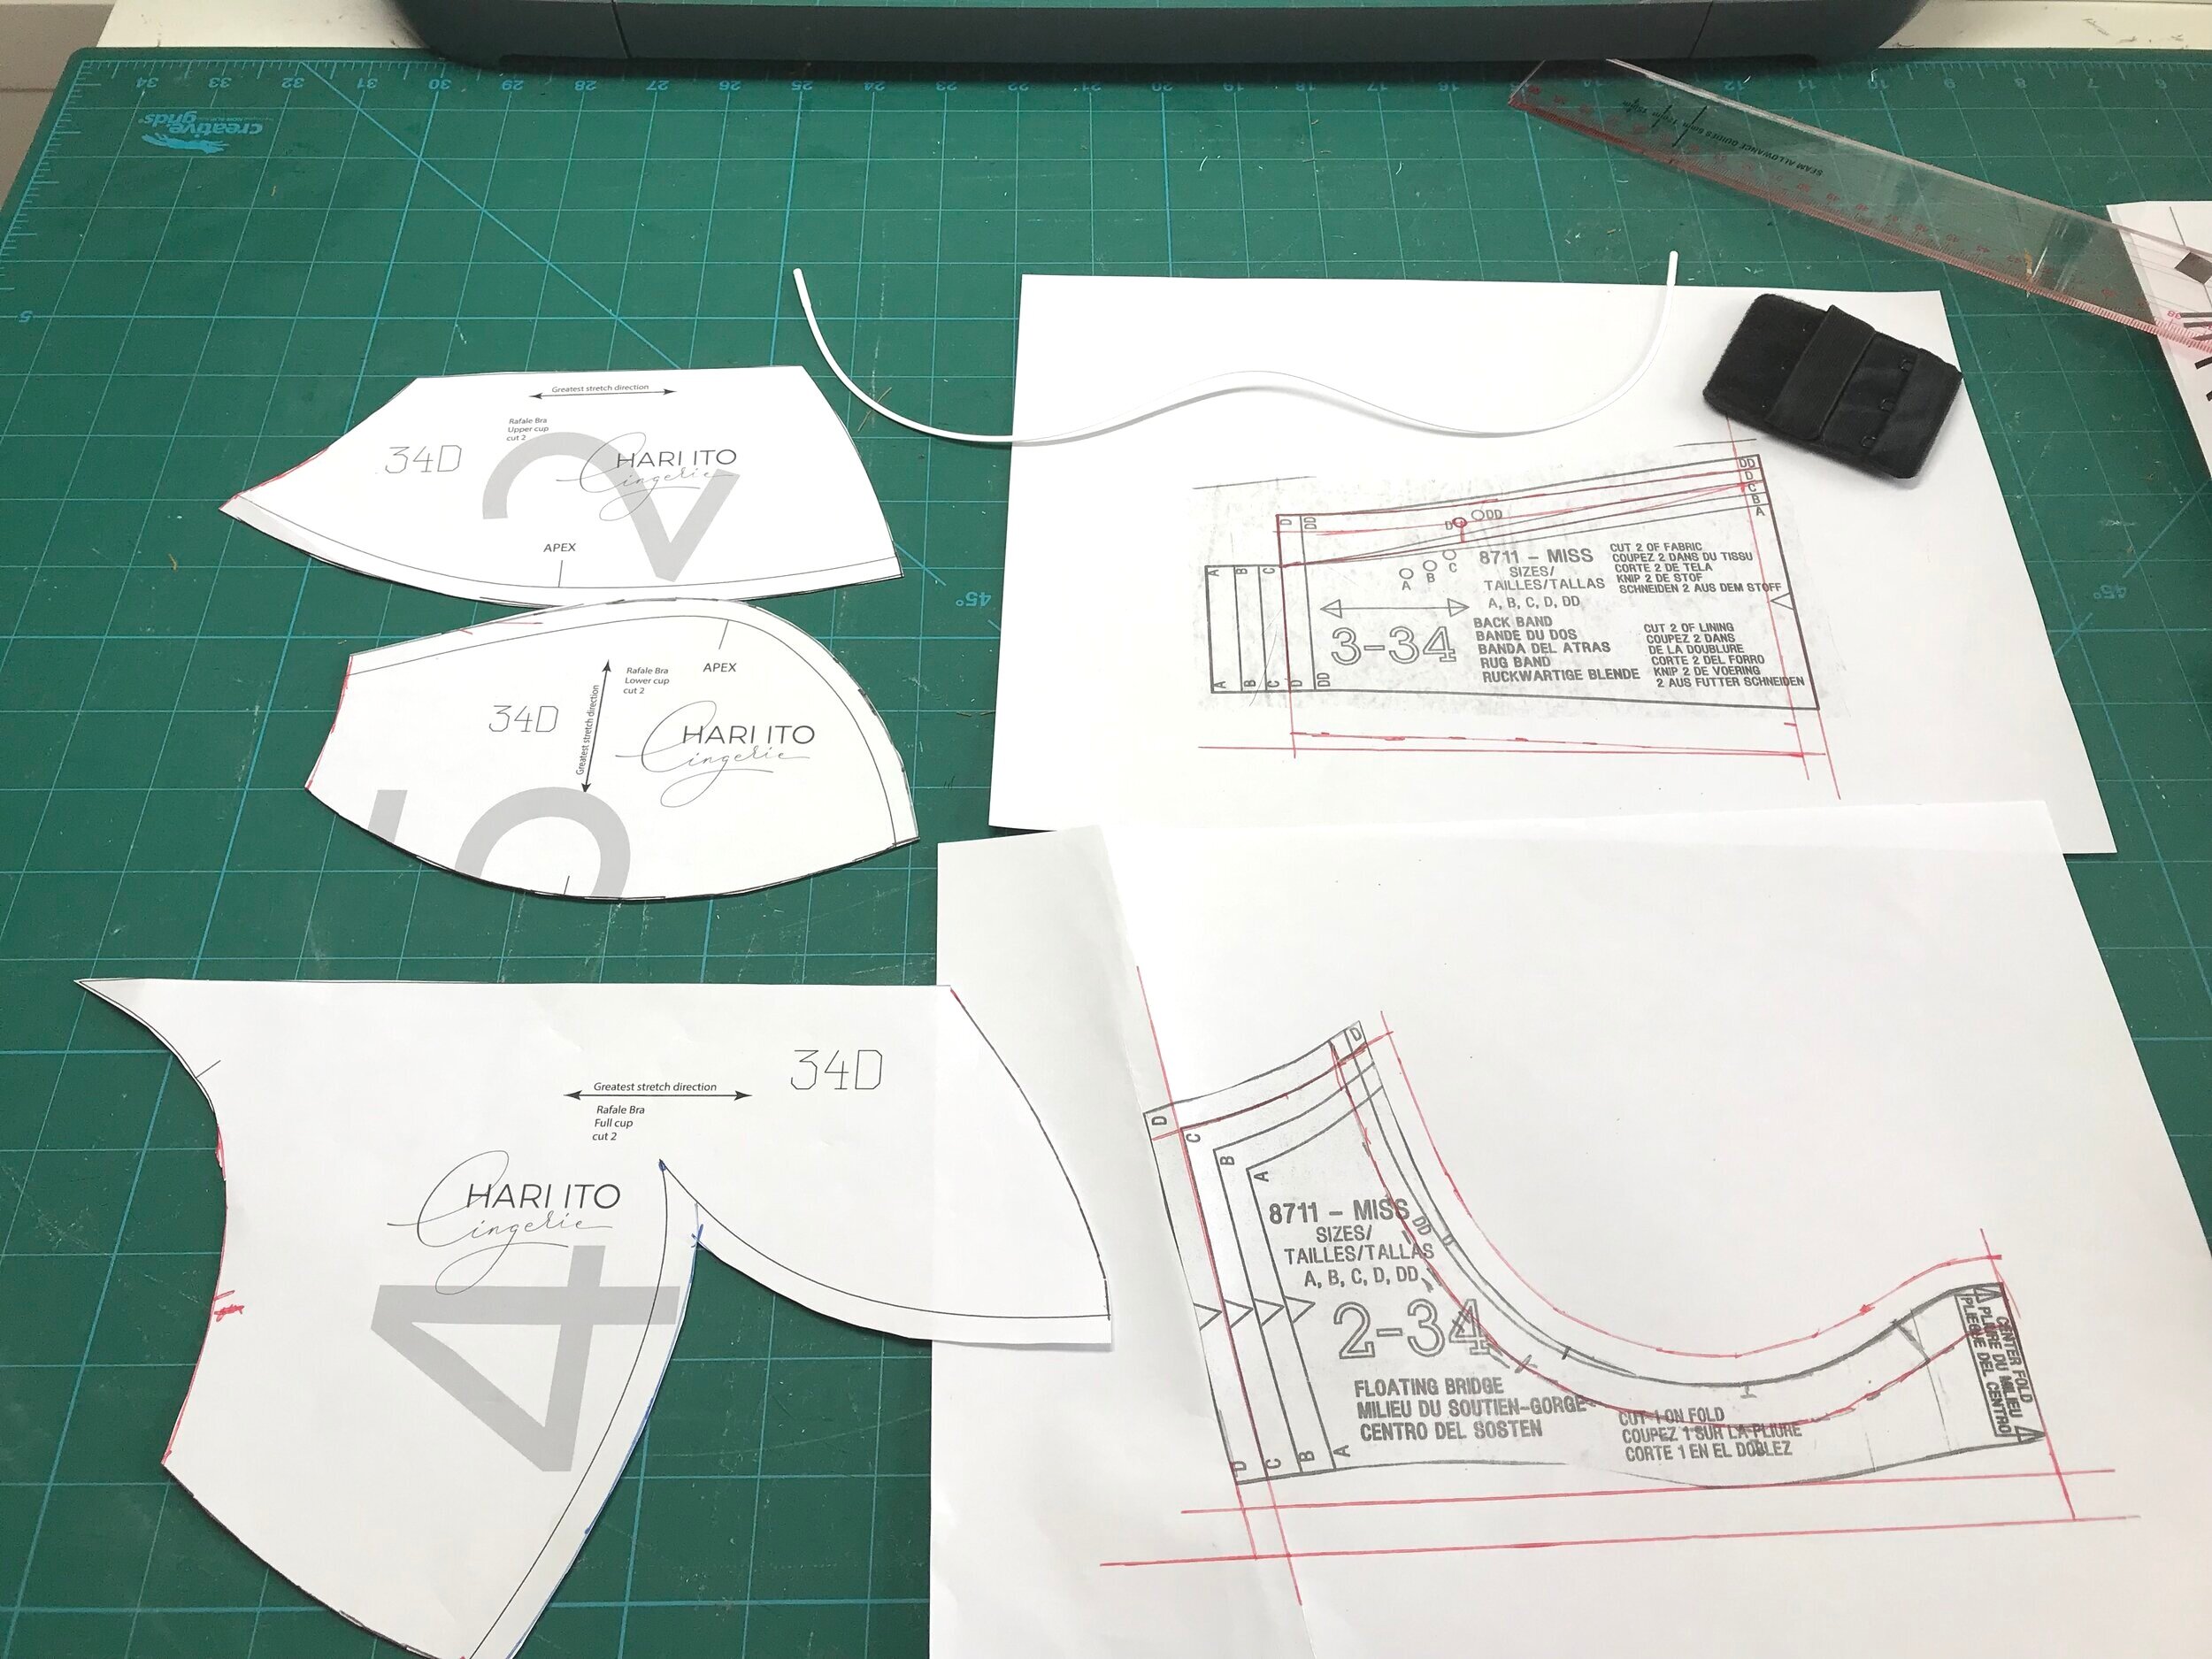
I had made the Madalynne Simplicity 8711 which uses a monowire in a floating bridge and luckily I had ordered an extra monowire and I thought the floating bridge pattern piece would be a great place to start. I loved the idea of the plunge neckline but thought I would need more support at the centre front. Then I remembered the Hari Ito Rafale bra I had made. This is a partial band double layered cup pattern which uses extra long wires for an open centre front. How to combine the two?

IMG_6977.jpg

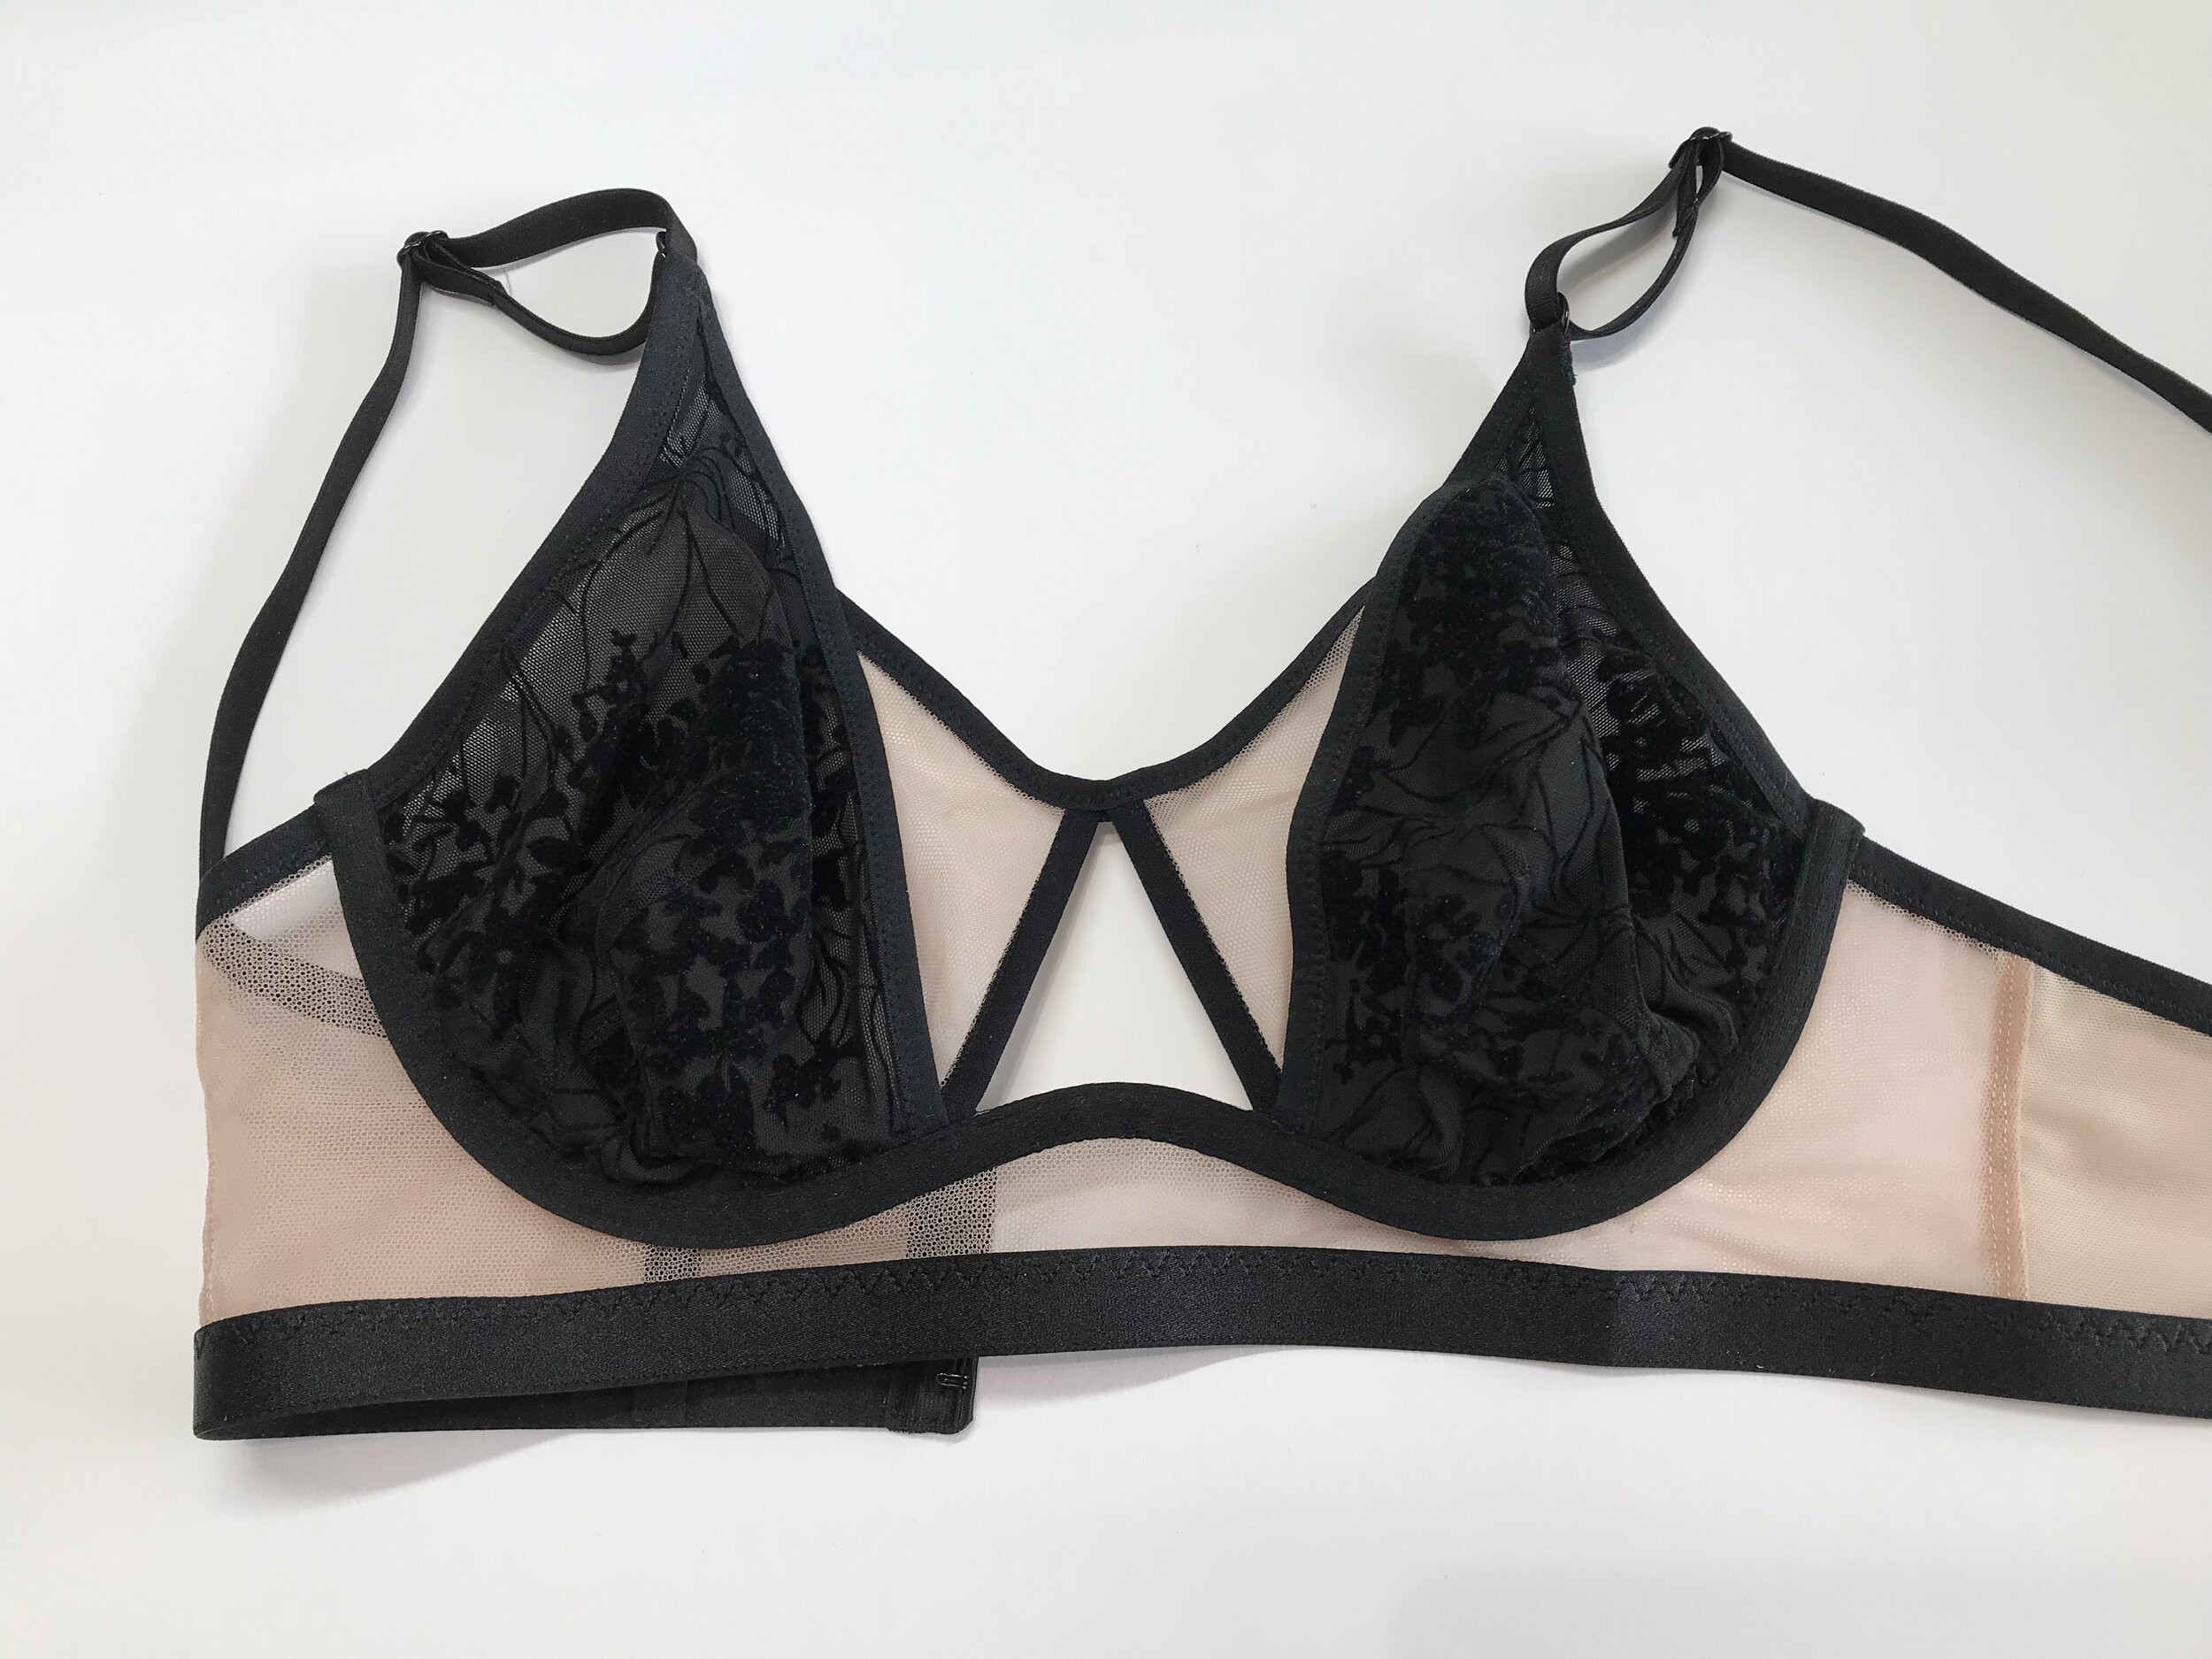
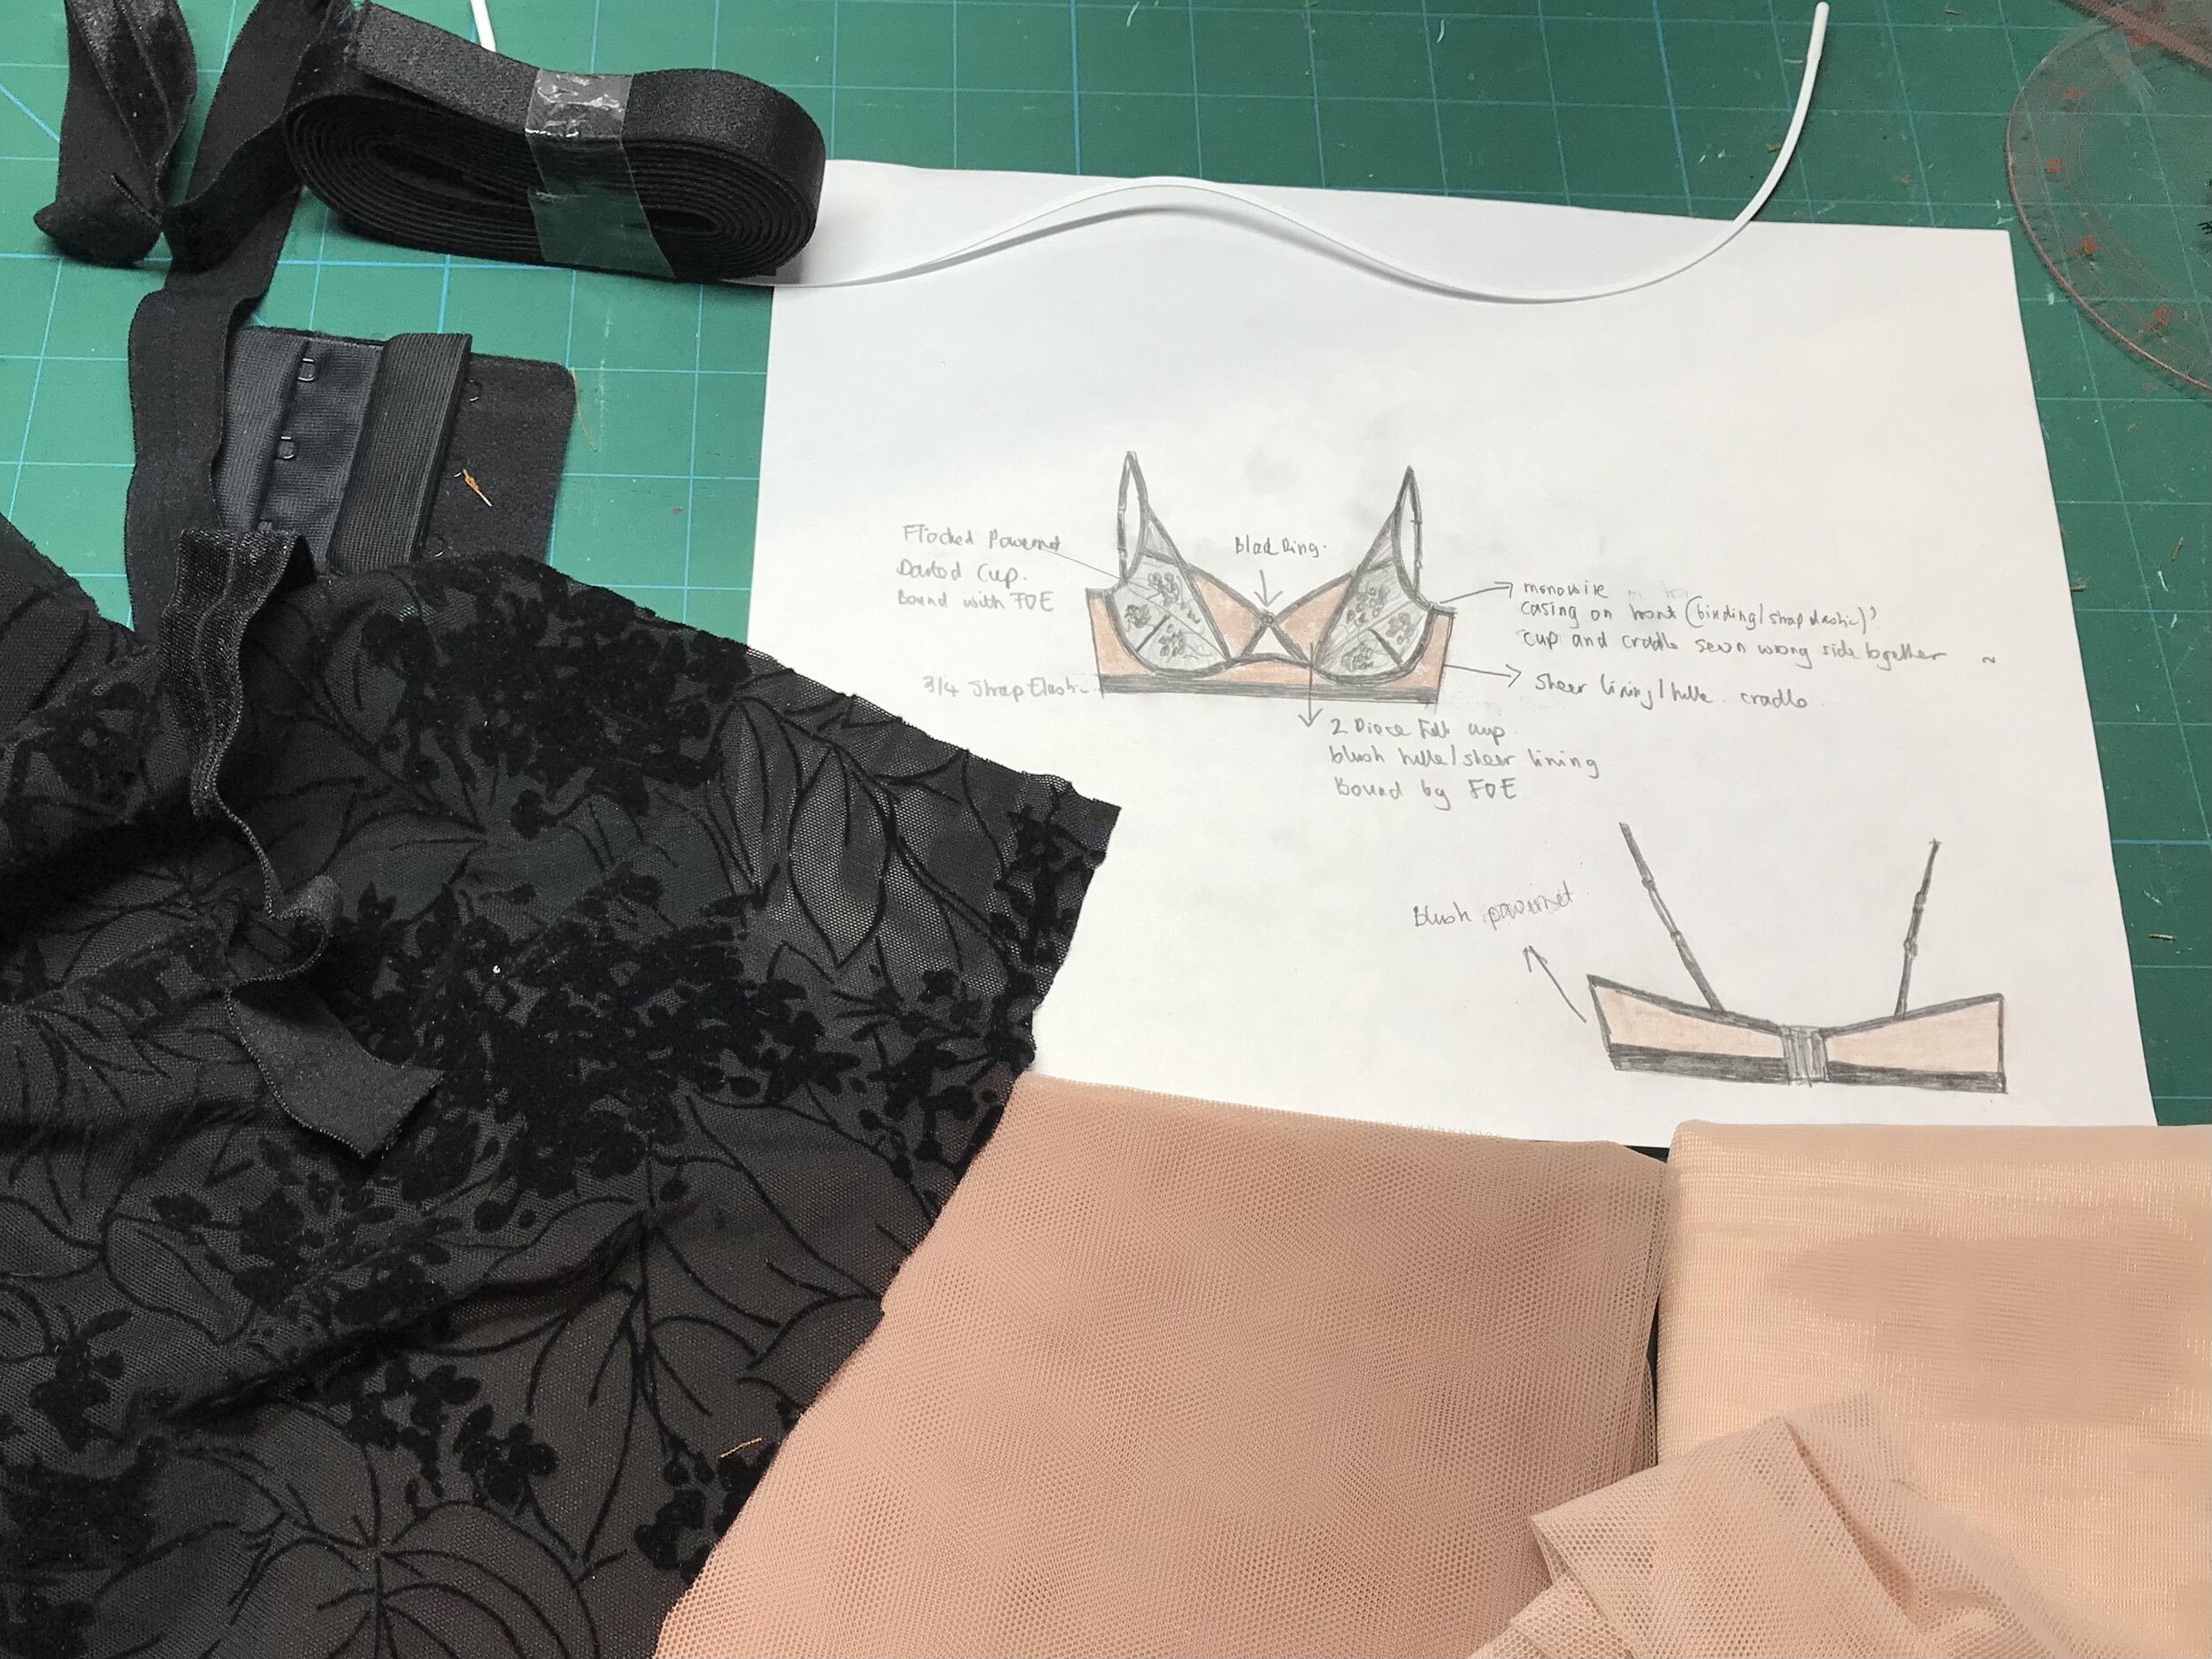
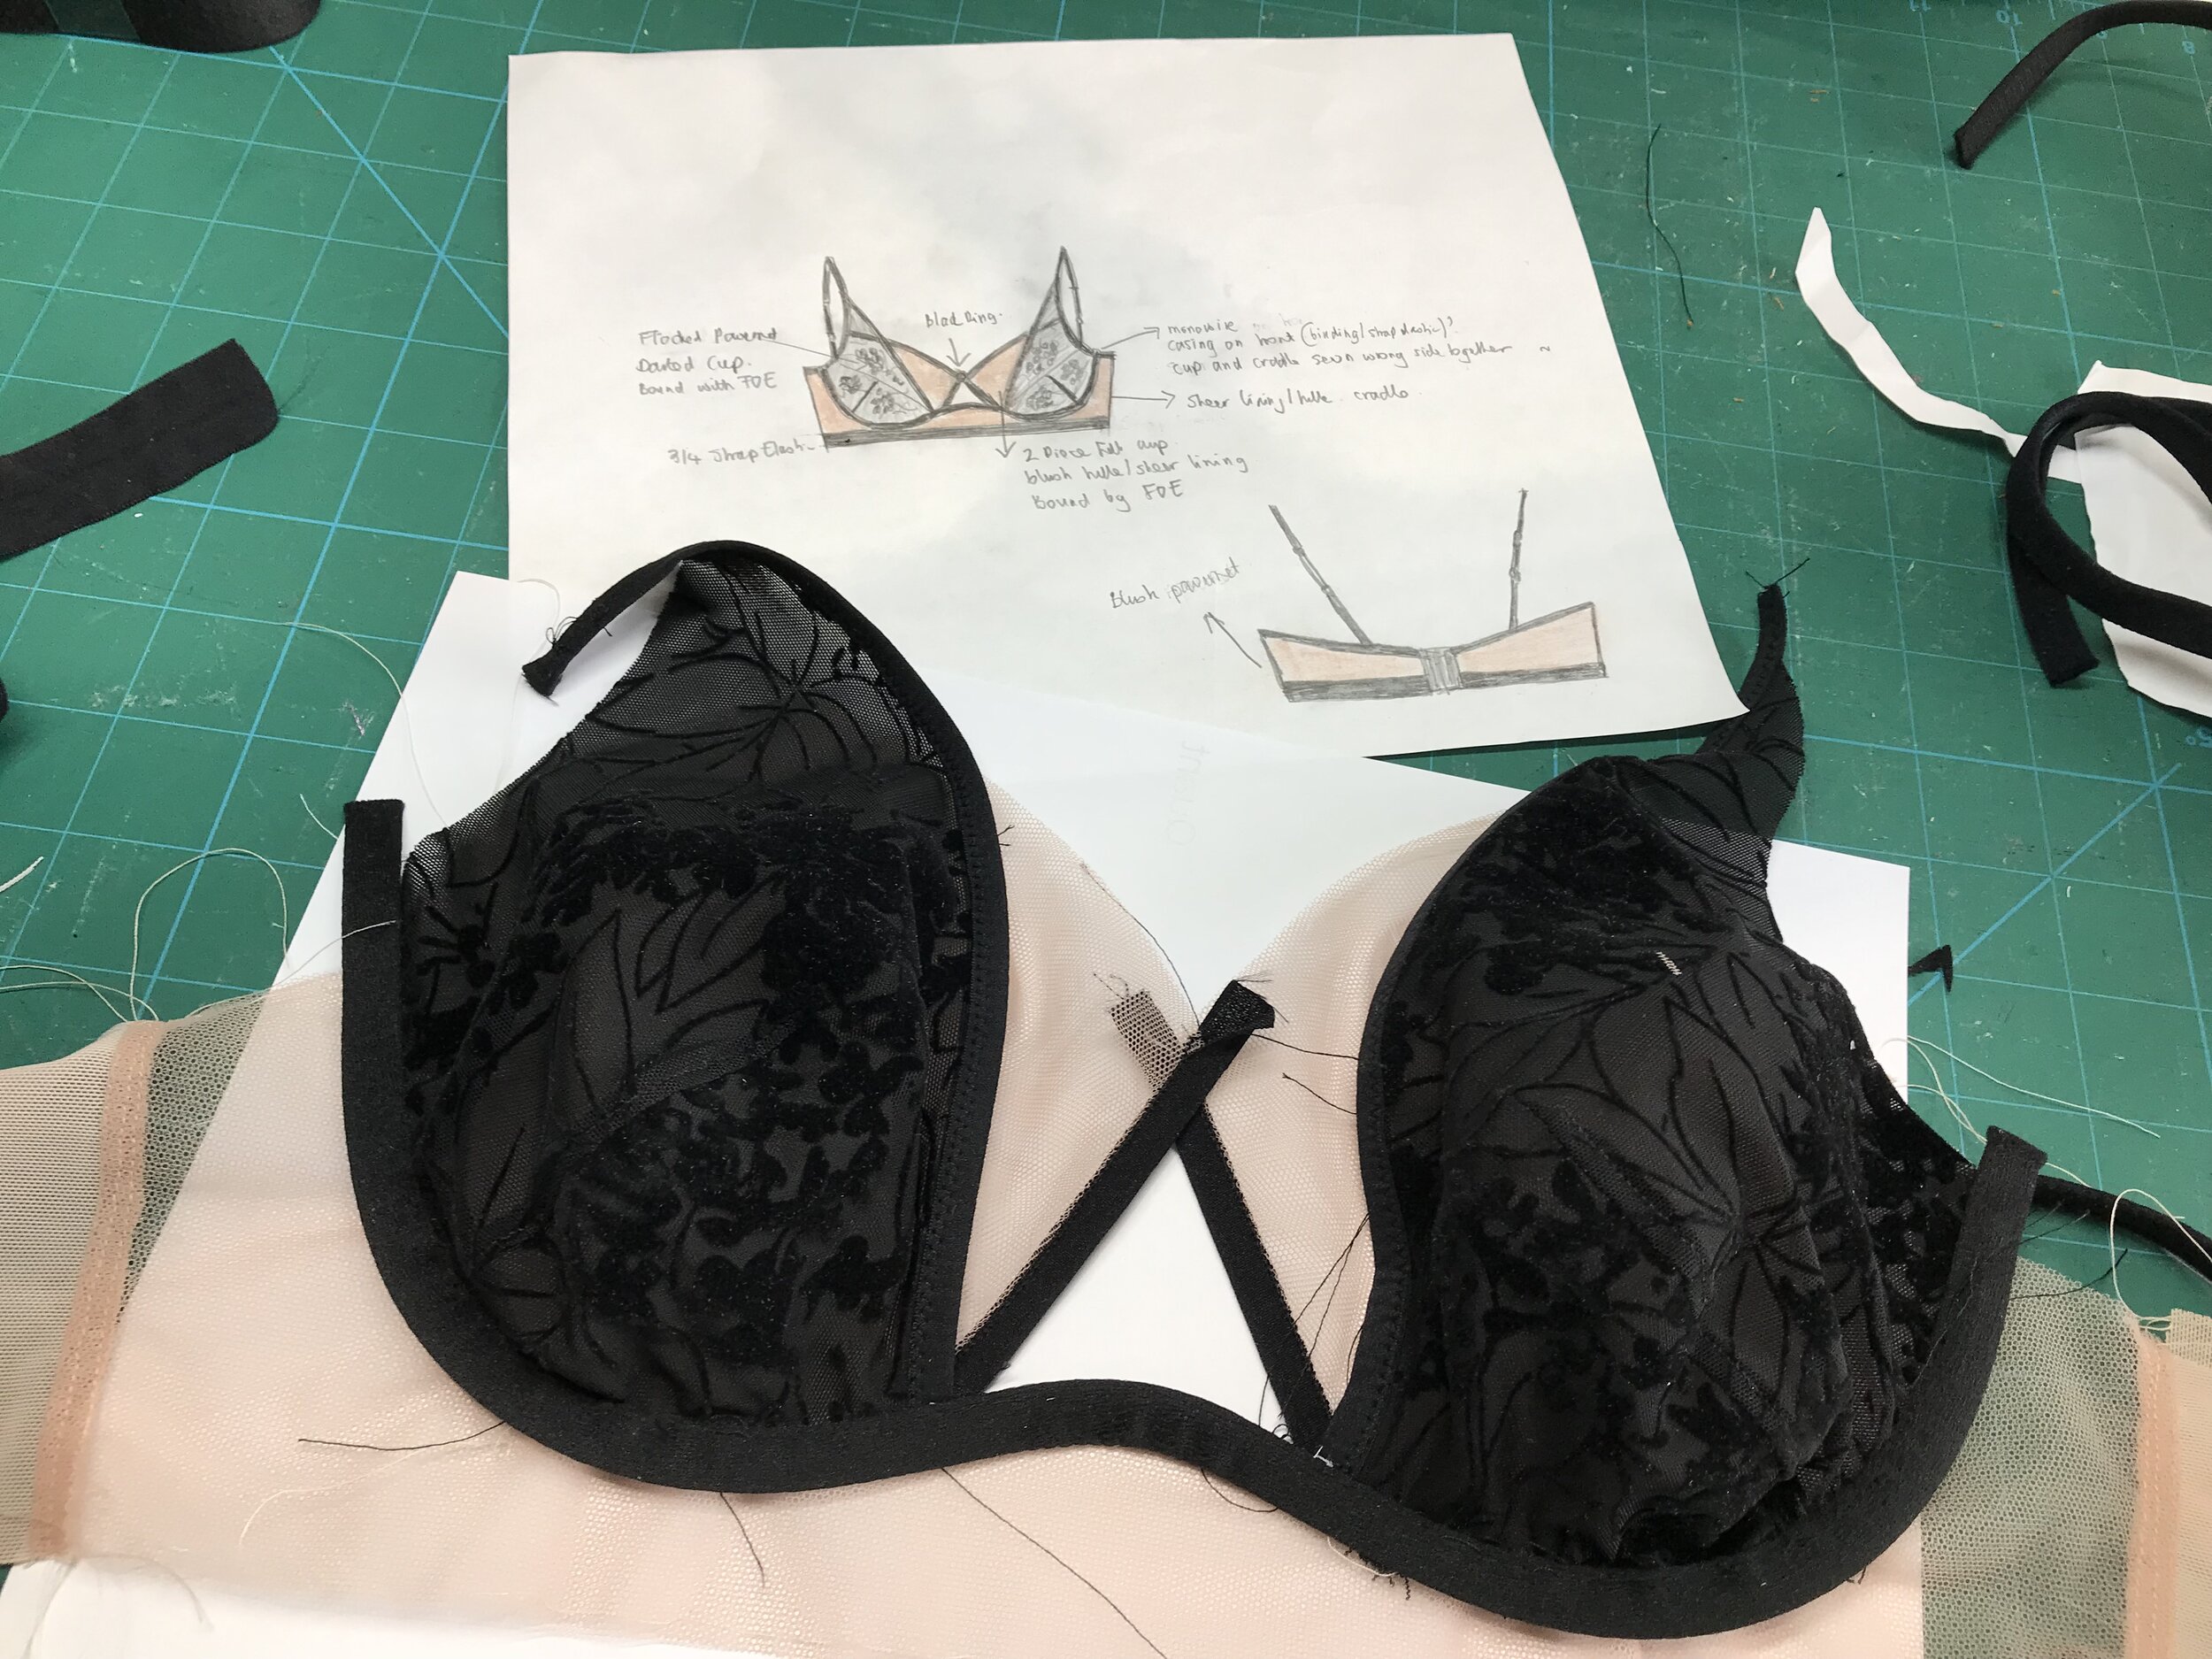
The outer cup of the Rafale is mesh but I found that this stretched out too much on the one I had made previously. The alternative was powernet but I didn’t think this would give the soft round shape I was after so I thought of using the flocked powernet from Sewme which had been in my stash for a while waiting for the right project. I wanted the inner cup, frame and band to be the same colour and the Dusty Mauve tulle and powernet from Tailormade looked perfect. Time to sketch a design.

I wanted a sheer look with clean lines. First, I started with the cups and then drew the shape of the monowire so that the outer cup would attach to the frame where the monowire started to go horizontal to cross the front. To accommodate the design I planned to put the channeling on the outside The top edges and neckline would be fold over elastic and the bottom band would be matt strap elastic.

IMG_6976.jpg

To combine the patterns I started with the 34D pattern pieces for both. For the frame I added the seam allowance to the wire line as the channeling is applied on to this in the original pattern. I took off the seam allowance at the underarm as I was using fold over elastic and I added the width of the strap elastic I was using to the bottom so I would have some of the tulle showing. The Rafale does not have seam allowances so I added these to the dart and cross cup seam. For the wire line I adjusted from a partial band to a full band.

IMG_6980.jpg

It’s a great feeling when you lay out your pattern pieces and think, yes, this is going to be beautiful. I used two layers of tulle to provide enough stability for the bridge and to enclose the cup seams. At this point I decided to use the matt side of the fold over elastic as the shiny side just looked wrong with the clean lines of the rest of the design. Luckily I had some matt strap elastic which would match perfectly. Now I had to put it altogether to see if it worked.

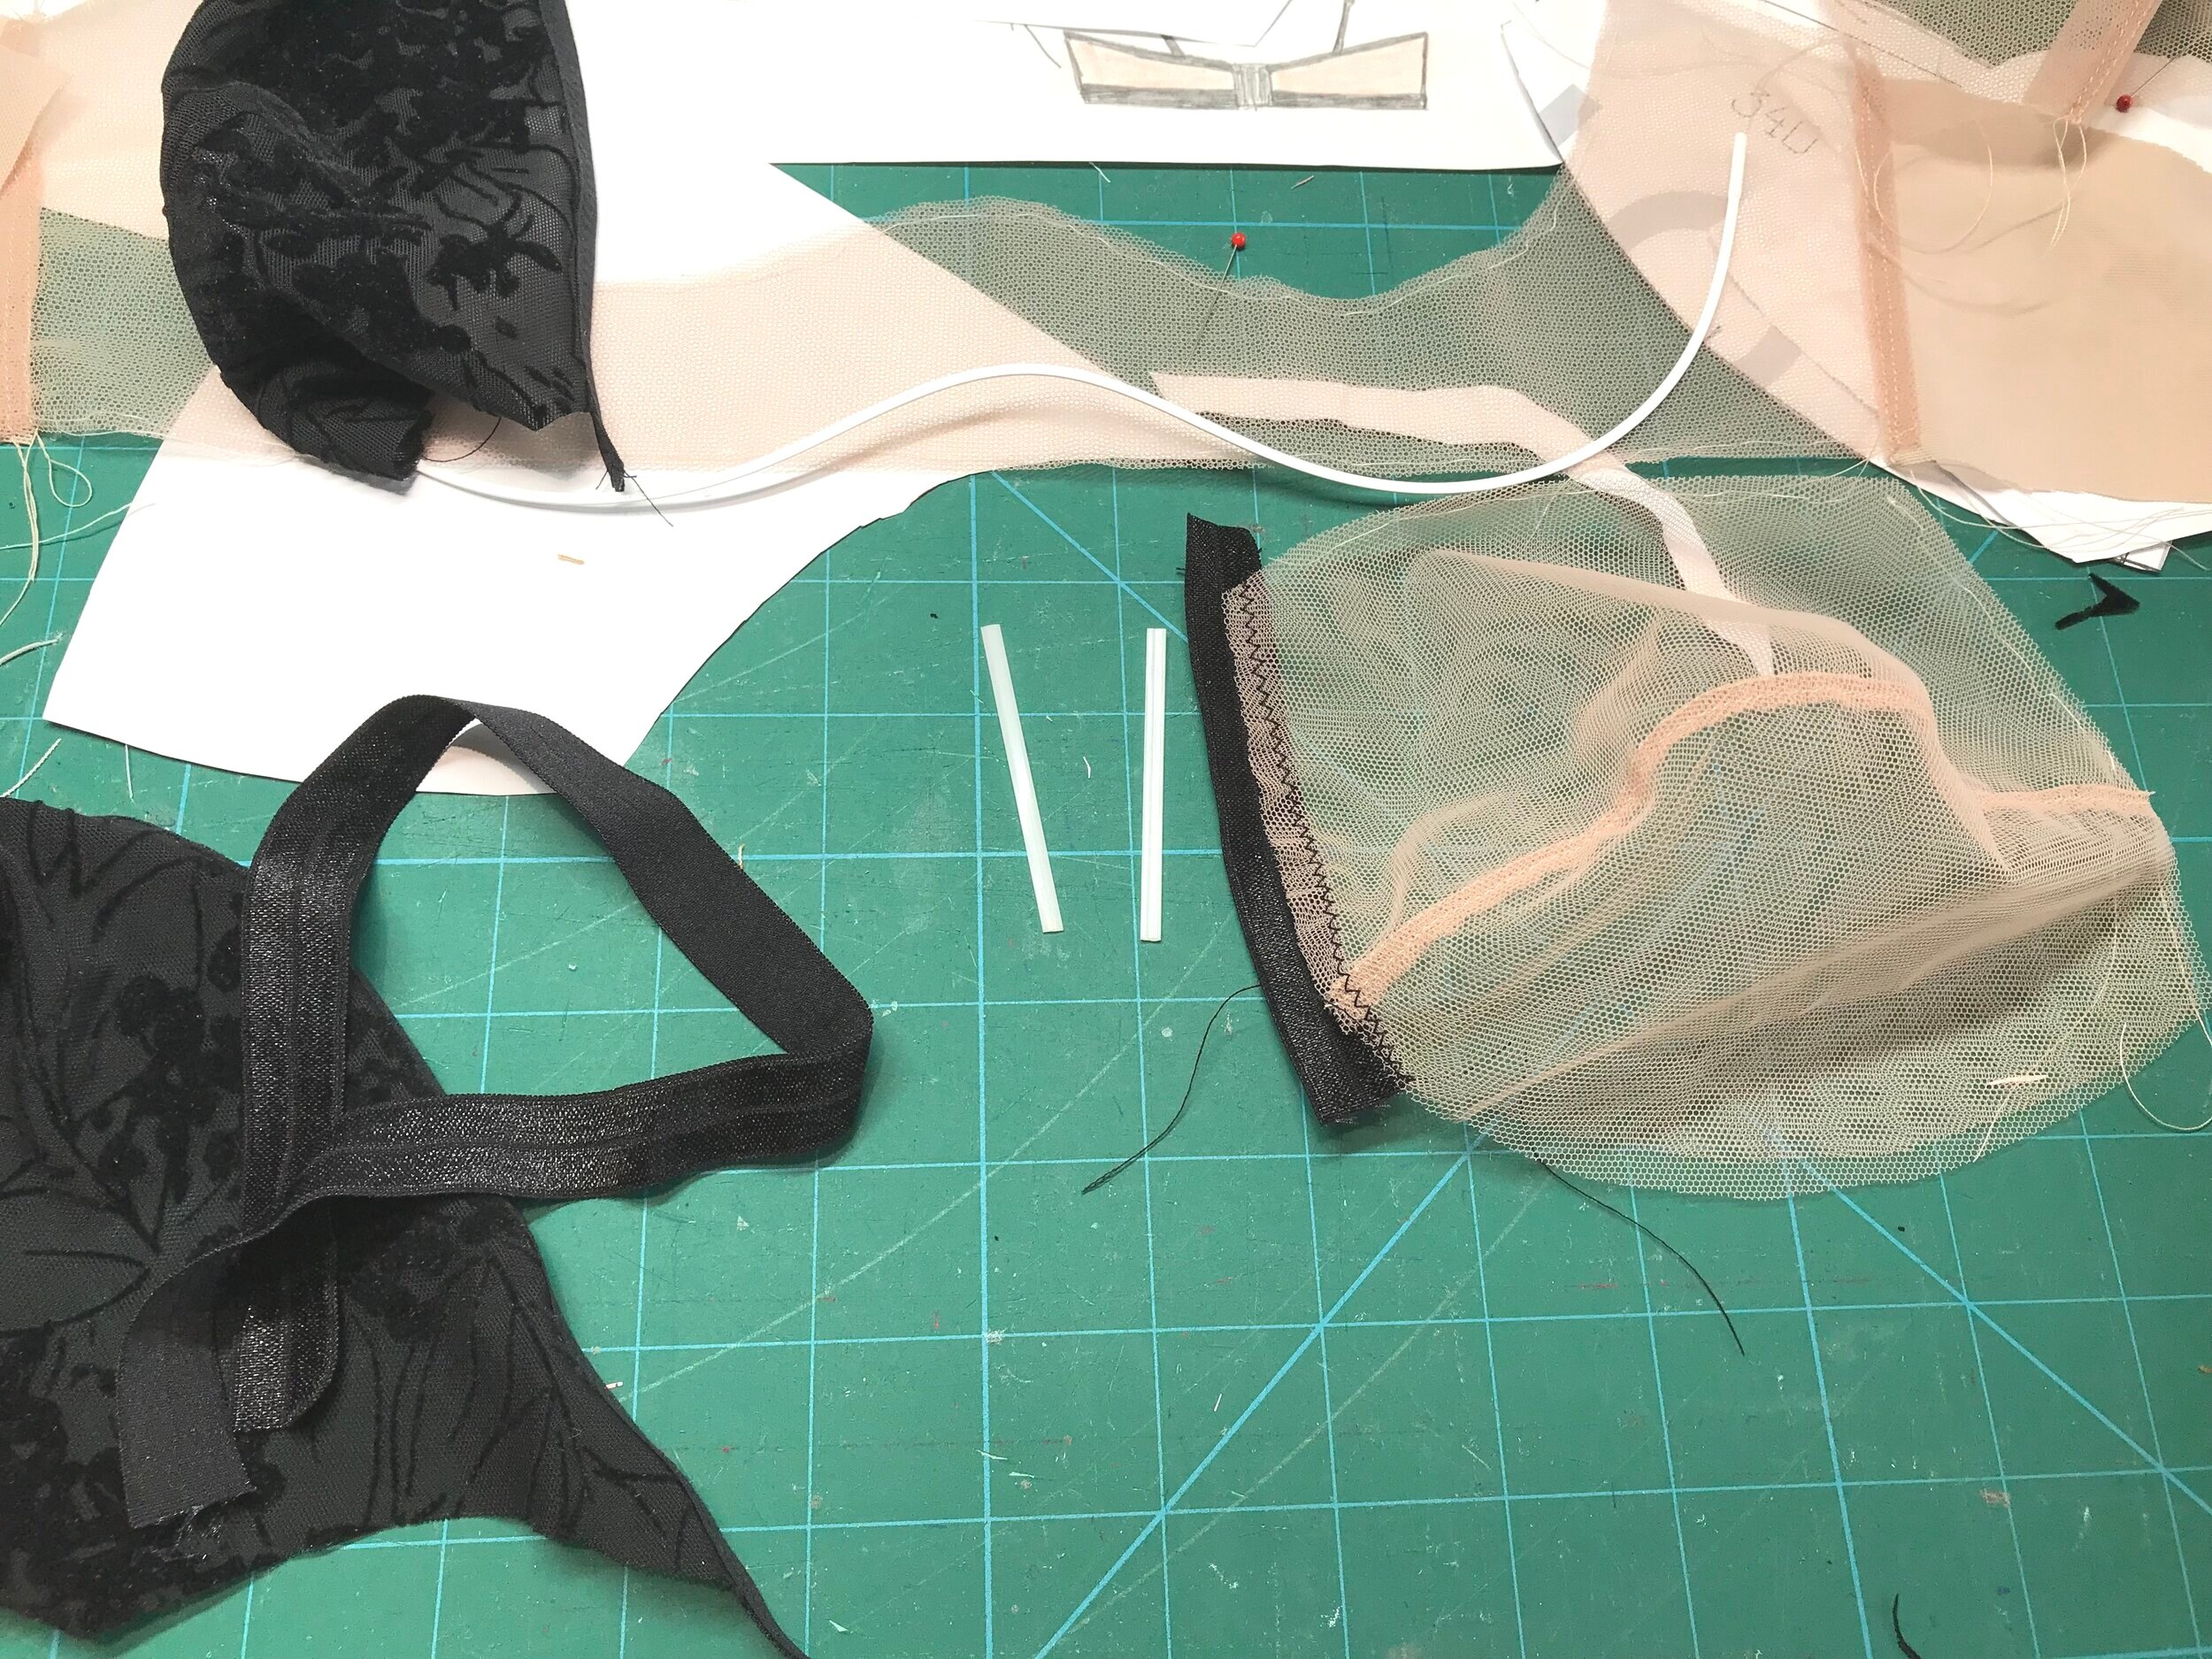
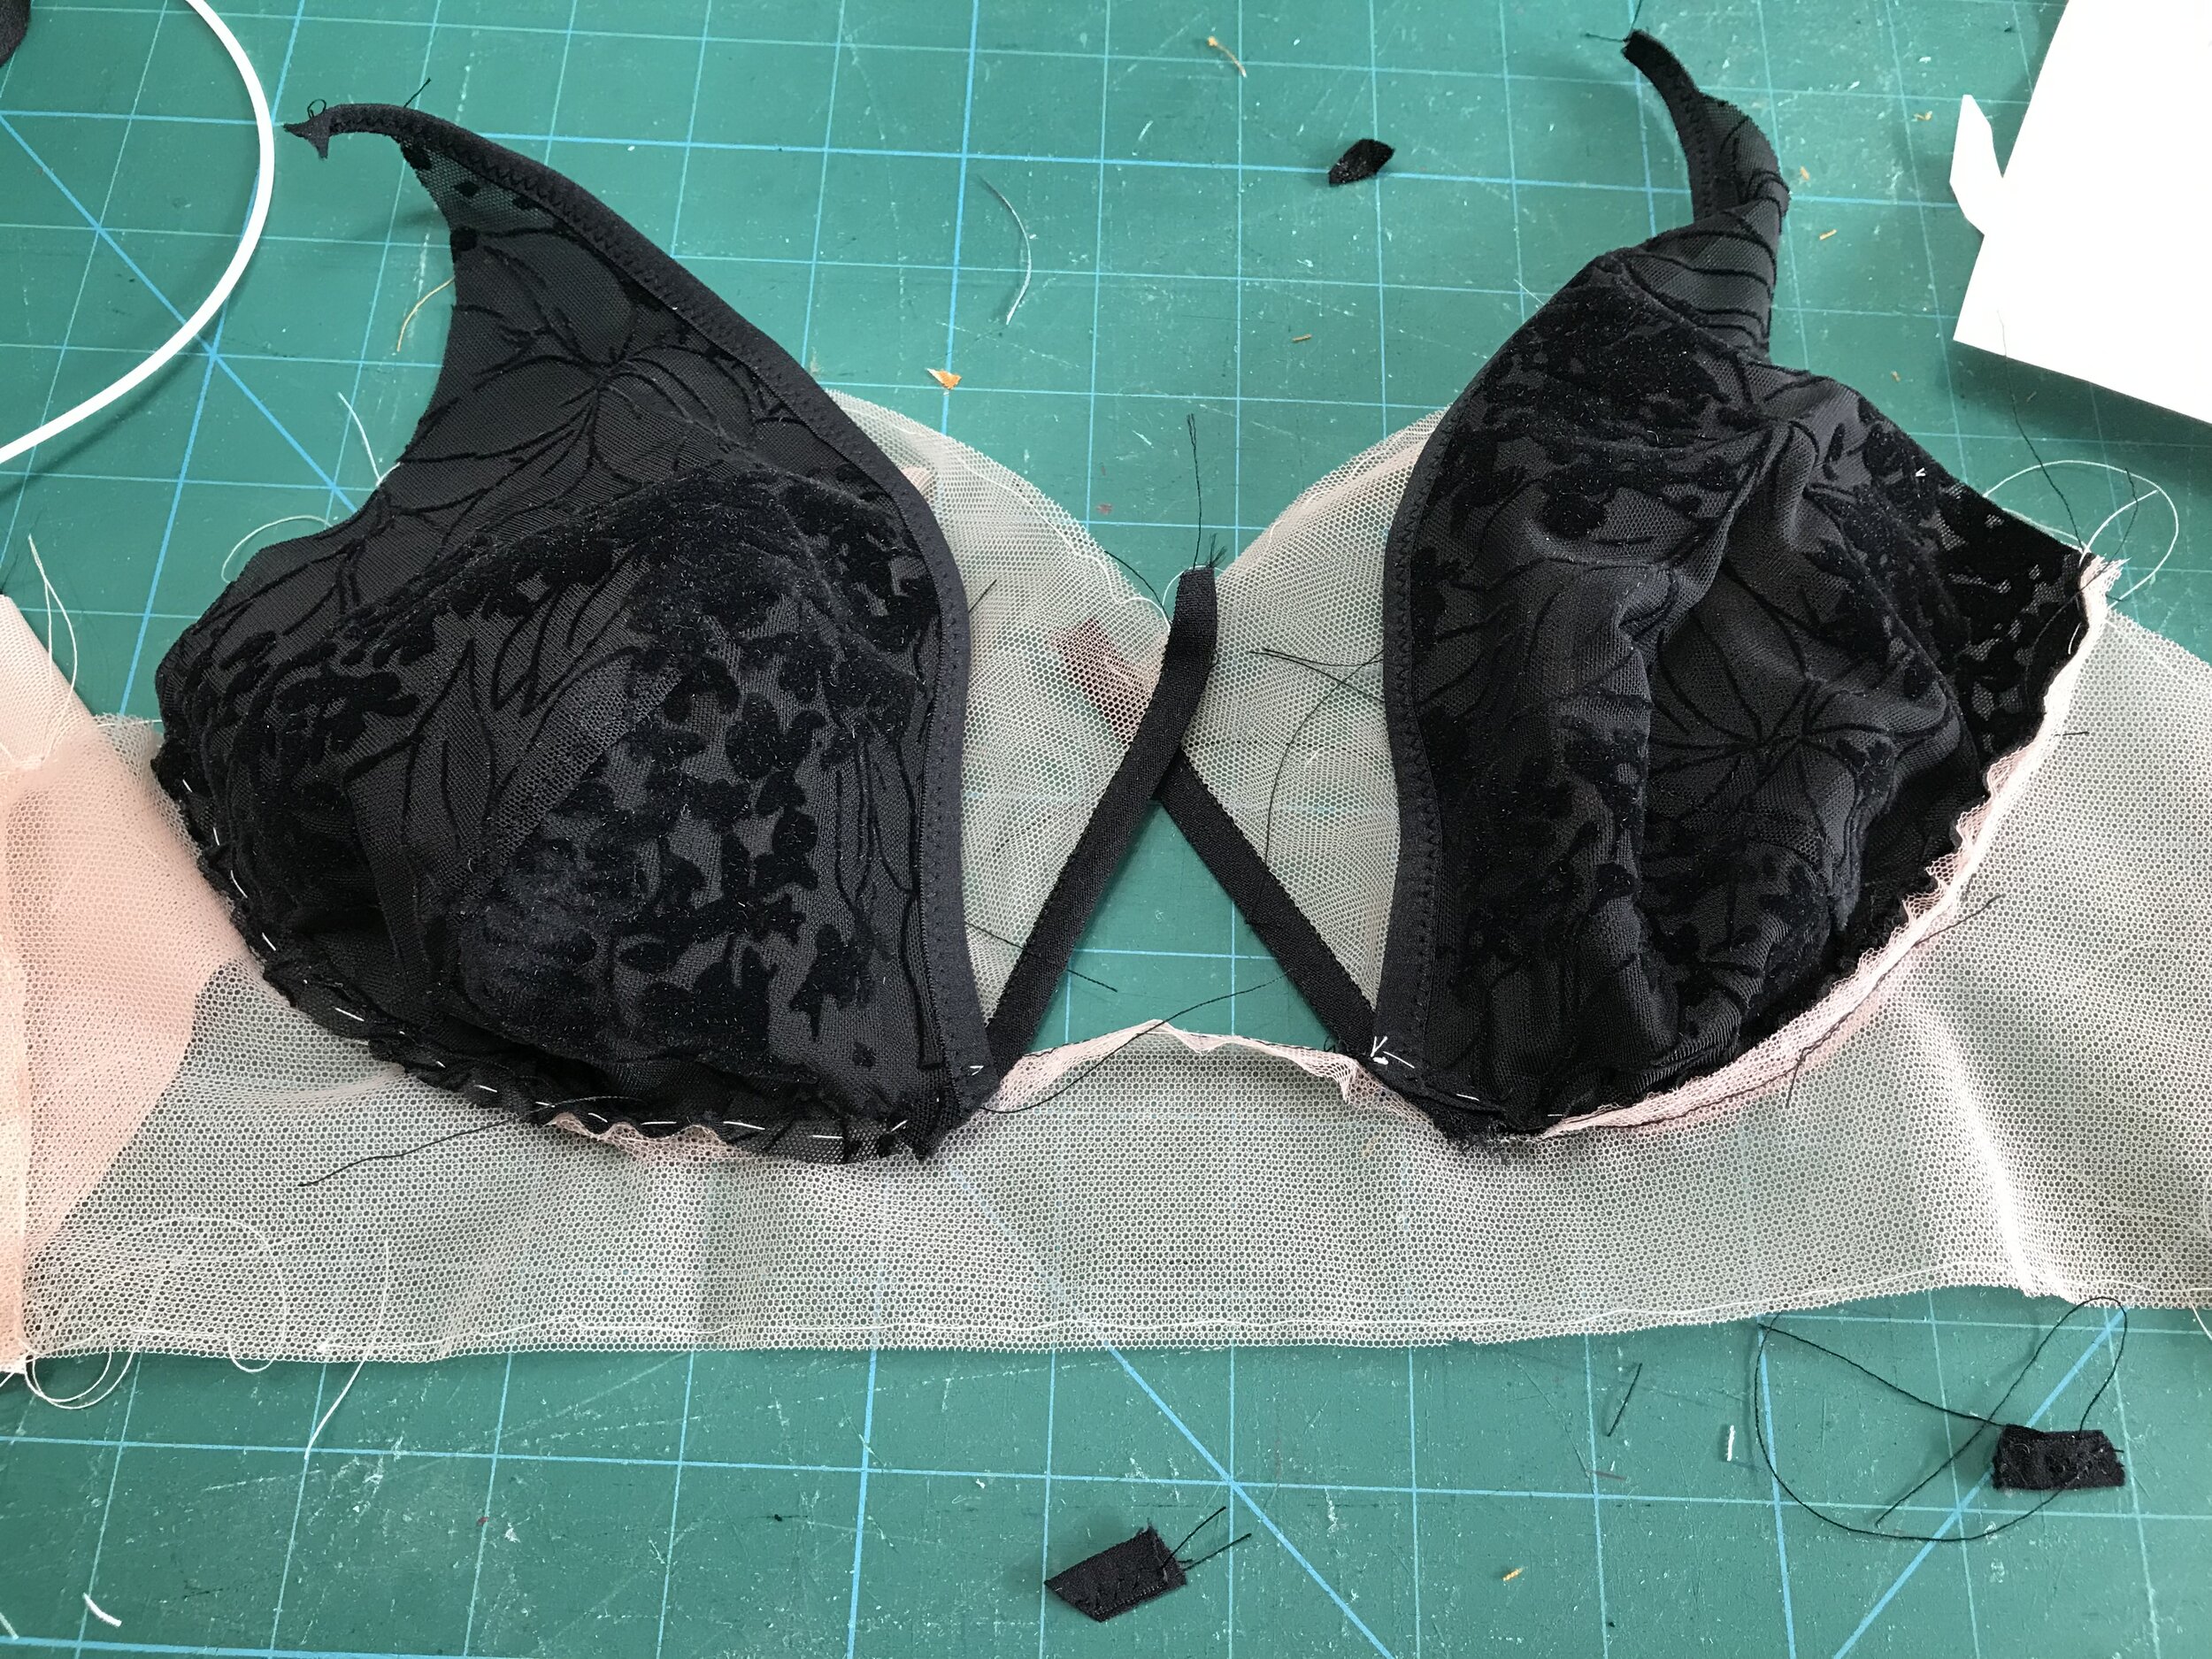
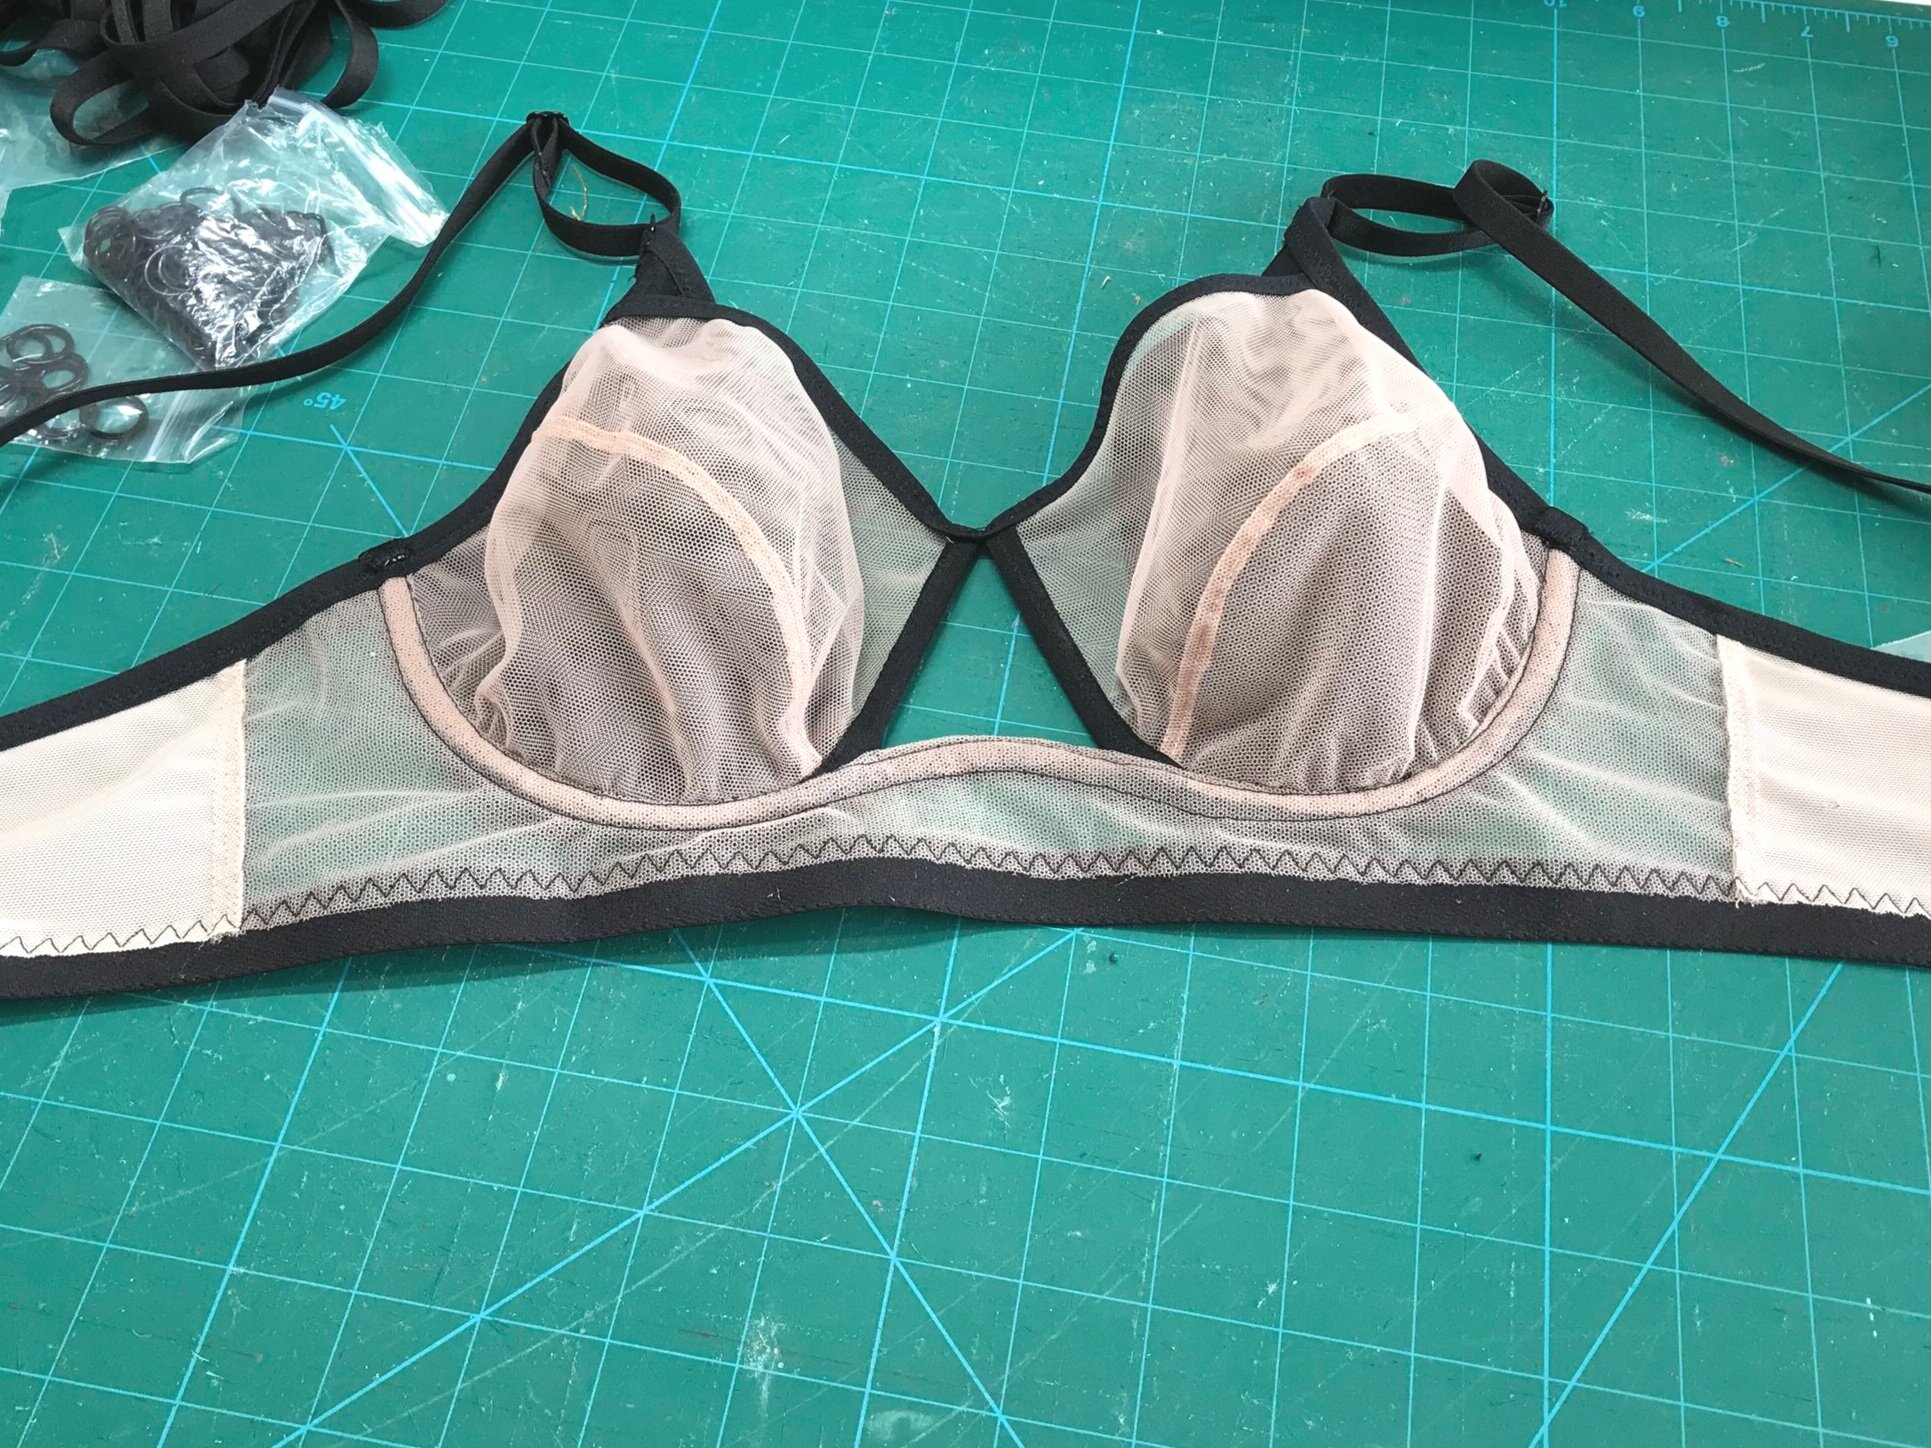
First I made up the darted cup and finished the front edge with elastic. I then made up the tulle cup and I suddenly had a brainwave to enclose some slimline plastic boning from Madalynne in the fold over elastic from the outer cup to the top of the bridge. I attached the two cups together and then sewed in to the frame wrong sides together so I could attach the channeling to the outside along the same stitch line.

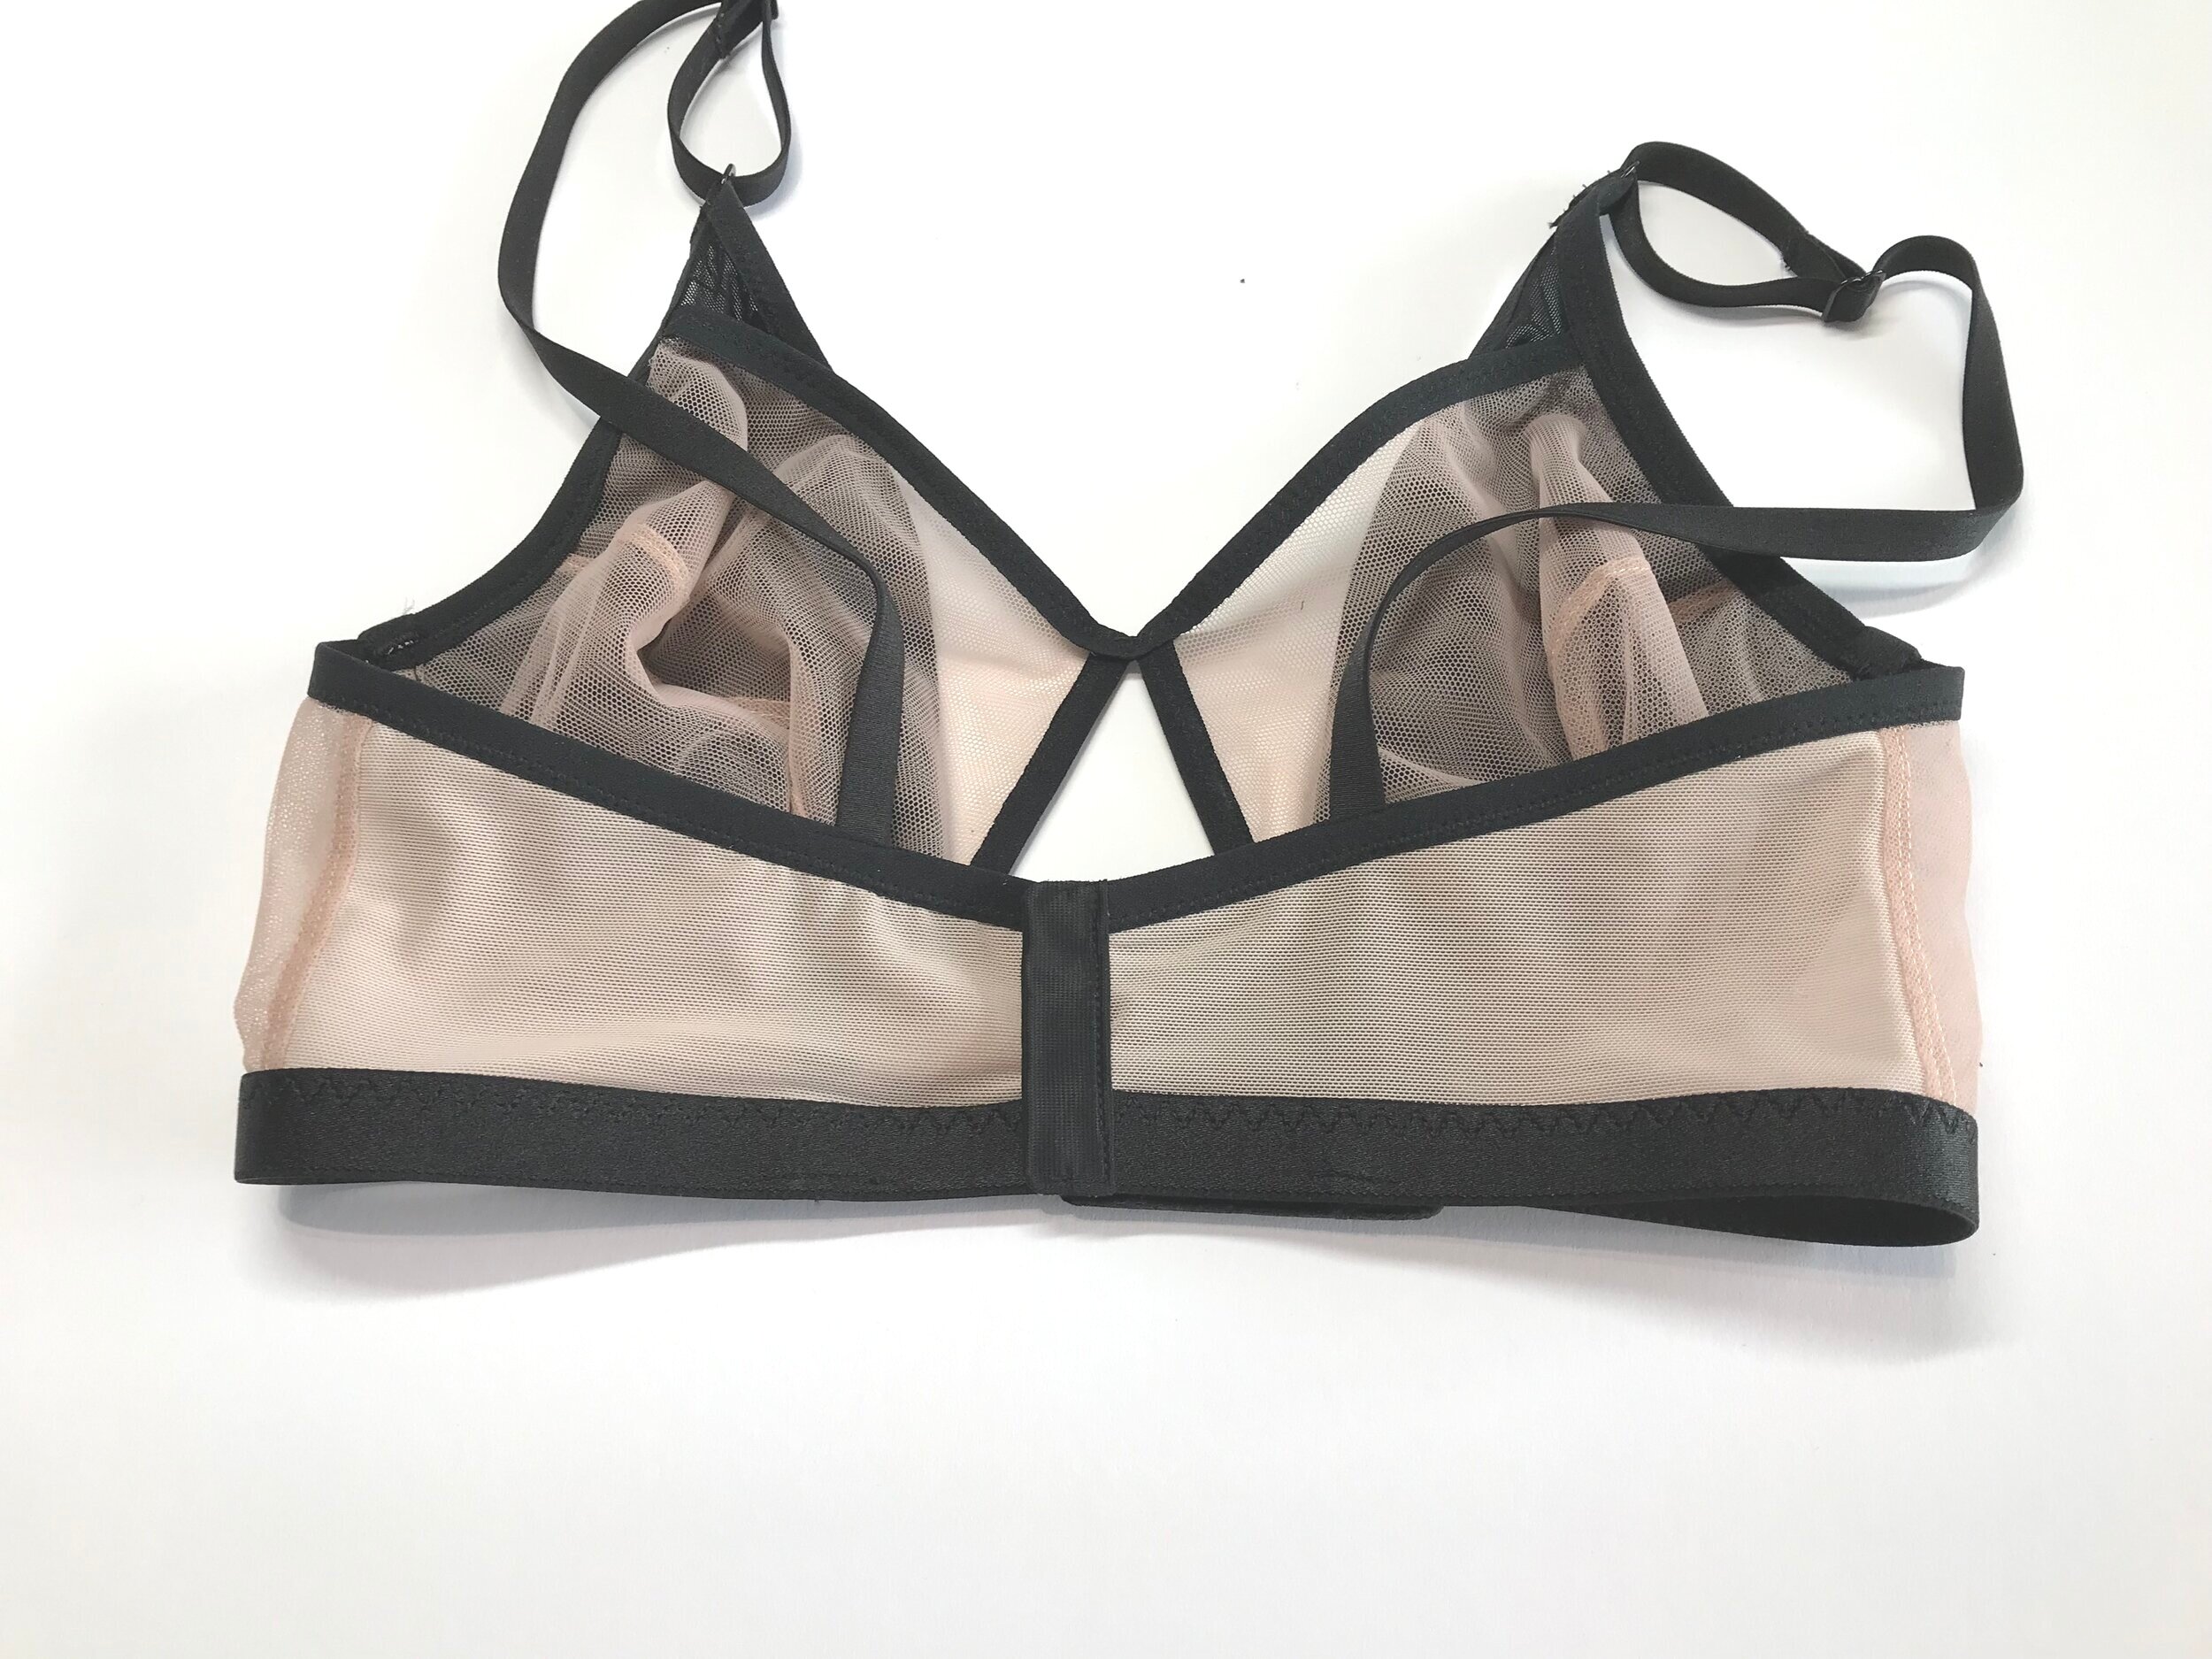
I’m not a big fan of channeling on the outside and originally thought i would cover with fabric as EvielaLuve had done but I didn’t have any fabric fine enough so as not to make this area too bulky. I have quite a stash of black channeling and did find some smooth enough to use on the outside. Having sewn this seam wrong sides together it also made the inside neater and more comfortable.

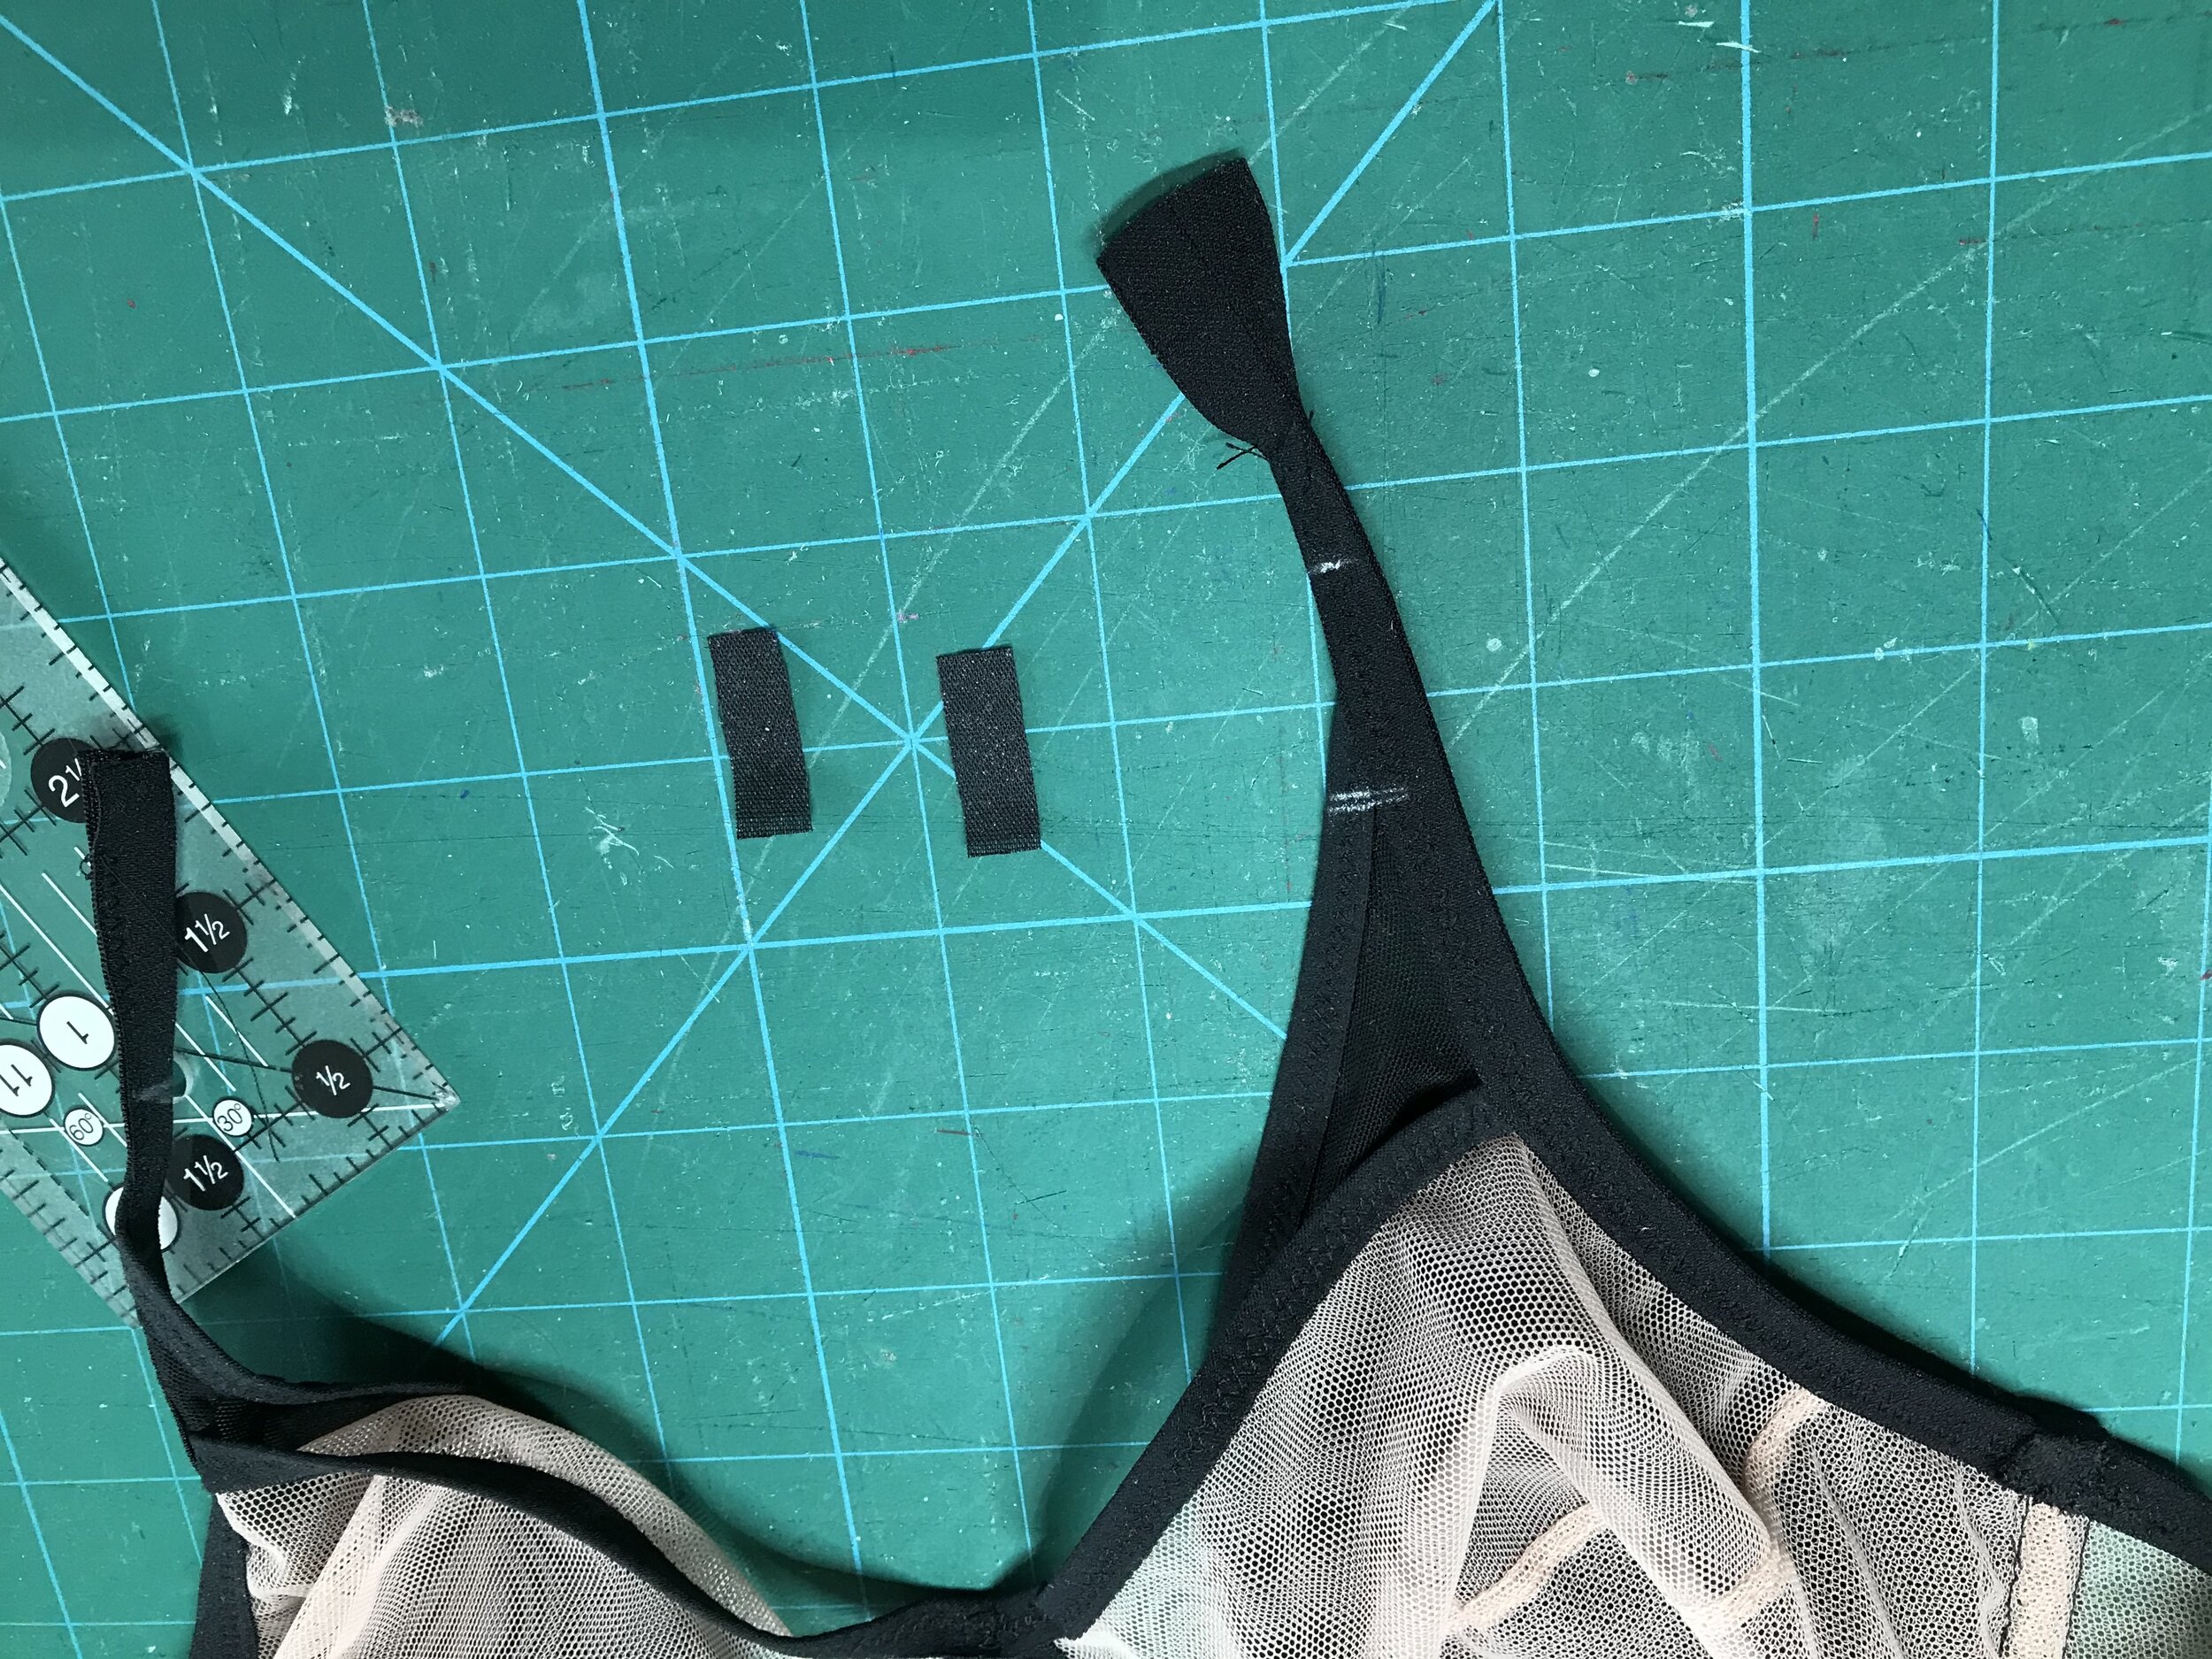
To finish I applied the fold over elastic to the armhole and the strap elastic to the bottom. When attaching the straps to this sort of back I like to attach from the bottom band and bar tack both here and on the top band as I find this gives more stability. I also like to add stabiliser to the elastic where it is folded over the ring so it doesn’t stretch out. With the bra finished I now had to design matching underwear.

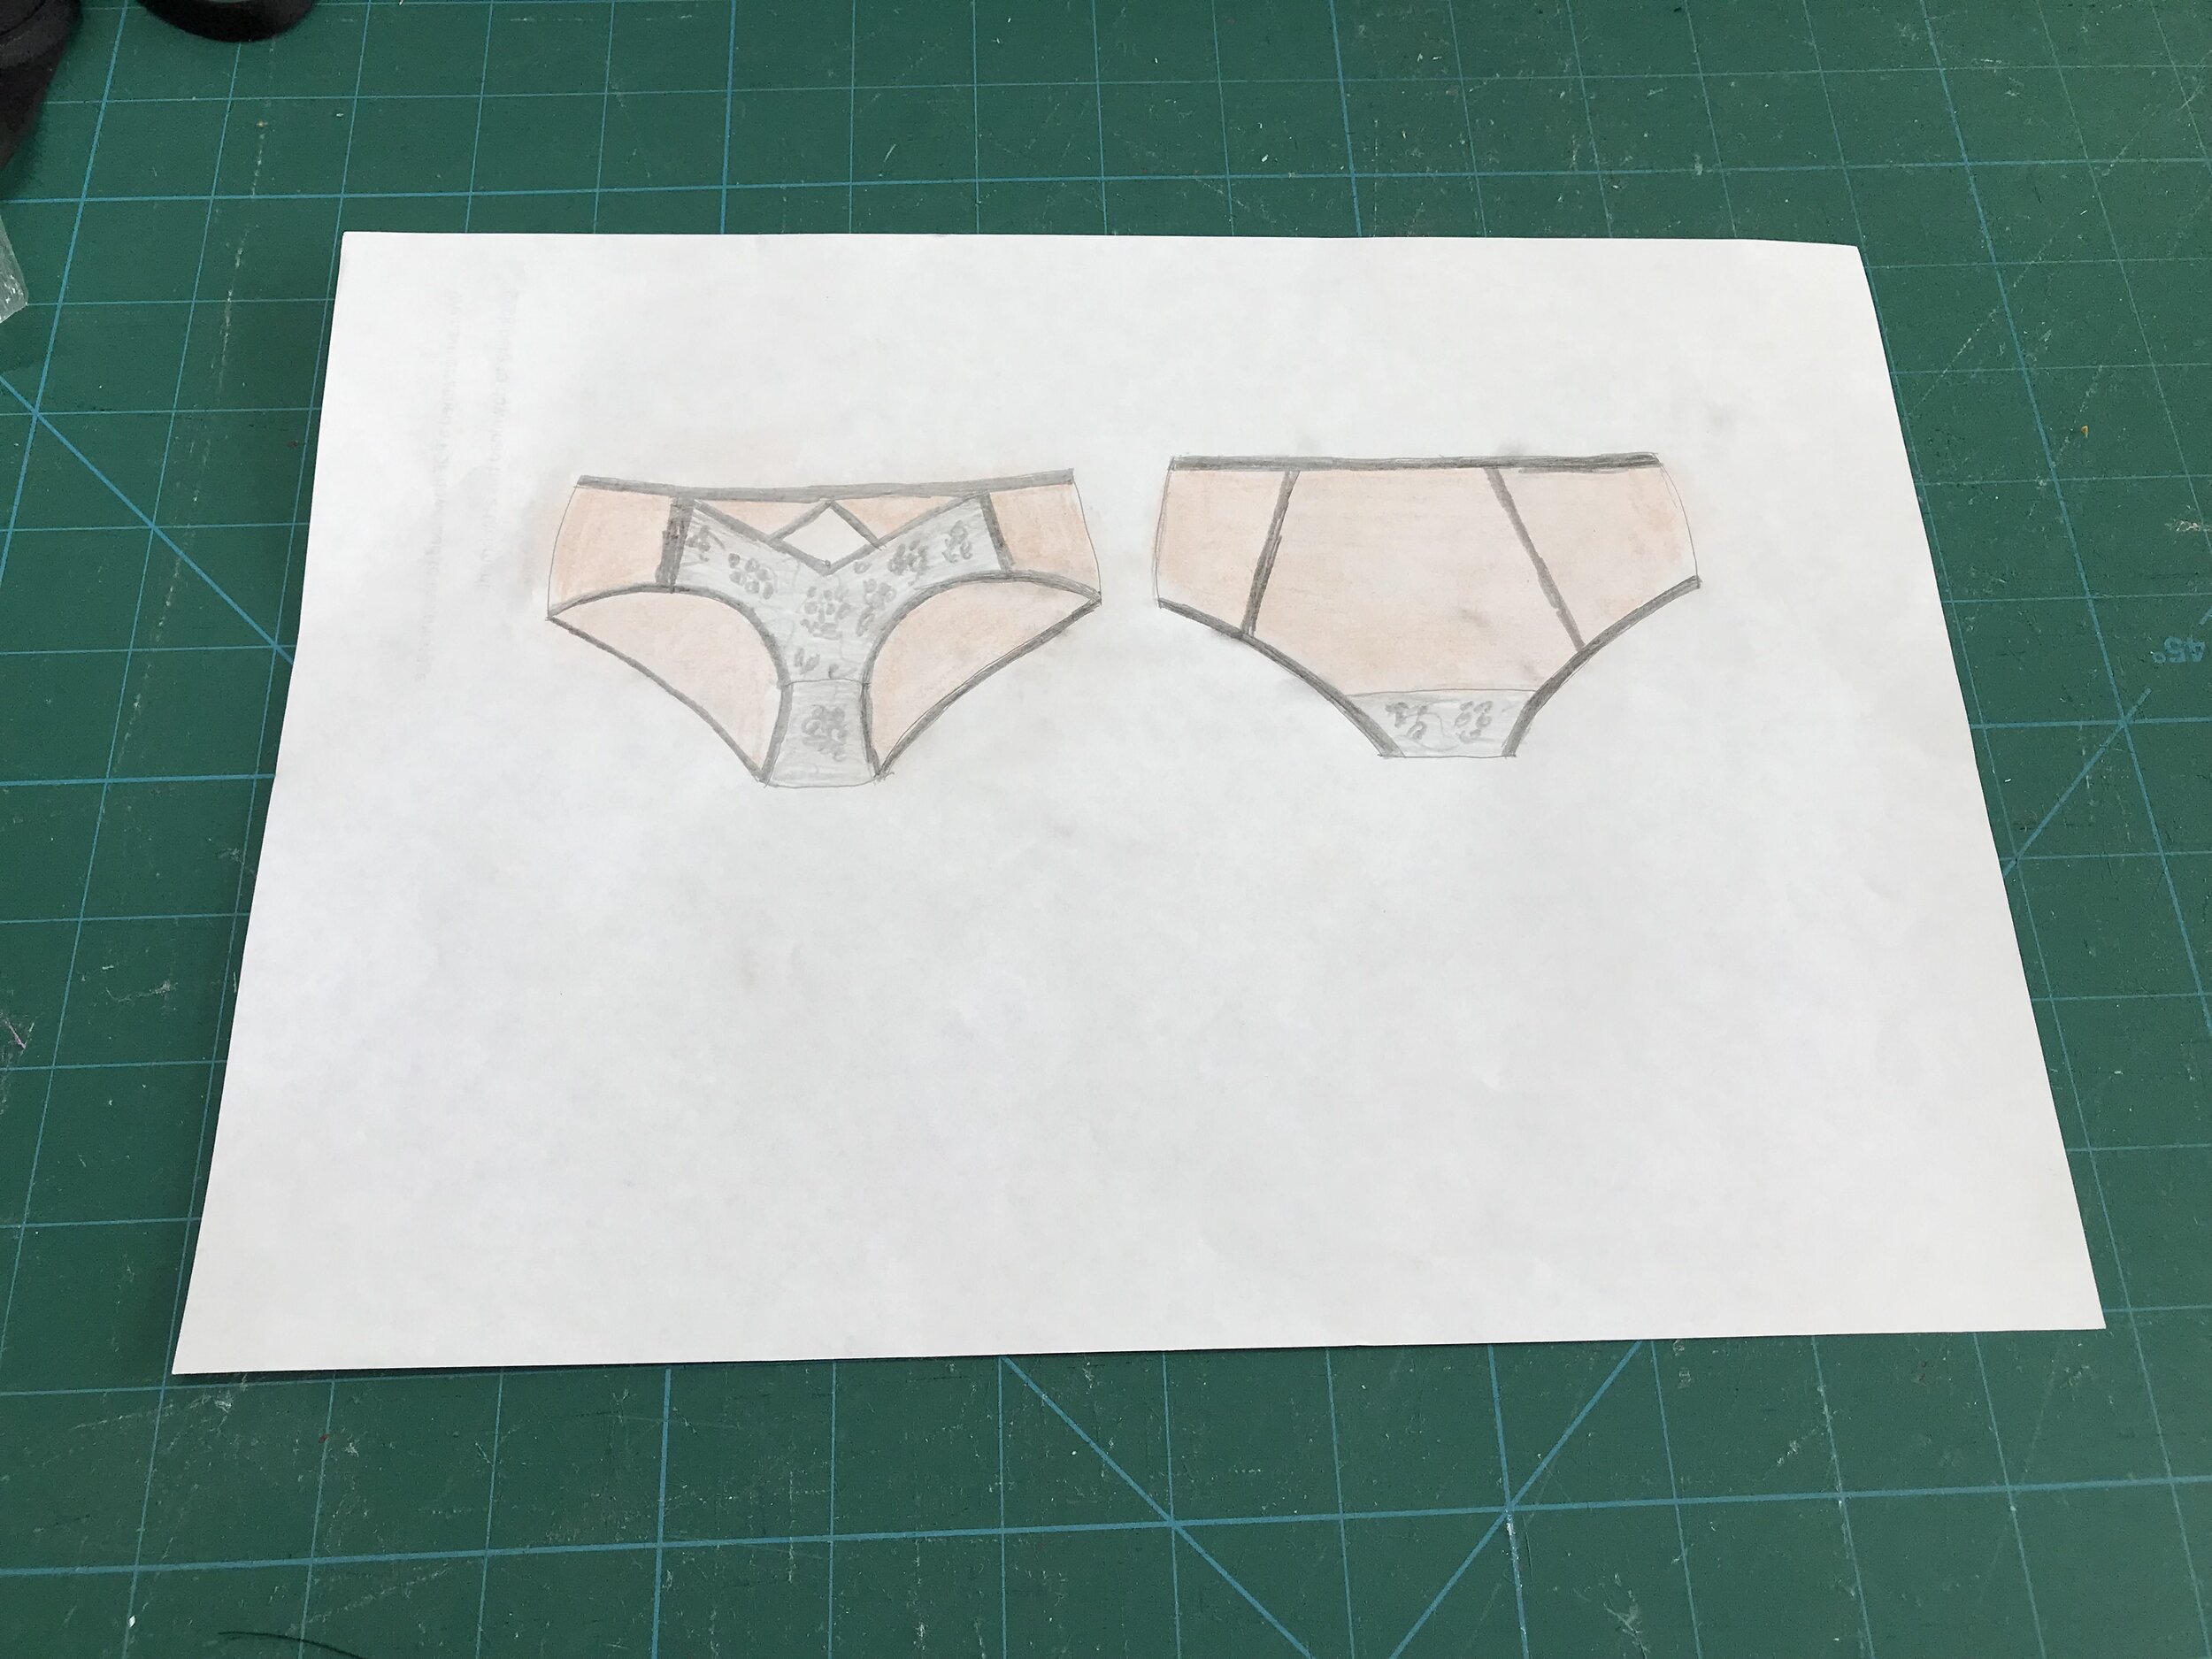
My thoughts were to match the lines of the bra especially the cut out. I immediately thought of the EvielaLuve Binky as I love the fit and the front is deep enough to accommodate the same size cut out. I sketched out my idea and thought of adding sections to the back to break up the mesh.

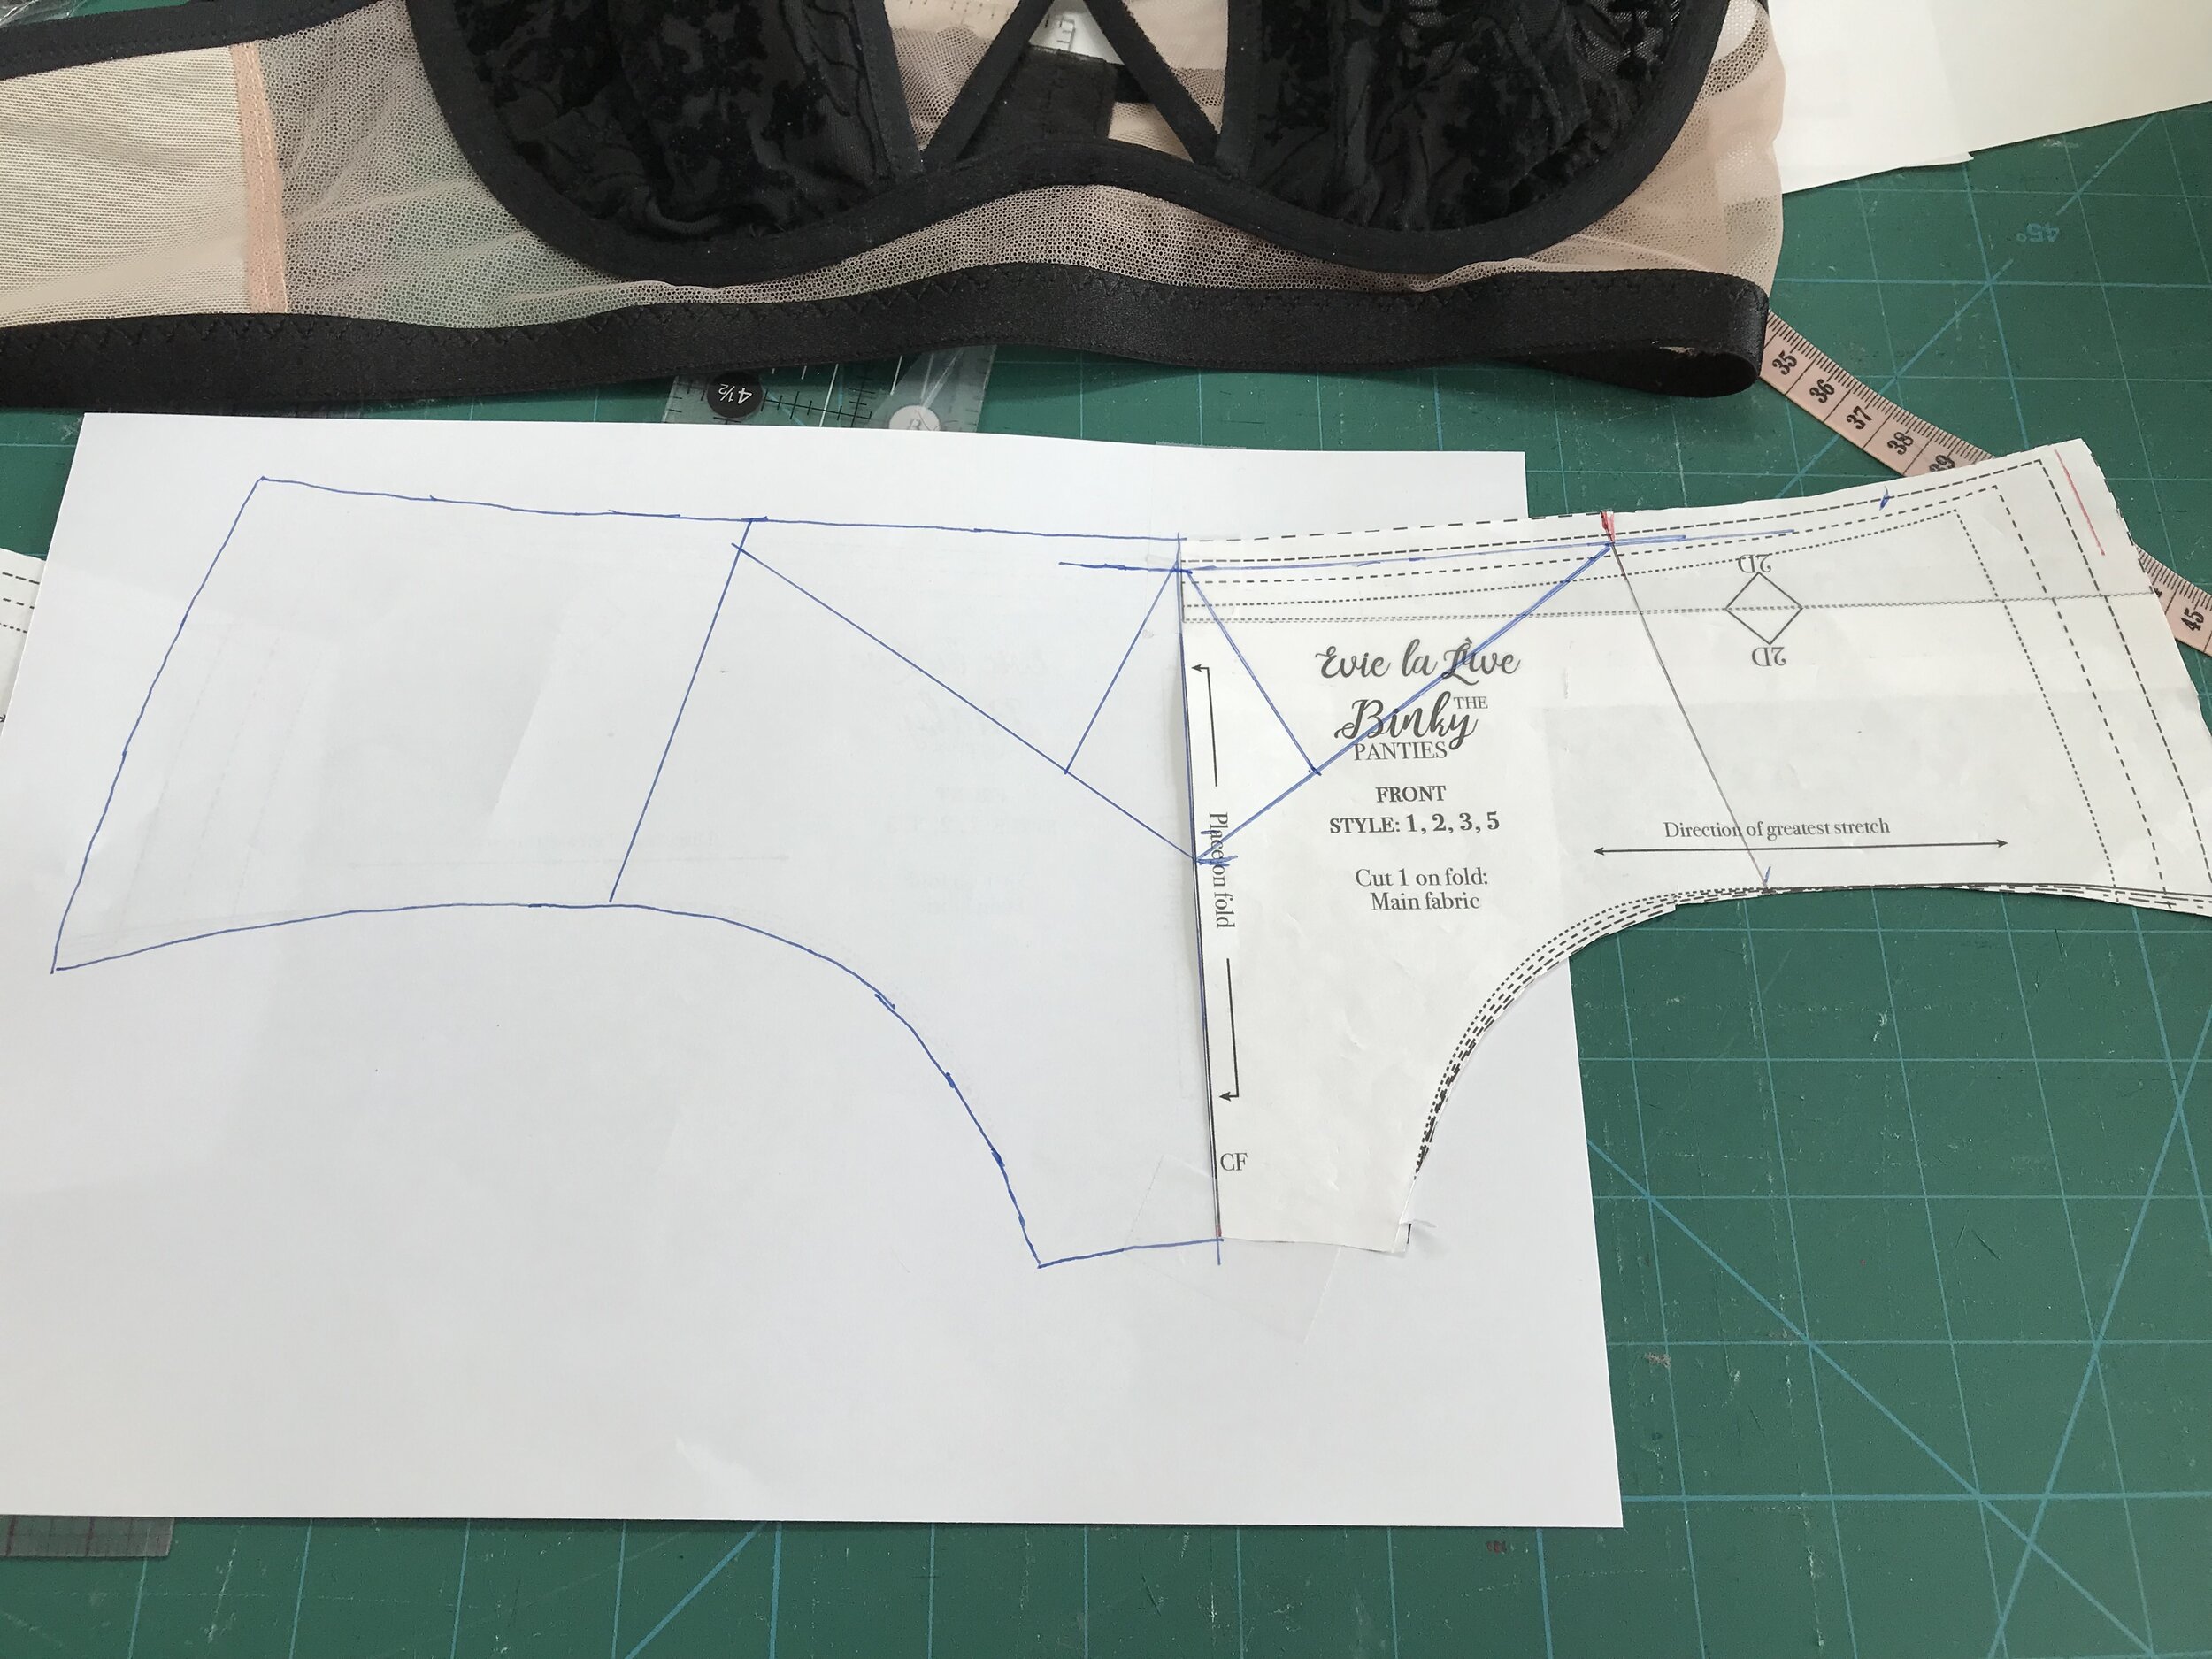
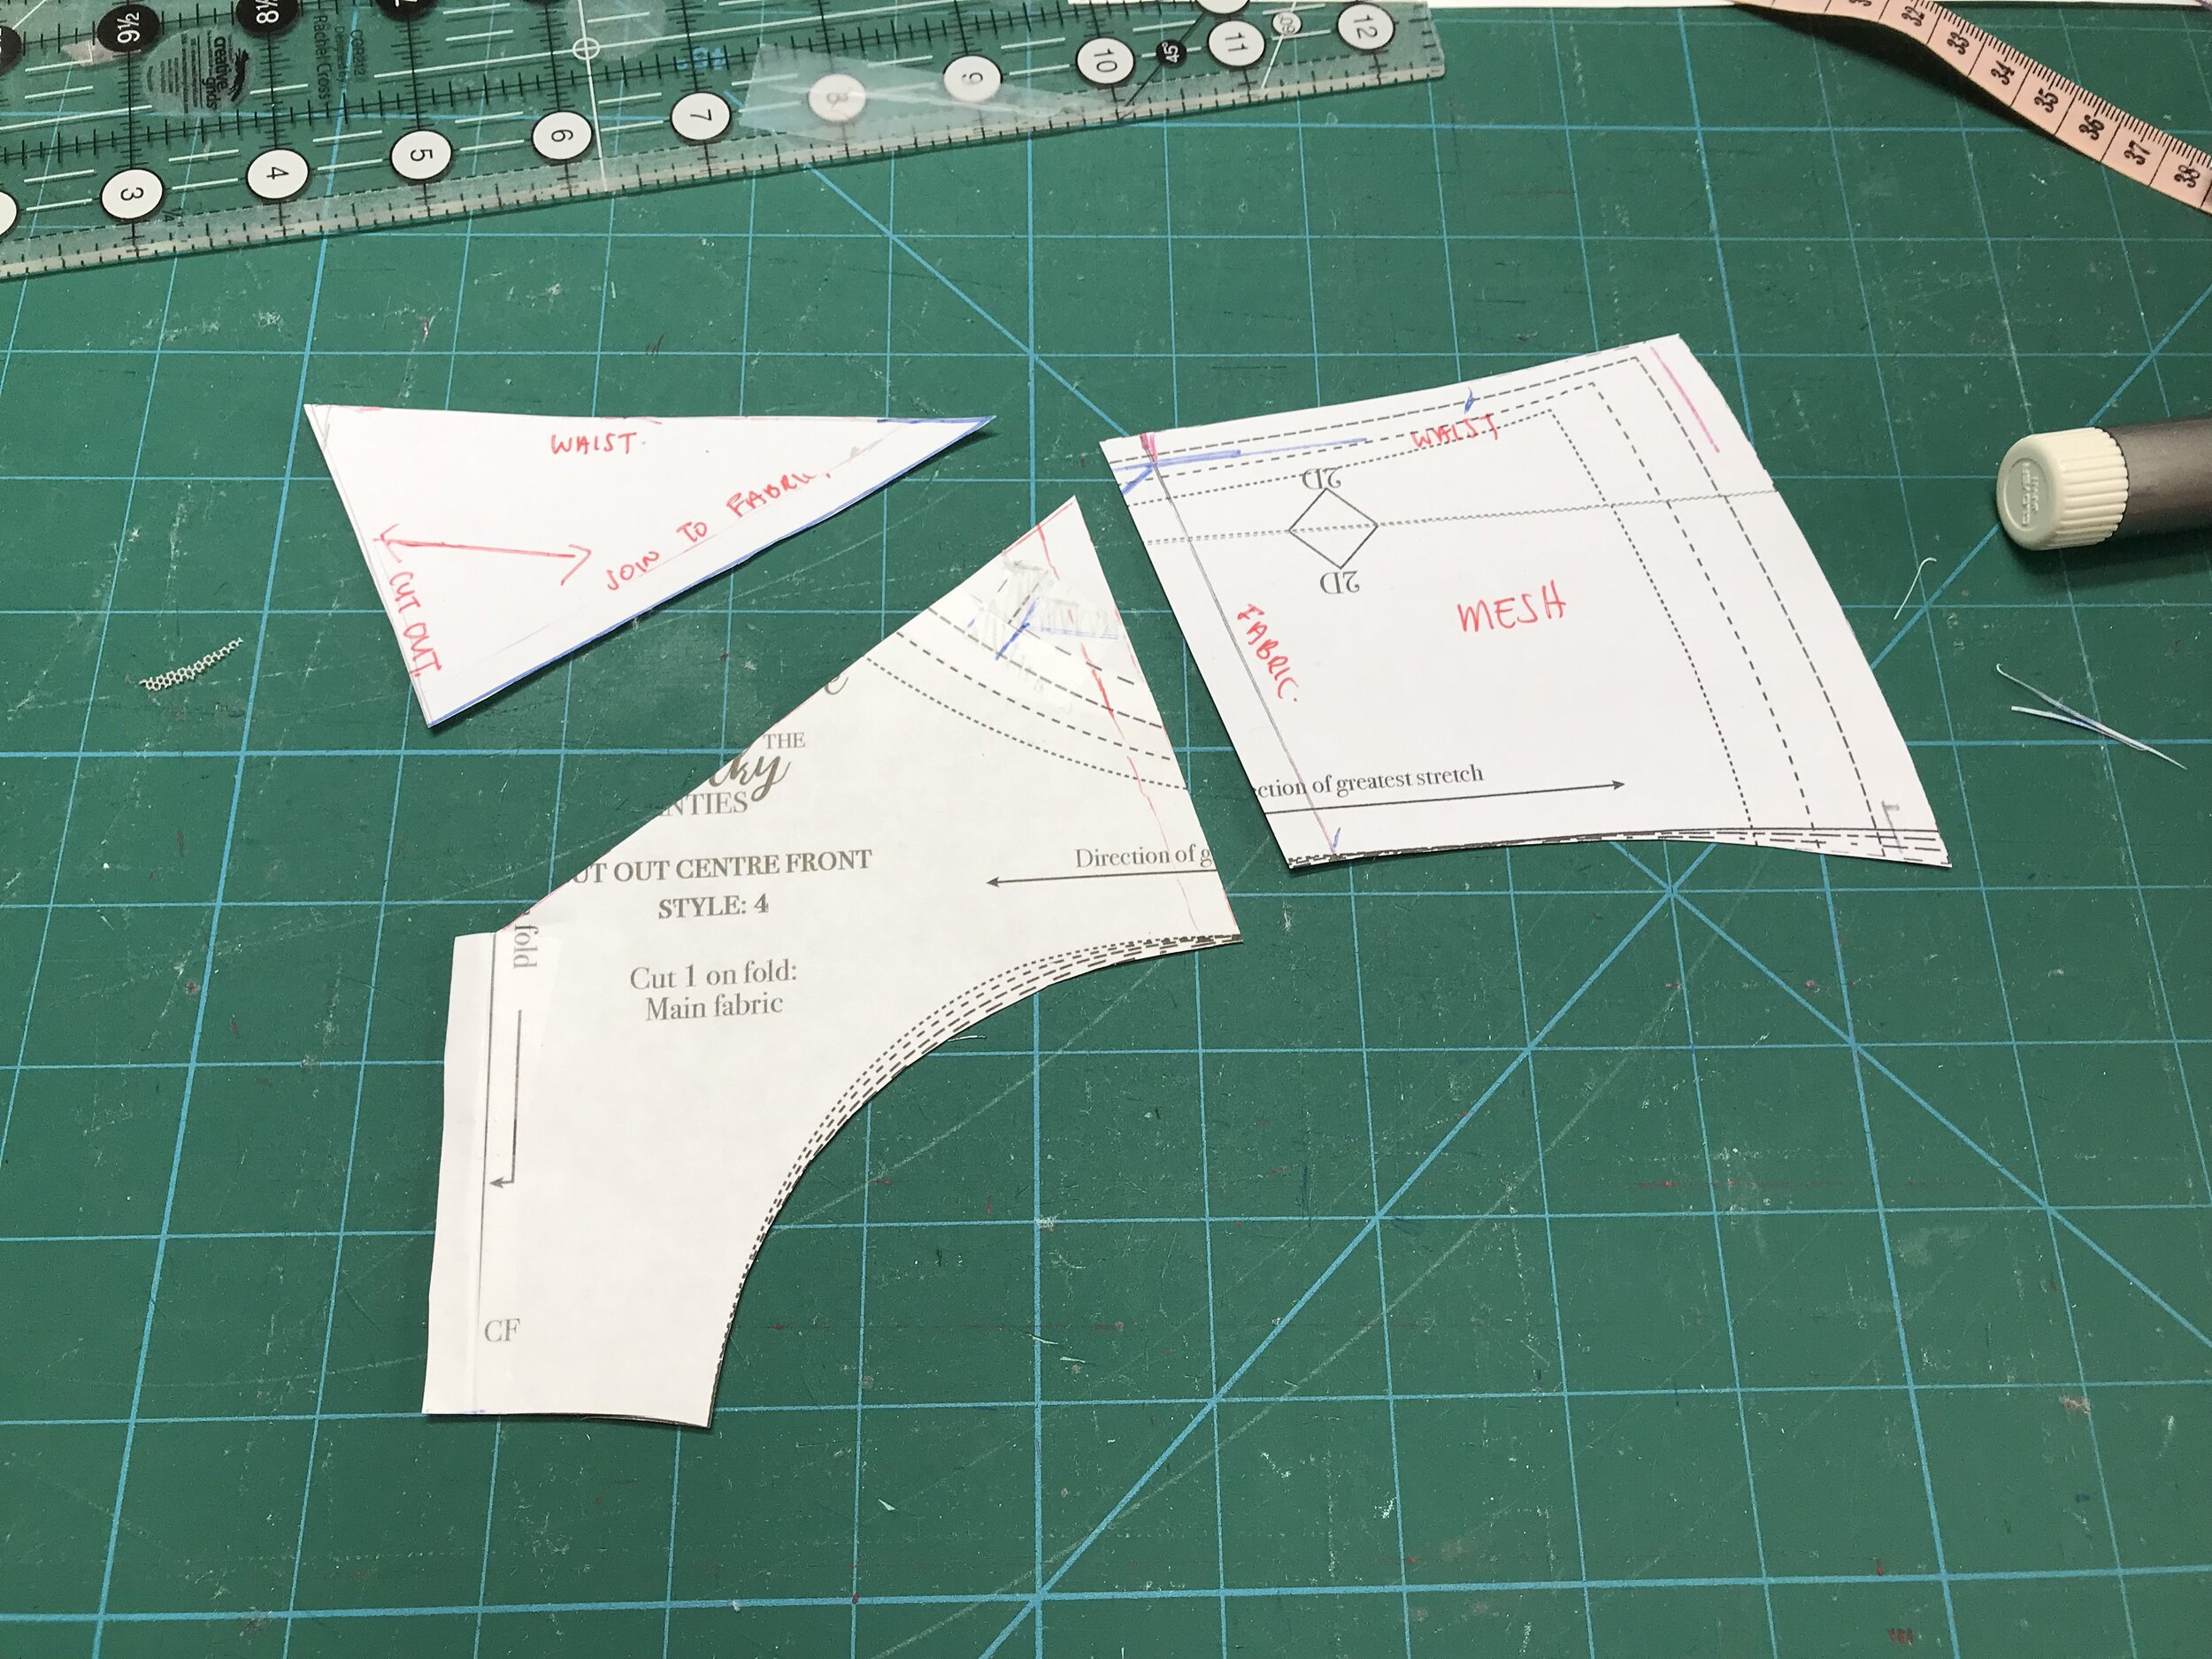
To help determine the proportions of the design I made up the front pattern piece by flipping the original pattern piece and tracing to give a complete front. I decided on the placement of the side pieces, then lay the bra over the centre front and drew in the the cut out and then drew a line from the side to the cut out continuing to the centre front. On to the construction.

IMG_7006.jpg

I started with the back. The closest colour mesh I had was a blush also from Tailormade. I used two layers to balance the powernet panel and it enhanced the colour. Rather than create bulky seams I just overlaid the elastic on the complete back piece. The elastic was one I’ve had in my stash forever but is matt ready folded almost to the point I didn’t realise it was folded. I thought it would be perfect as it isn’t as bulky as regular fold over elastic.

IMG_7008.jpg

In the design I had a one piece front panel but when I thought through the construction I needed to have a centre front seam to create the V. I applied the fold over elastic to the top edge before I sewed the centre front seam. I pressed open and topstitched to keep flat and trimmed back to the stitching. For the centre mesh panels I added a seam allowance which would be placed under the elastic of the panel once I had added the elastic to the front of the panels. Then I attached the side panels and covered the seam allowance with the elastic.

IMG_7014.jpg

With the front and back pieces completed I finished as normal. The pattern has an enclosed gusset which is done next. To finish I attached the waist and leg elastic in the round. For the leg I had the join at the elastic strip on the back as it is almost undetectable at this point. For the waist I placed at the centre back. My set was now complete.

CEC694A0-1109-4D74-B22A-821AFDFAEF1B.PNG

This has been what I call a labour of love but thankfully it all worked out and I finally might get some sleep.

Knowing all the patterns I used fit is a very good starting point so I did expect the bra to fit. The unknown was how the boning at the centre front of the inner cup would work and I am thrilled to say it worked well. The original design had a ring at the centre front and the fold over elastic would be wrapped around. As I got to that point I decided to go straight across the neckline from one cup to the next. I am so glad I did as think it would create too much bulk and not sit flat against my chest.

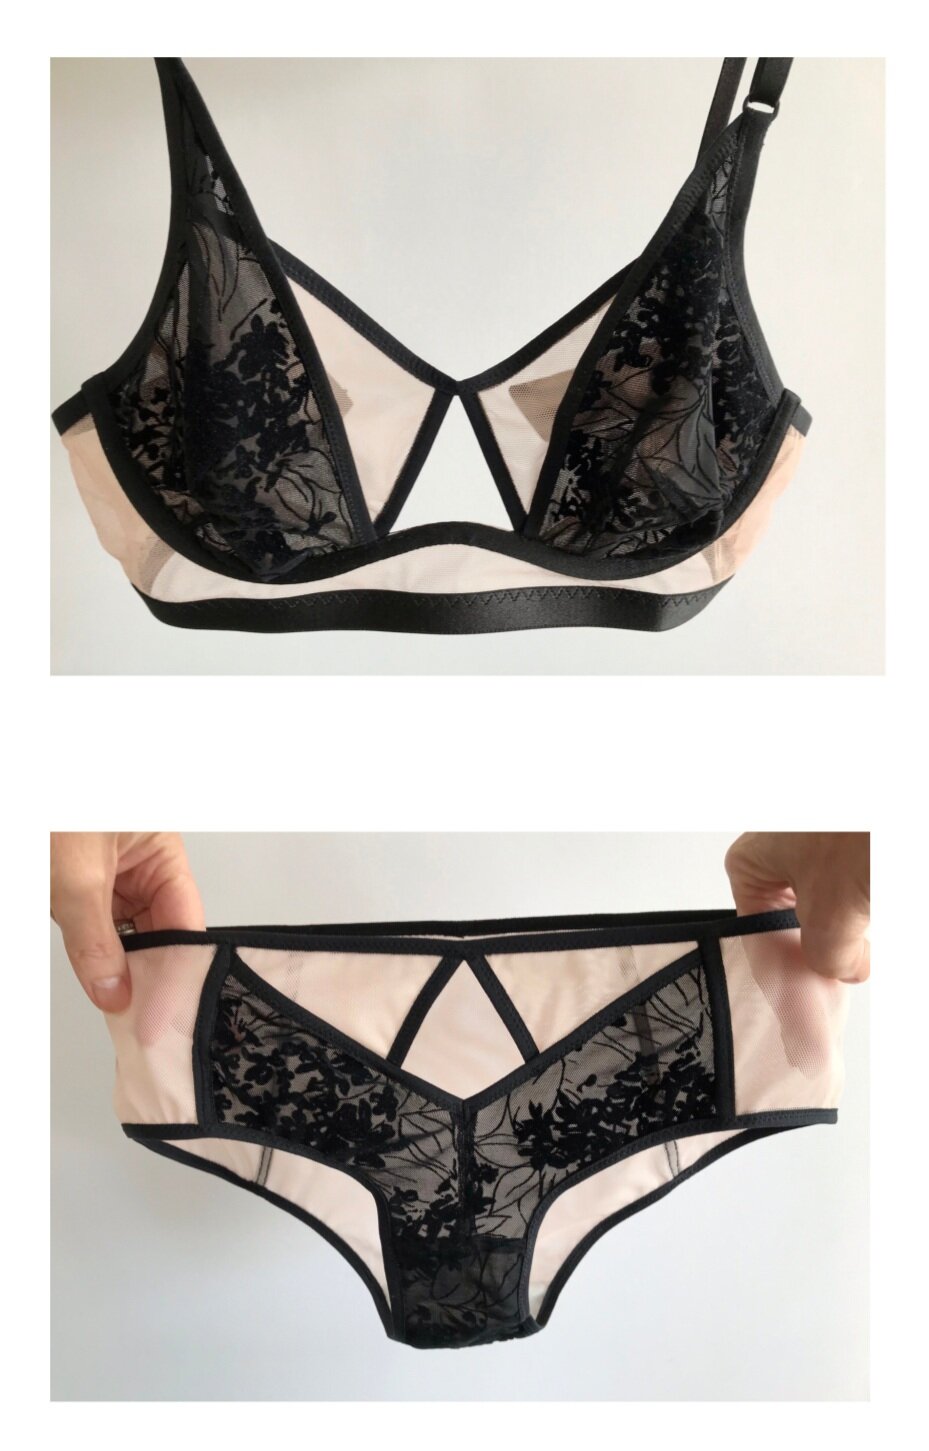
I just had to add these pictures which show just how beautiful it all looks.

More Bodysuits - The Hibou Pattern Release and a Black Beauty Hack

Never having had a bodysuit I now have another two beauties to show you. I’m going to start with the newly released Hibou from Small Bobbins (Hariito). I had been following the release date for this pattern and had a green stretch velvet kit on order. So whilst I waited for it to arrive I made a test size and it turned out to be one of my best makes this year.

1CBF38D1-EF29-4330-9BDD-BBF7C11660D5.JPEG

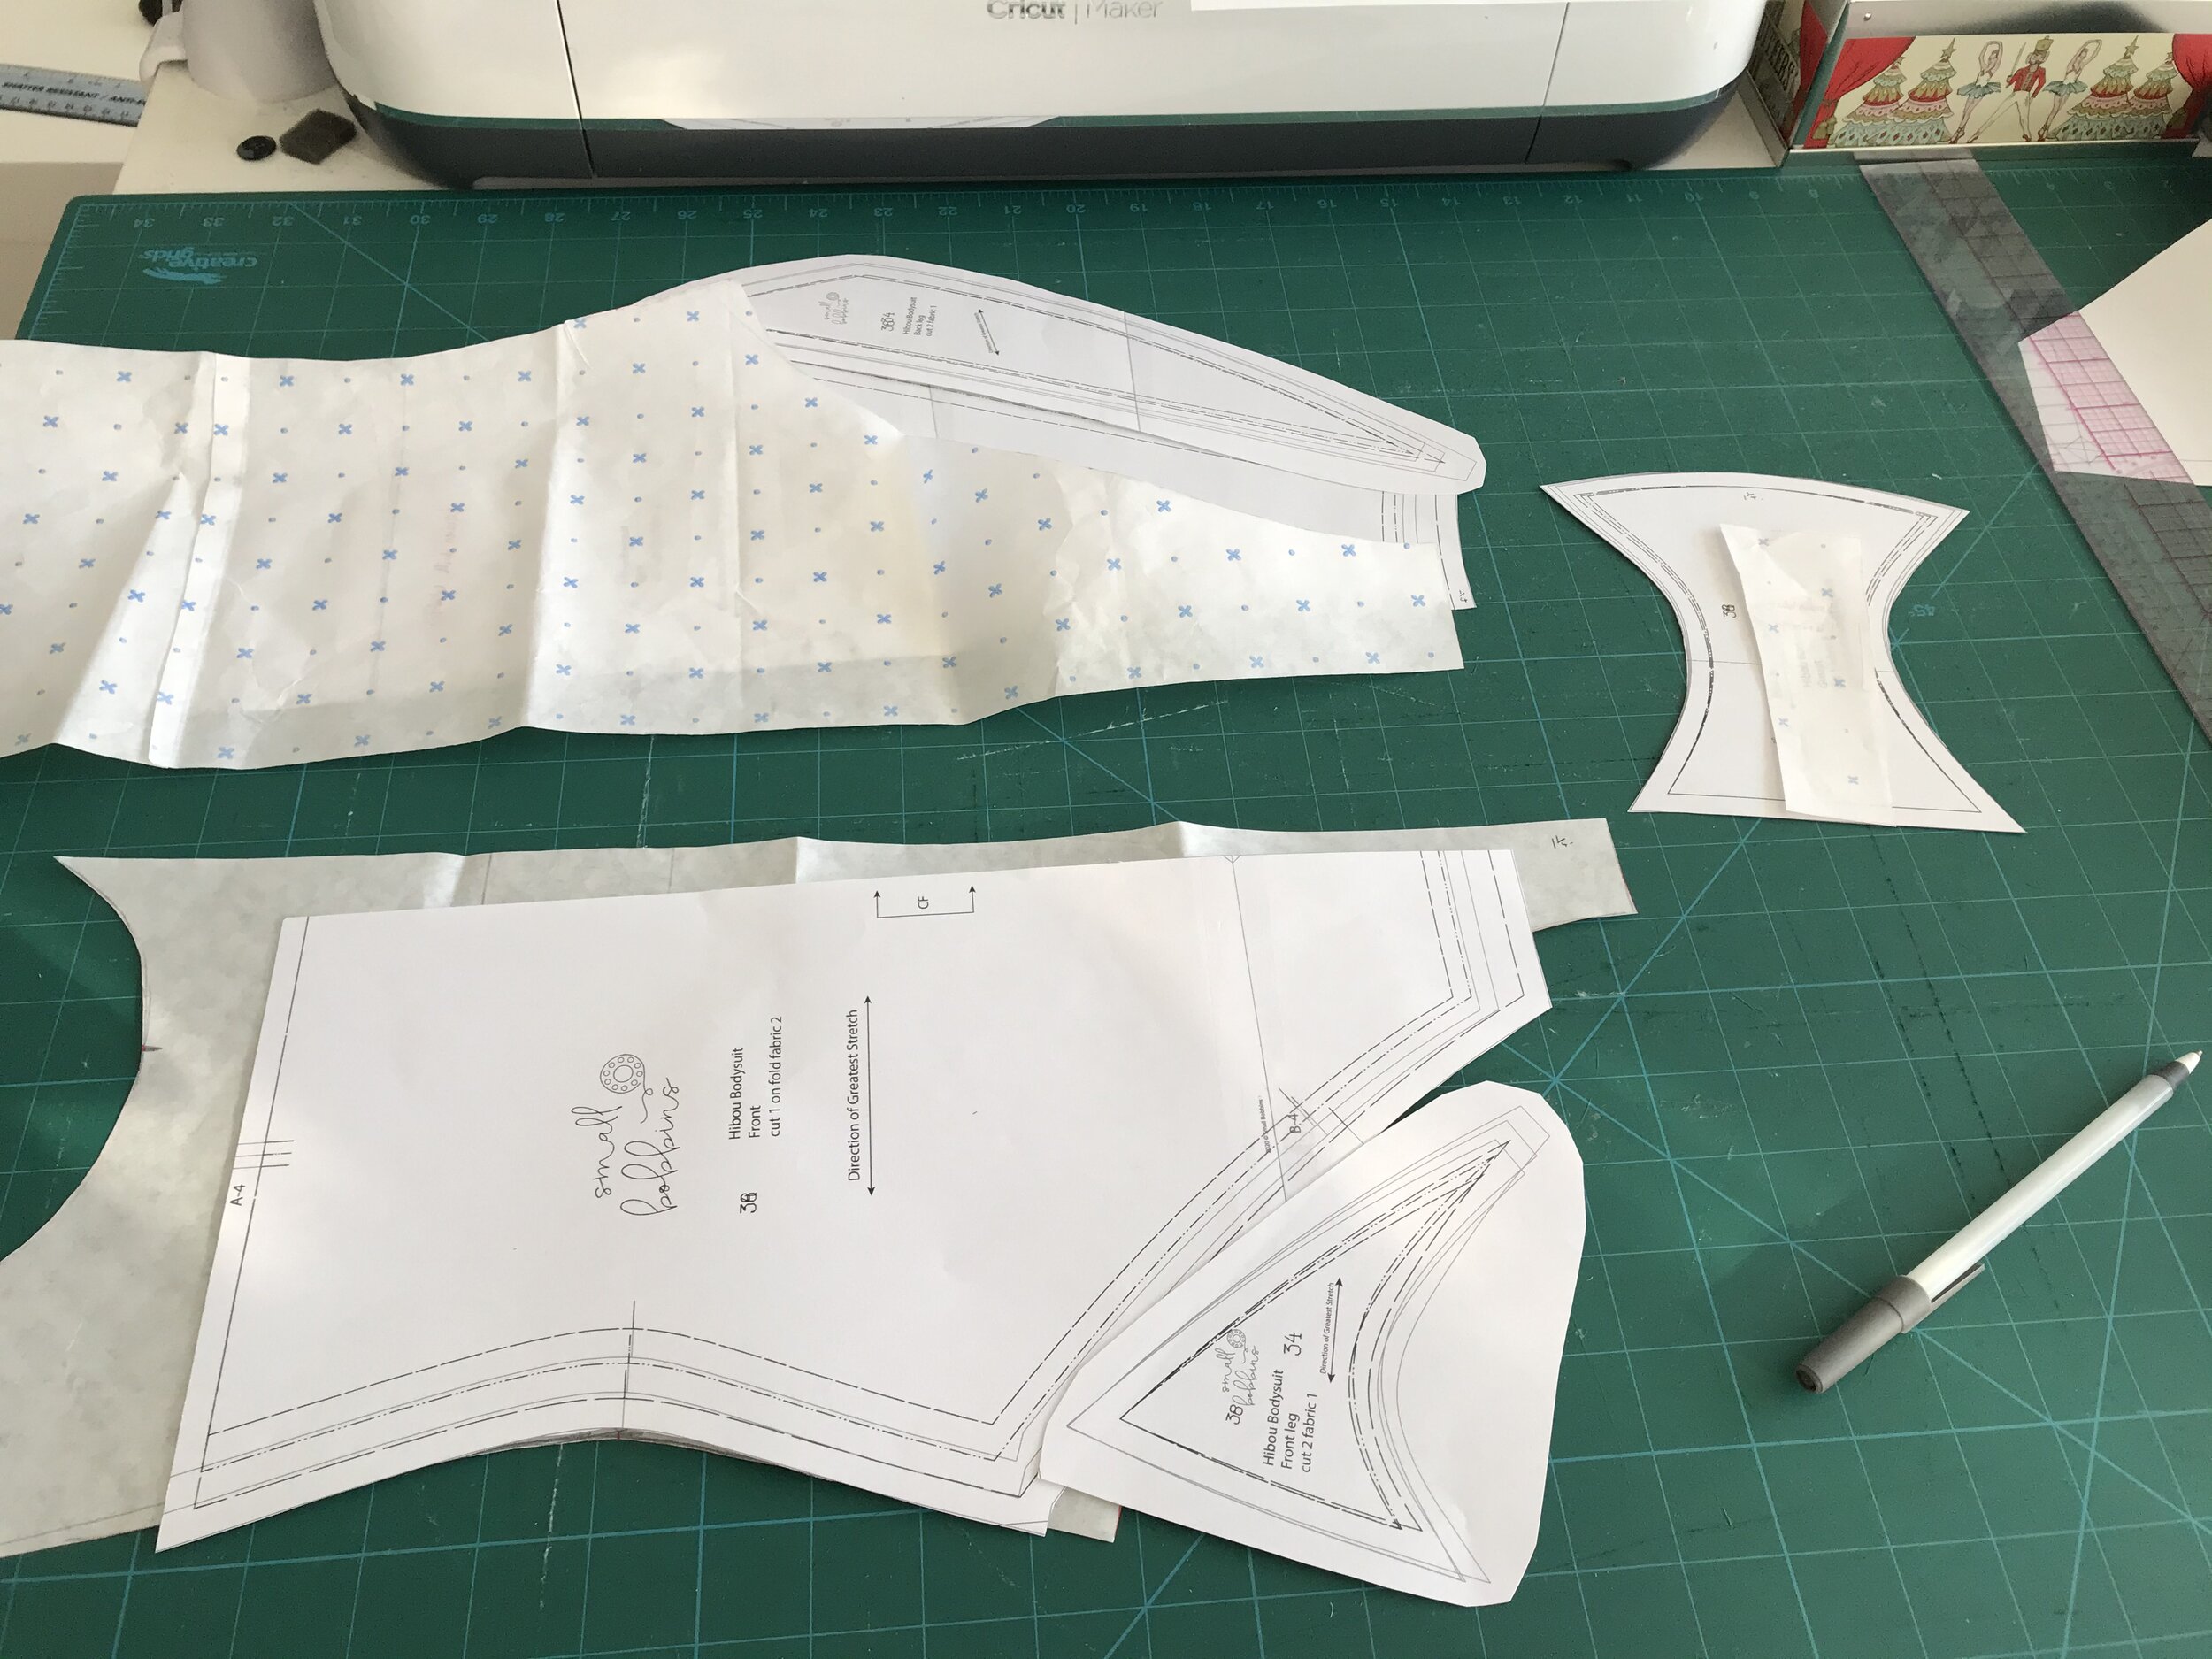
You get a lot of information with the pattern both in sizing and fabric guidance as well as detailed construction instructions except in one area which I will cover later. It is also size inclusive ranging from 32 to 56 with four cup options in each size. My measurements put me in a 38 bust down to 34 hips and b/c cup. With all those sizes it is helpful that the pattern pieces are in a layered file. I included the three sizes and both the b/c and d/e cups. I compared to the bodysuit patterns I have drafted and decided to go with the 38 as I could always take in at the hip and the bigger cup. I should point out that it is drafted for a 5ft8” person and I am a couple of inches shorter but I know I am longer from underbust to waist so I didn’t make any adjustments to the length.

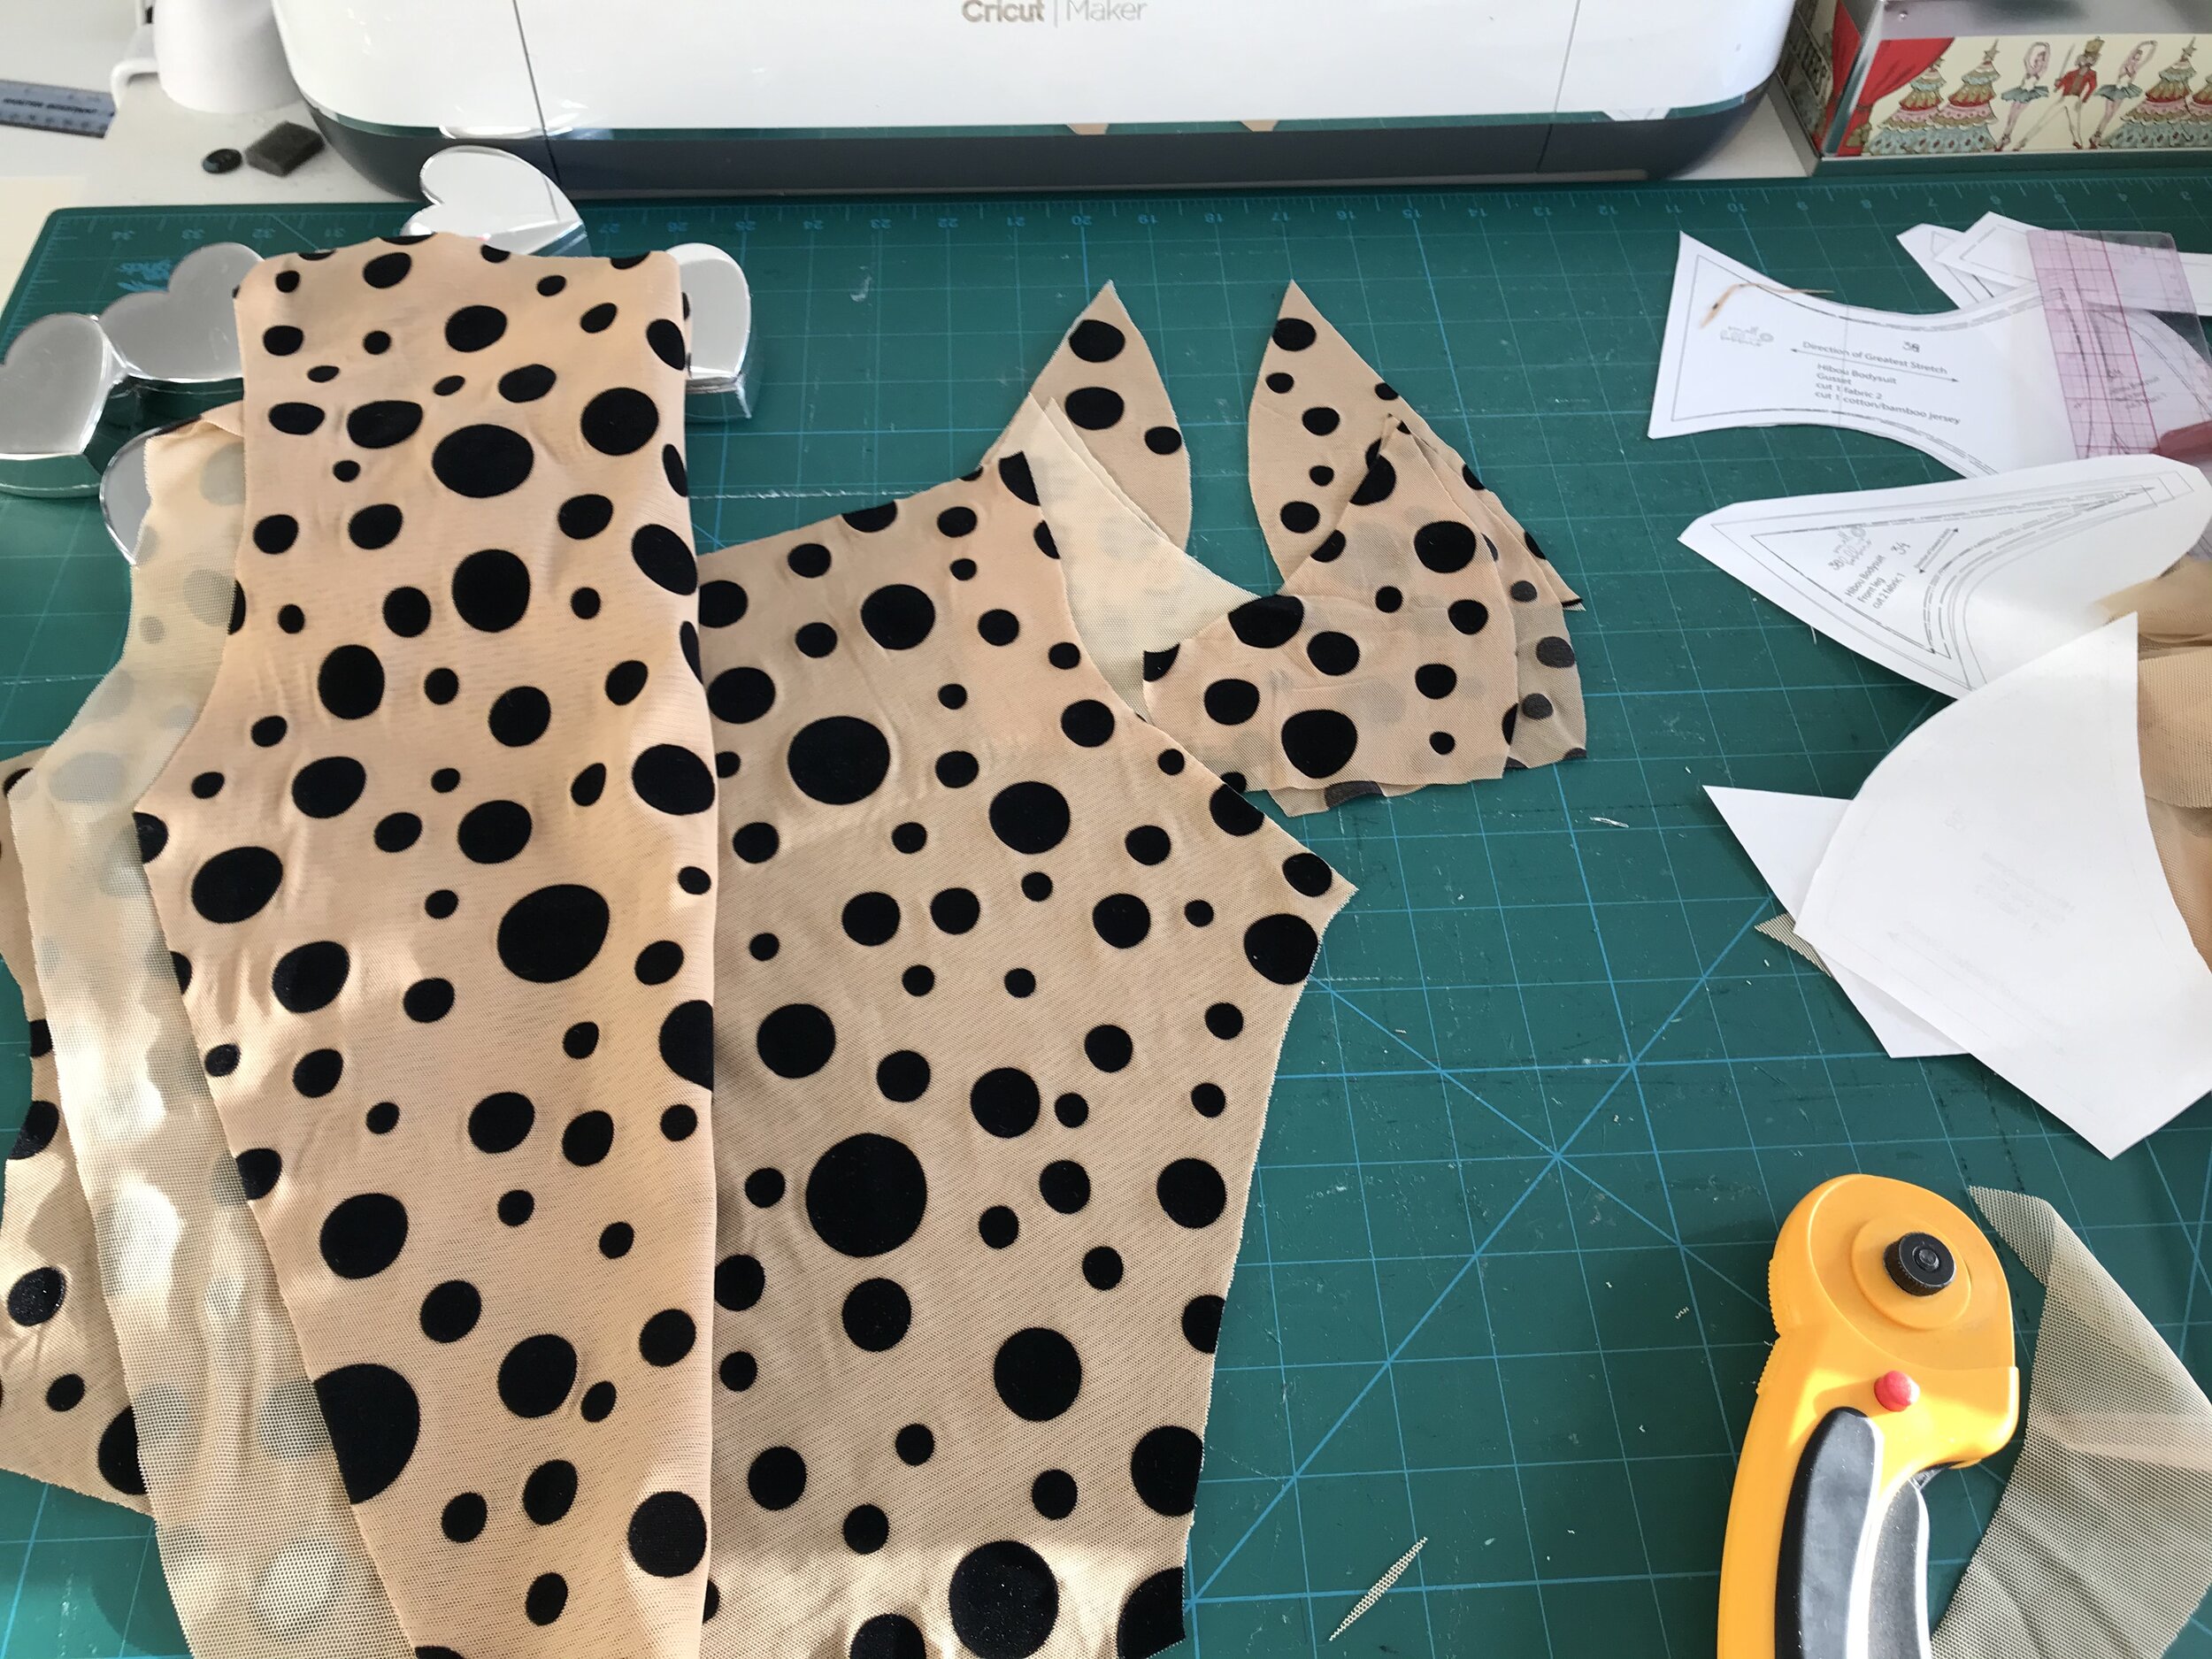
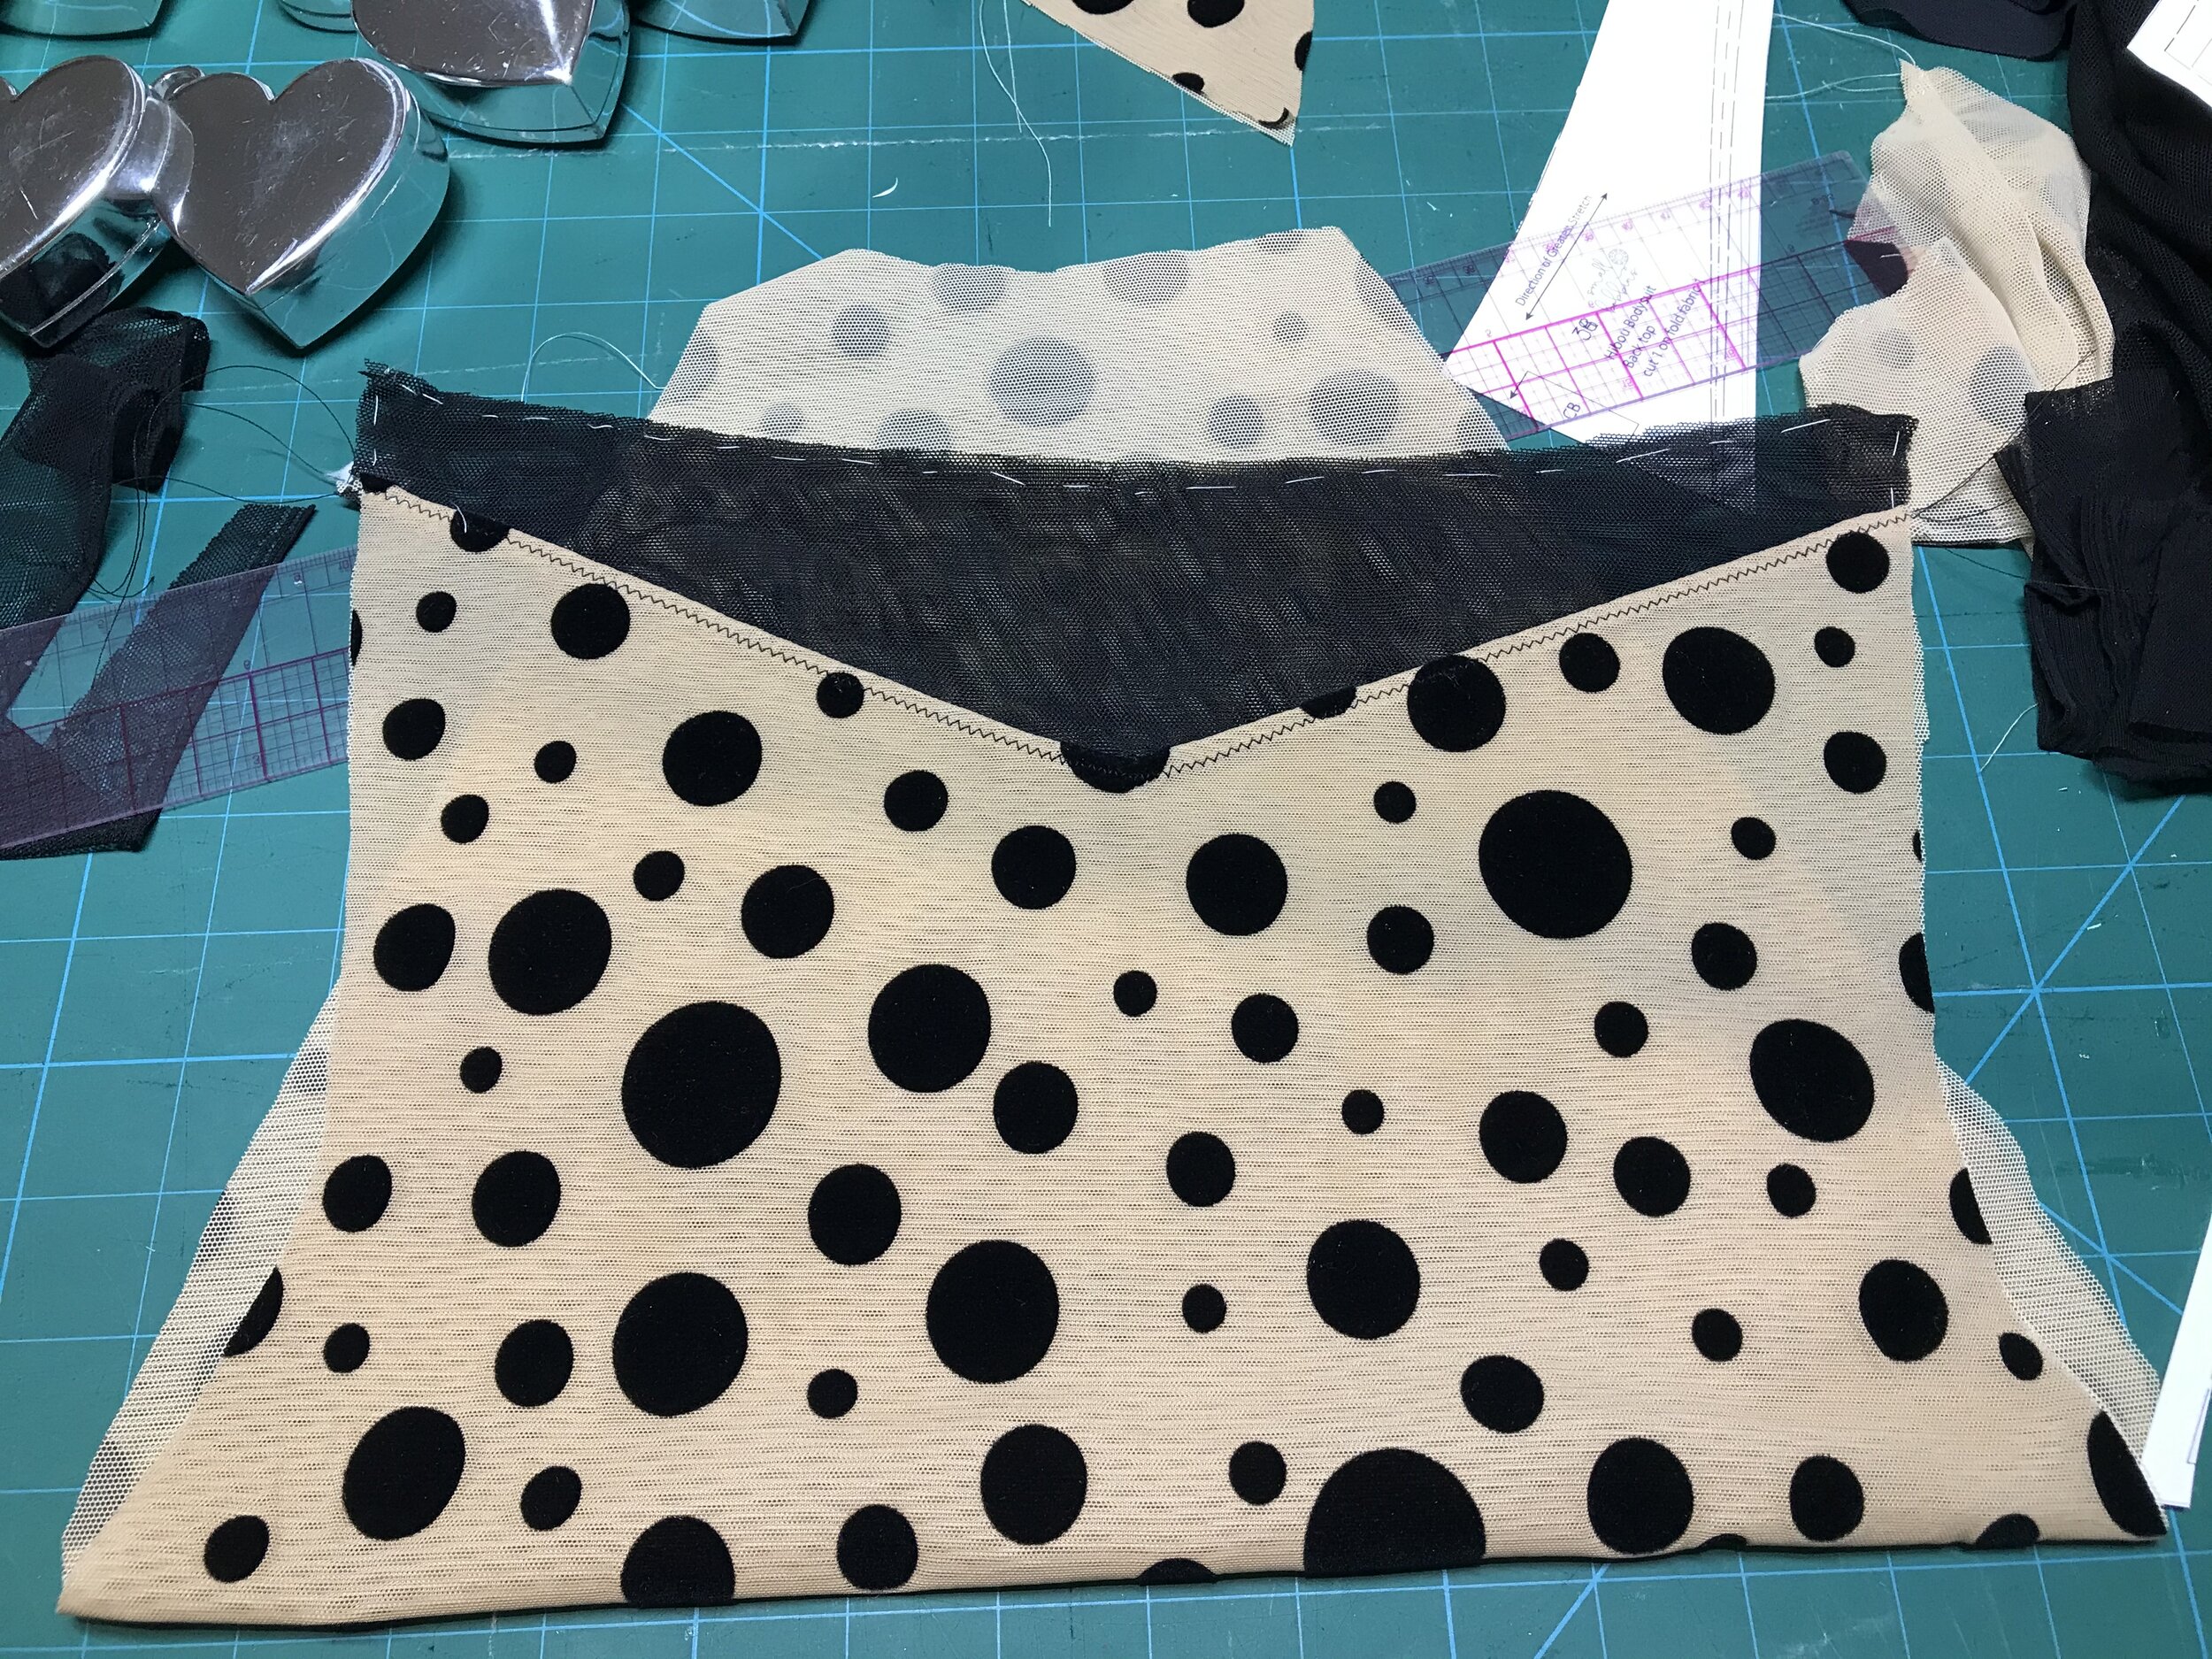
Then I had to choose which fabric to use. I know it was only a test but I was confident with the size so I used the gorgeous flock mesh from a Madalynne kit. I lined the body pieces and the inner cup using temporary adhesive spray before enclosing in the outer cup. Having made a number of bralettes with a mesh top I knew I would need either powernet or two layers of mesh for adequate support. I decided on the two layers of mesh for the sheer look. This time I basted the two layers together by hand as sometimes the spray can stay a little sticky on just mesh.

There a lot of V points on this pattern so I did the back first carefully marking the notch on both pieces. I used a lightning stitch and then top stitched down with a small zigzag and trimmed back to the stitching. Another pattern option is to overlock the seam but as the fabric is so fine I didn’t want to add bulk. The front centre is the one area I thought the pattern could be more detailed as only the centre cup top point is illustrated and not where you need to join the two cups. Once the front mesh is added it’s pretty much plain sailing. At this point you can add elastic to the underbust seam but I left this out for my test make and for me it turned our not to be necessary.

IMG_5293.jpg

I did overlock the side seams but only after using the sewing machine first so I could make sure the front and back mesh panels lined up. Then just the elastic to add. The pattern pieces include the fold over allowance for plush picot so you need to cut this off if you are using fold over elastic. For the top I used some wider, stronger fold over elastic that I use for sports bras as I find this does not over stretch. Another tip I have picked up along the way is to add some sort of stabiliser where the elastic is folded over the ring. In this case I have used black grosgrain ribbon. For the legs I chose to use plush lingerie elastic as I find this a softer finish.

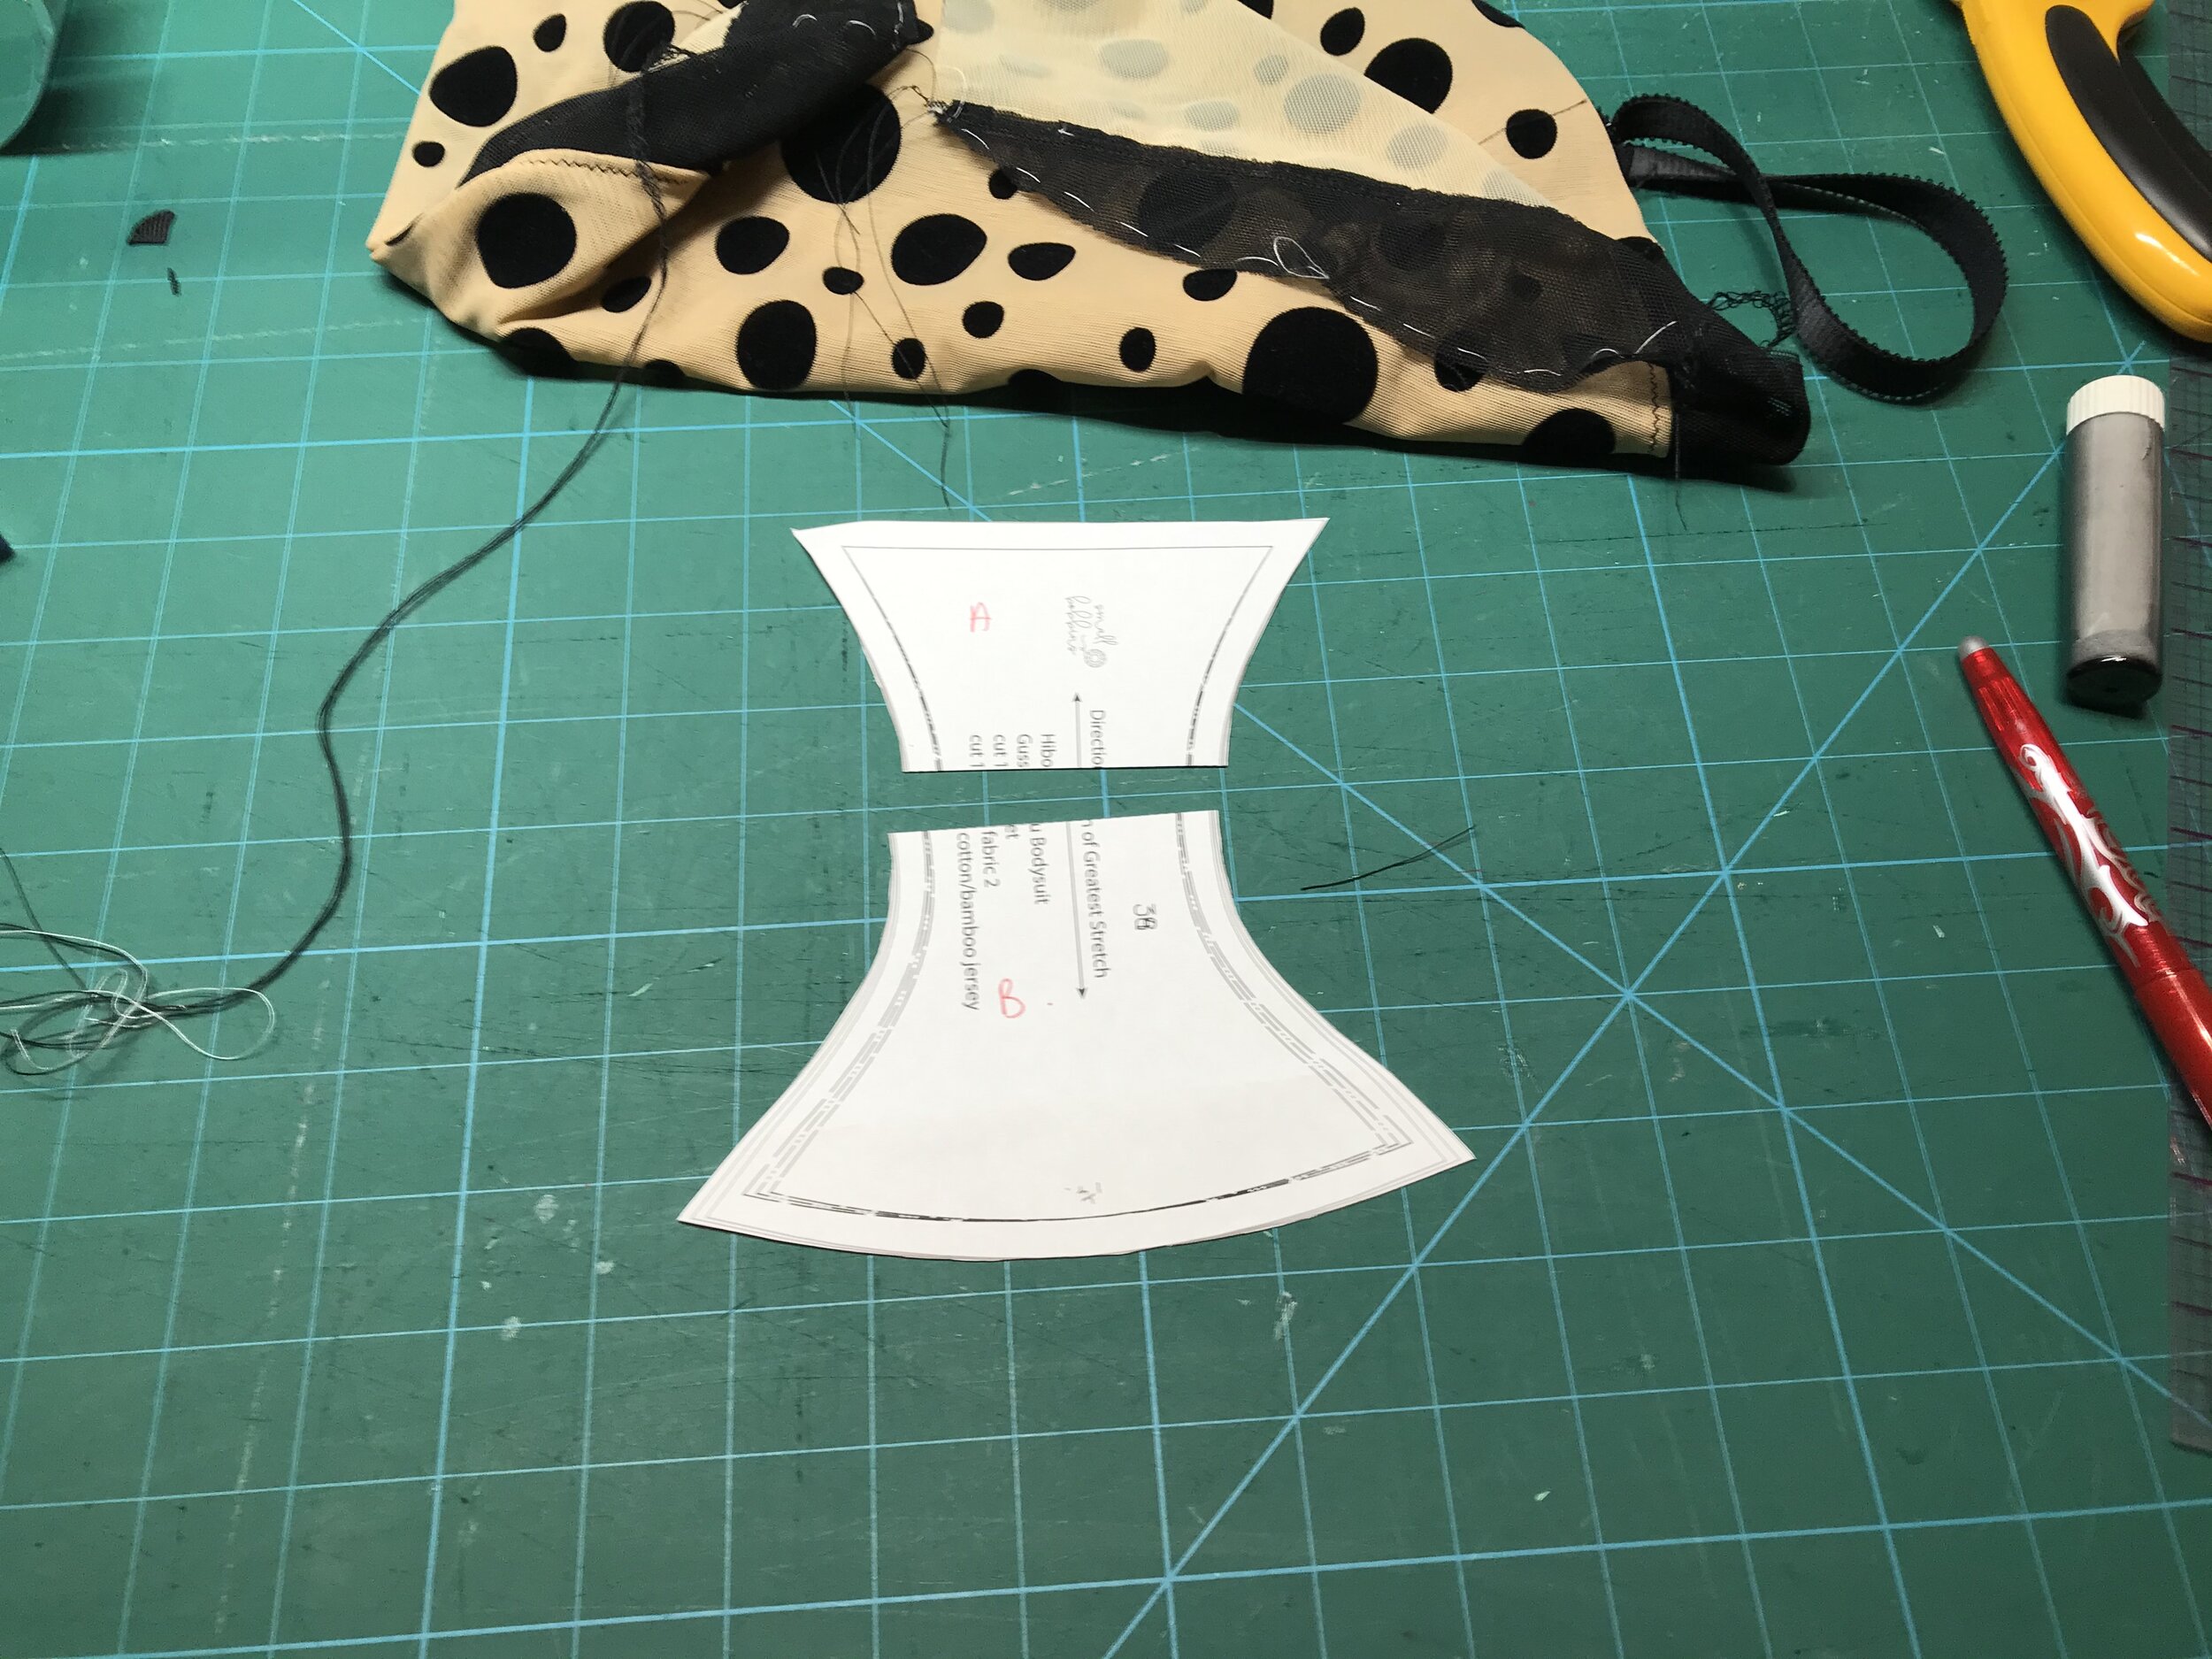
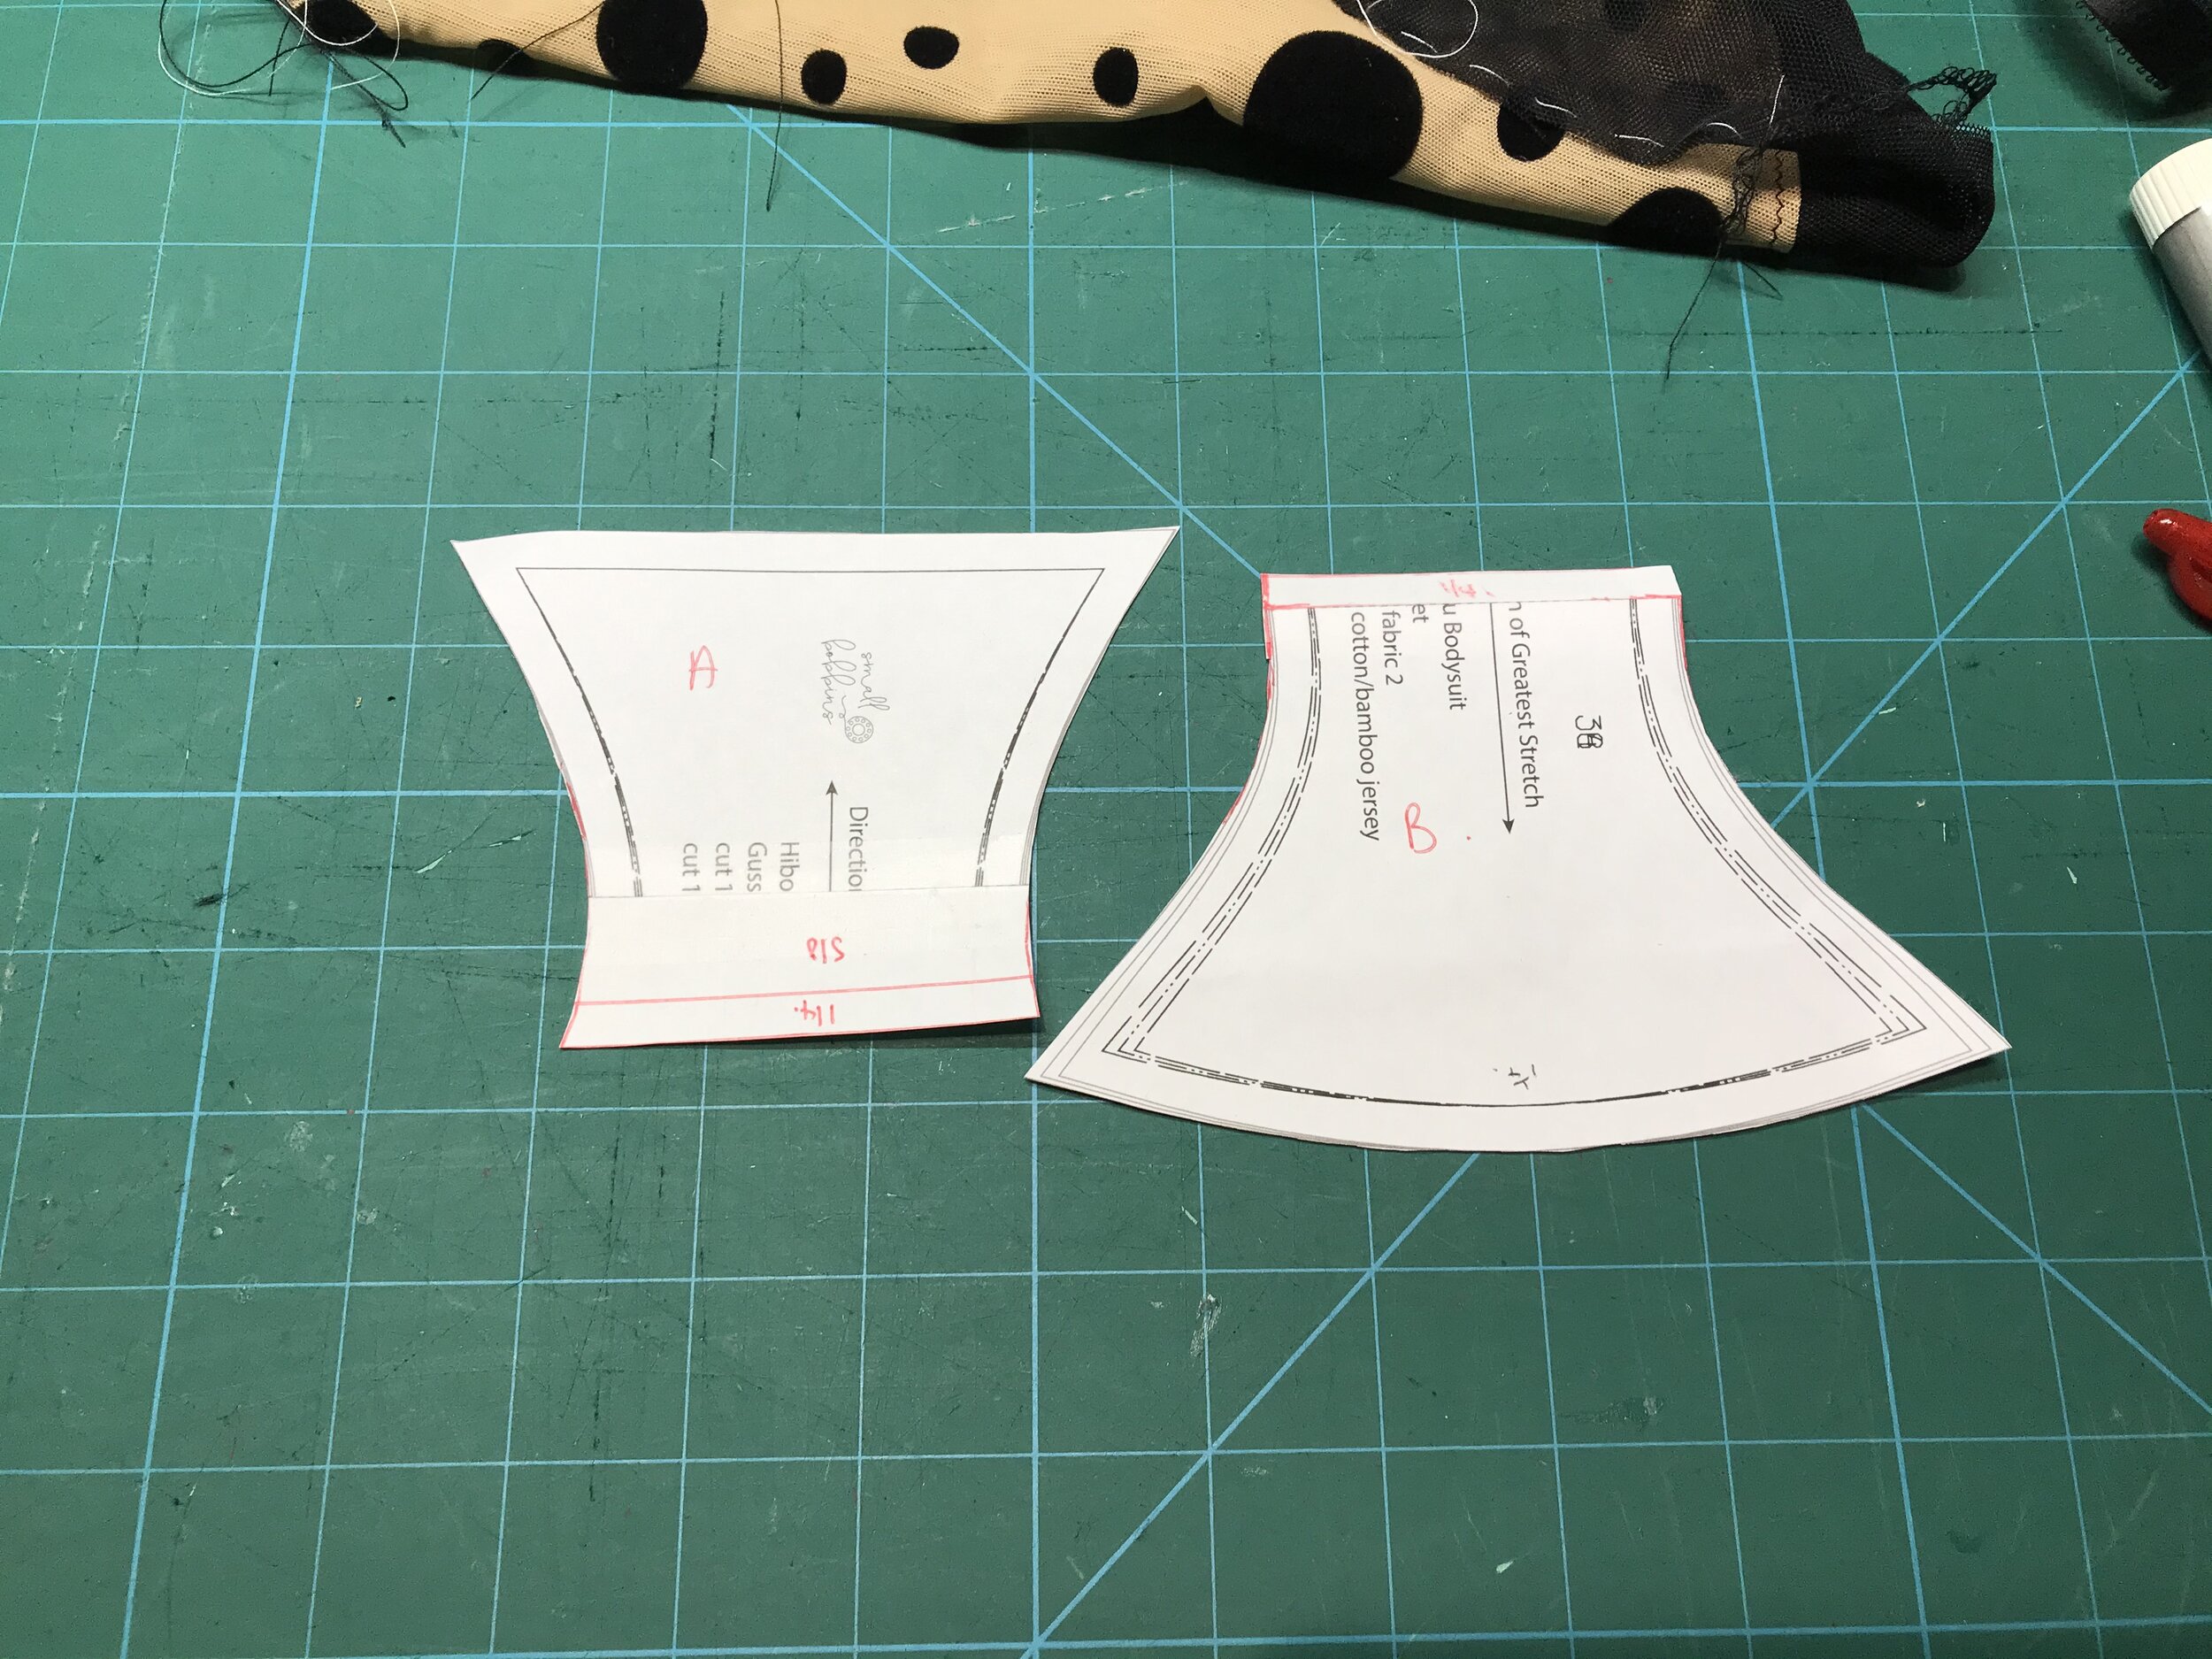
The pattern includes a gusset piece that you need to adapt for a snap closure. You start by splitting at the marked line and adding an overlap and seam allowance to the front and just the seam allowance to the back. Rather than use individual snaps I used the tape from Madalynne that I have used before.

It looks absolutely stunning and the fit is just as good! So then we move on to the bodysuit I made using the Emerald Erin Black Beauty.

66902359-4FFE-4C0E-BEEF-A7C25125B5F8.JPEG

I made the front piece the same way as I did with my earlier Lawren/Watson combination. For the back I knew I would need to have a back closure so for this I blended the back band piece into a Jalie swimsuit pattern piece.

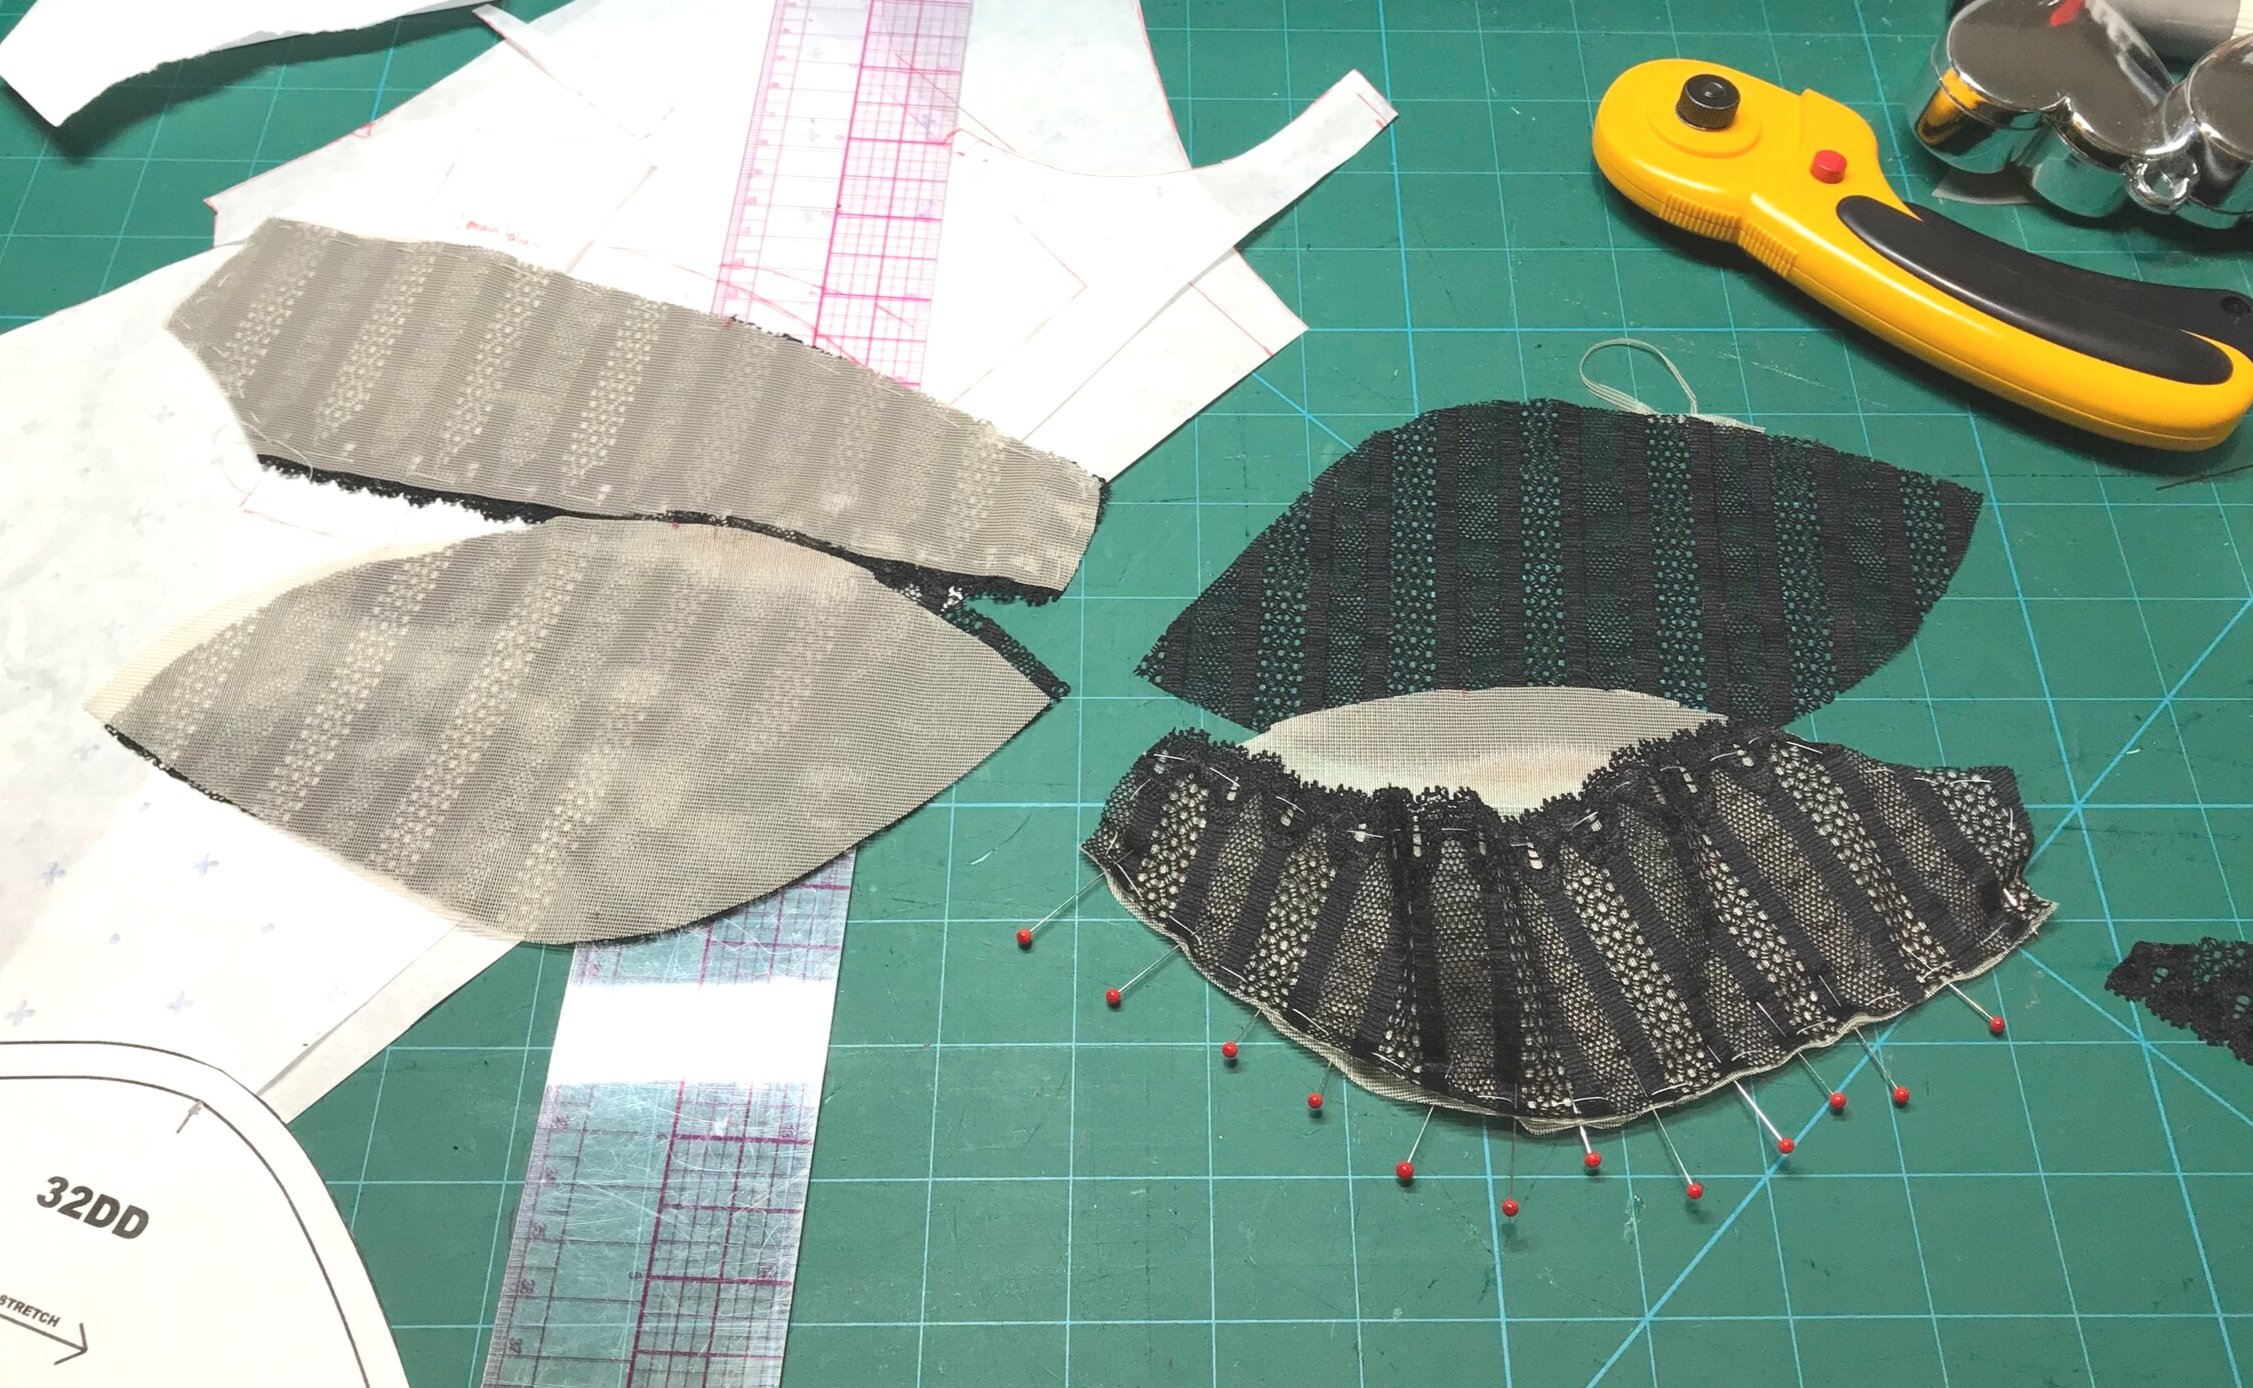
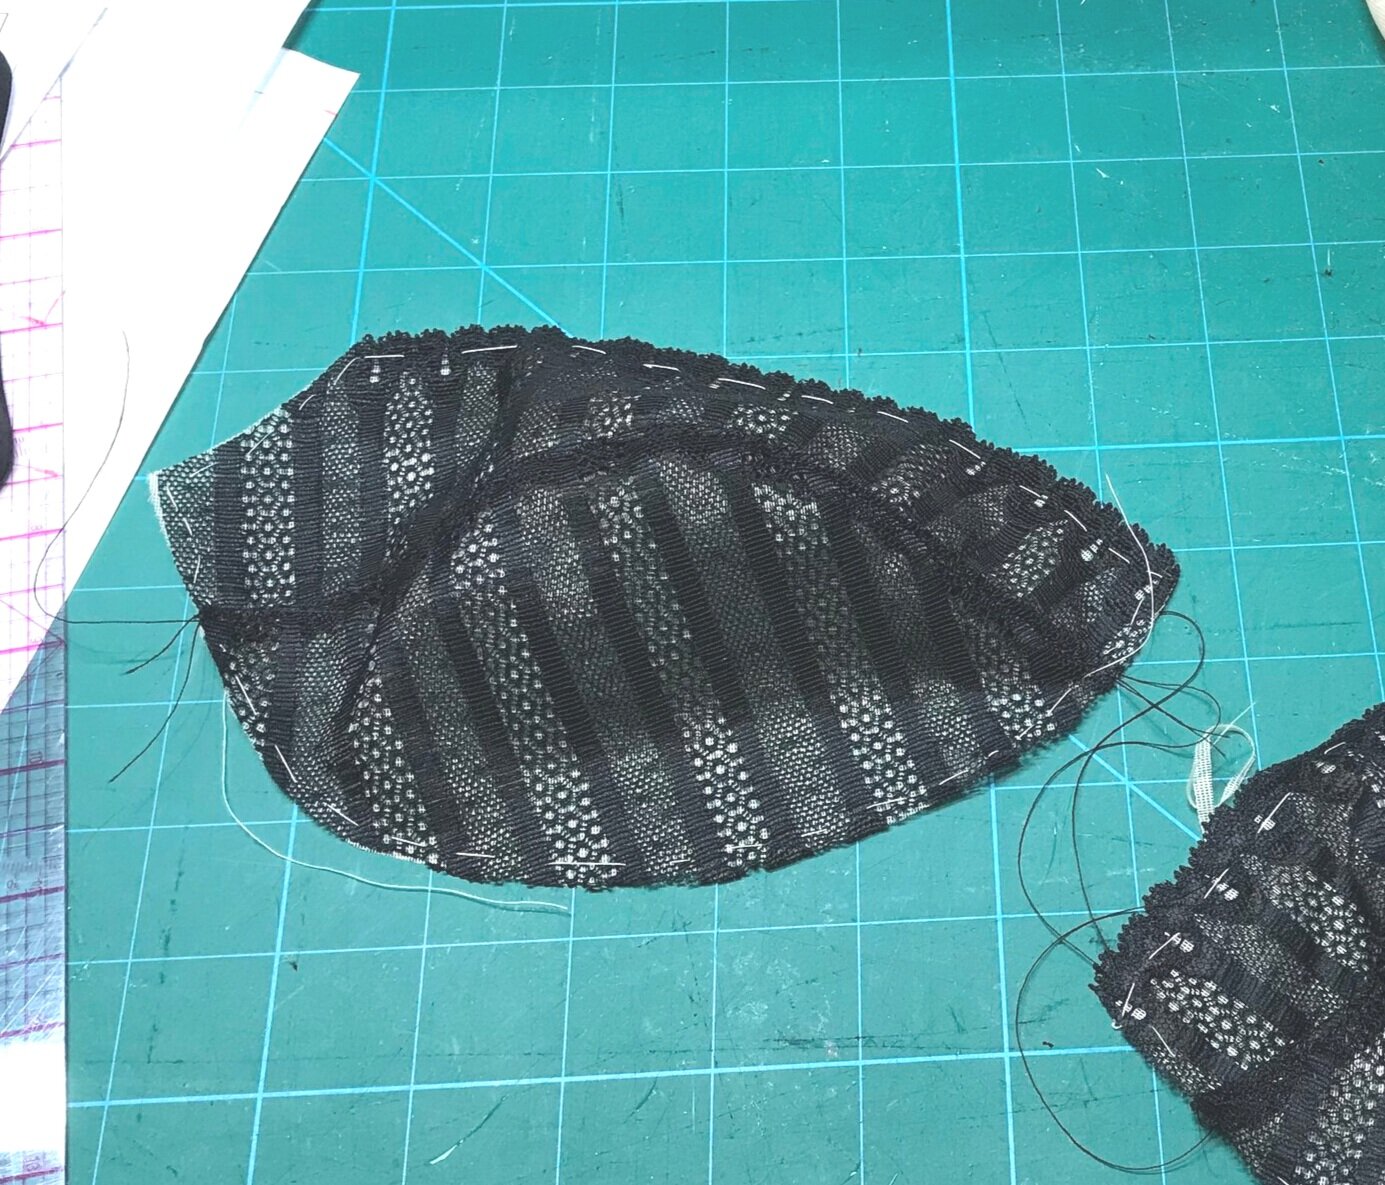
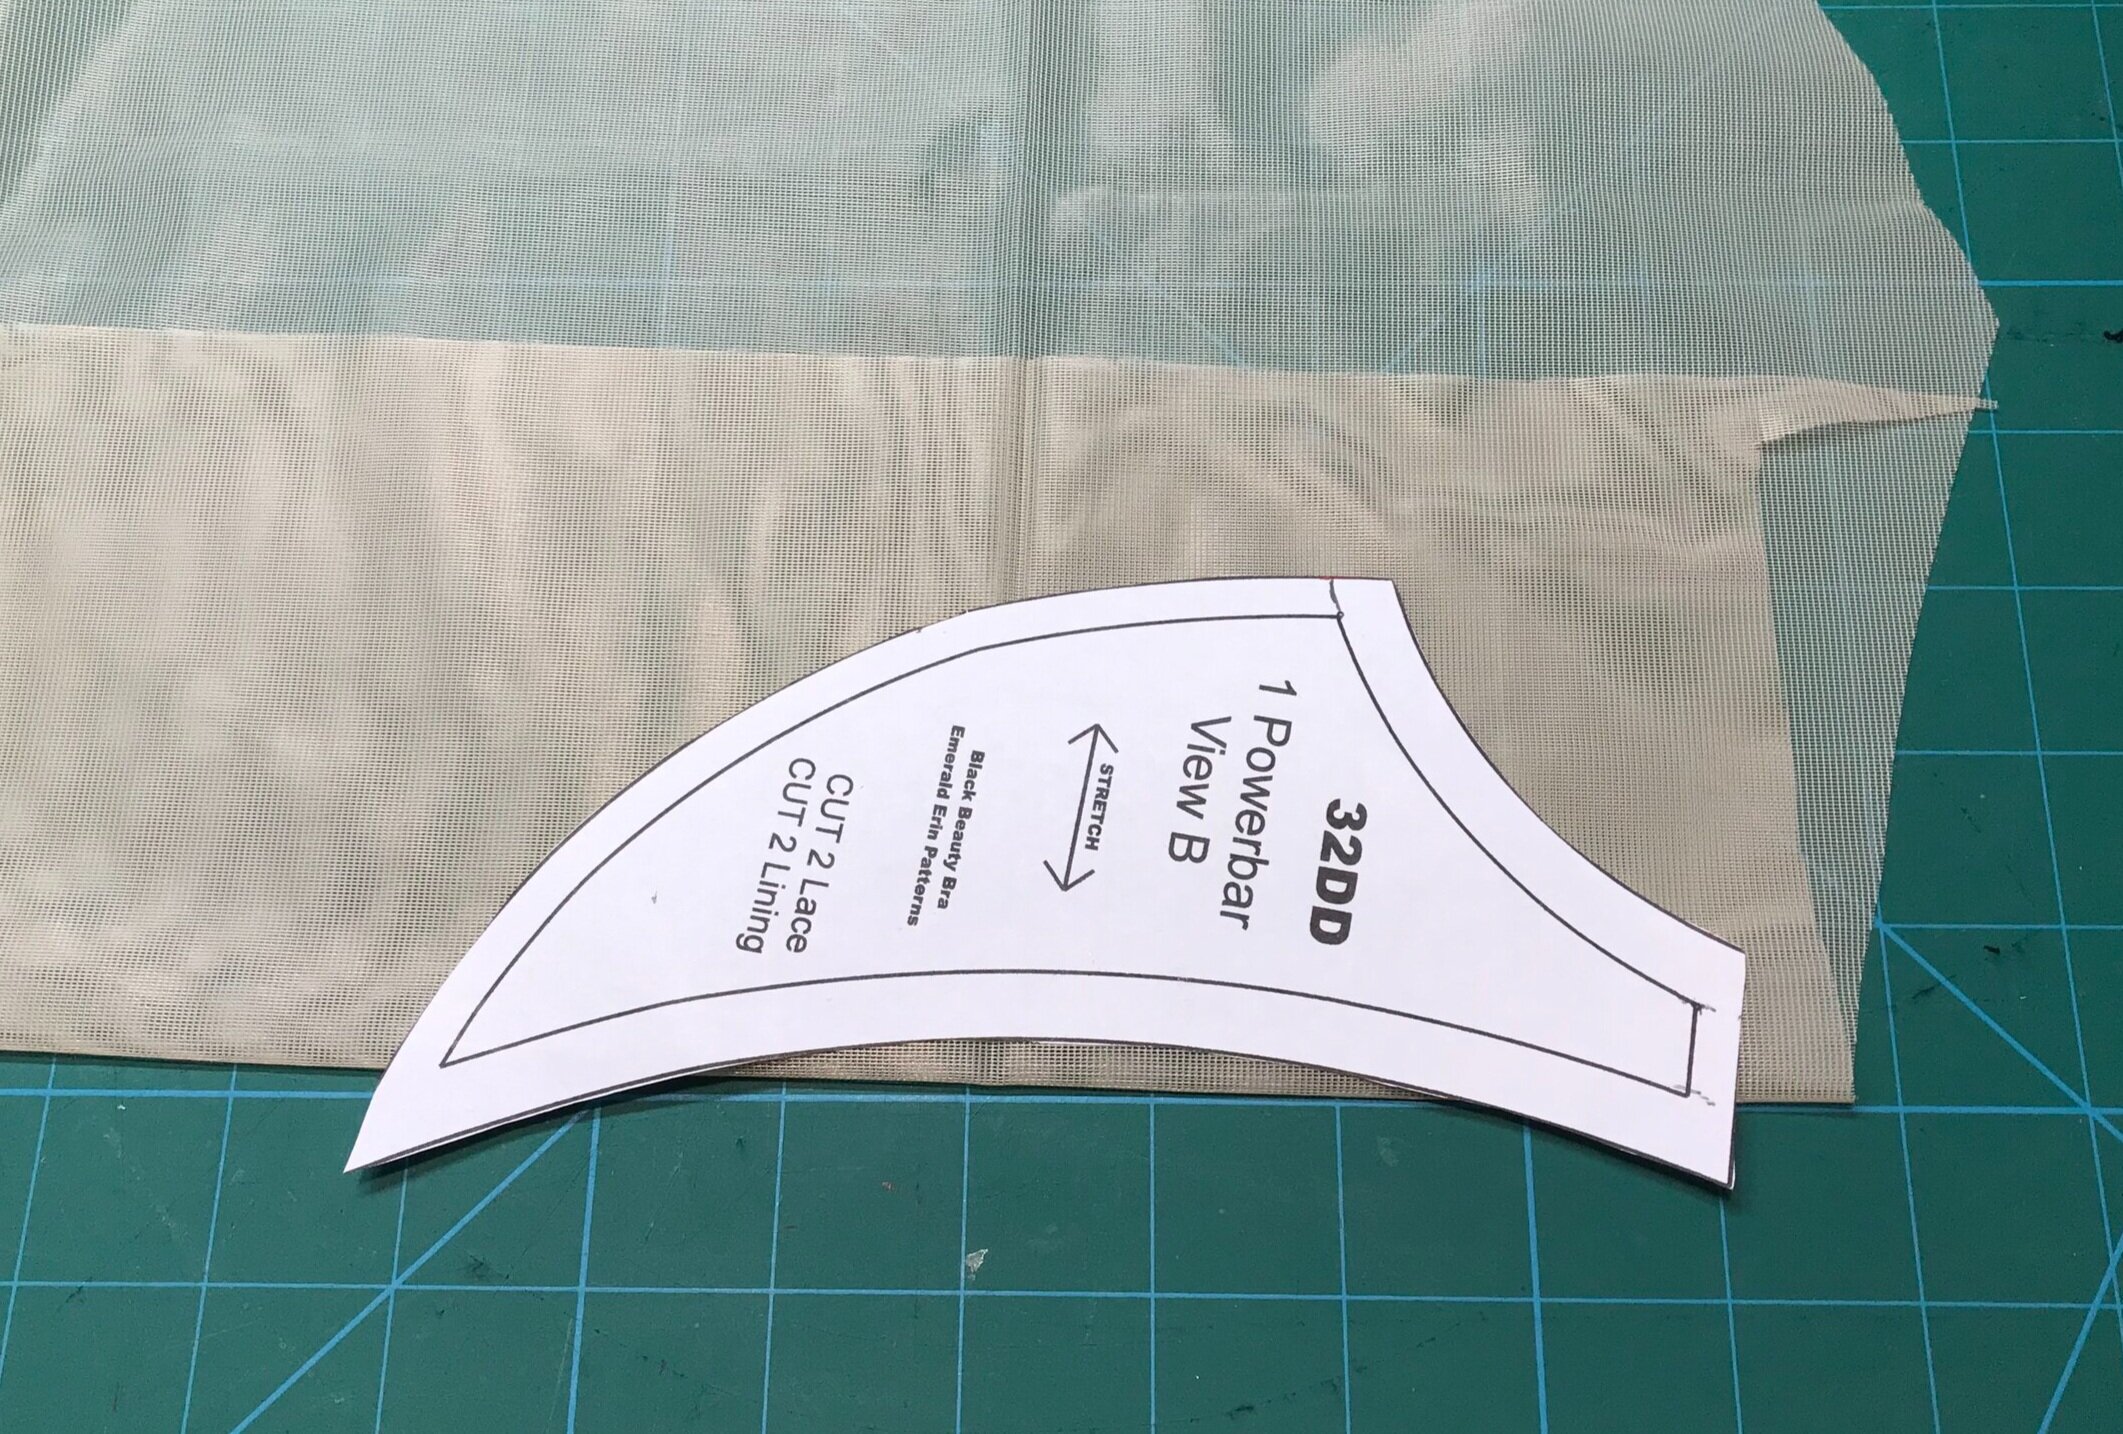
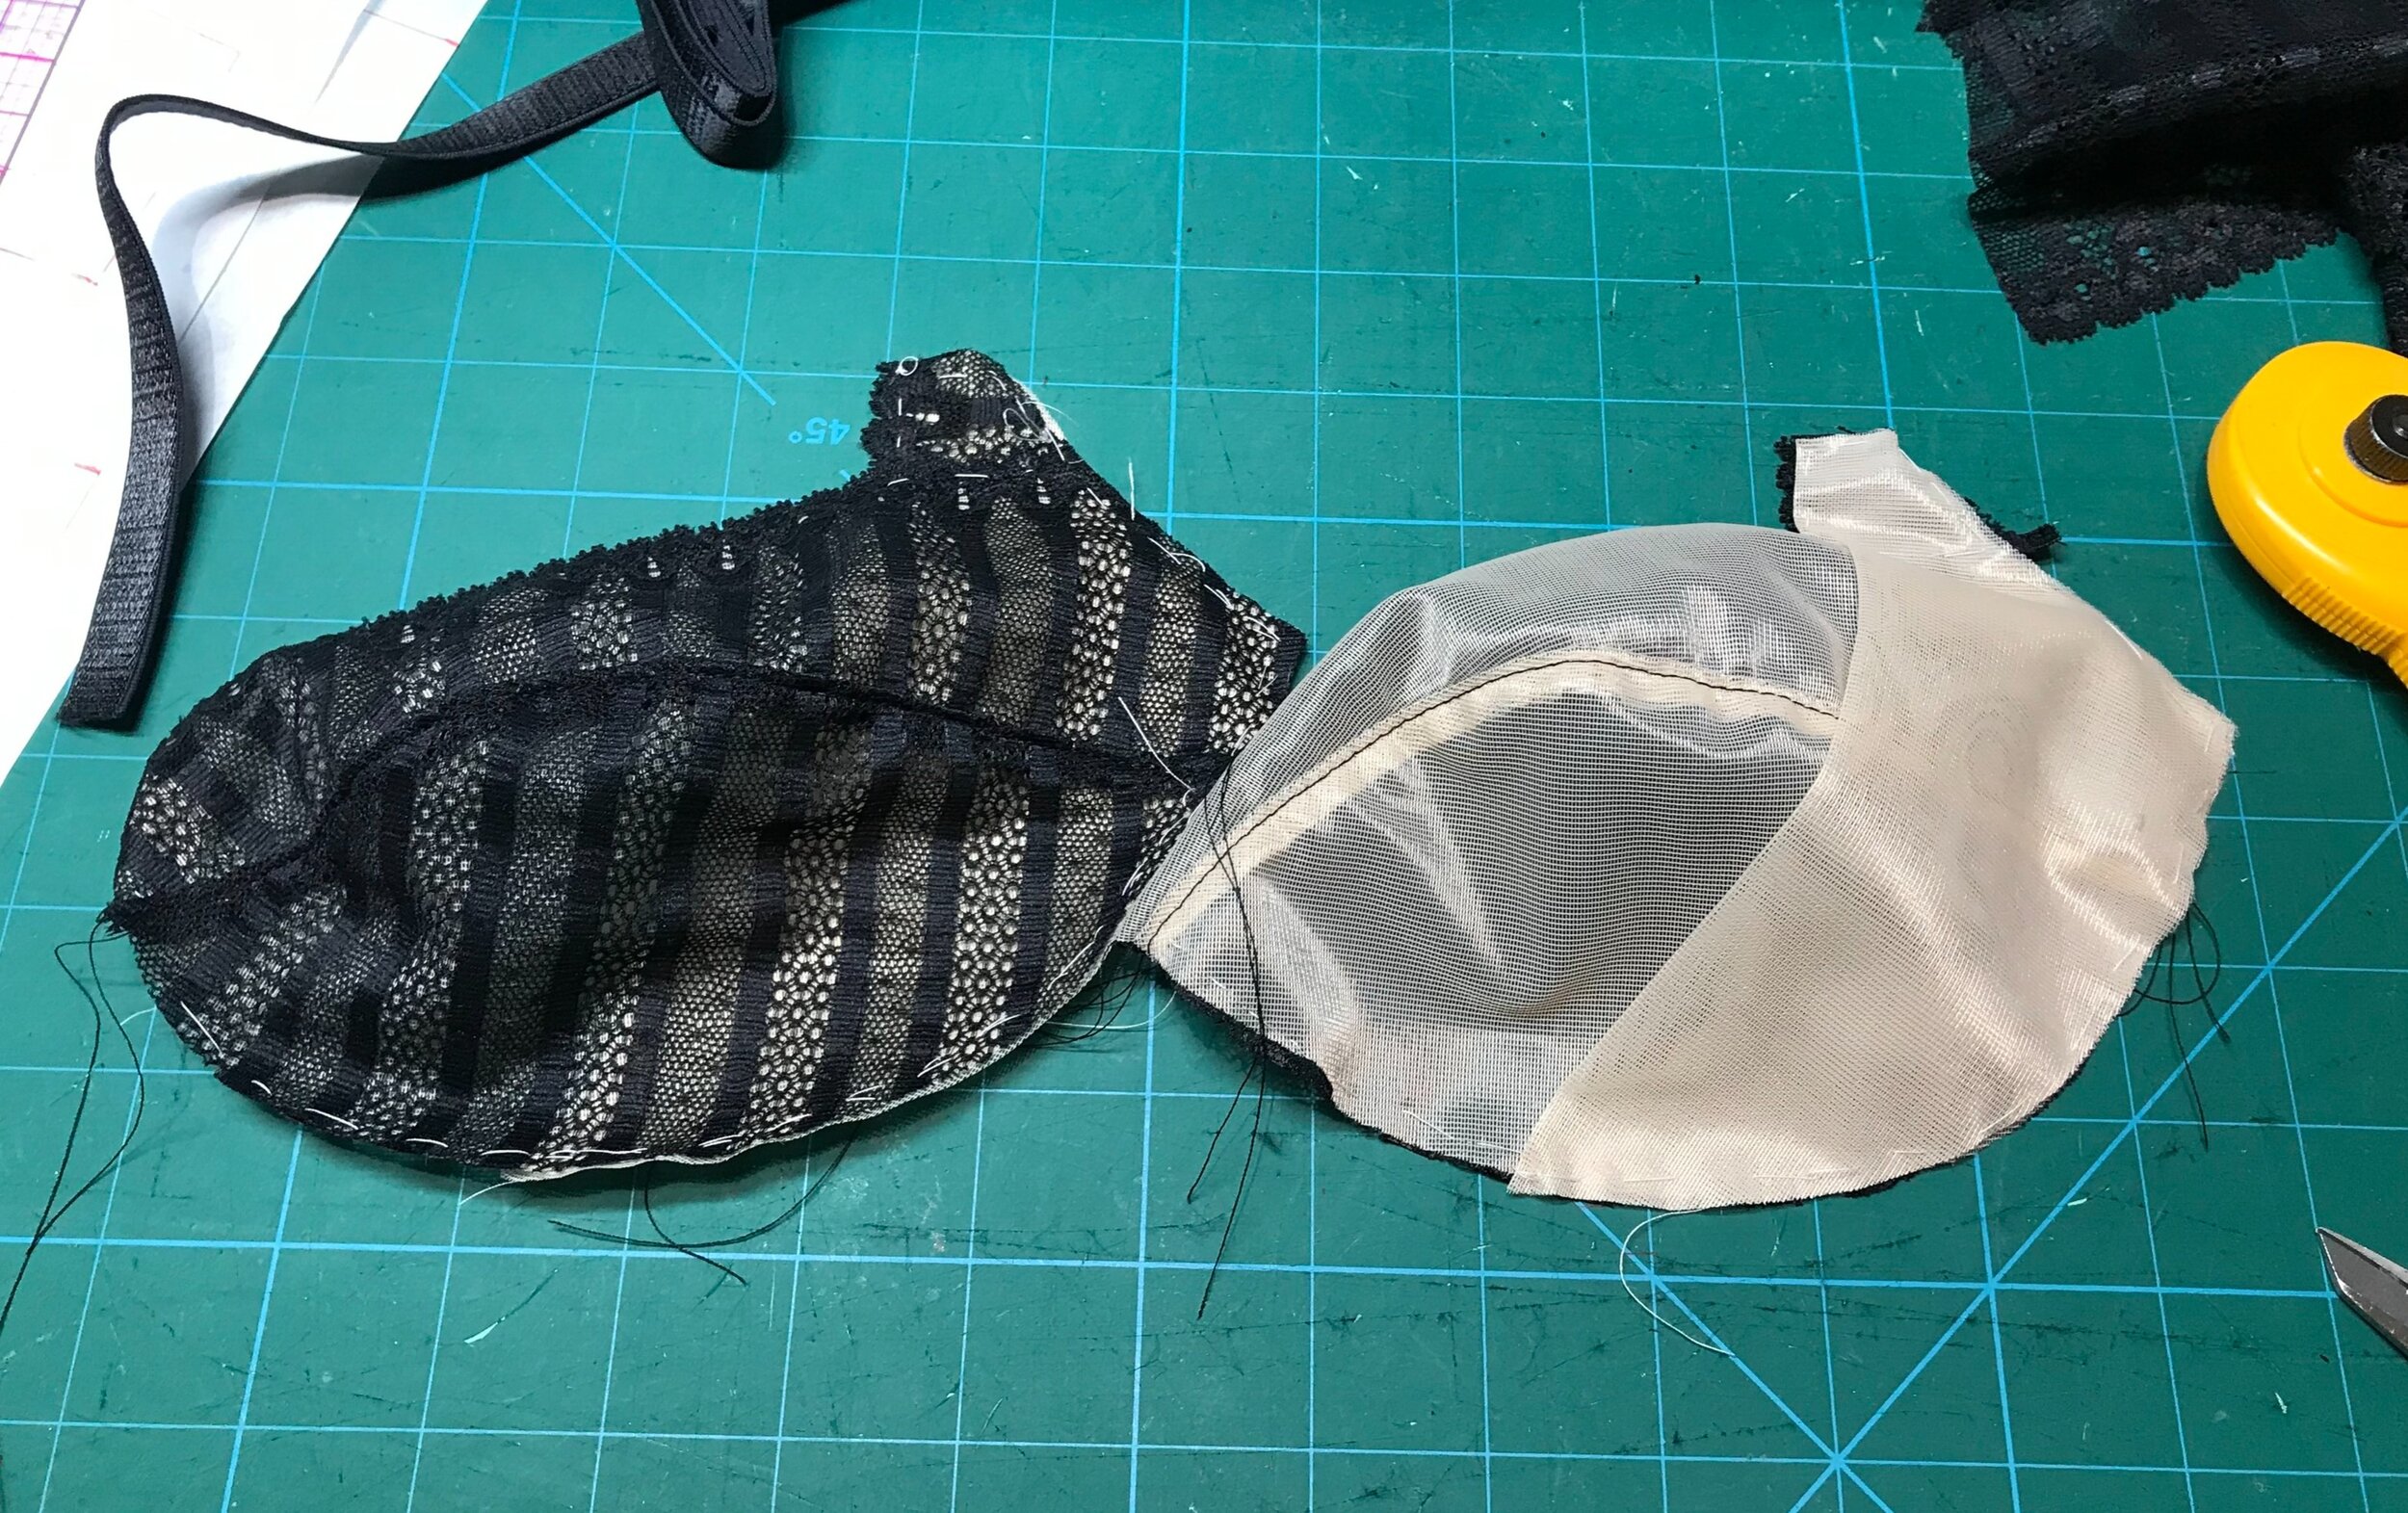
I already had a beautiful lace Black Beauty kit from Emerald Erin and I had bought some extra lace to make underwear so I thought this would be perfect. I started with the cups and had to work out how to match the stripes on a curve. I couldn’t match all the way around but manipulated the position of the pattern piece to cover most of the seam from the outer edge that became a chevron at the centre front. I wanted to keep the cup sheer so I cut out the powerbar on the fold of the sheer lining and added a strip of lace to the strap area so that I could stitch through the upper cup edge to secure.

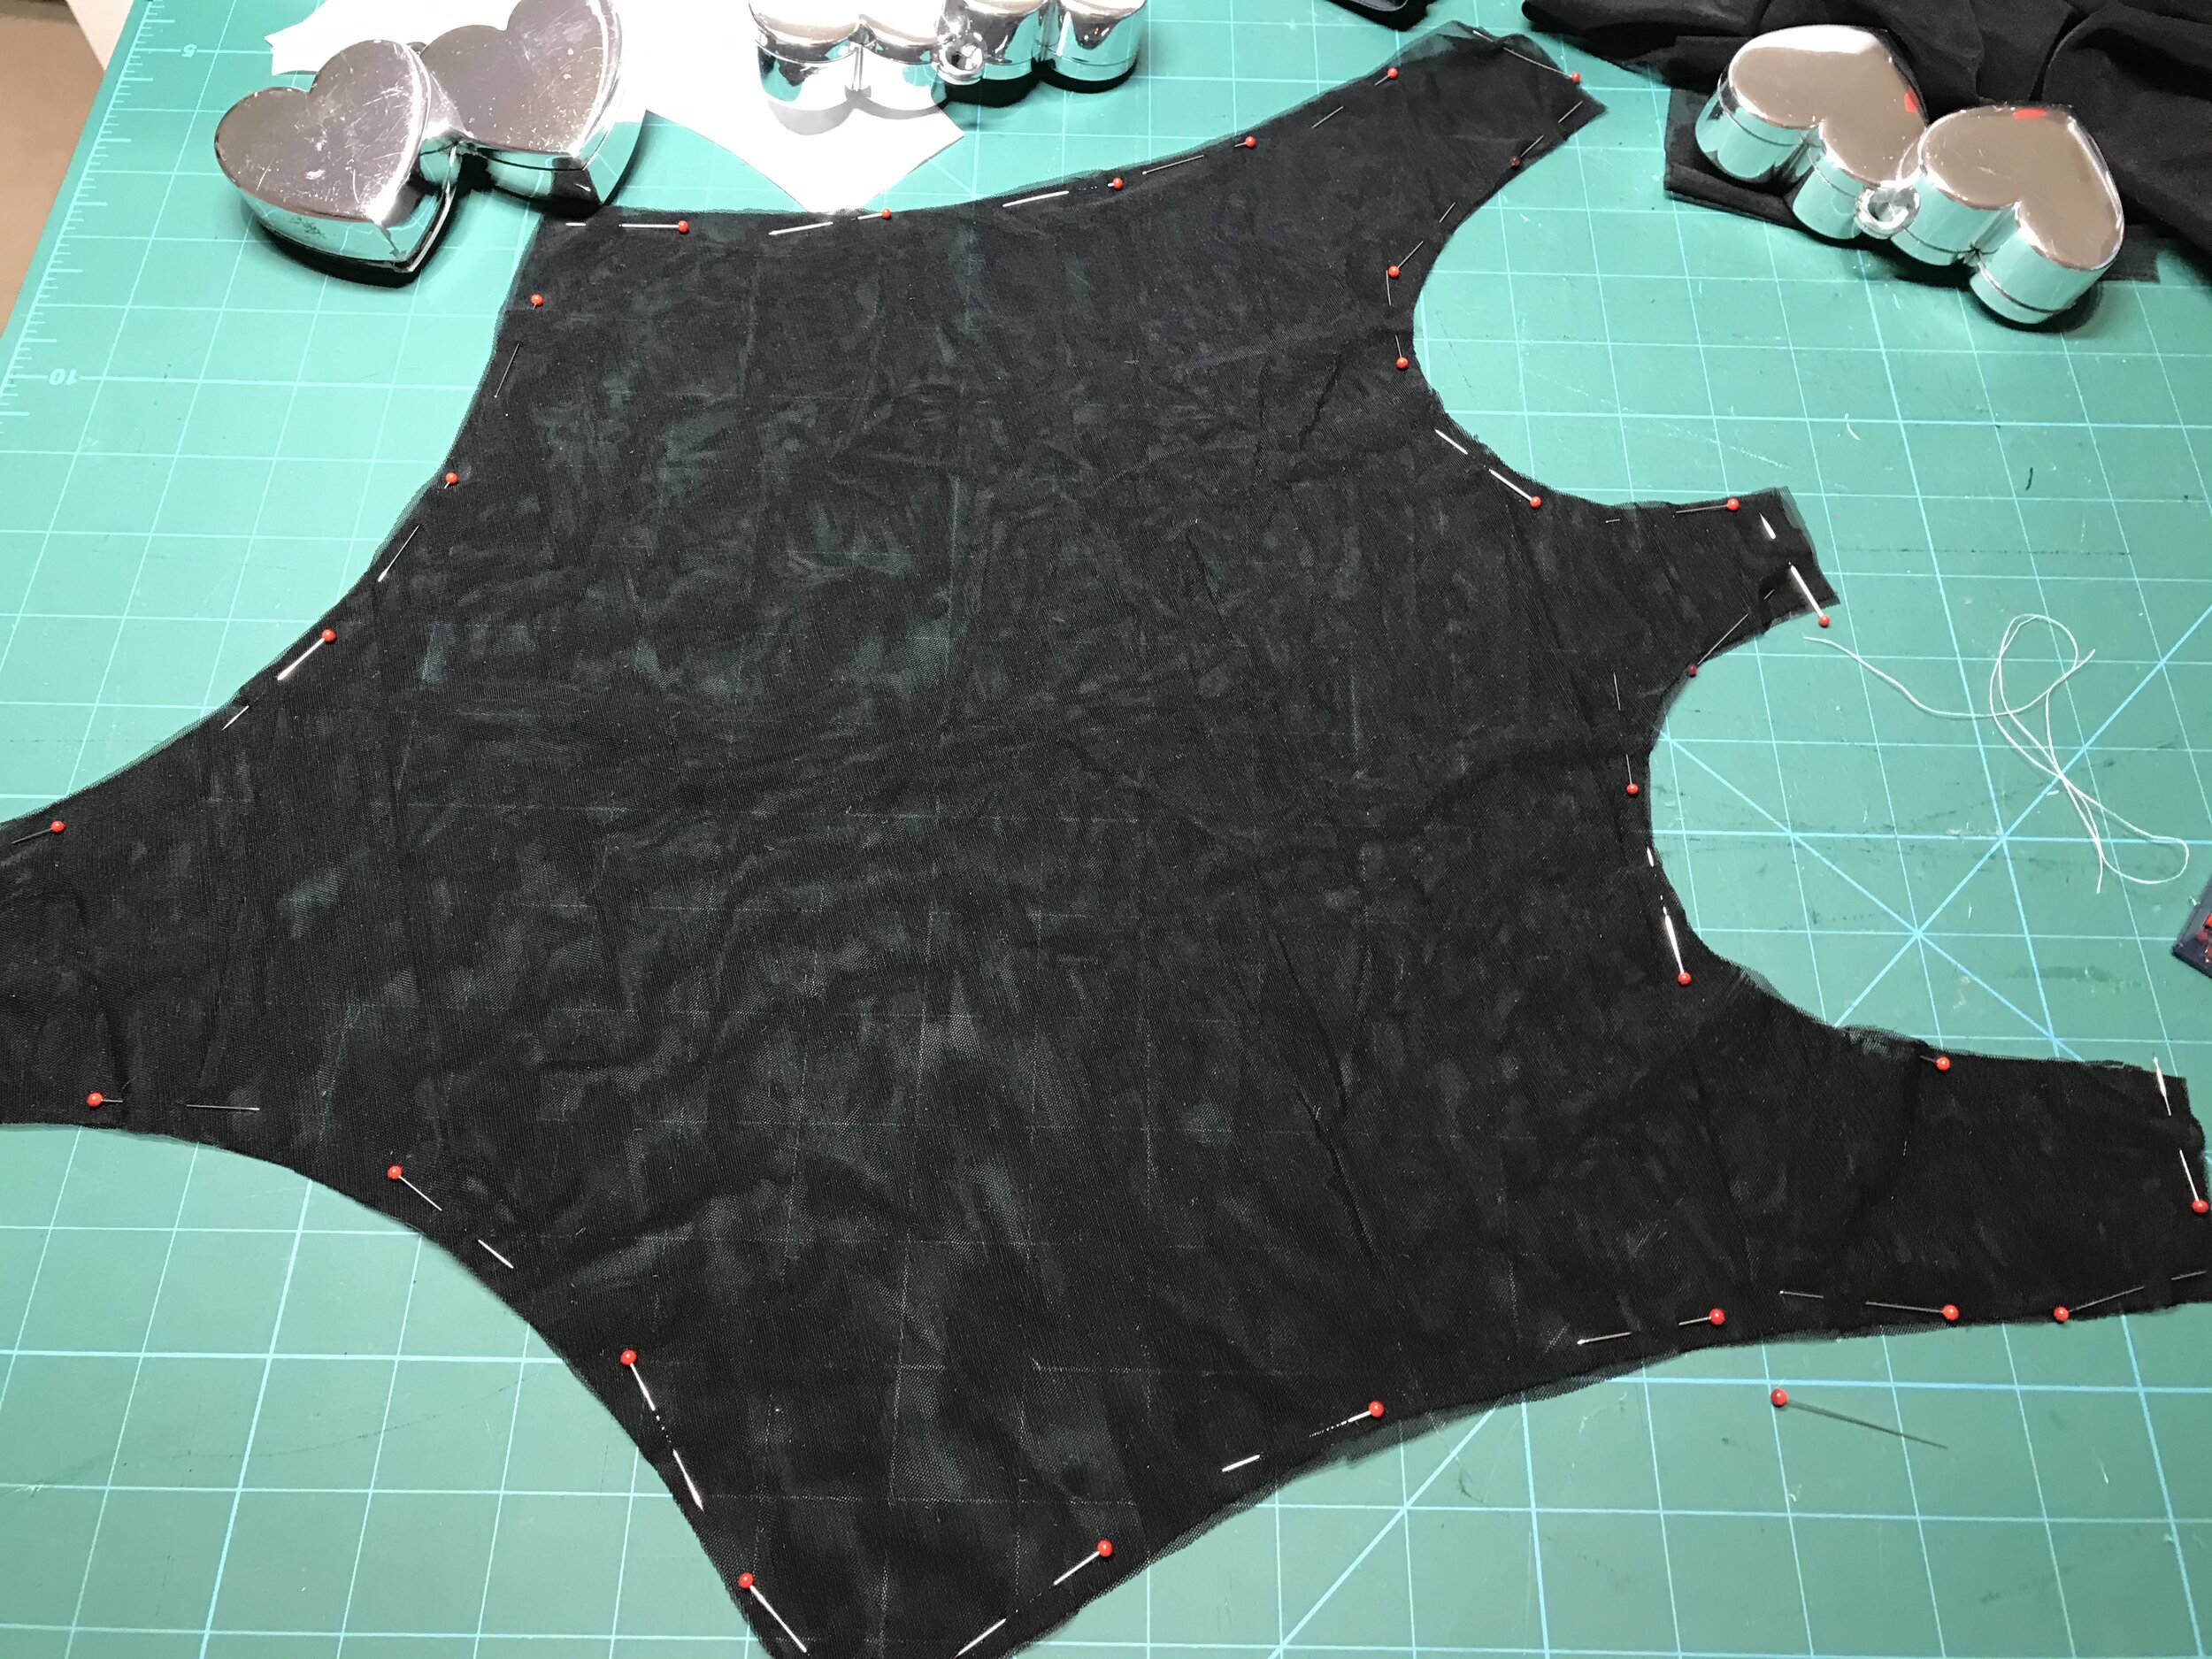
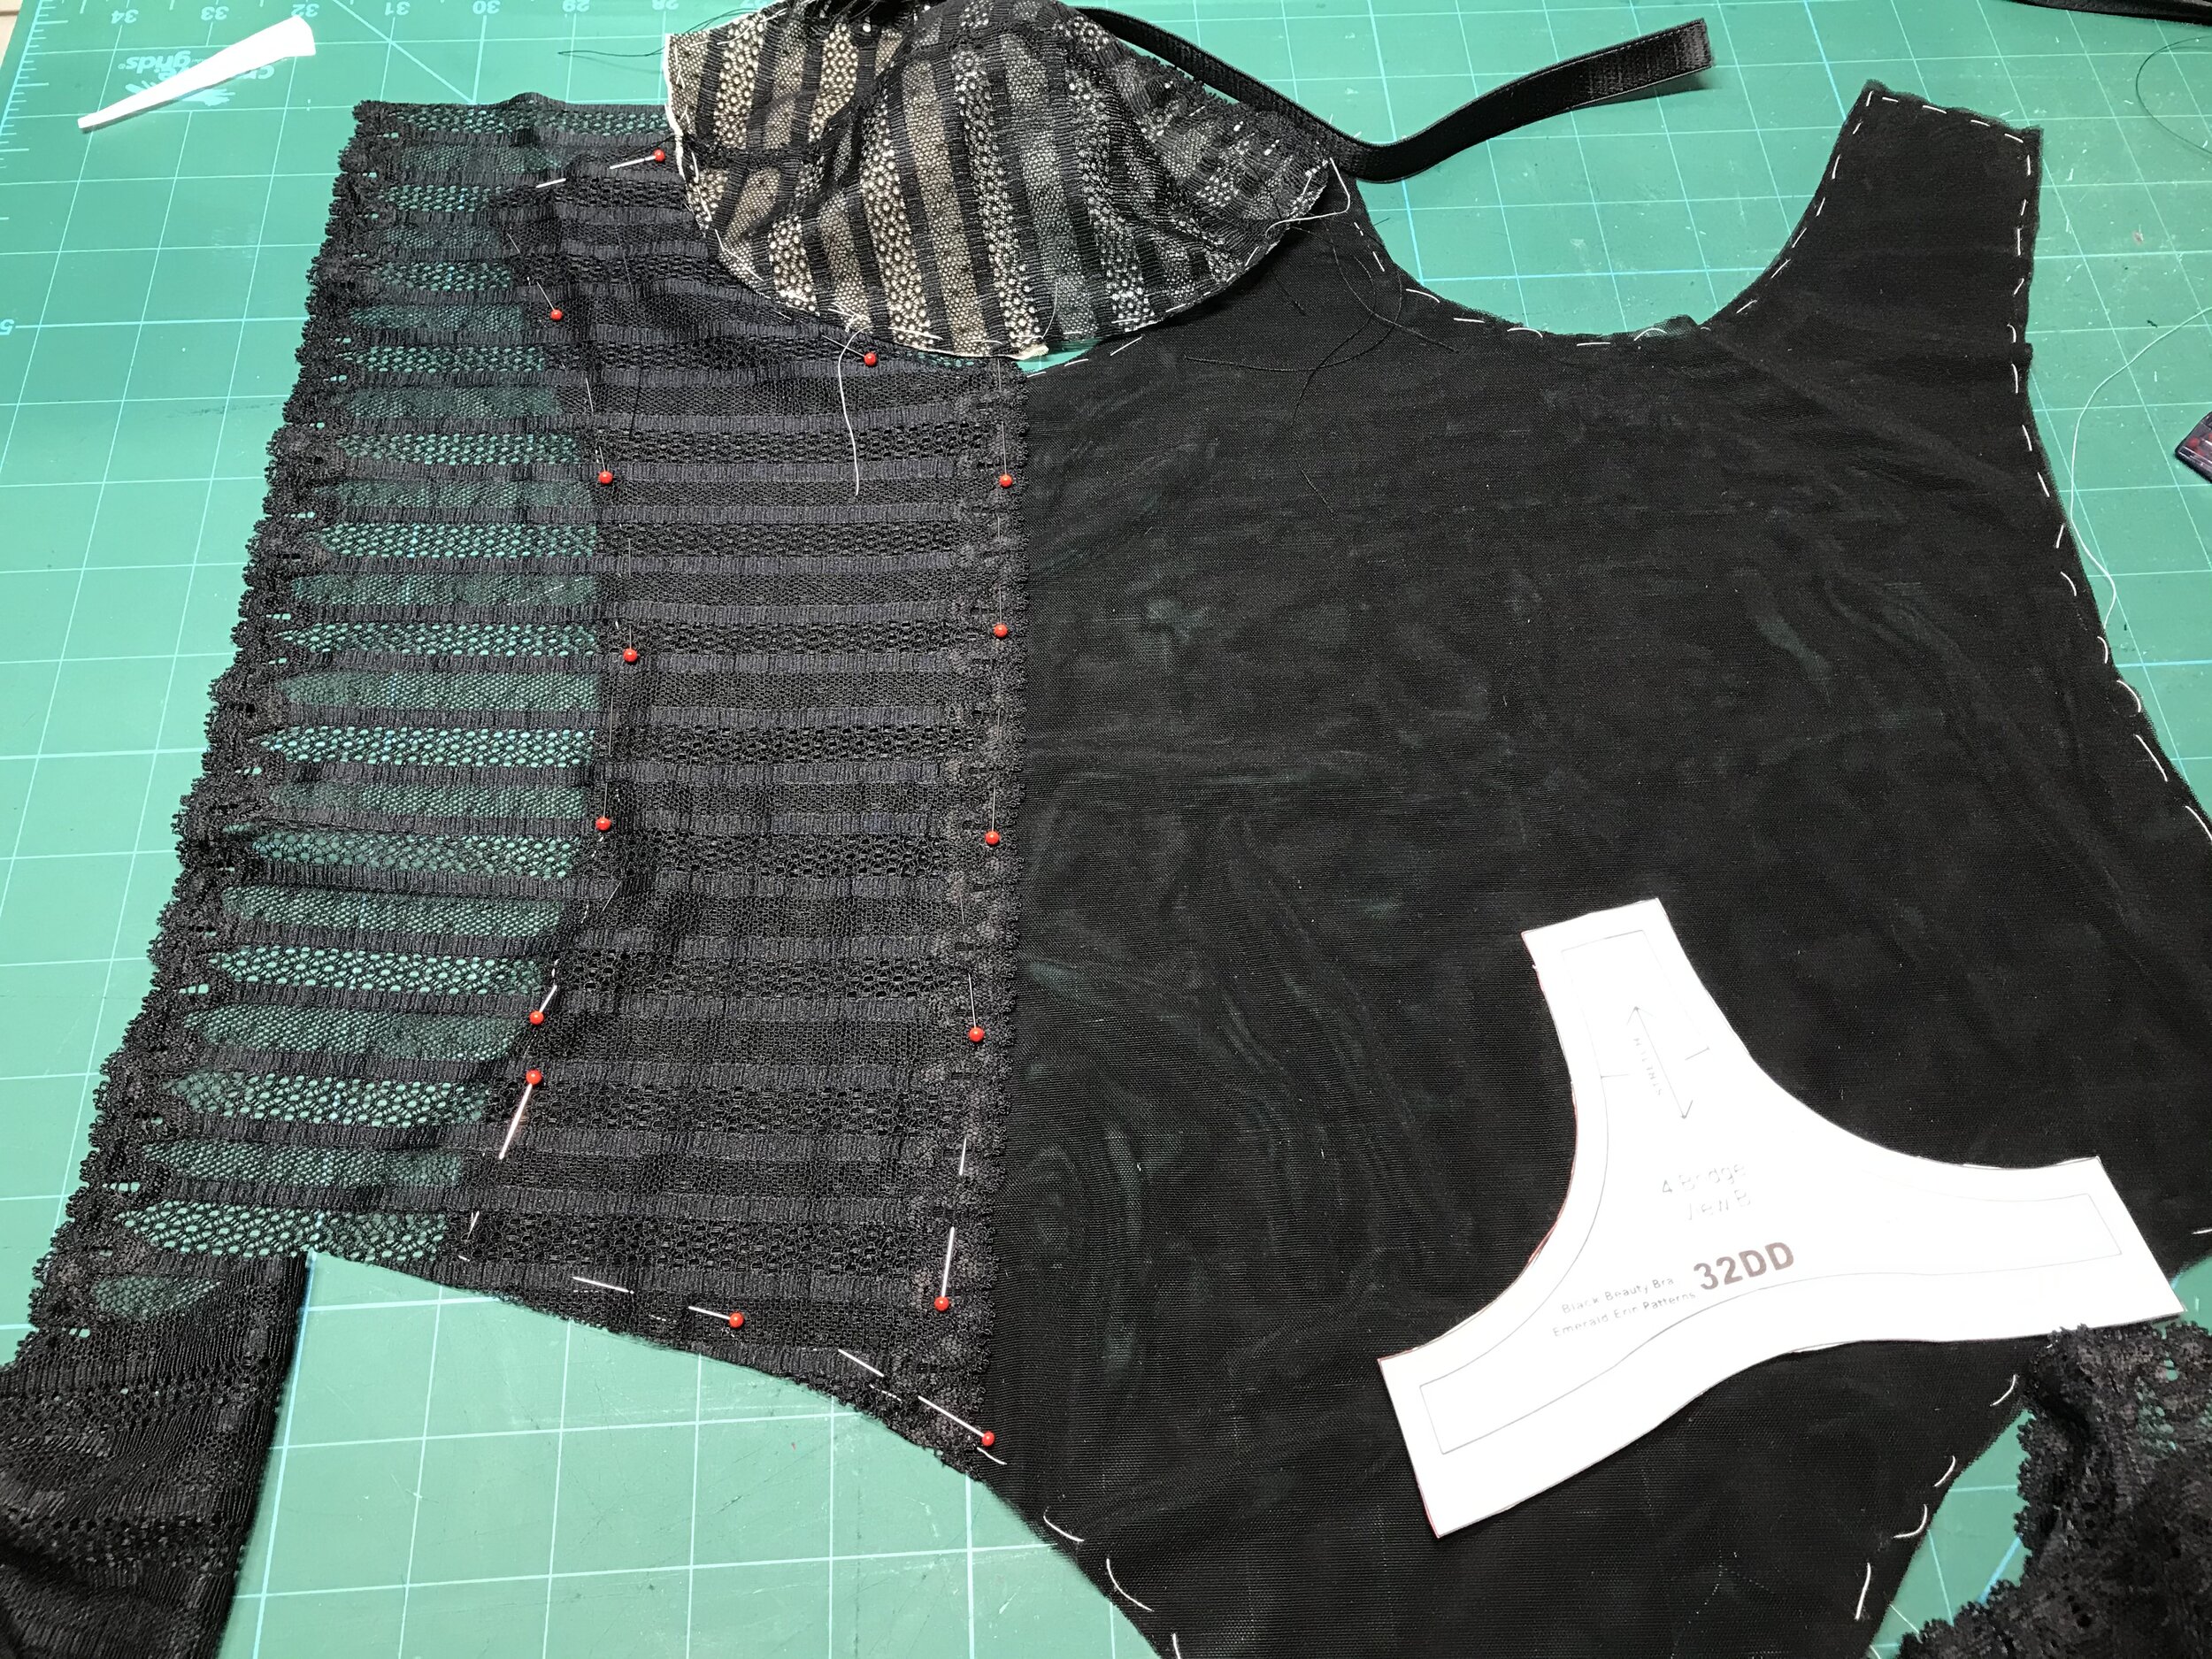
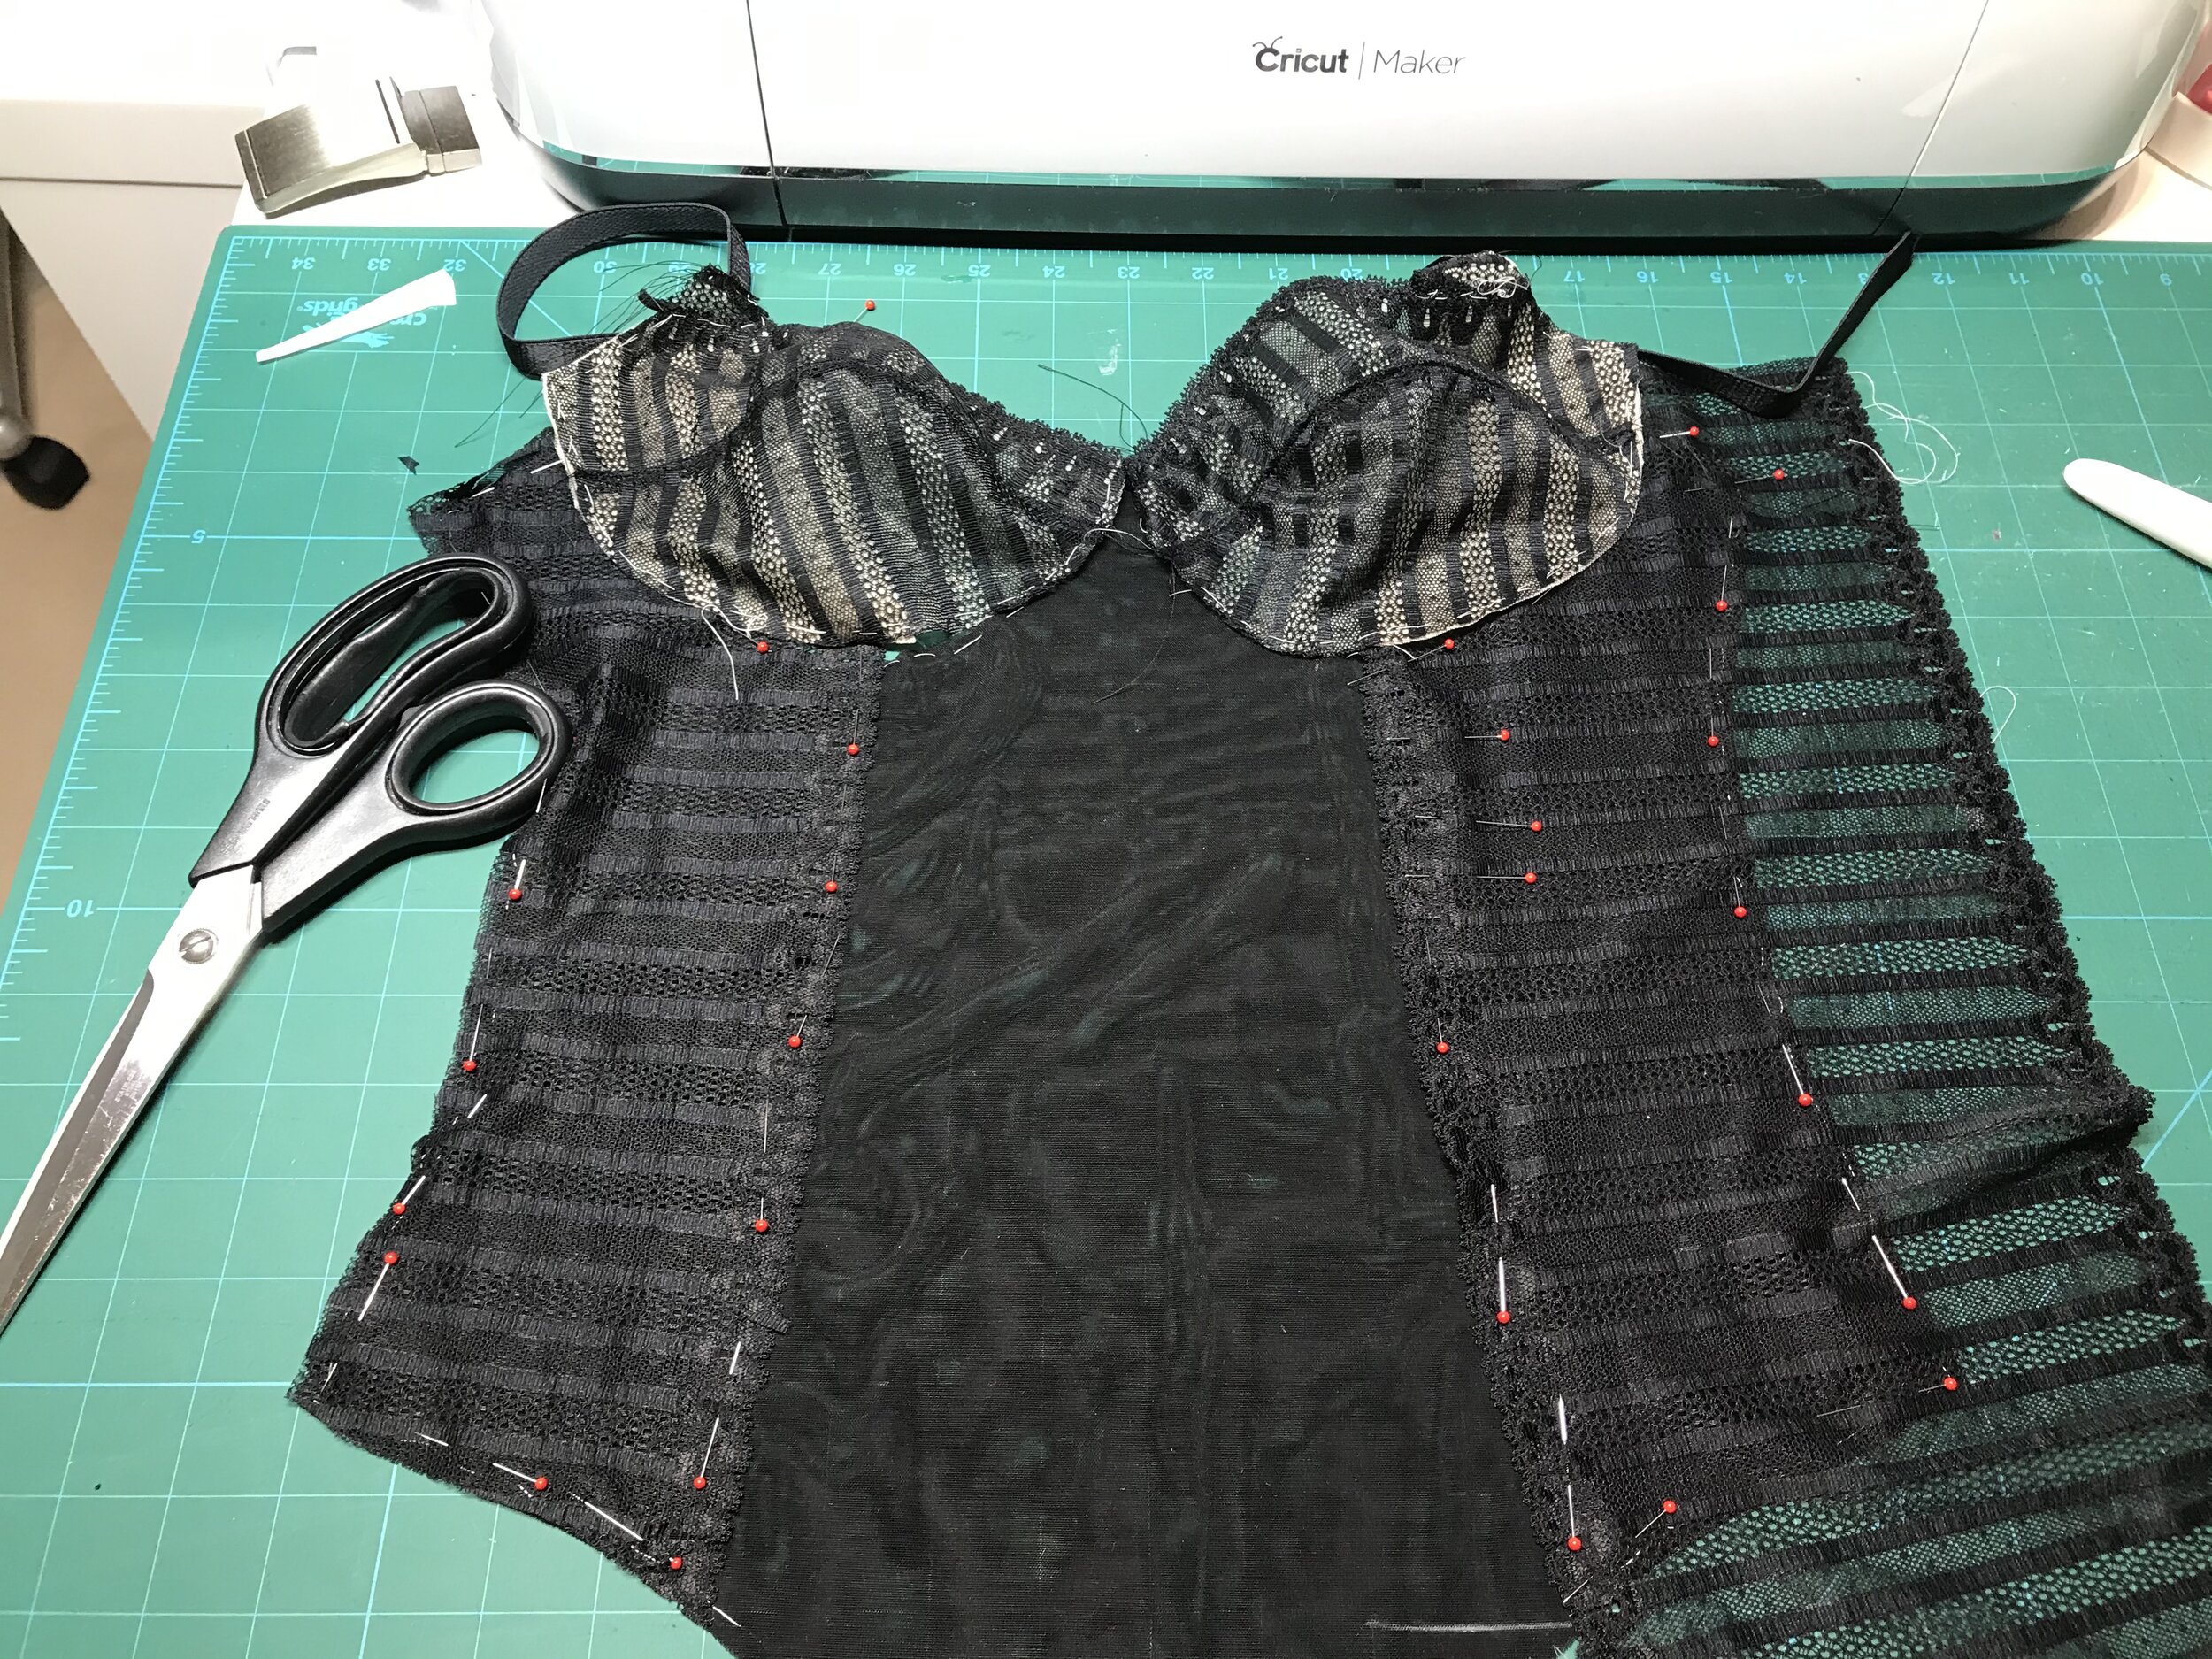
For the front I used two layers of super soft micro mesh again from Emerald Erin which I hand stitched together. I then laid the lace over the mesh and pinned in place to cover as much as possible before hand stitching in place before I cut around and secured in place down the centre front. I did the same for the other side making sure the stripes lined up all the way down. Next I made a frame in sheer lining and attached the band elastic to just this so it would be free floating keeping the sheer look from the front. Once joined at the bridge I flipped over and basted the remaining sides.

I made the back band with a layer of powernet and the lace making sure I had the stretch in the right direction. This means the stripes are vertical but the contrast with horizontal of lower back works well. I used a single layer of mesh for the lower back. To match the stripes on the side seam I placed the lace over the front and then placed the mesh on top of this and pinned from the back. Again I used the tape to create the closure this time using grosgrain ribbon on the front to stabilise the mesh.

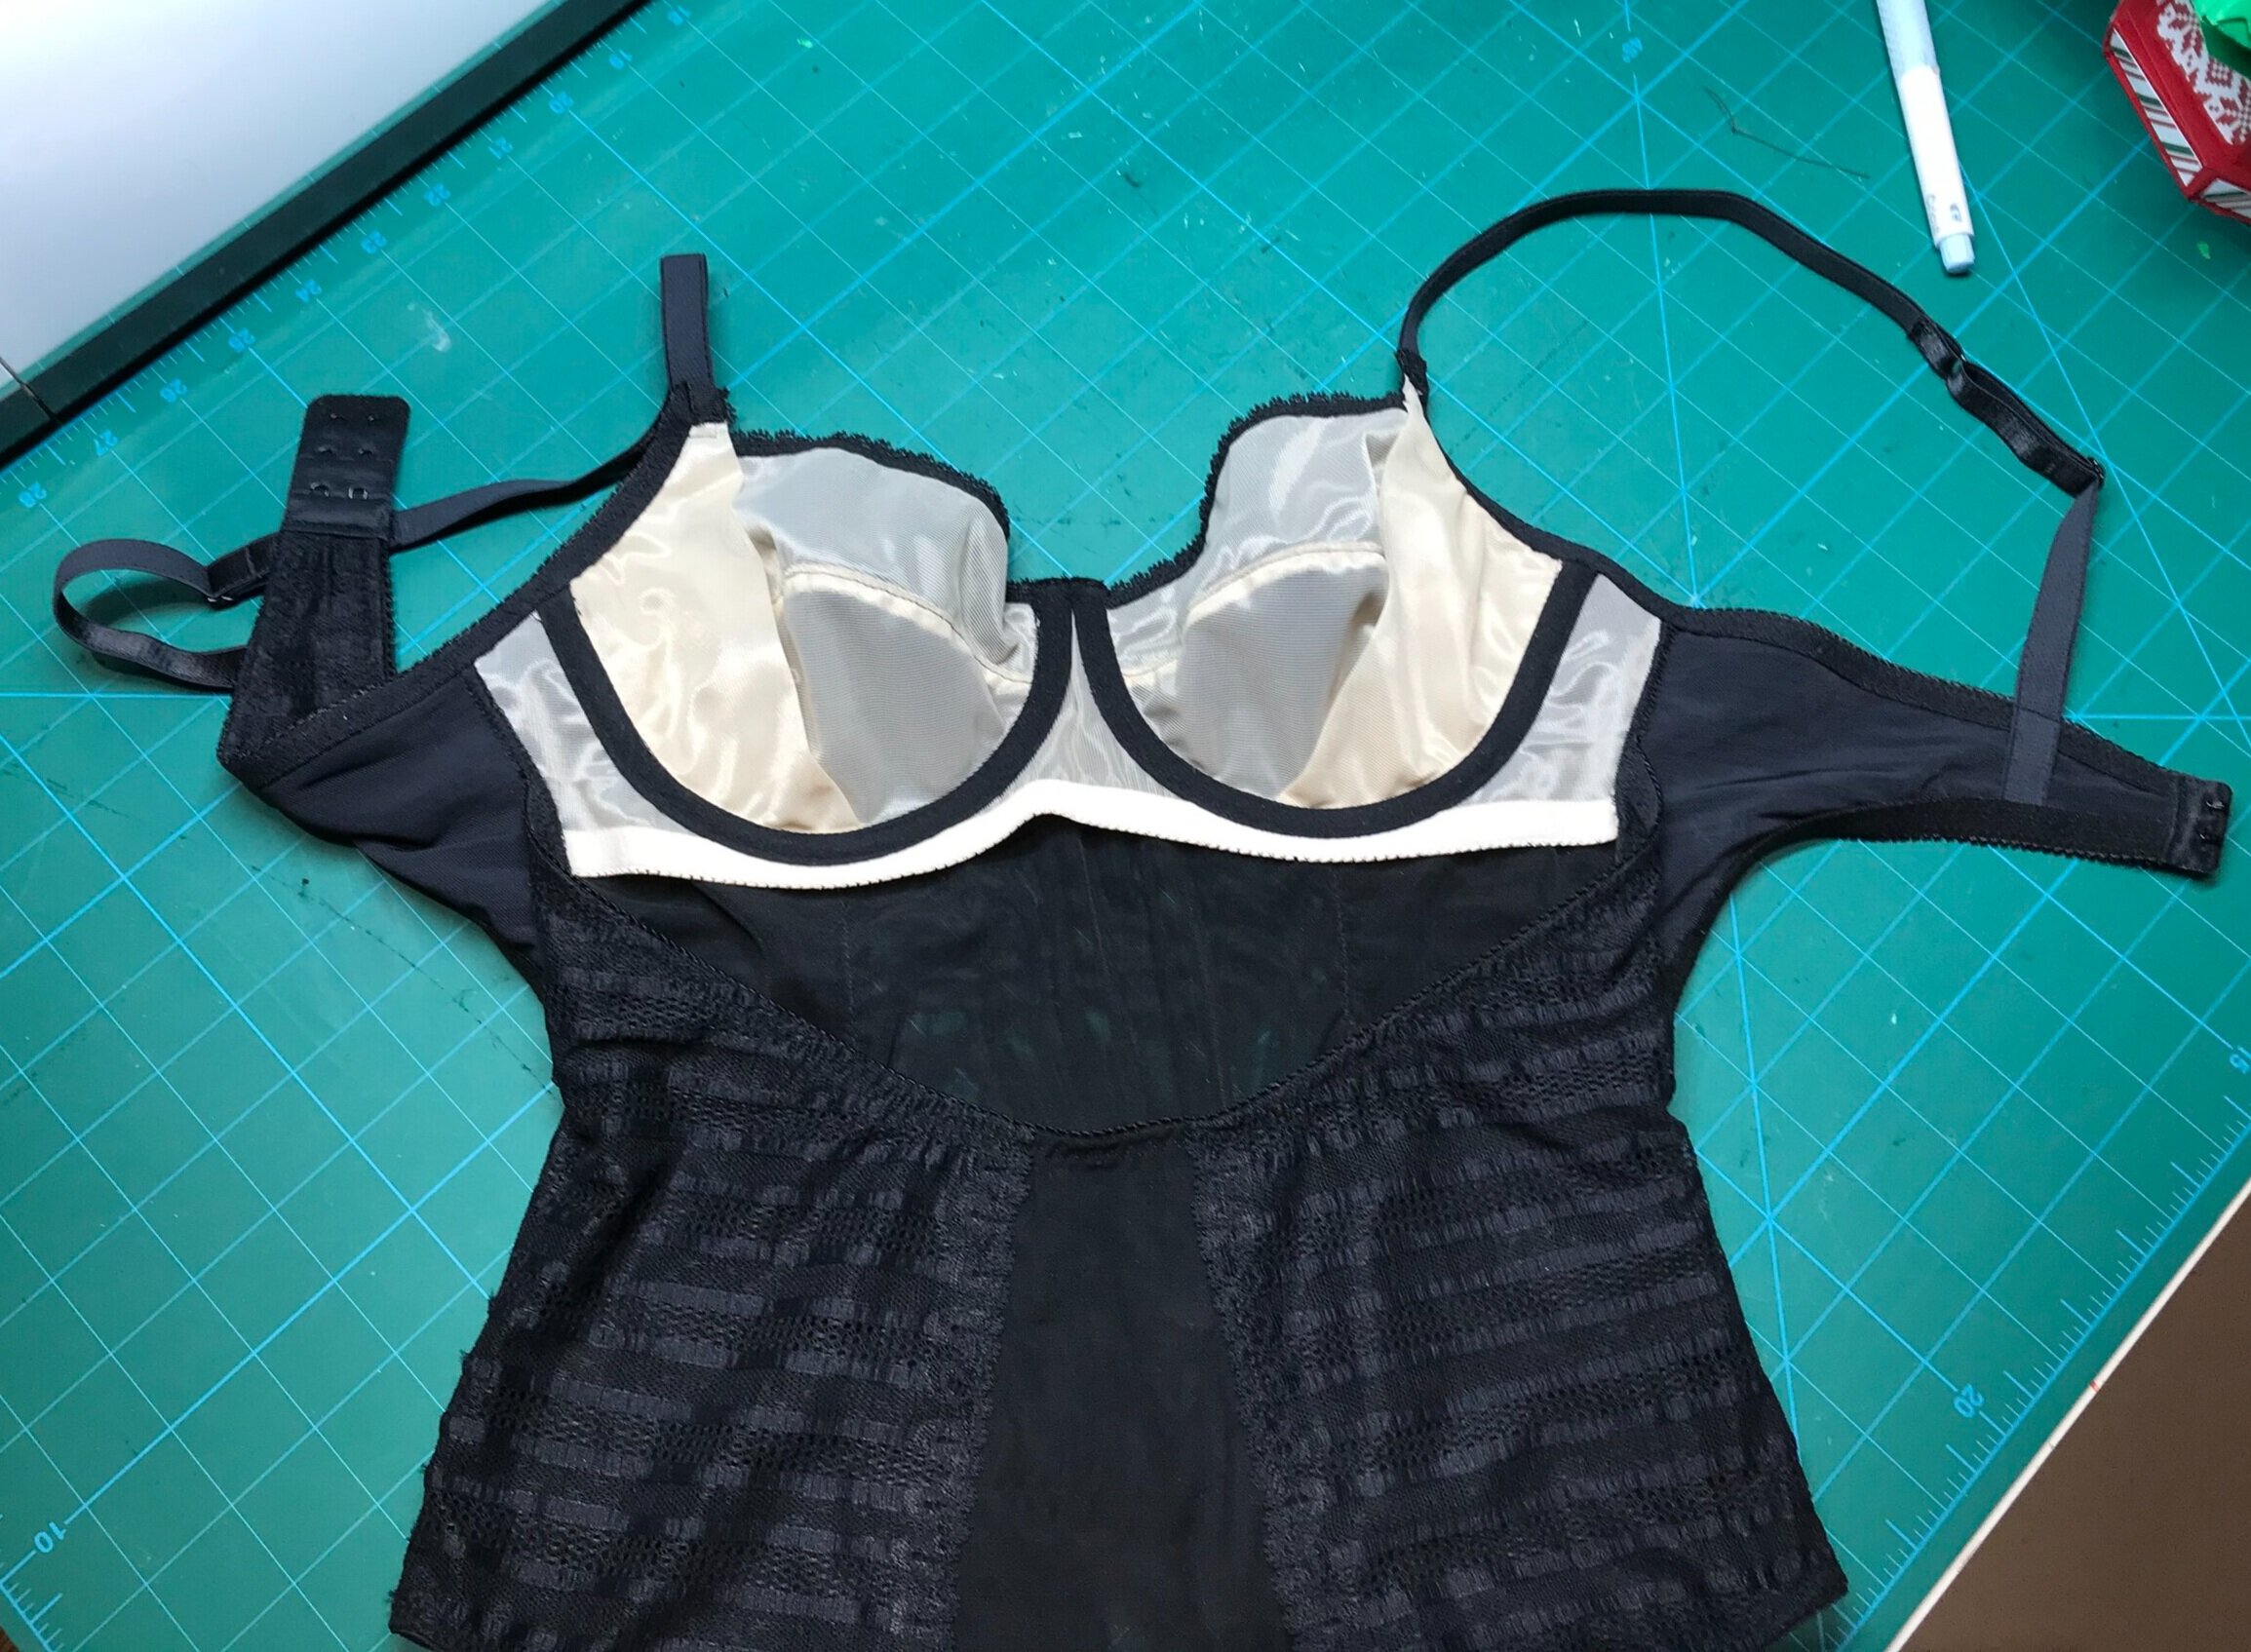
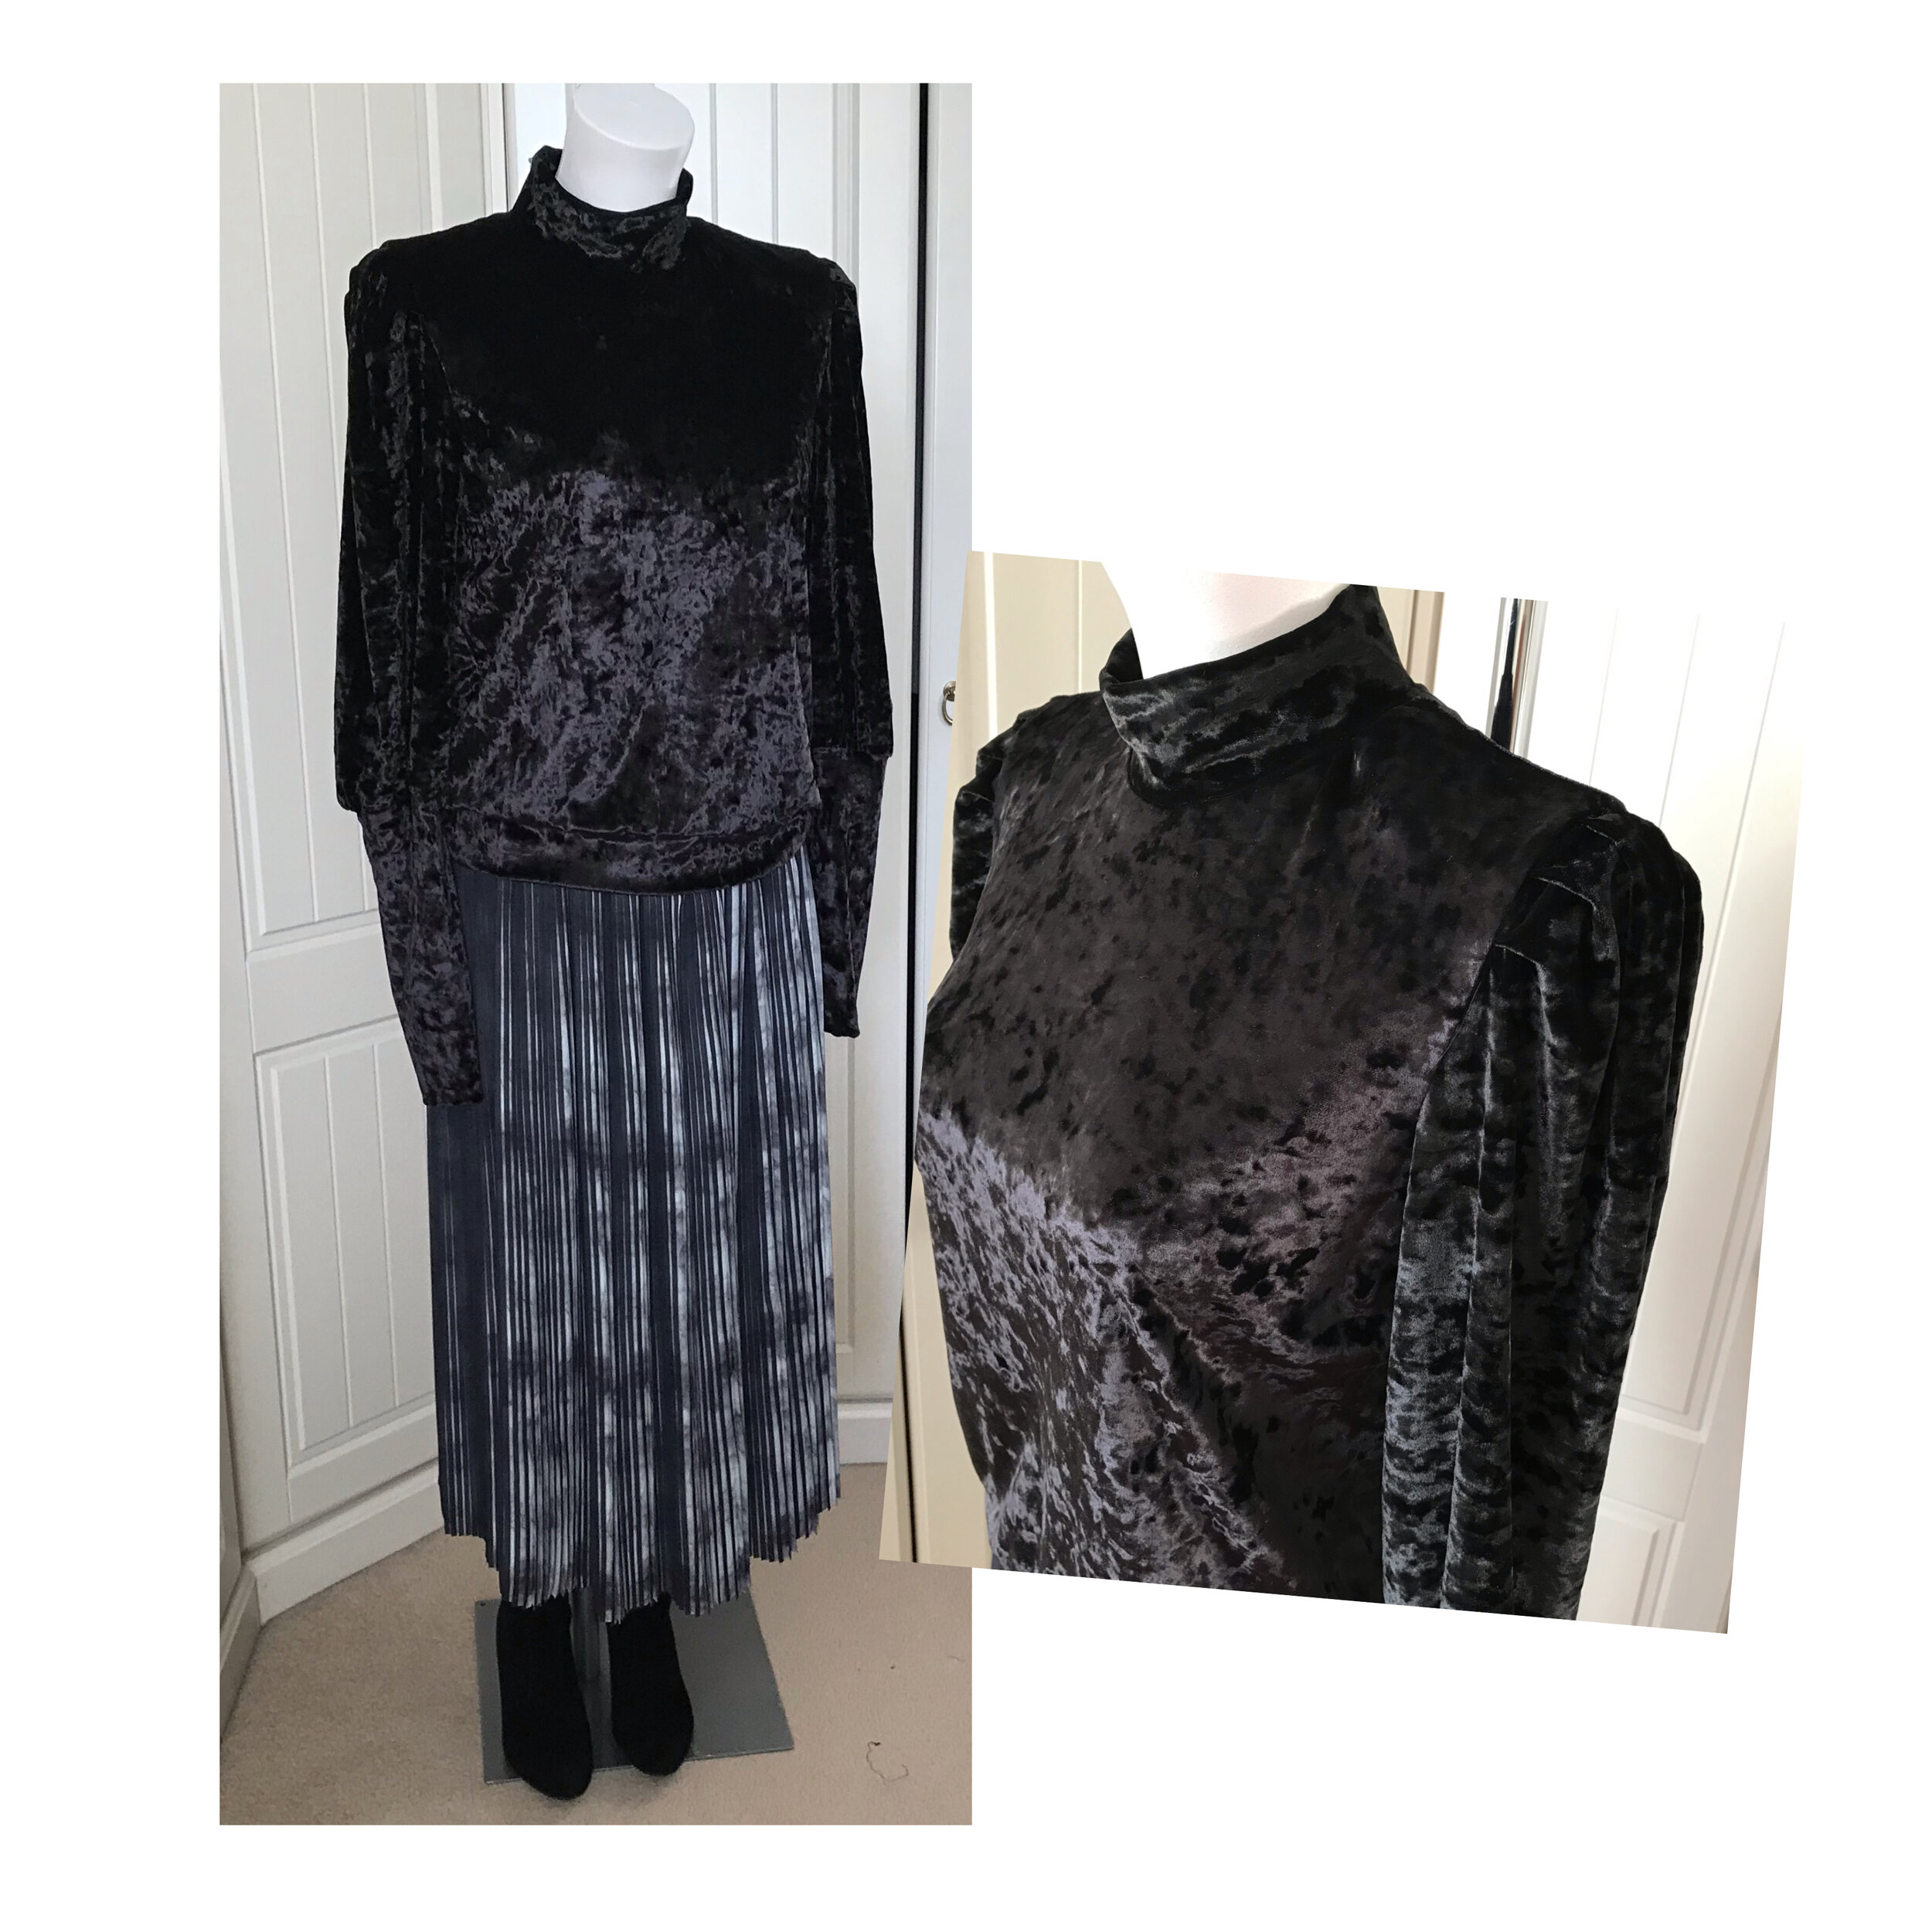
Another perfect fit so I thought I would finish with a look inside together with the outfit I have made to be worn with it on Christmas Day. The top is the Greenstyle recently released Cambria. A really versatile pattern with many options. I wanted something to sit on the hip over the skirt I had made. So this is the slimmer fit high hip length with hem band, pleated sleeve gathered into a long cuff, with mock turtle neck! The skirt is pleated fabric joined and attached to an elastic waistband. Both the stretch velvet and pleated fabric are from Sew Wardrobe.
And I think that’e enough bodysuits for 2020!

More of my favorites - Including my most perfect Black Beauty!

I thought it time to share some of my experimental makes which have gone so well. It includes a one piece darted Emerald Erin Black Beauty with a strappy Studio Costura Vera, a pin tuck Orange Lingerie Boyston and matching Montgomery as well as all versions the Studio Costura Eva. For a collection I added the Studio Costura Mara and Stella.
Read More

Who needs a reason to make more lingerie!

I don’t but I have lost so much weight since I have been back in the gym that nothing really fits so August turned into a bit of a lingerie sewing marathon. Luckily I have a stack of patterns to work with but picked up a few more along the way. So here are a few of my makes.

Read More