Meet the Vivien Bra - a stunning new pattern by Annie and Myras

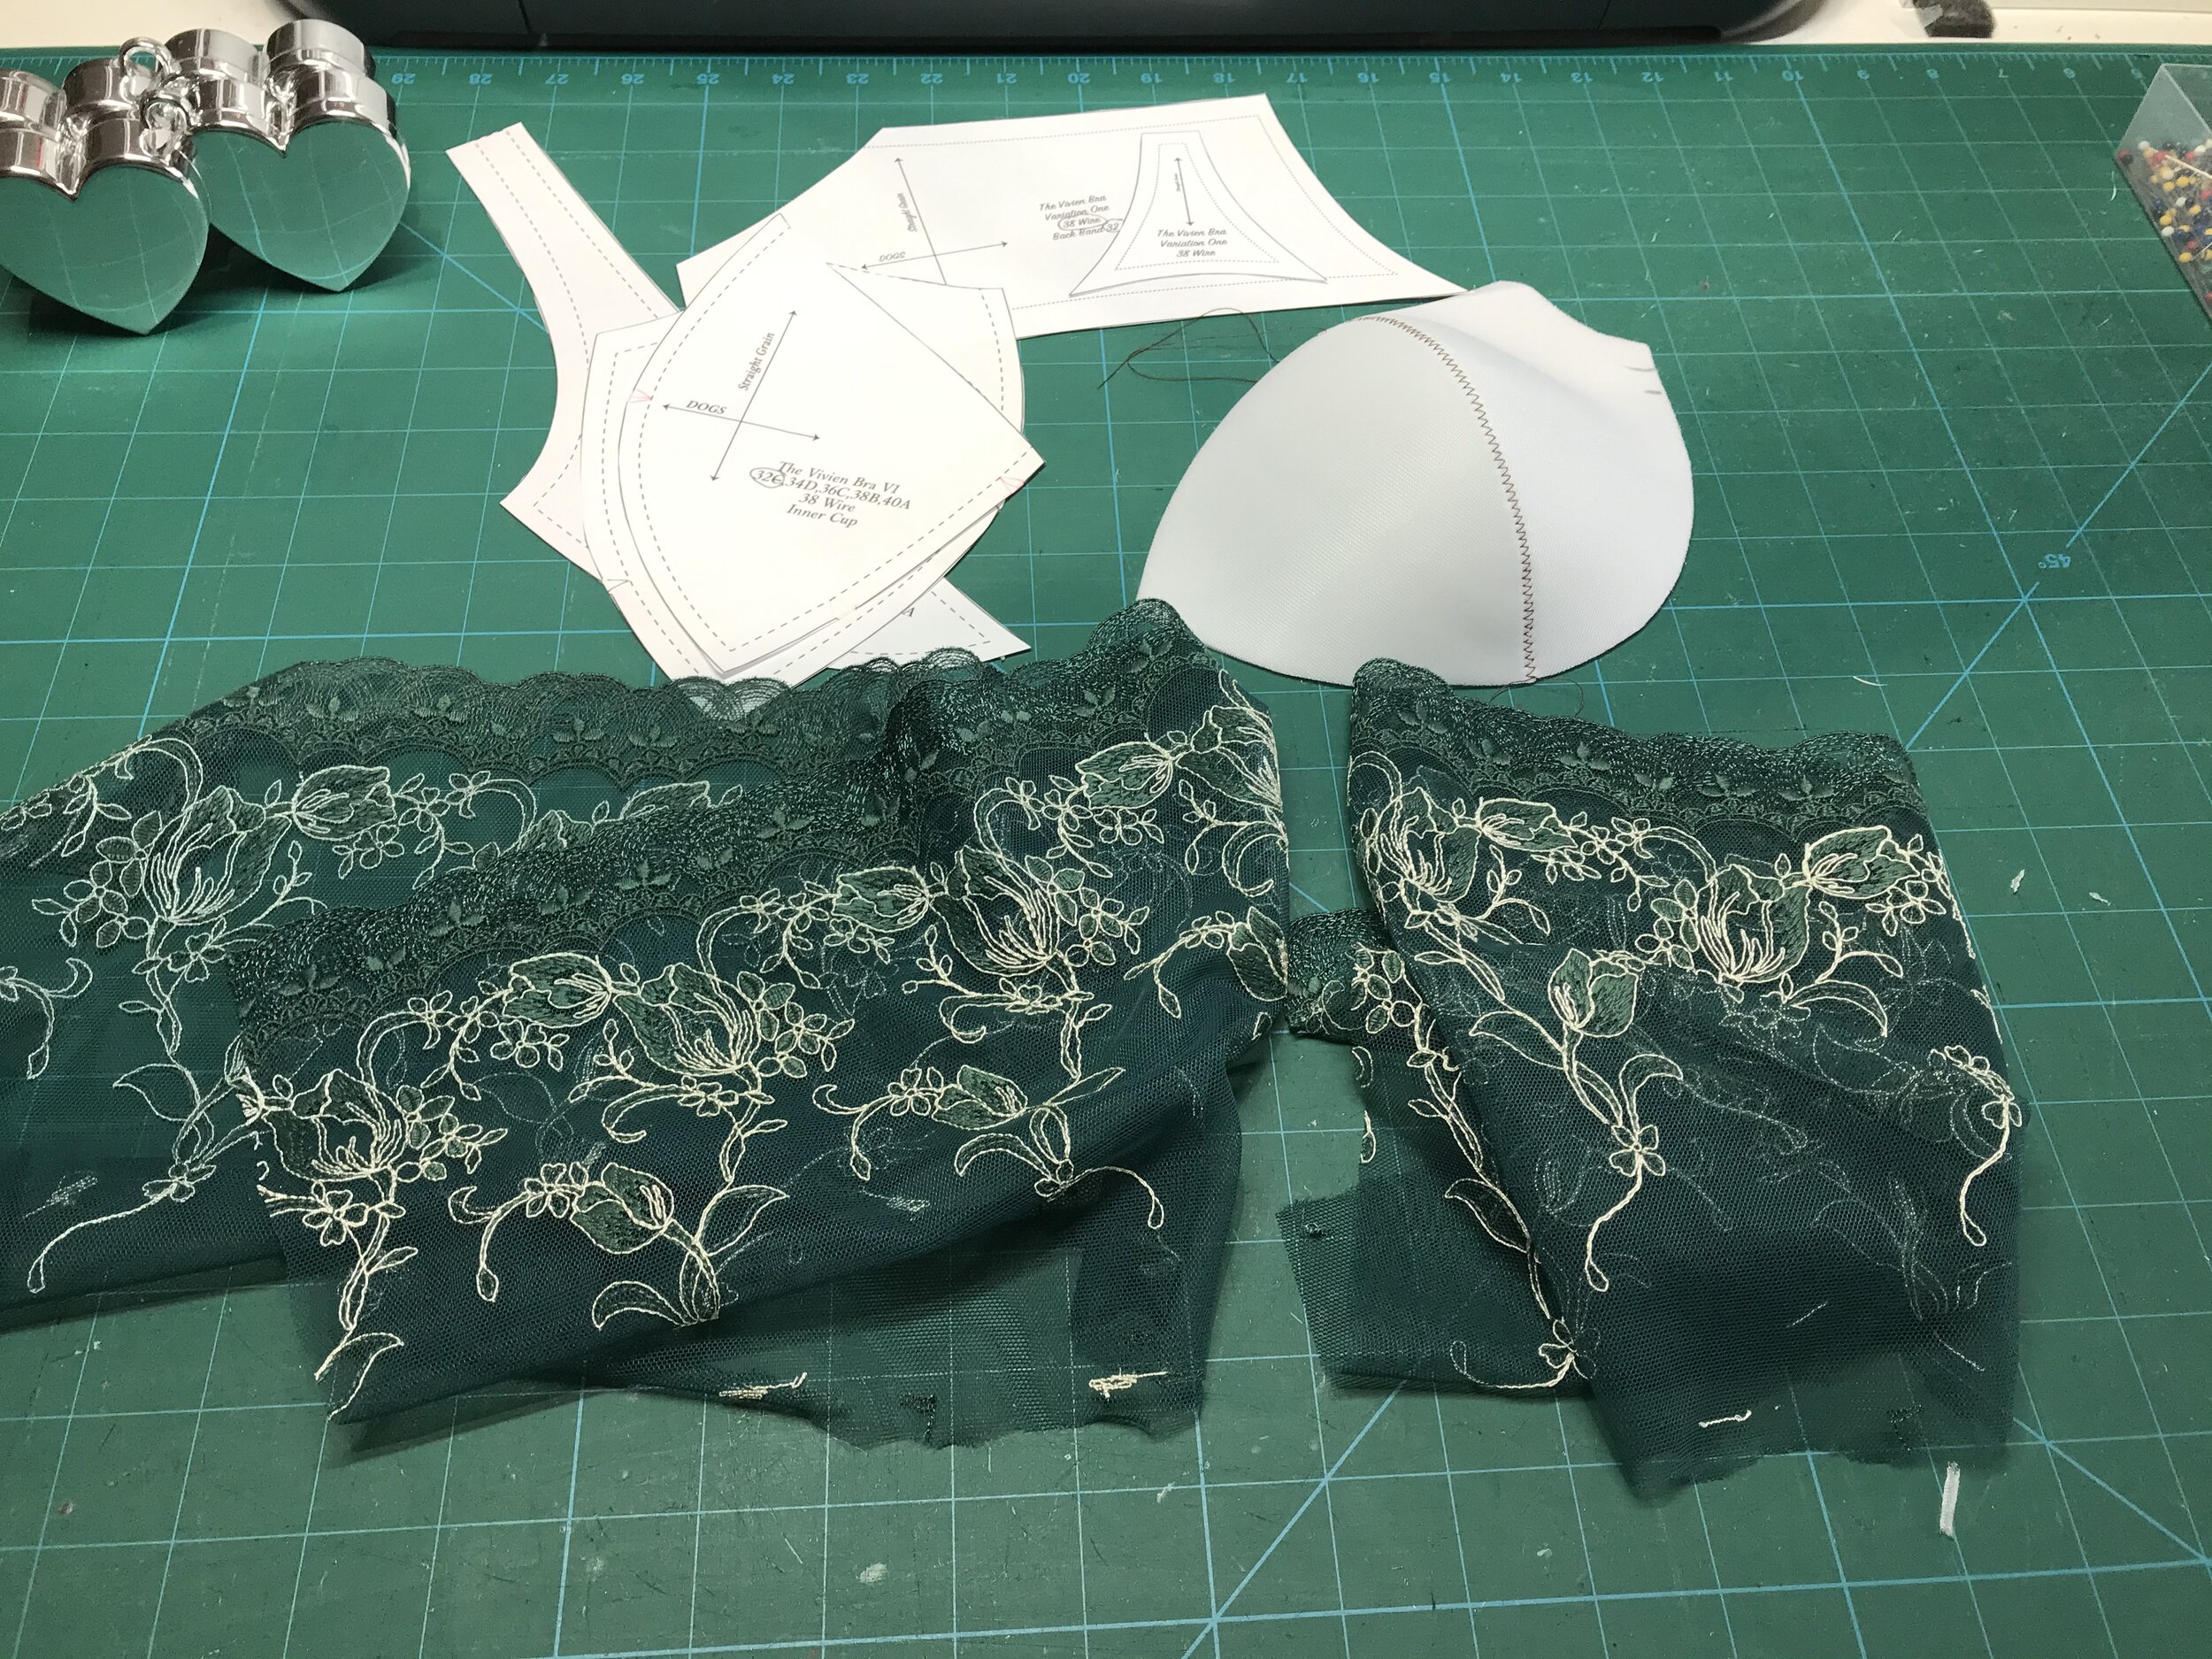
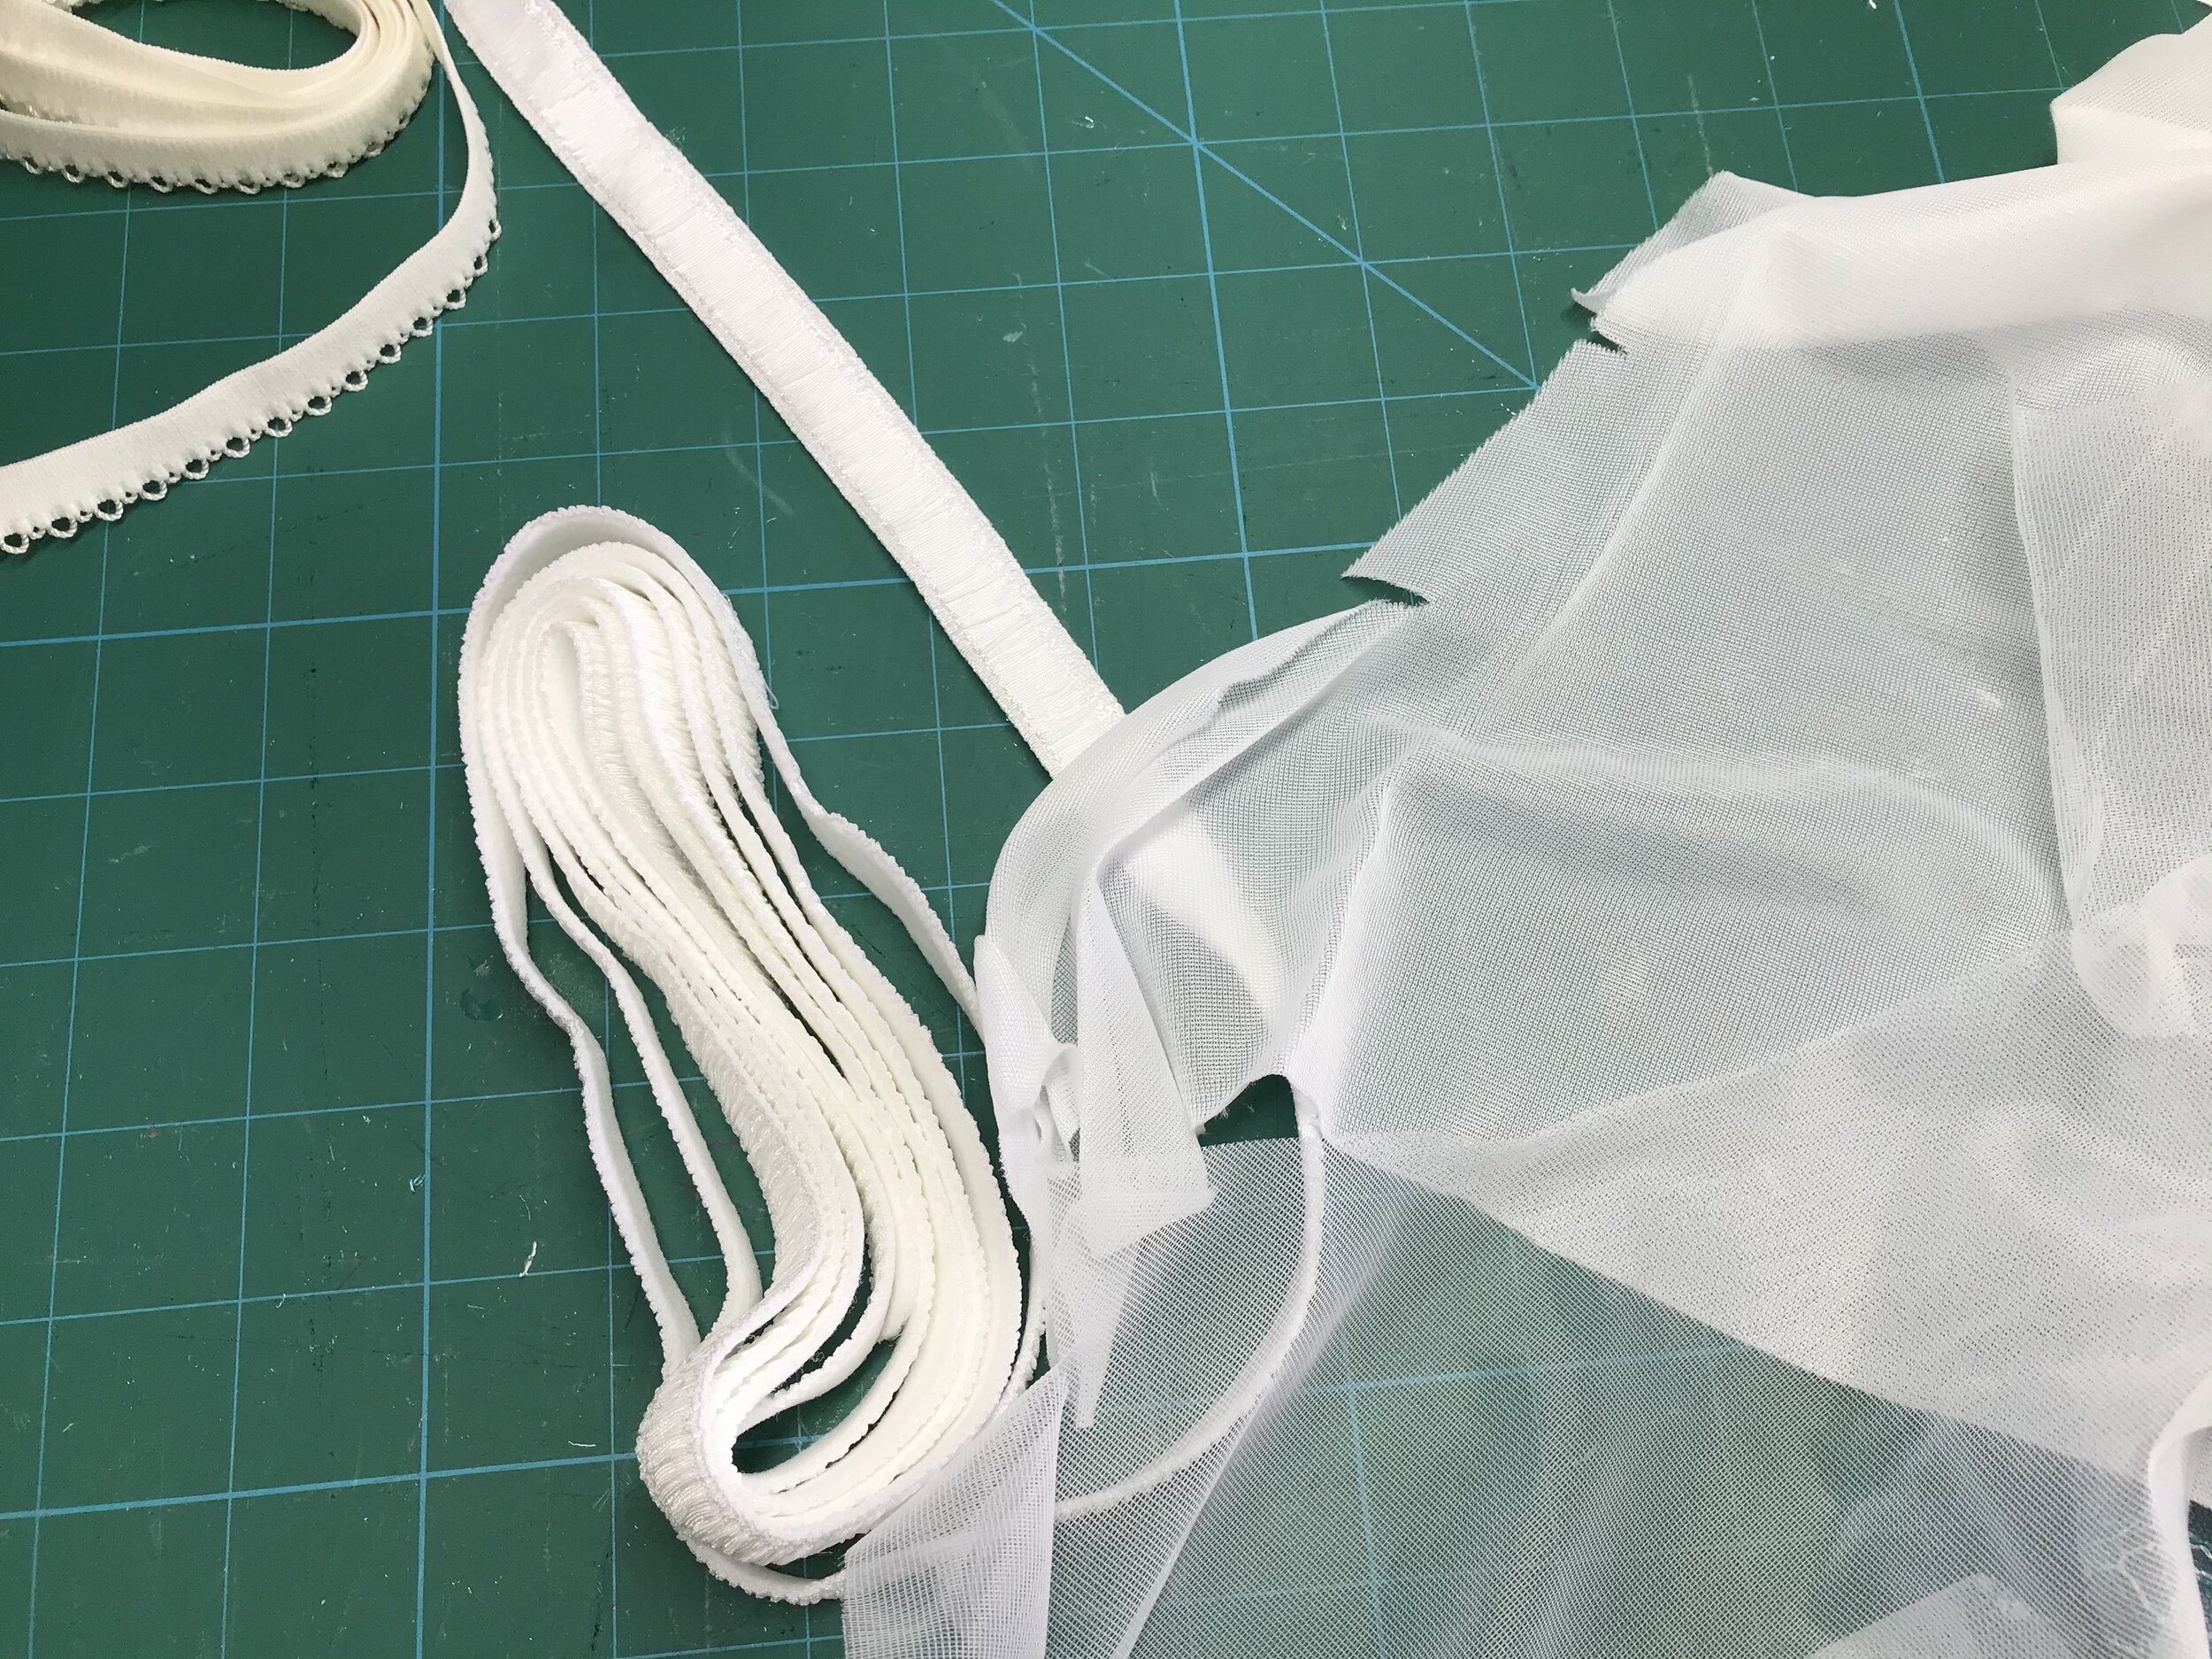
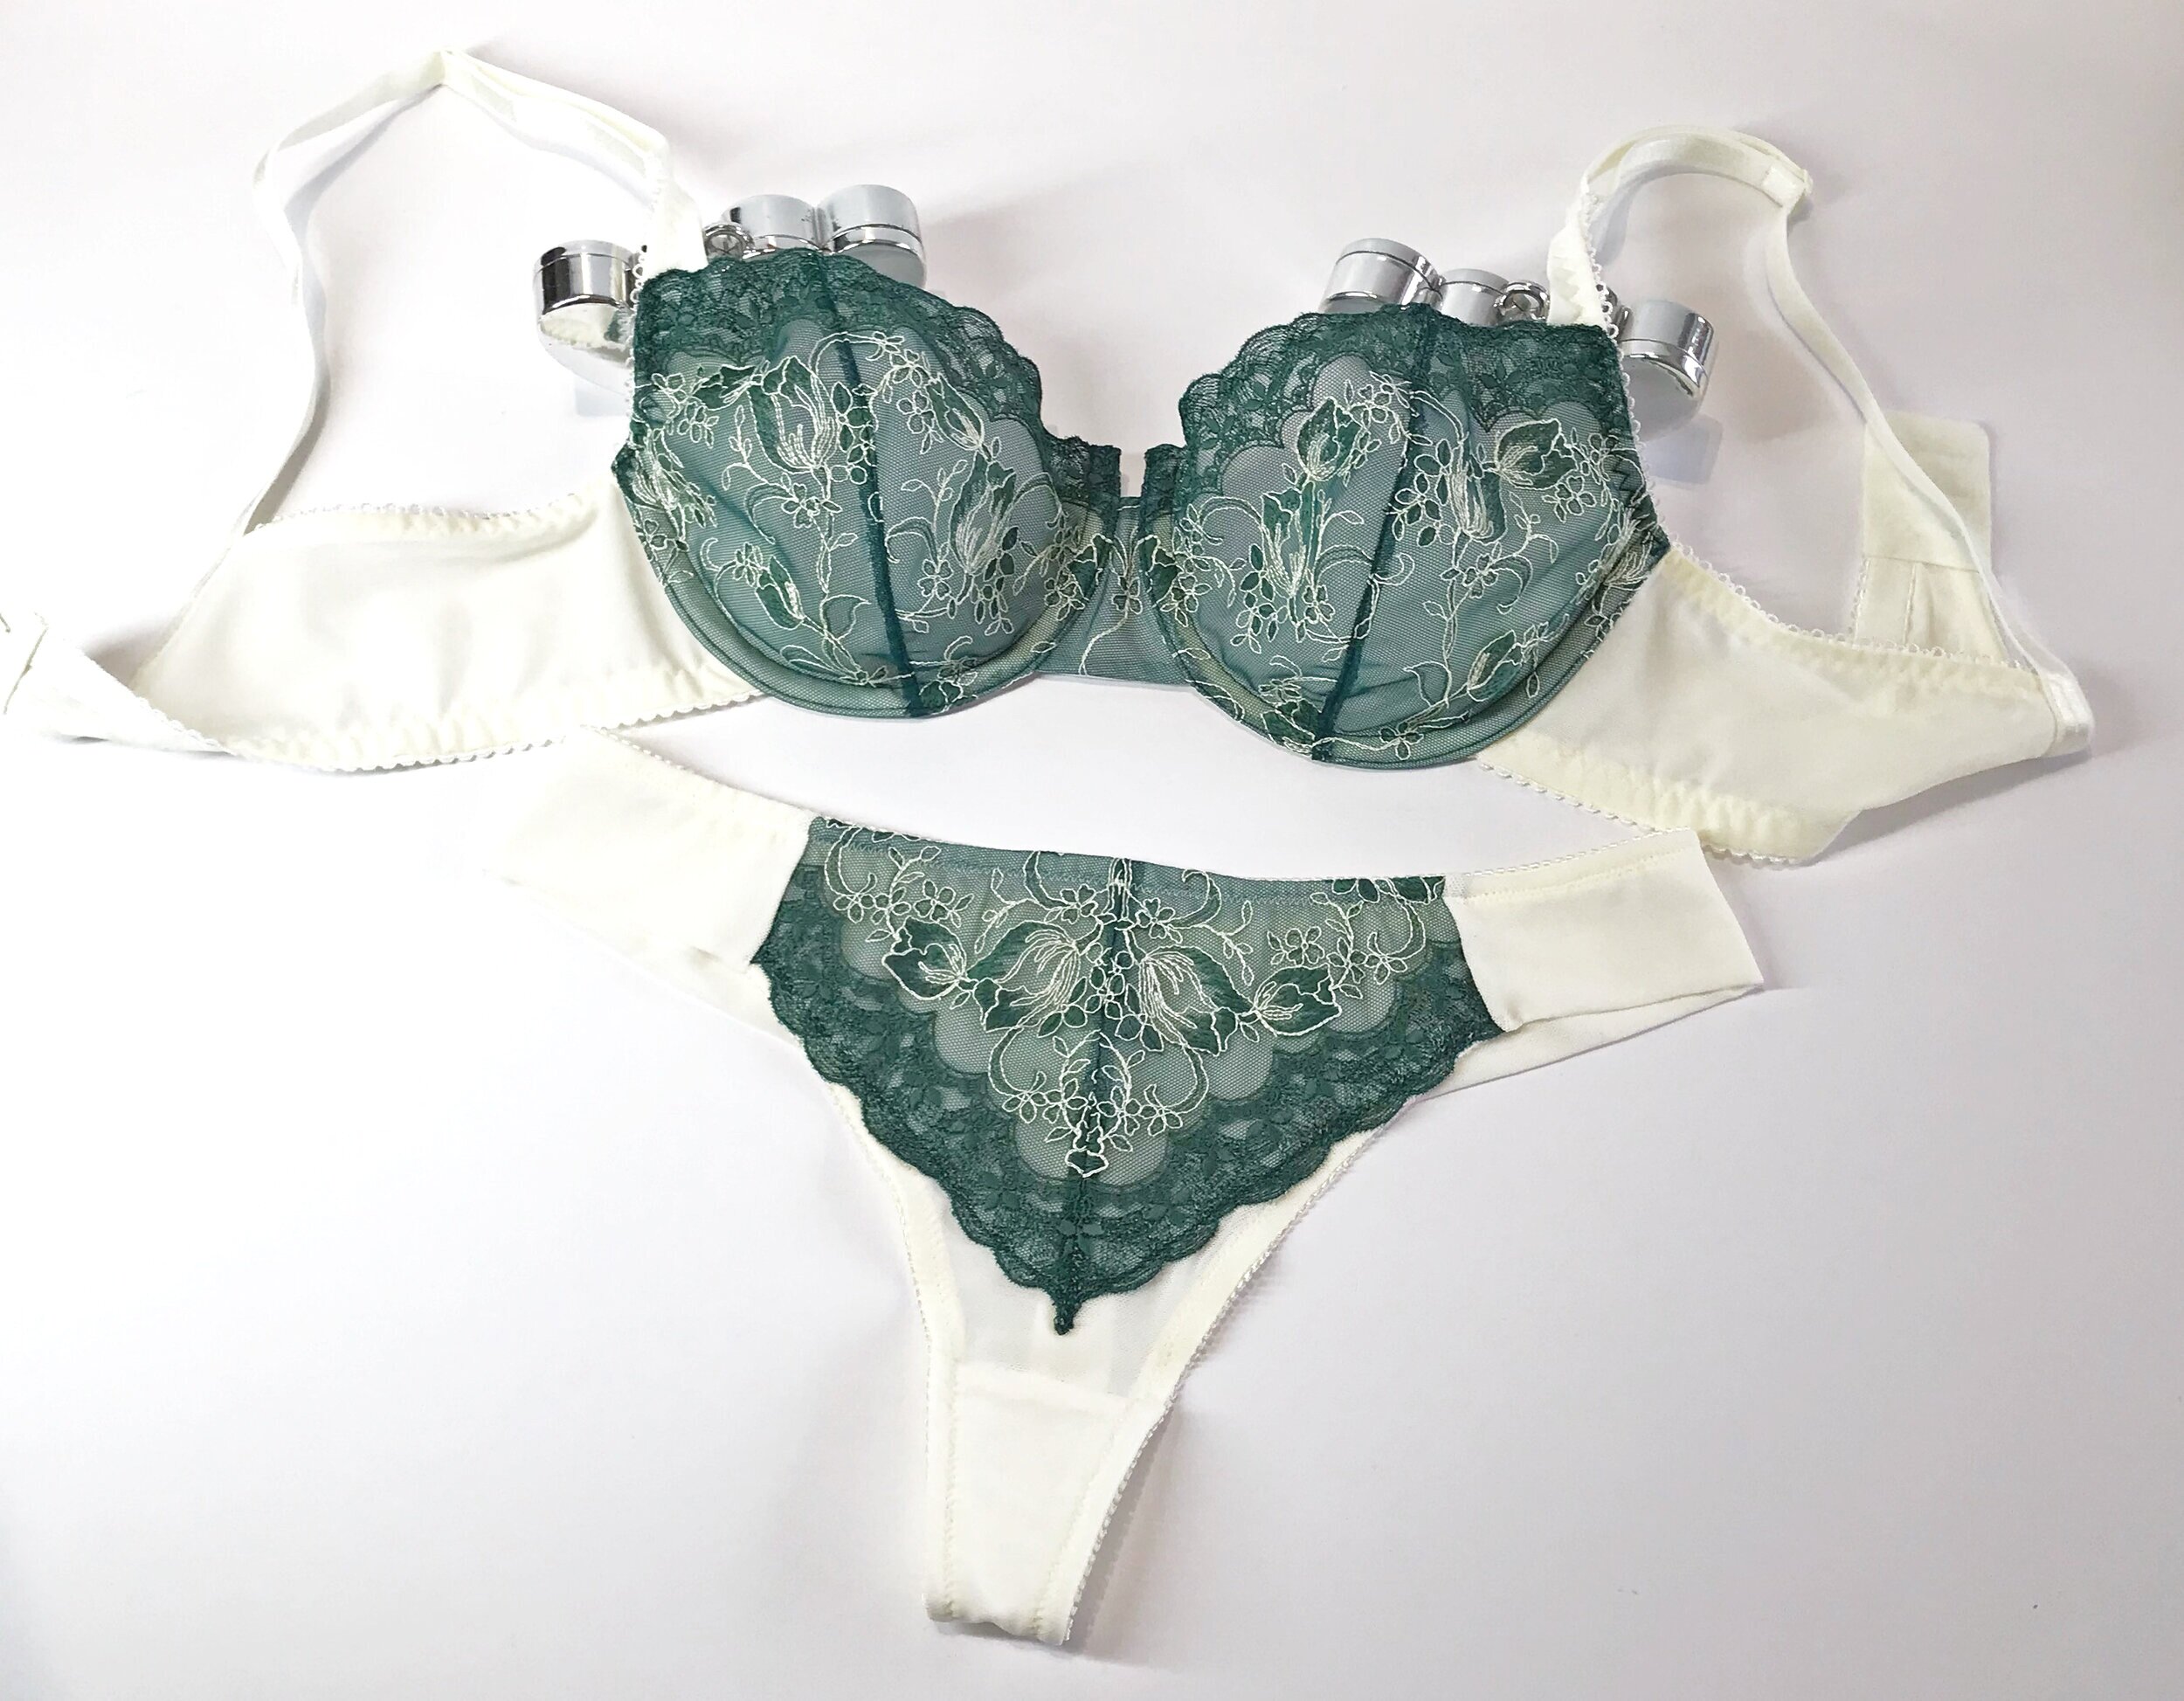
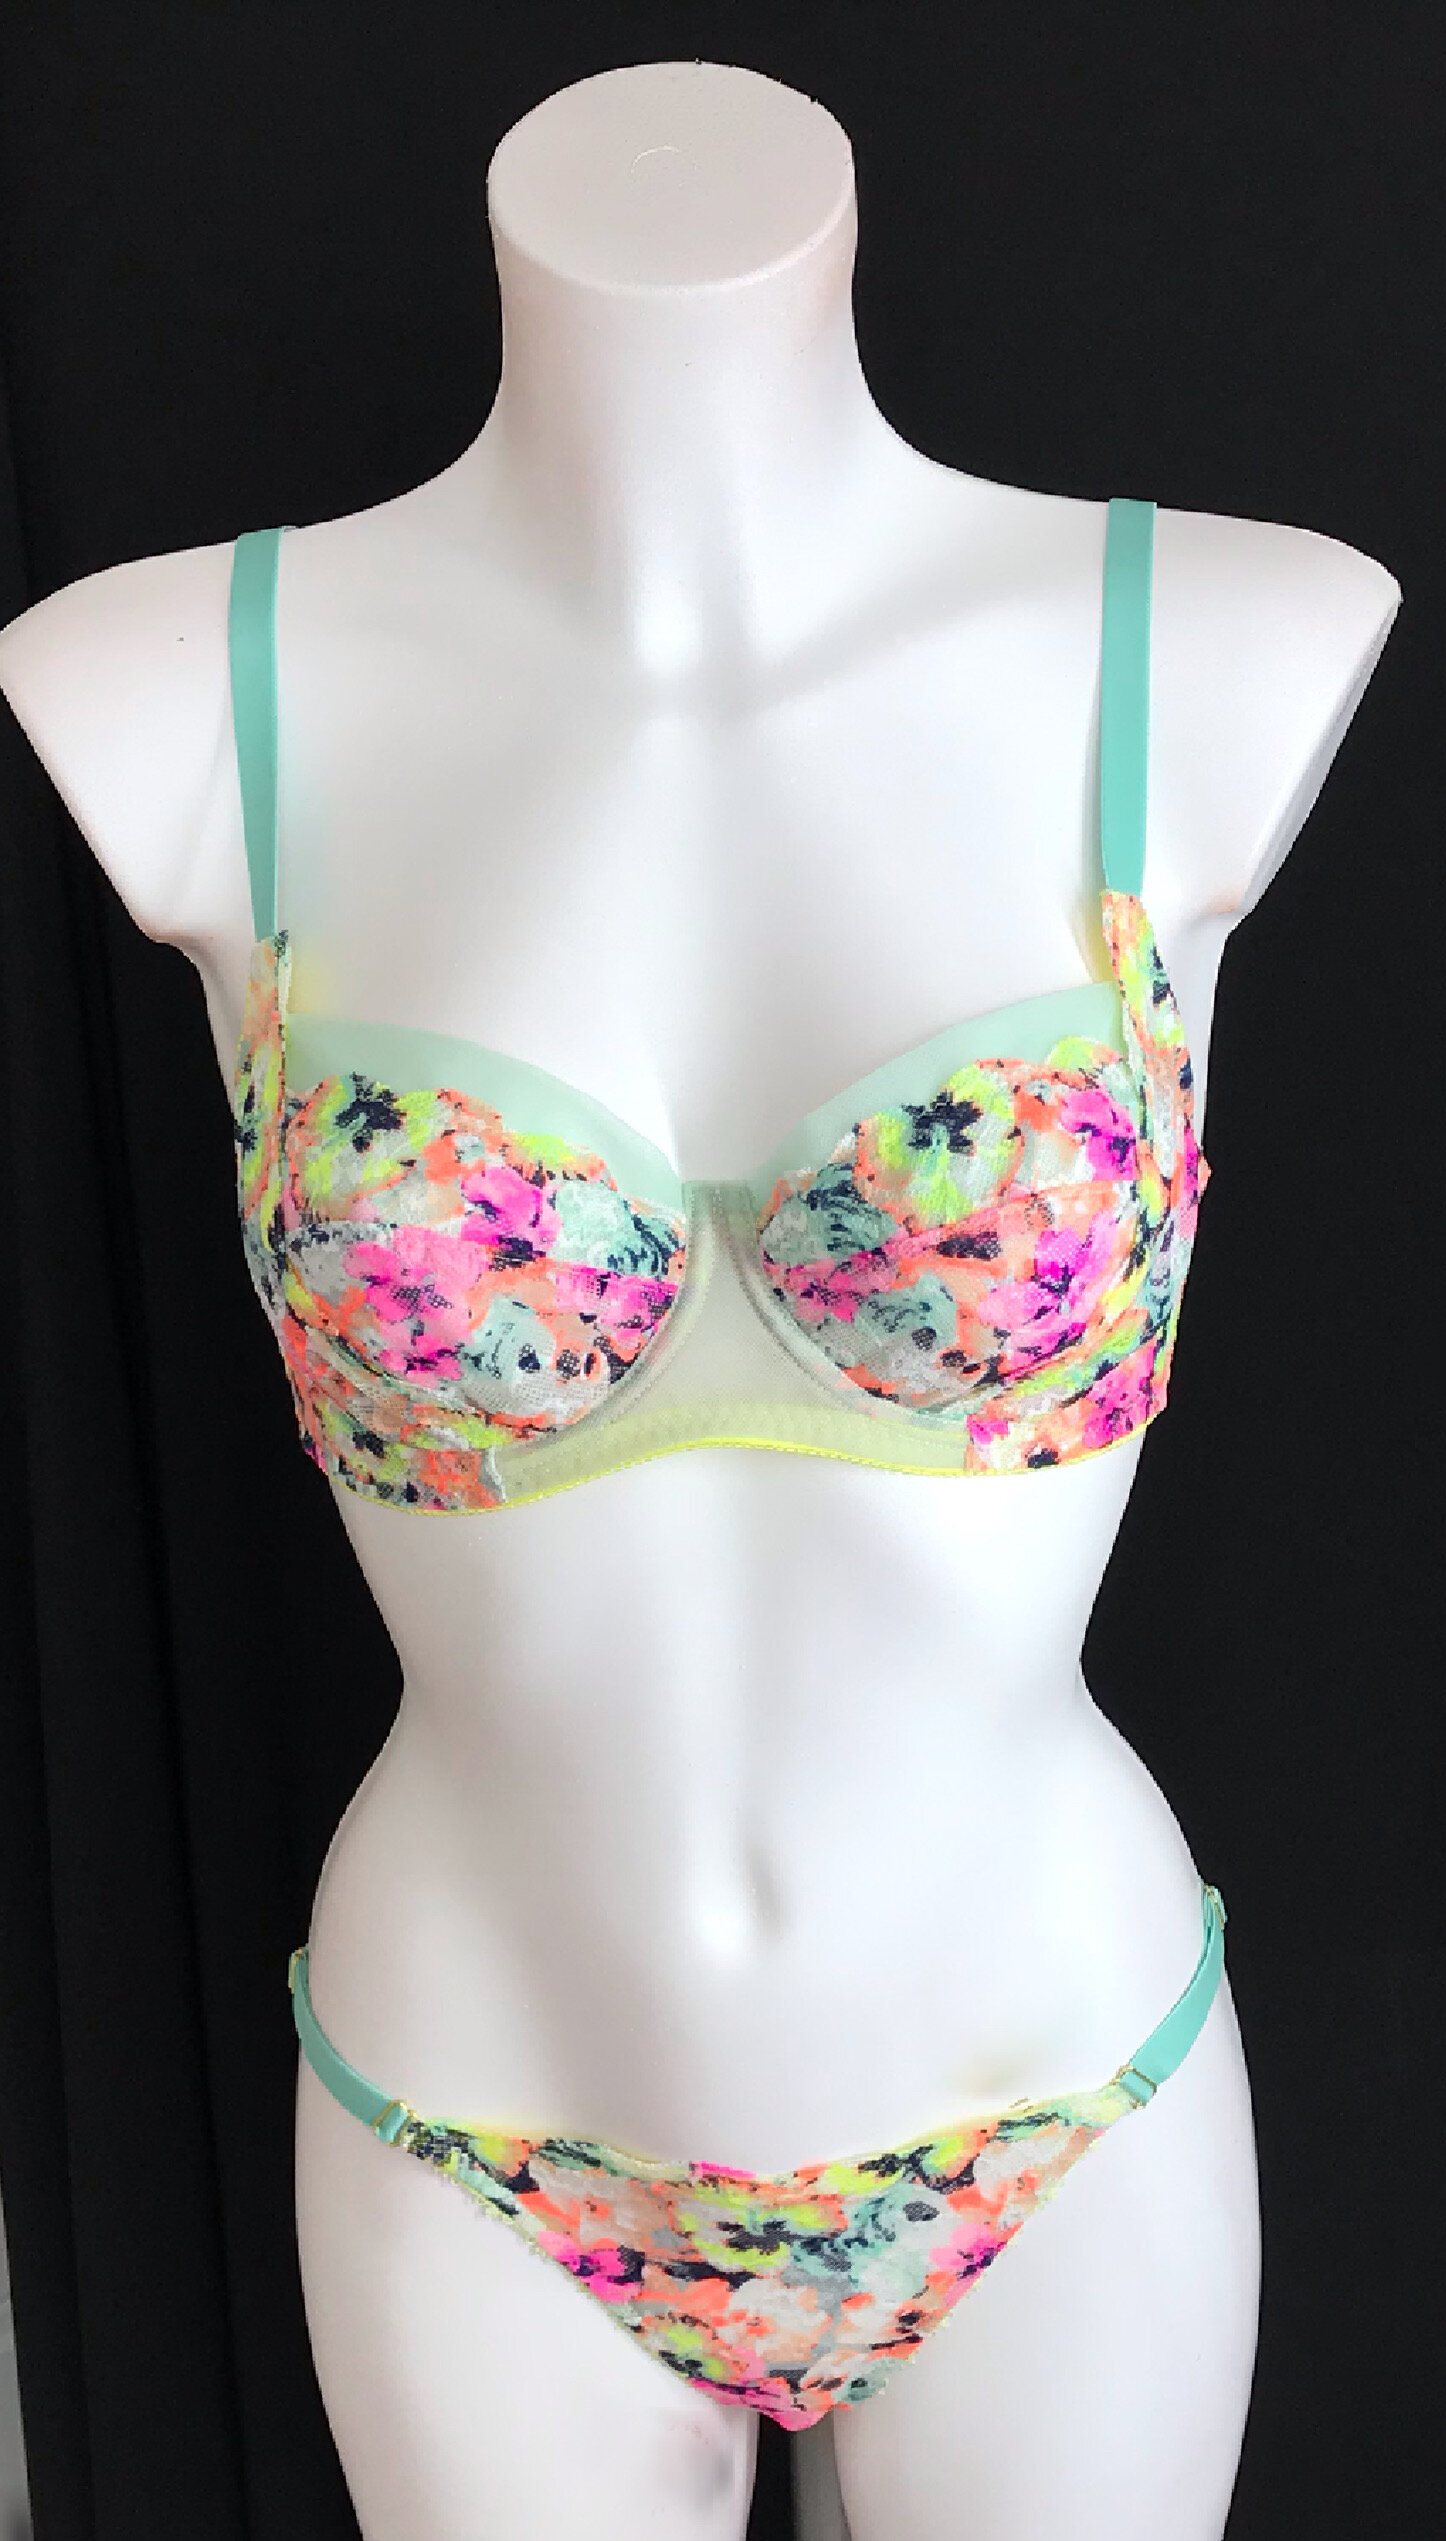
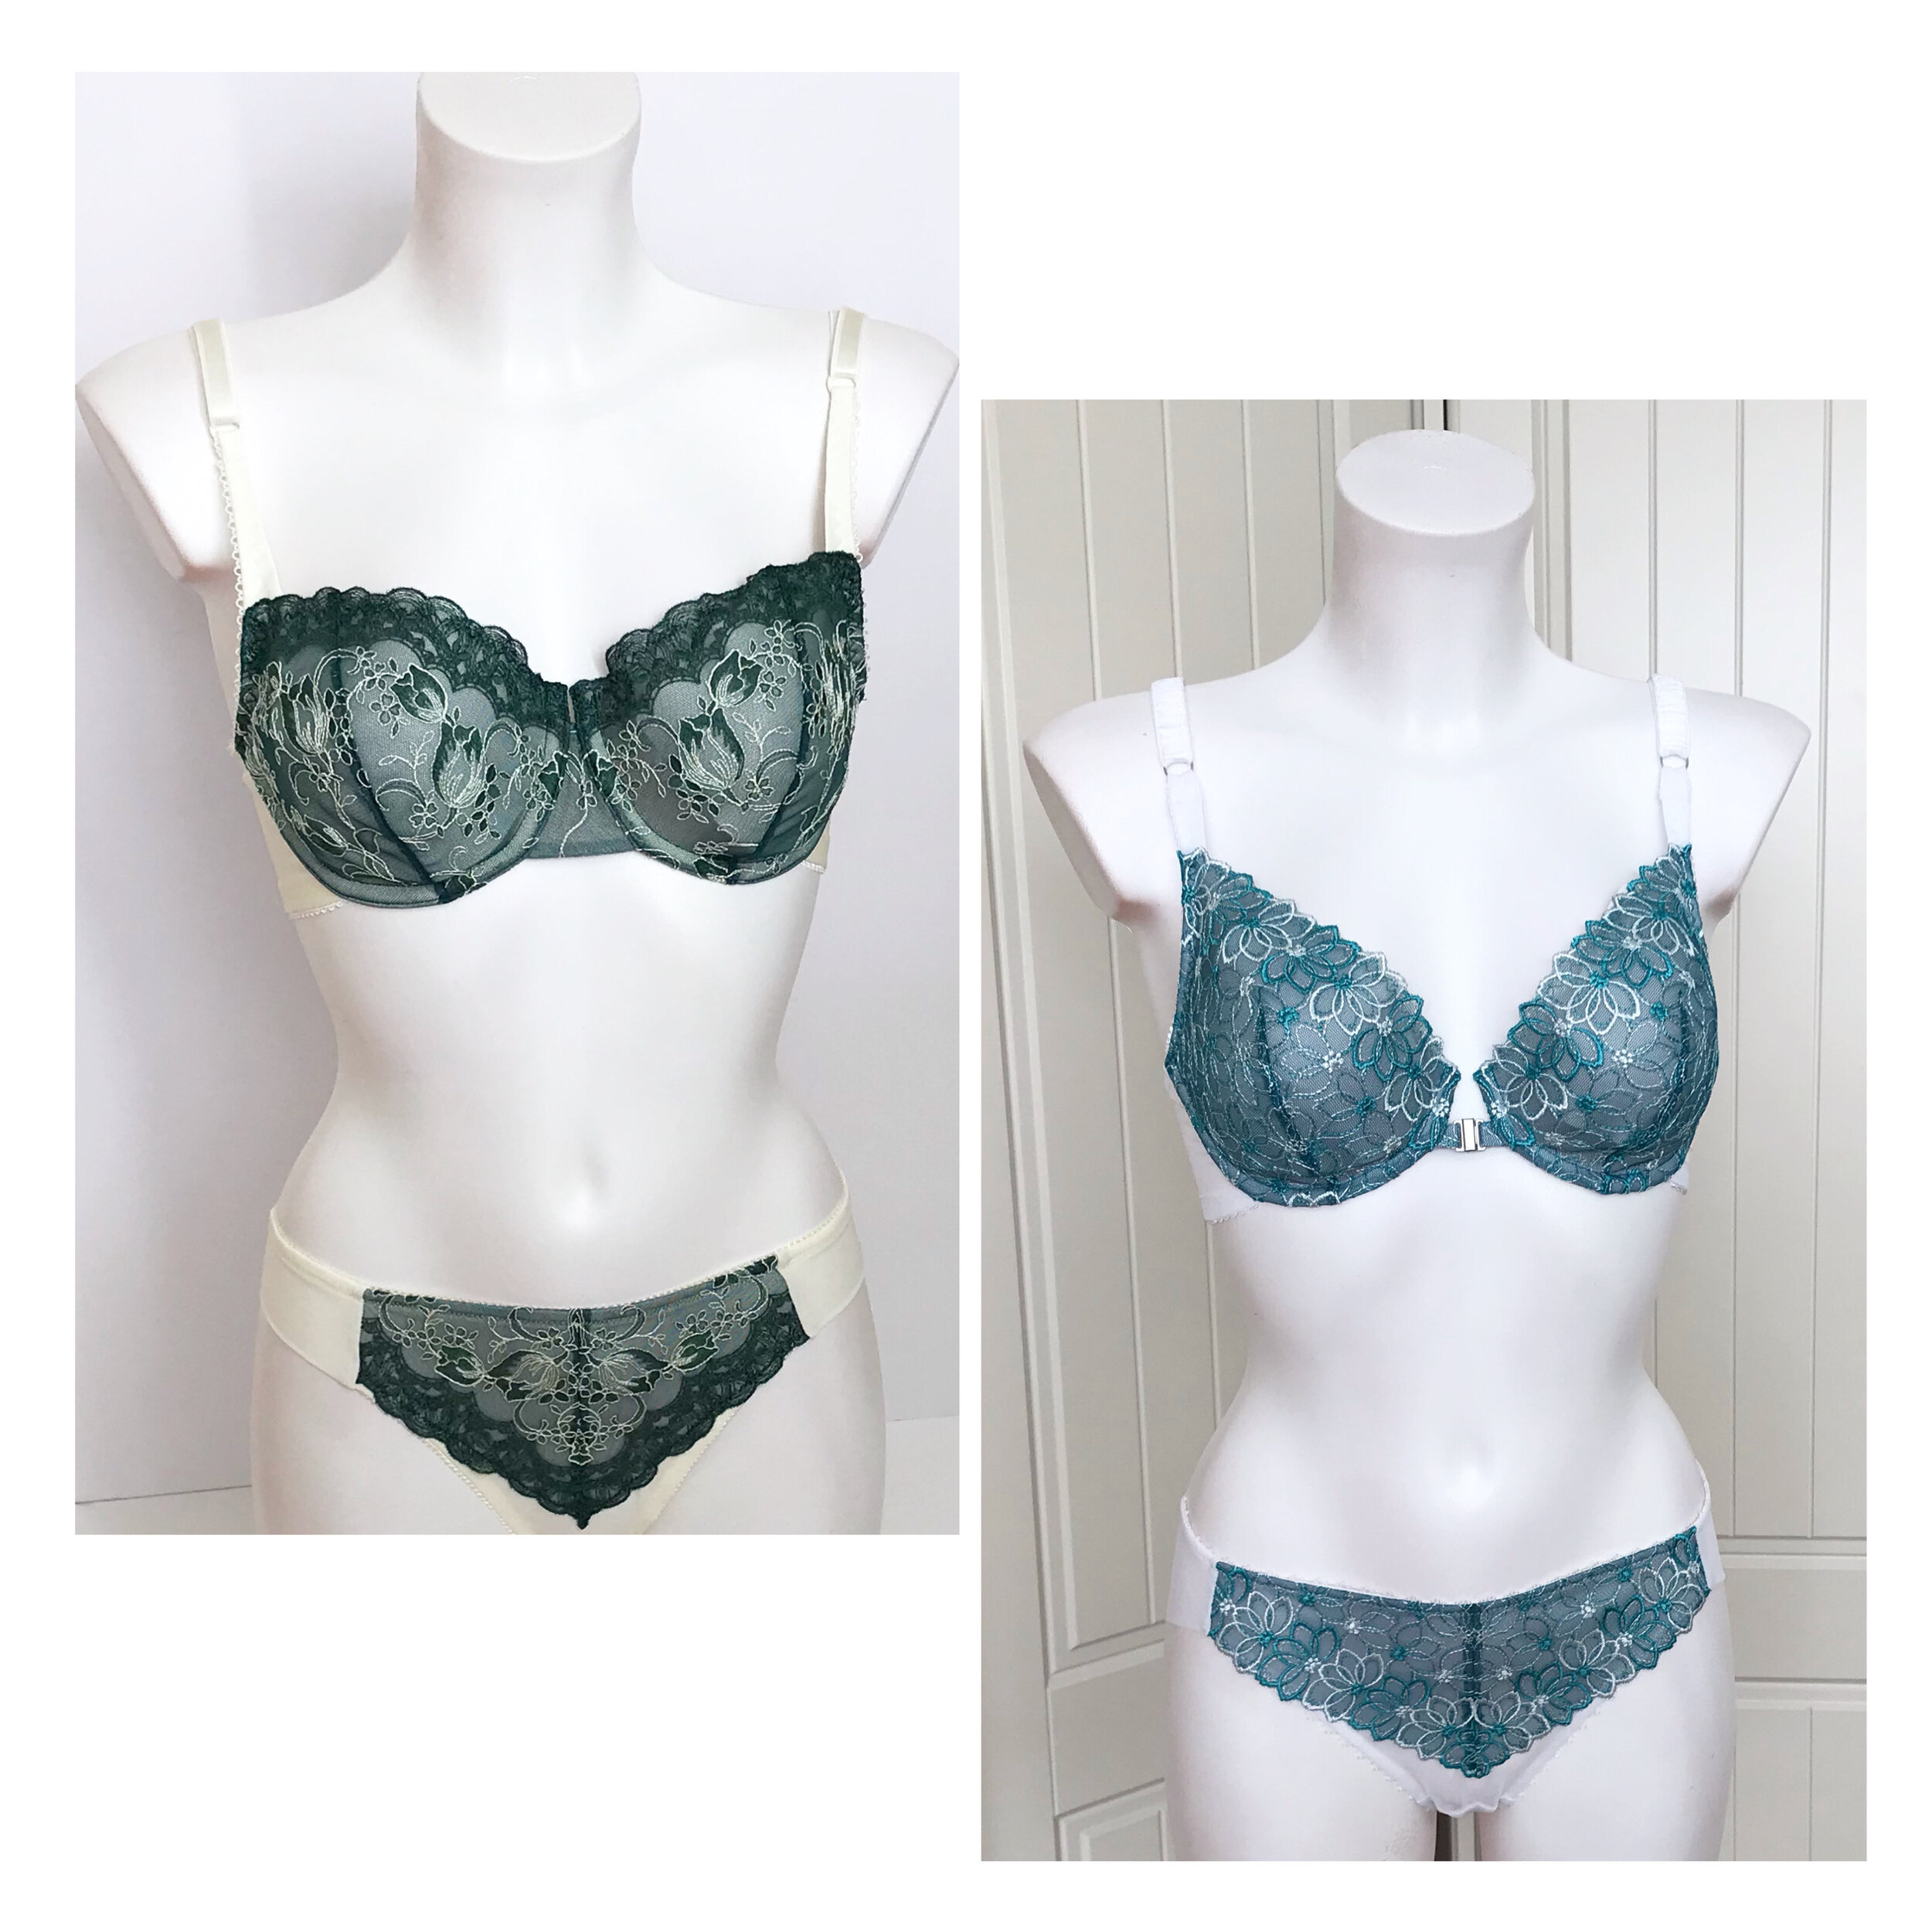
The last few weeks have been very exciting as I have tried out some amazing new patterns. The first was the beautifully named Vivien Bra. Jennie, of Annie and Myras, kindly sent me the pattern pieces in my size to try out. So here we have both variations as I just had to make both.

8F000007-7570-43D6-B3E8-076E66D0CB95.JPEG

"Classy with a side order of danger!” is how Jennie describes the Vivien, “designed to create a pretty and feminine bra yet whilst still aiming to provide support for those with large cup volumes, and smaller back frames.” The main cup has a vertical centre seam and a power bar which can be placed under or over the main cup pieces. You buy the cups for each style separately with the band and instructions being another package.

IMG_6013.jpg

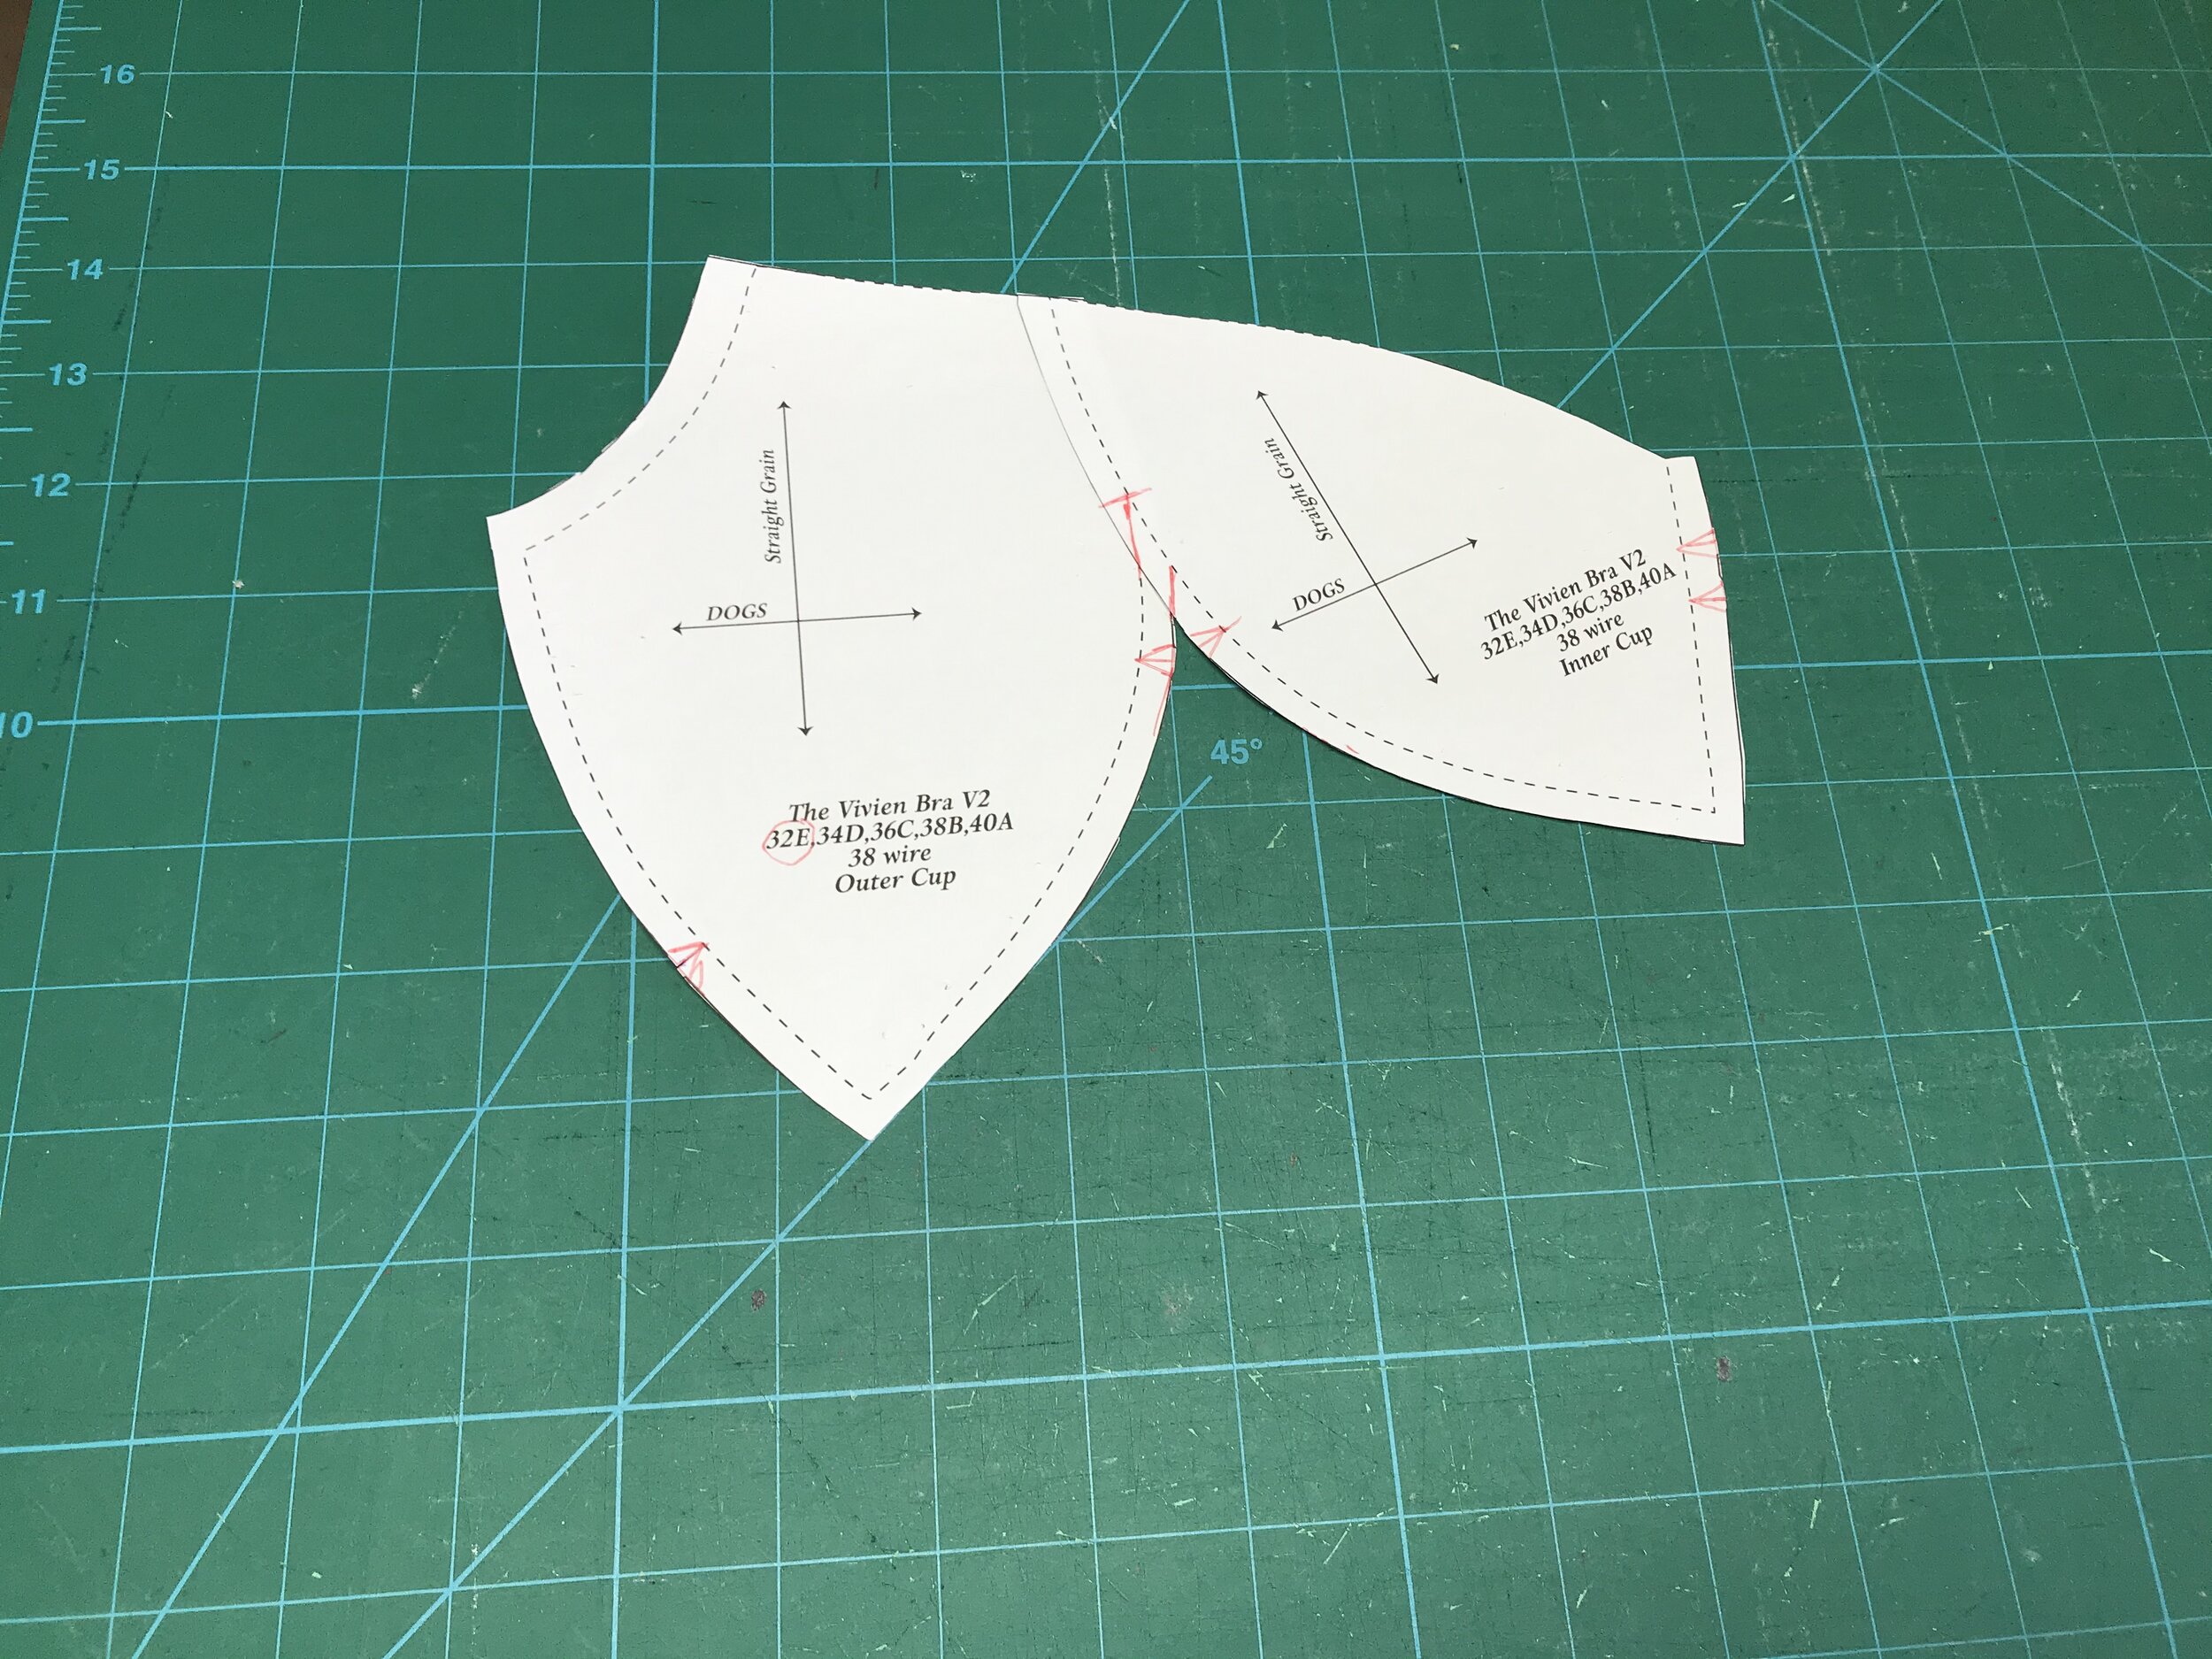
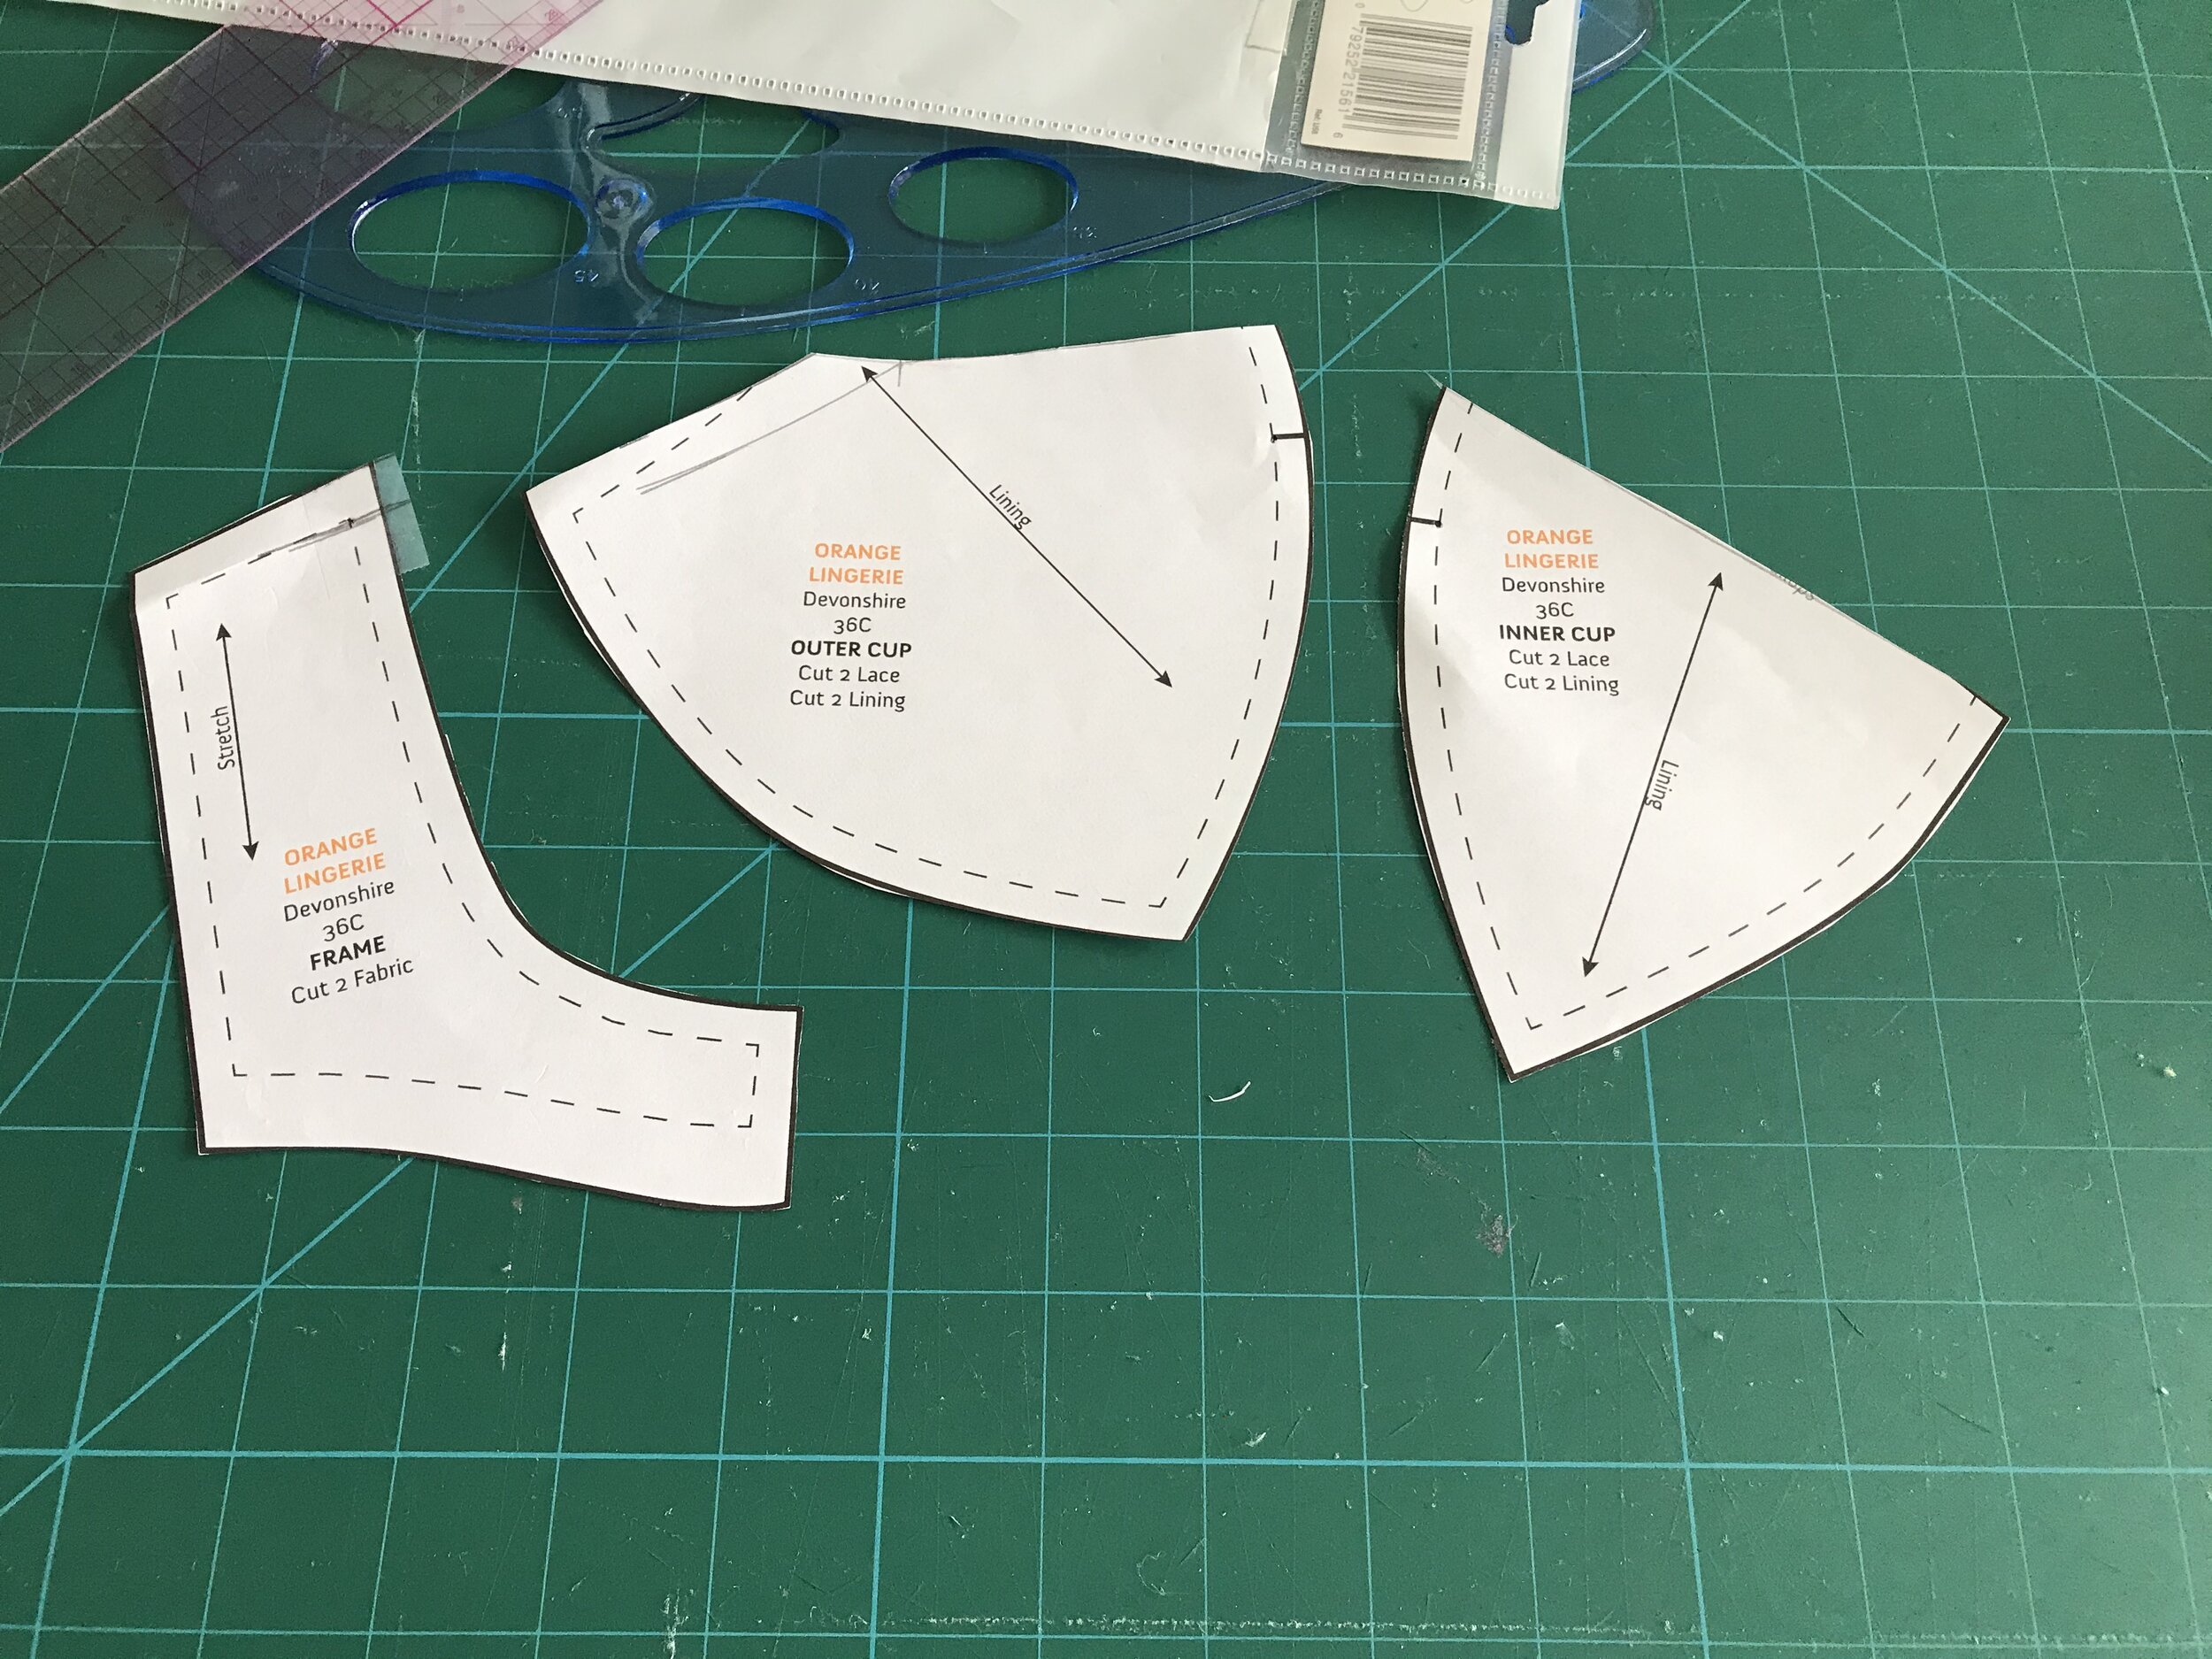
Variation 1 was released first so I will start with this. The frame size is the average of the full bust and underbust with the cup the difference between the frame and fullbust. At 30” underbust this was at the bottom end of the 34 frame size so, as the instructions suggested, I went with the 32 band and I was glad I did. The “Super Geeky” Wire Chart at the back of the instructions was really helpful and came up with the 32e for the band and my 38 wire size although the measuring system would have put me in a d cup. I made up a 32e cup in foam and decided to use this.

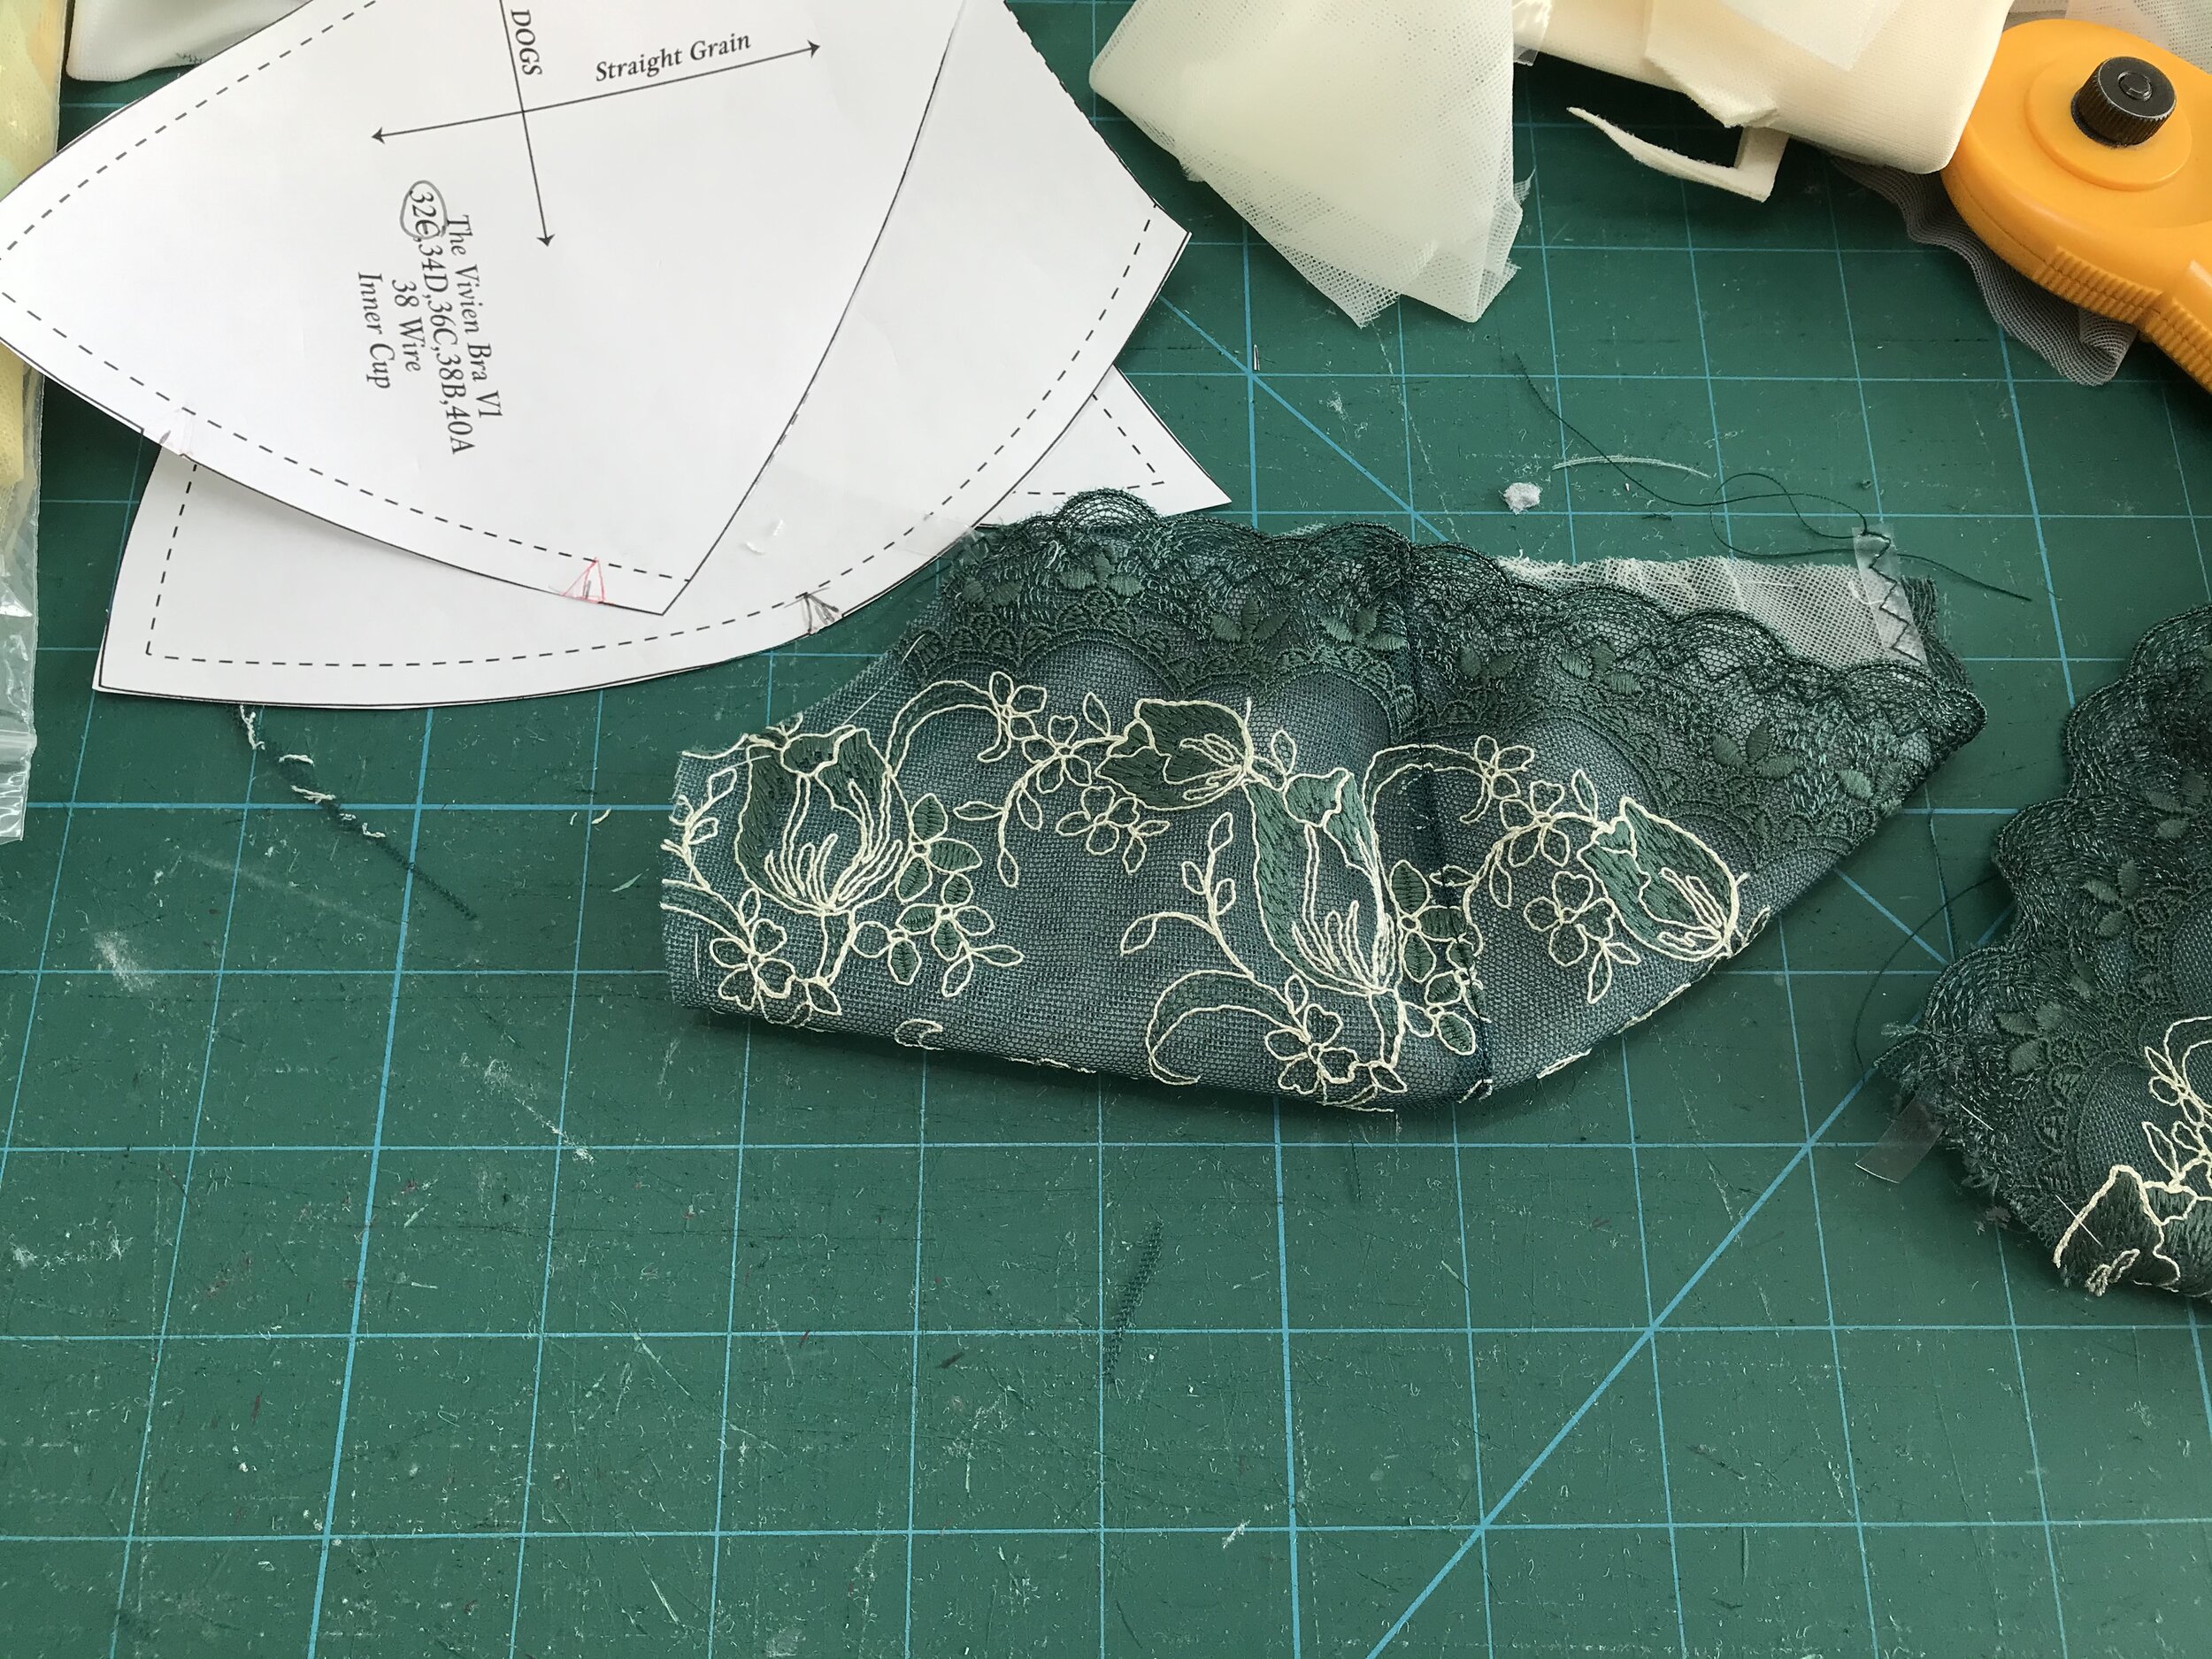
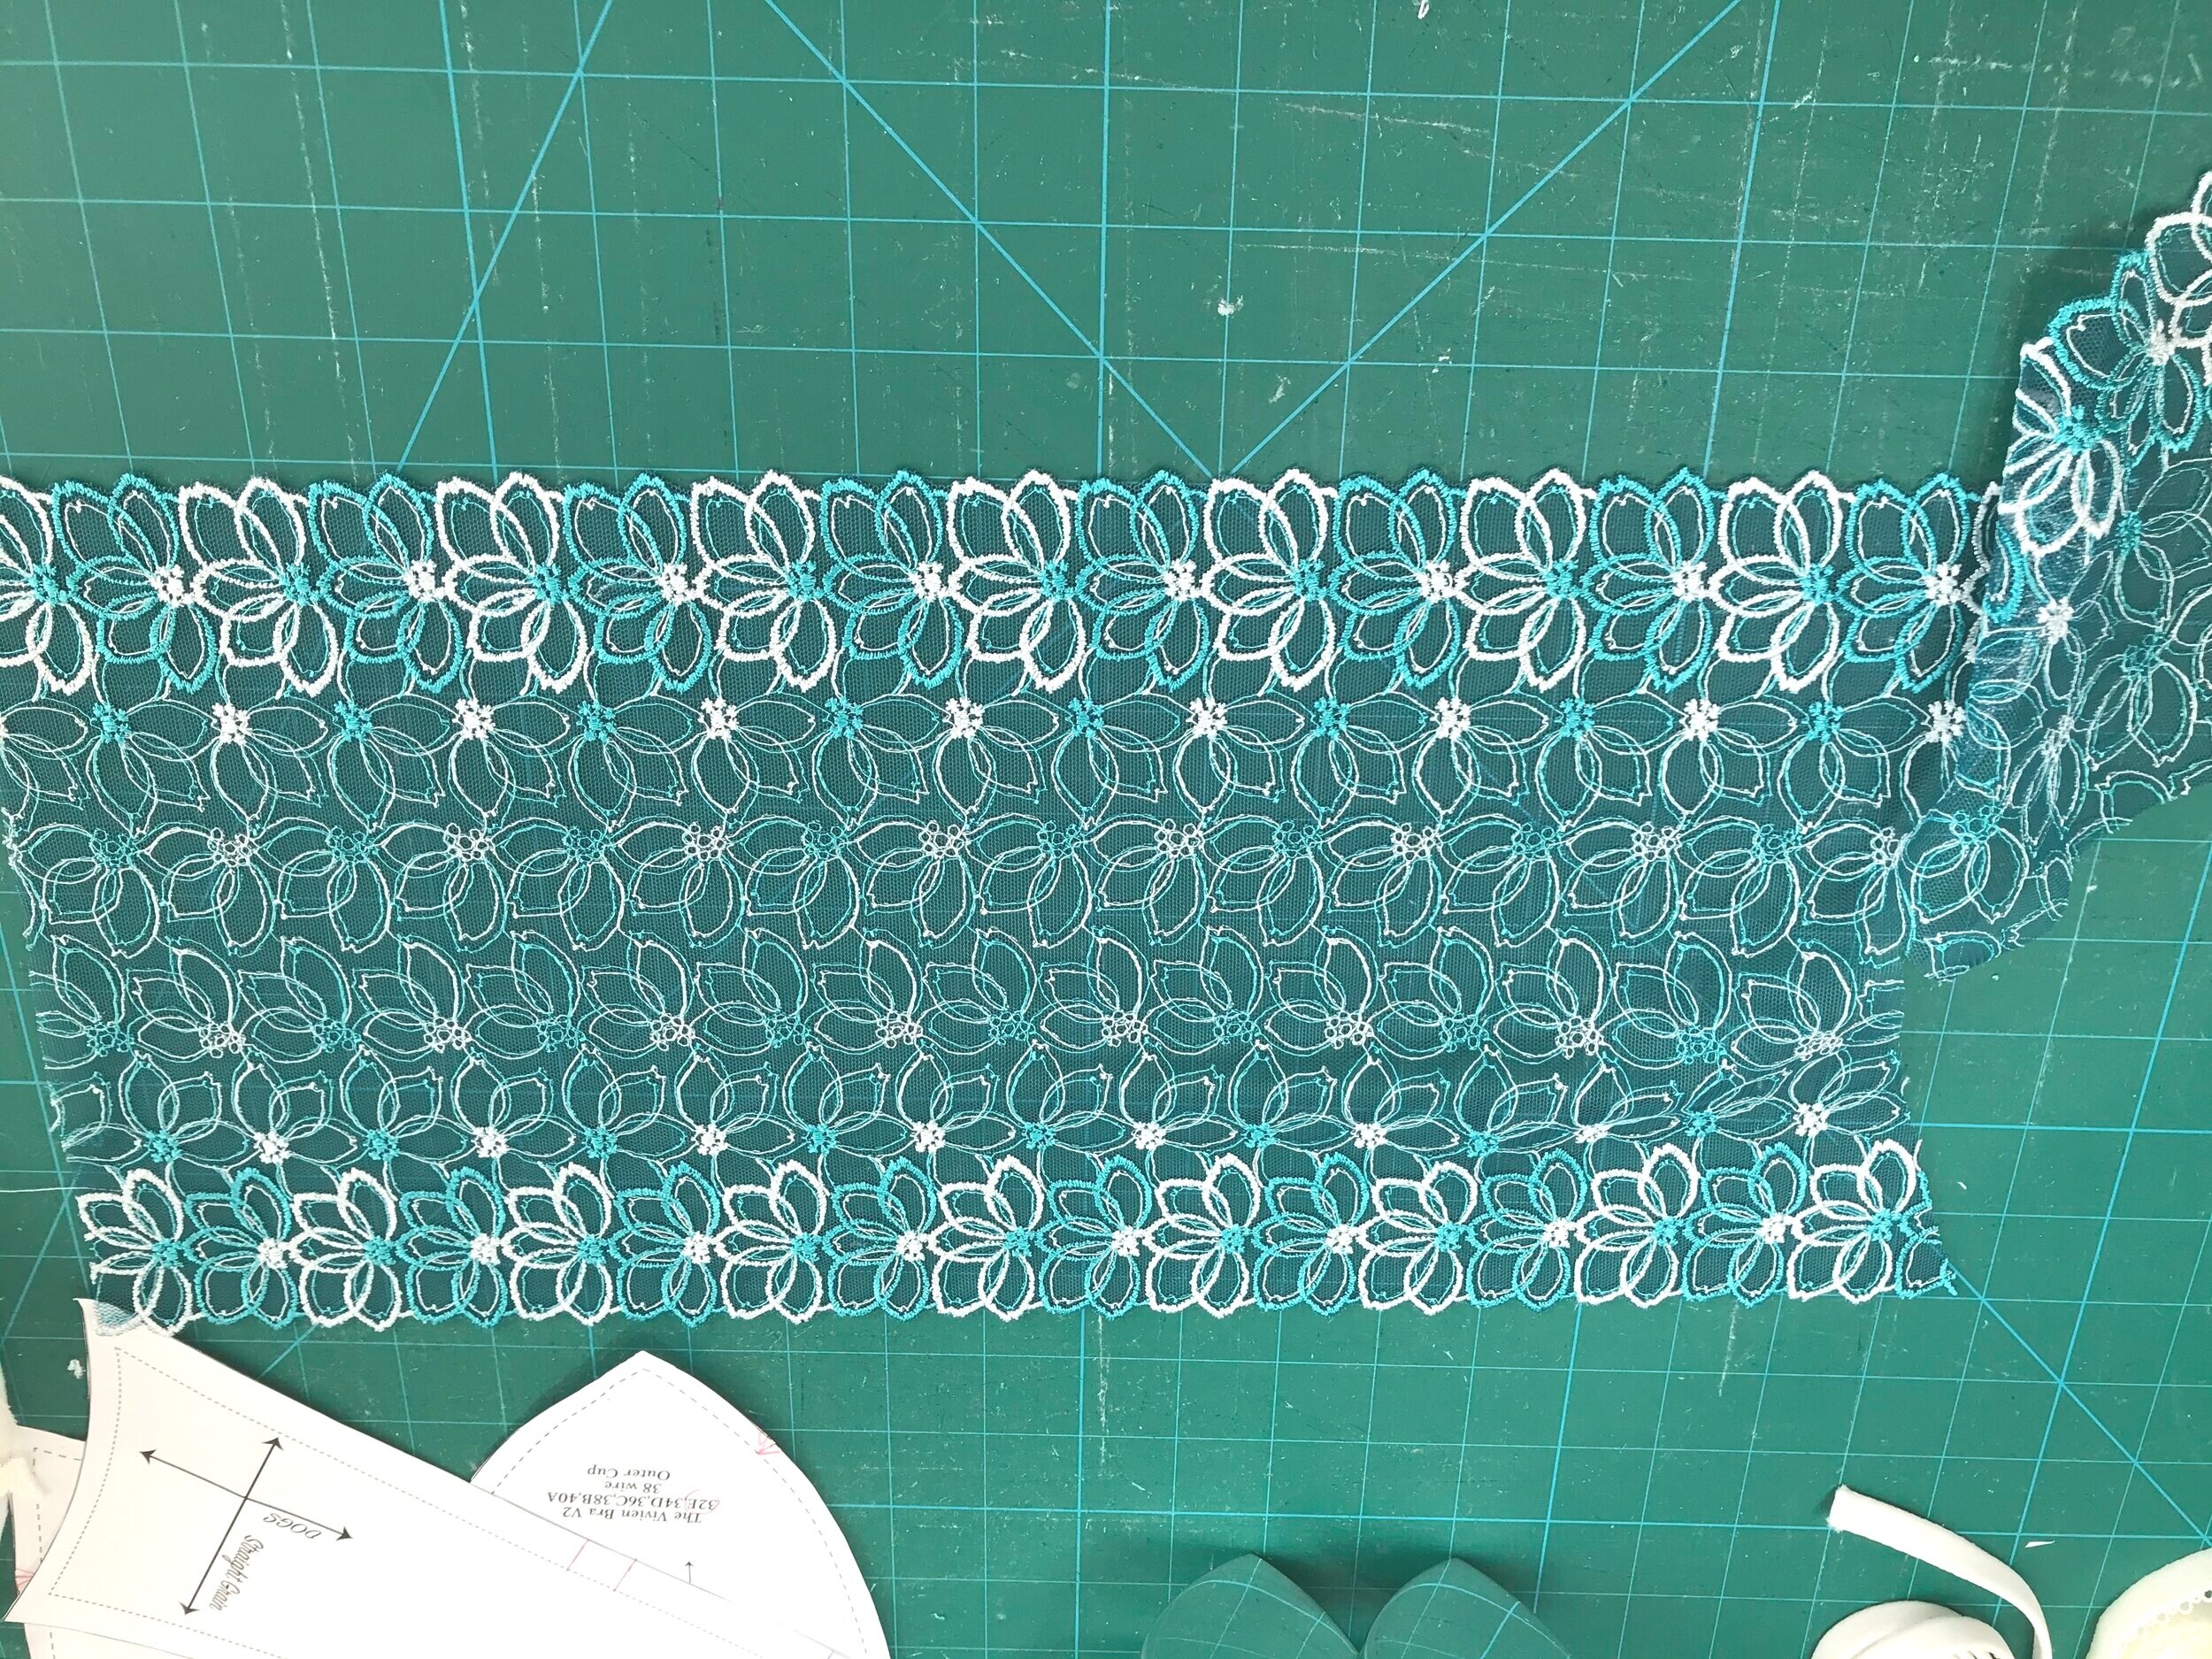
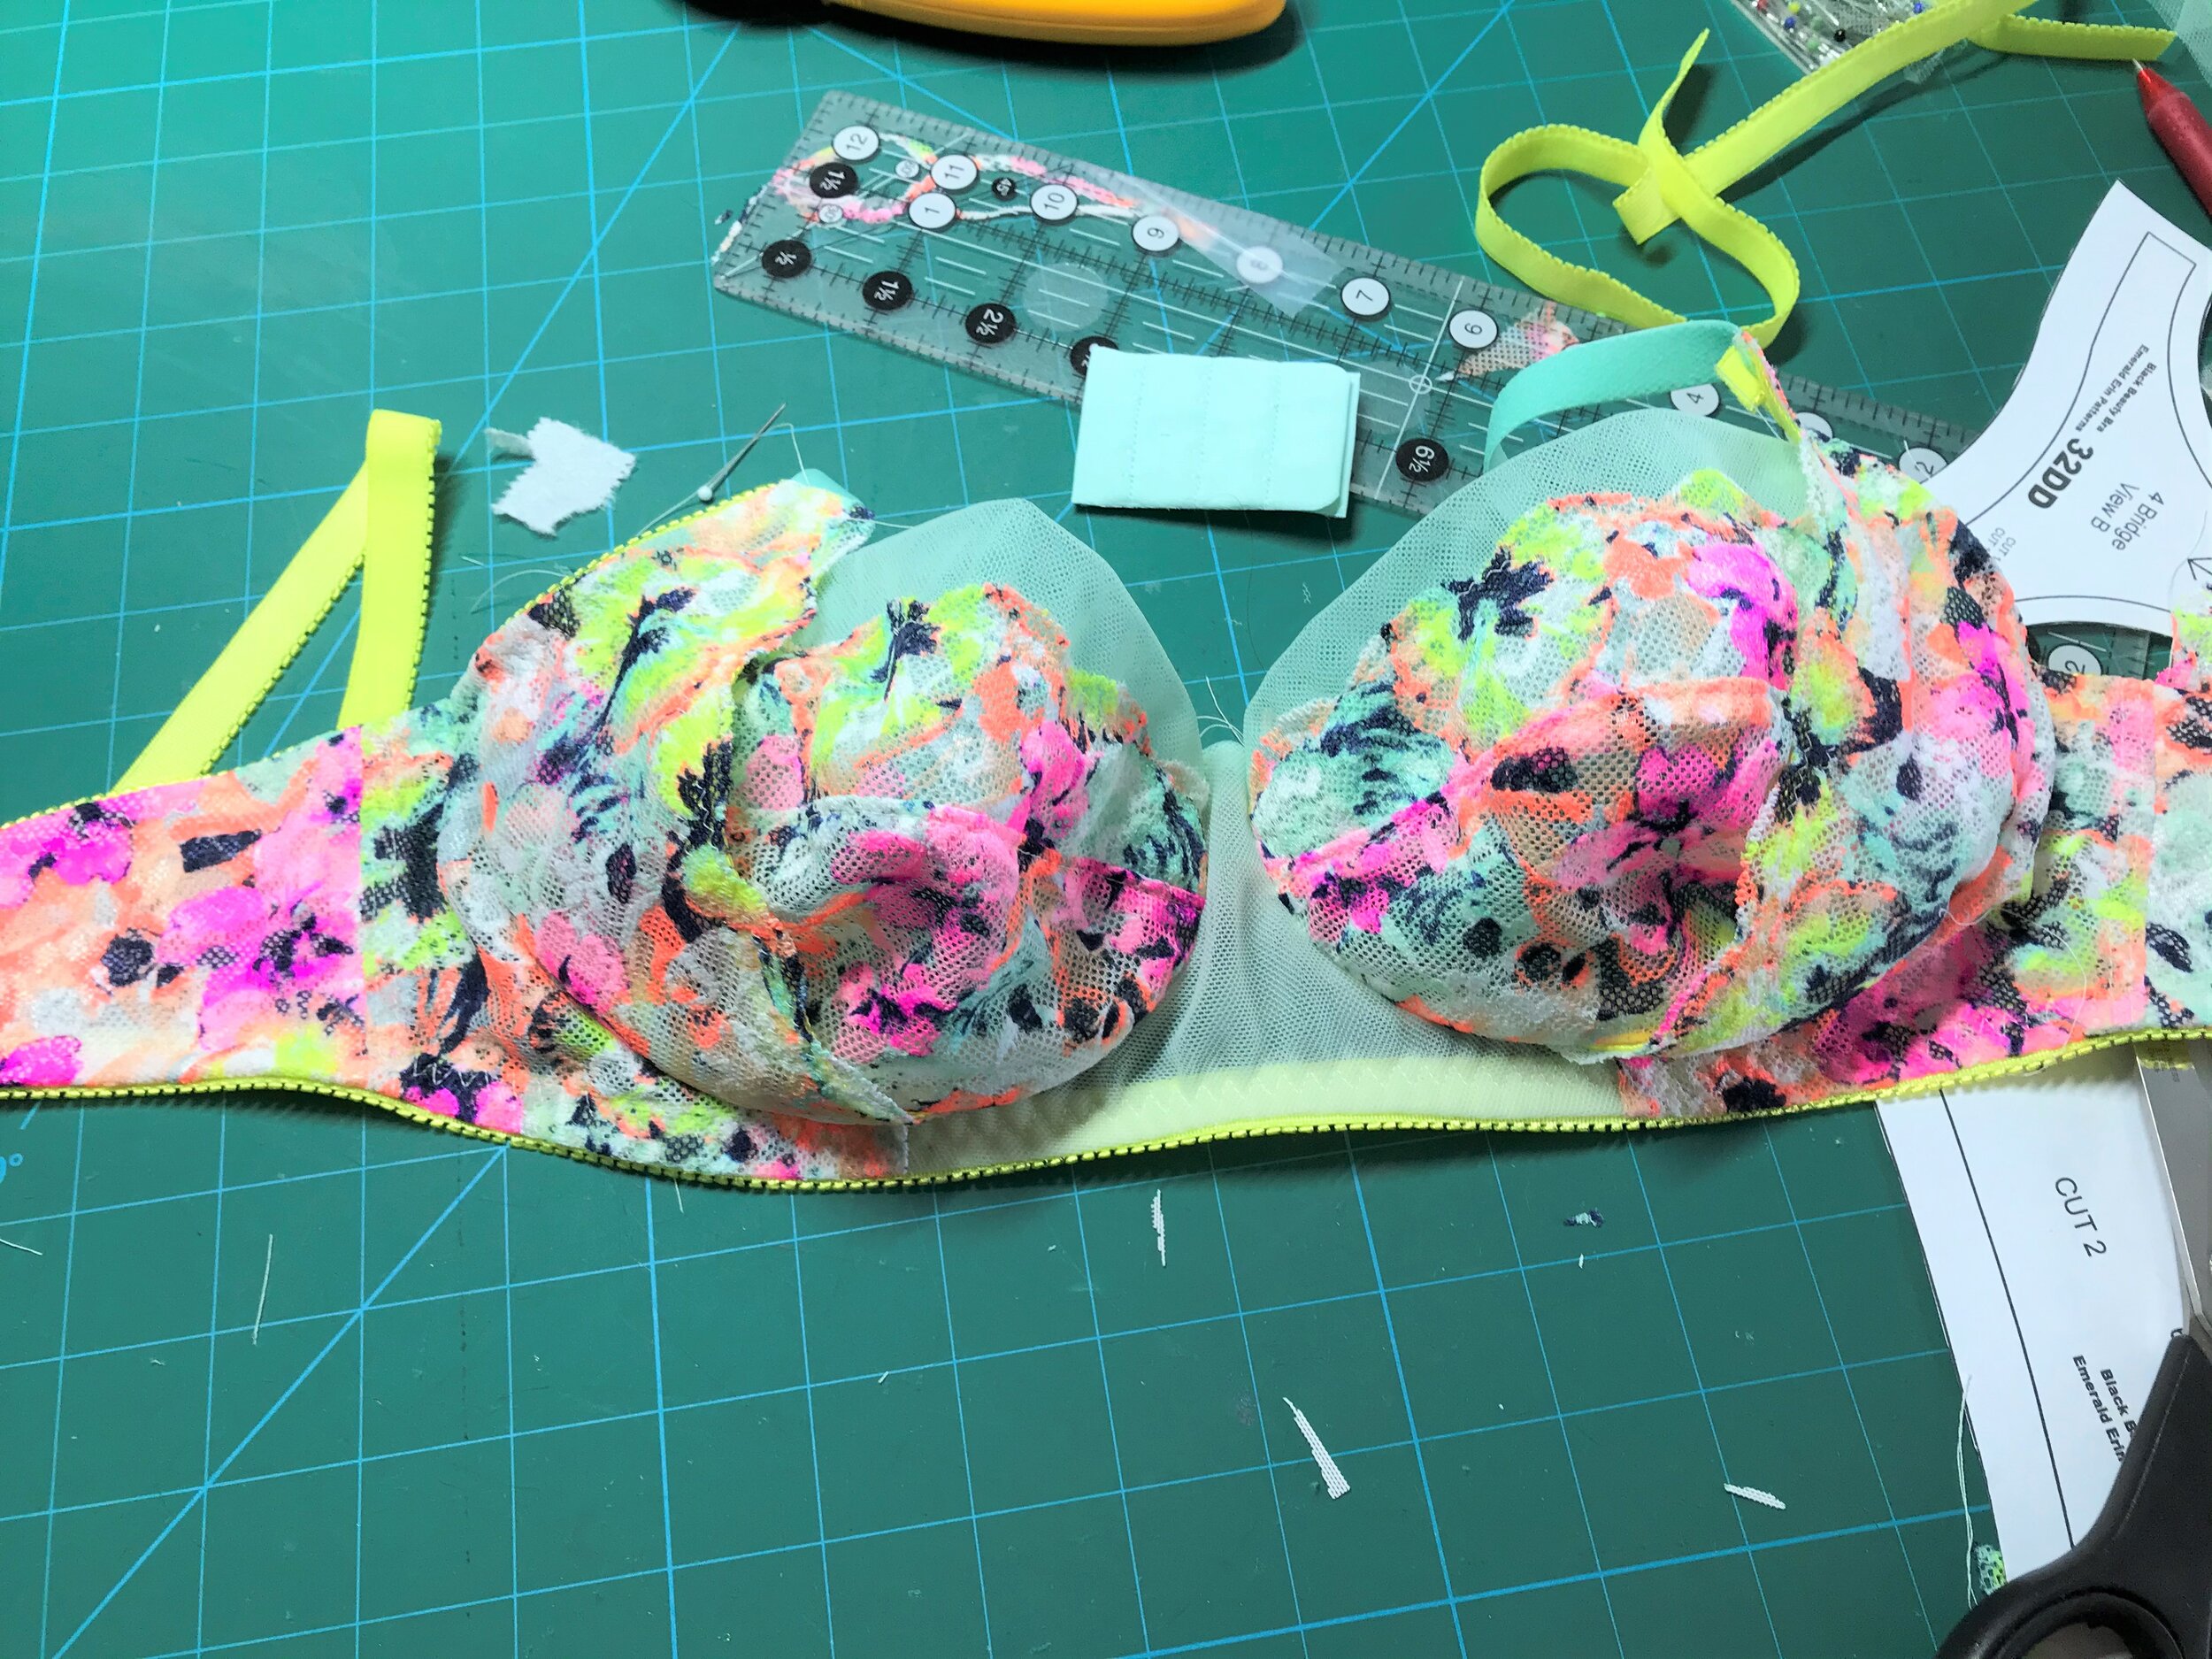
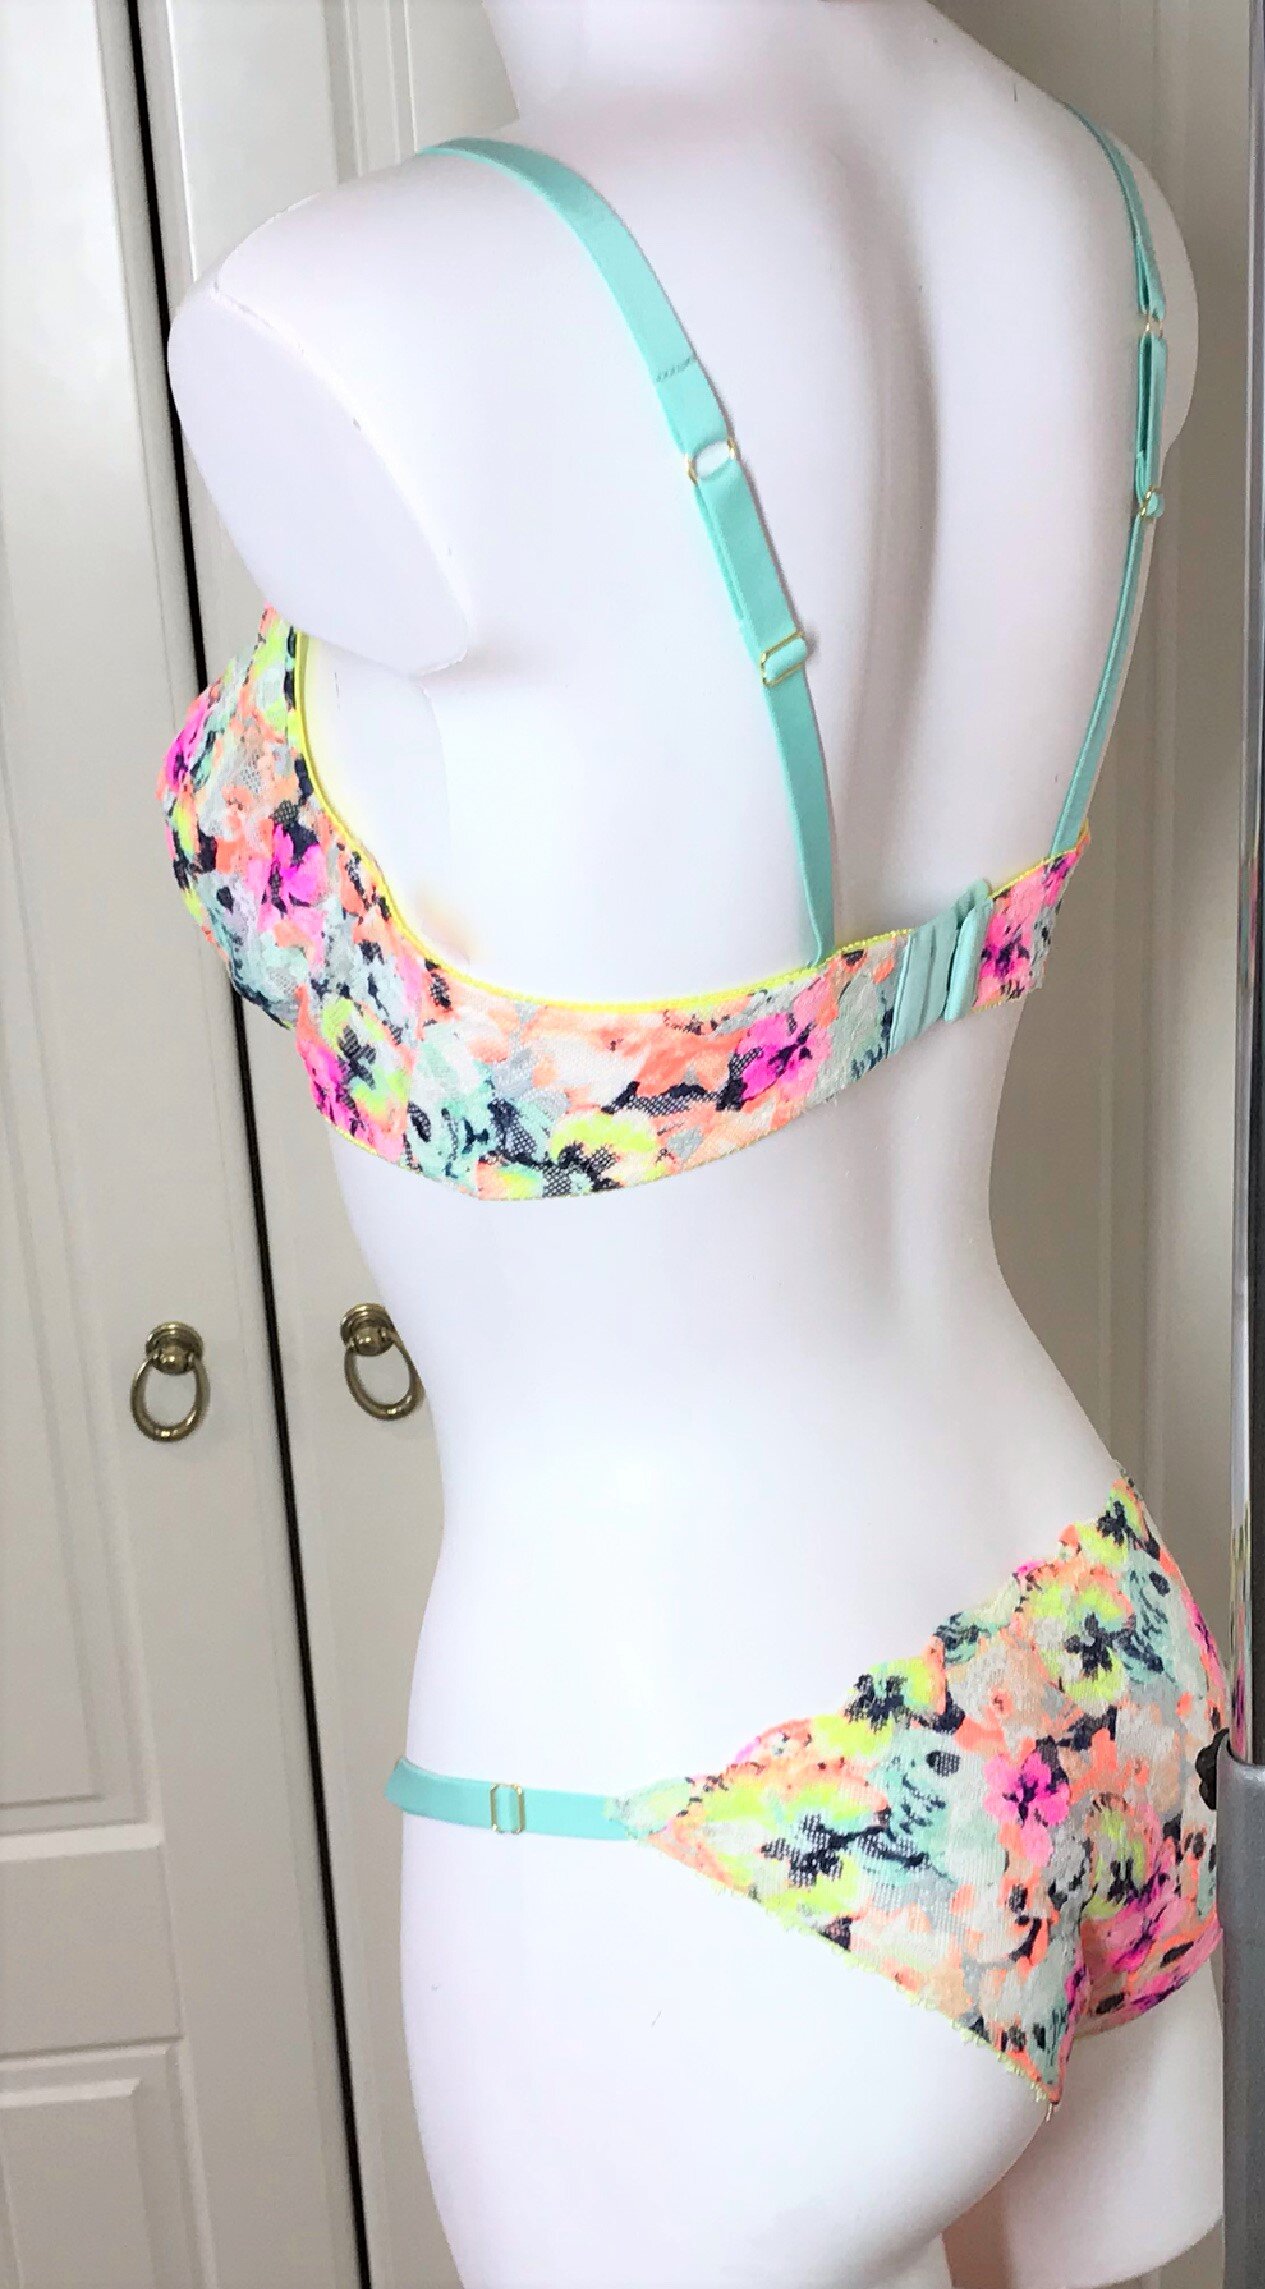
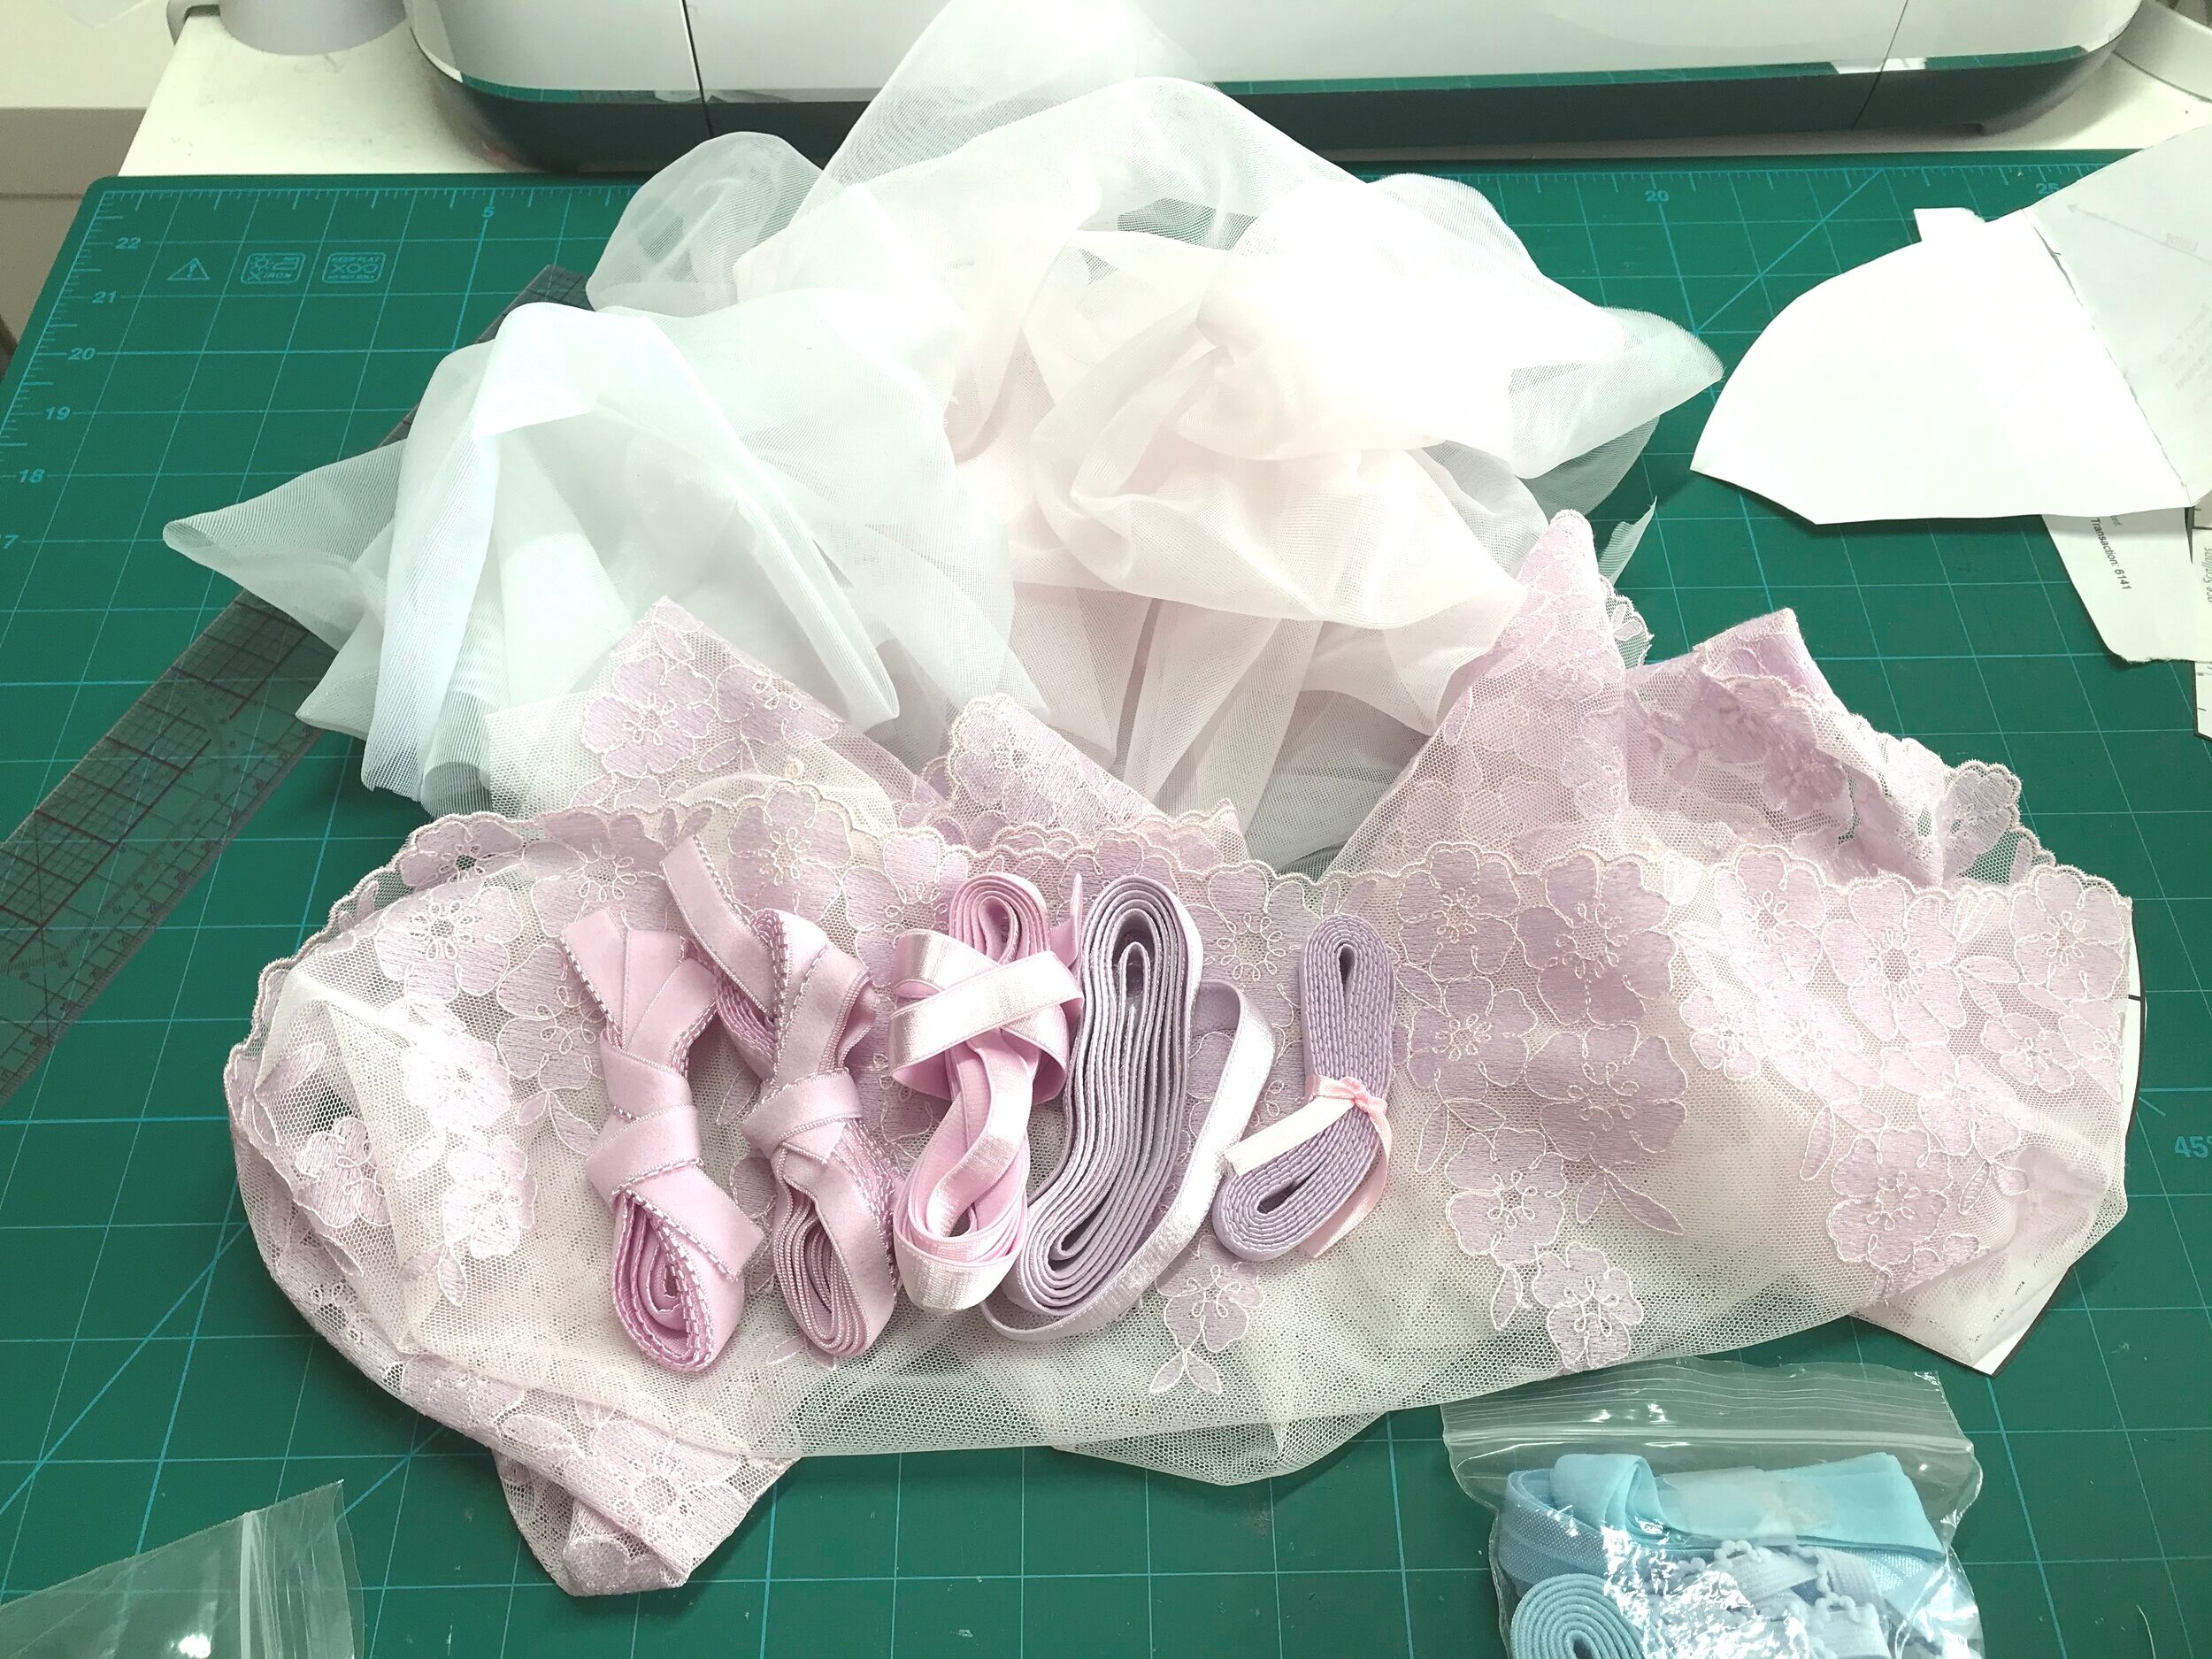
Included in my last order from BWear was this very pretty lace which comes in left and right pieces for mirroring and I thought it would be perfect for this pattern. As the top of the seam is pretty straight you can match your lace across the top which is very aesthetically pleasing. The instructions construct the cup by sewing the seams on the lace and lining separately and then putting wrong sides together, topstitching either side of the seam through all layers. I tried this but didn’t like how it looked with the sheer lace so I undid everything and enclosed the seam, topstitching and trimming back to the stitching for a uniform look from both sides.

There are so many options for the bridge and powerbar but the pattern includes detailed instructions for every possibility. As my lace was directional I chose not to use the scalloped edge for the bridge but tried to find a section that would flow from one cup to the other. The next choice was to use duoplex for the powerbar on the inside of the cup rather than the lace as I thought that using here too would be too fussy for the delicate sheer look of the main lace cup.

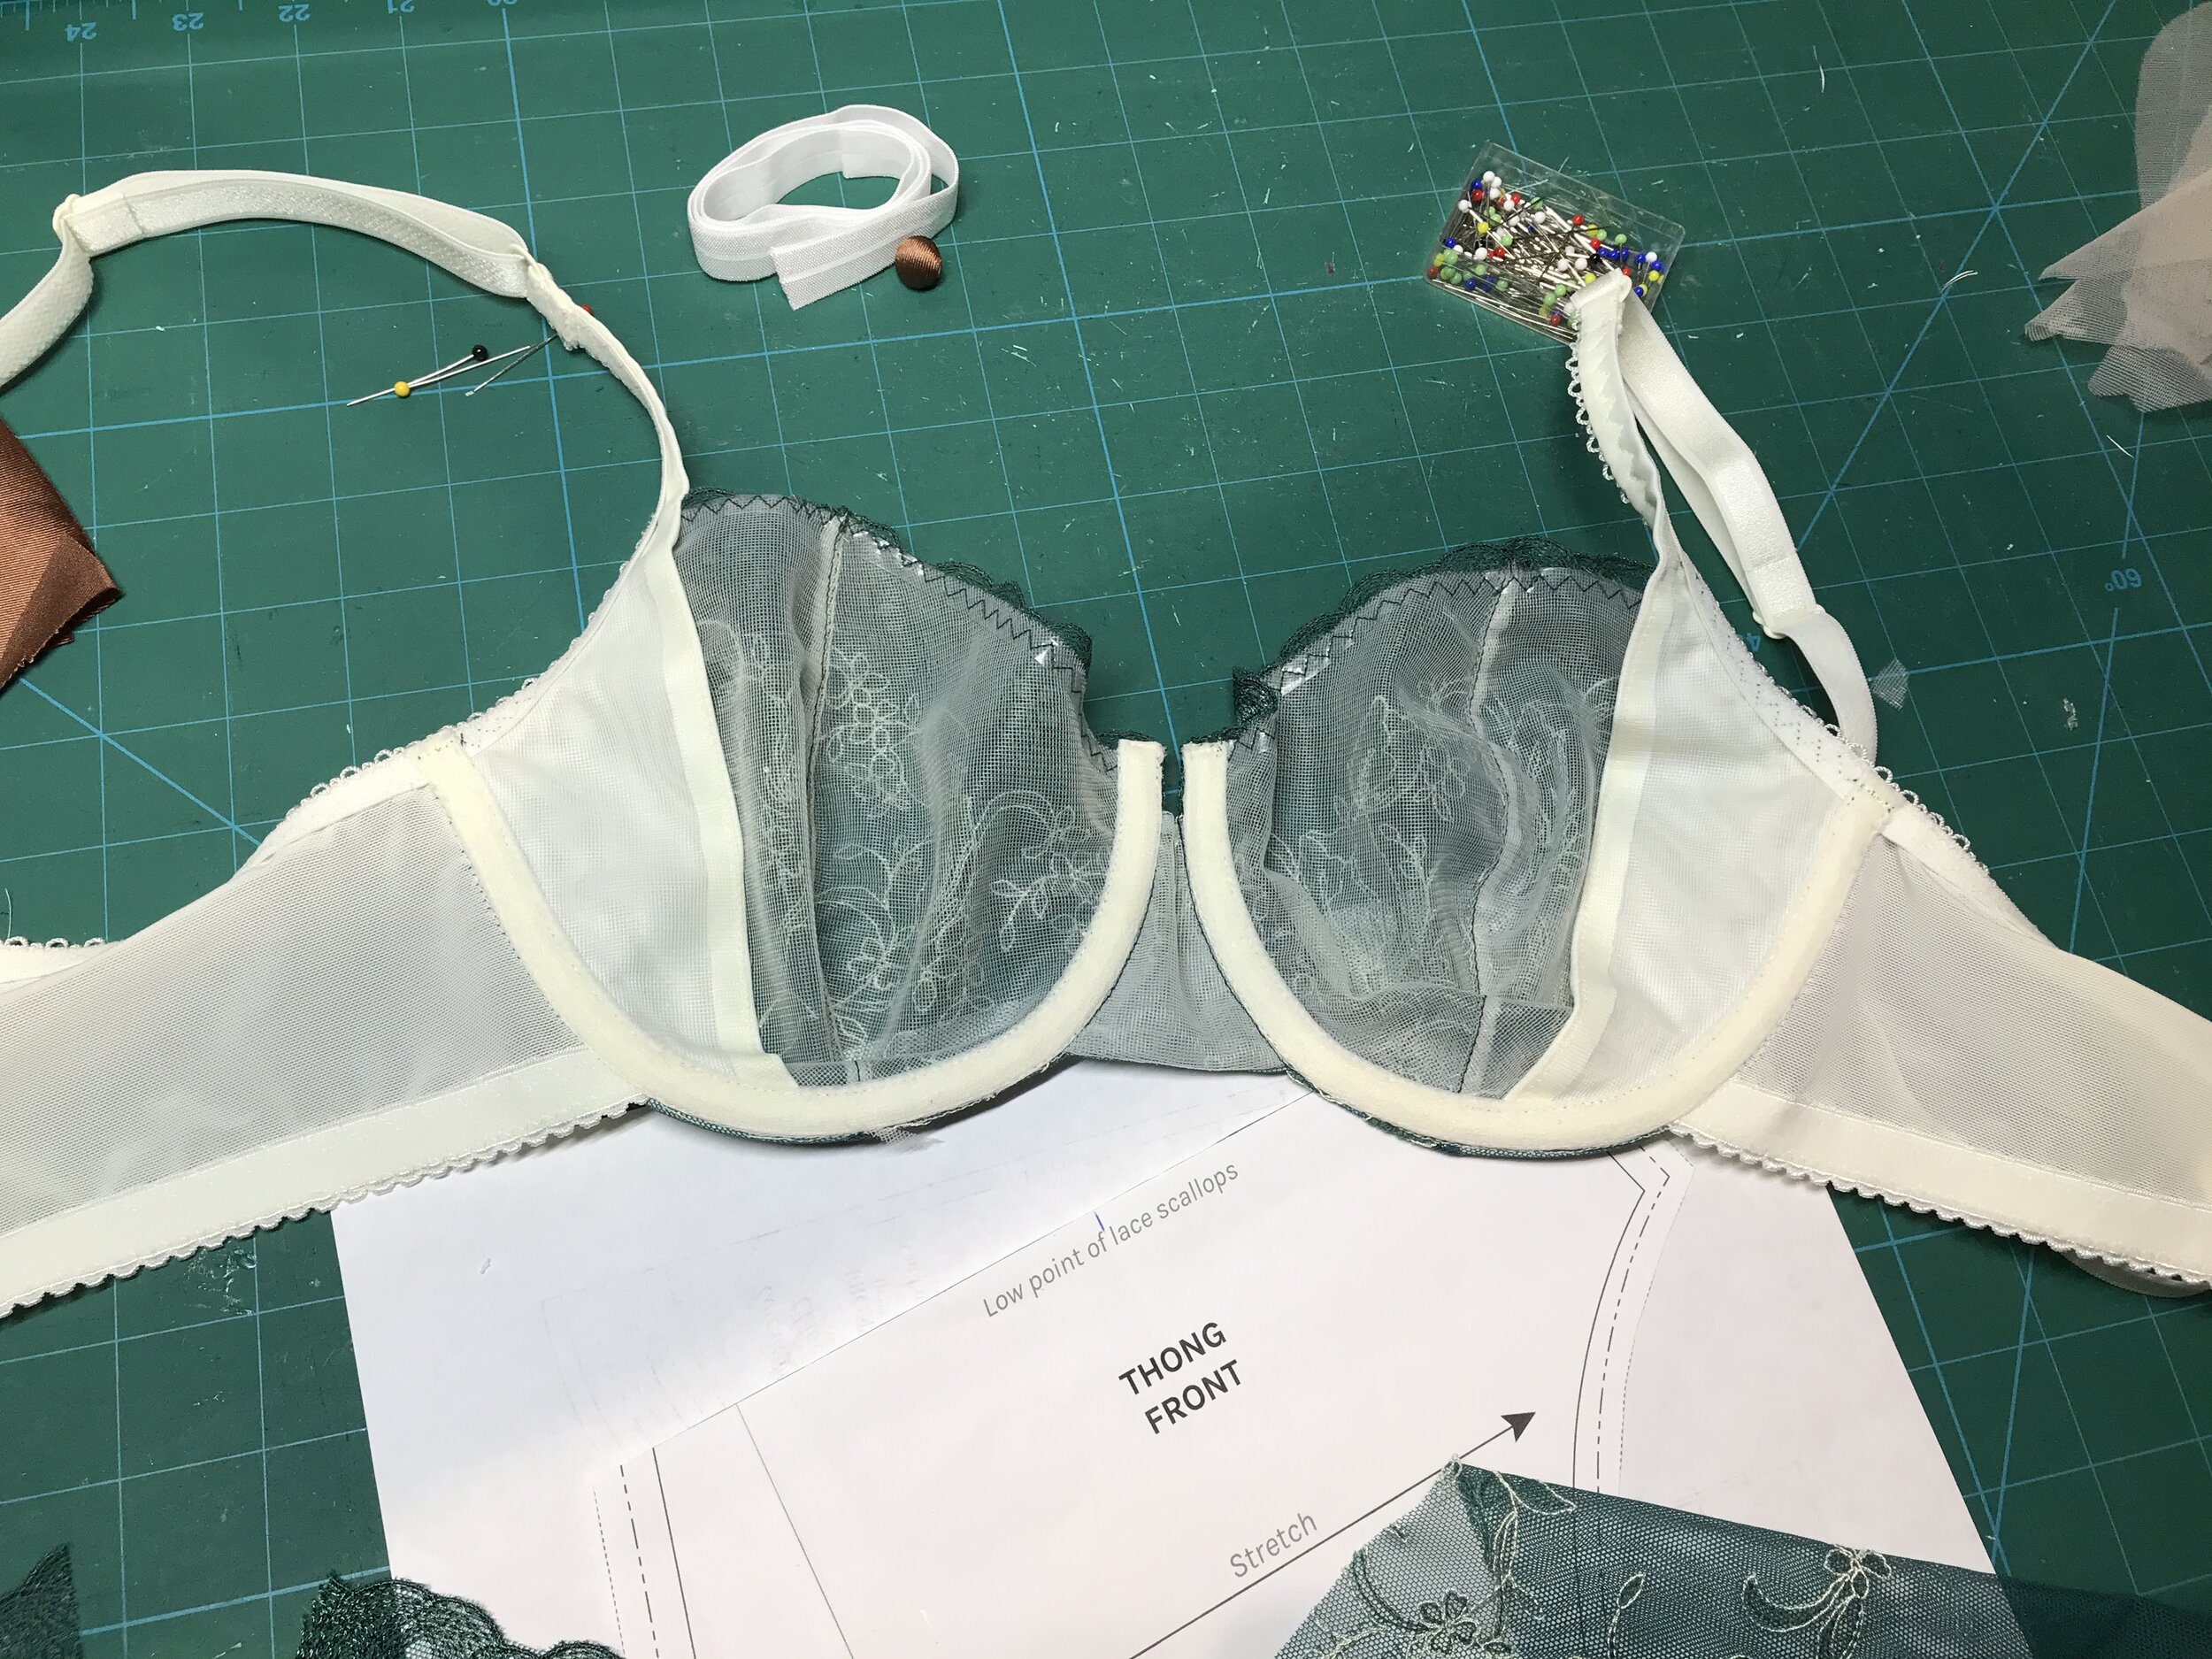
I was blown away by the shape and fit of the bra although I had to fasten on the tightest hook to get the snug fit I prefer. For this reason I would definitely make this style first as I knew exactly what size to make the back for the front closing variation. Also, you can test the cup without having to worry about the front closure.

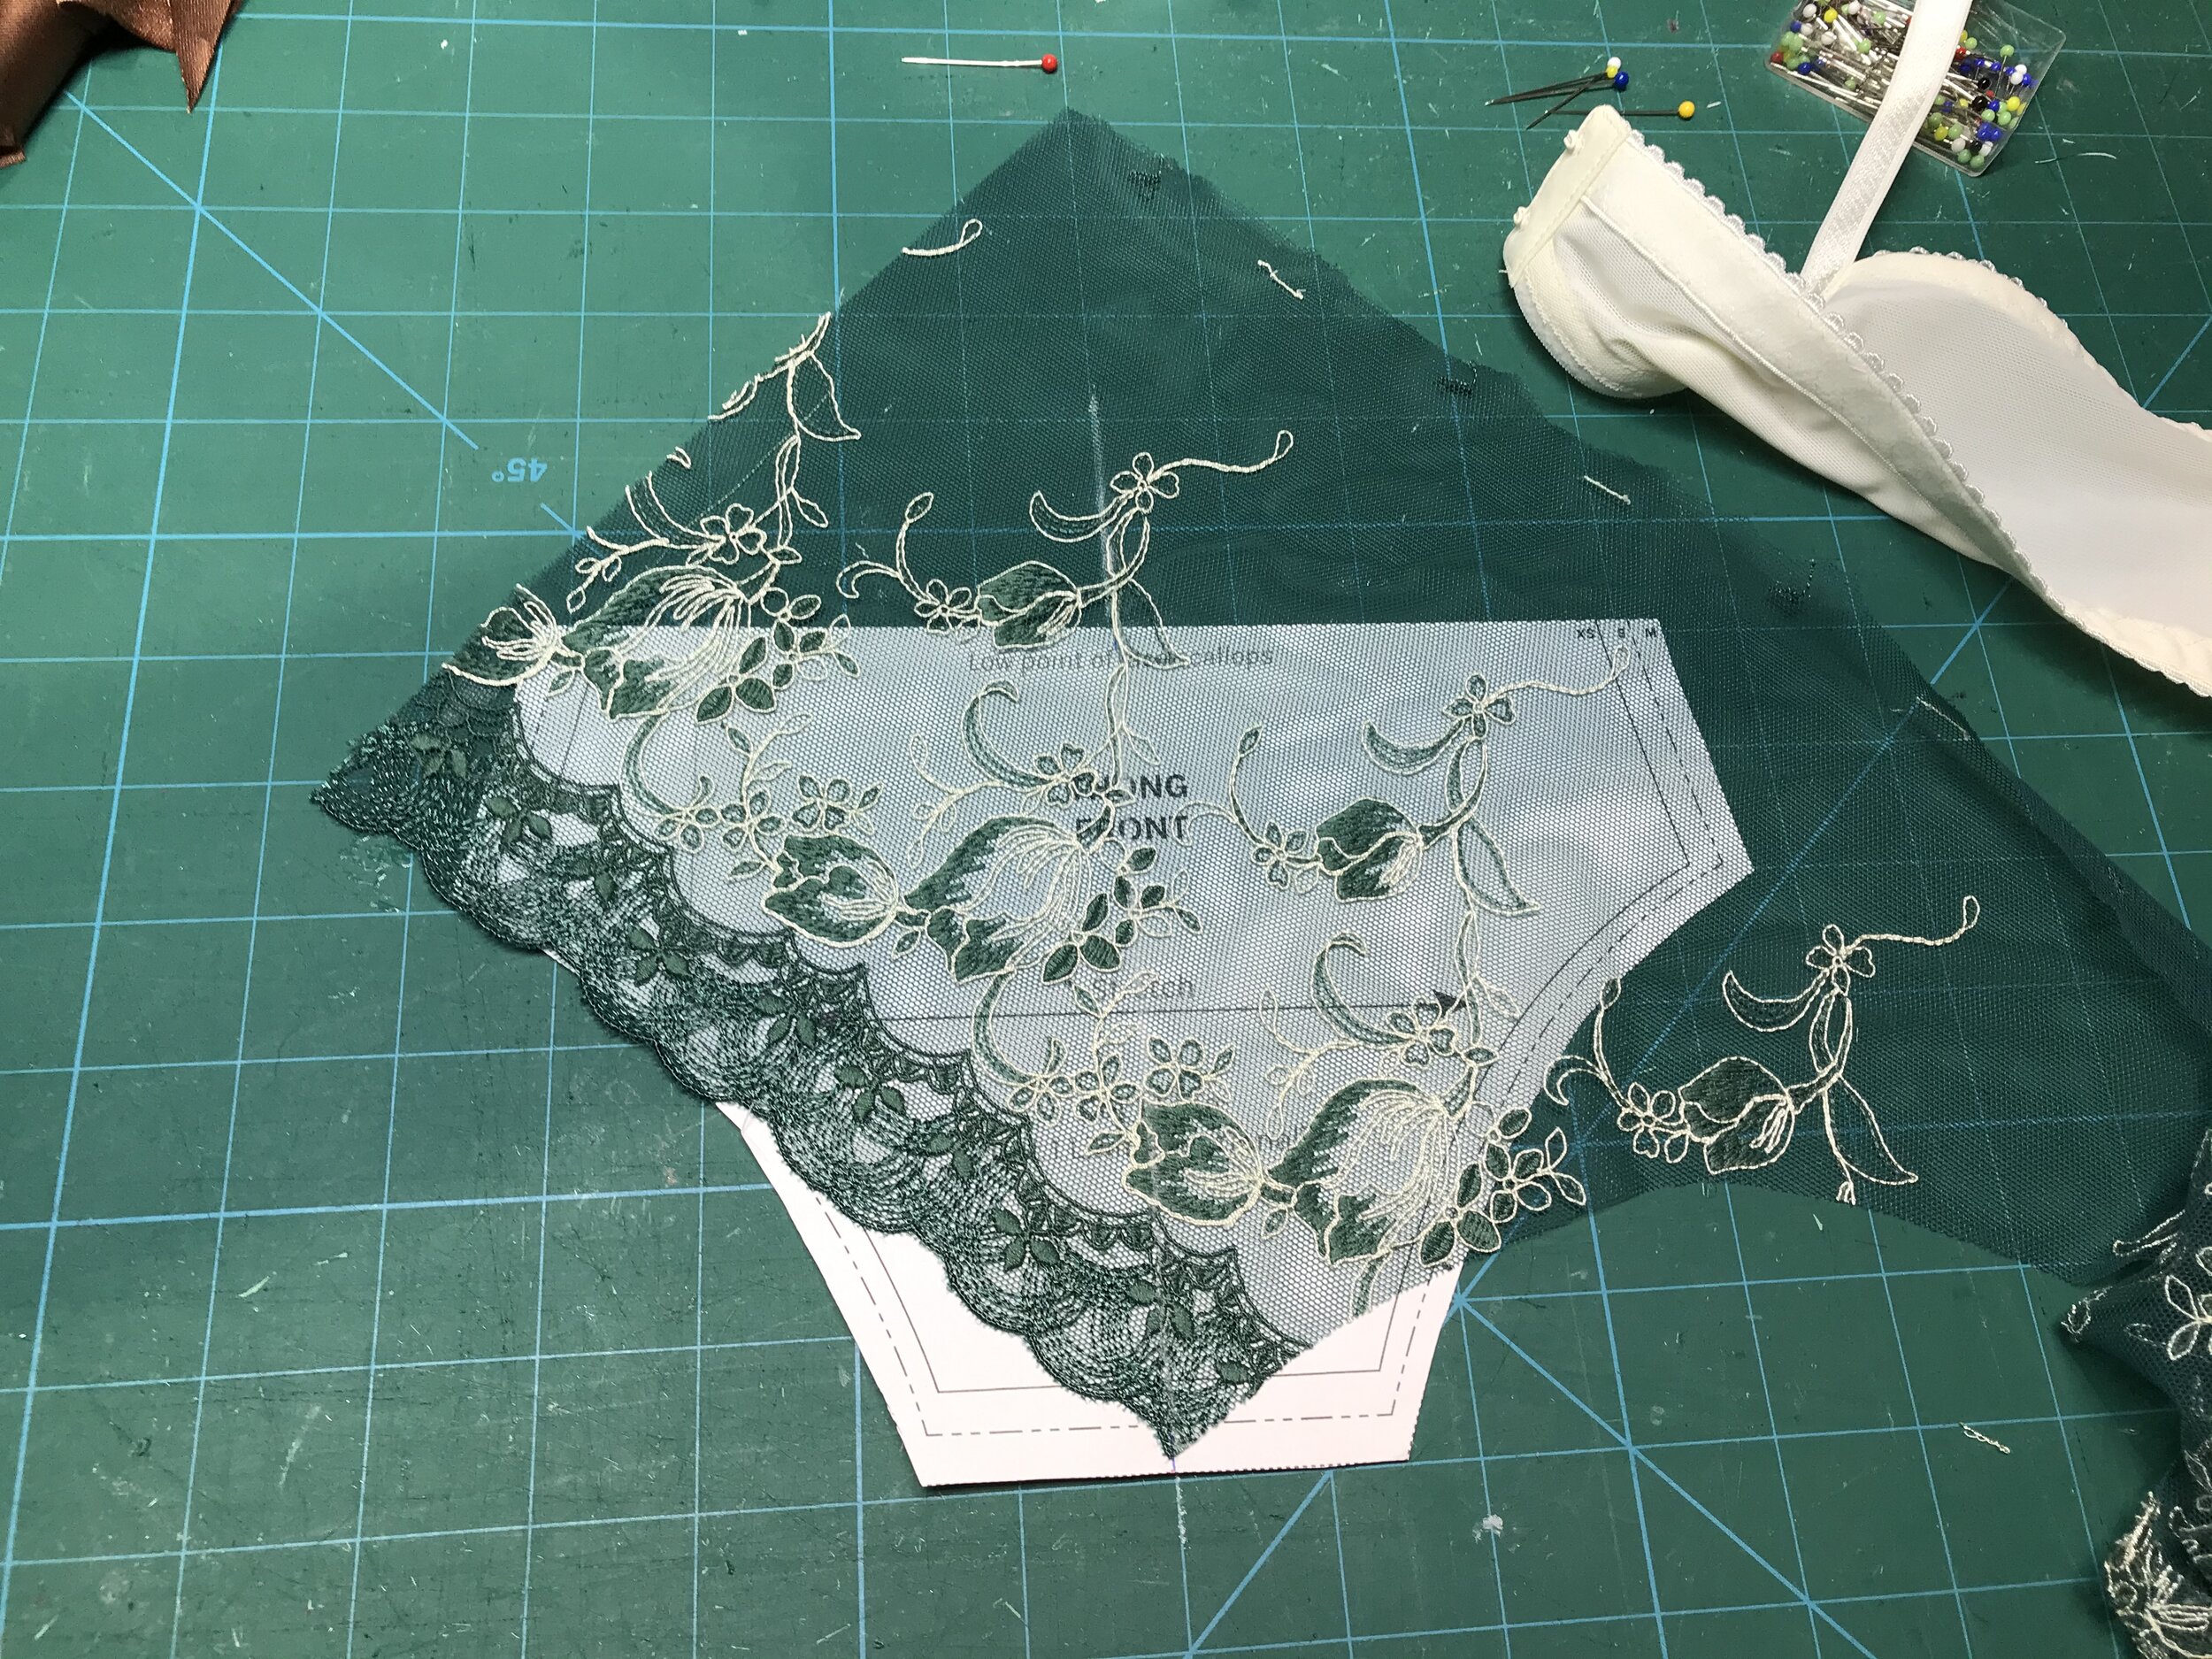
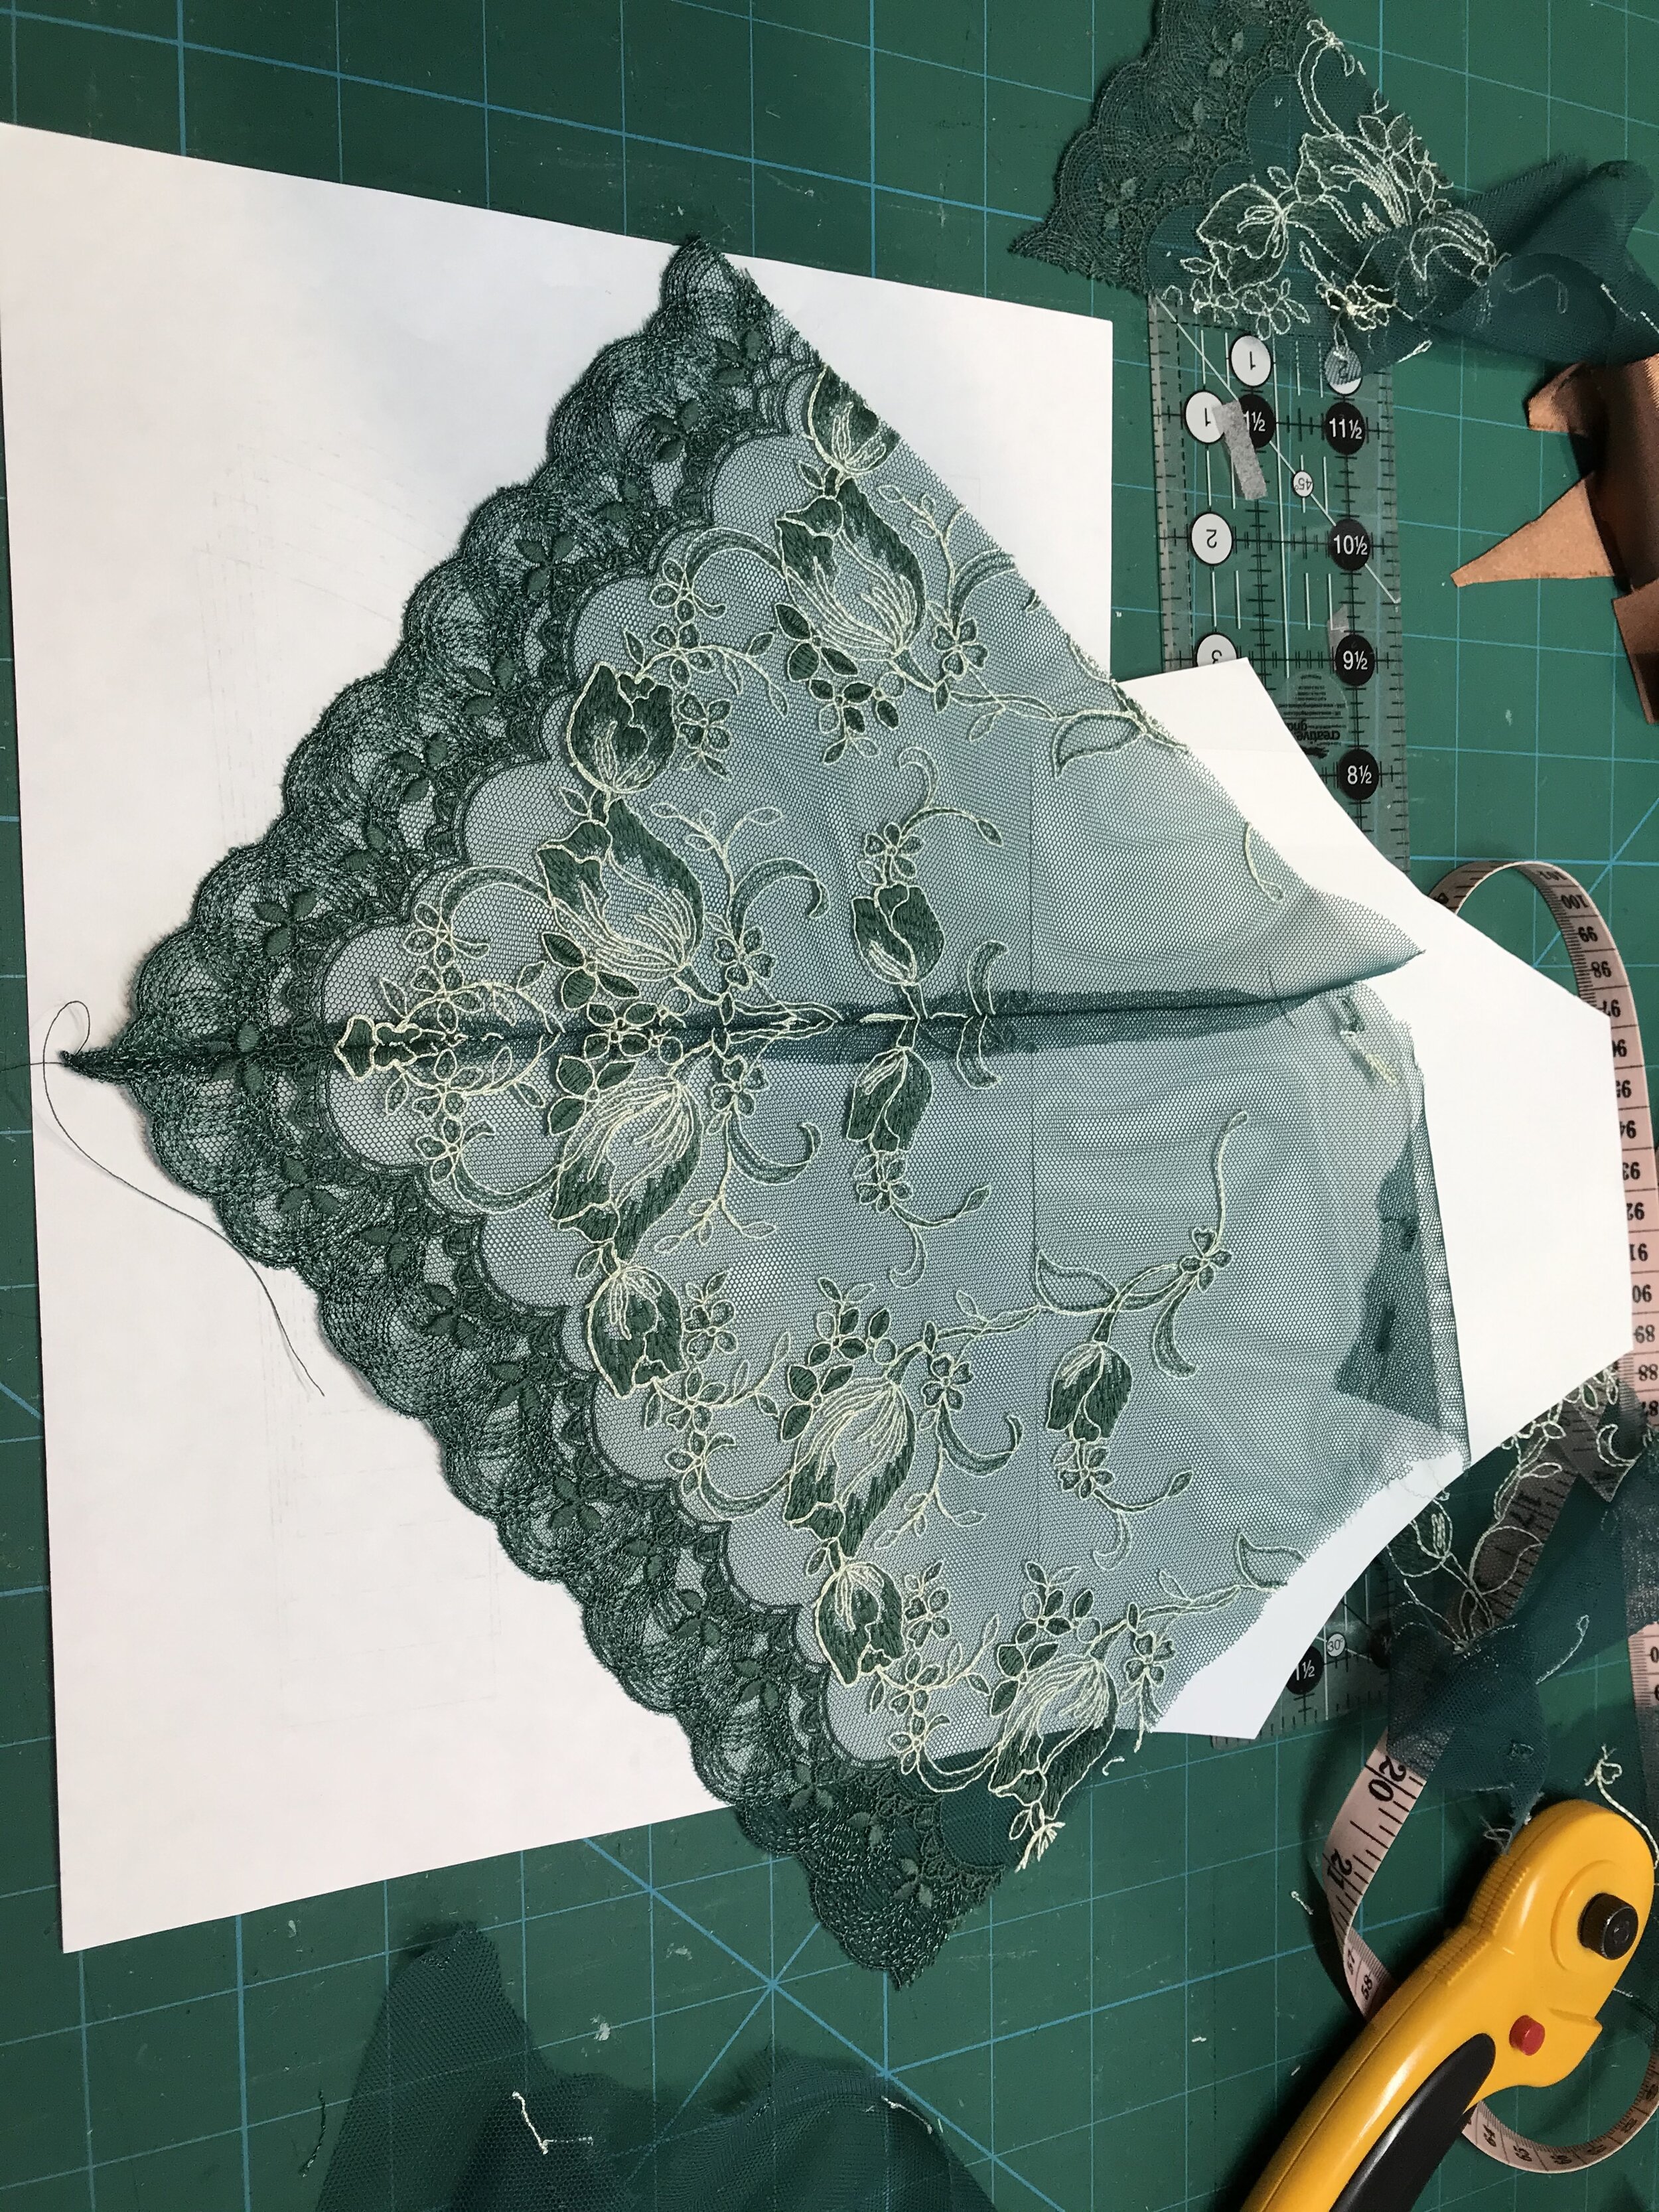
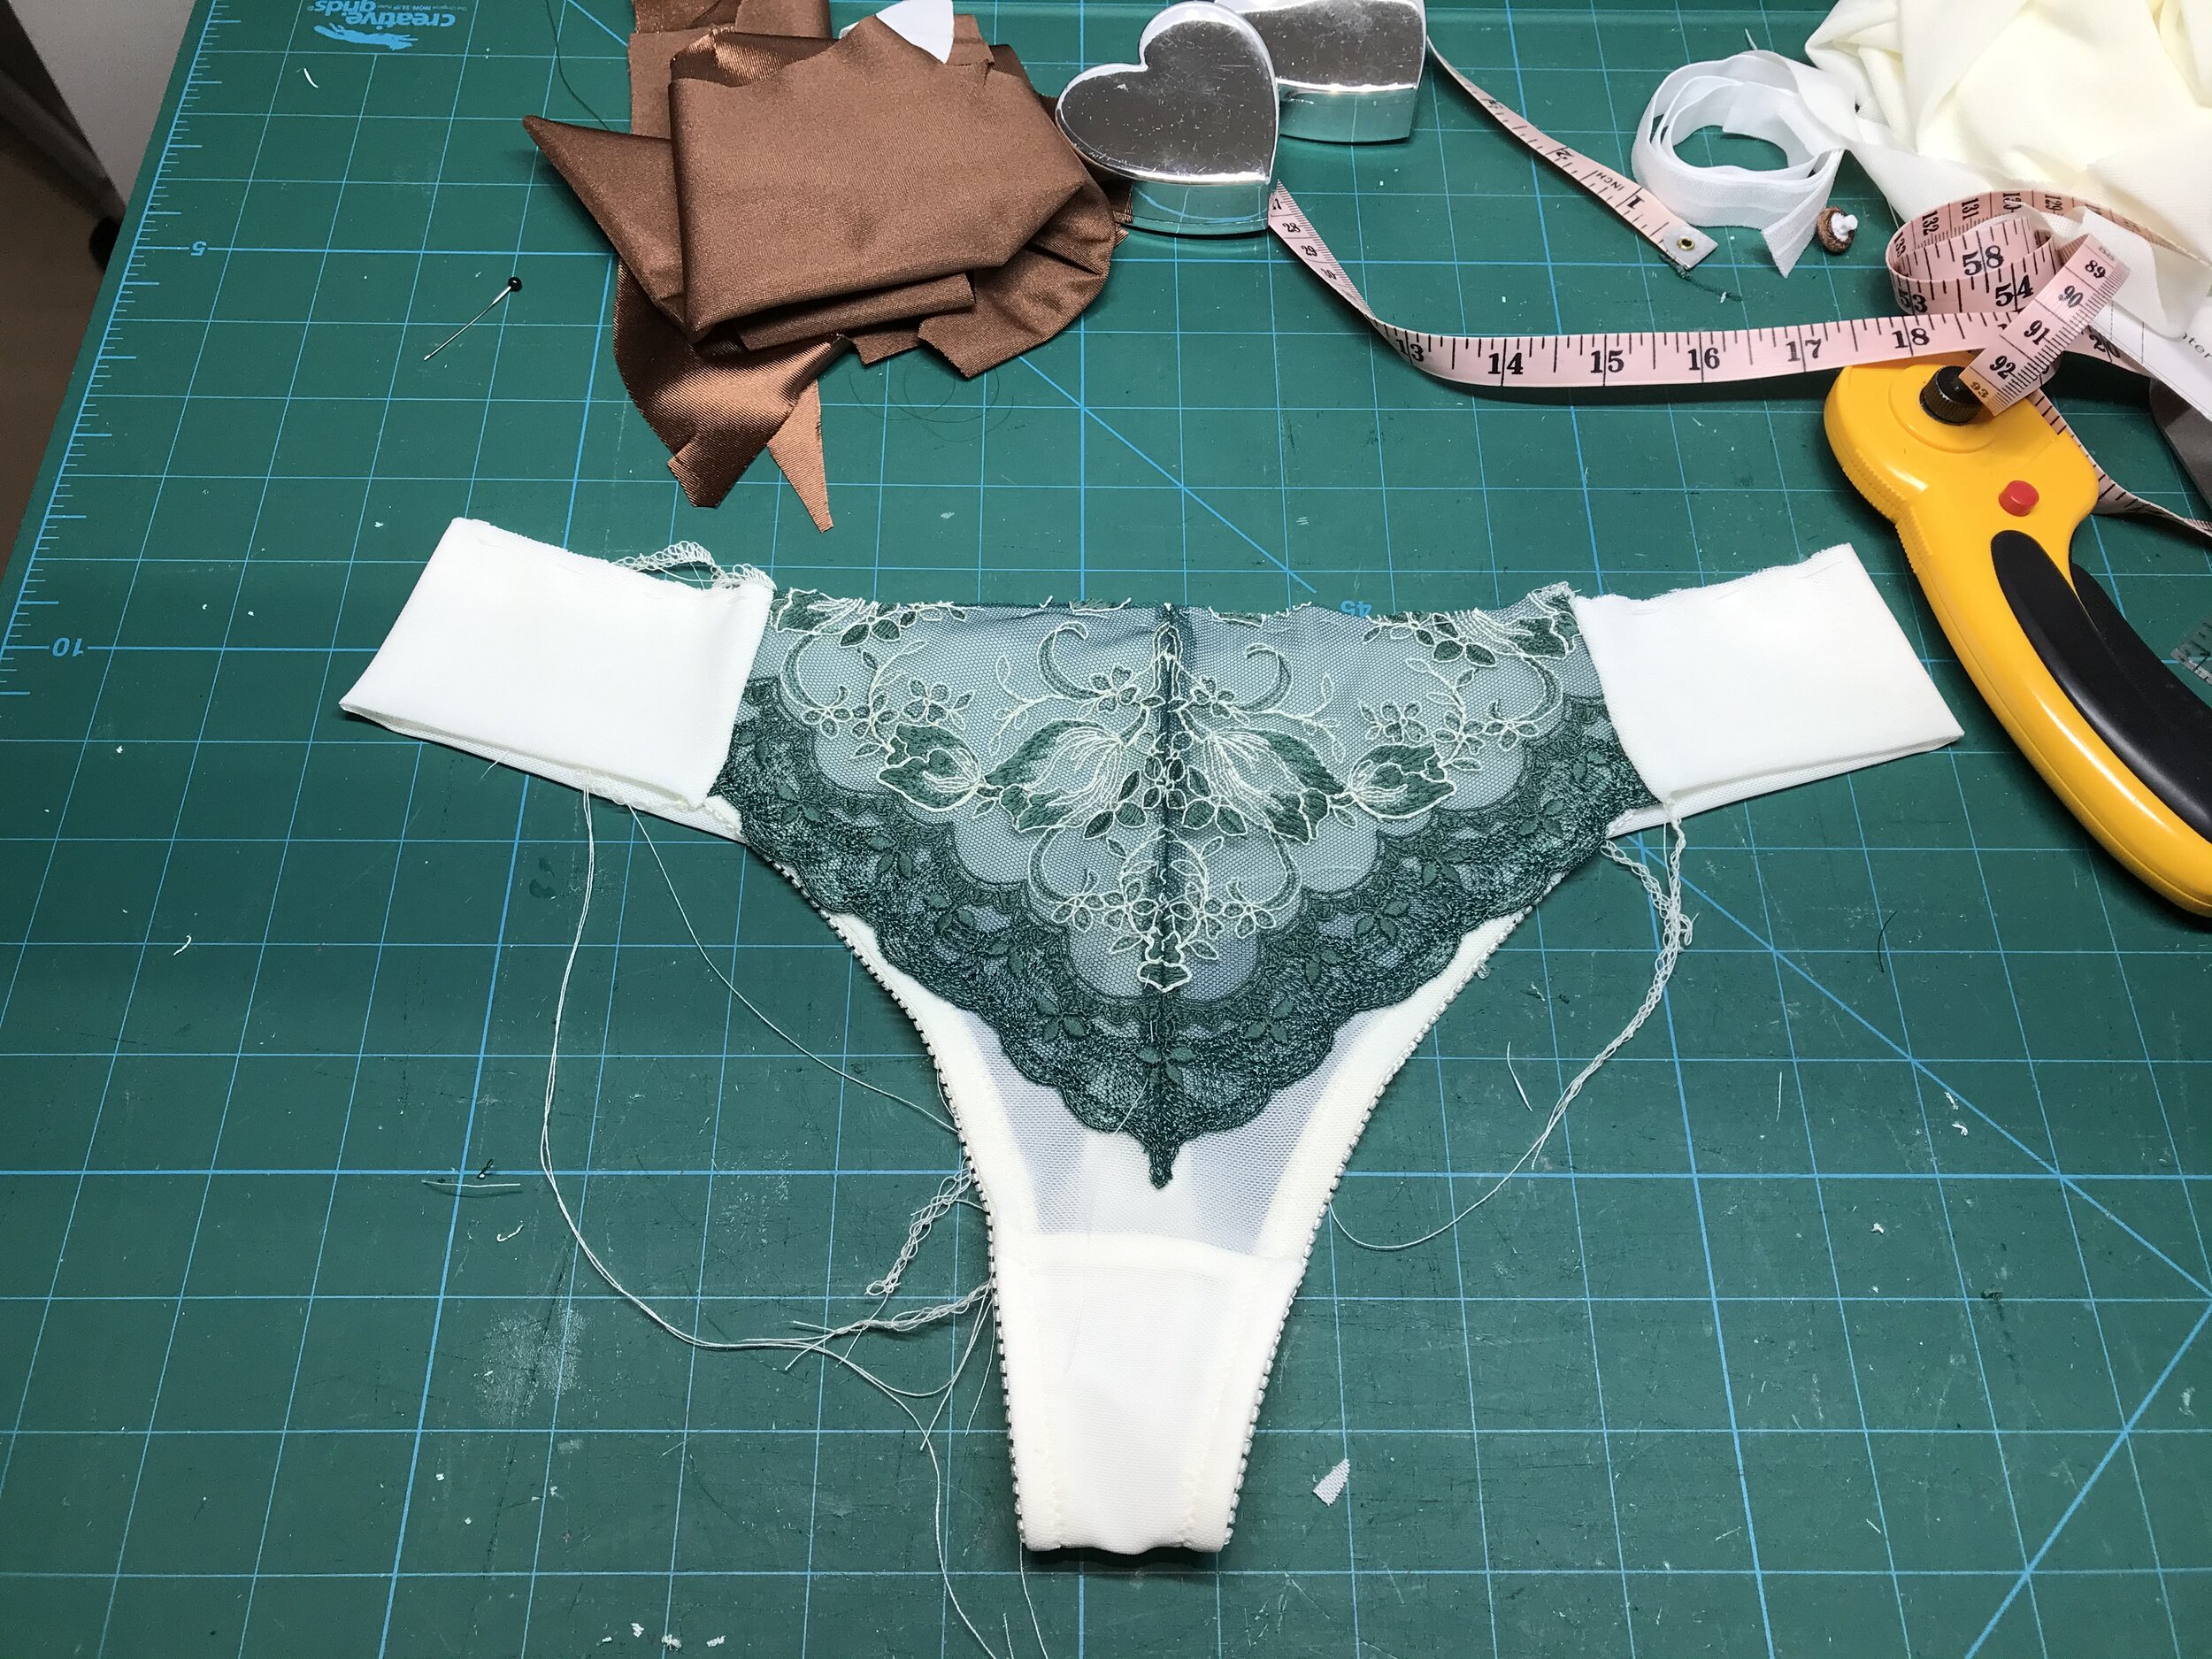
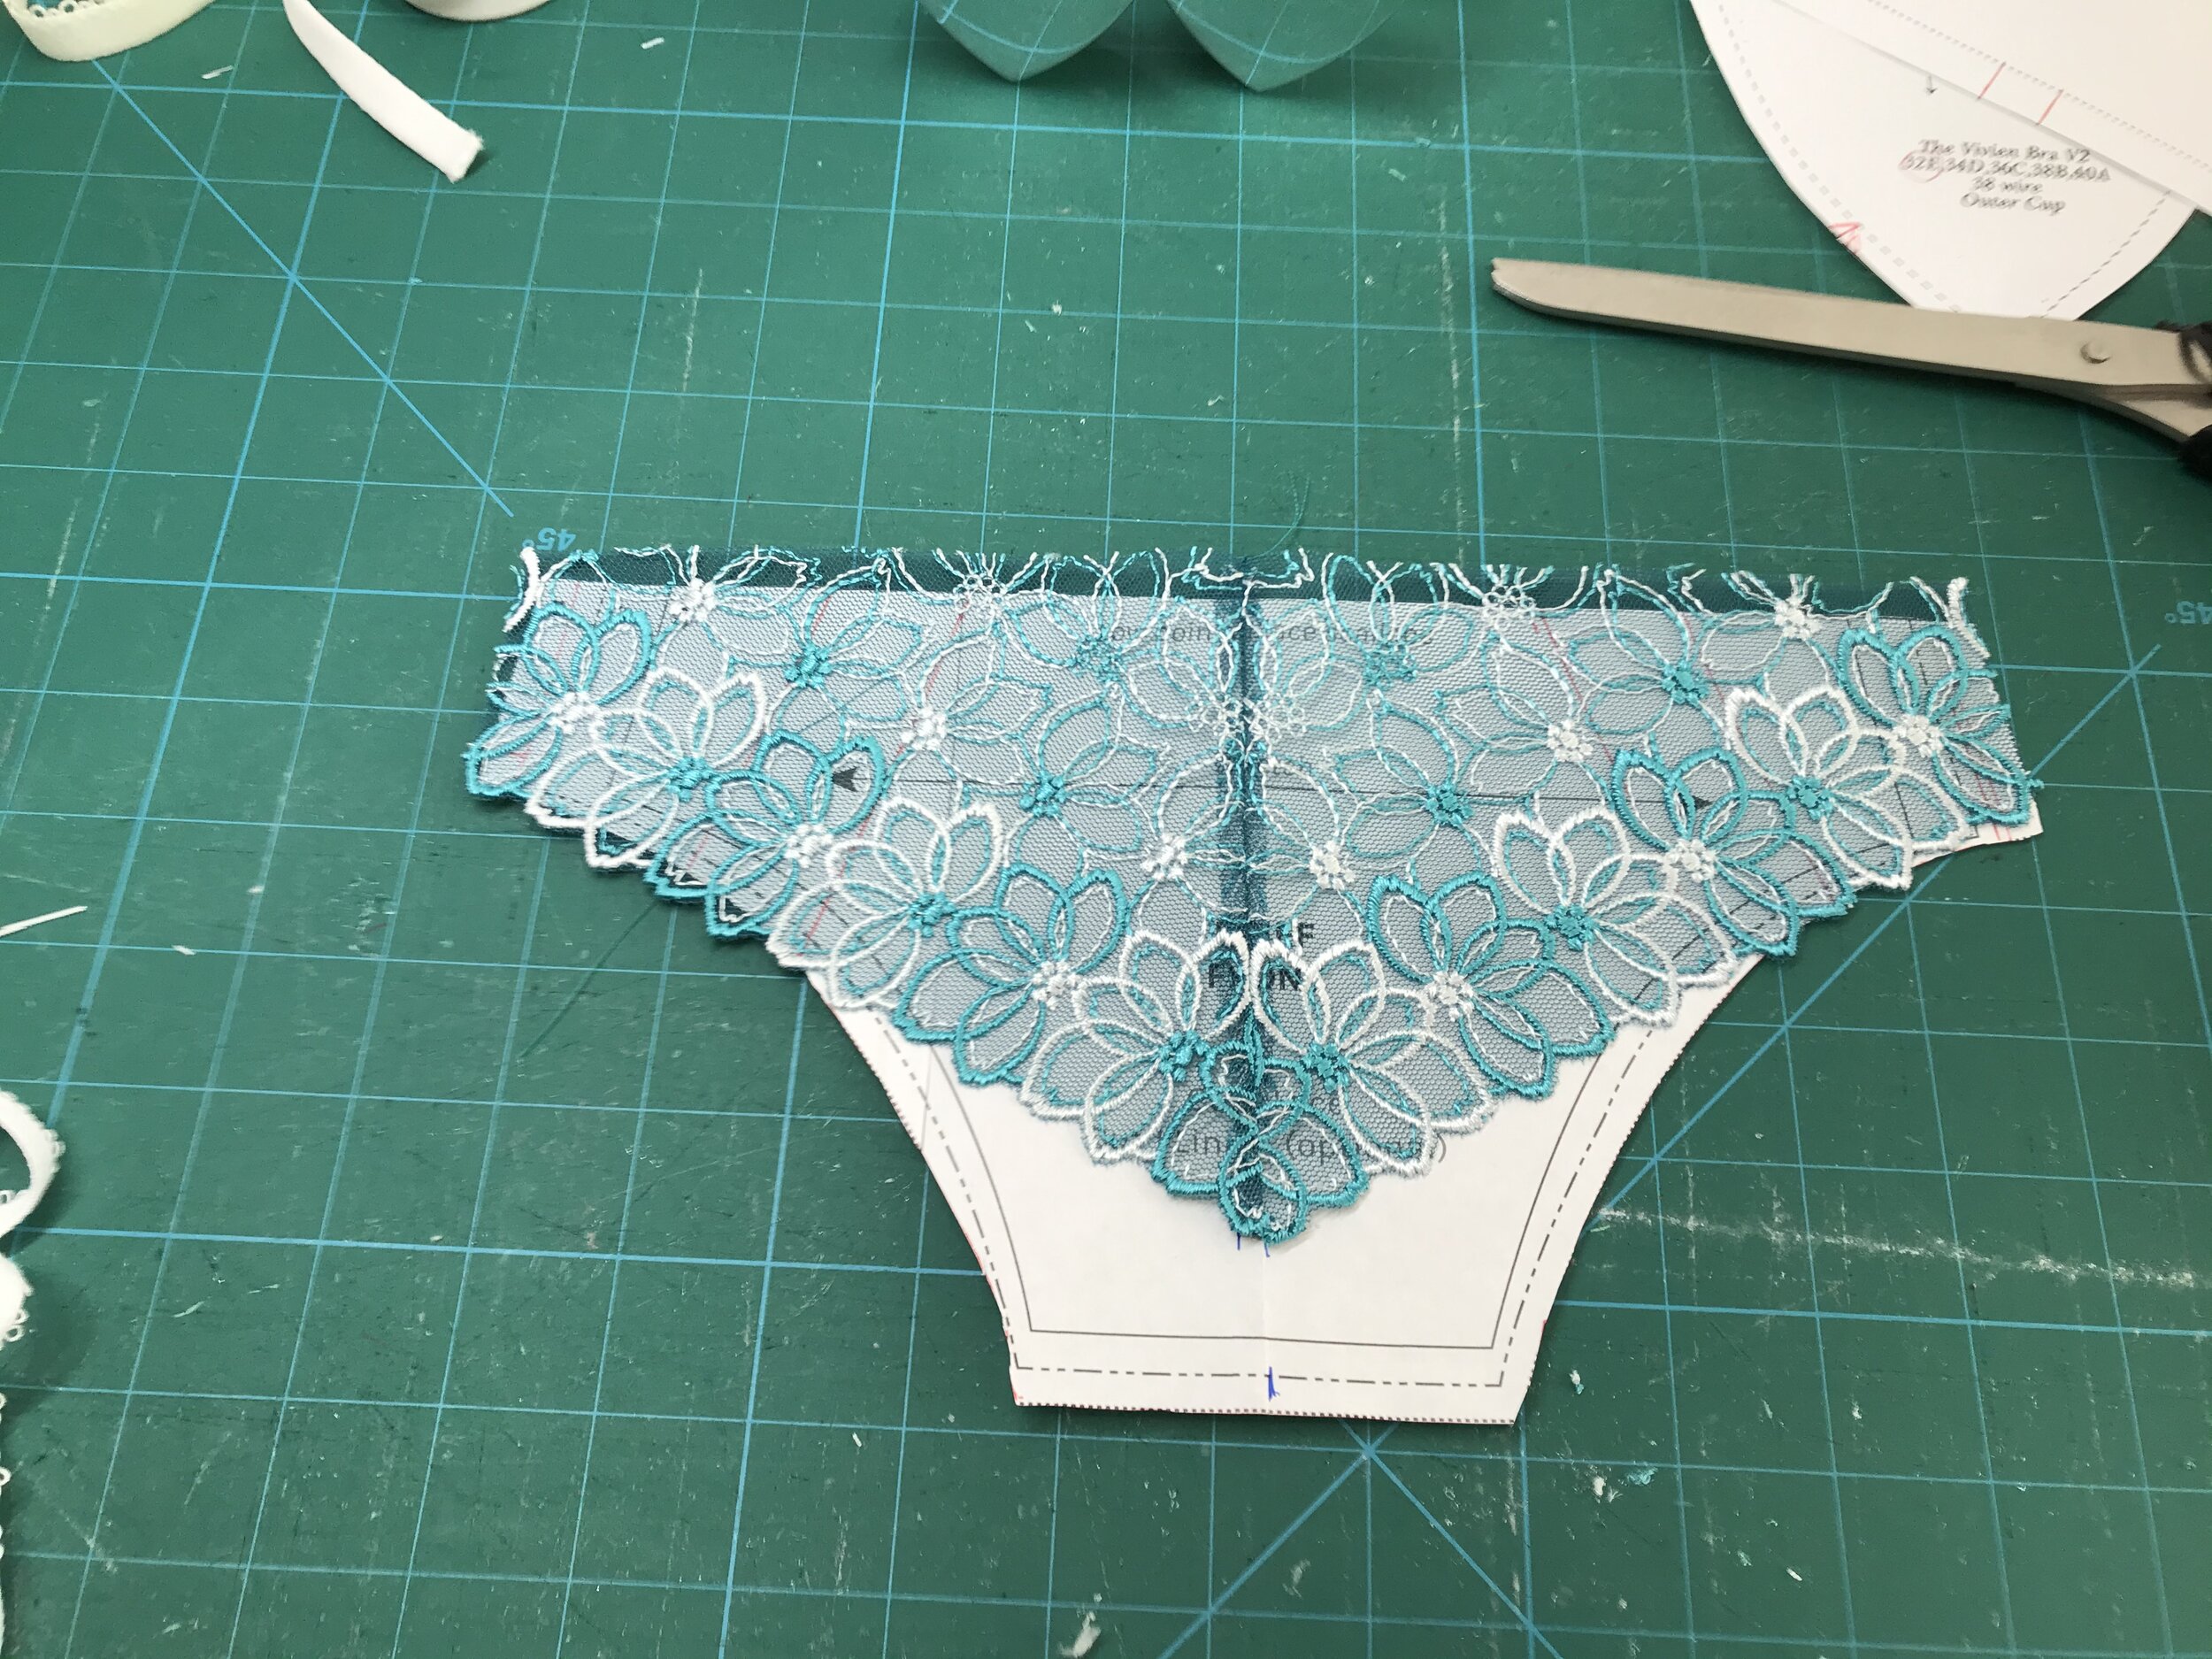
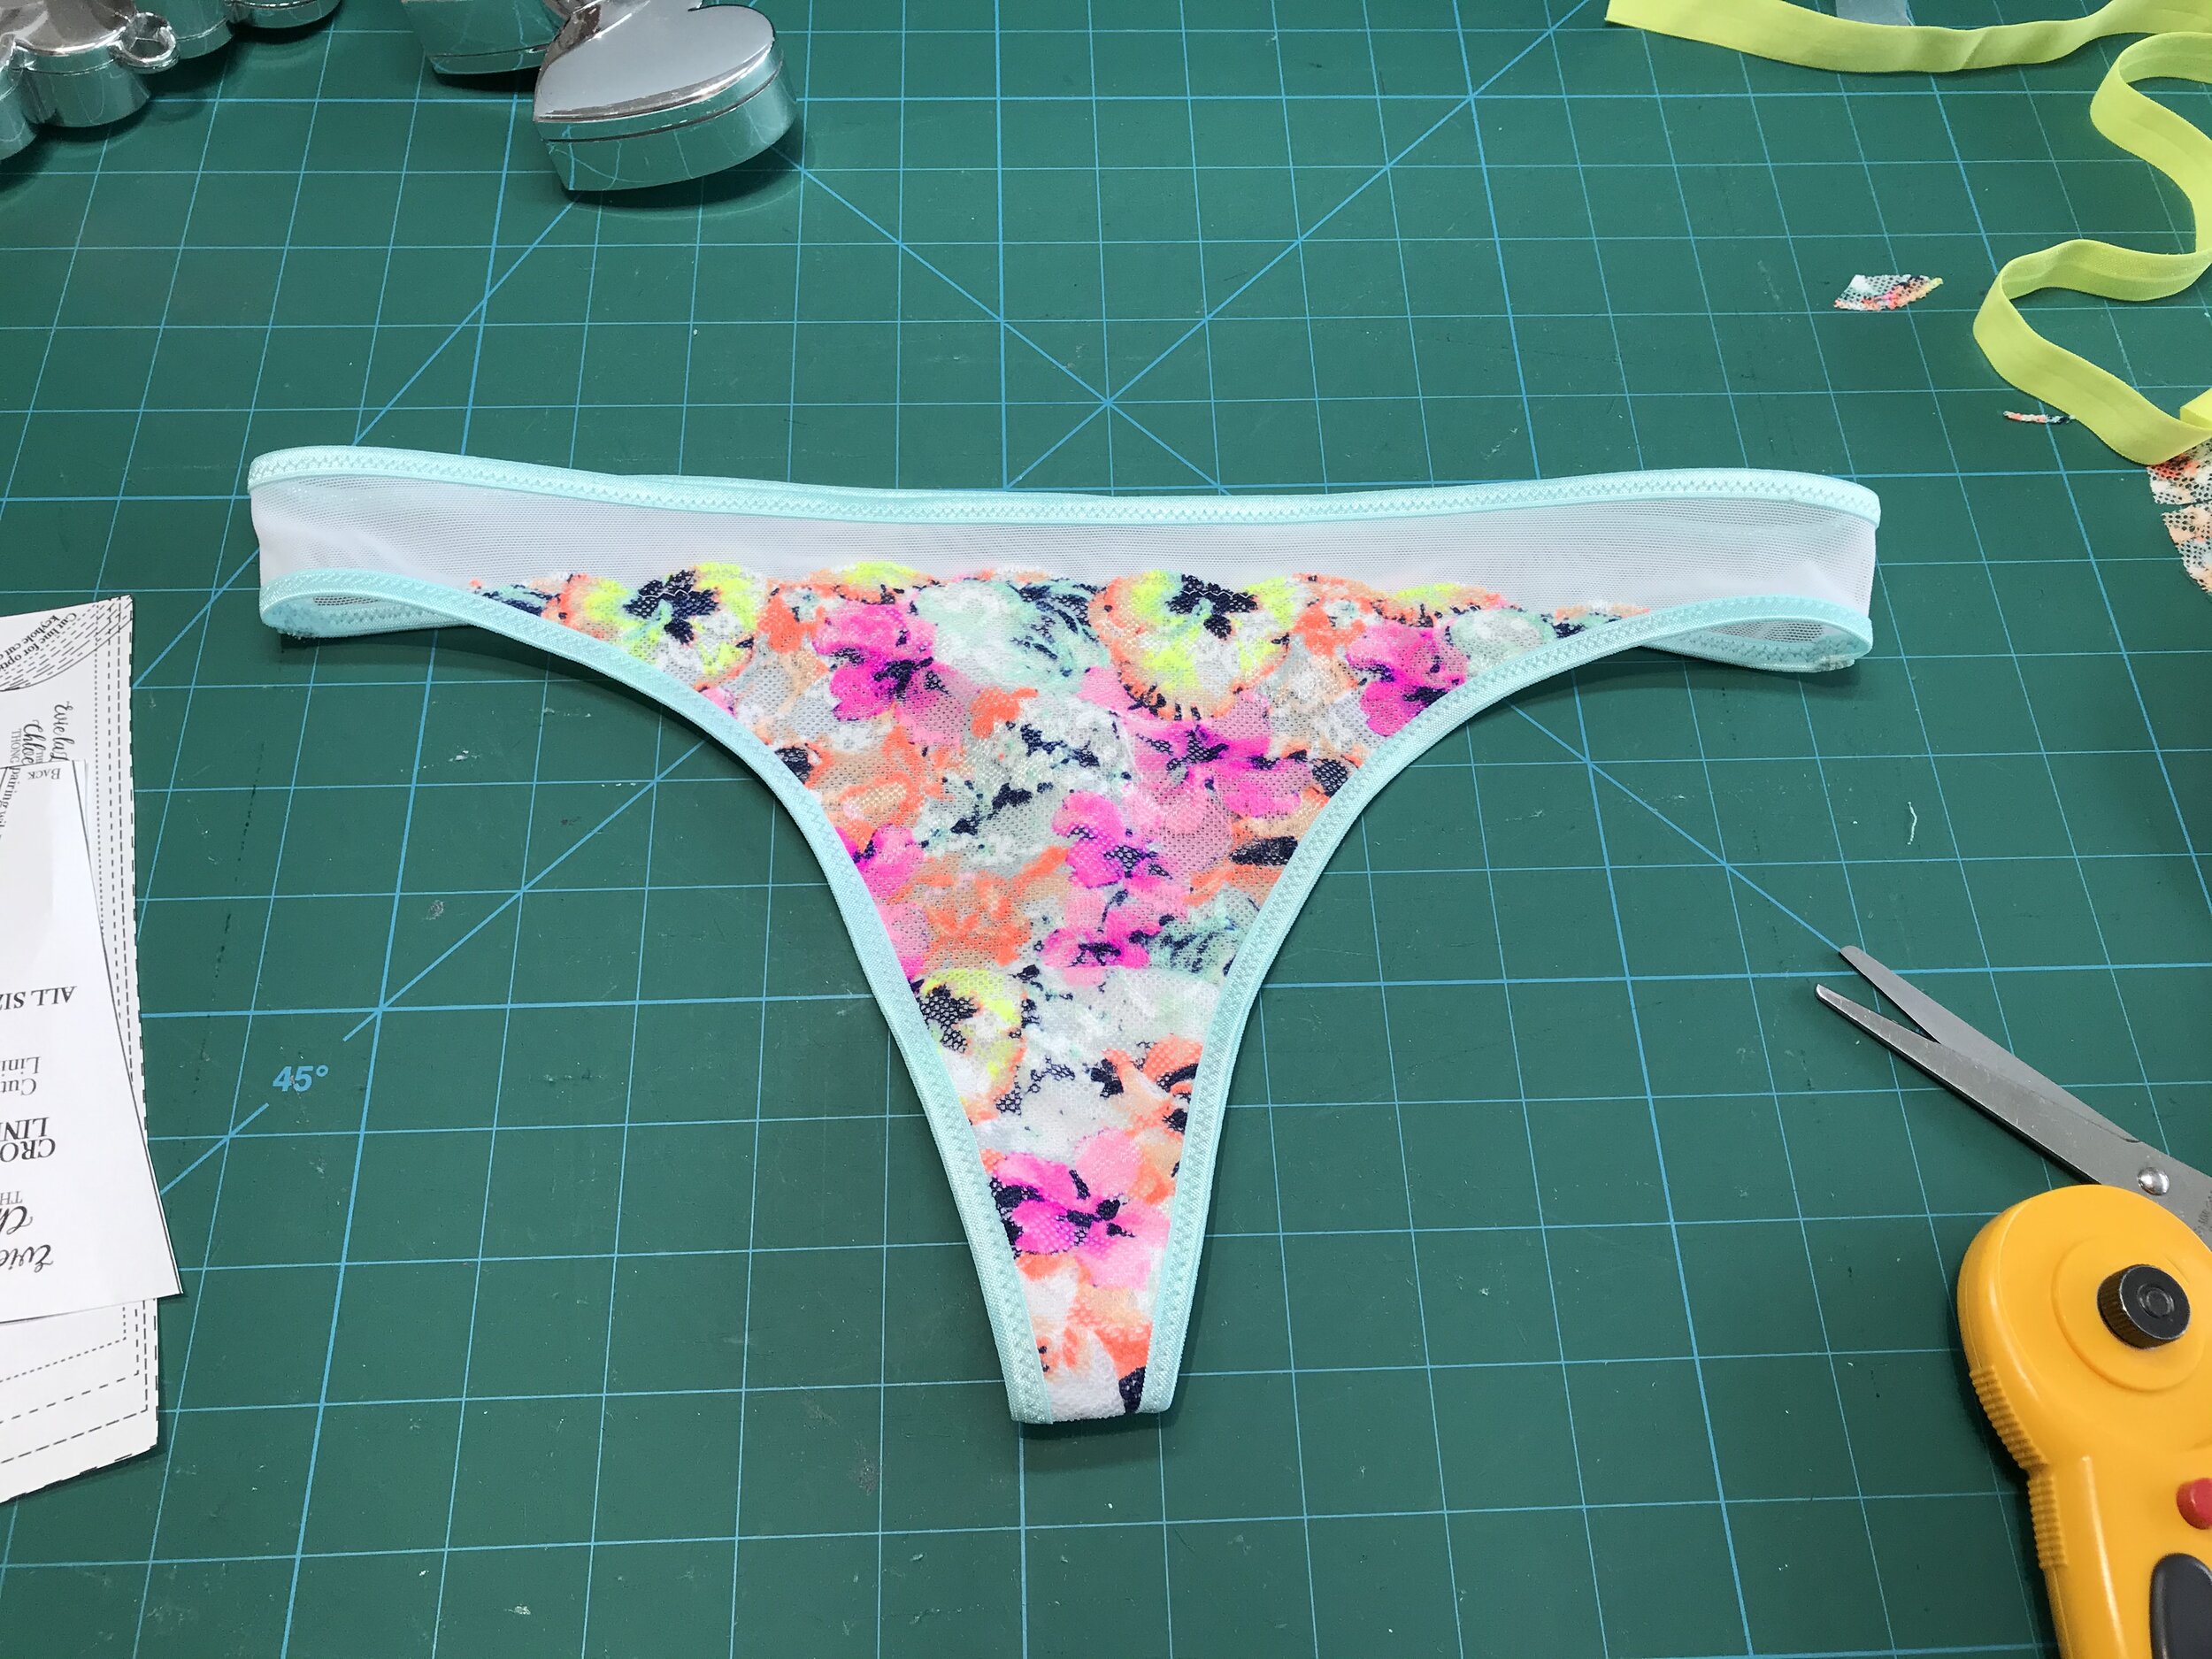
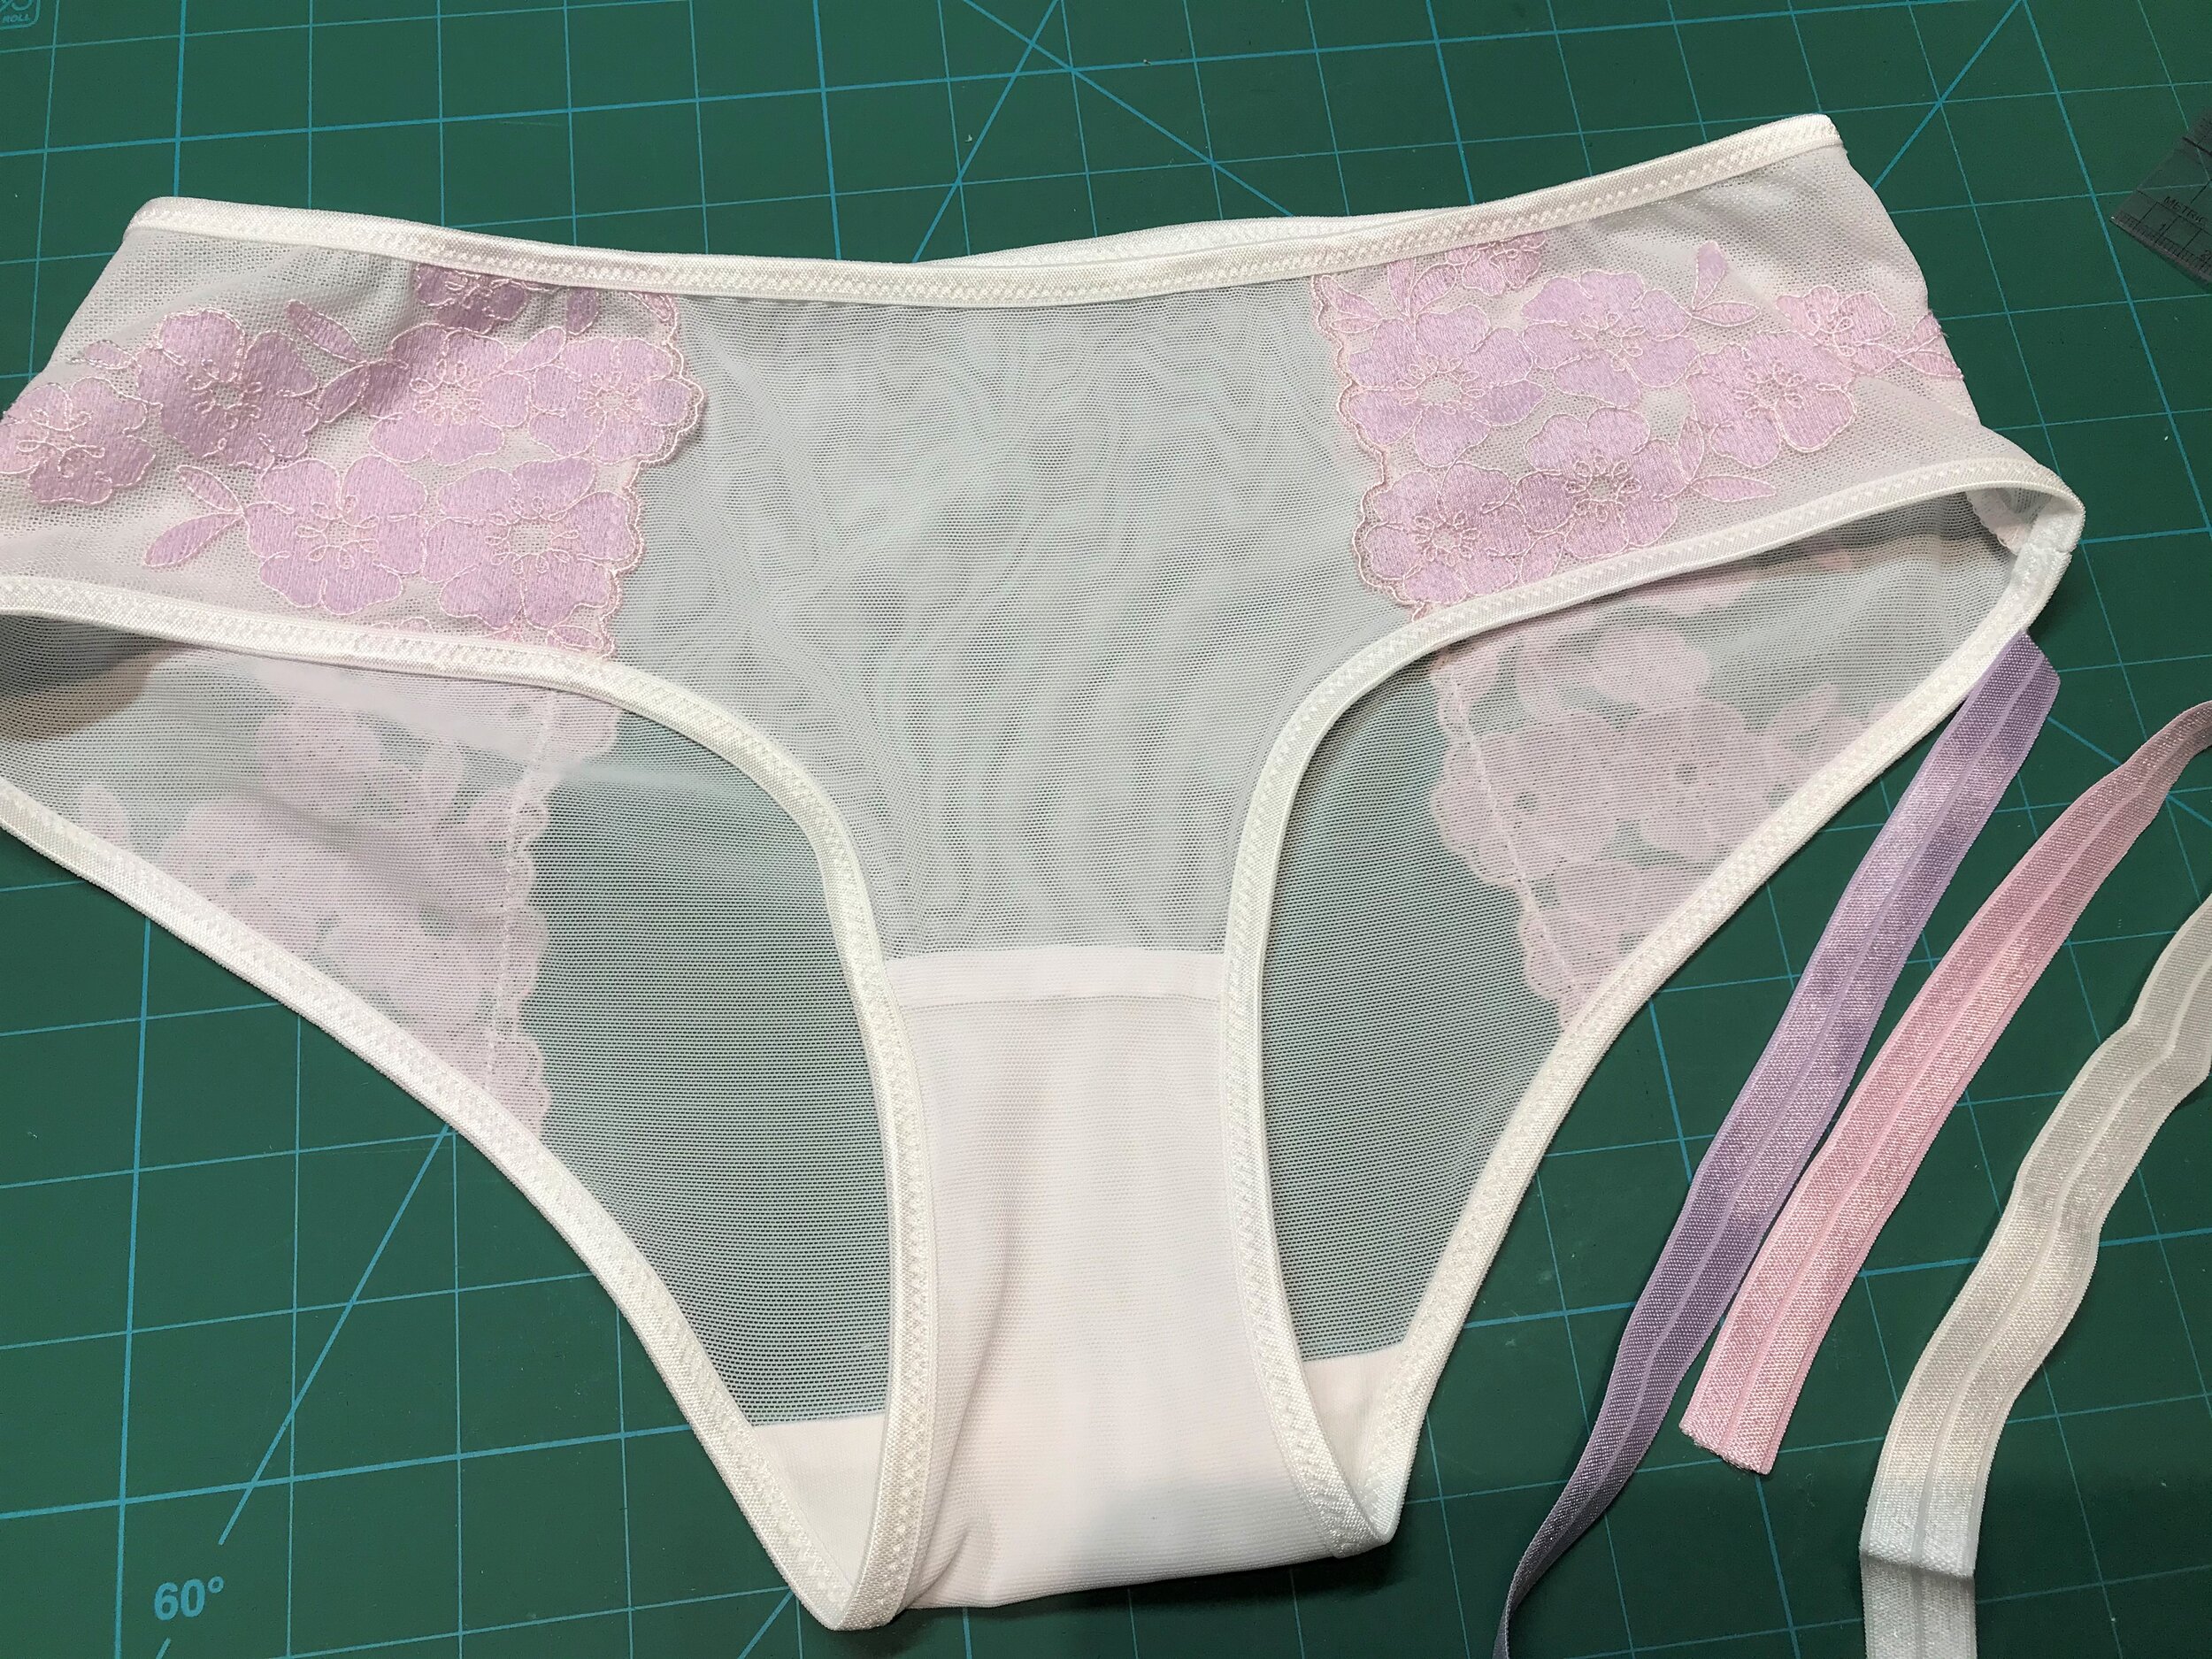
With just small pieces of the lace left I had to think carefully how I could make a matching set. I started with the smallest side to see how much I could cover the Orange Lingerie Kingston thong. I chalked a line down the centre, laid the other side on top to match and sewed down the chalk mark and this gave a piece to cut for an overlay. I cut out the front panel in mesh, attached to the gusset and finished the leg elastic. Then I placed the lace overlay so the scallop sat on the elastic, zigzagged down and finished as normal.

The Kingston is a perfect complement for the Vivien and one of my go to patterns for the non stretch lace used in a bra.

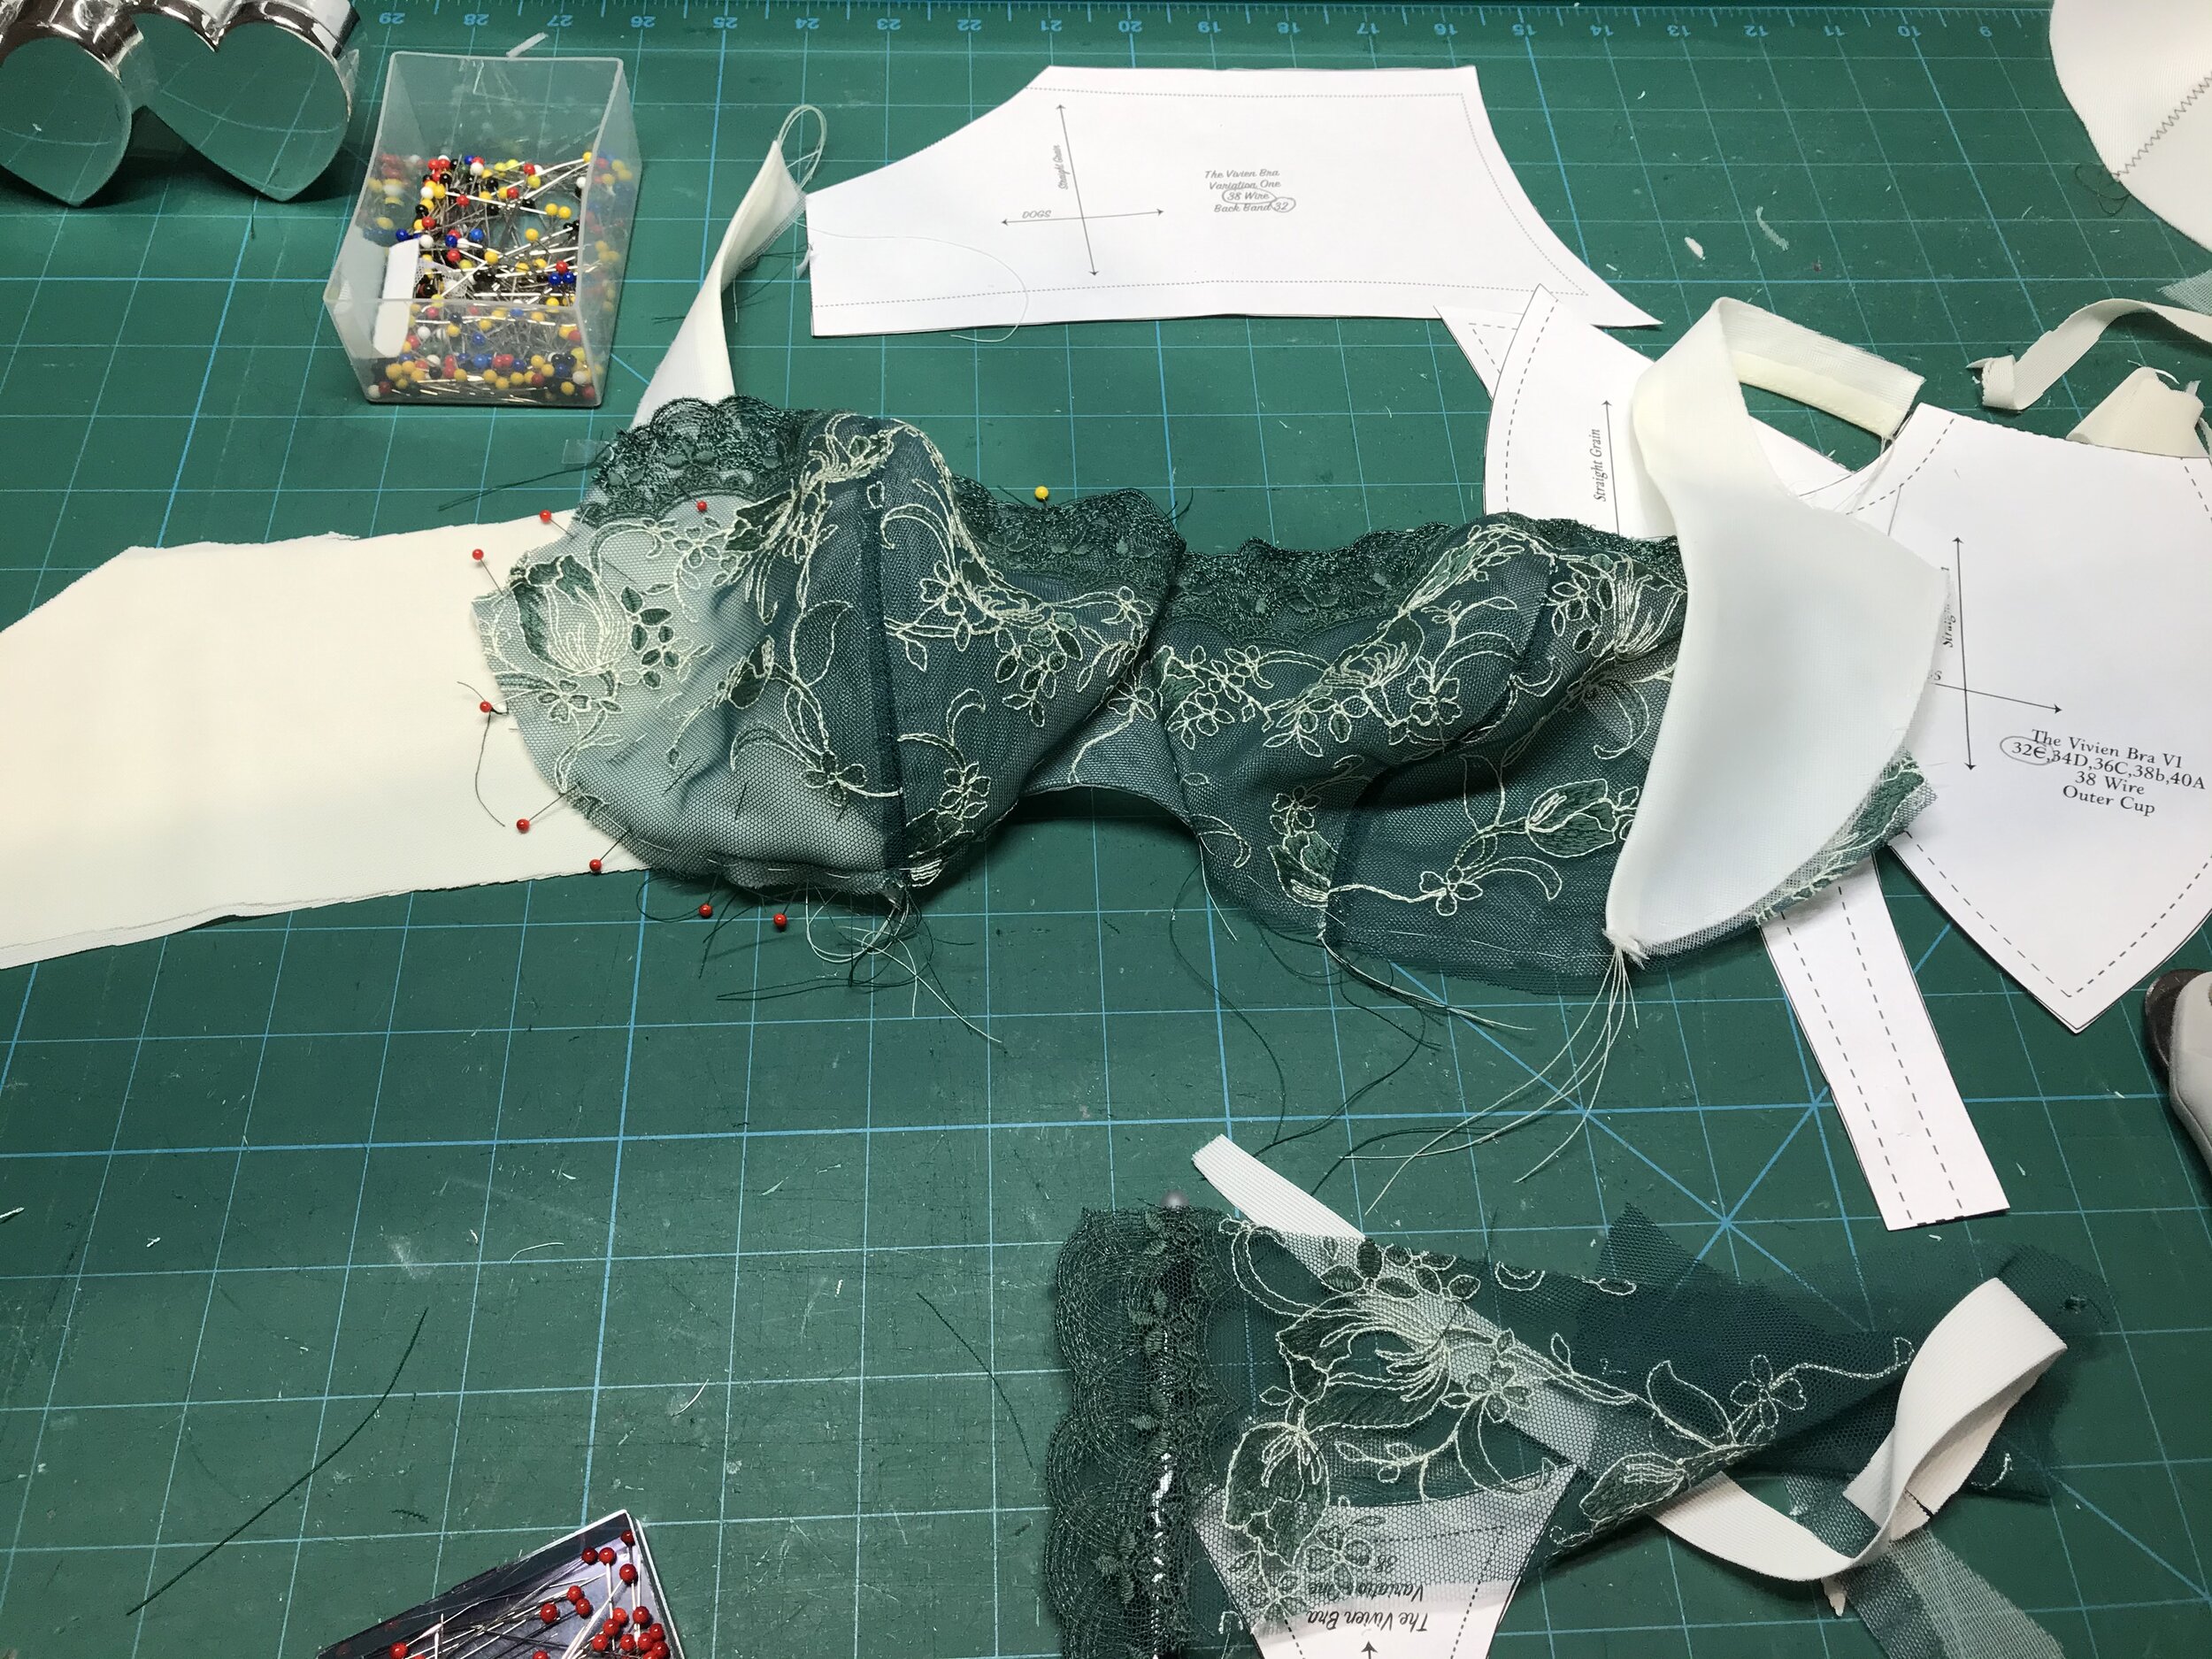
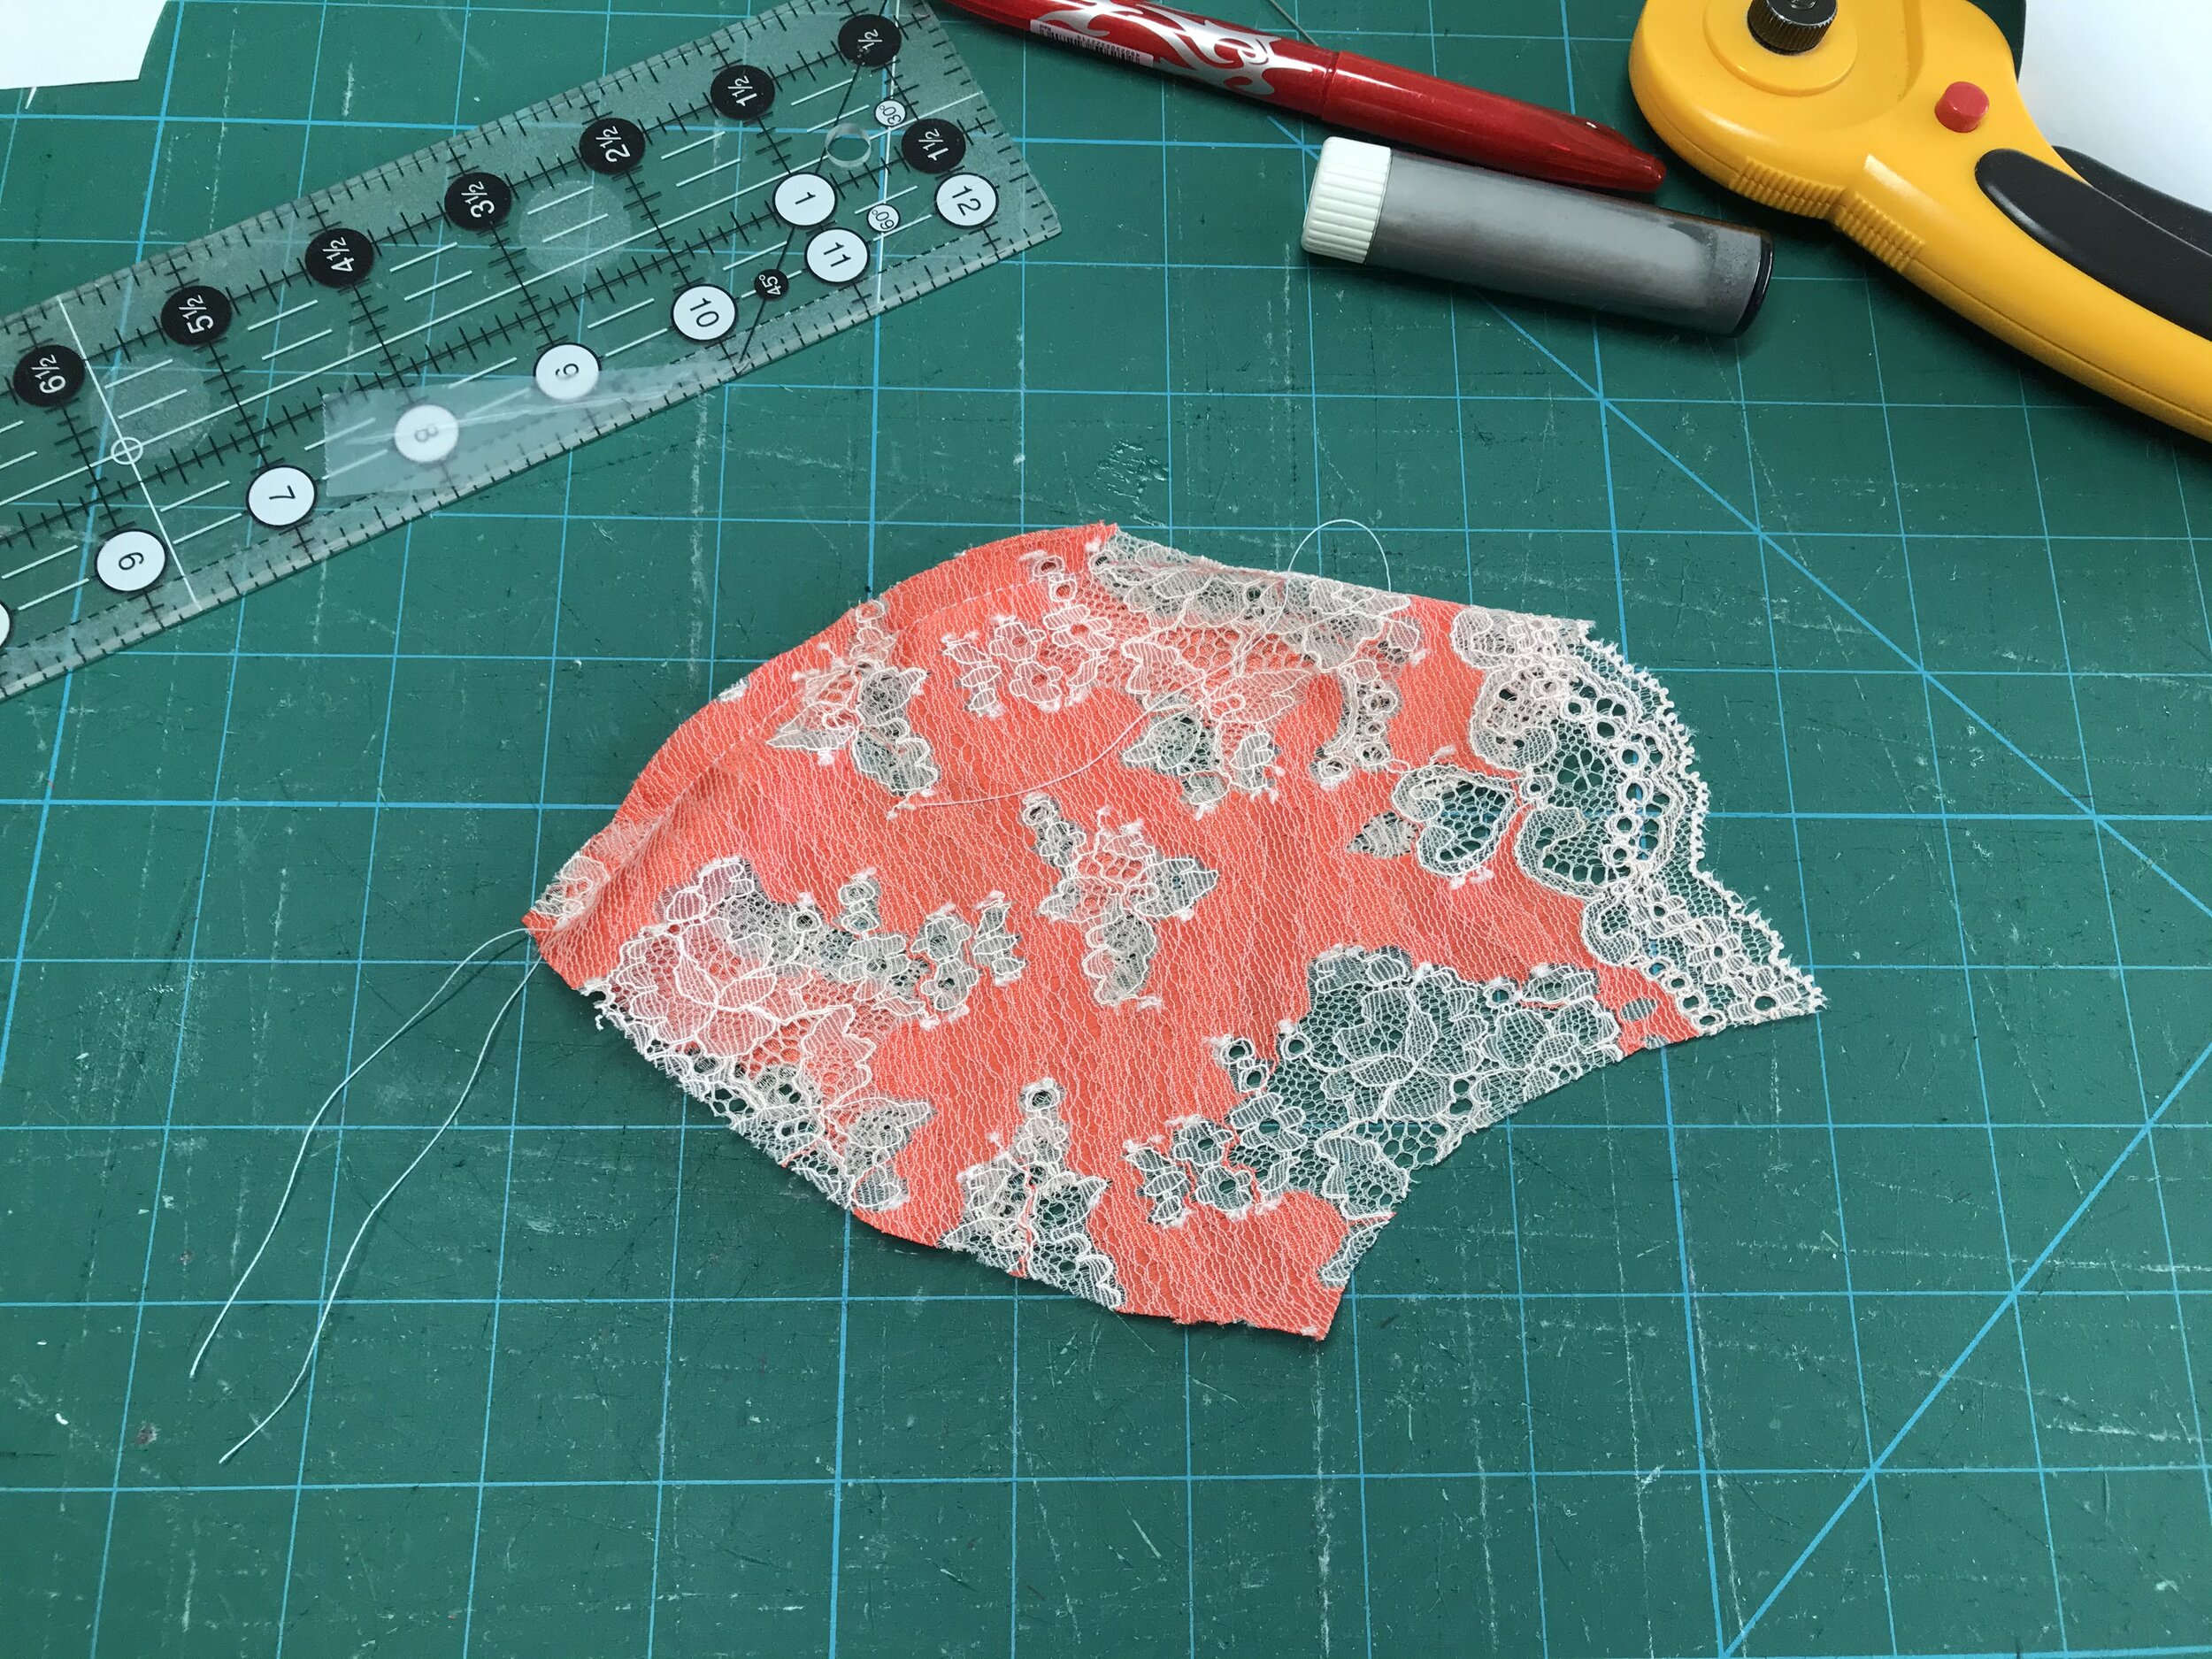
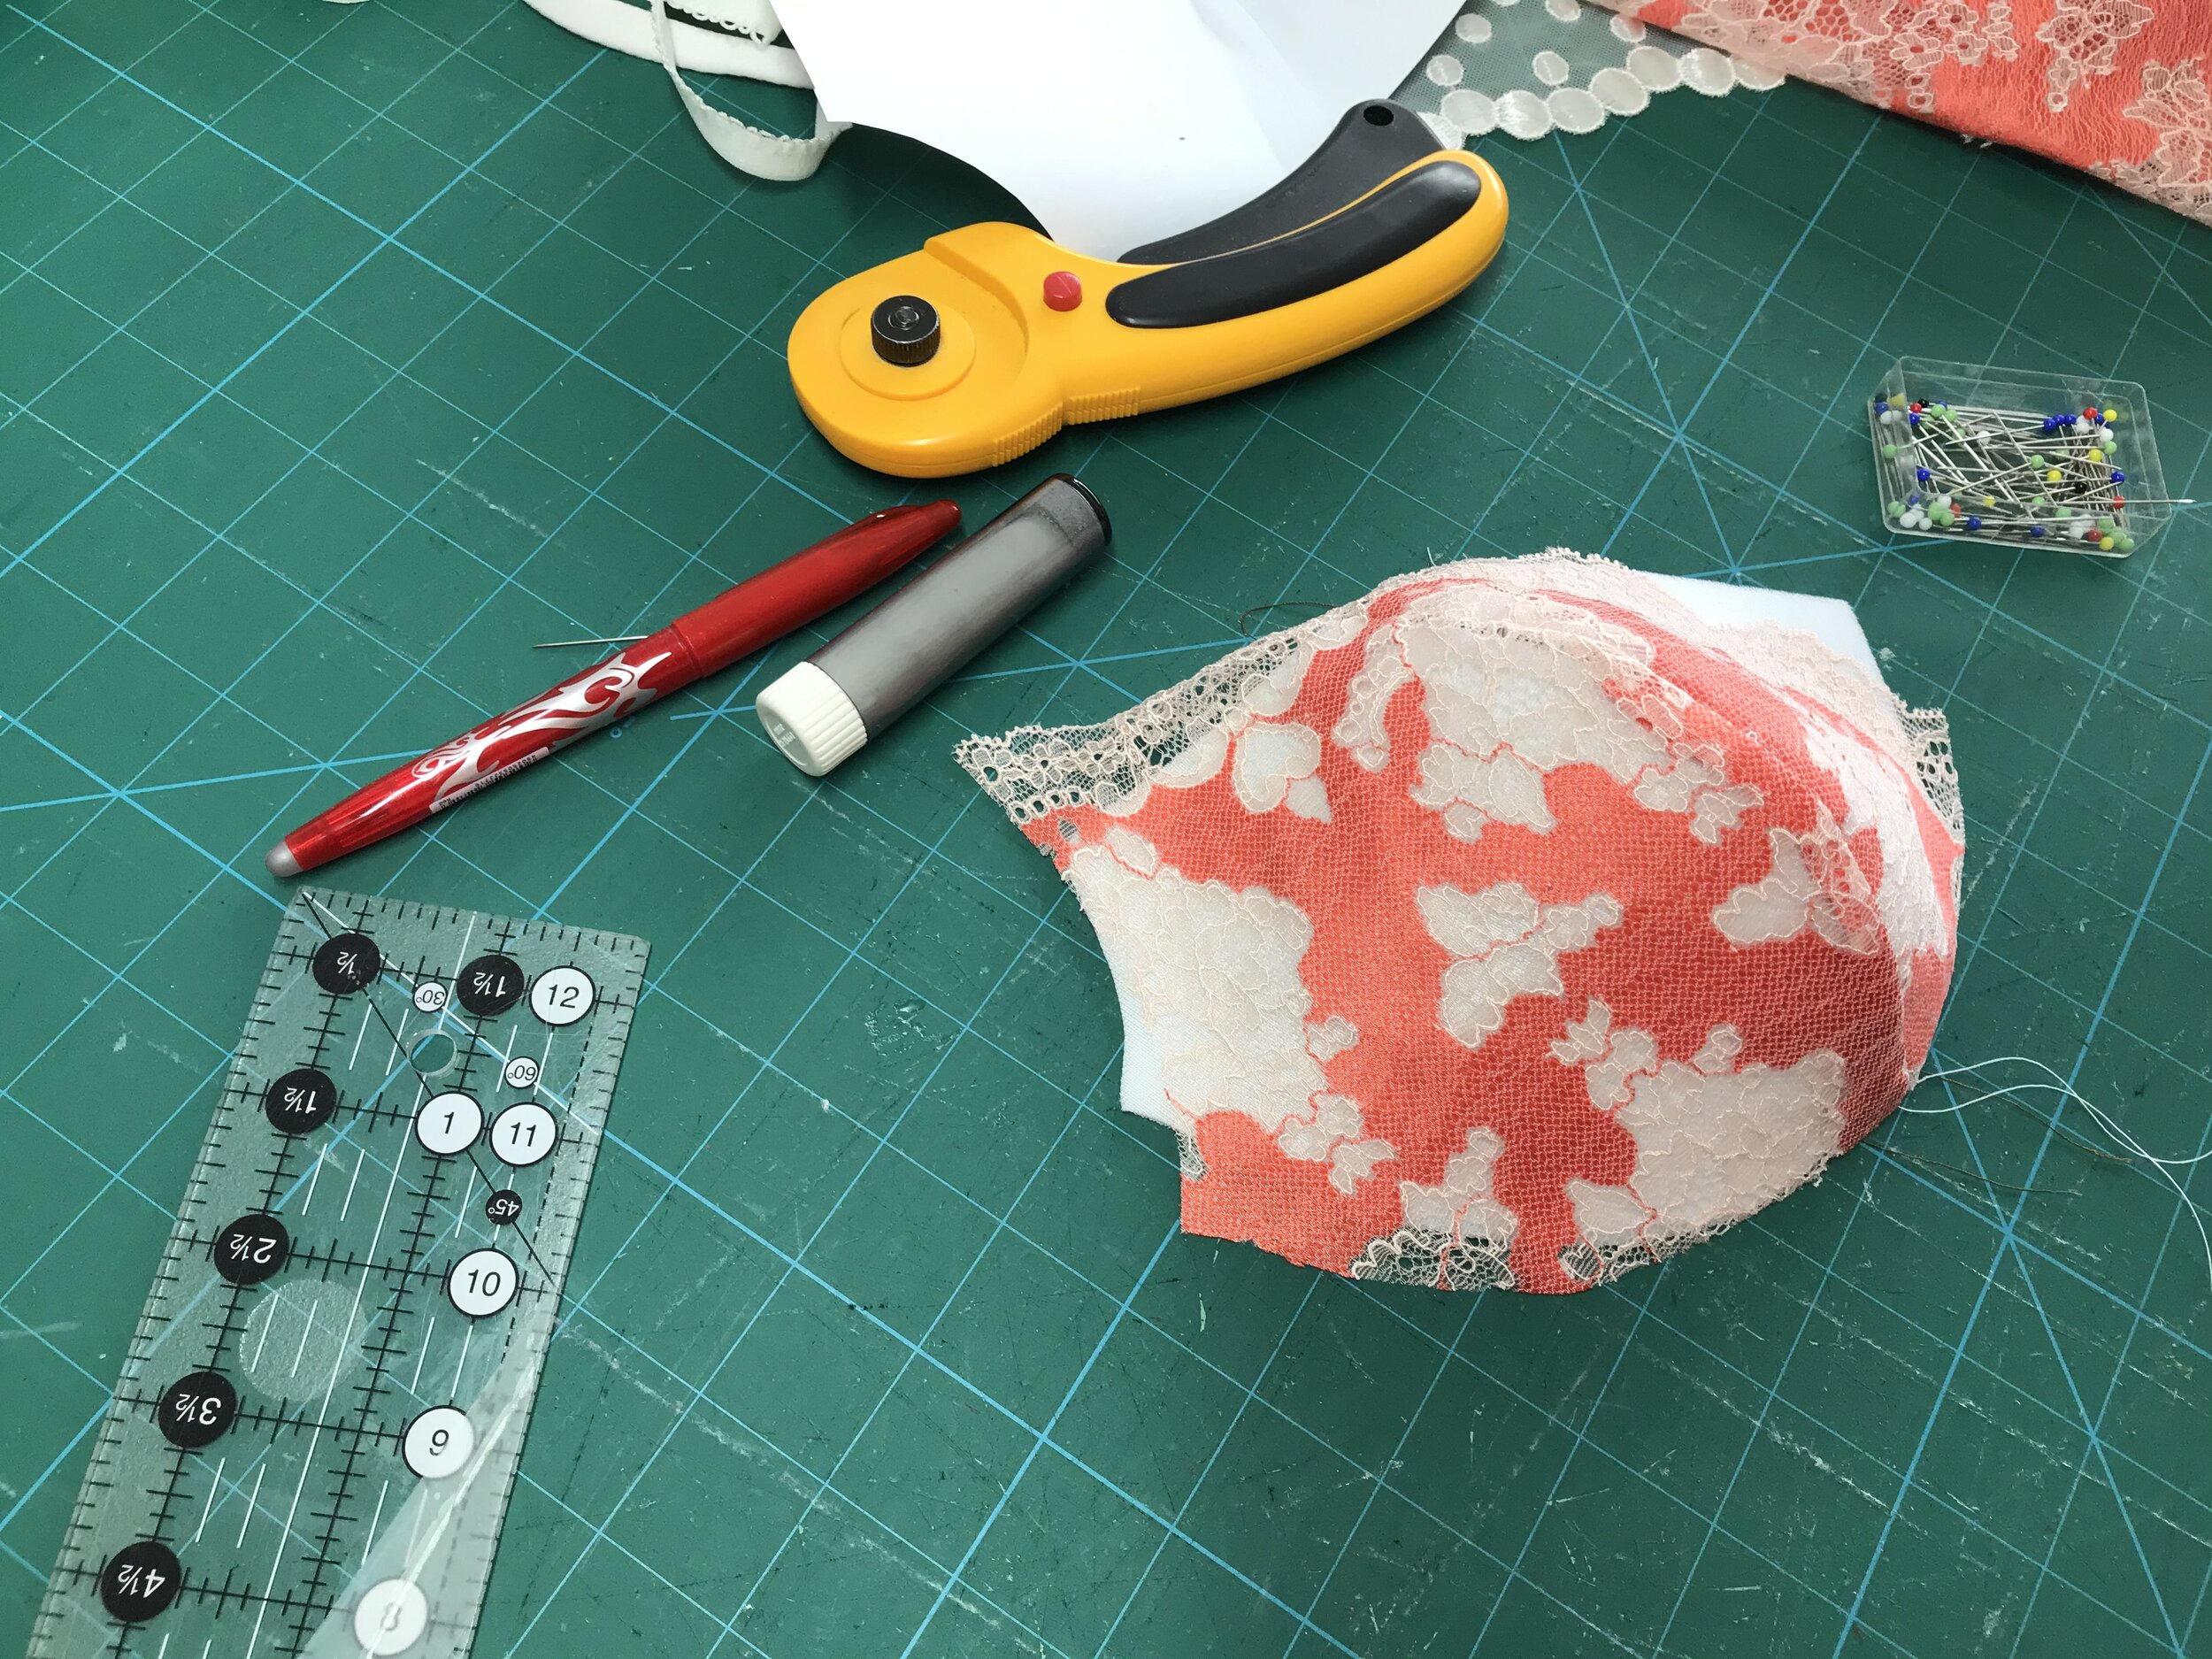
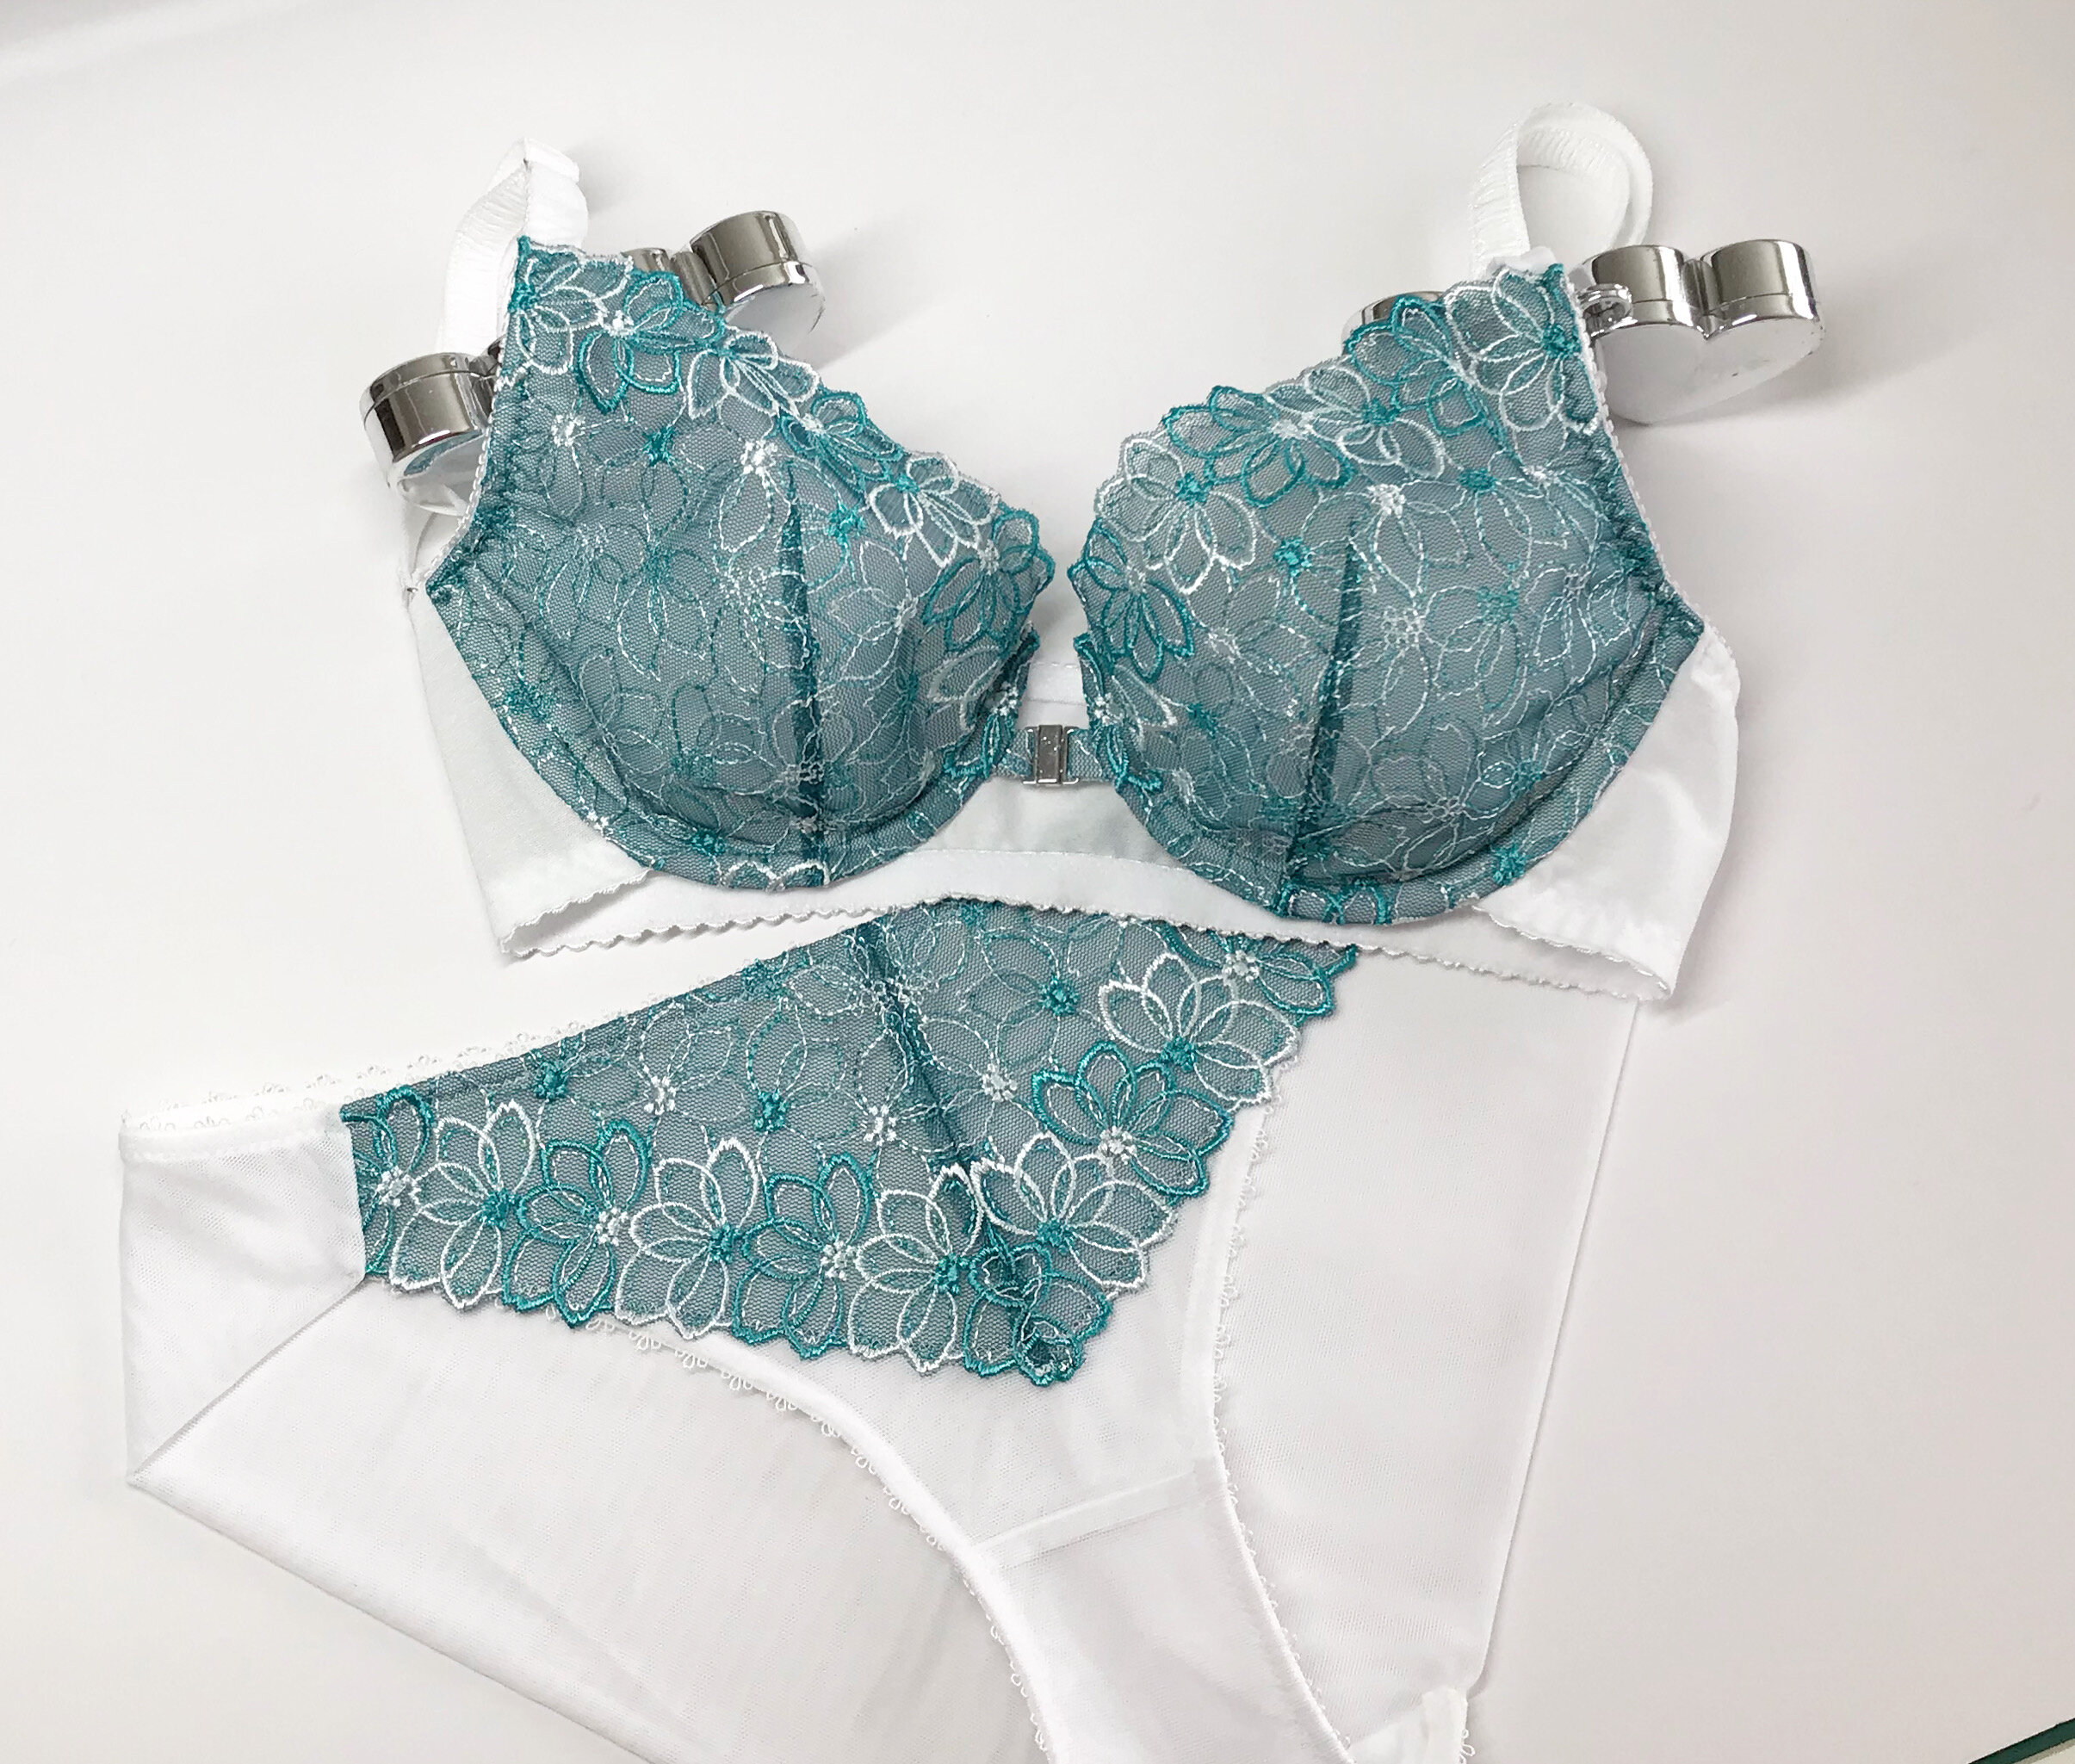
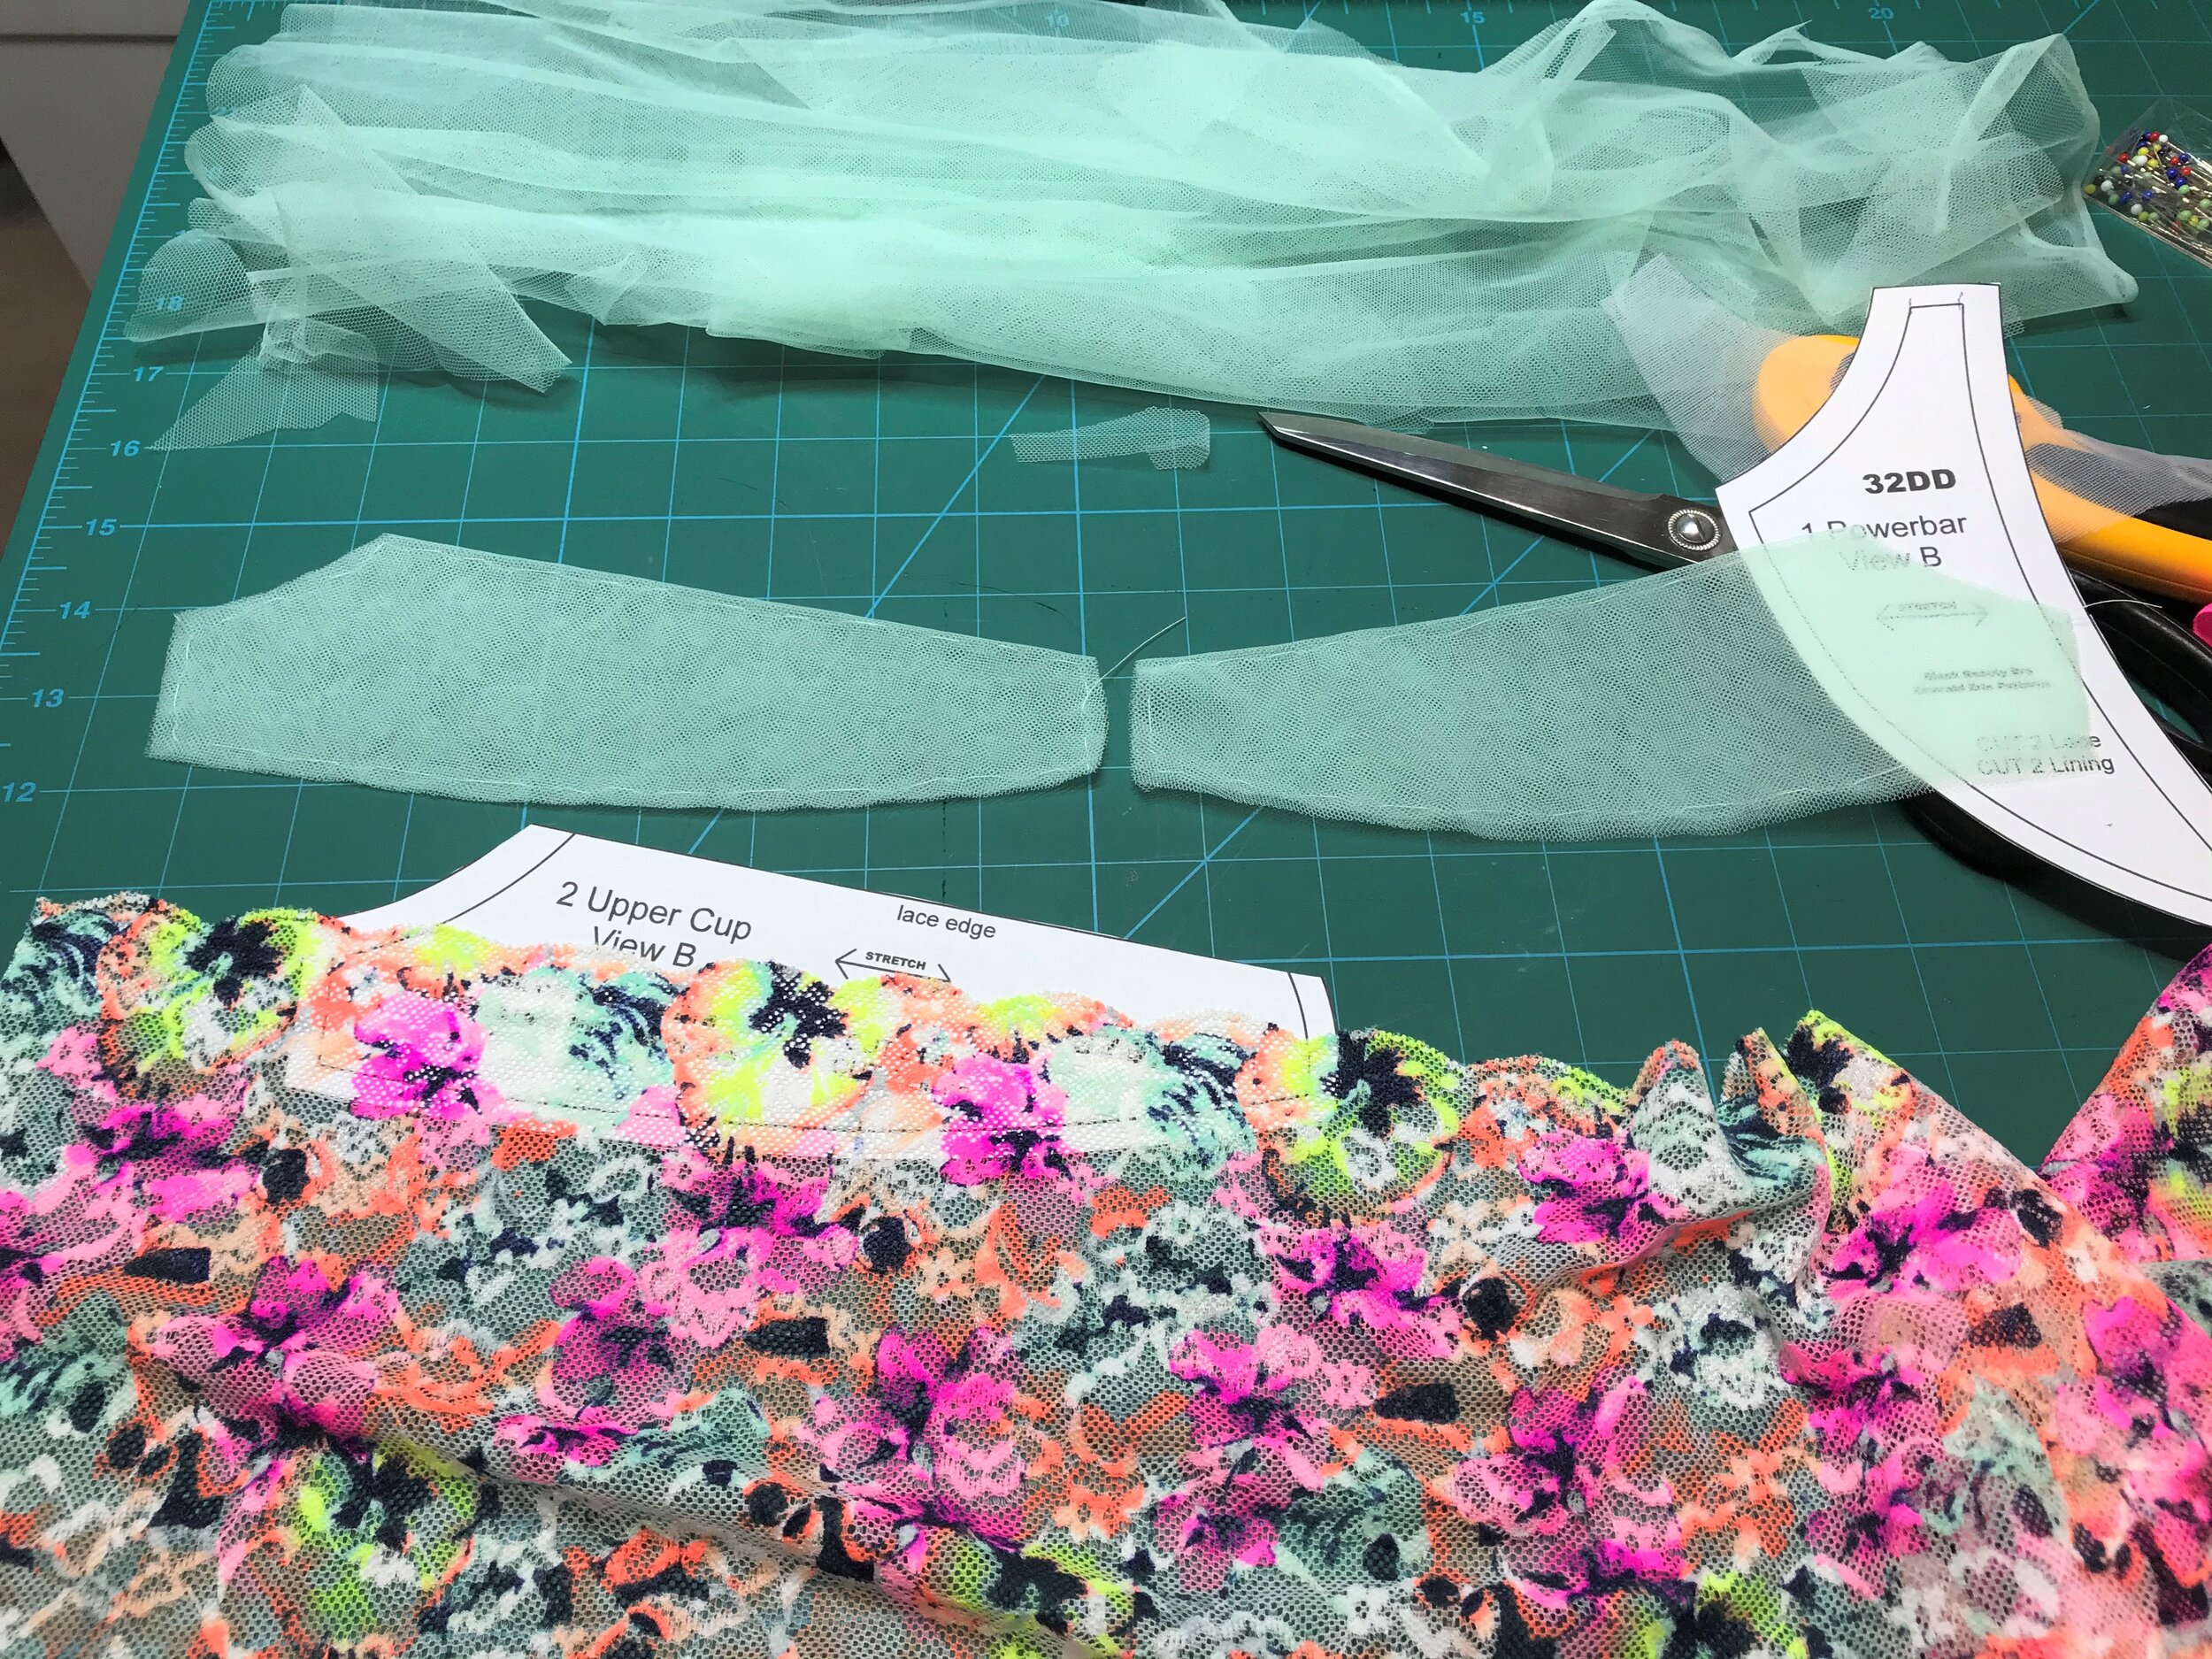
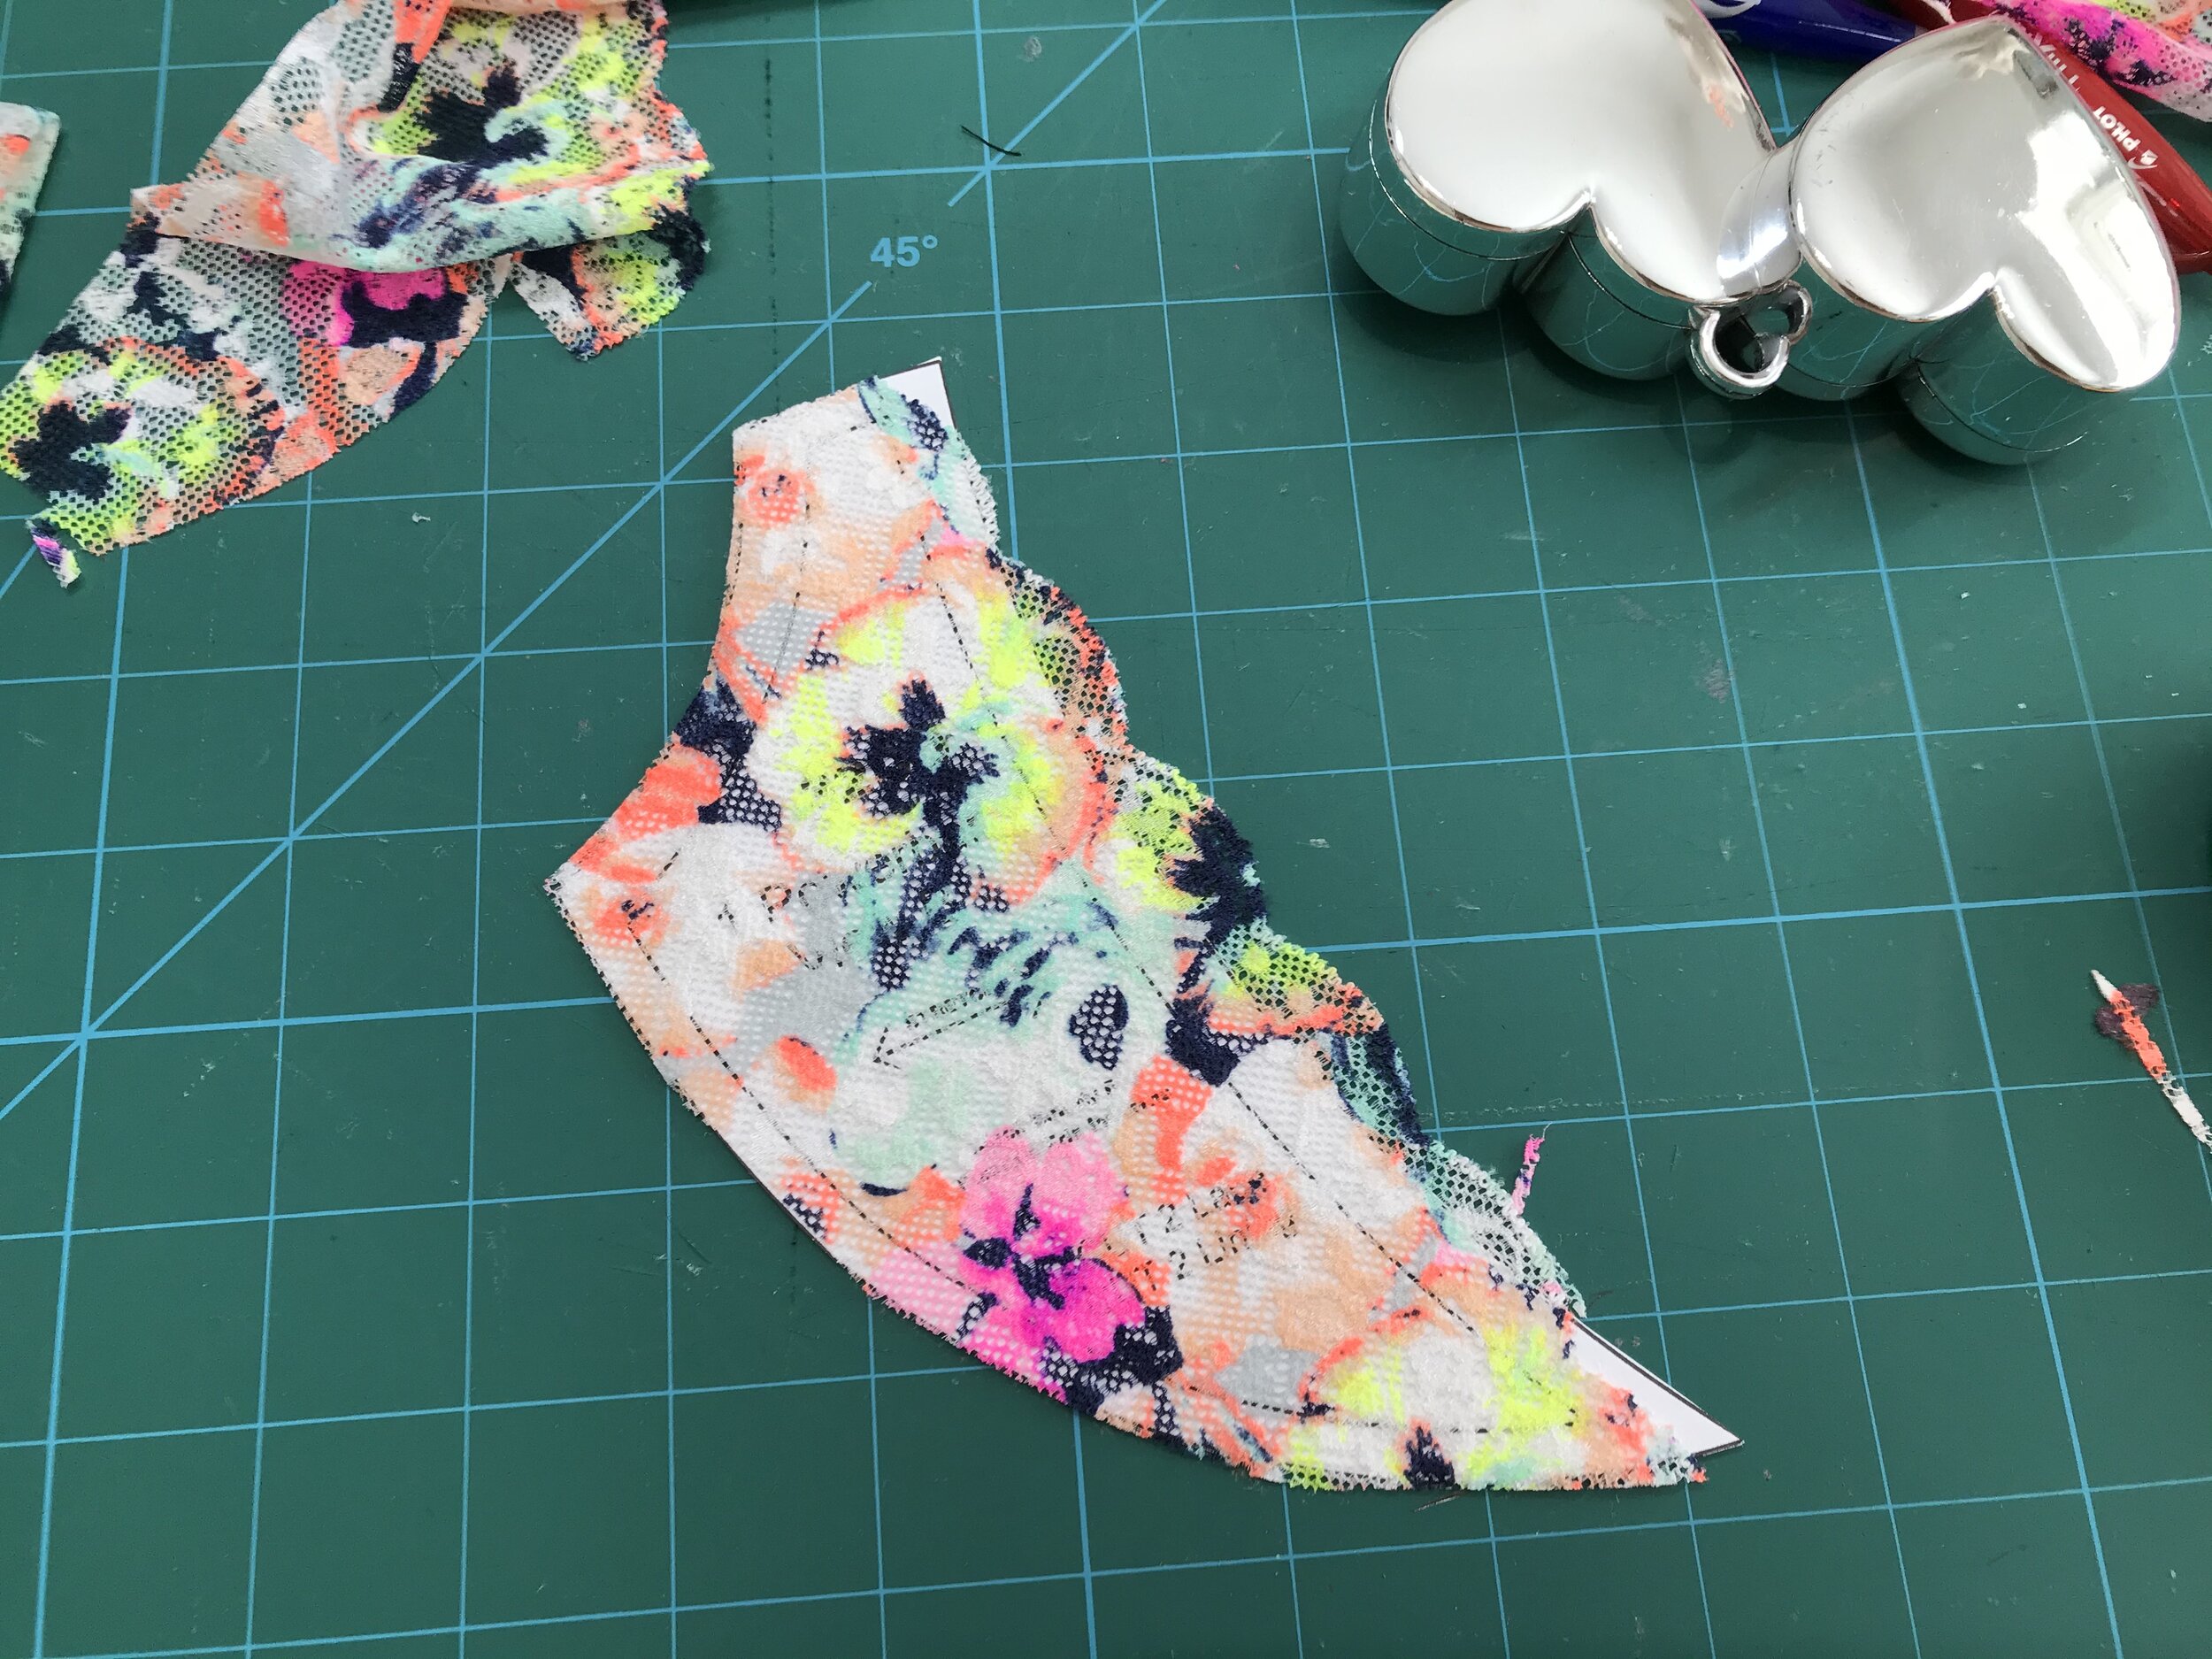
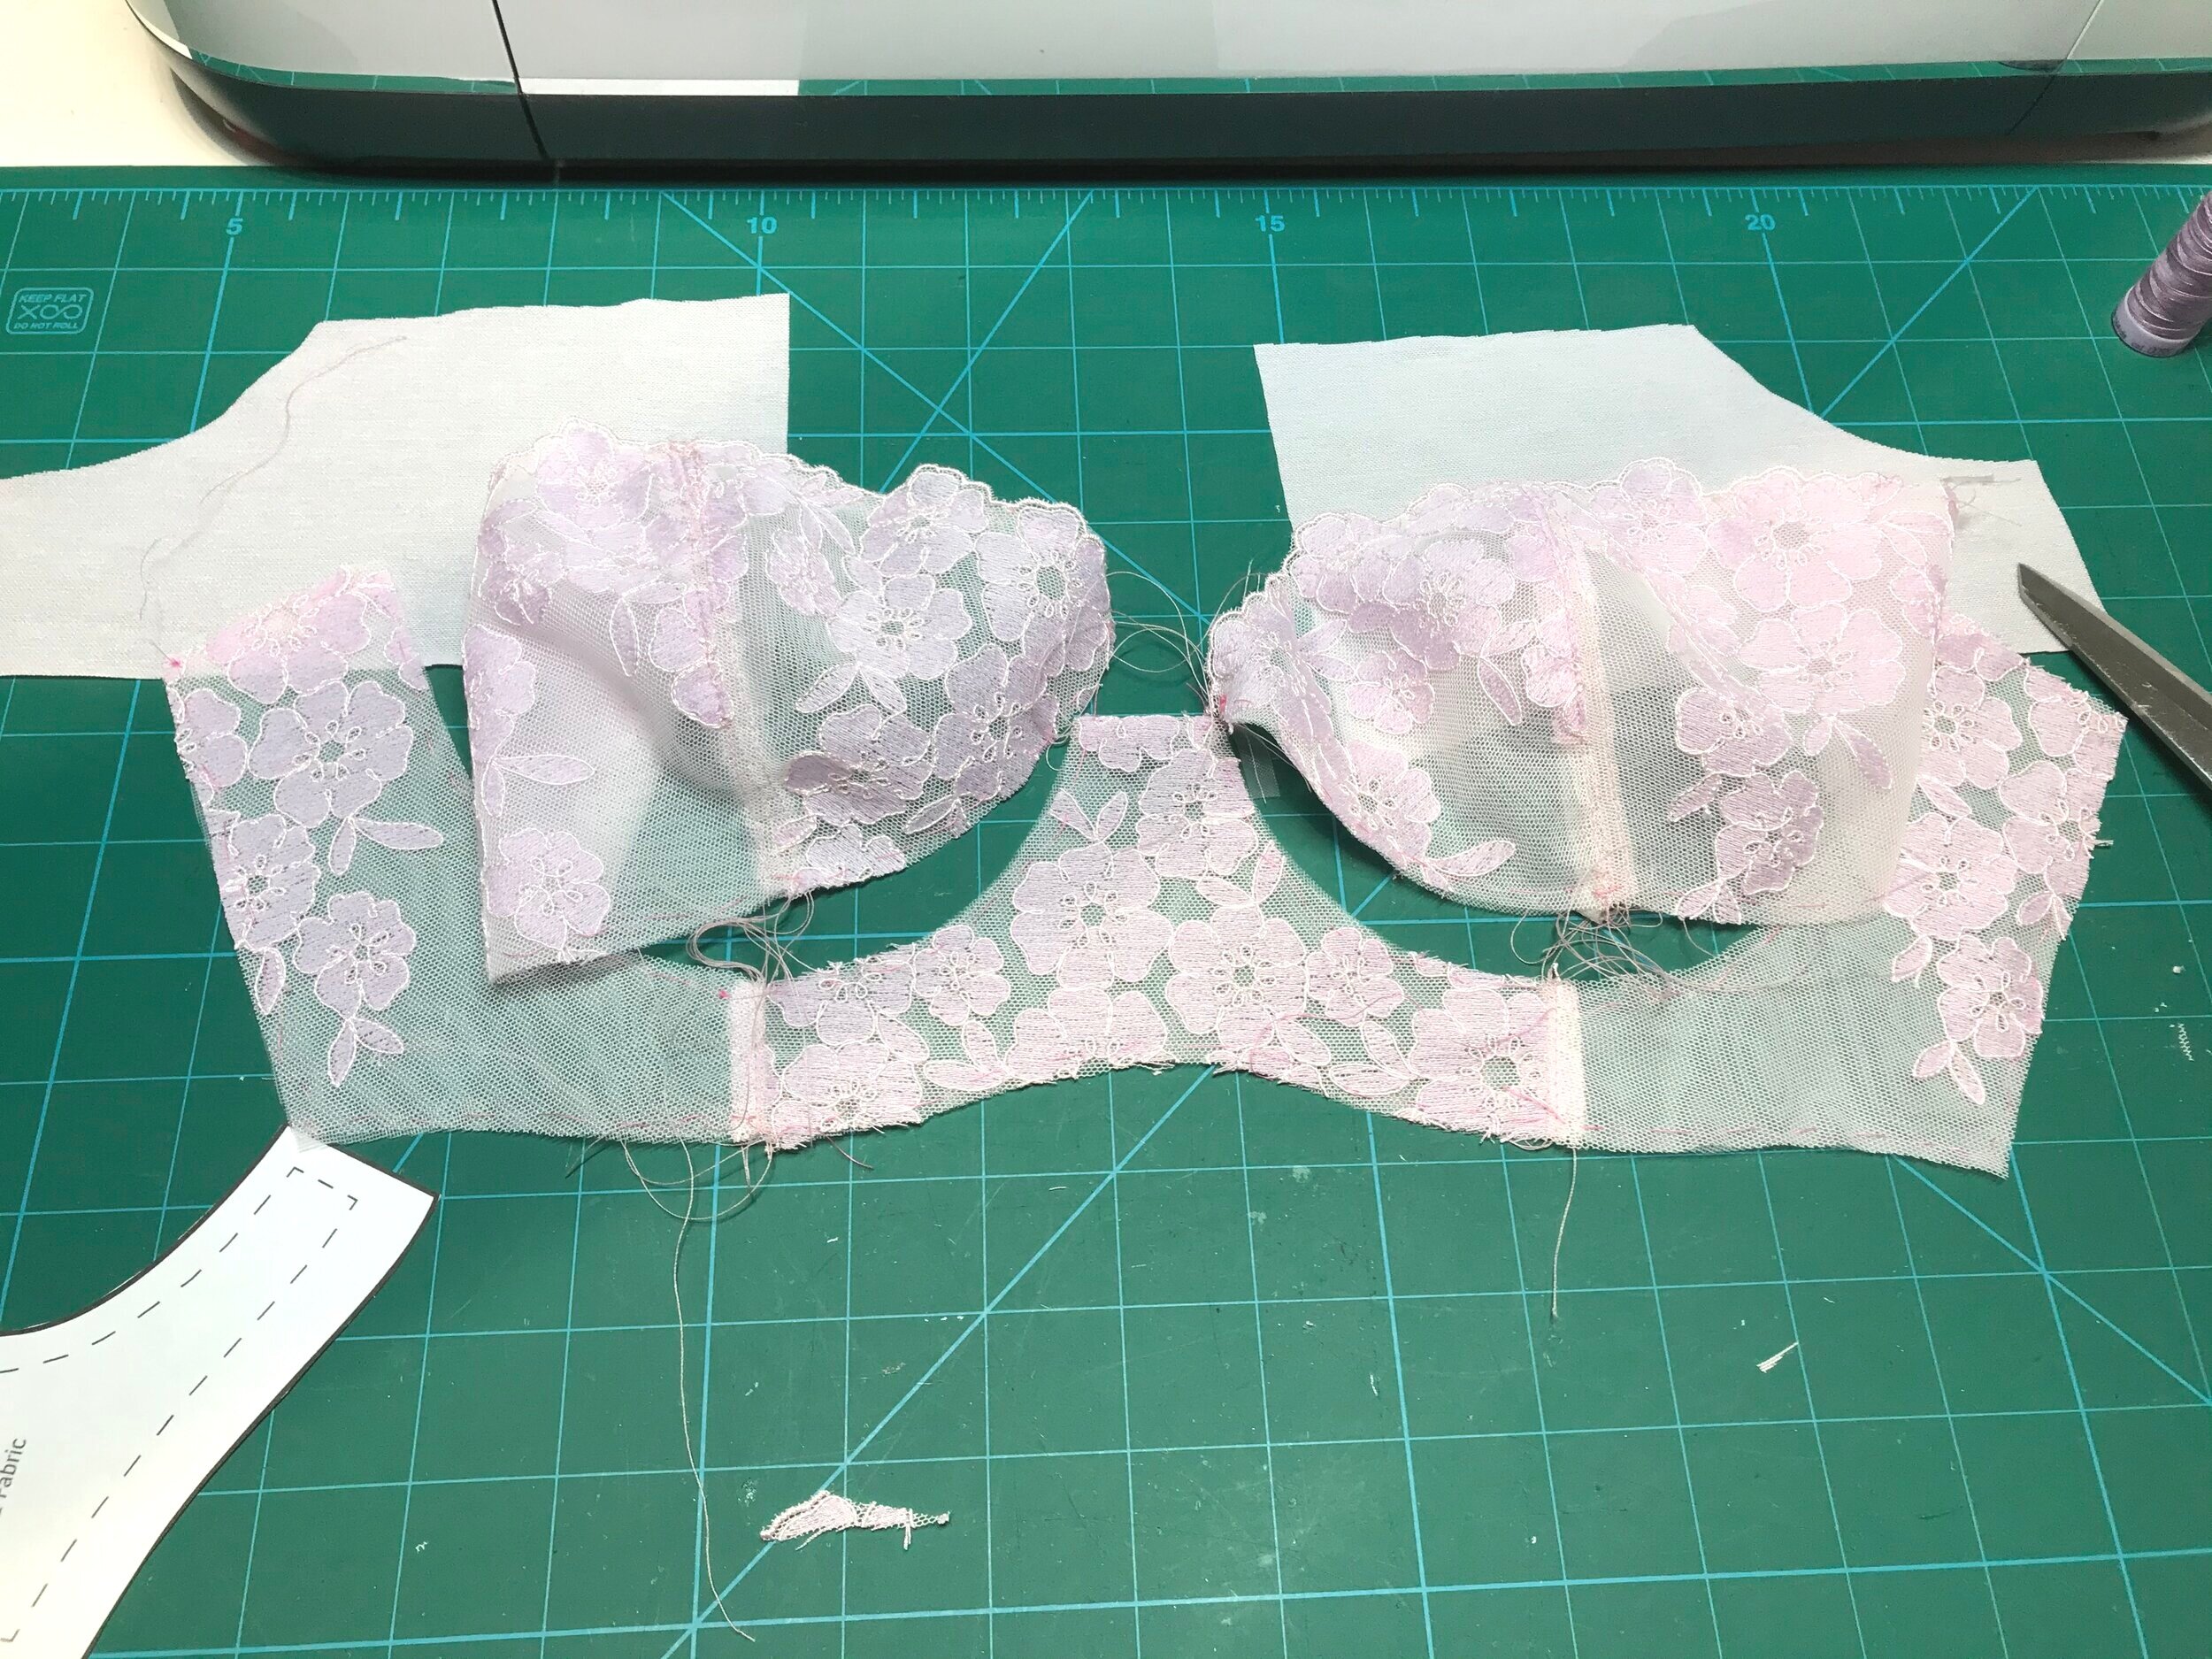
So moving on to Variation 2. I was just so excited to try this one as I have wanted to try a front closure for quite a while, as although I have used a front closure on a sports bra that was then covered with a zip up outer top. The plunge neckline adds to the drama. I also loved the idea of adapting to a one piece darted cup which looks better with lots of lace. Again, I have done this before but the plunge neckline requires a little thought as to the placement on the scallop and Jennie was kind enough to help. I tested out the cup on some scraps as you have to be careful not to end up with a pointy cup. I end the dart with a couple of stitches on the edge of the fabric. Then I pressed and placed over the foam cup I had made for the first bra to check the shape.

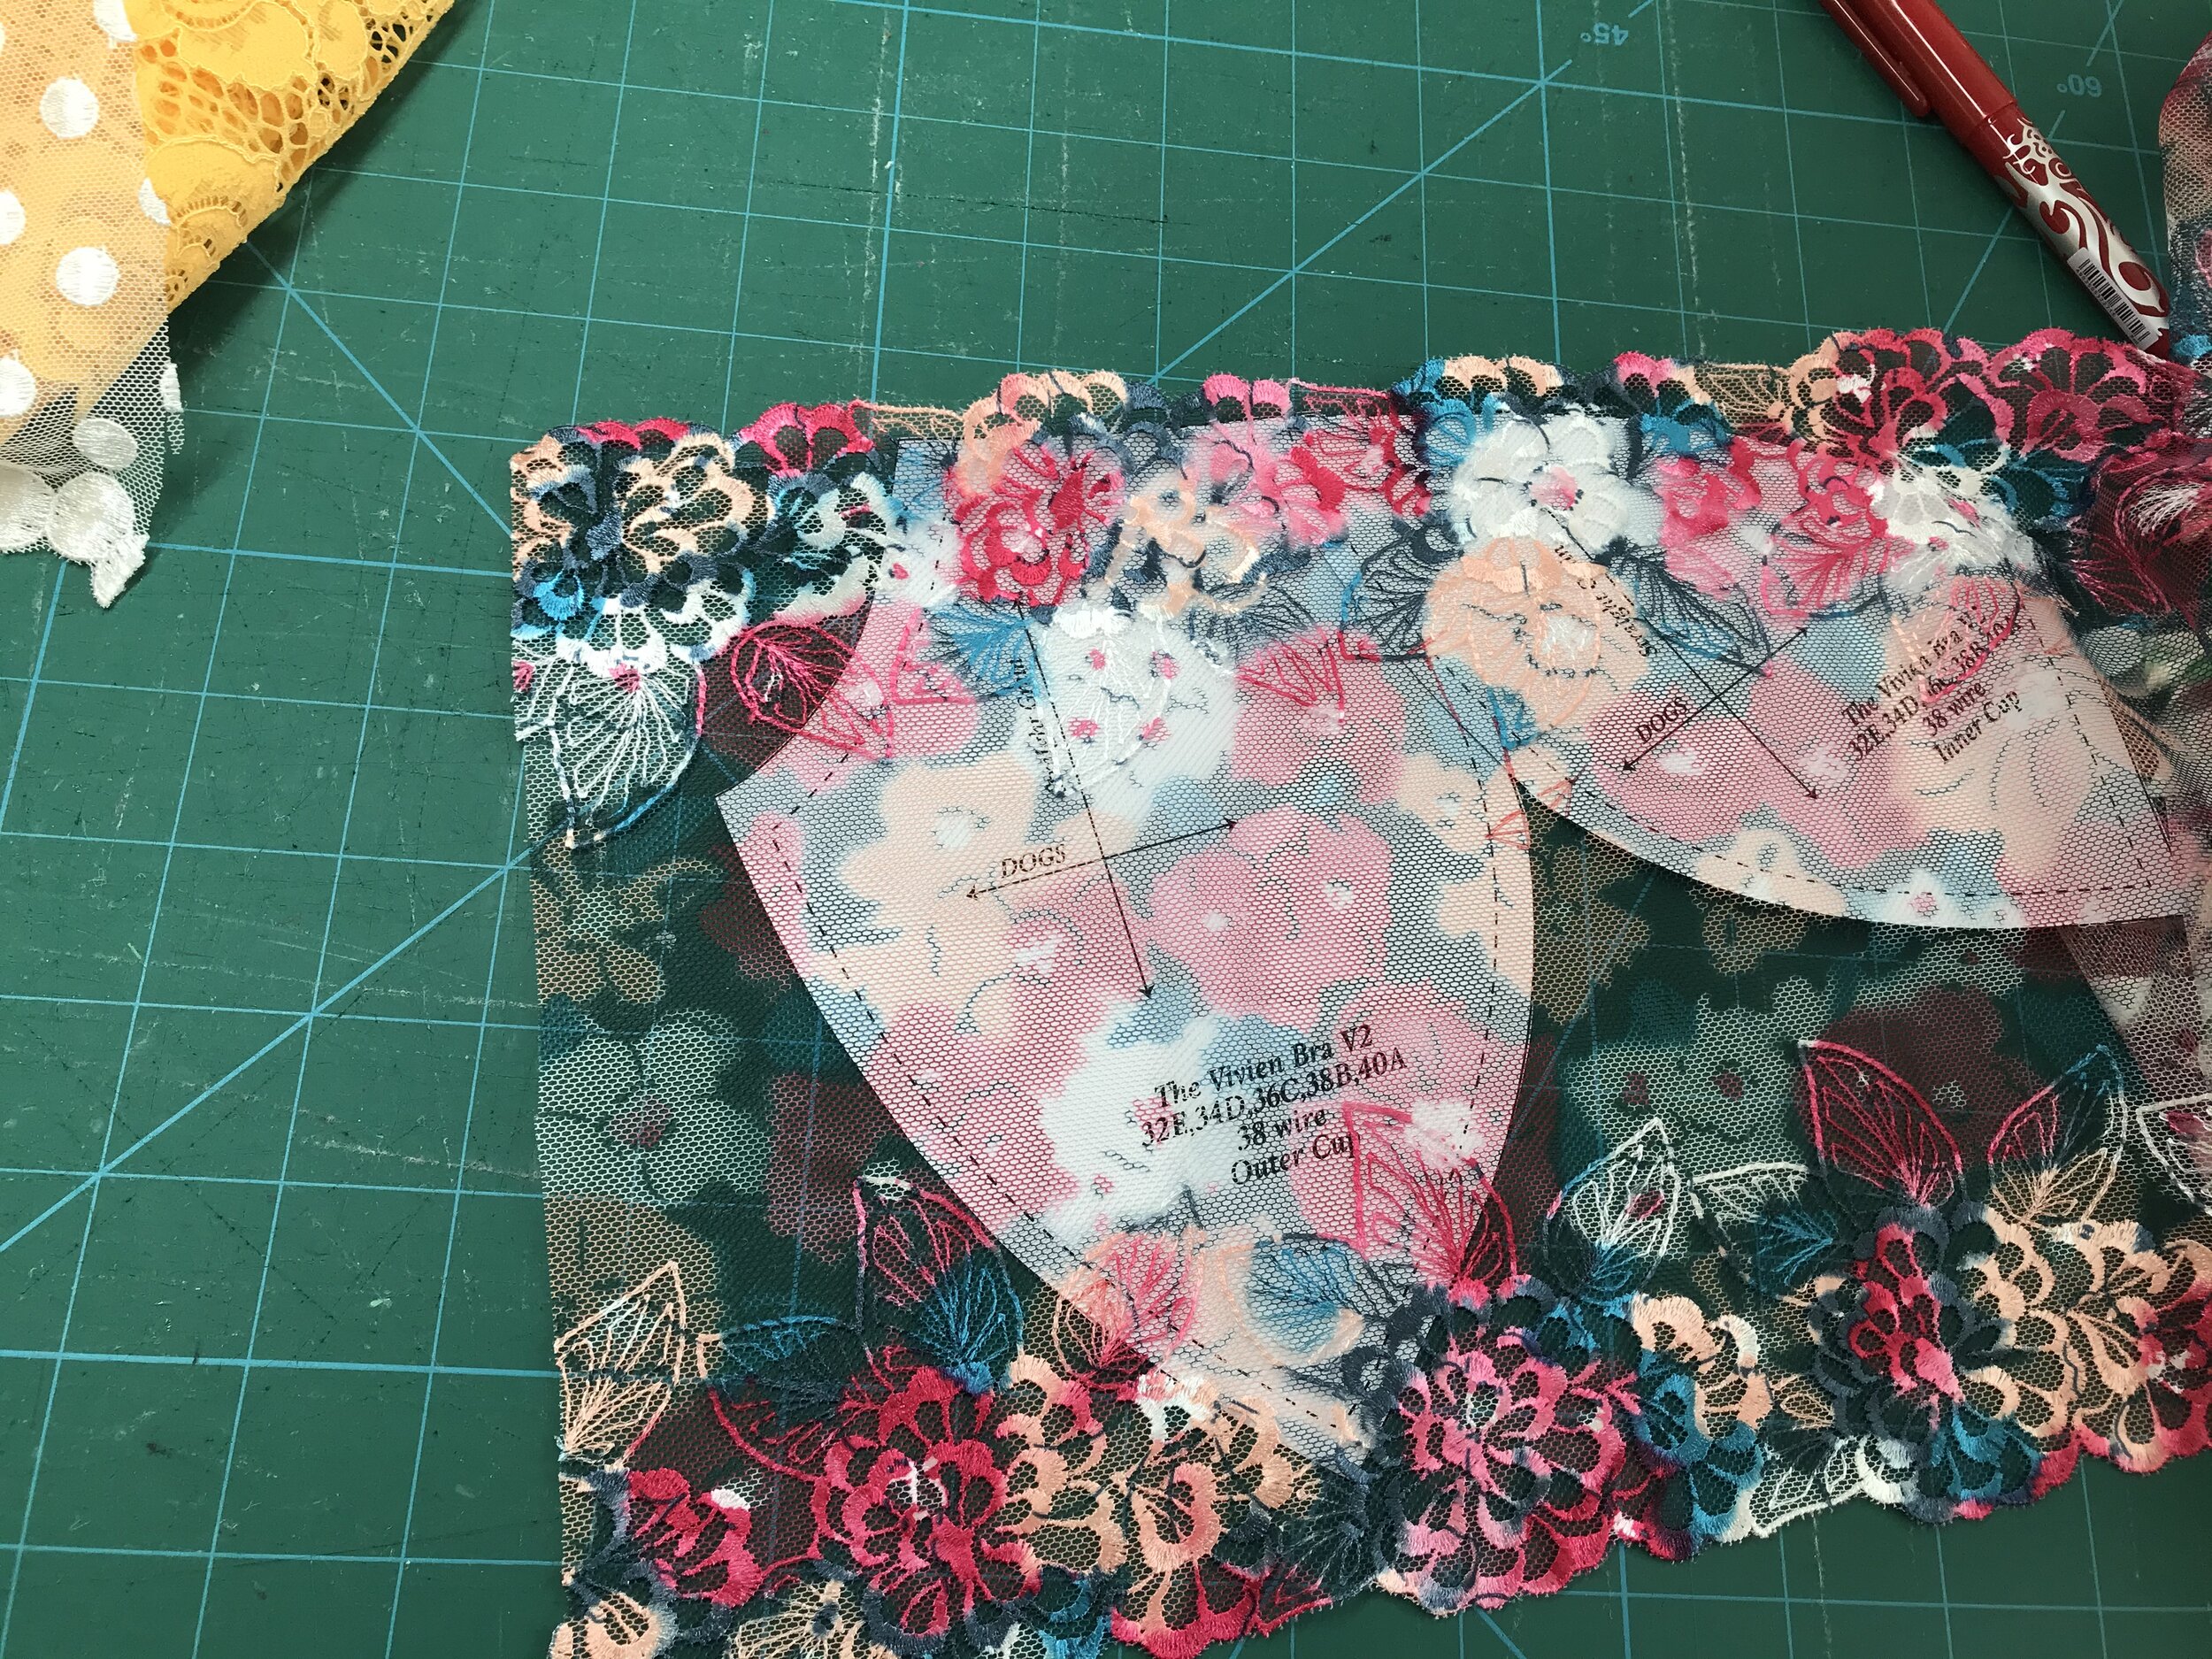
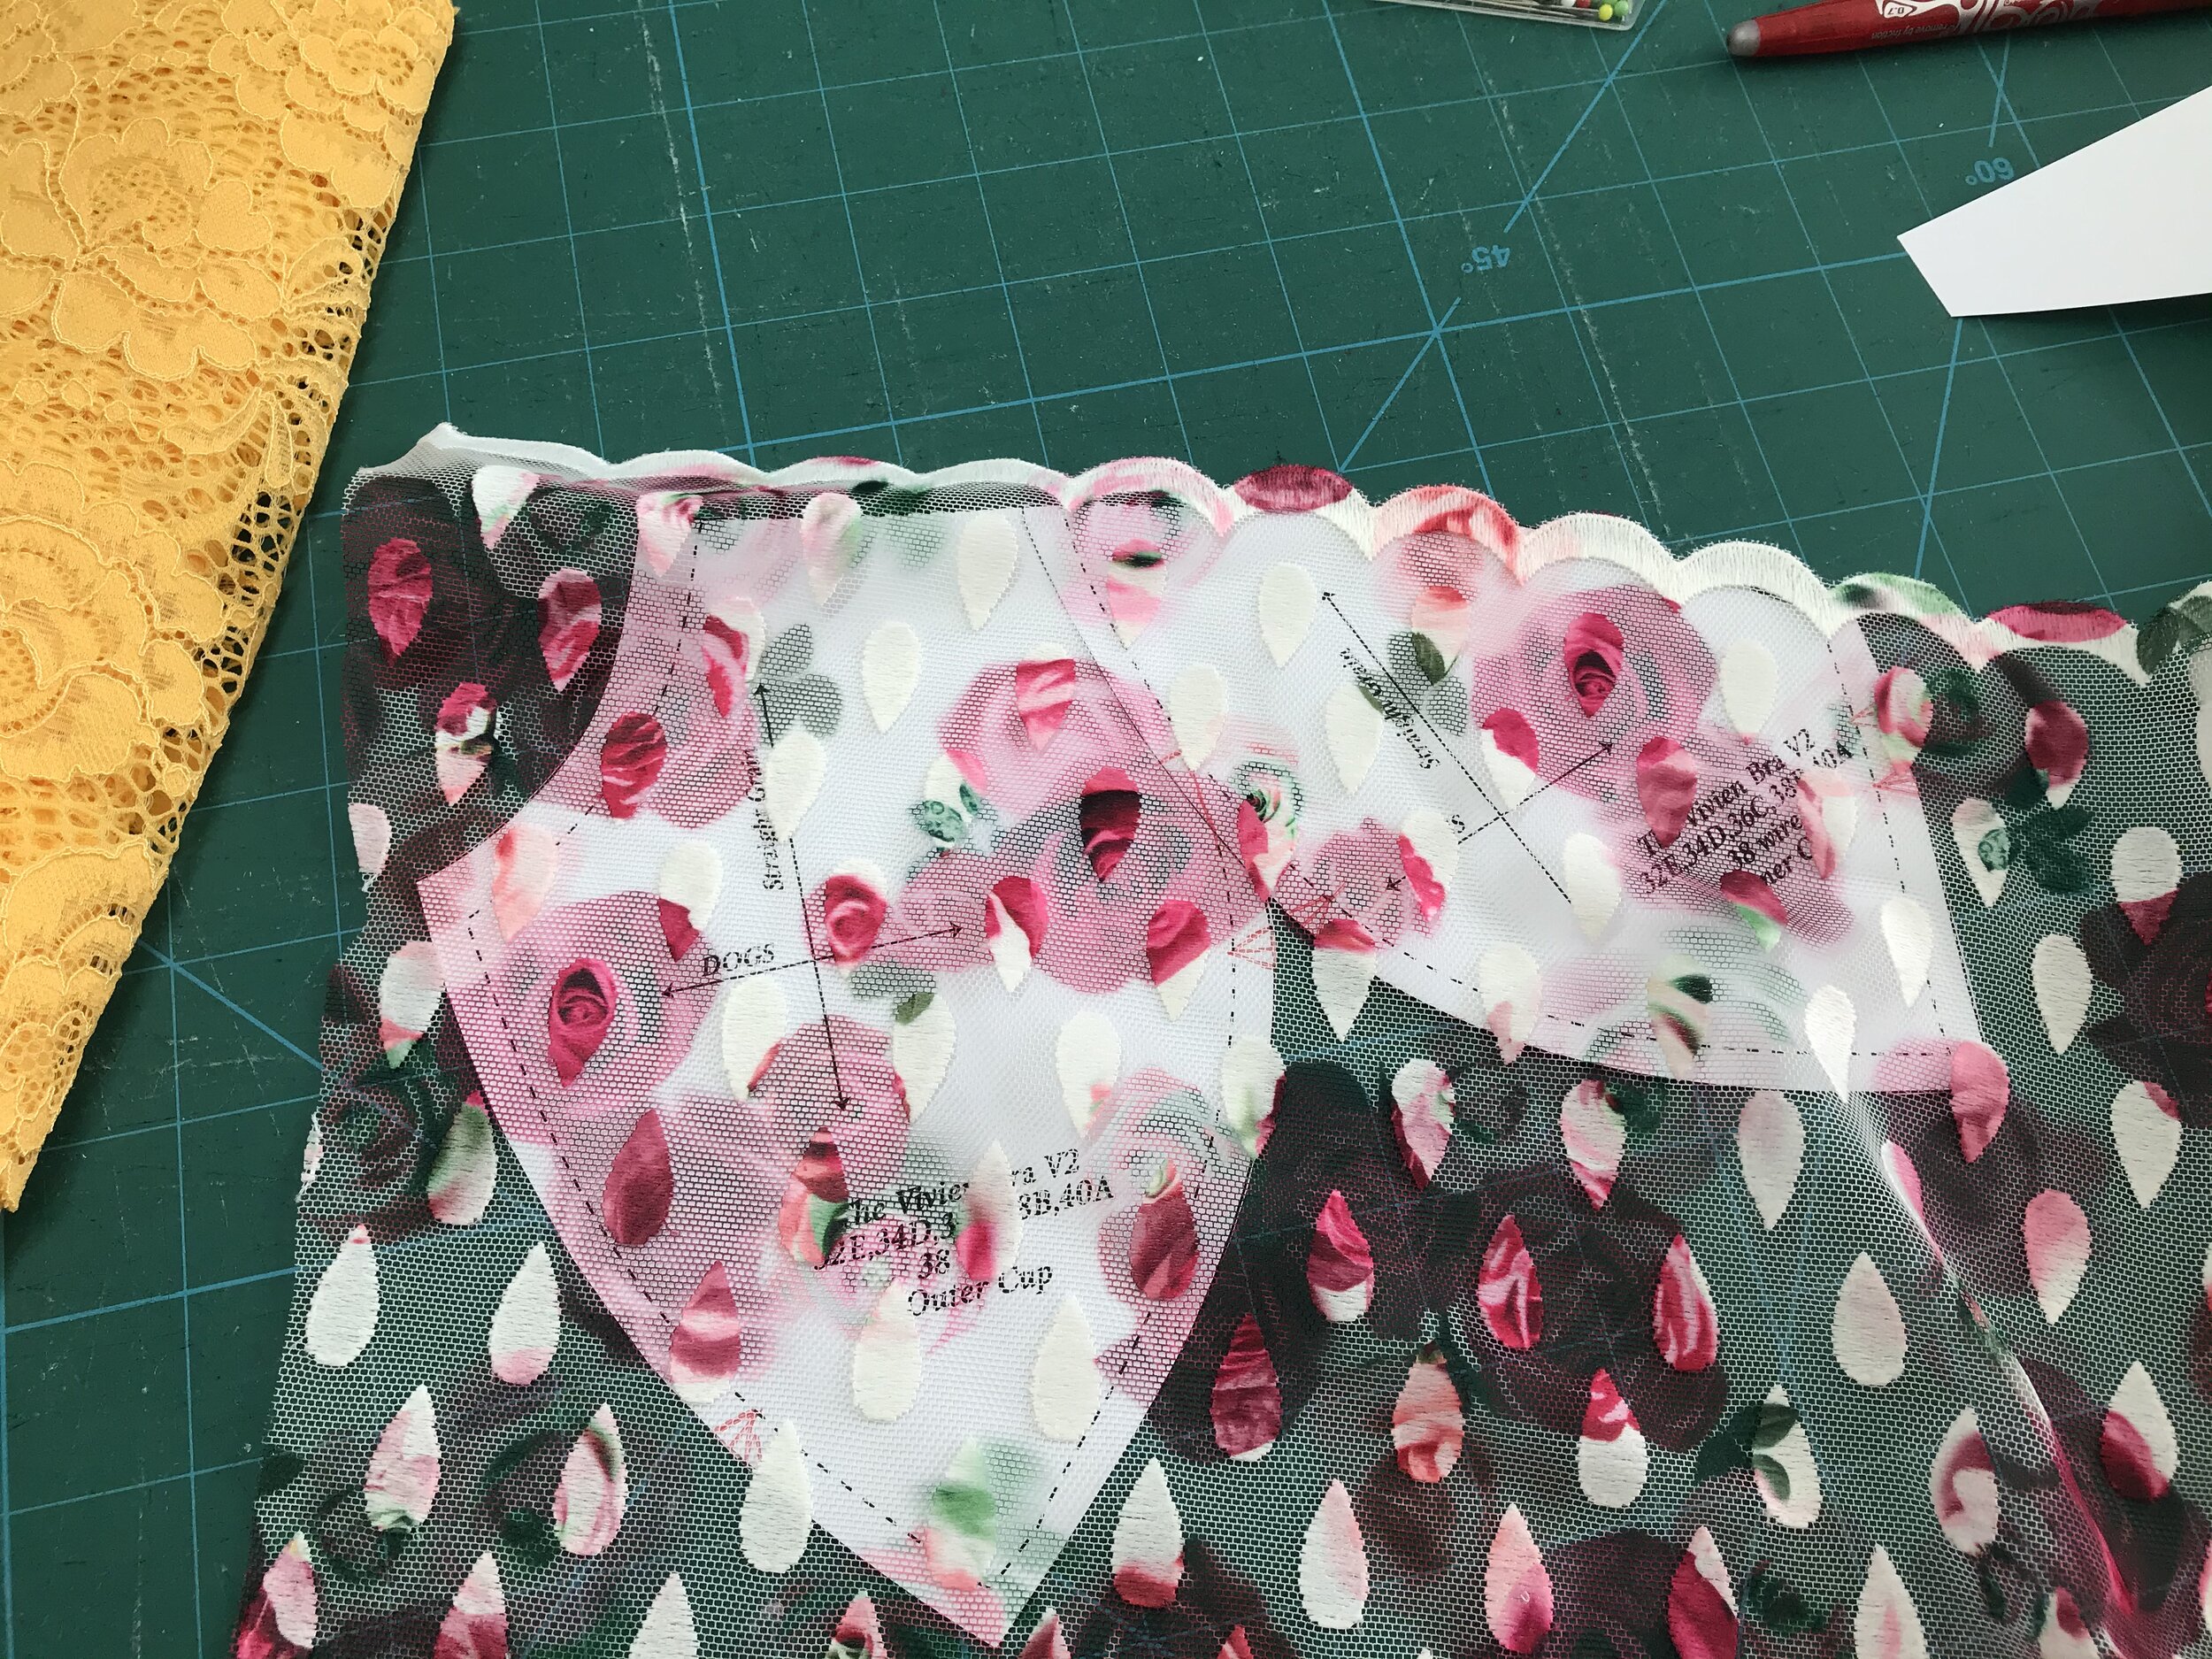
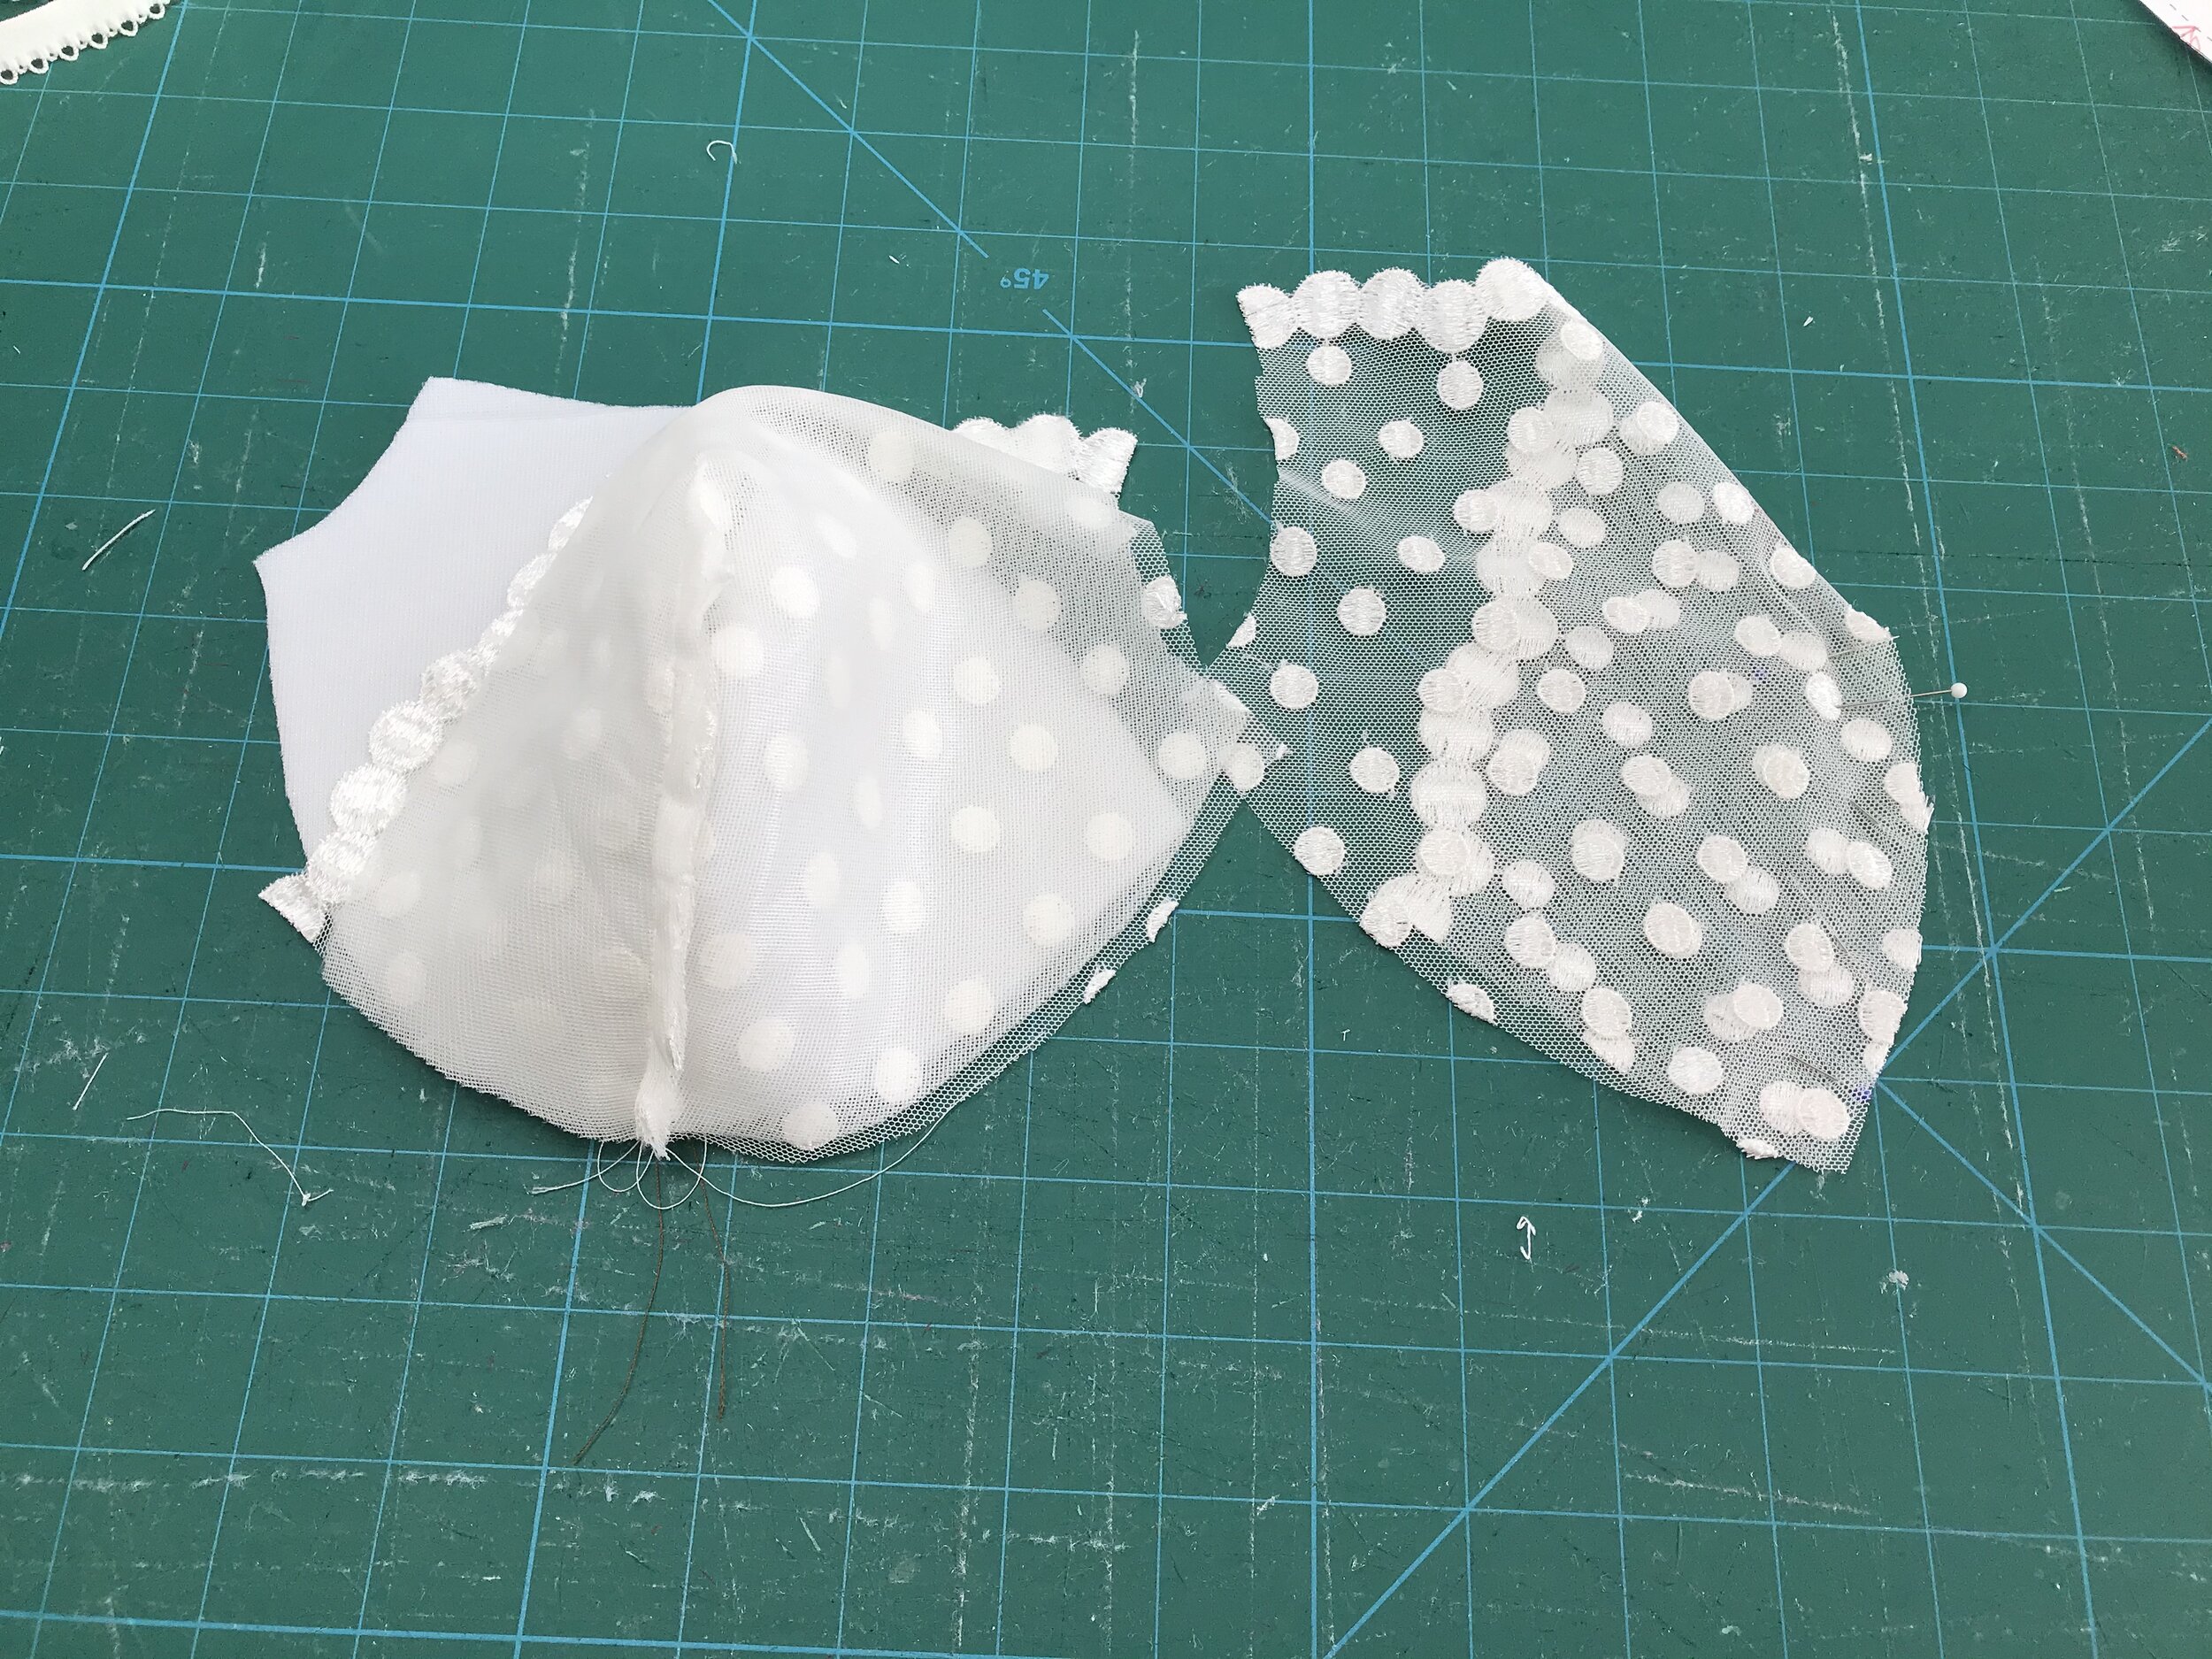
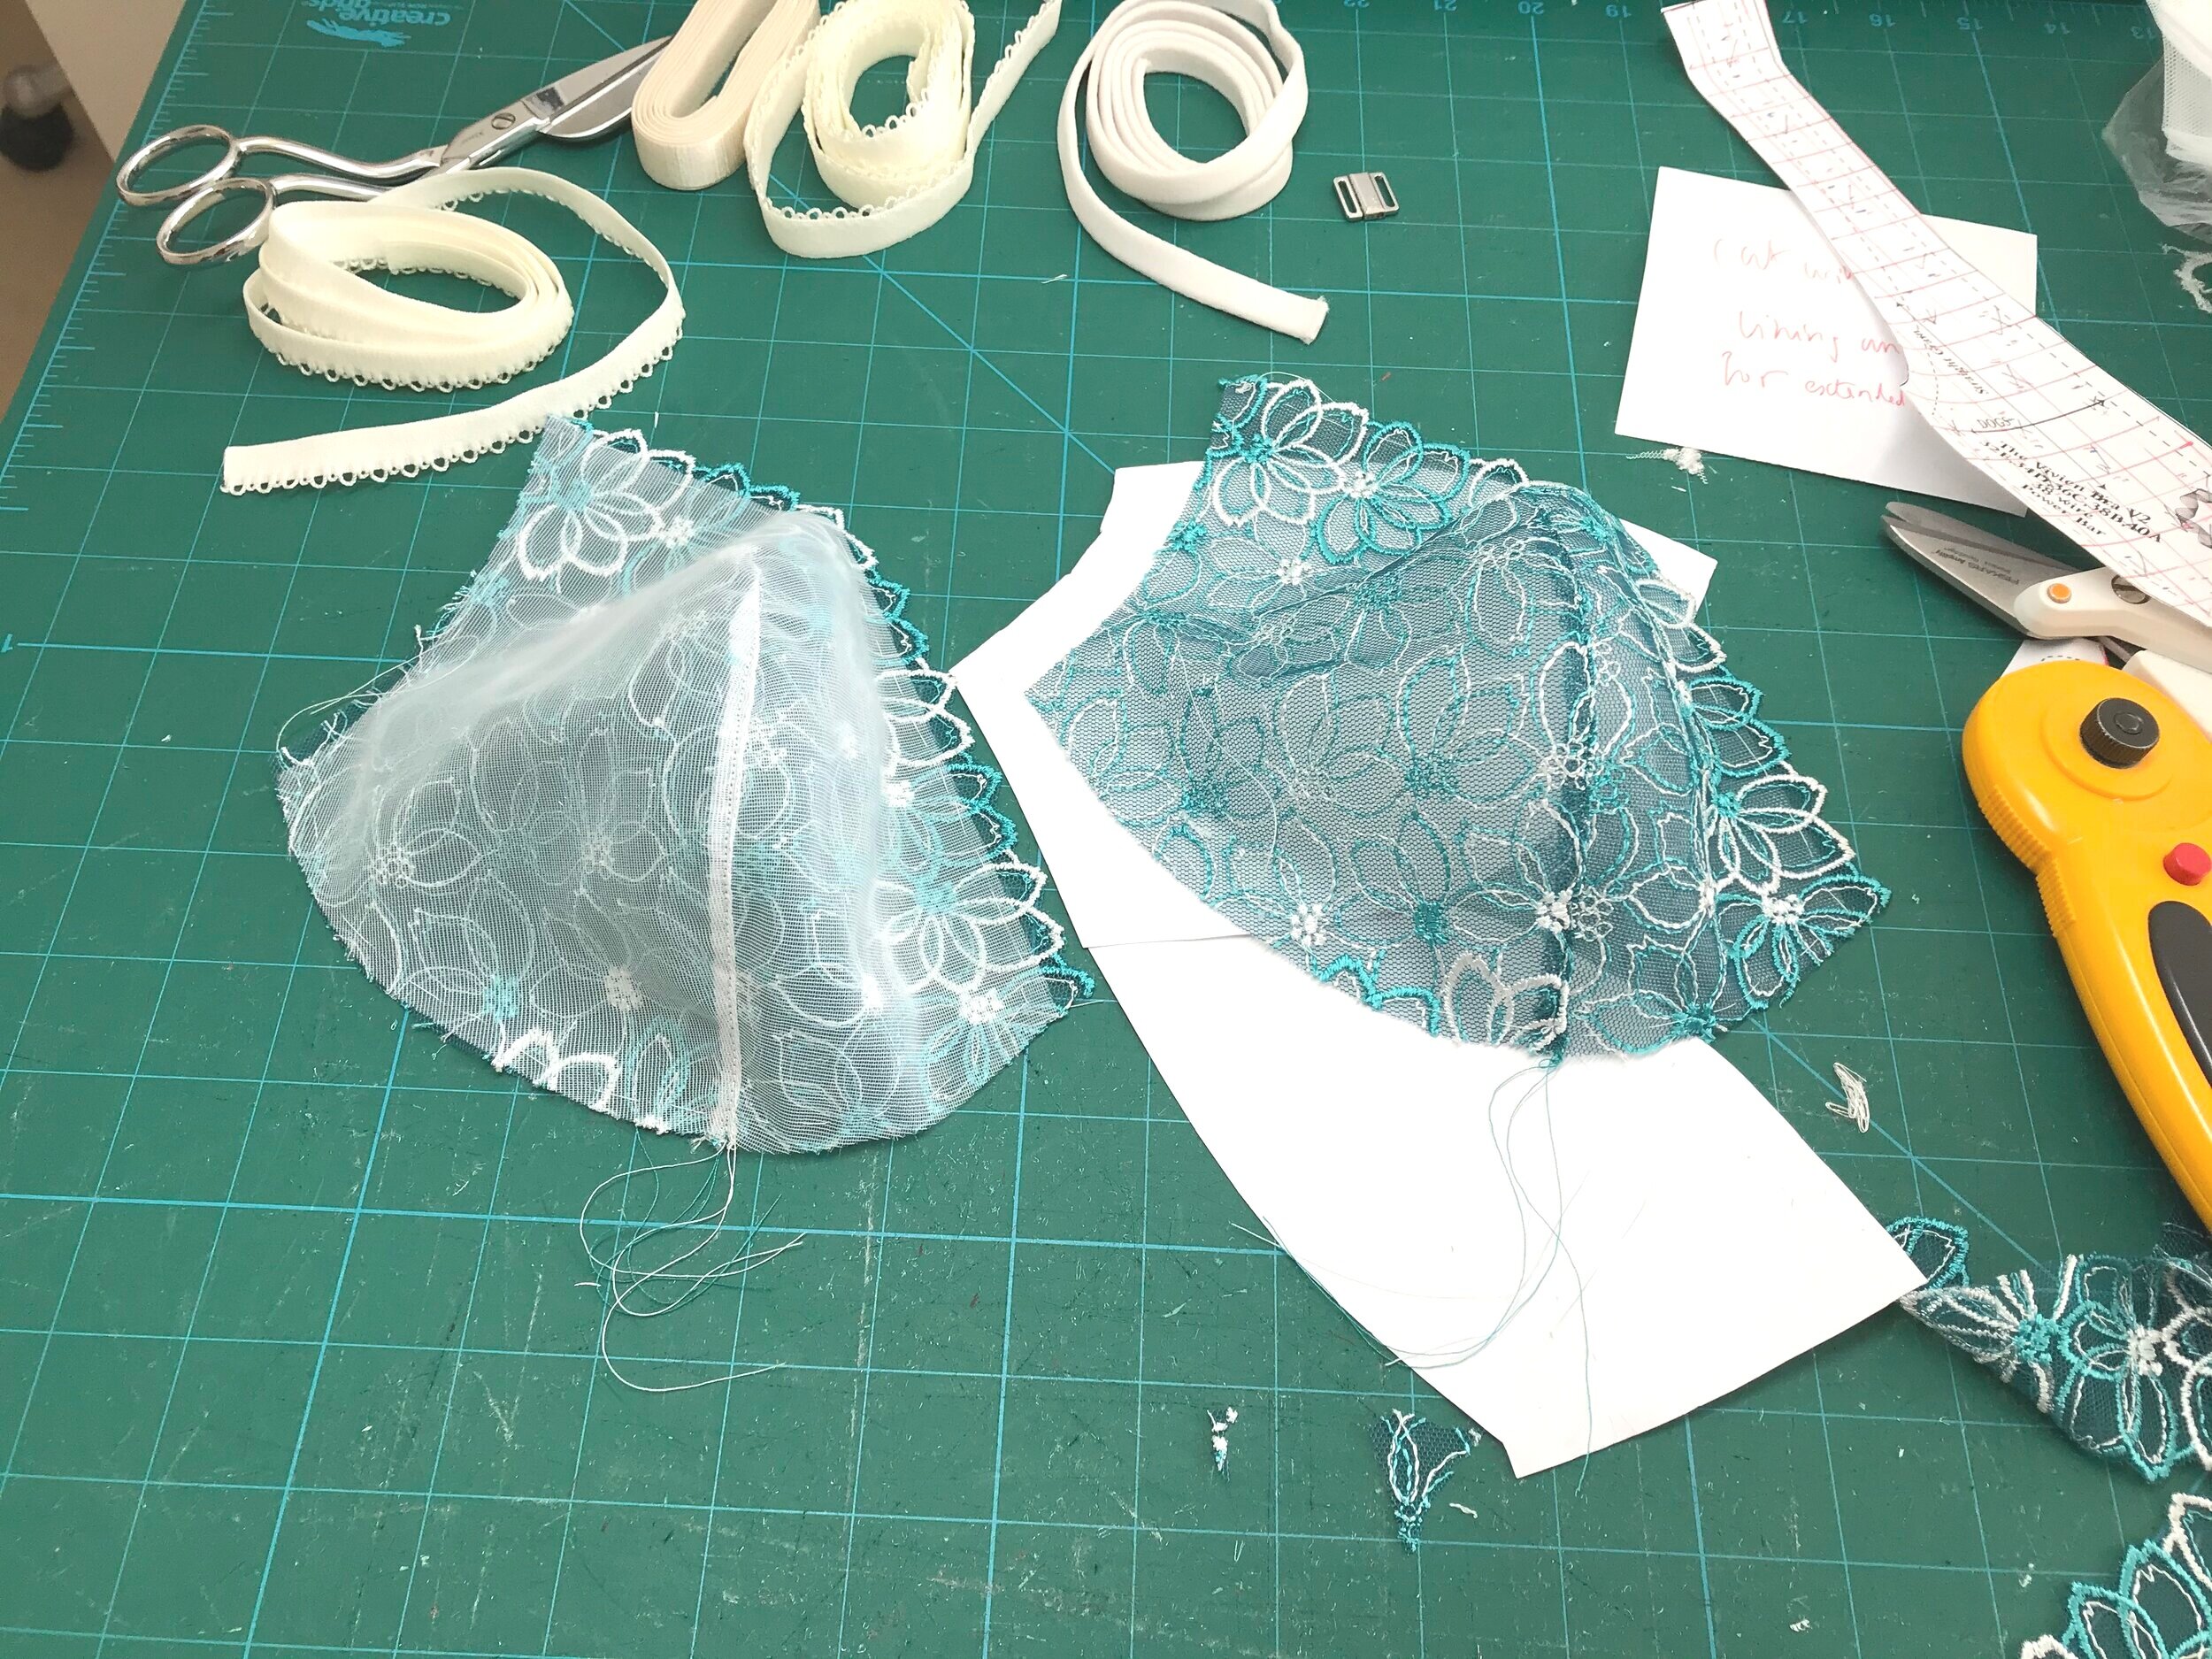
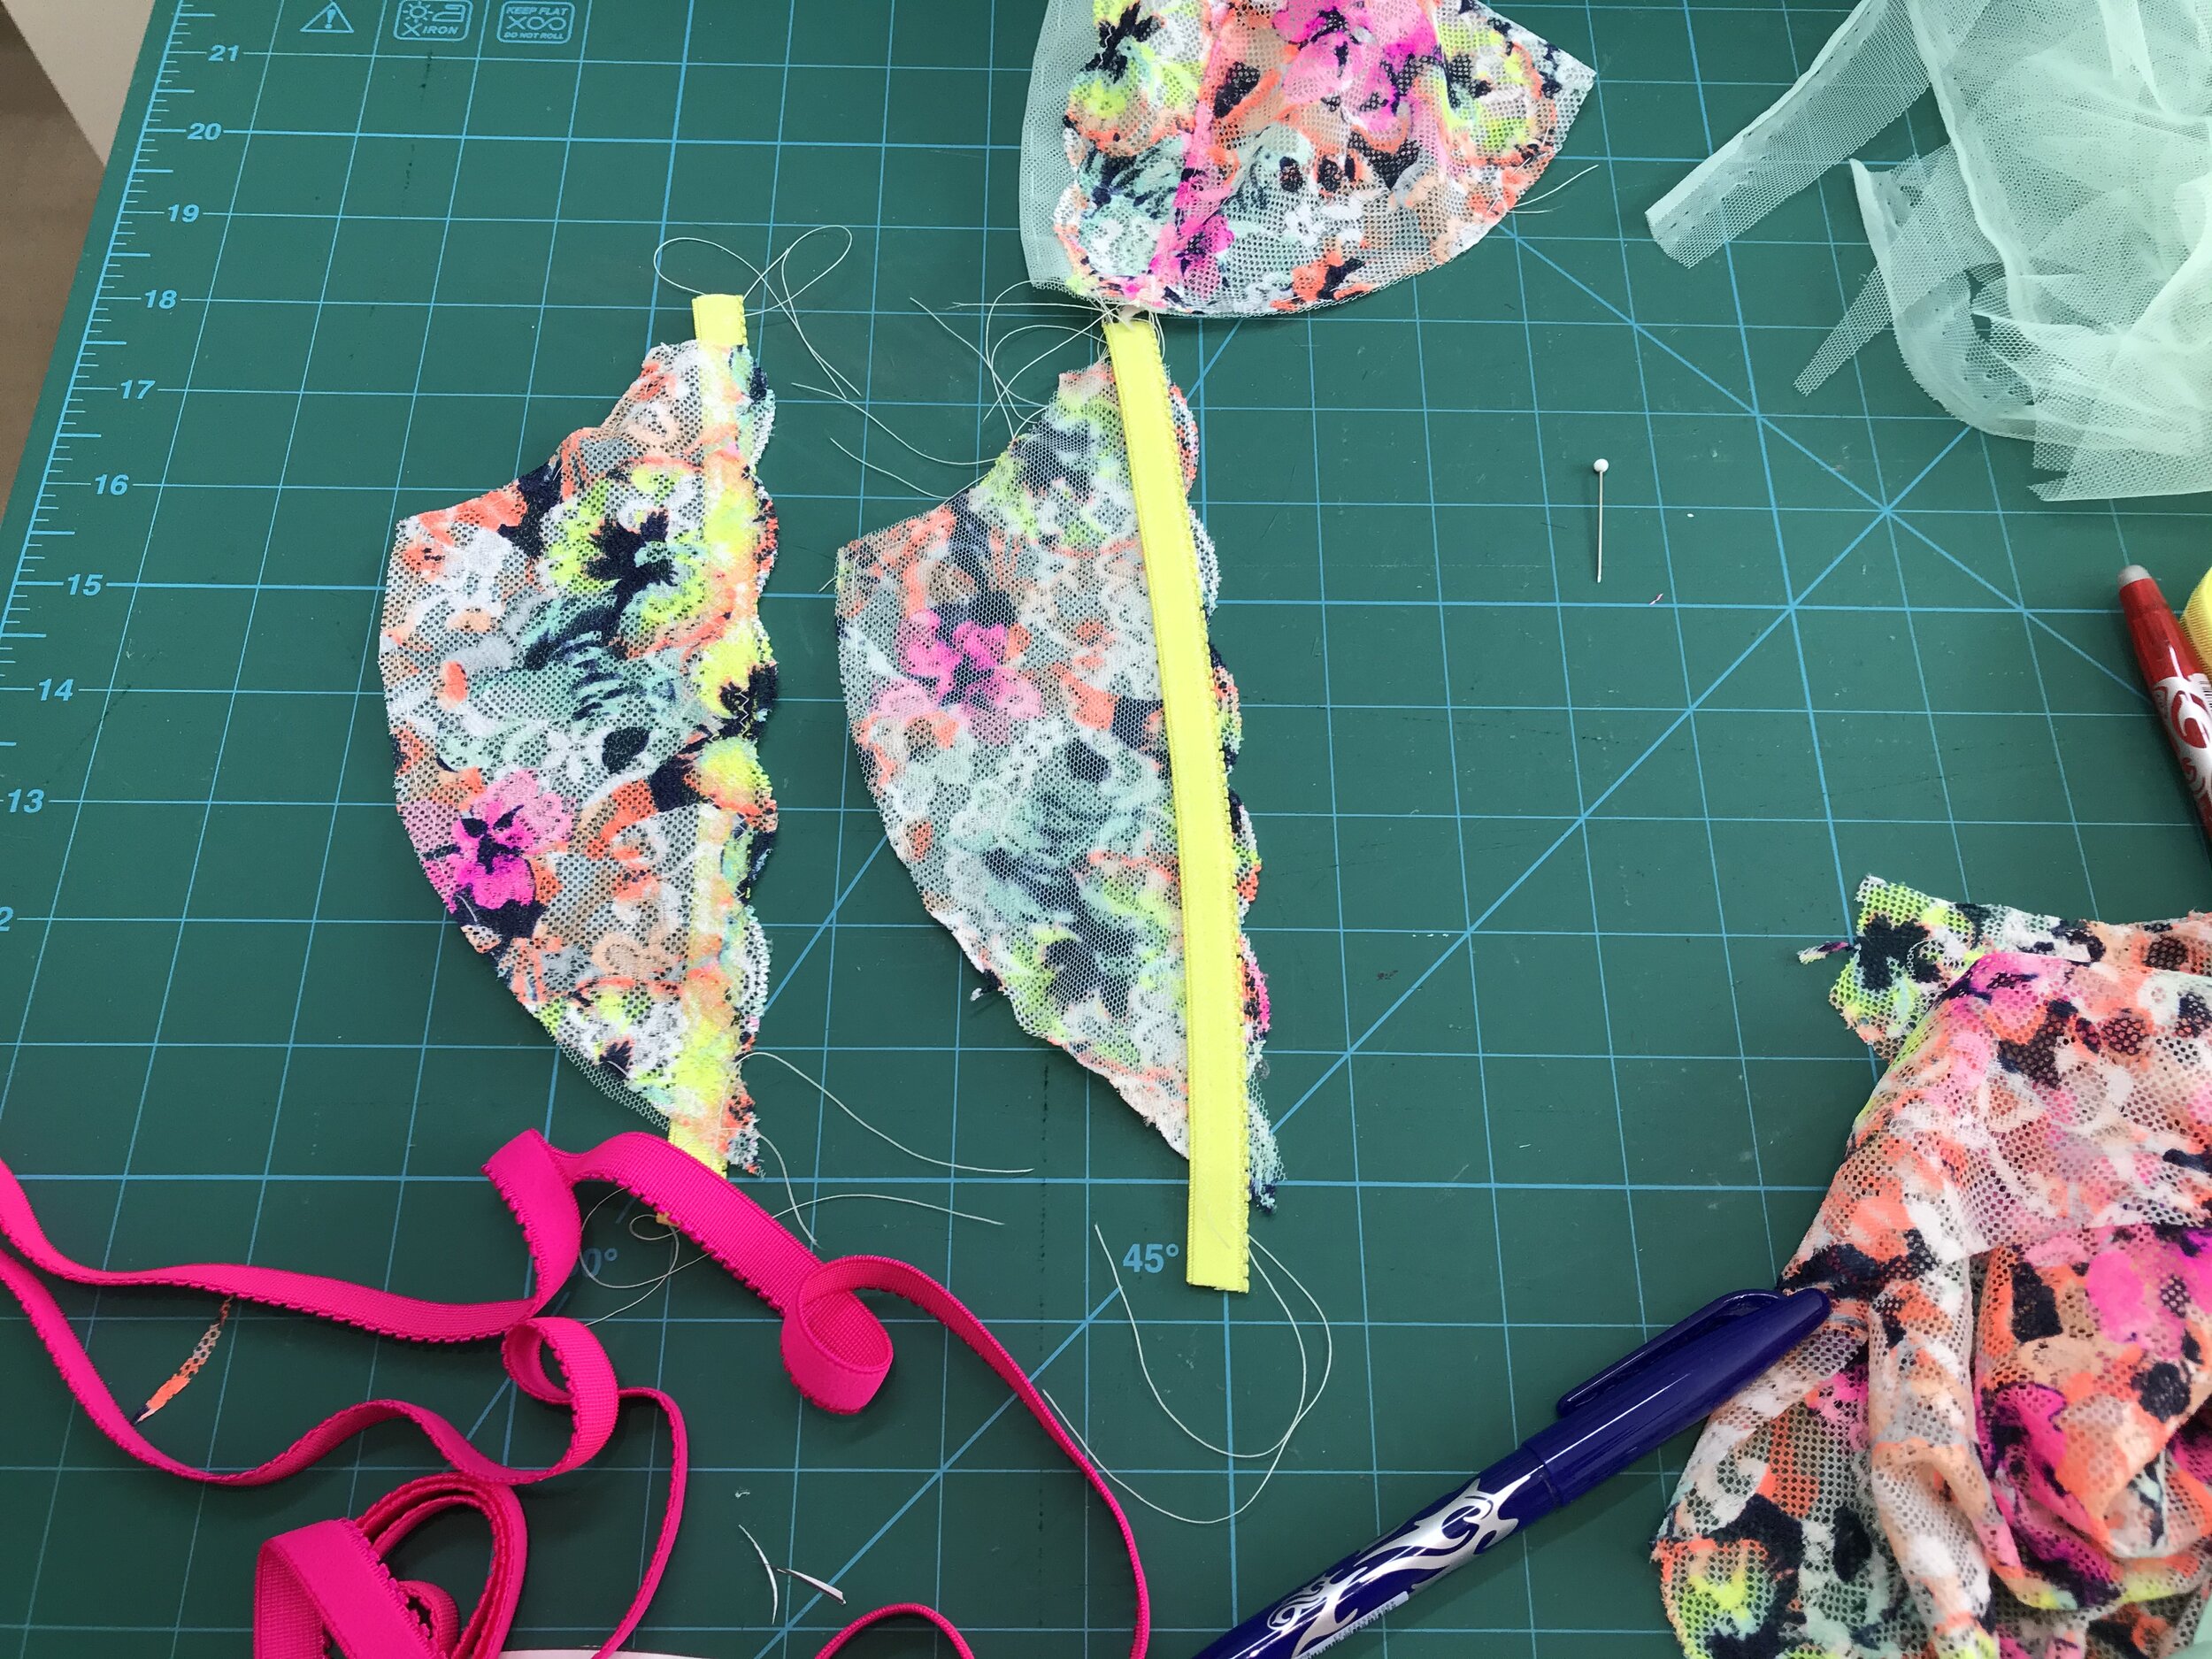
I was not expecting the choice of lace to be as problematic as it turned out to be. The outer cup in the size I was making is quite deep so some of the laces I had thought of using didn’t work as the opposite side of the embroidered tulle hit the bottom of the cup as in the first picture, below. For the second the teardrops are all in one direction so would be in different directions at the dart. This left the cream lace so I actually cut out the cups. Unfortunately the contrast between the sheer parts and the embroidered dots didn’t sew well on the dart and the seam allowance was too obvious. Then I tried basting the lining to the lace and using as one layer but I still didn’t like how it looked. So then I remembered some lace from another BWear kit.

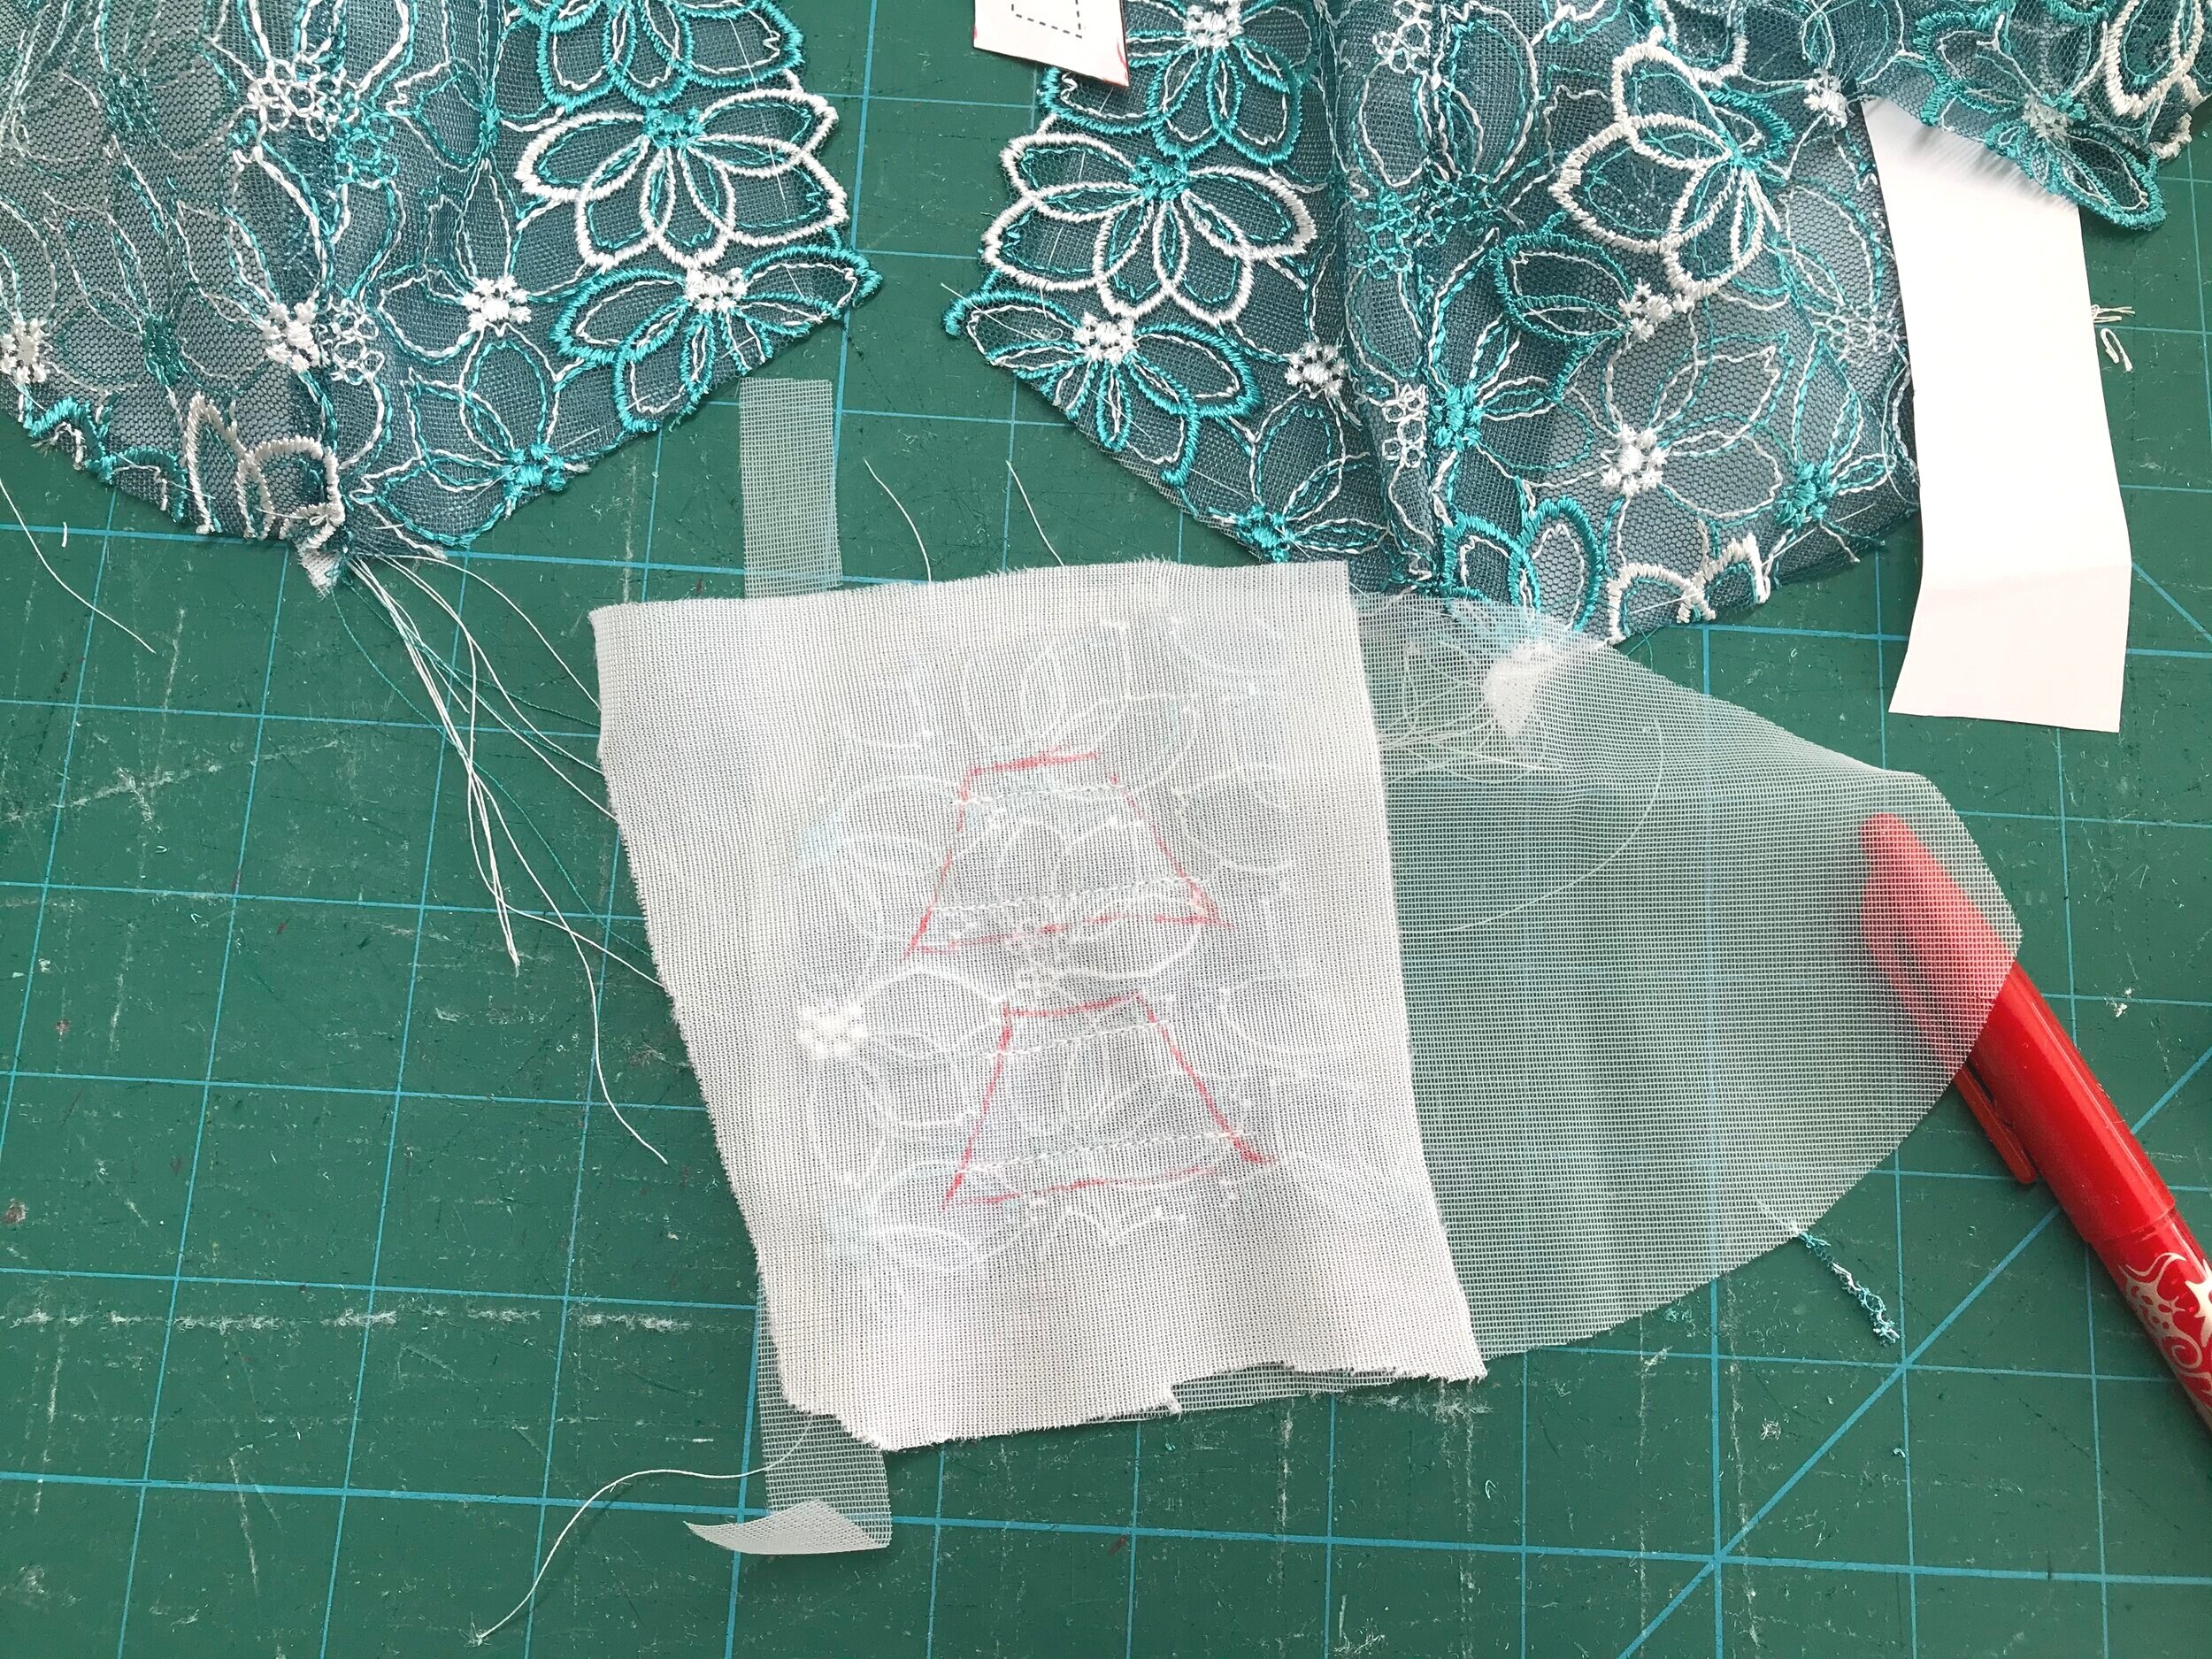
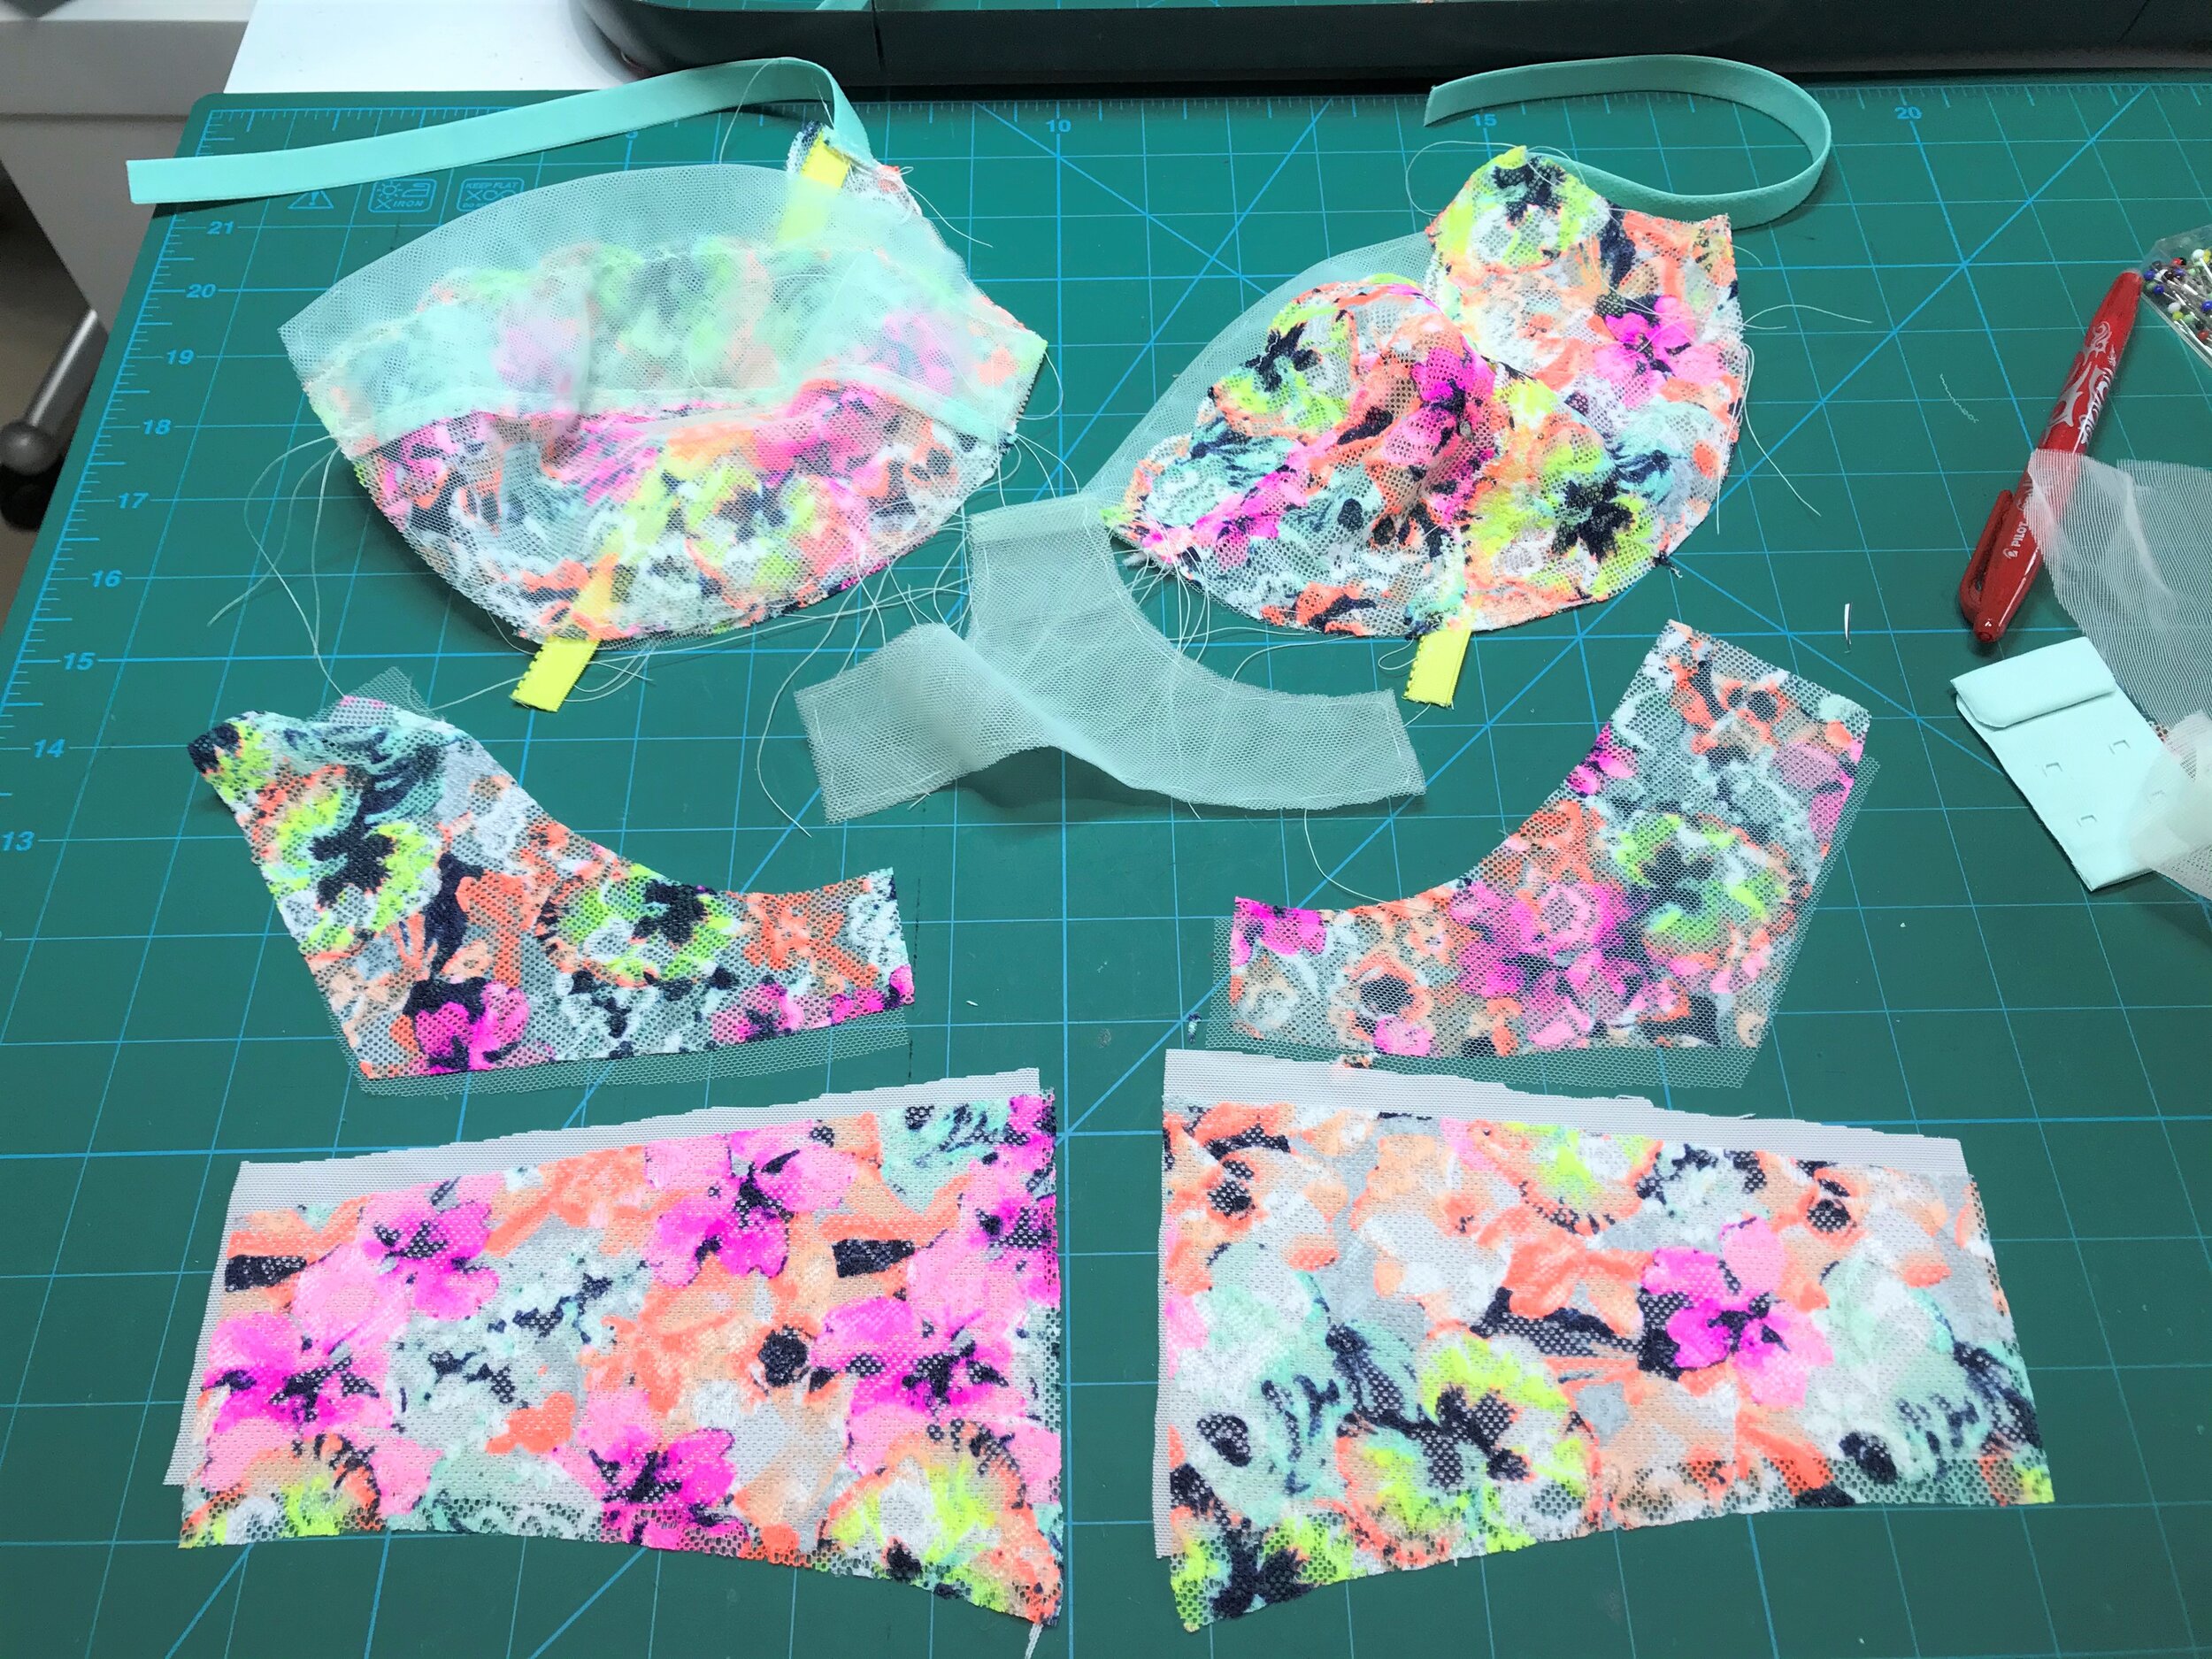
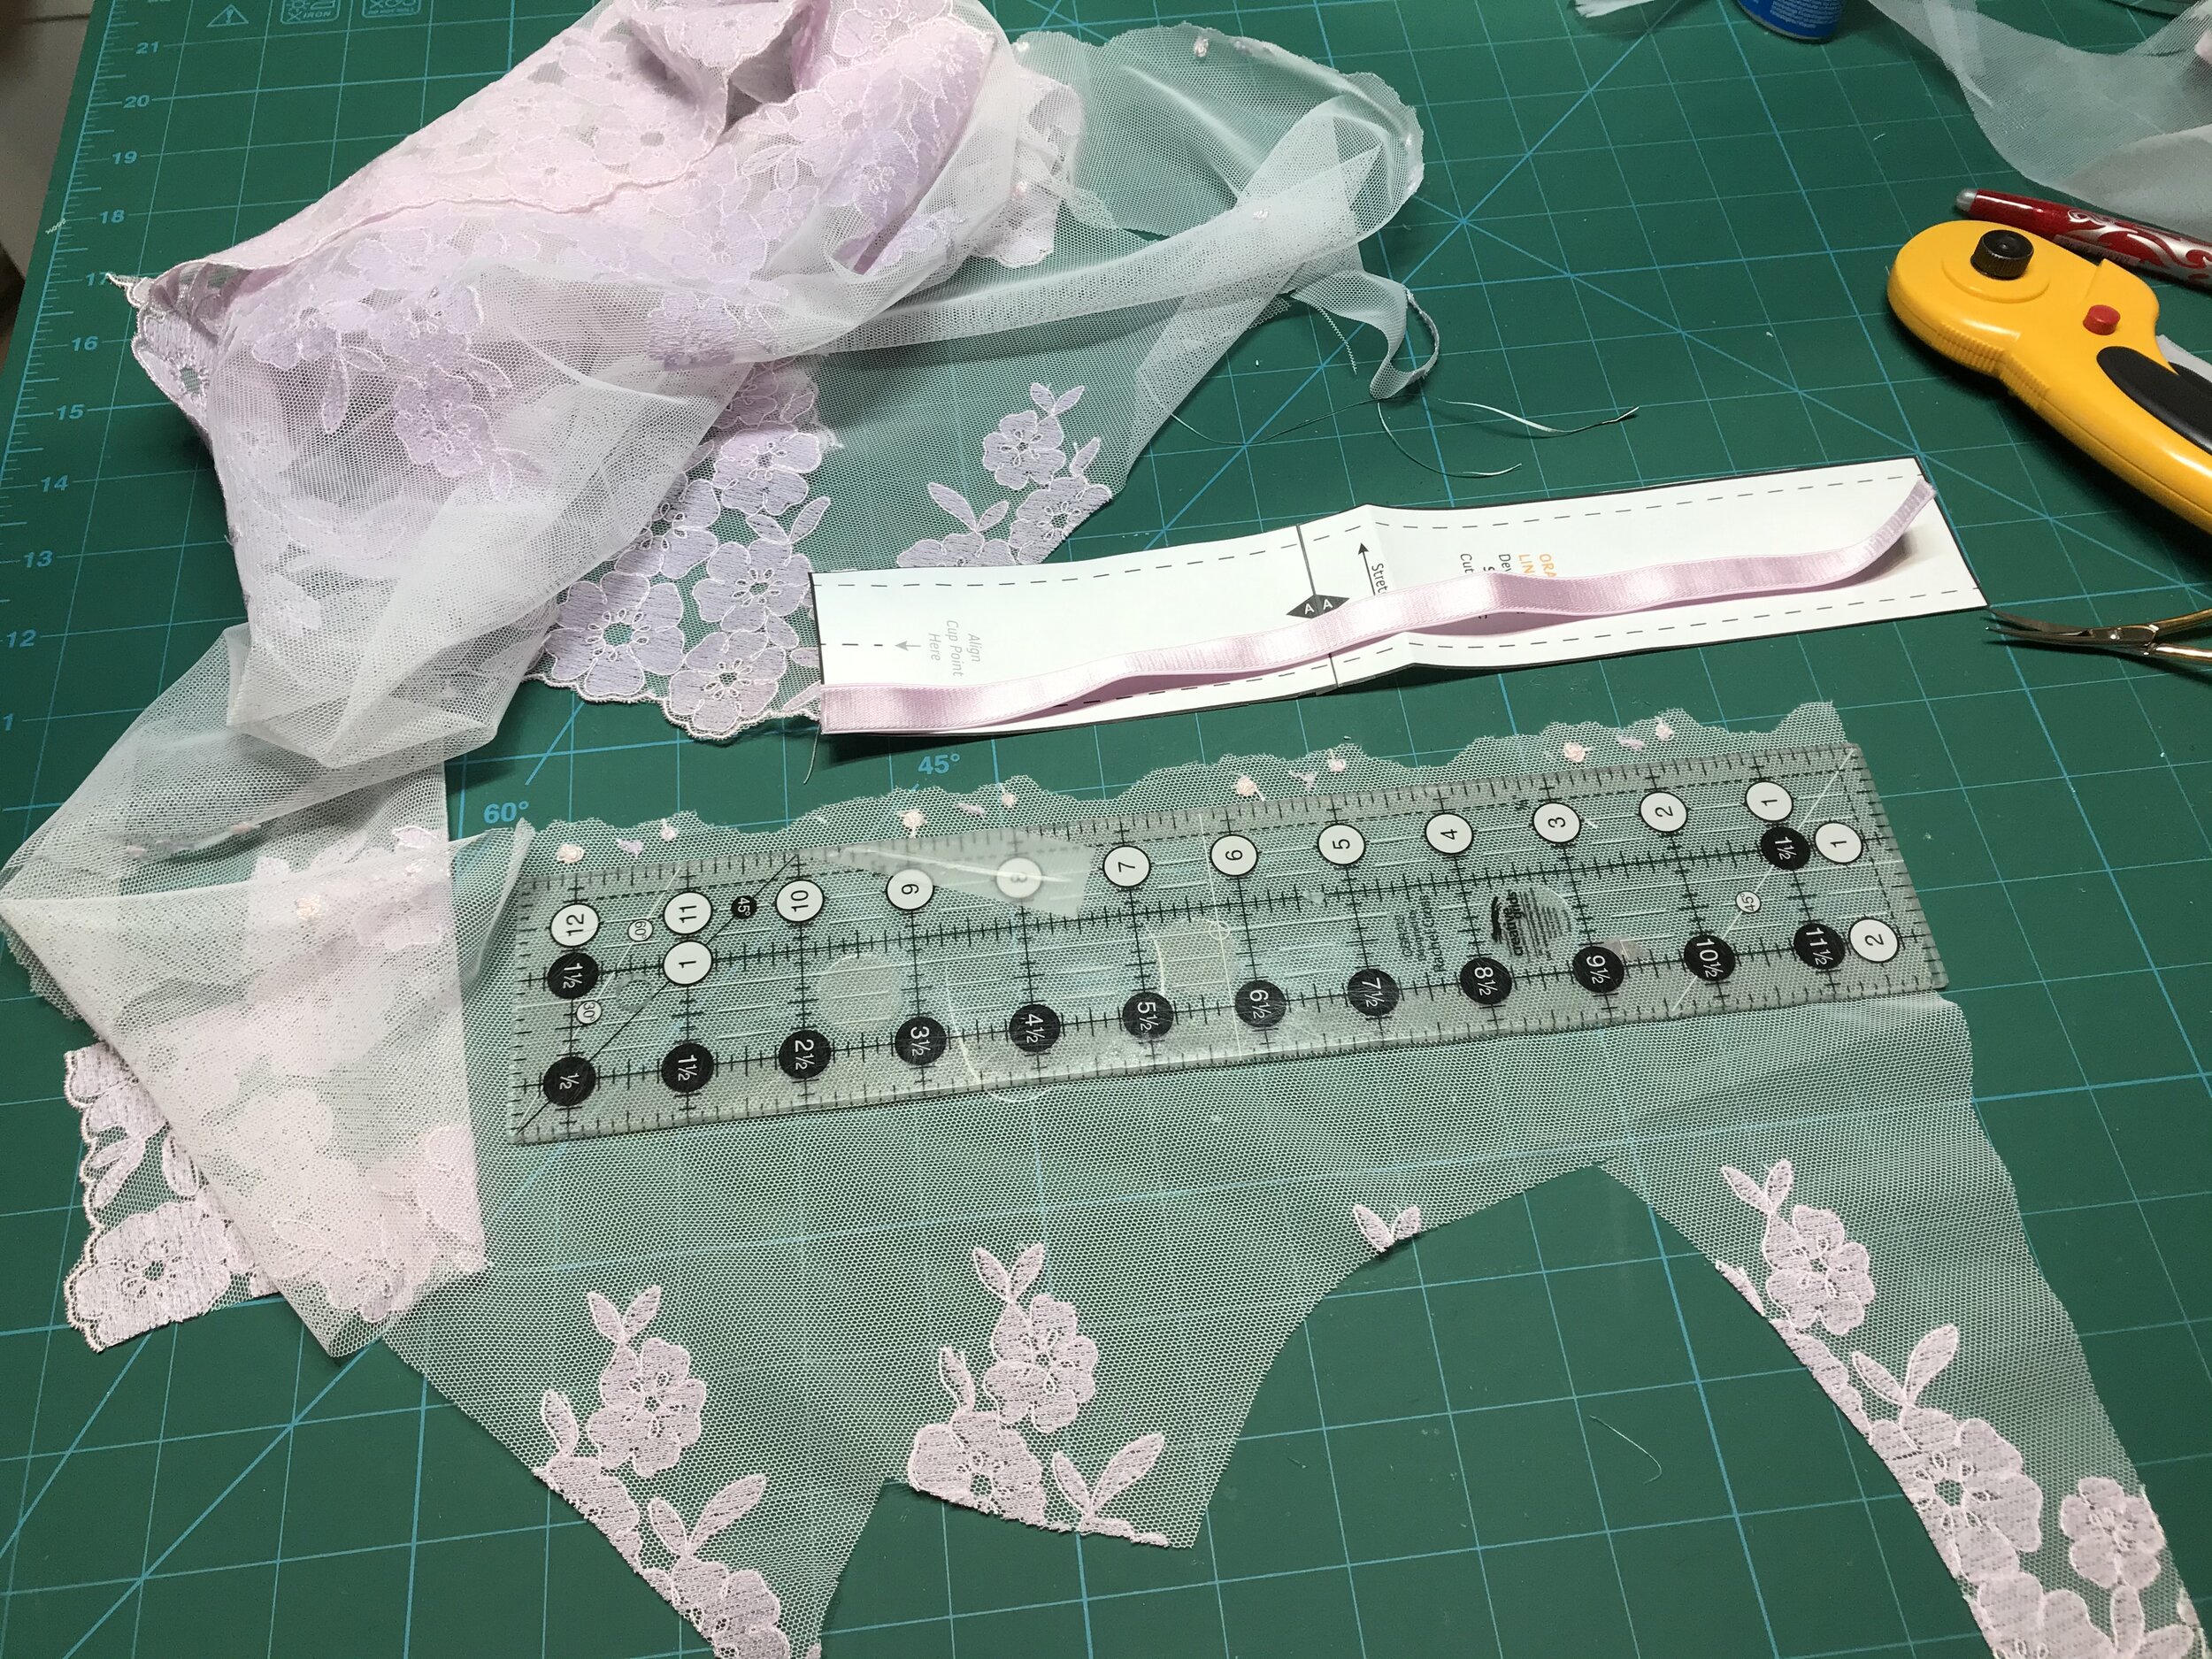
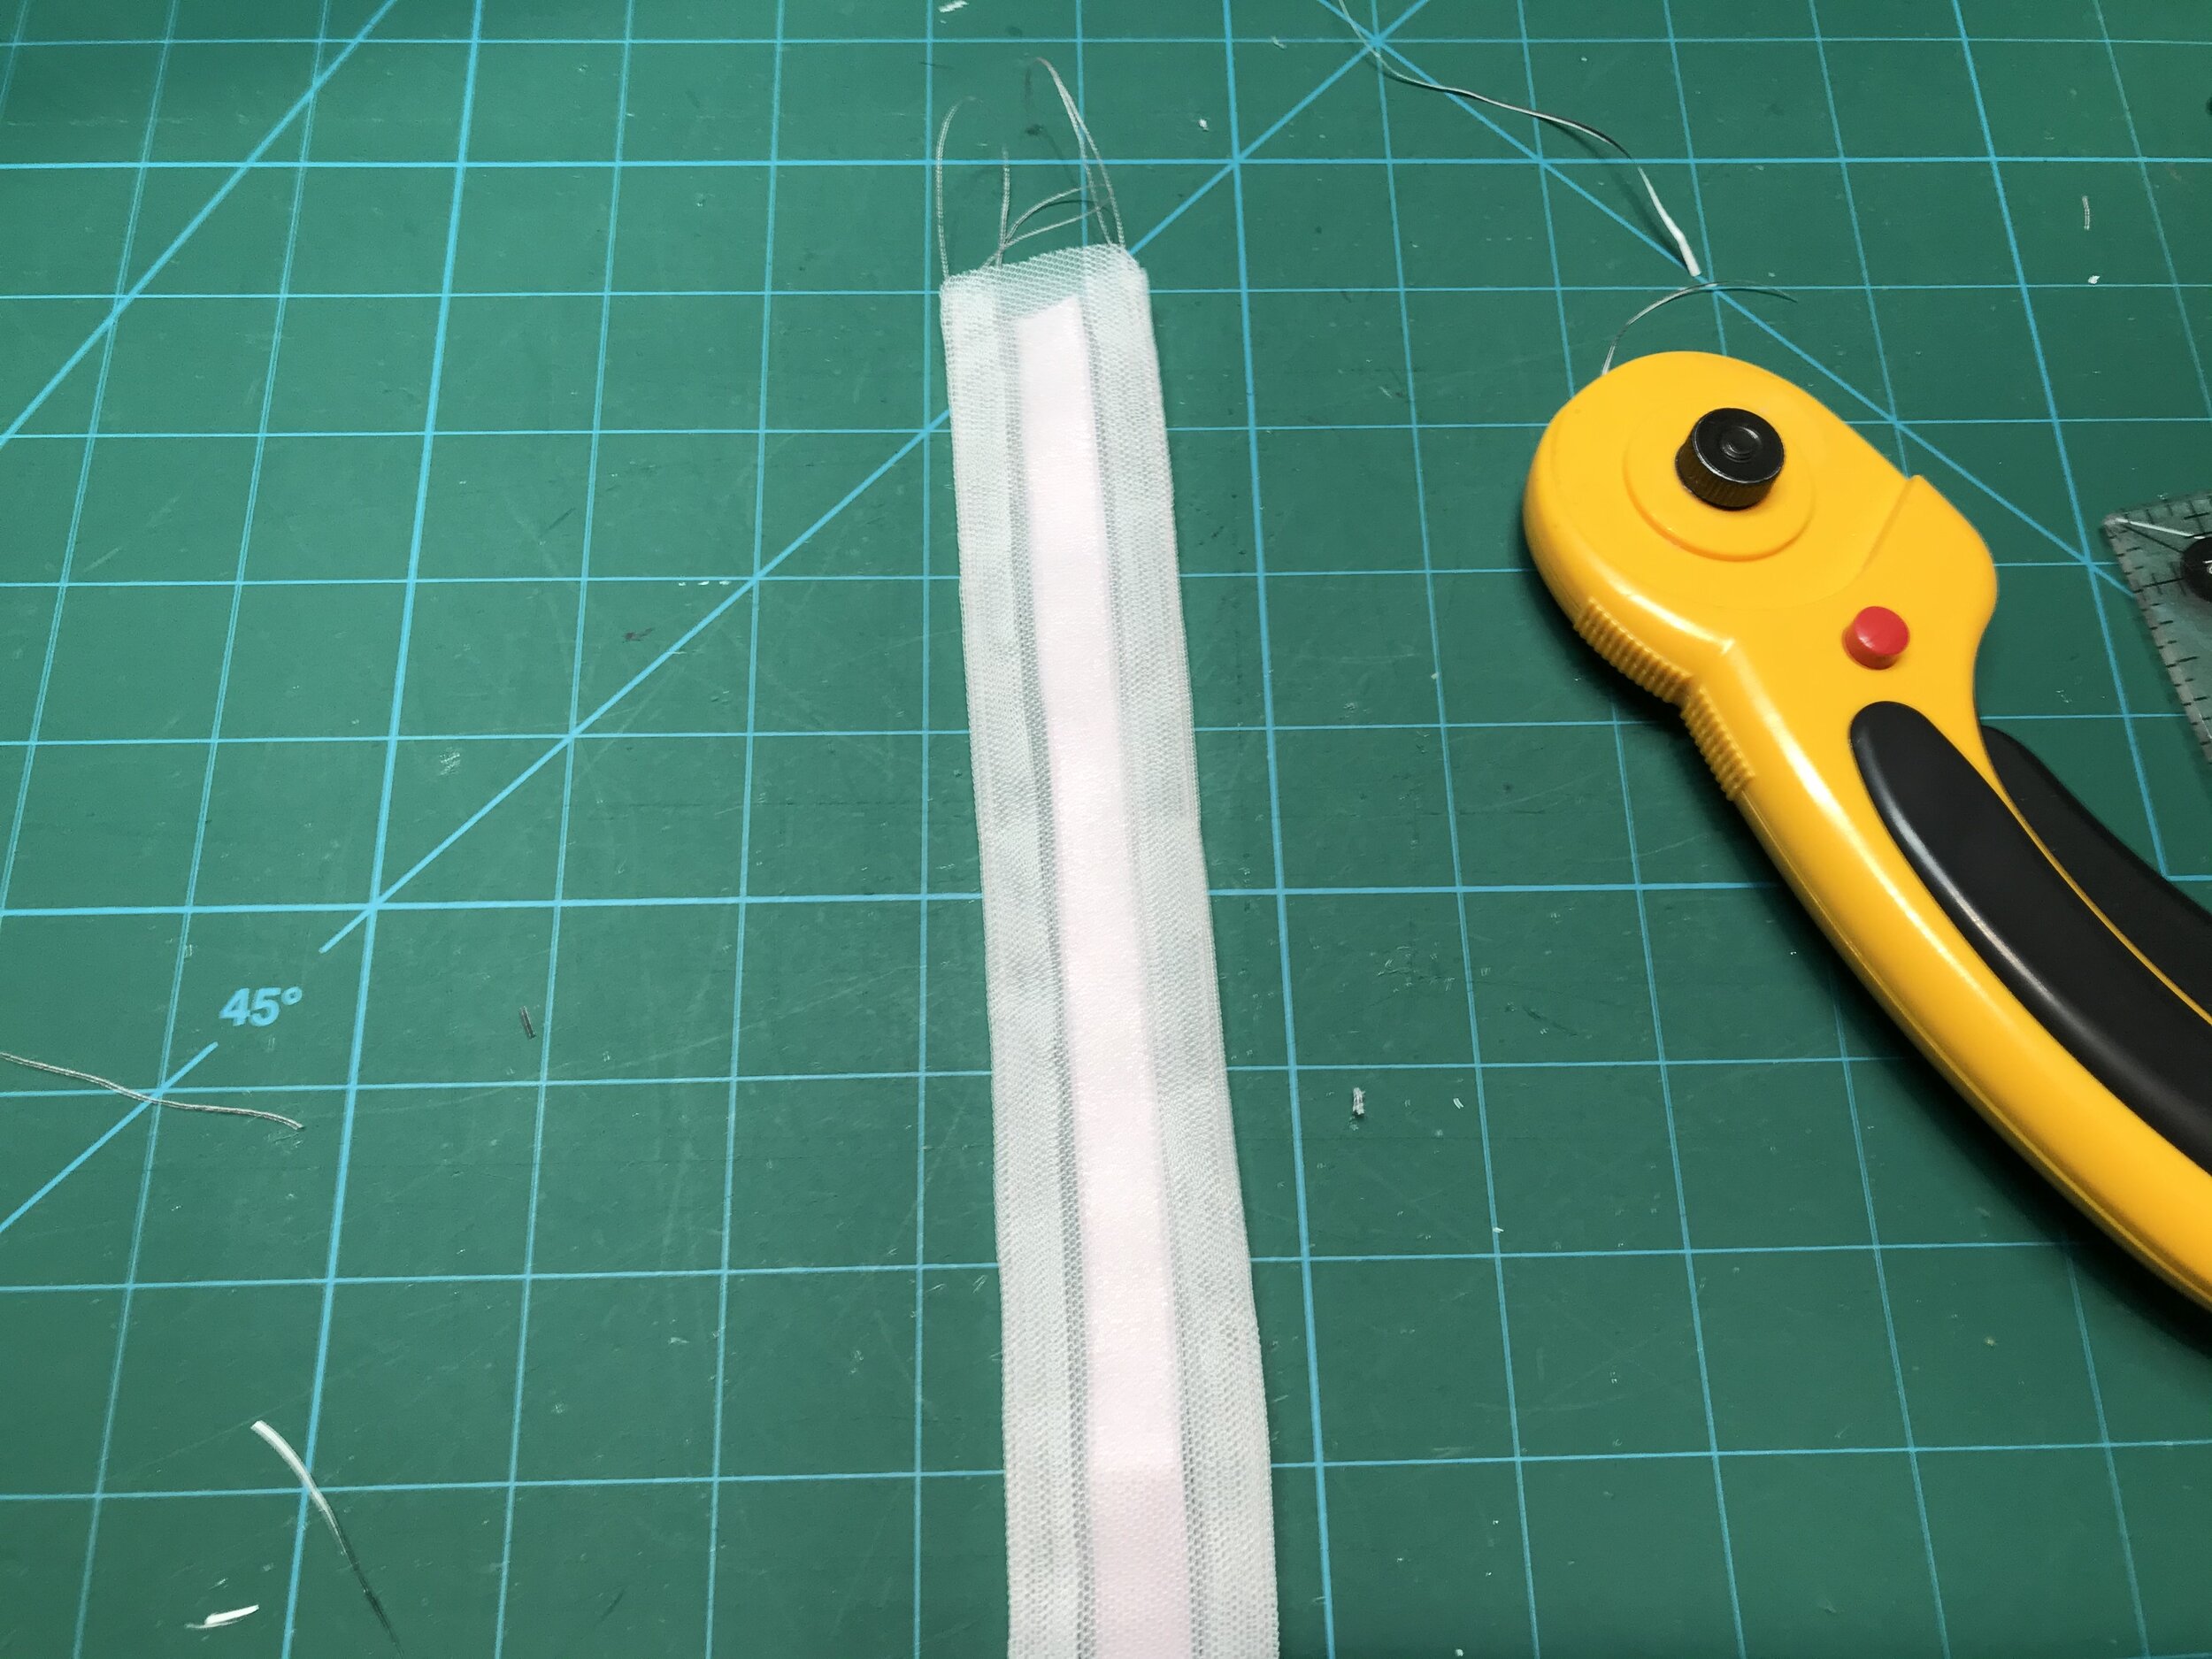
Completely sheer but with more of an overall lightly stitched embroidery design this lace is perfect. I made the cups up first just to check how the dart looked. I did topstitch down and trim back to the stitching for a uniform look on the right side. Next I tackled the closure. The instructions suggest ribbon for smaller sizes but I decided to use the lace. I used Misty Fuse to permanently adhere a piece of lace to a more opaque sheer lining and then lined with the one I used for the cup. I drew around the pattern piece and then stitched 1/4” in from the top and bottom lines, cut around the pattern piece and turned through to the right side.

Attaching to the cups was fiddly. Not only is there a lot of bulk in there but the fastener does get in the way of the foot. I did try with my zipper foot but there was no way it was going through the bulk. I handstitched them tightly in place after a couple of attempts to get both sides level.

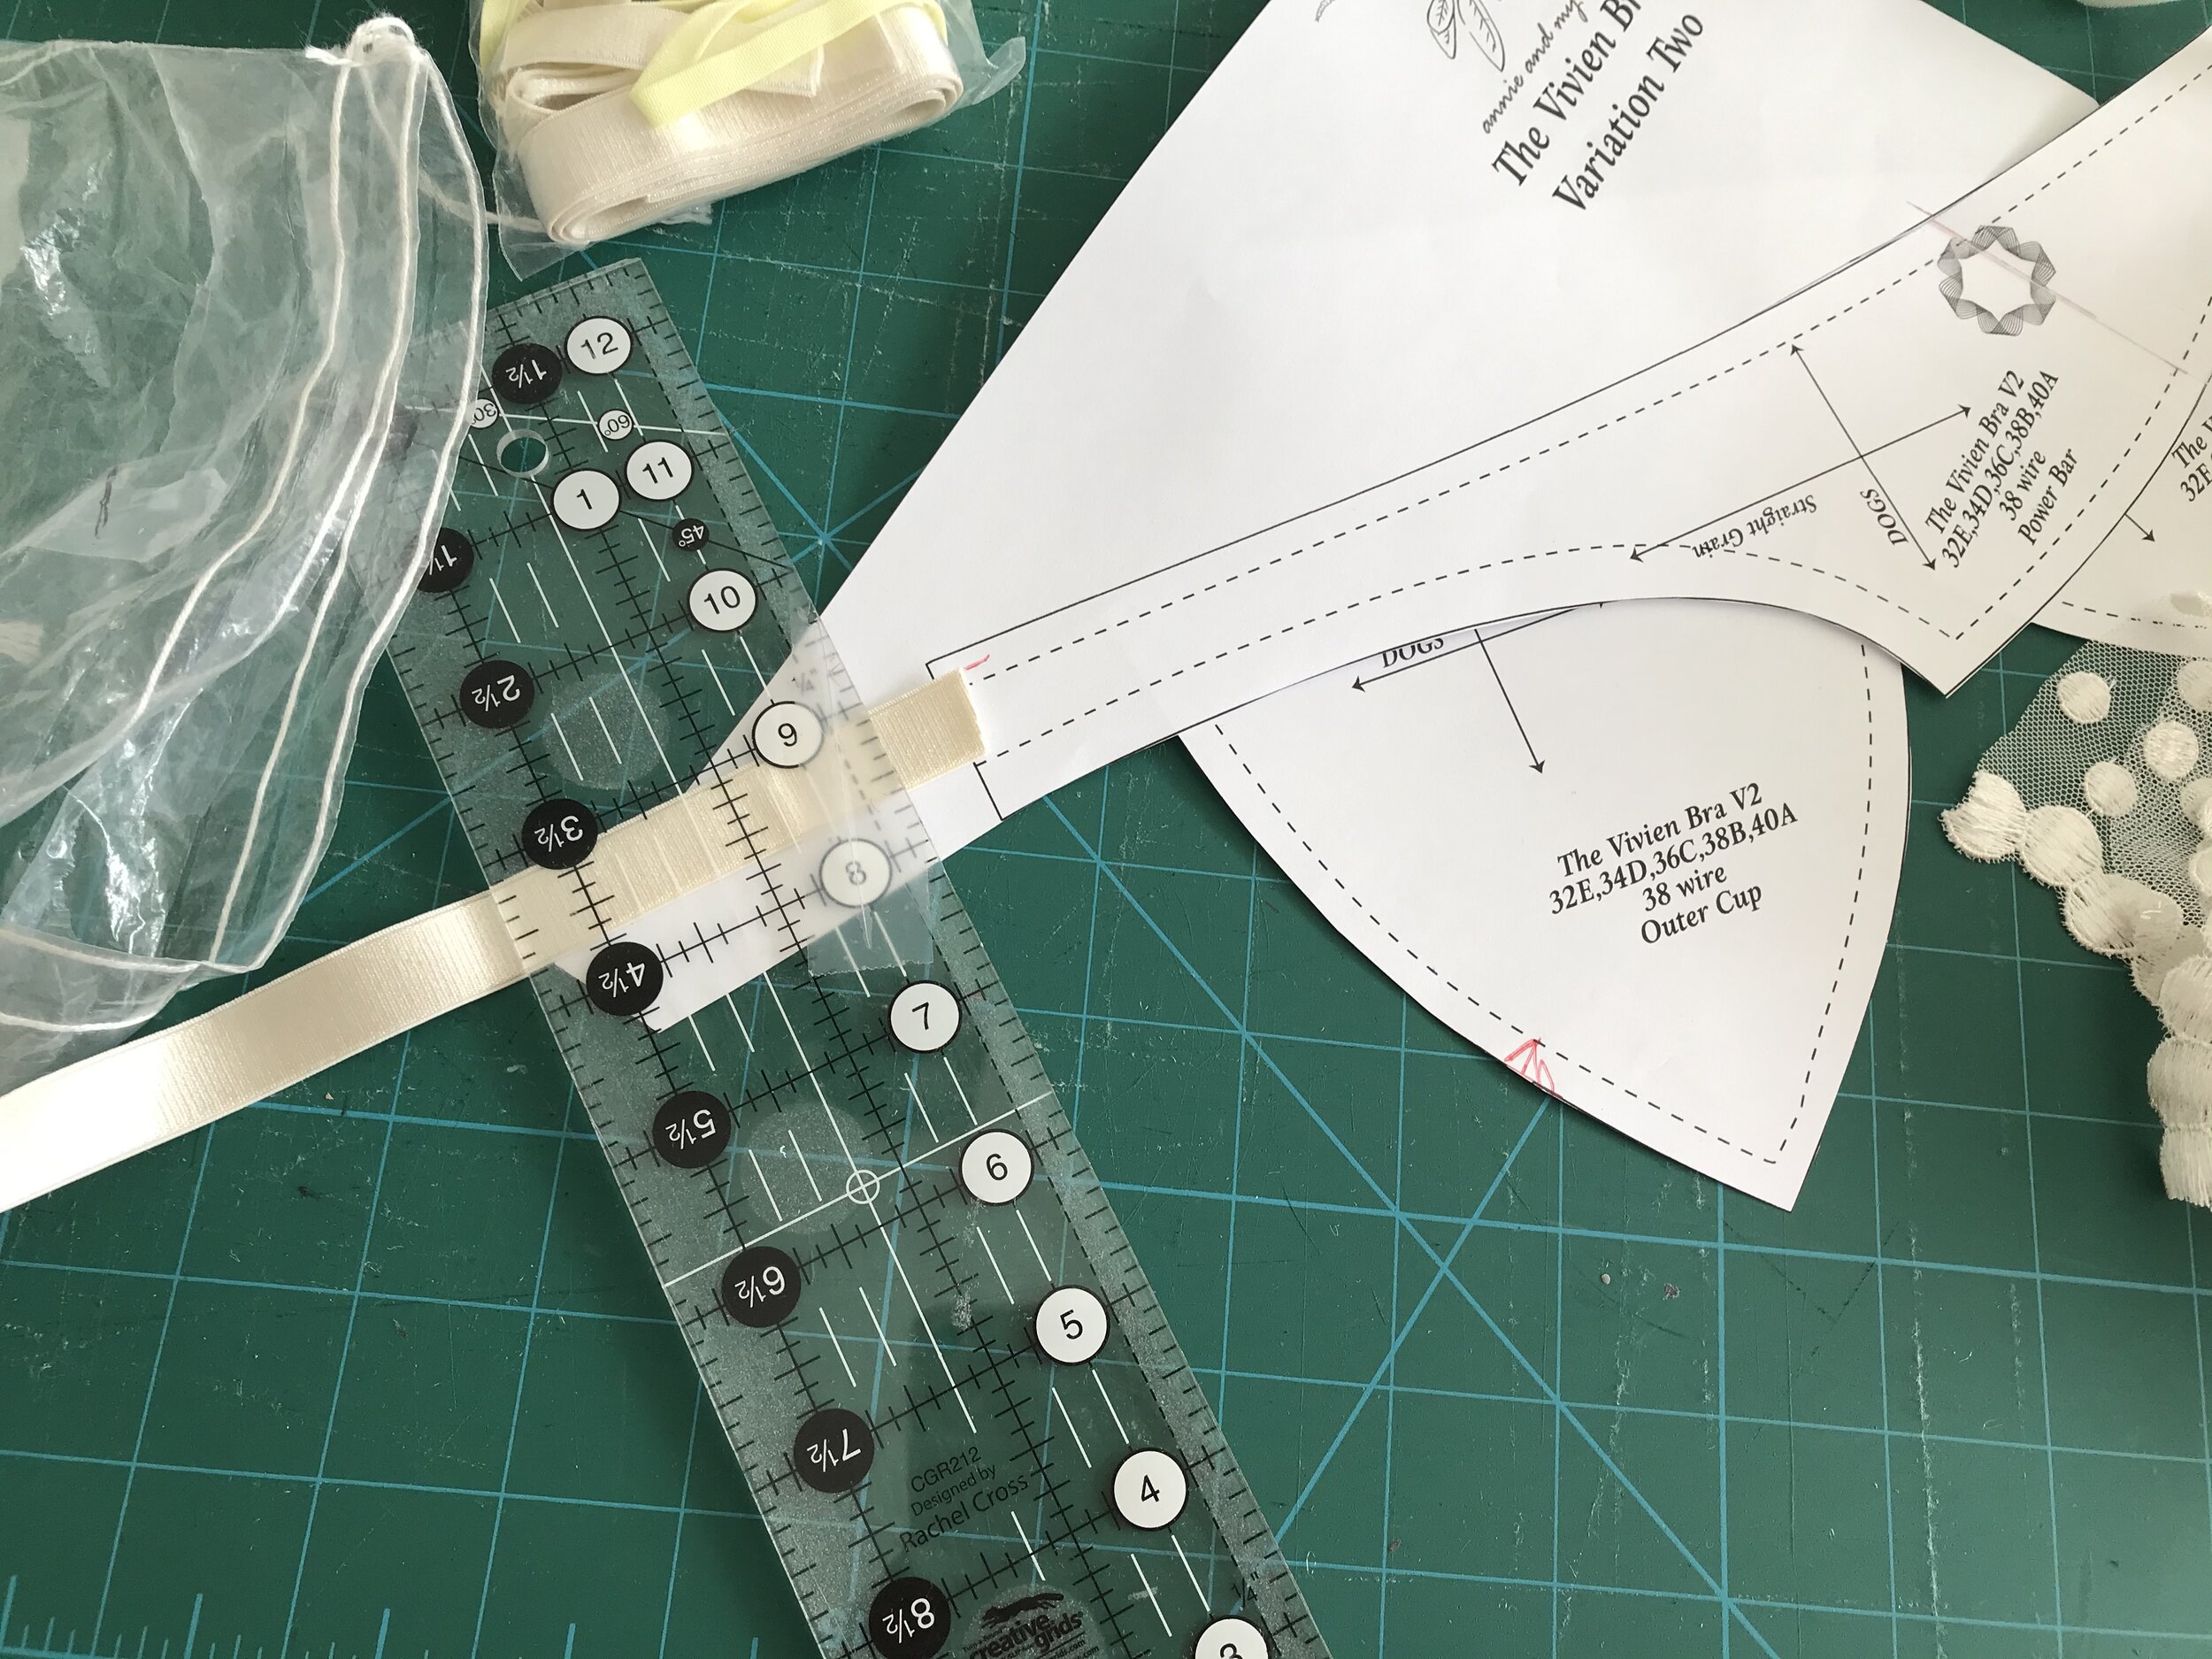
Moving on to the powerbar, I had already adjusted the pattern piece as I wanted to this to be the same width of the strap elastic I had chosen. It was only an 1/8” but it is something that annoys me. Again because the lace is so sheer I decided not to use it for the powerbar as well. Rather than duoplex I used the more opaque sheer lining as the right side, keeping the sheer look but not seeing the arm elastic too clearly. The ruffle strapping really suits the style of the bra.

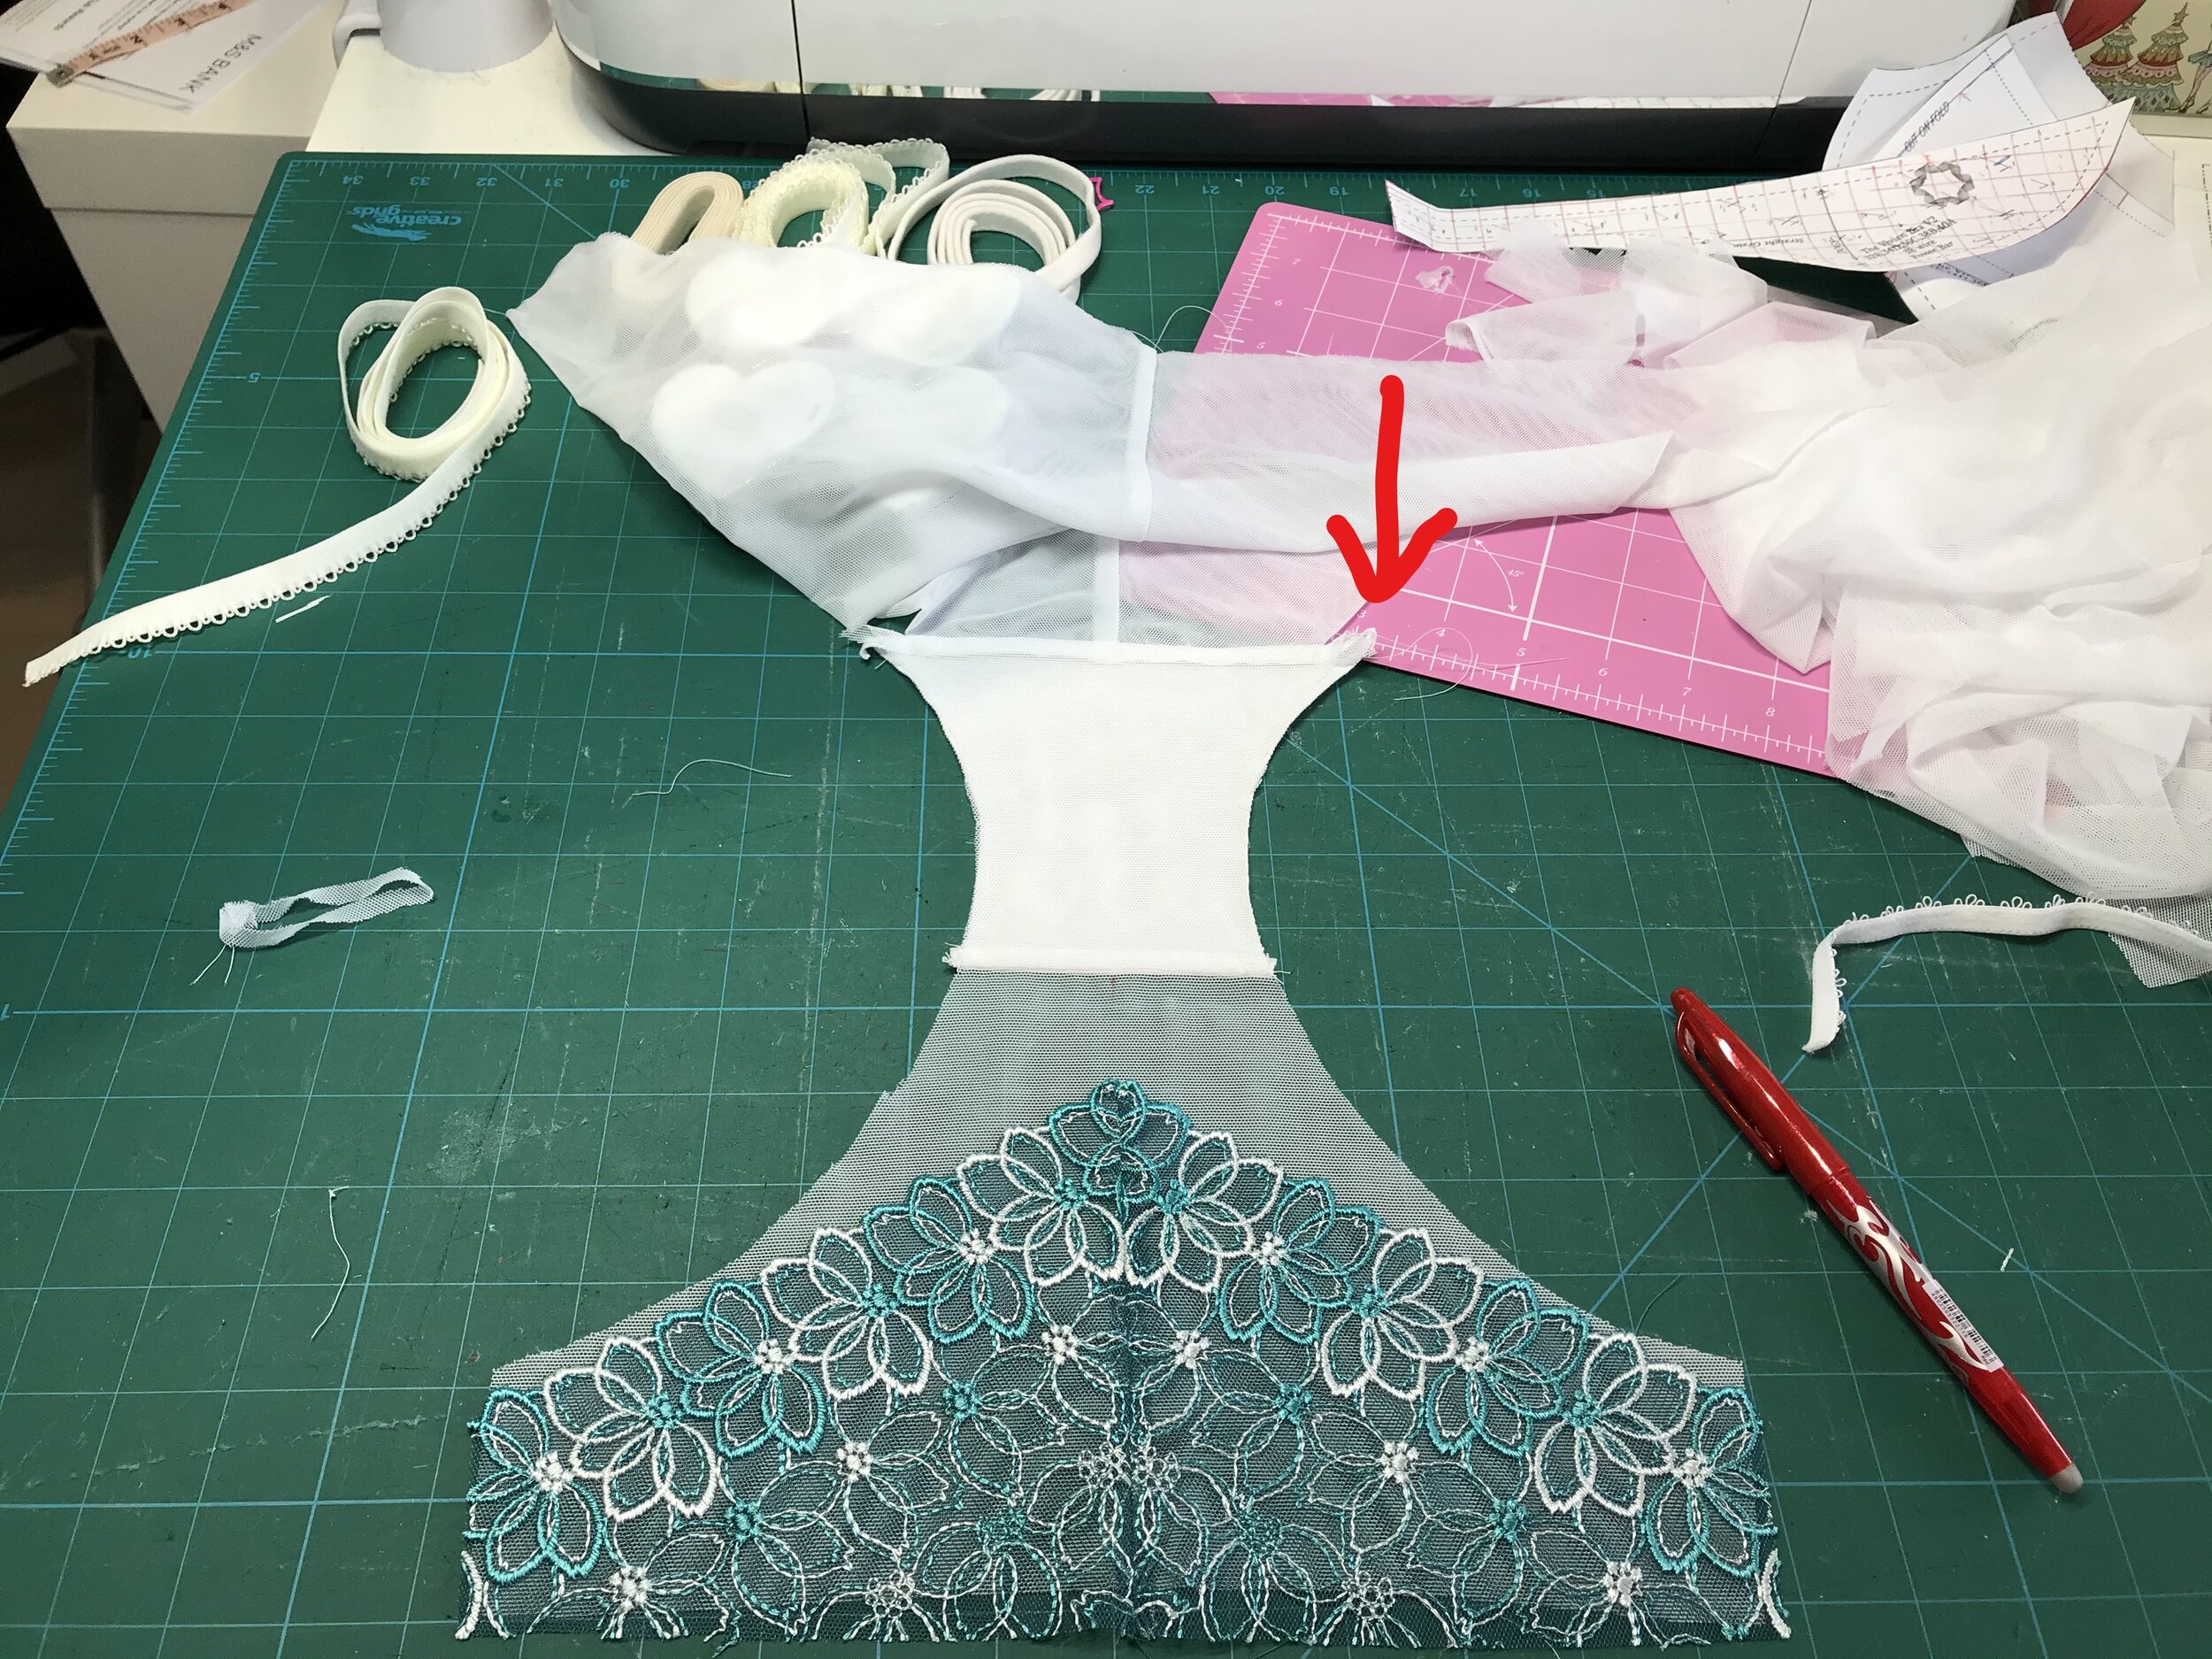
With the bra done I had just a small piece of lace left and I decided to use the same overlay but this time on the Orange Lingerie Montgomery brief. The pattern has an enclosed front seam but the back is open and can be bulky when overlocked. So I decided to construct the same way as the Ohhhlulu Claudia.

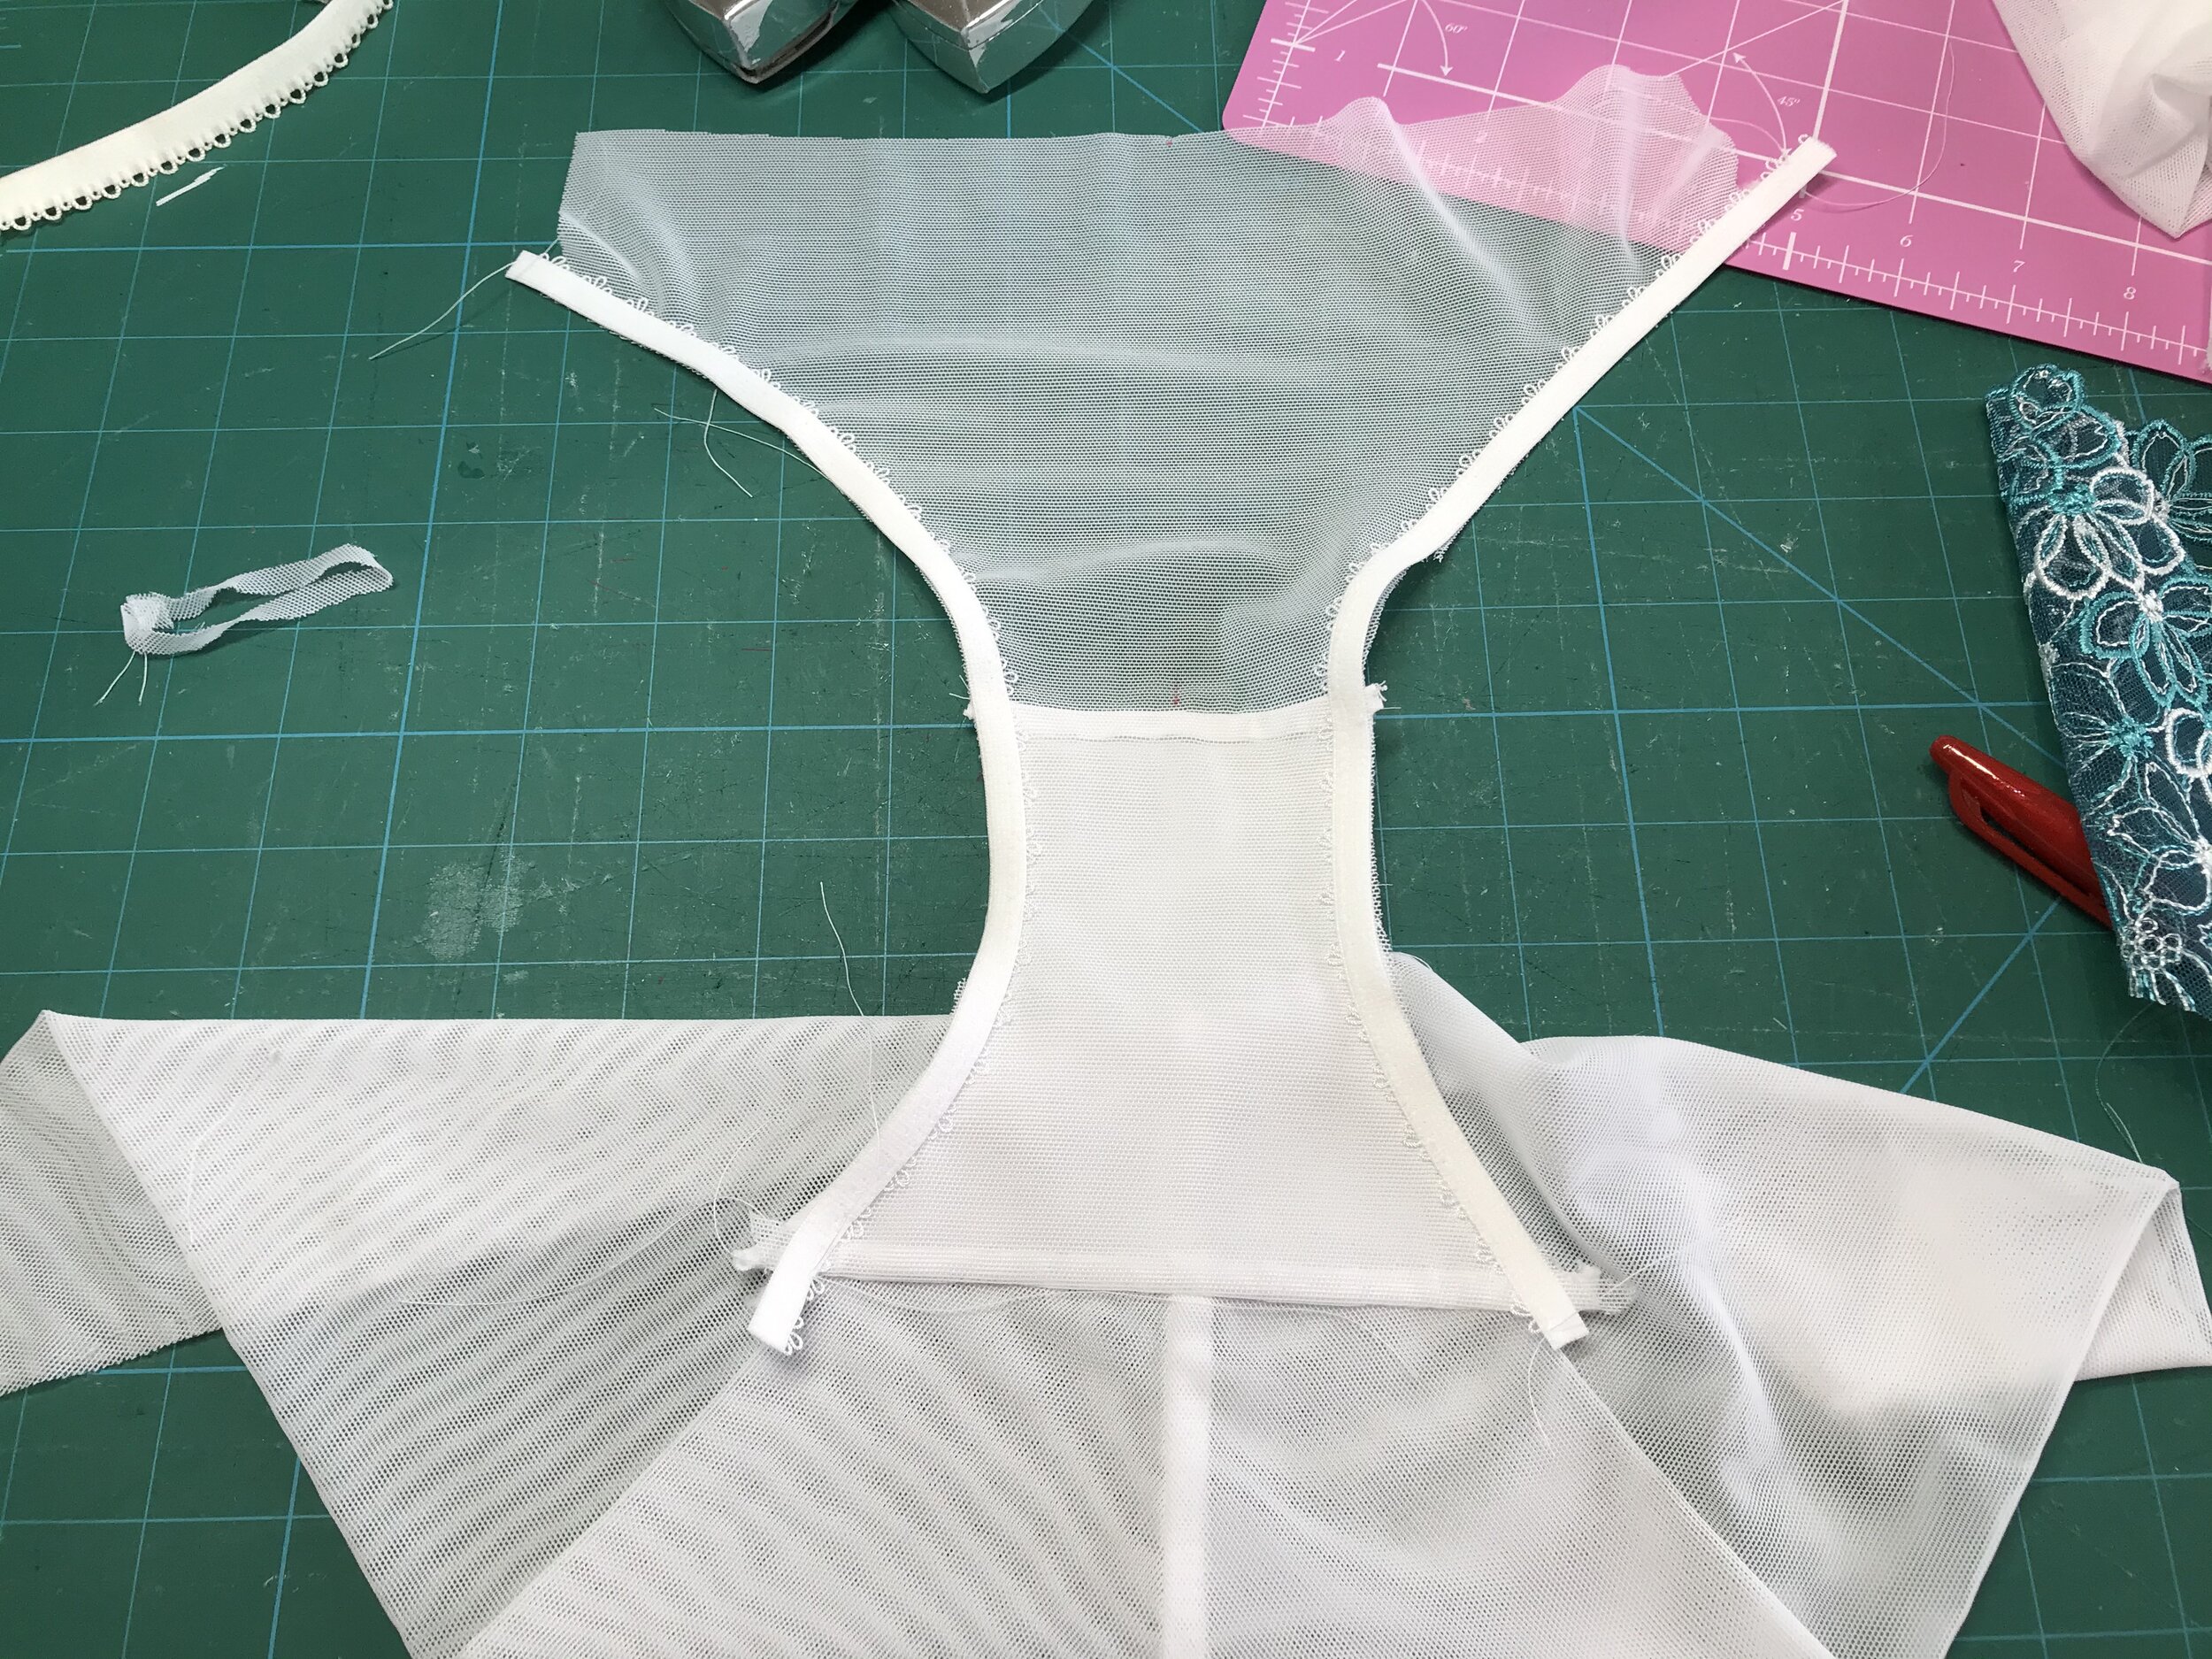
Normally the front is enclosed between the gusset and lining and the leg elastic attached to this before sewing the back seam. Instead I enclosed the back before attaching the elastic. As you can see in the photo the gusset is wider by the width of the elastic. Then I attached the elastic to the leg. For the second pass I folded under the end and hand stitch down and pressed which reduces the bulk for sewing and ensures the elastic does not move out of place.

Another beautiful set completed. Having made V1 I was pretty sure V2 would fit perfect too but I have to say the plunge neckline with darted cup is my favourite but I will definitely be making more of both.

More pattern releases to come!


Bra-A-Week Challenge - Anyone else keeping up?

I am a big fan of Emerald Erin and her Bra-A-Week challenge has been a great source of inspiration to take my makes to a new level. This ties in nicely with being part of this years #tmcollaBRAtory which I have talked about in previous posts. So I thought I would post a round up of some particularly pleasing recent makes.

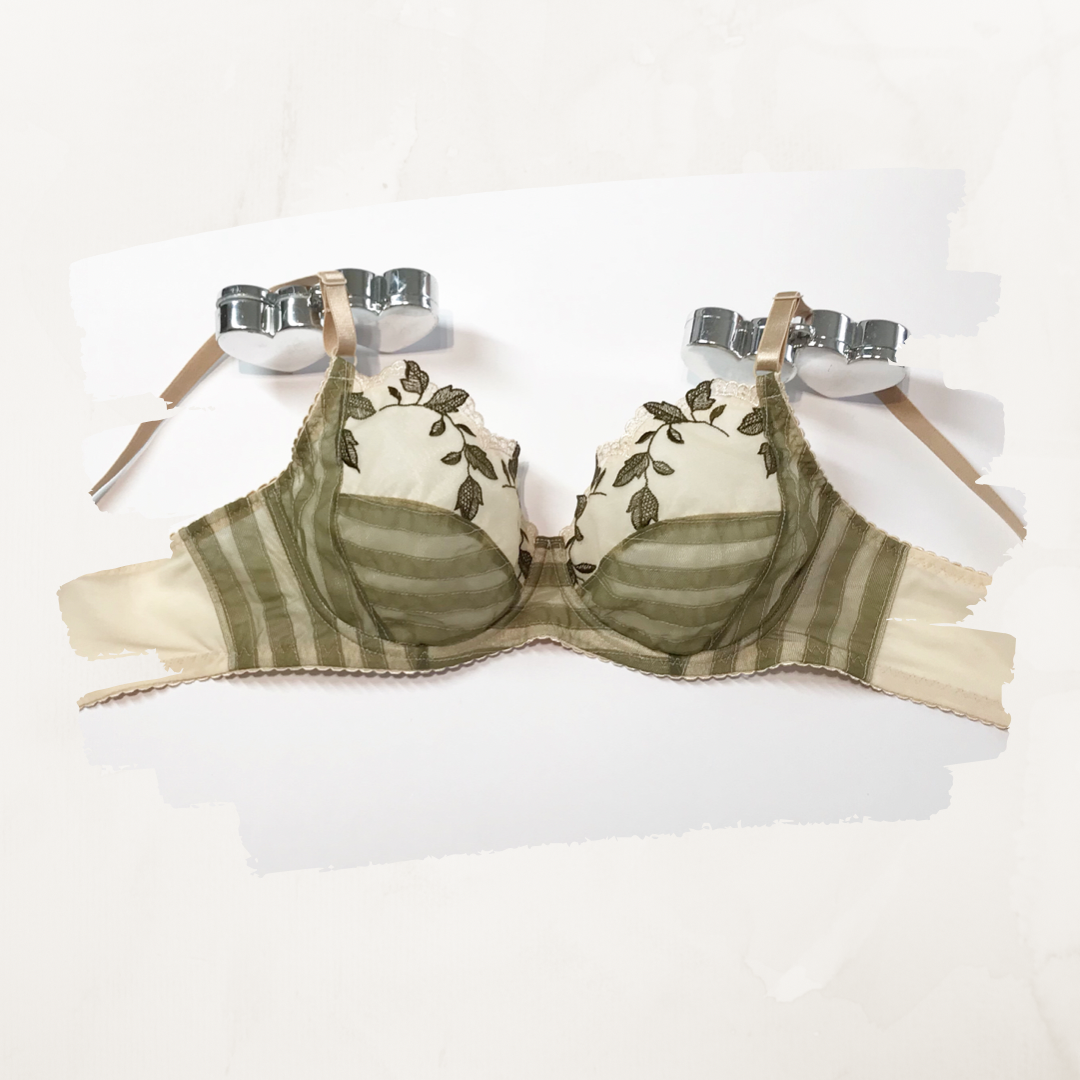
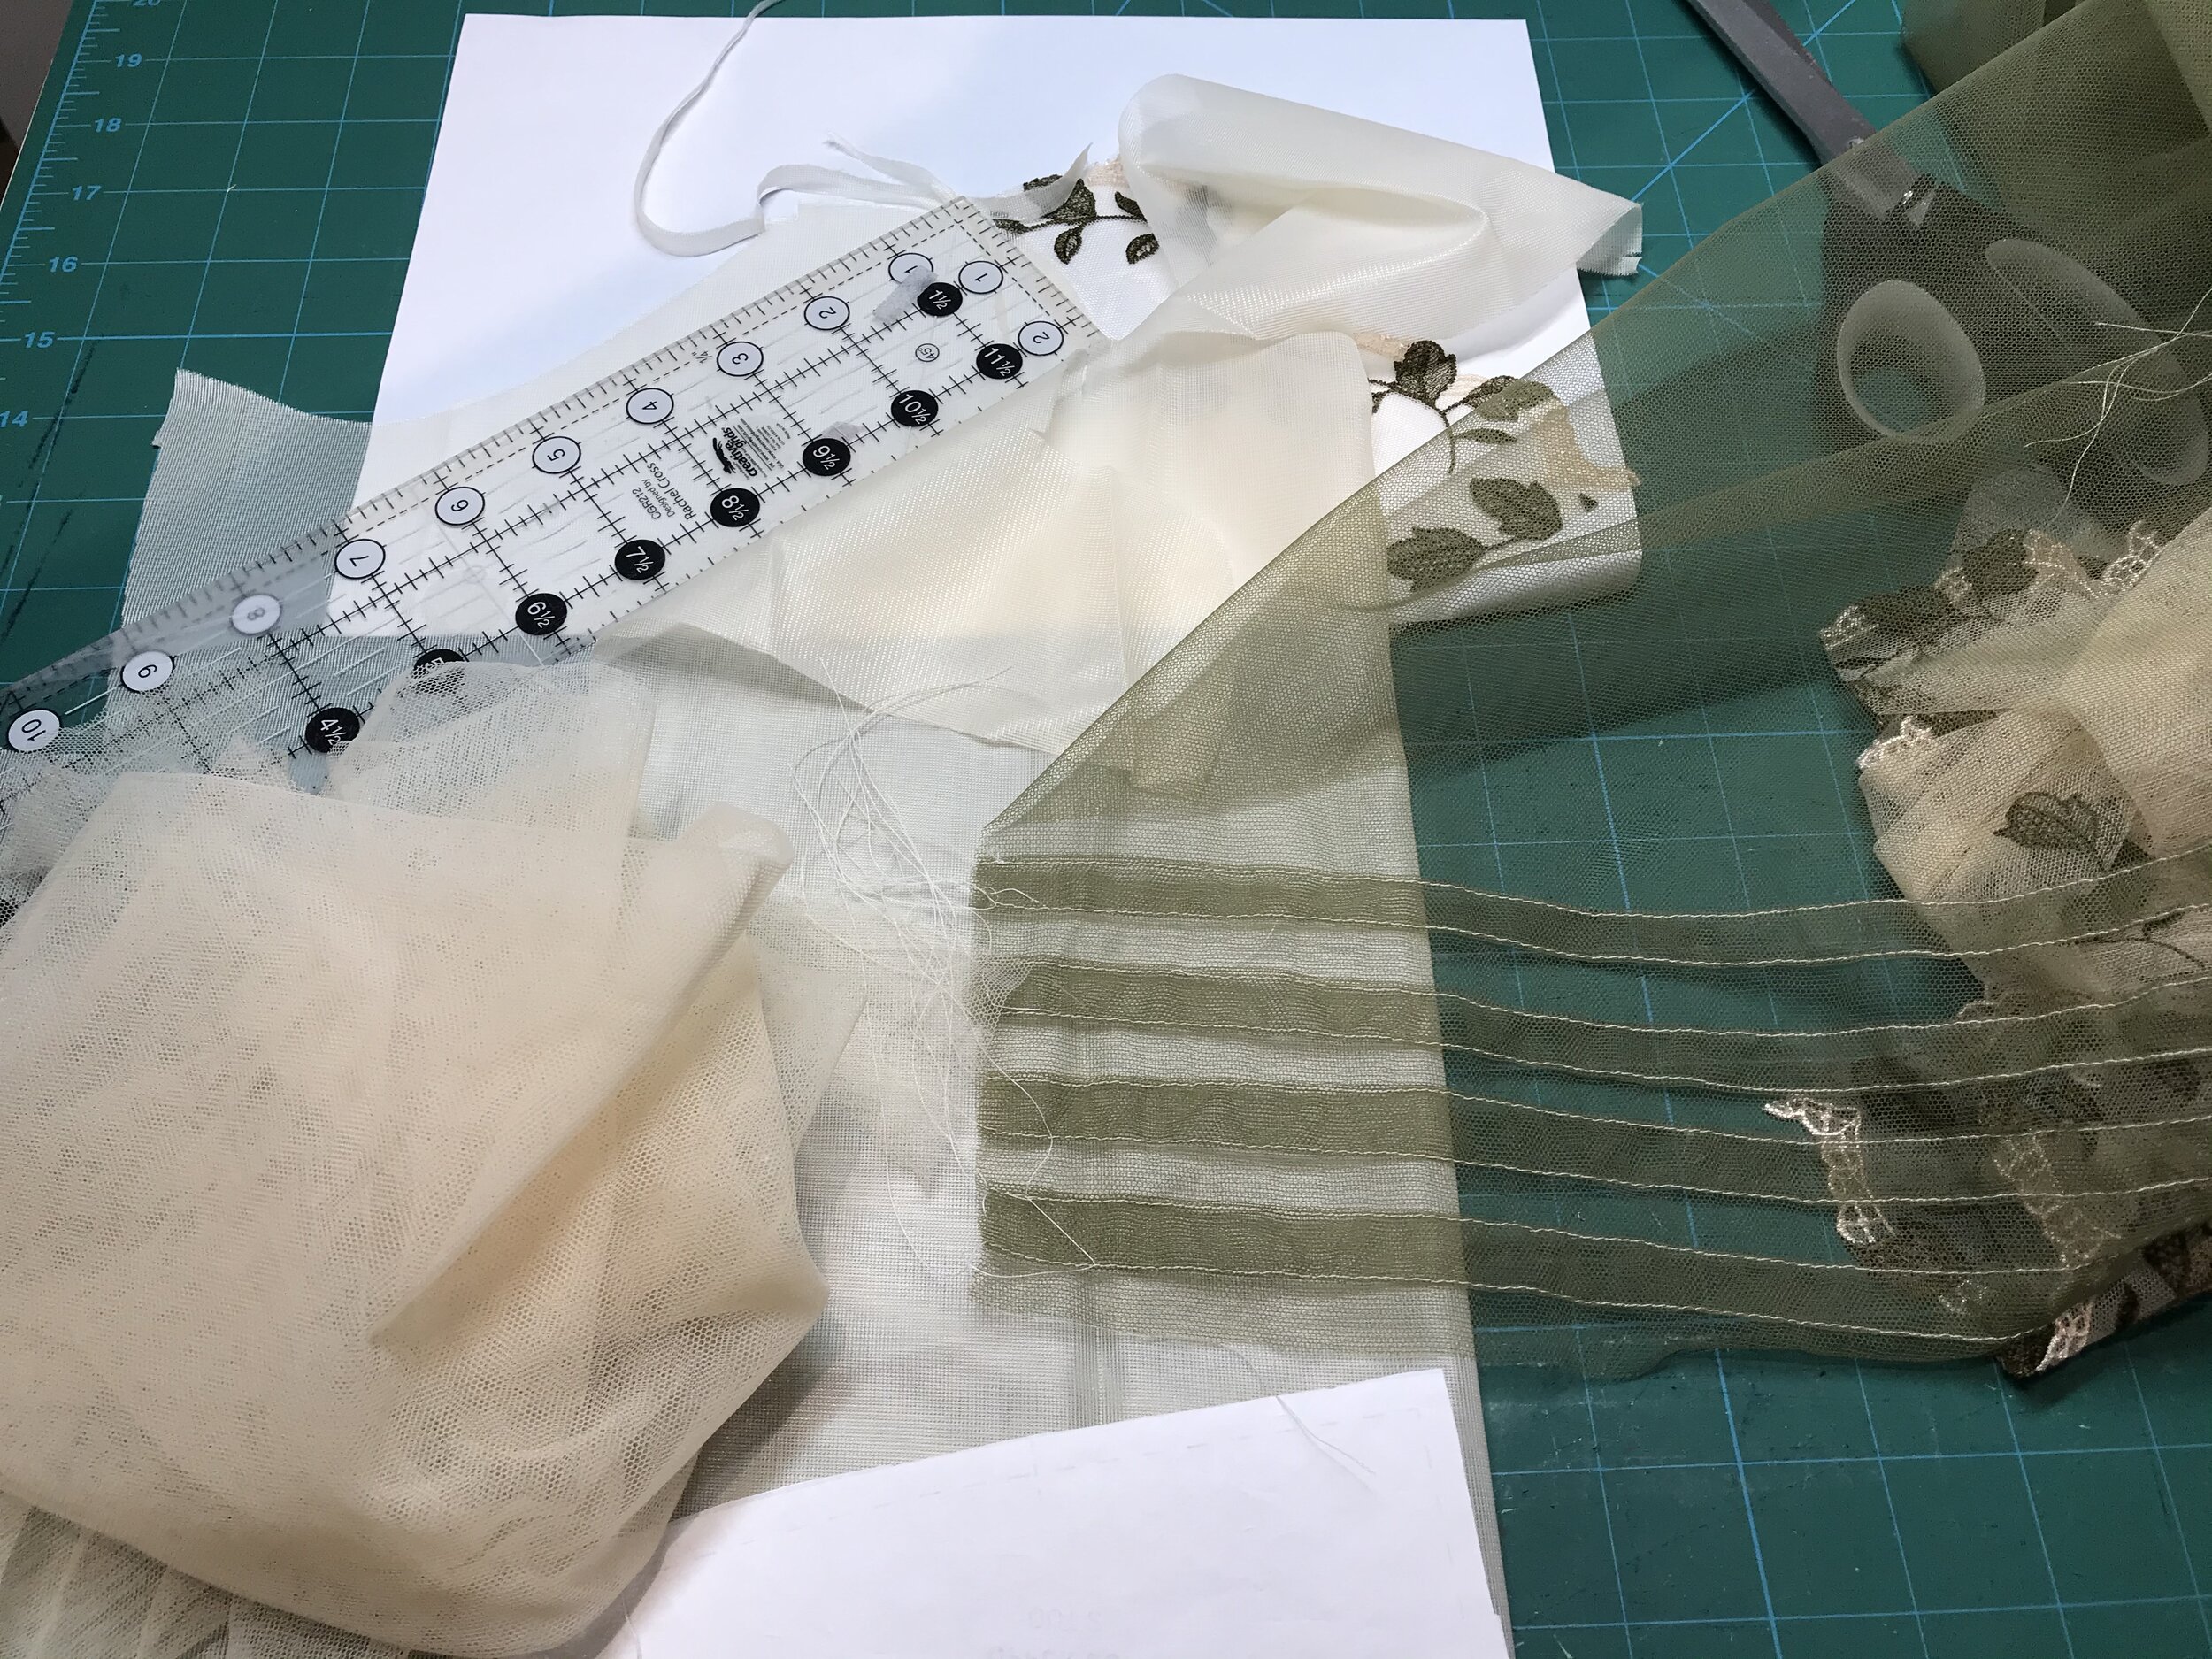
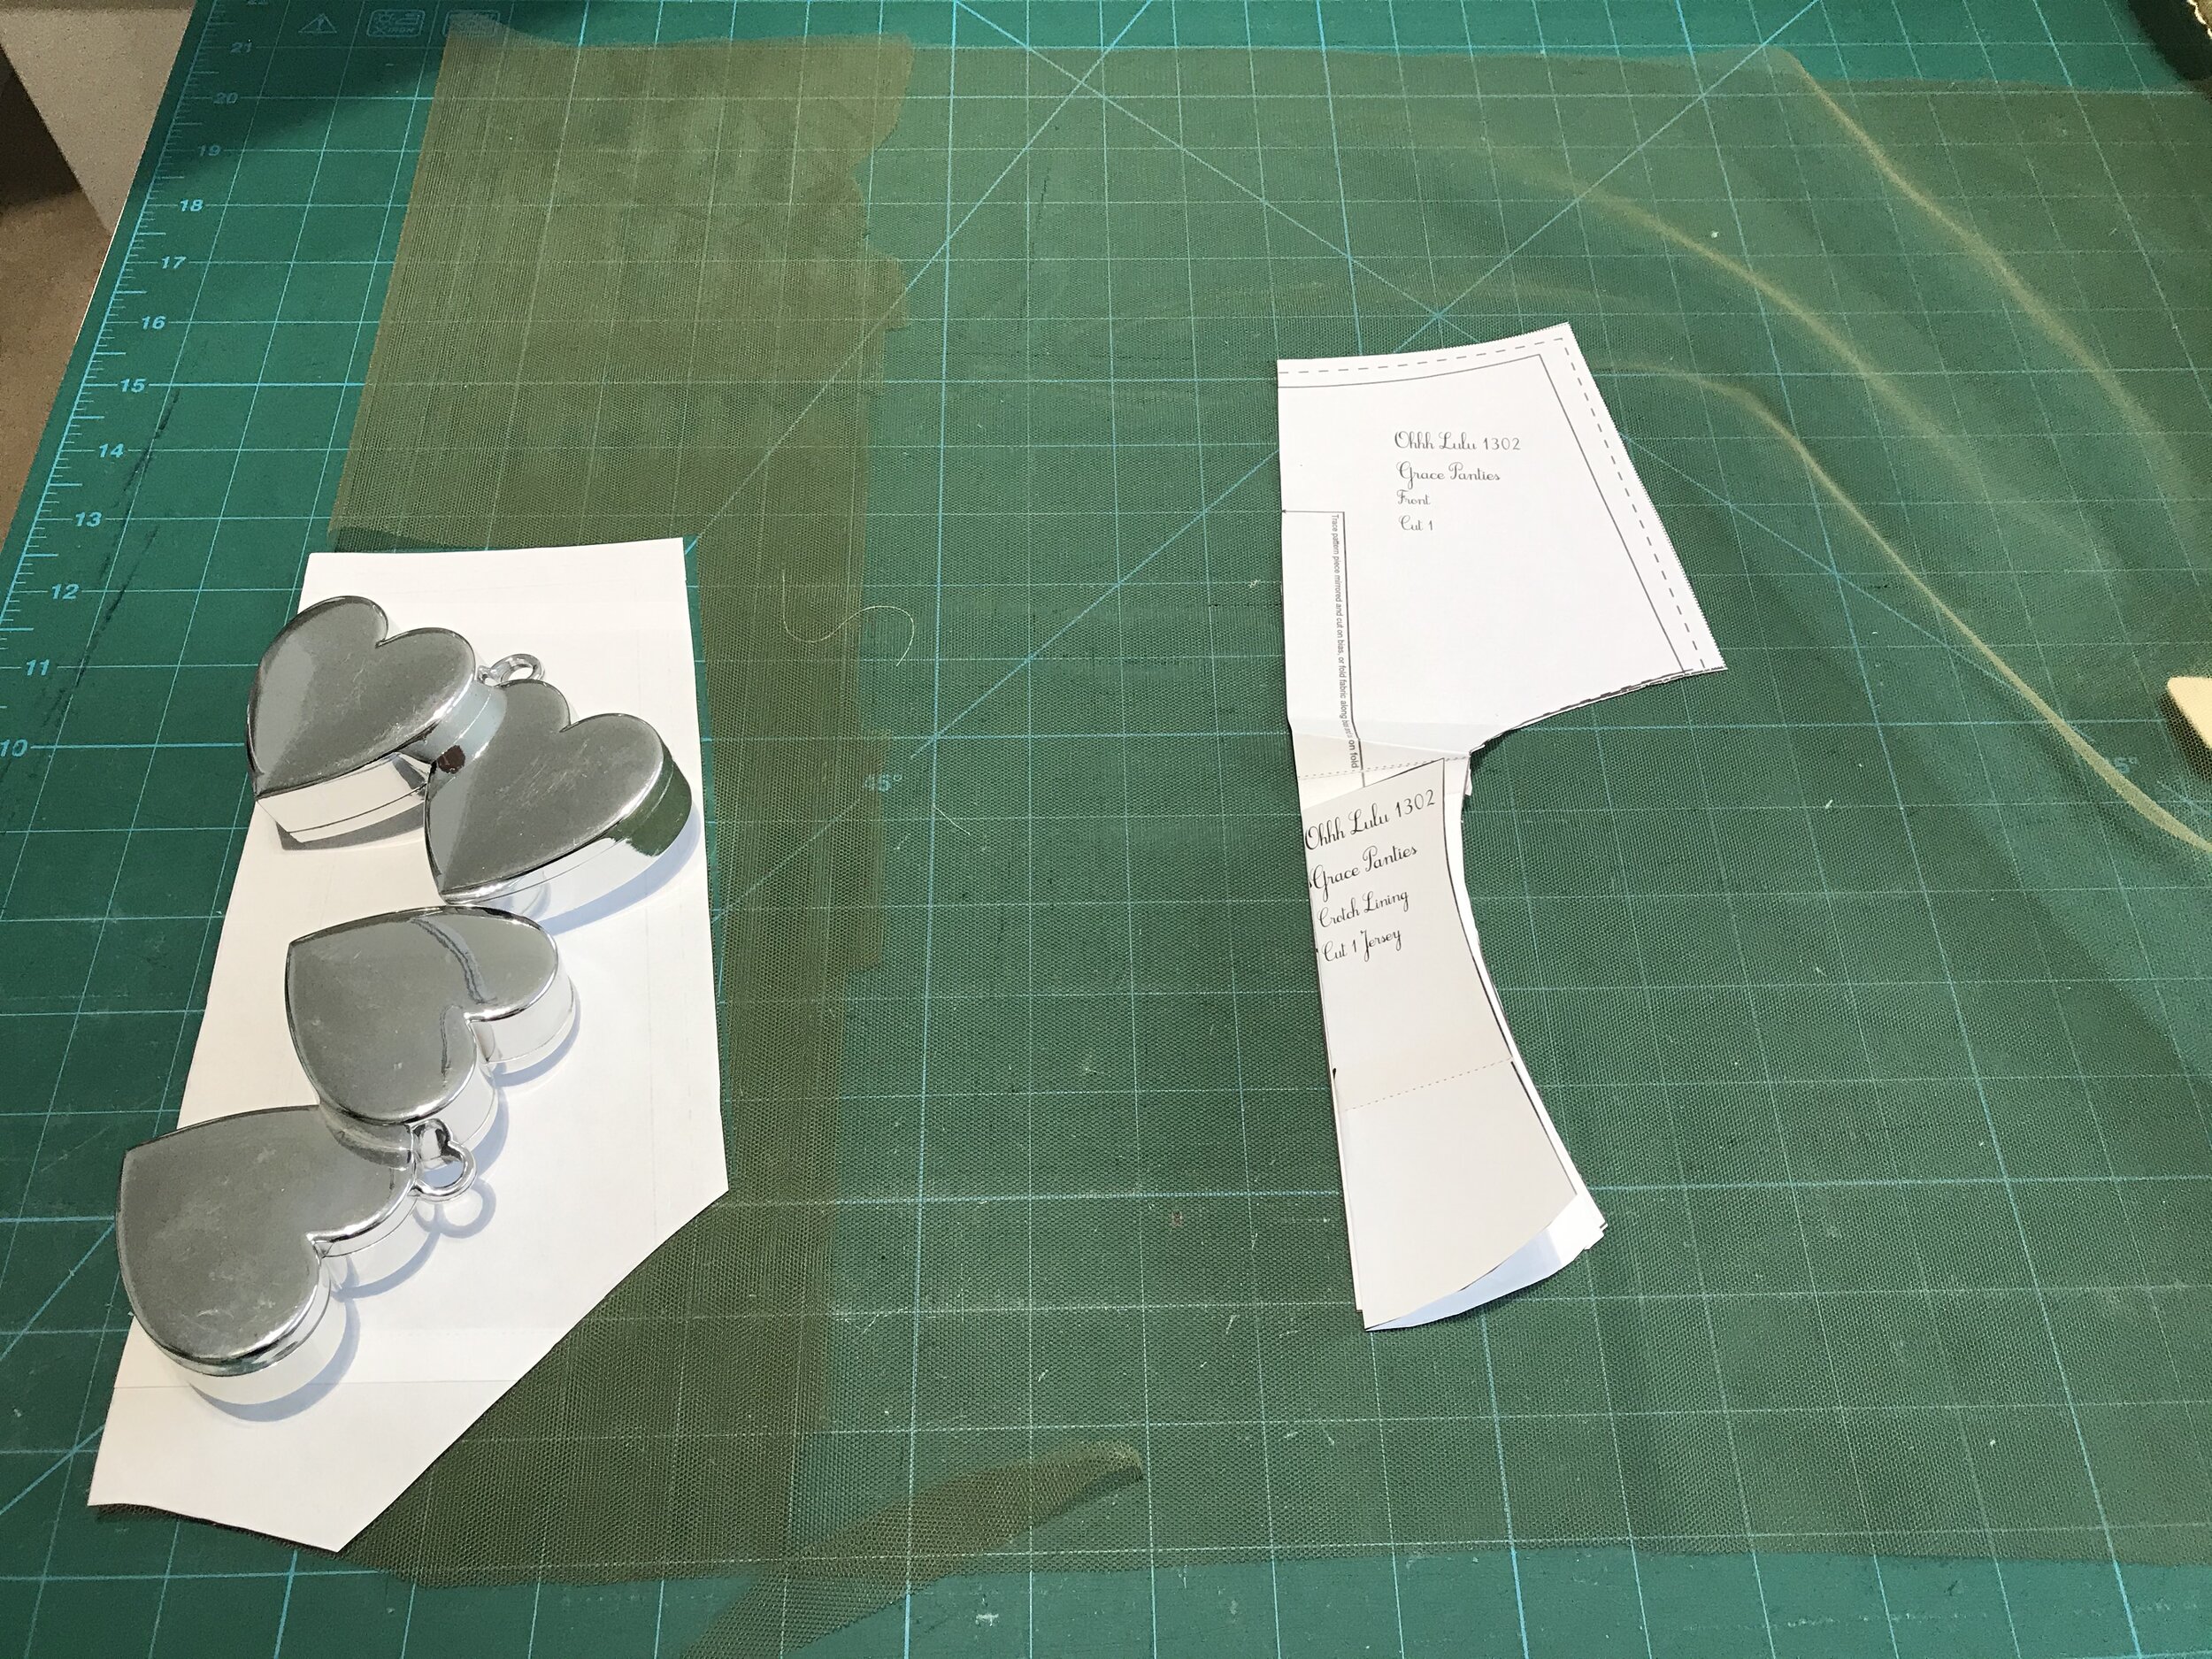
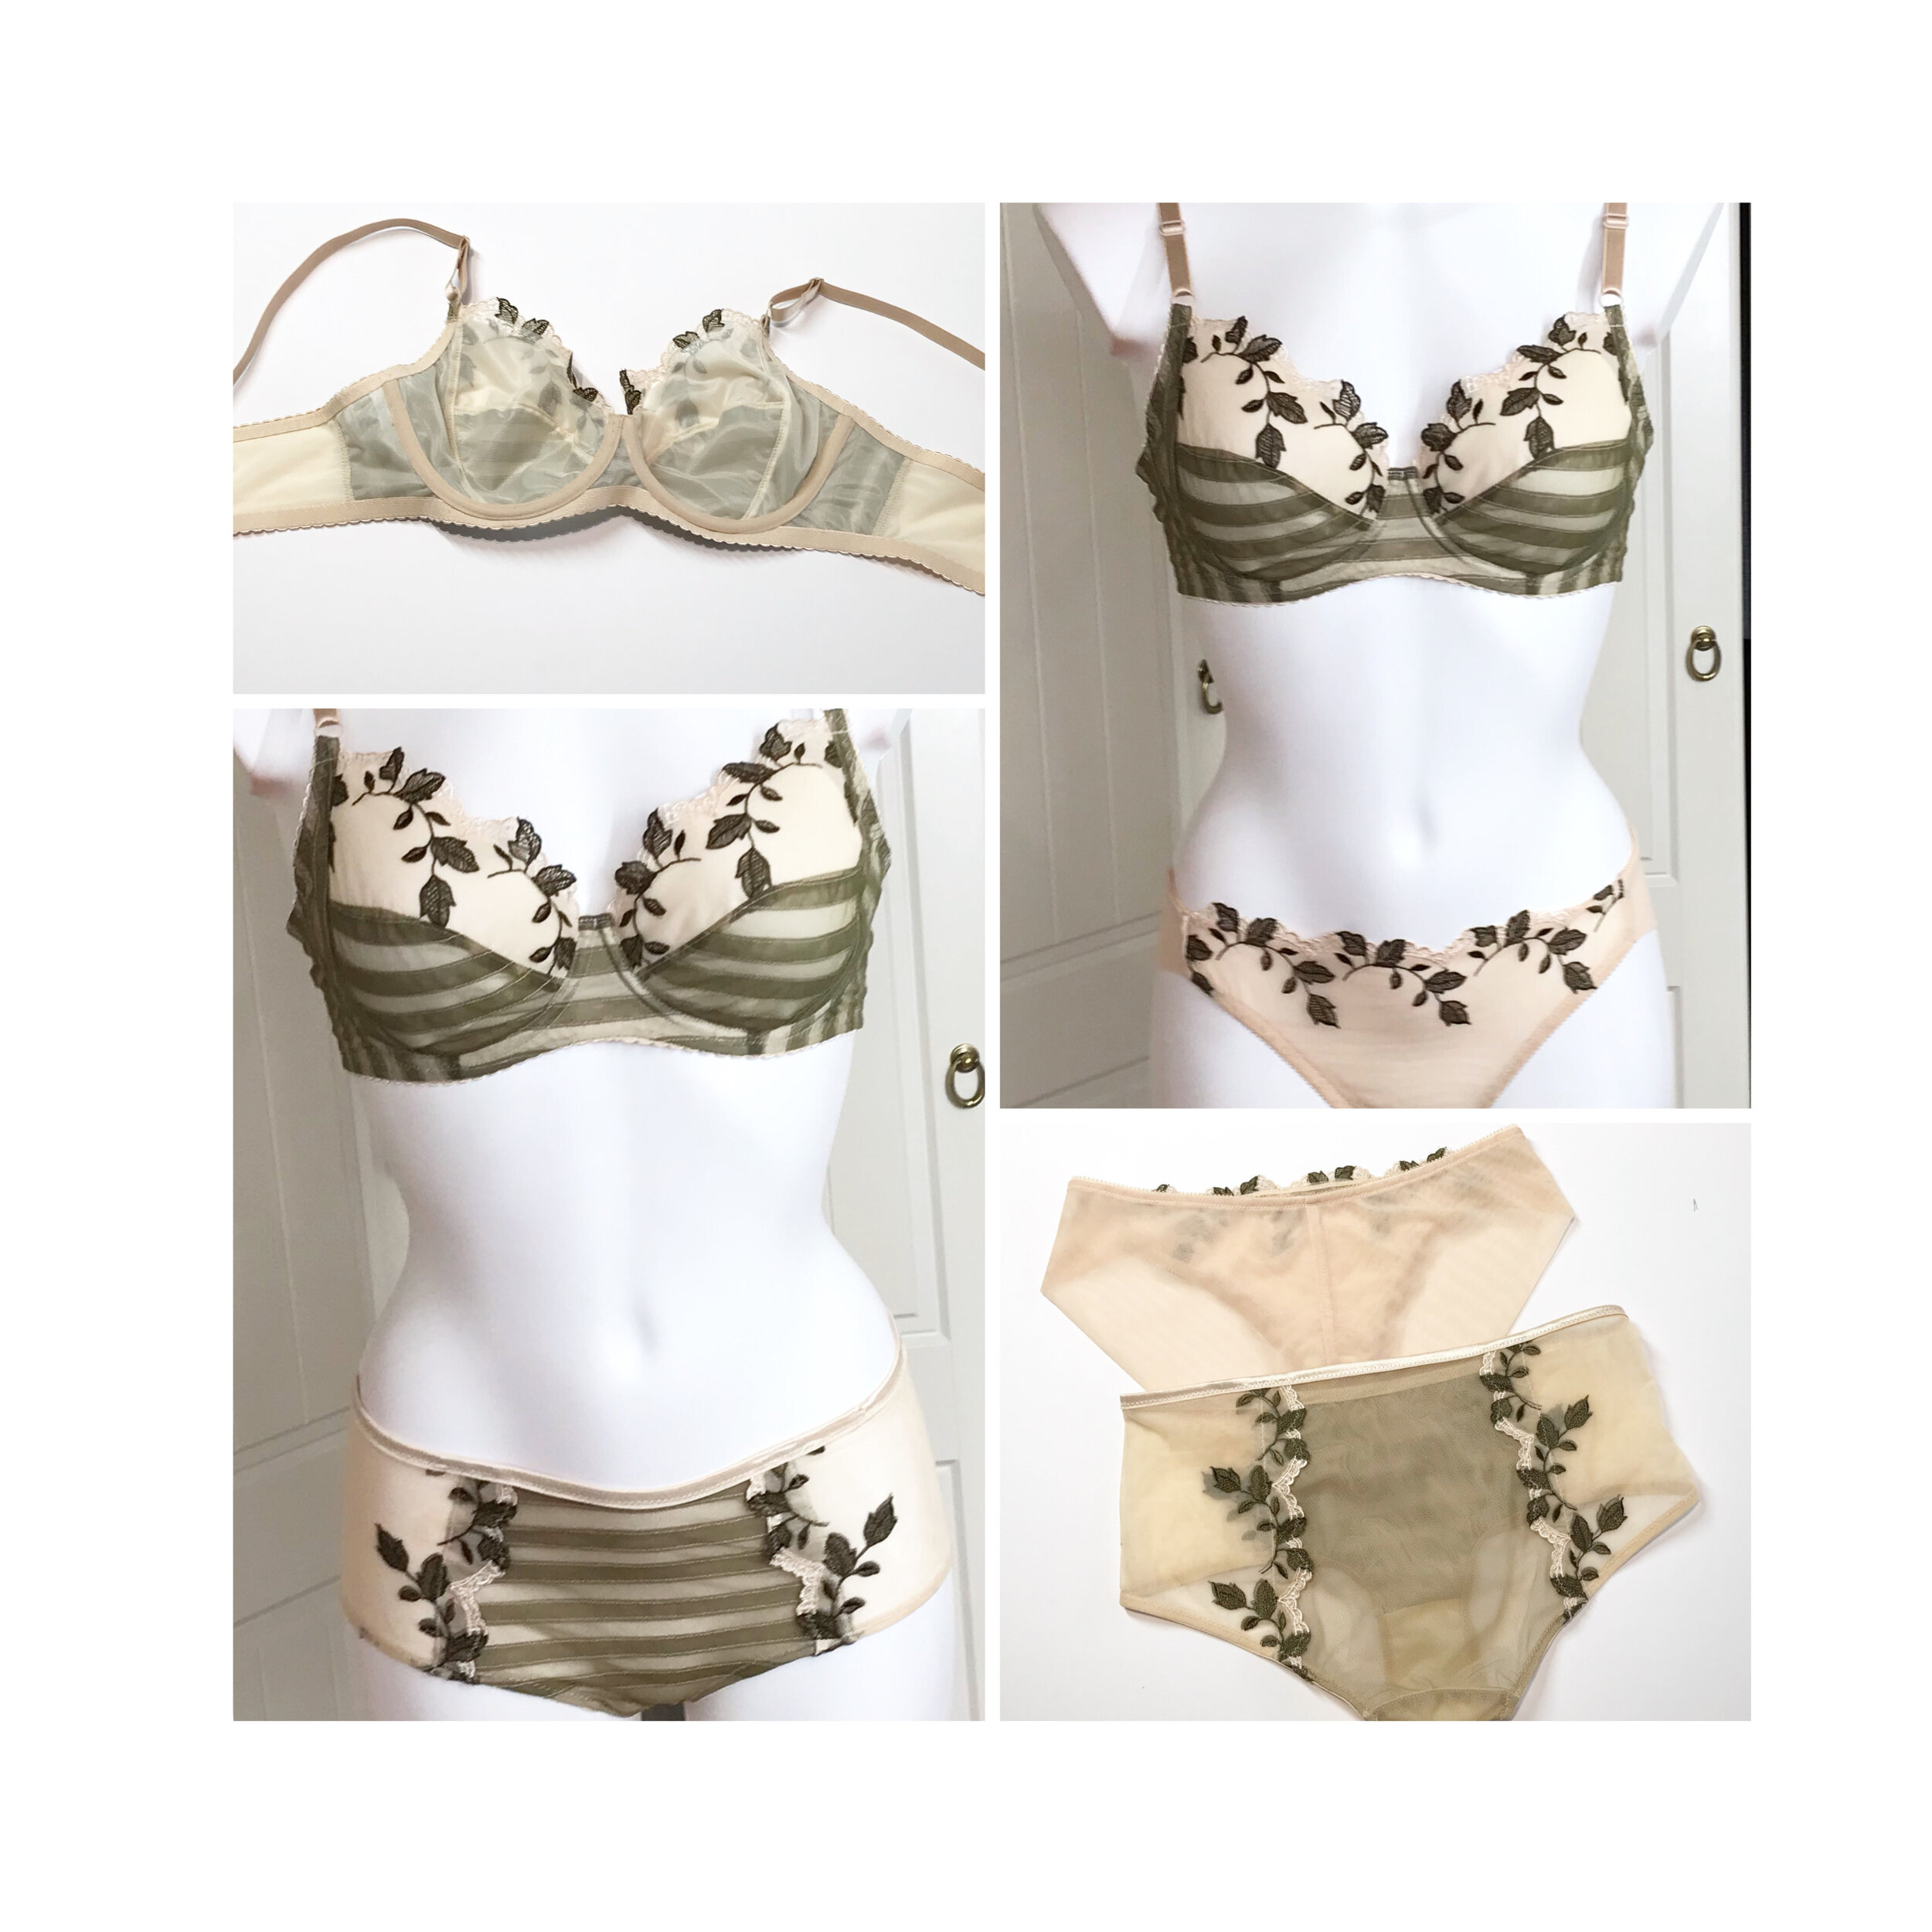
First off is my most recent make which uses Erin’s idea for creating stripes by sewing down pleated tulle. I had just received a huge order from Tailor Made which included some beautiful autumnal colours. What I hadn’t realised until it arrived was that the olive tulle was a perfect match with the leaf lace. Then I needed a pattern that would showcase both the lace and the striped tulle.

711D5A33-D2BF-4E54-9243-93DD6C5F6F77.PNG

I couldn’t decide between the Orange Lingerie Marlborough or the Emerald Erin Black Beauty, both of which I have made numerous times as they both fit perfectly. In the end I decided to use the Marlborough as the power bar is part of the cup and I wouldn’t loose the sheerness of the one layer. Also the lace has quite a deep scallop and the upper cup of the Marlborough fitted perfectly.

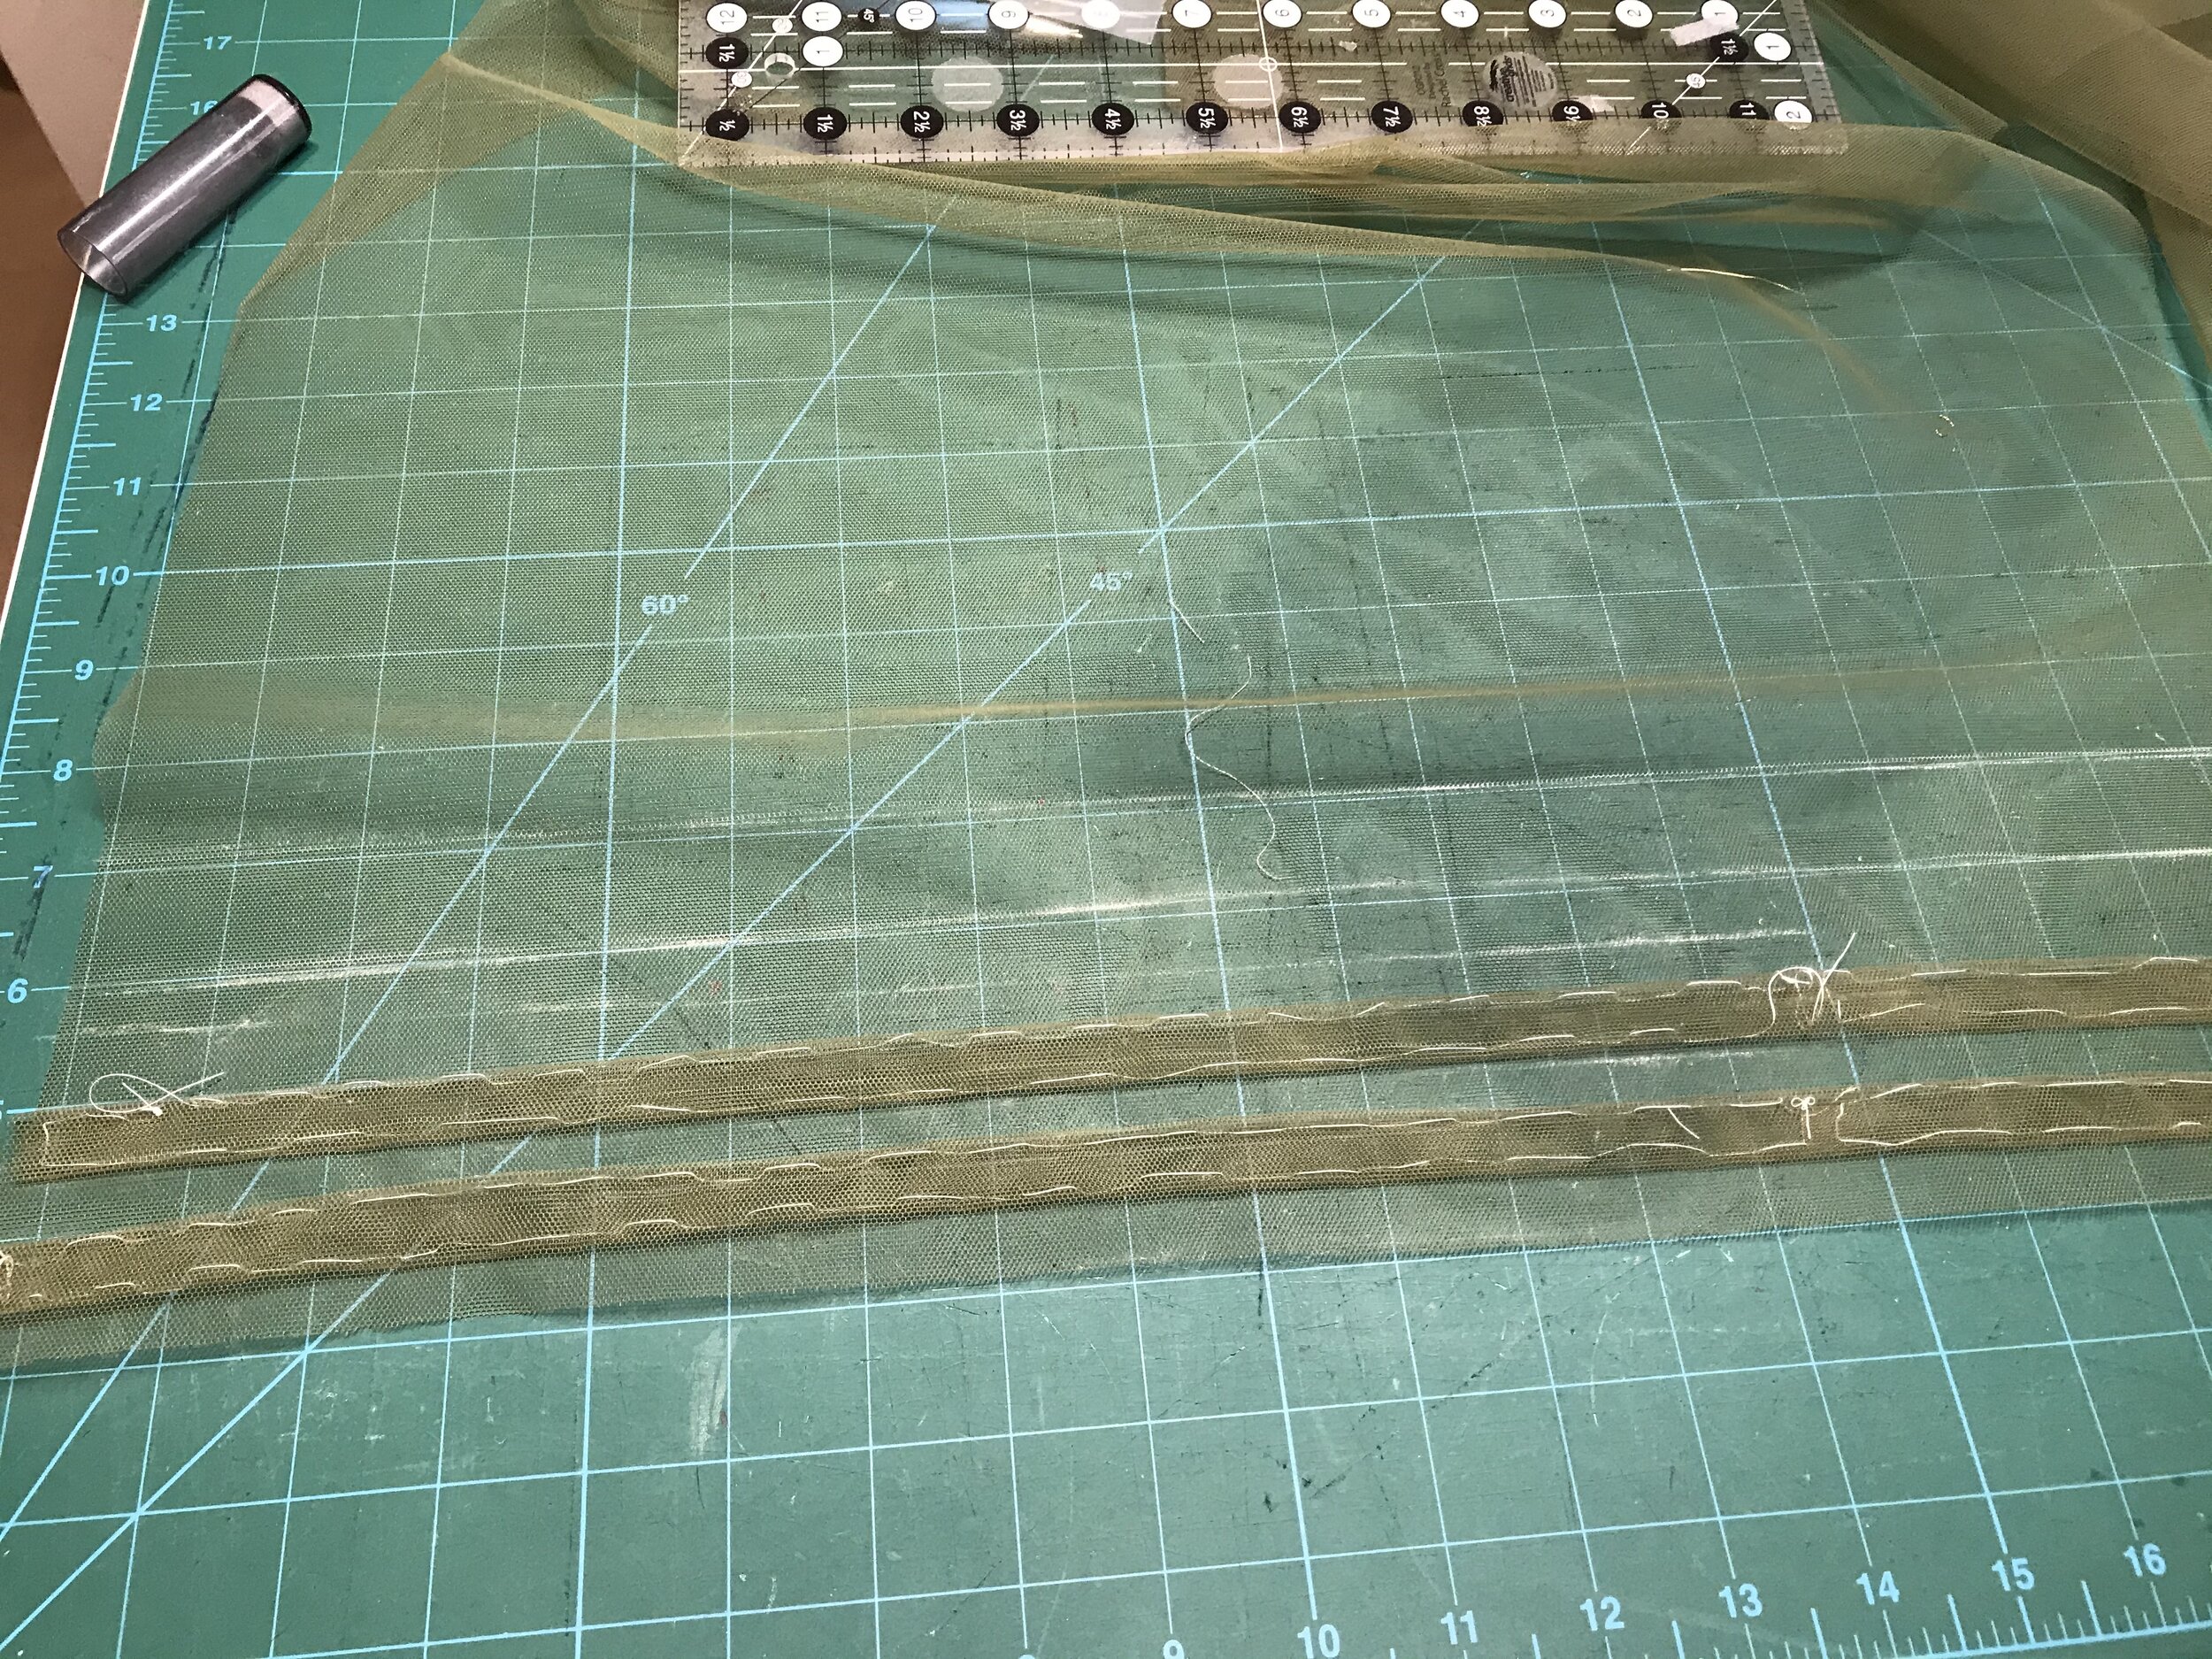
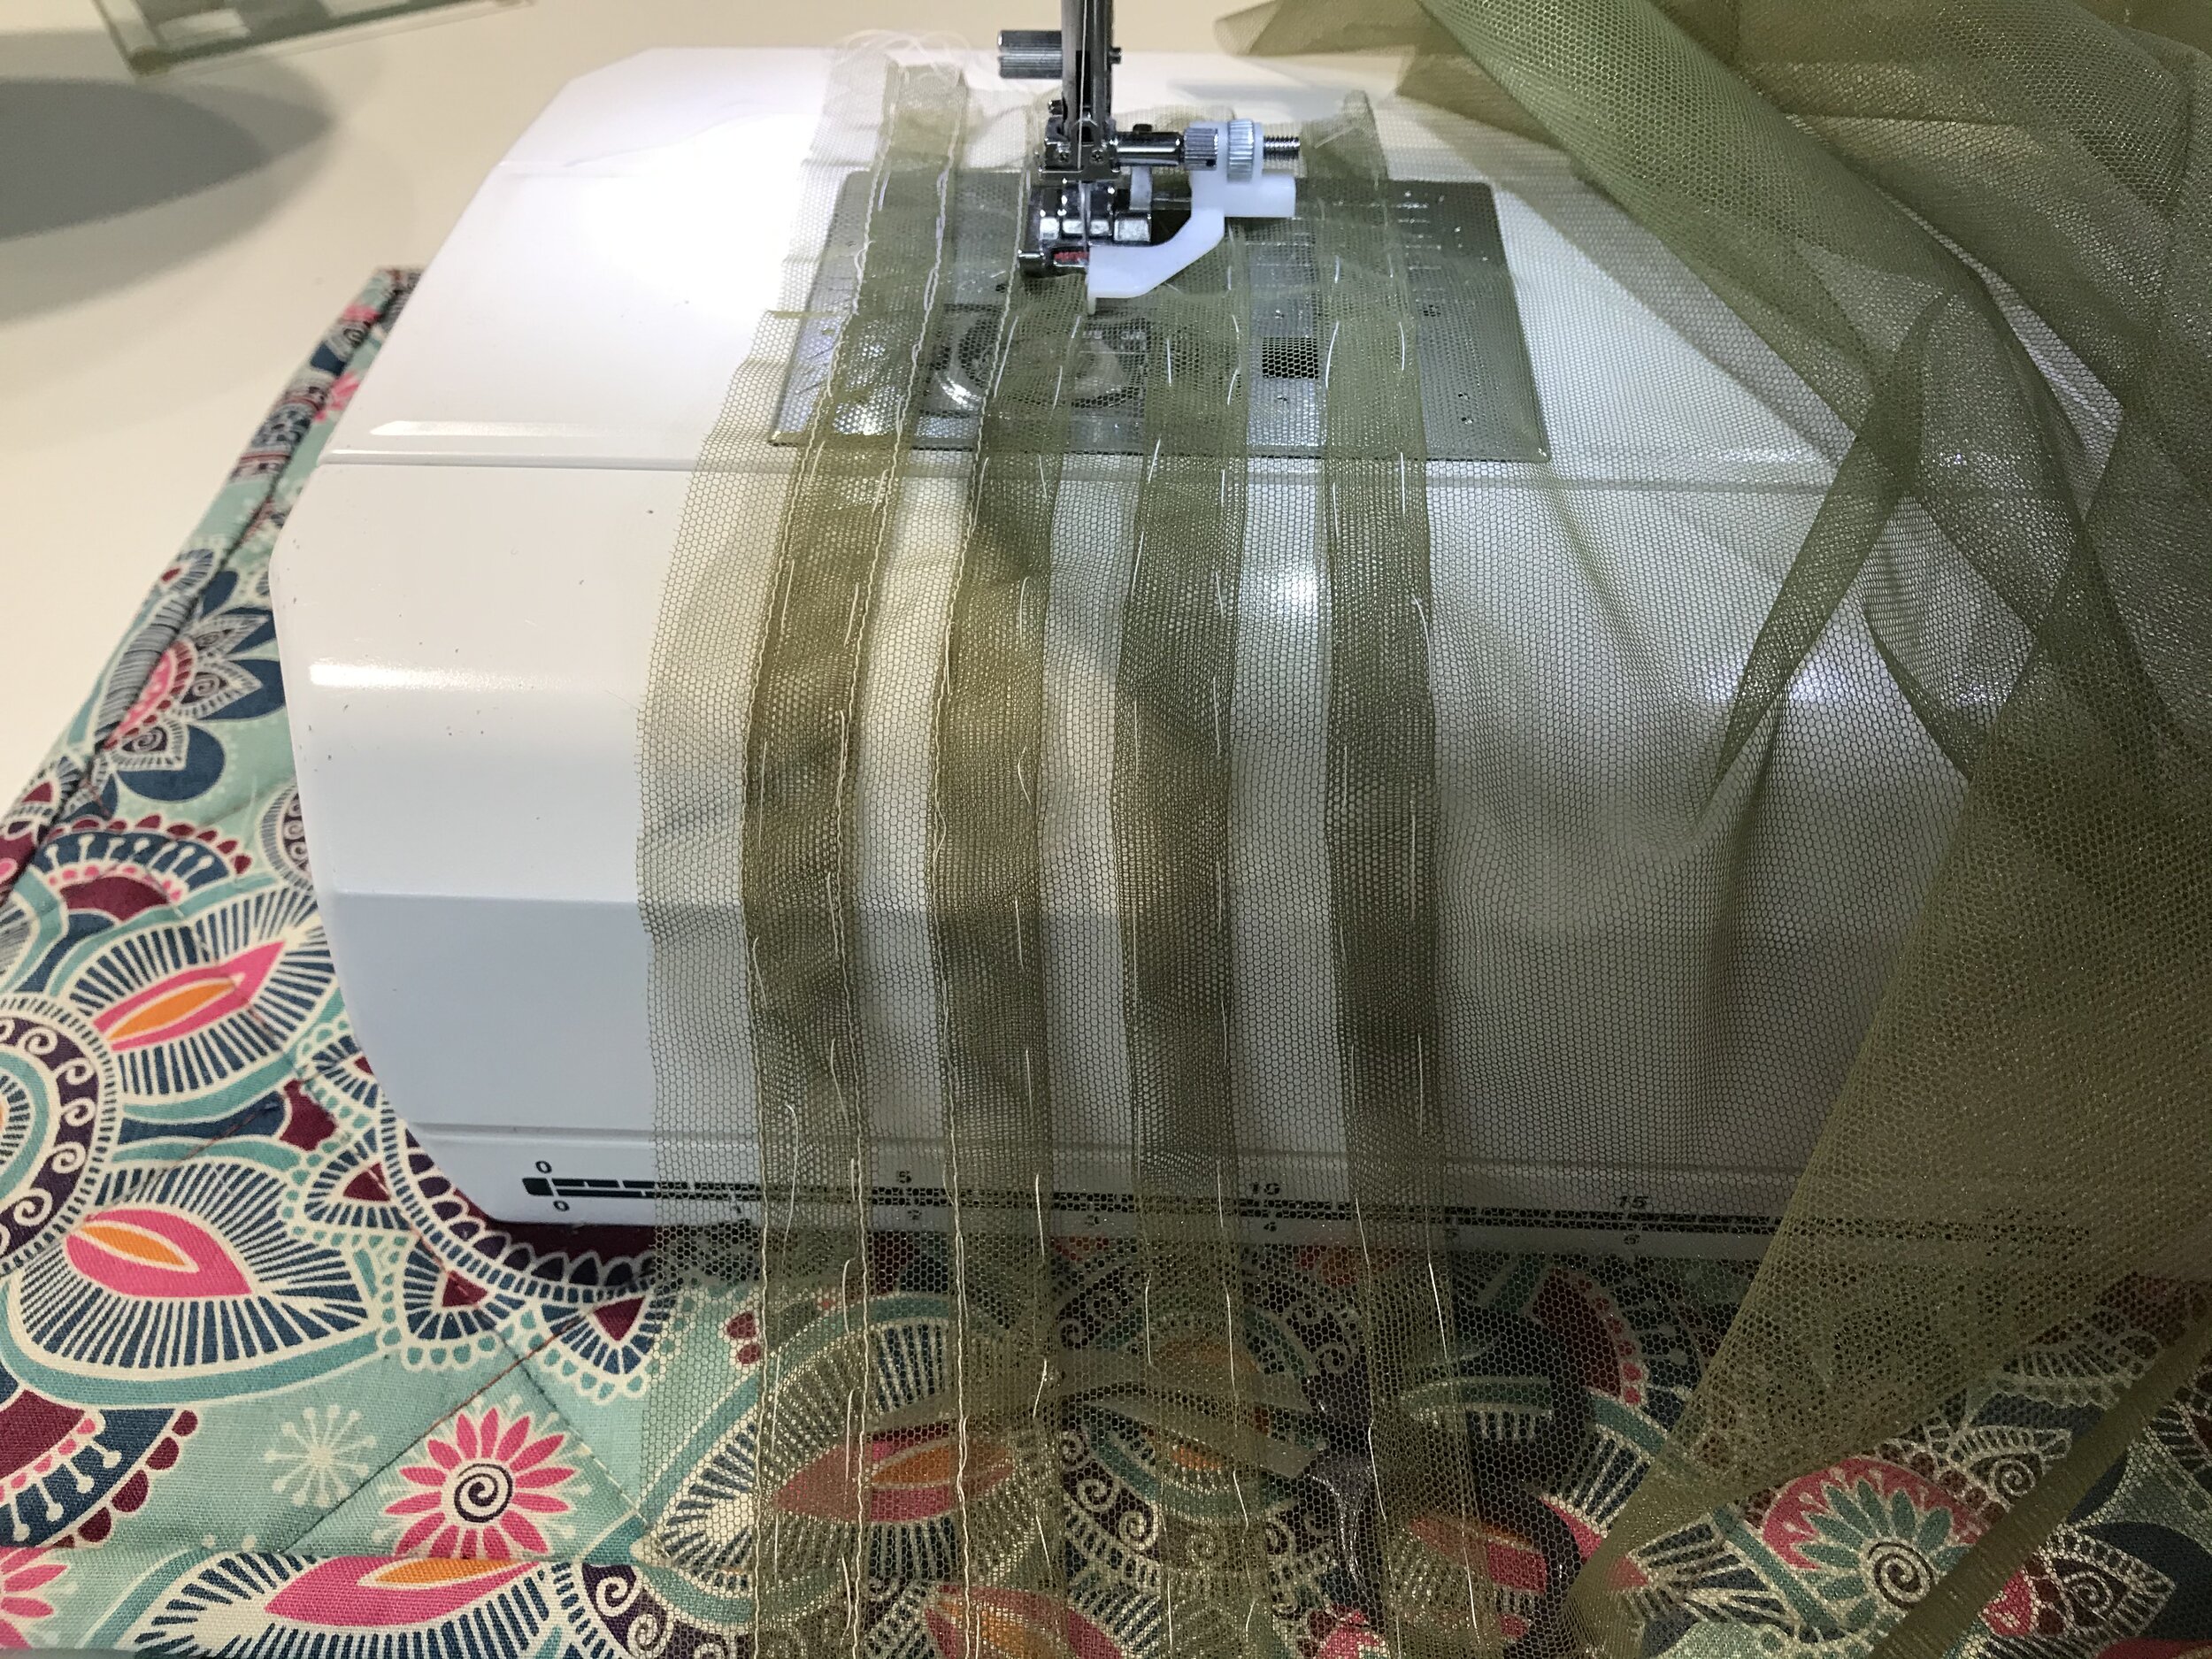
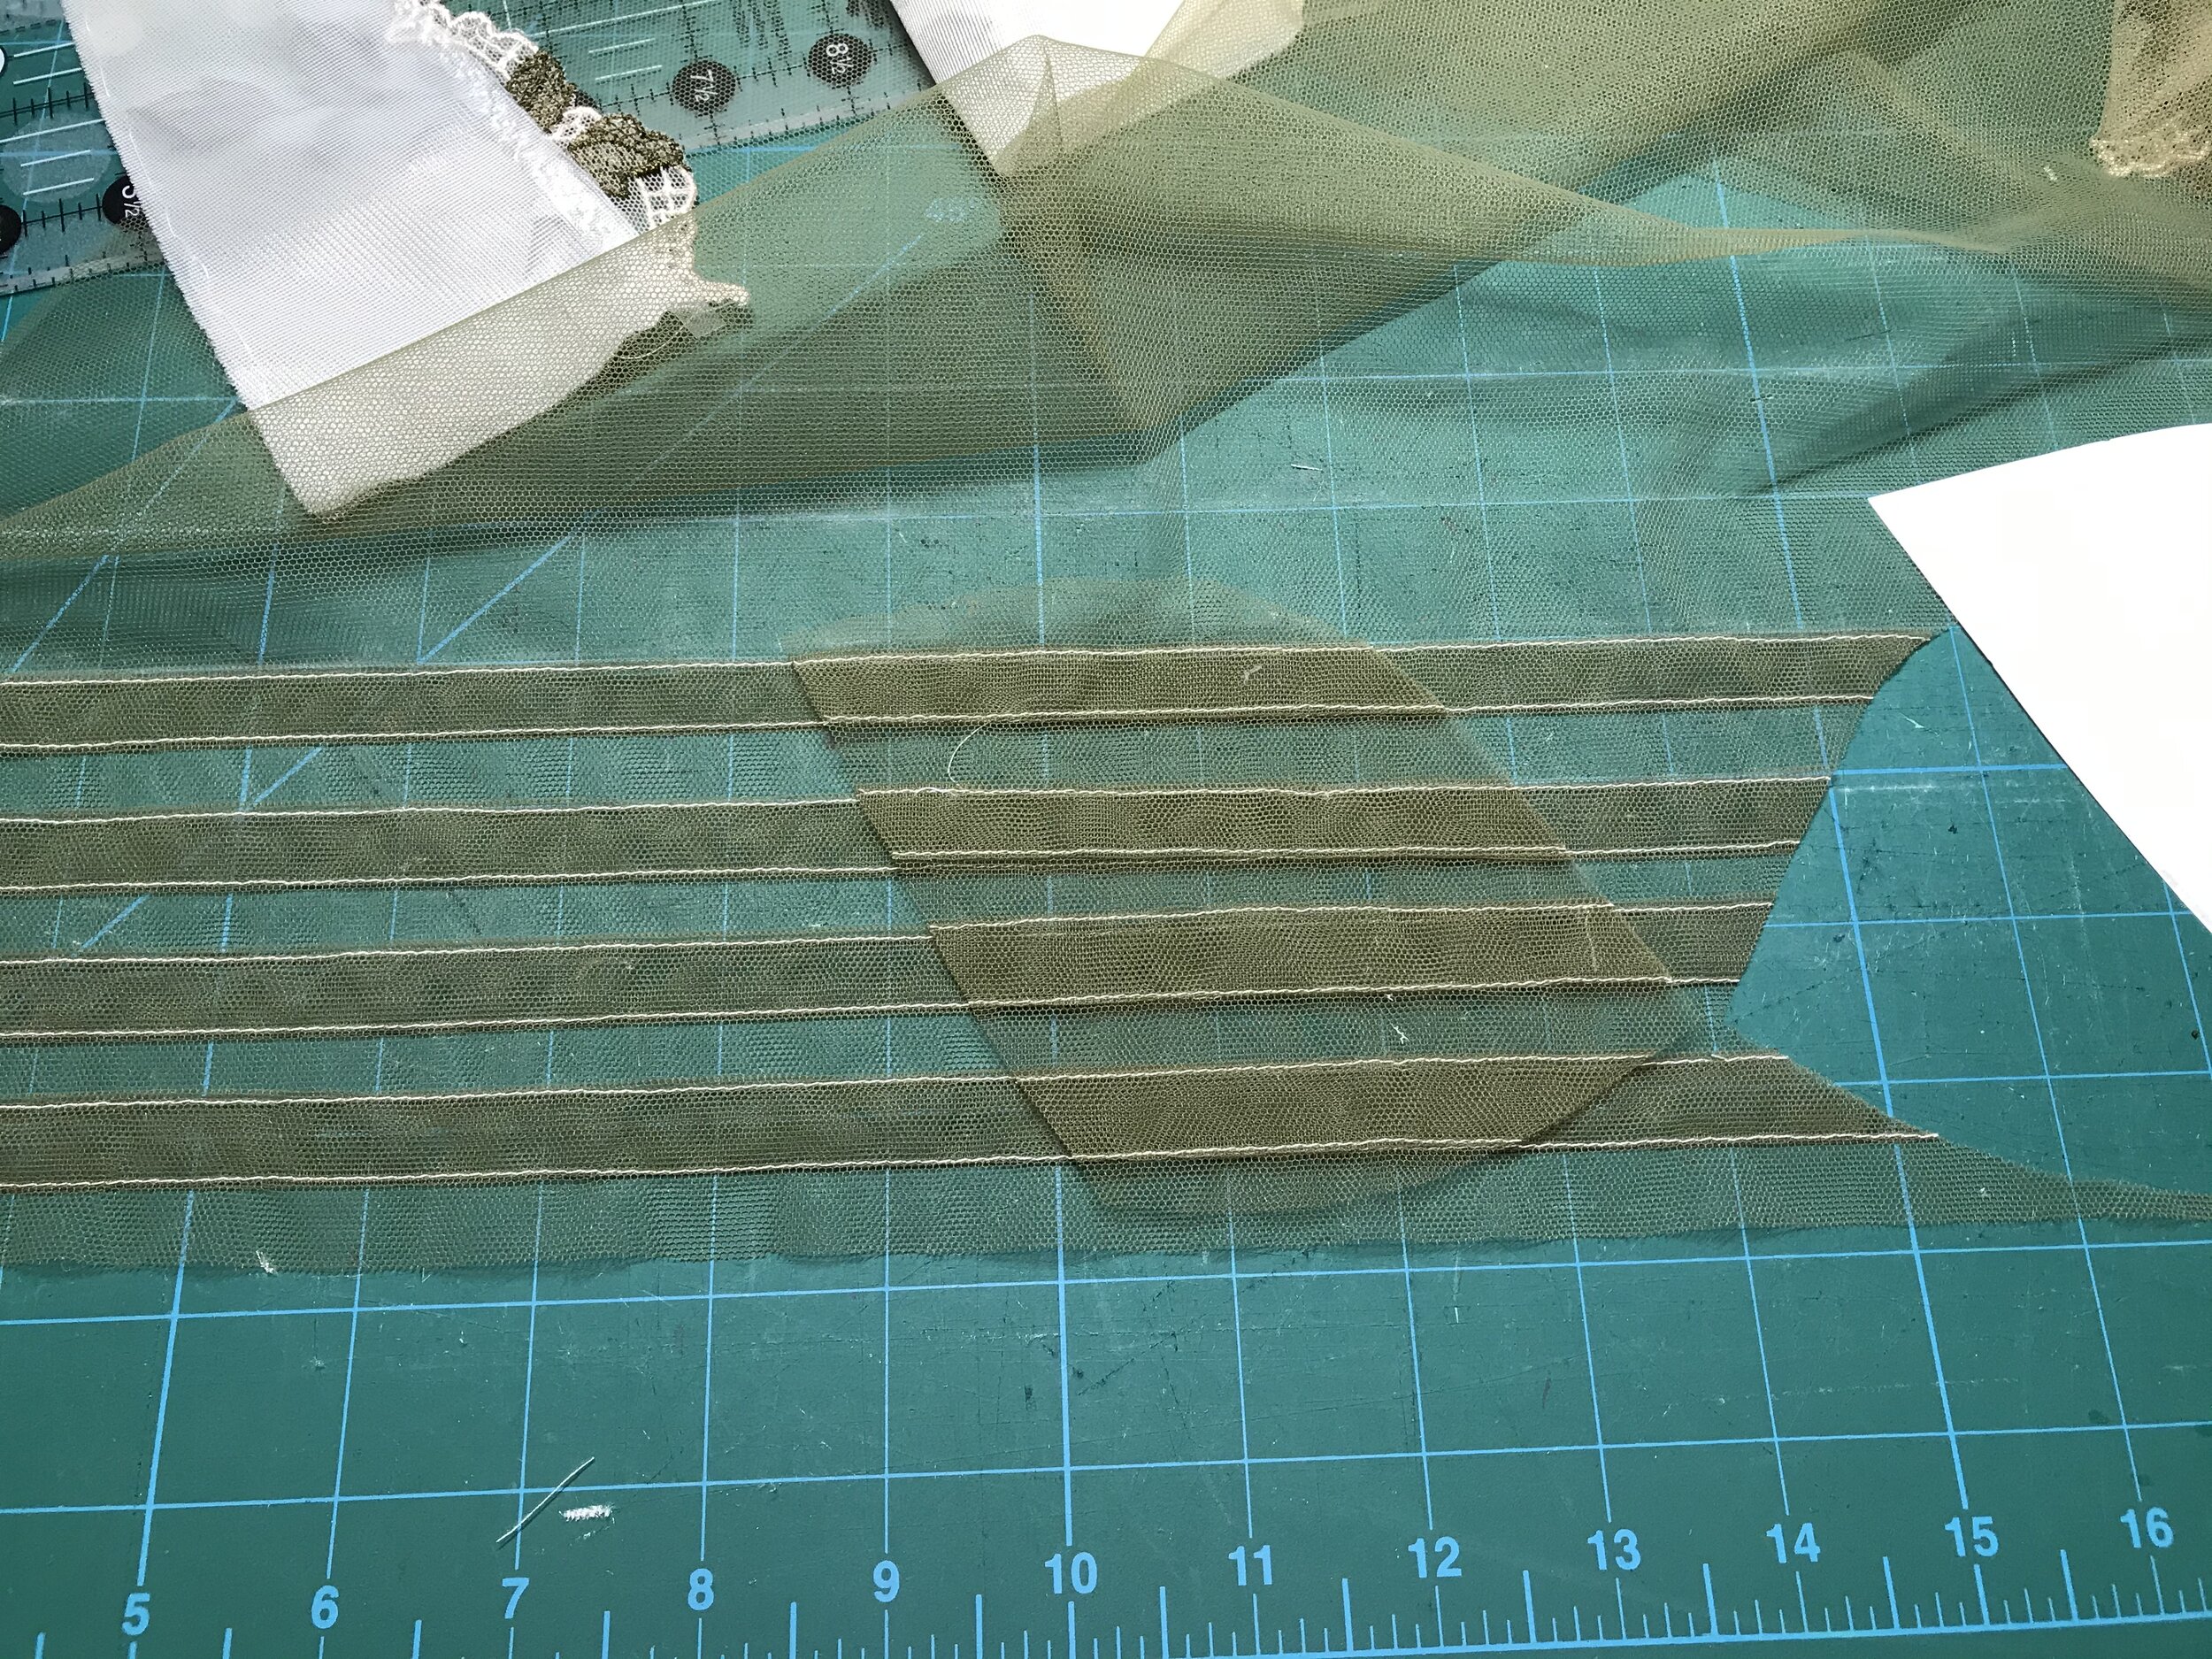
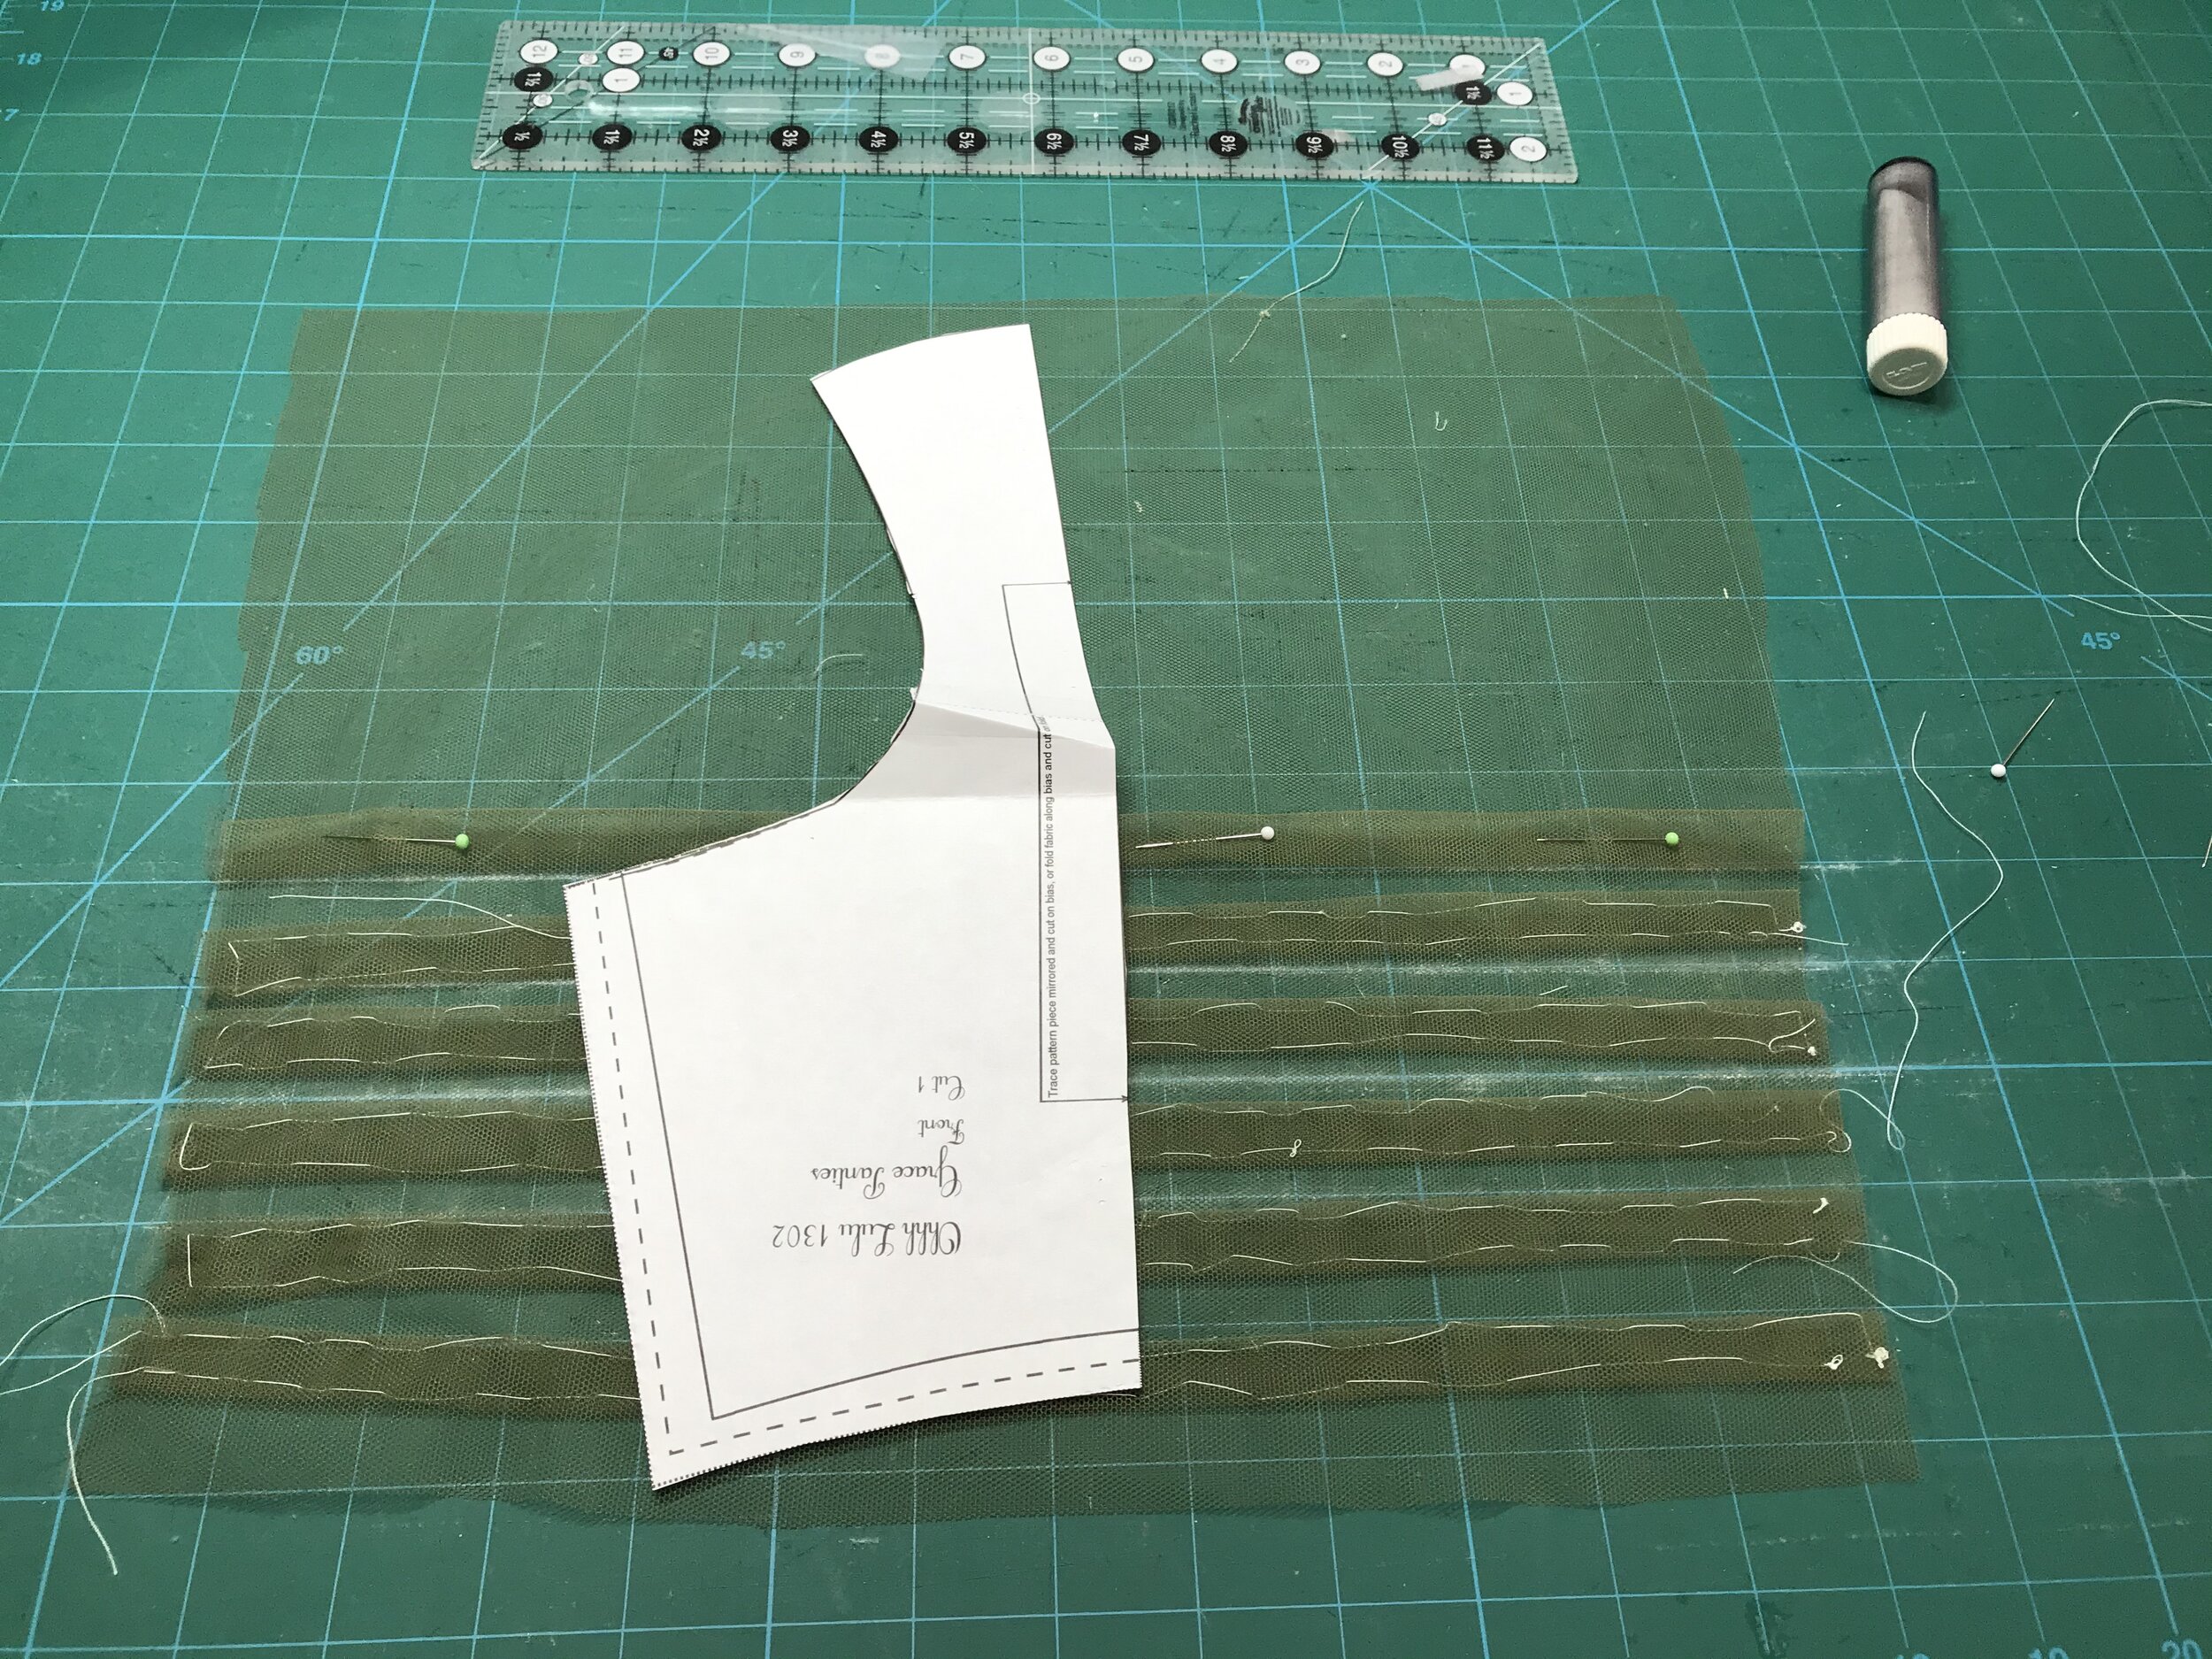
Creating the stripes was a lengthy process as I wanted to be precise with the pleat. First I had to decide which way to pleat the tulle. This had to be lengthwise as I only had 1/2 yard but full width. Using a chalk marker I drew lines at 1” intervals and then folded from line to line, pinning and then basting. Then I had to choose what thread colour to use. As I didn’t have a green close enough I decided to use the beige contrast so I would need to be super neat! Using knife pleats meant that one side of the fold would be on top and the other side on the reverse. The reverse stitch of my machine is pretty good but I still decided to stitch from the right side. Luckily I have a great edge foot which I set at 1/16th and could sit against the edge of the fold.

The next decision was what to use as lining. Looking through my stash I found some sheer lining which matched the lace and I really liked the two tone effect under the olive tulle. To make sure I cut the pieces exactly mirrored I folded the pleats and pinned in place. Then I had to decide how to place the pattern pieces so I didn’t have any silly edges and it would look right in a seam allowance. I also chose to use the tulle for the frame rather than a lace band. I finished the bra as normal and moved on to matching underwear.

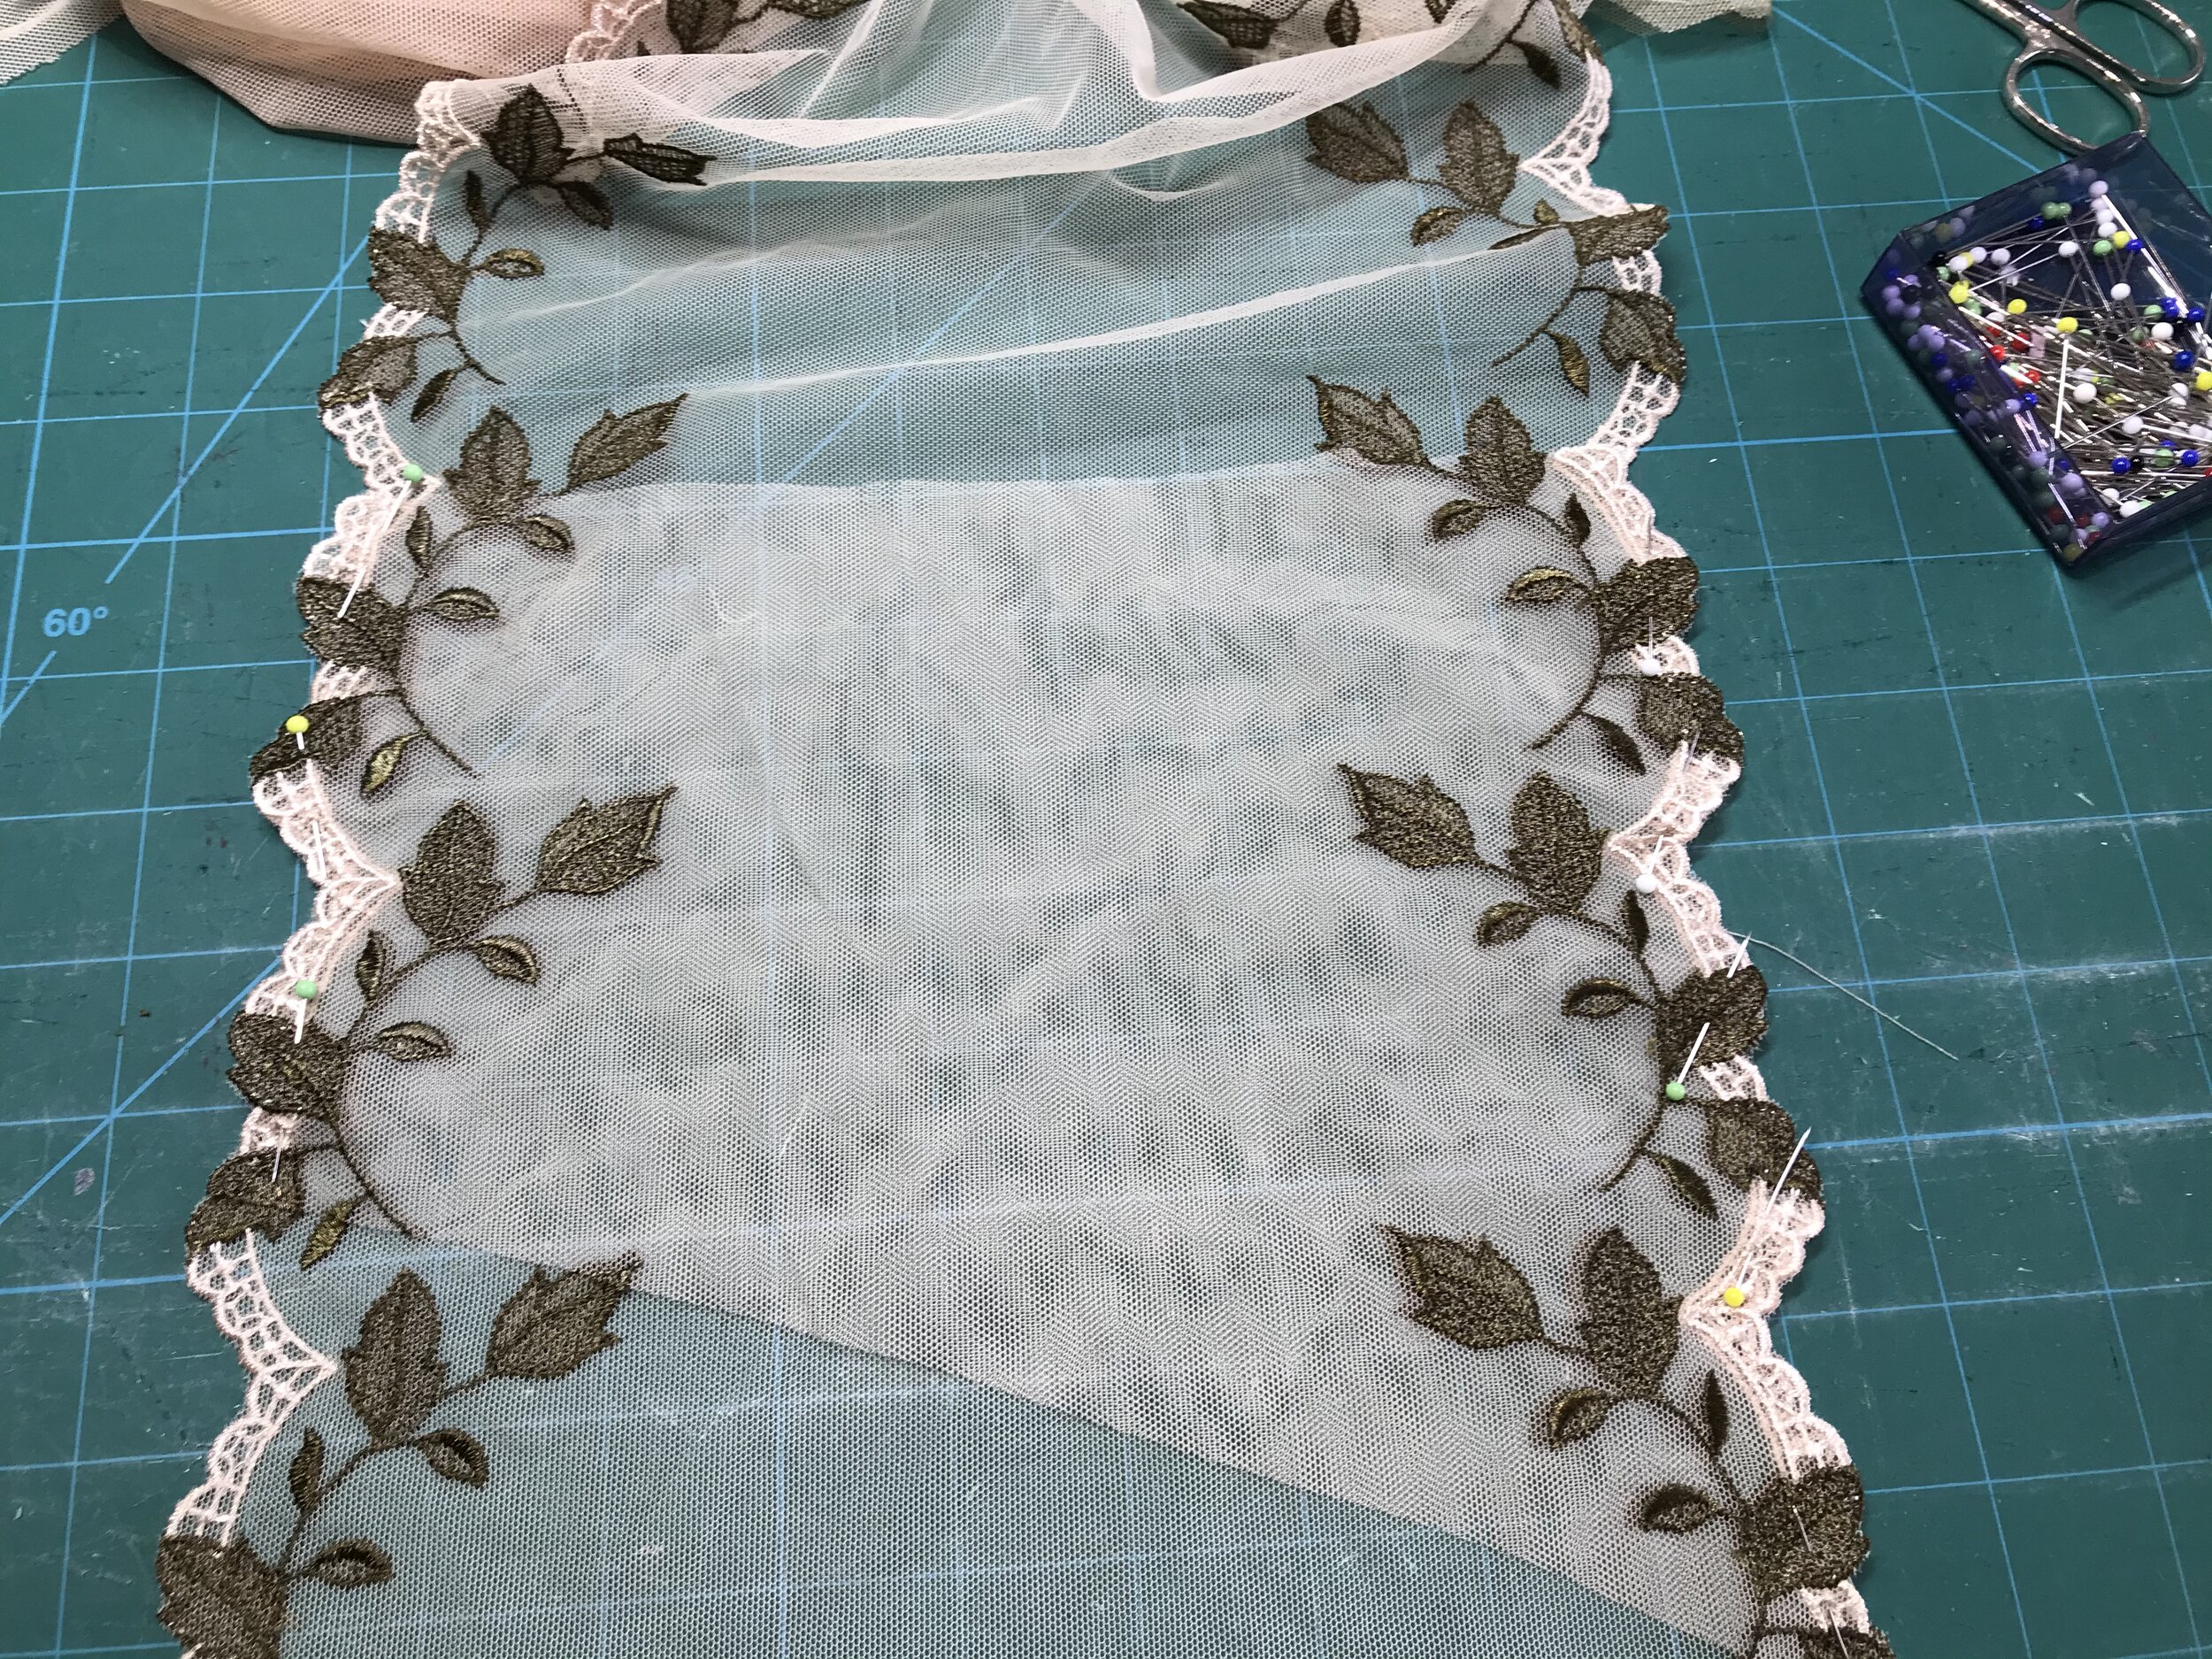
I had to scratch my head a little to decide how to bring both the tulle and lace into underwear. Both have some give in one direction so I wanted a pattern that could use this. Looking through my patterns I thought I would try an Ohhhlulu Grace and use the lace scallop lengthwise for the side panels. I didn’t have enough tulle to pleat the back and only partially for the front but was enough to look fine.

4778FF32-DD4A-4629-9B60-7202EFBFBB93.JPEG

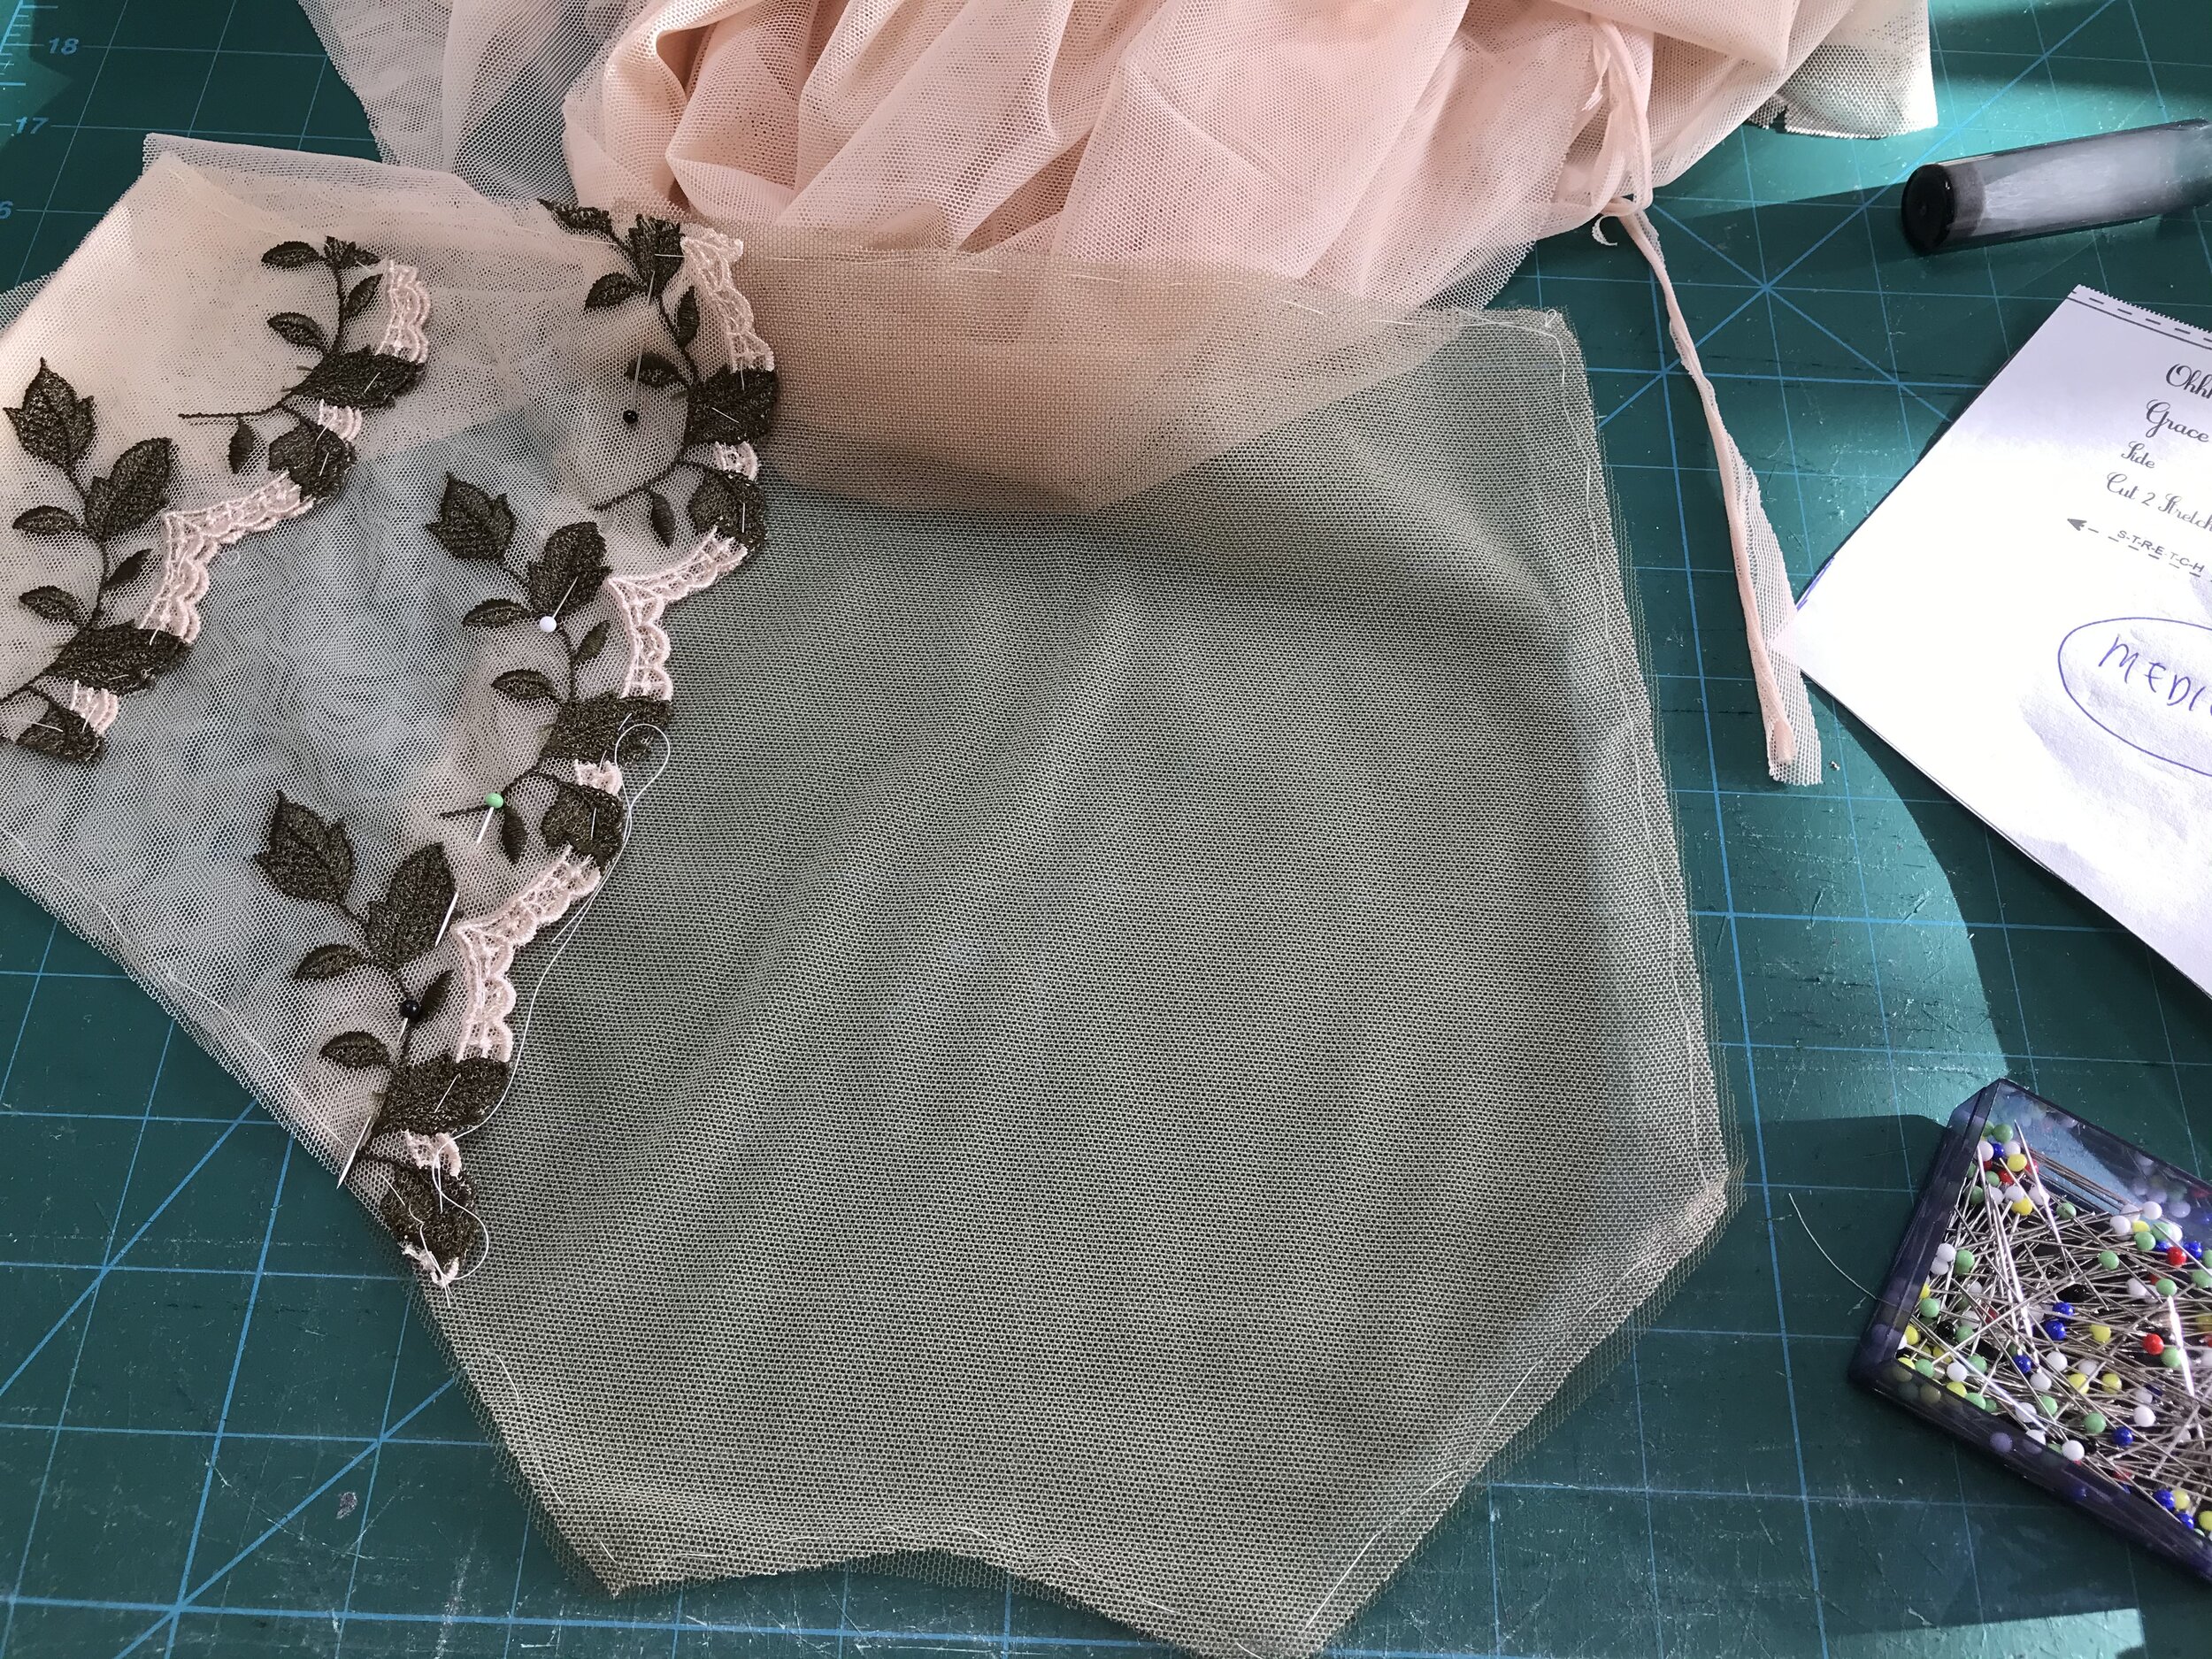
I used two layers of the lace for each side panel using the full width. I used chalk to mark the seam allowance on the tulle and a red Frixon pen for the lace. I placed the lace over the tulle lining up the seams allowances. Then I stitched around the scallop and through the seam allowance and cut back to the stitching. Finally I used fold over elastic for the waist with soft lingerie elastic for the leg.

Although I had made a size bigger than normal to make up for the lack of stretch they are a little snug so I decided to make the Orange Lingerie Montgomery using the lace and some matching super soft and stretchy mesh as an alternate.

BD74727B-F63A-472B-A1B7-5351131DFDCD.PNG

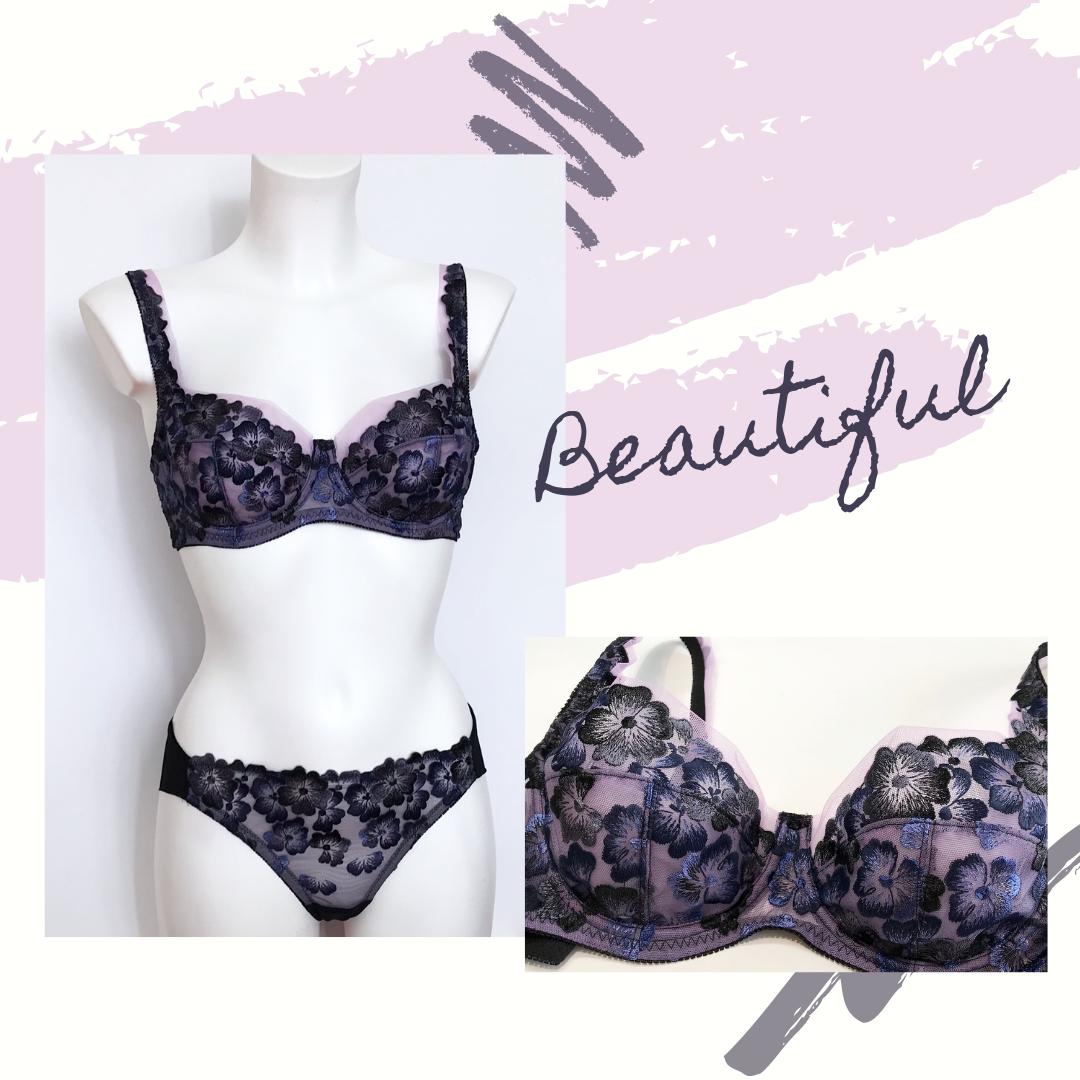
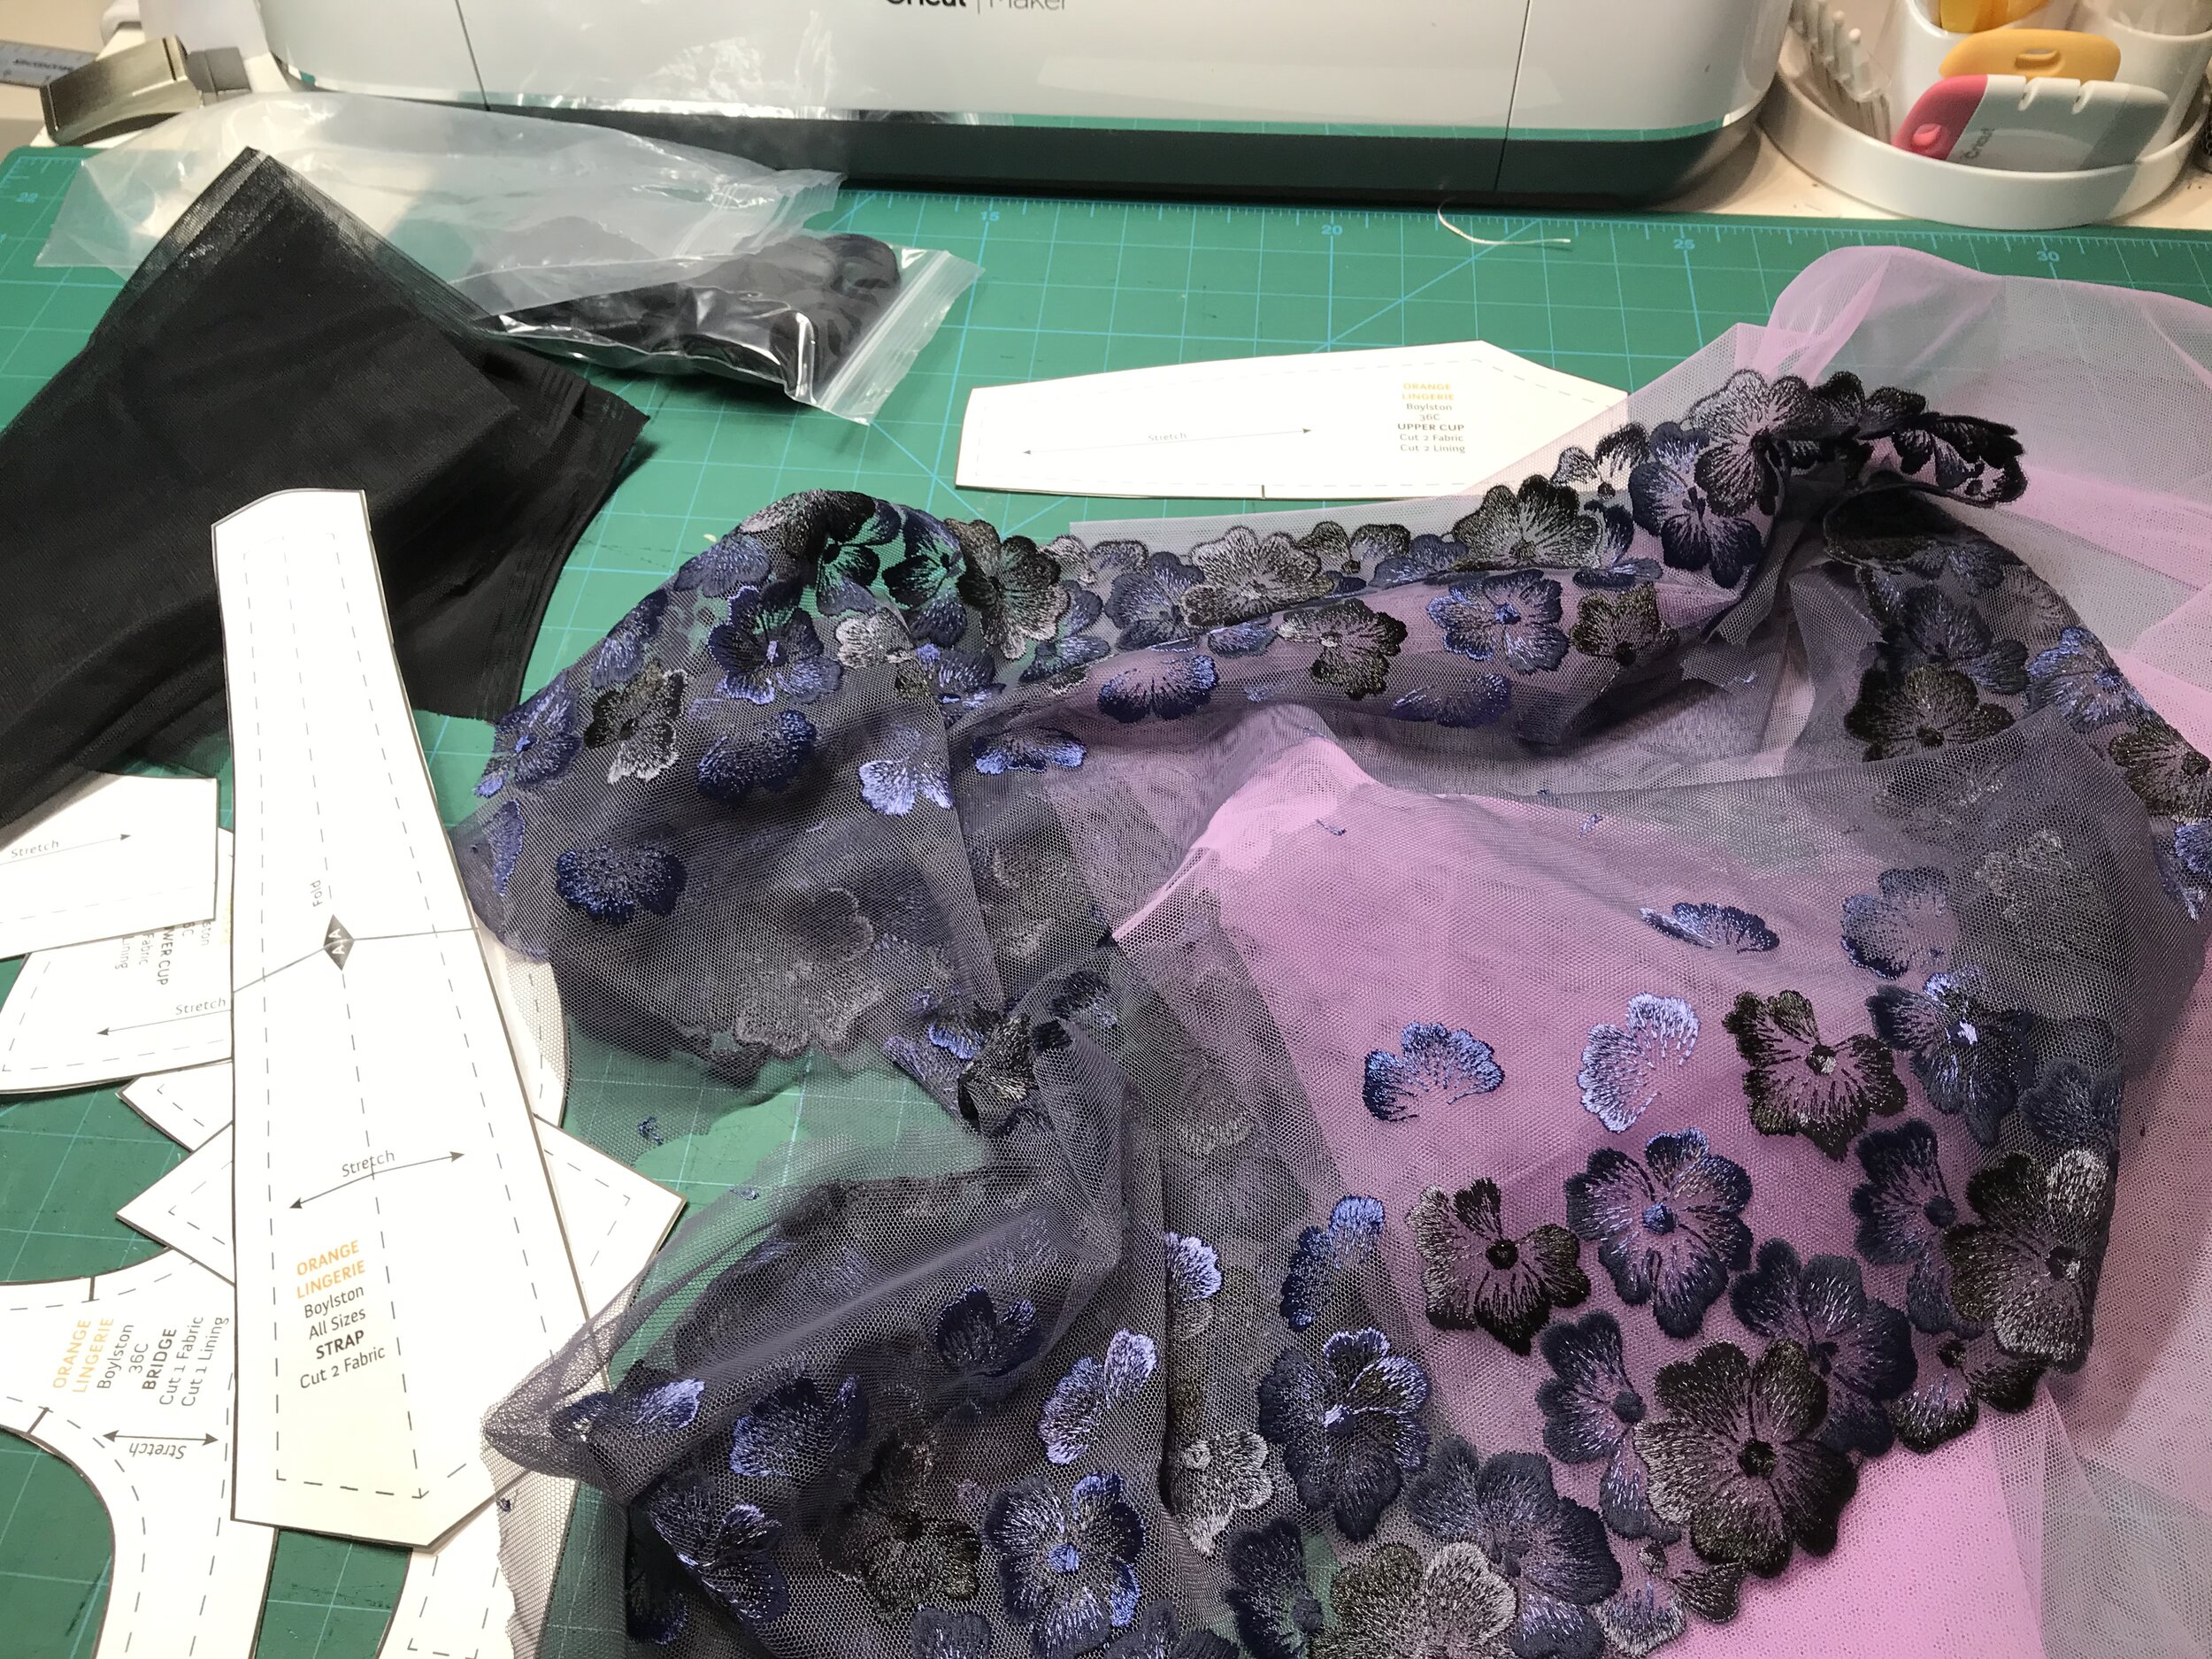
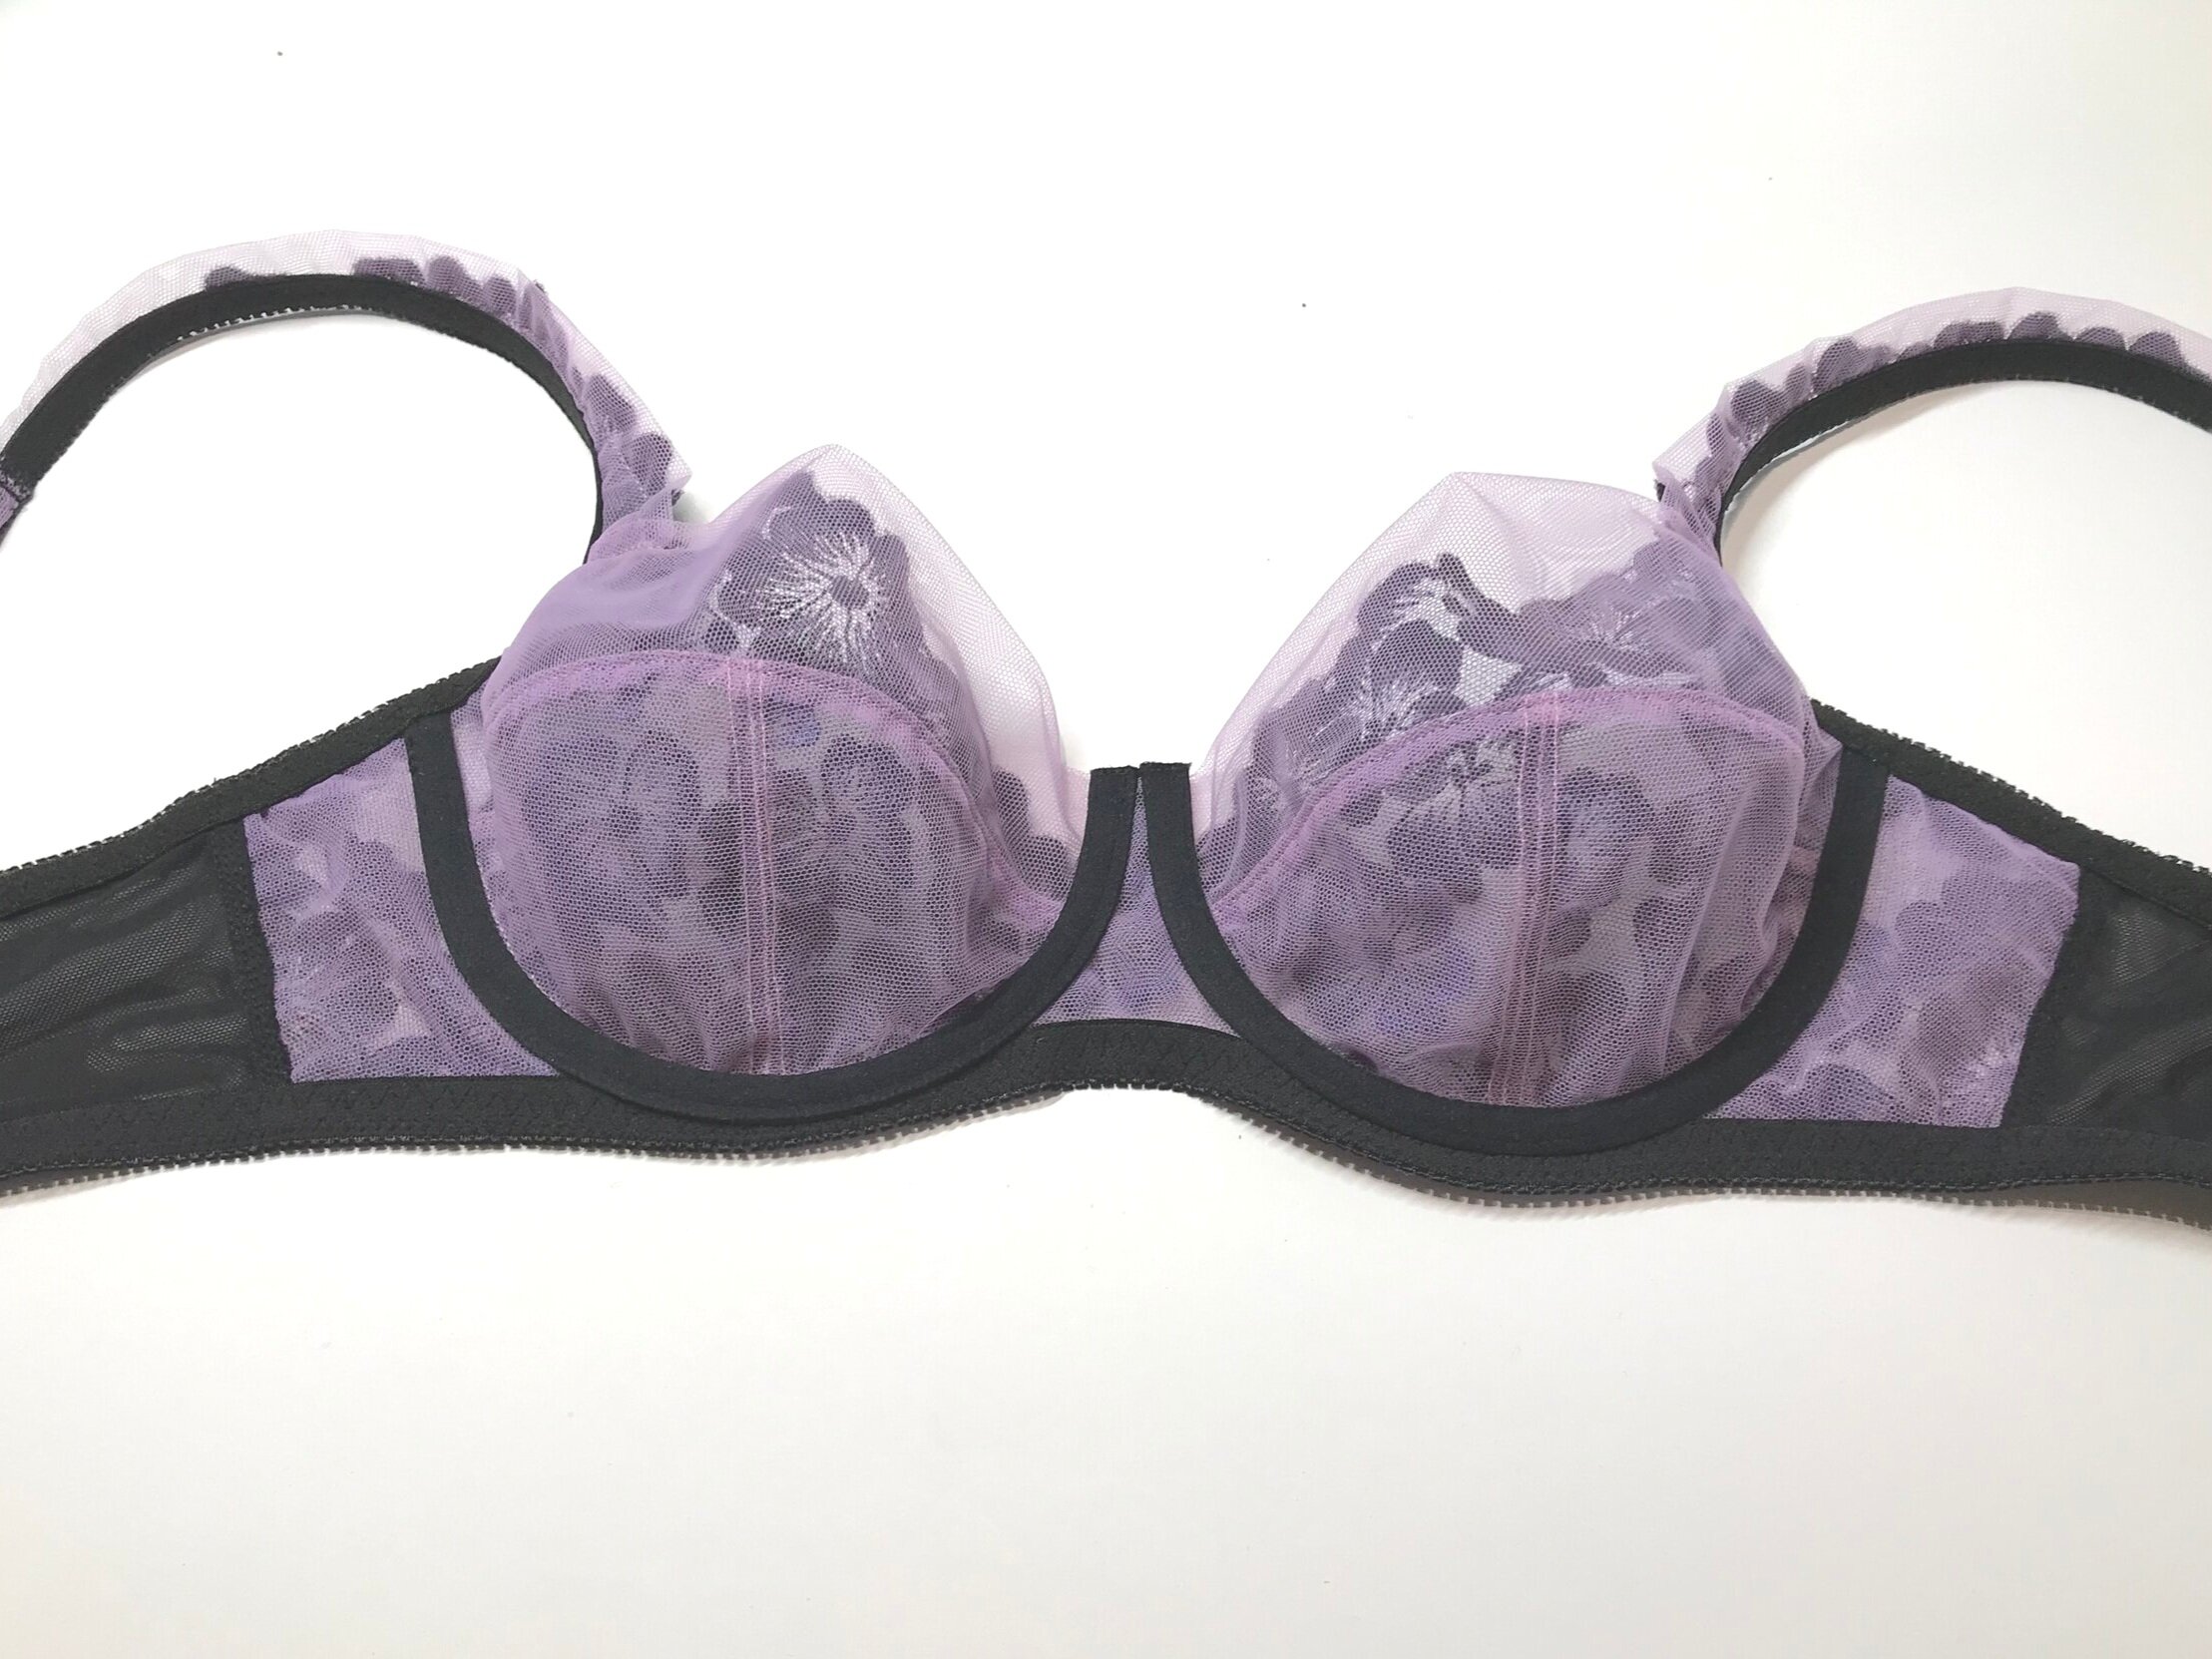
I was so pleased with the result. It’s hard to go wrong with such fabulous supplies and patterns I know fit well which brings me smoothly on to my October make for #TMCollaBRAtory. I had a gorgeous embroidered tulle lace bra kit and wanted to bring out the beautiful colours. The kit came with black tulle but it was little dark to bring out the delicate blue and purple flowers so out came the stash and I decided on what was called mauve on the EvielaLuve website. Then the usual dilemma of what pattern to use to showcase the gorgeous lace. Again a search through my patterns brought me to the Orange Lingerie Boylston. it has a deep upper cup and wide straps.

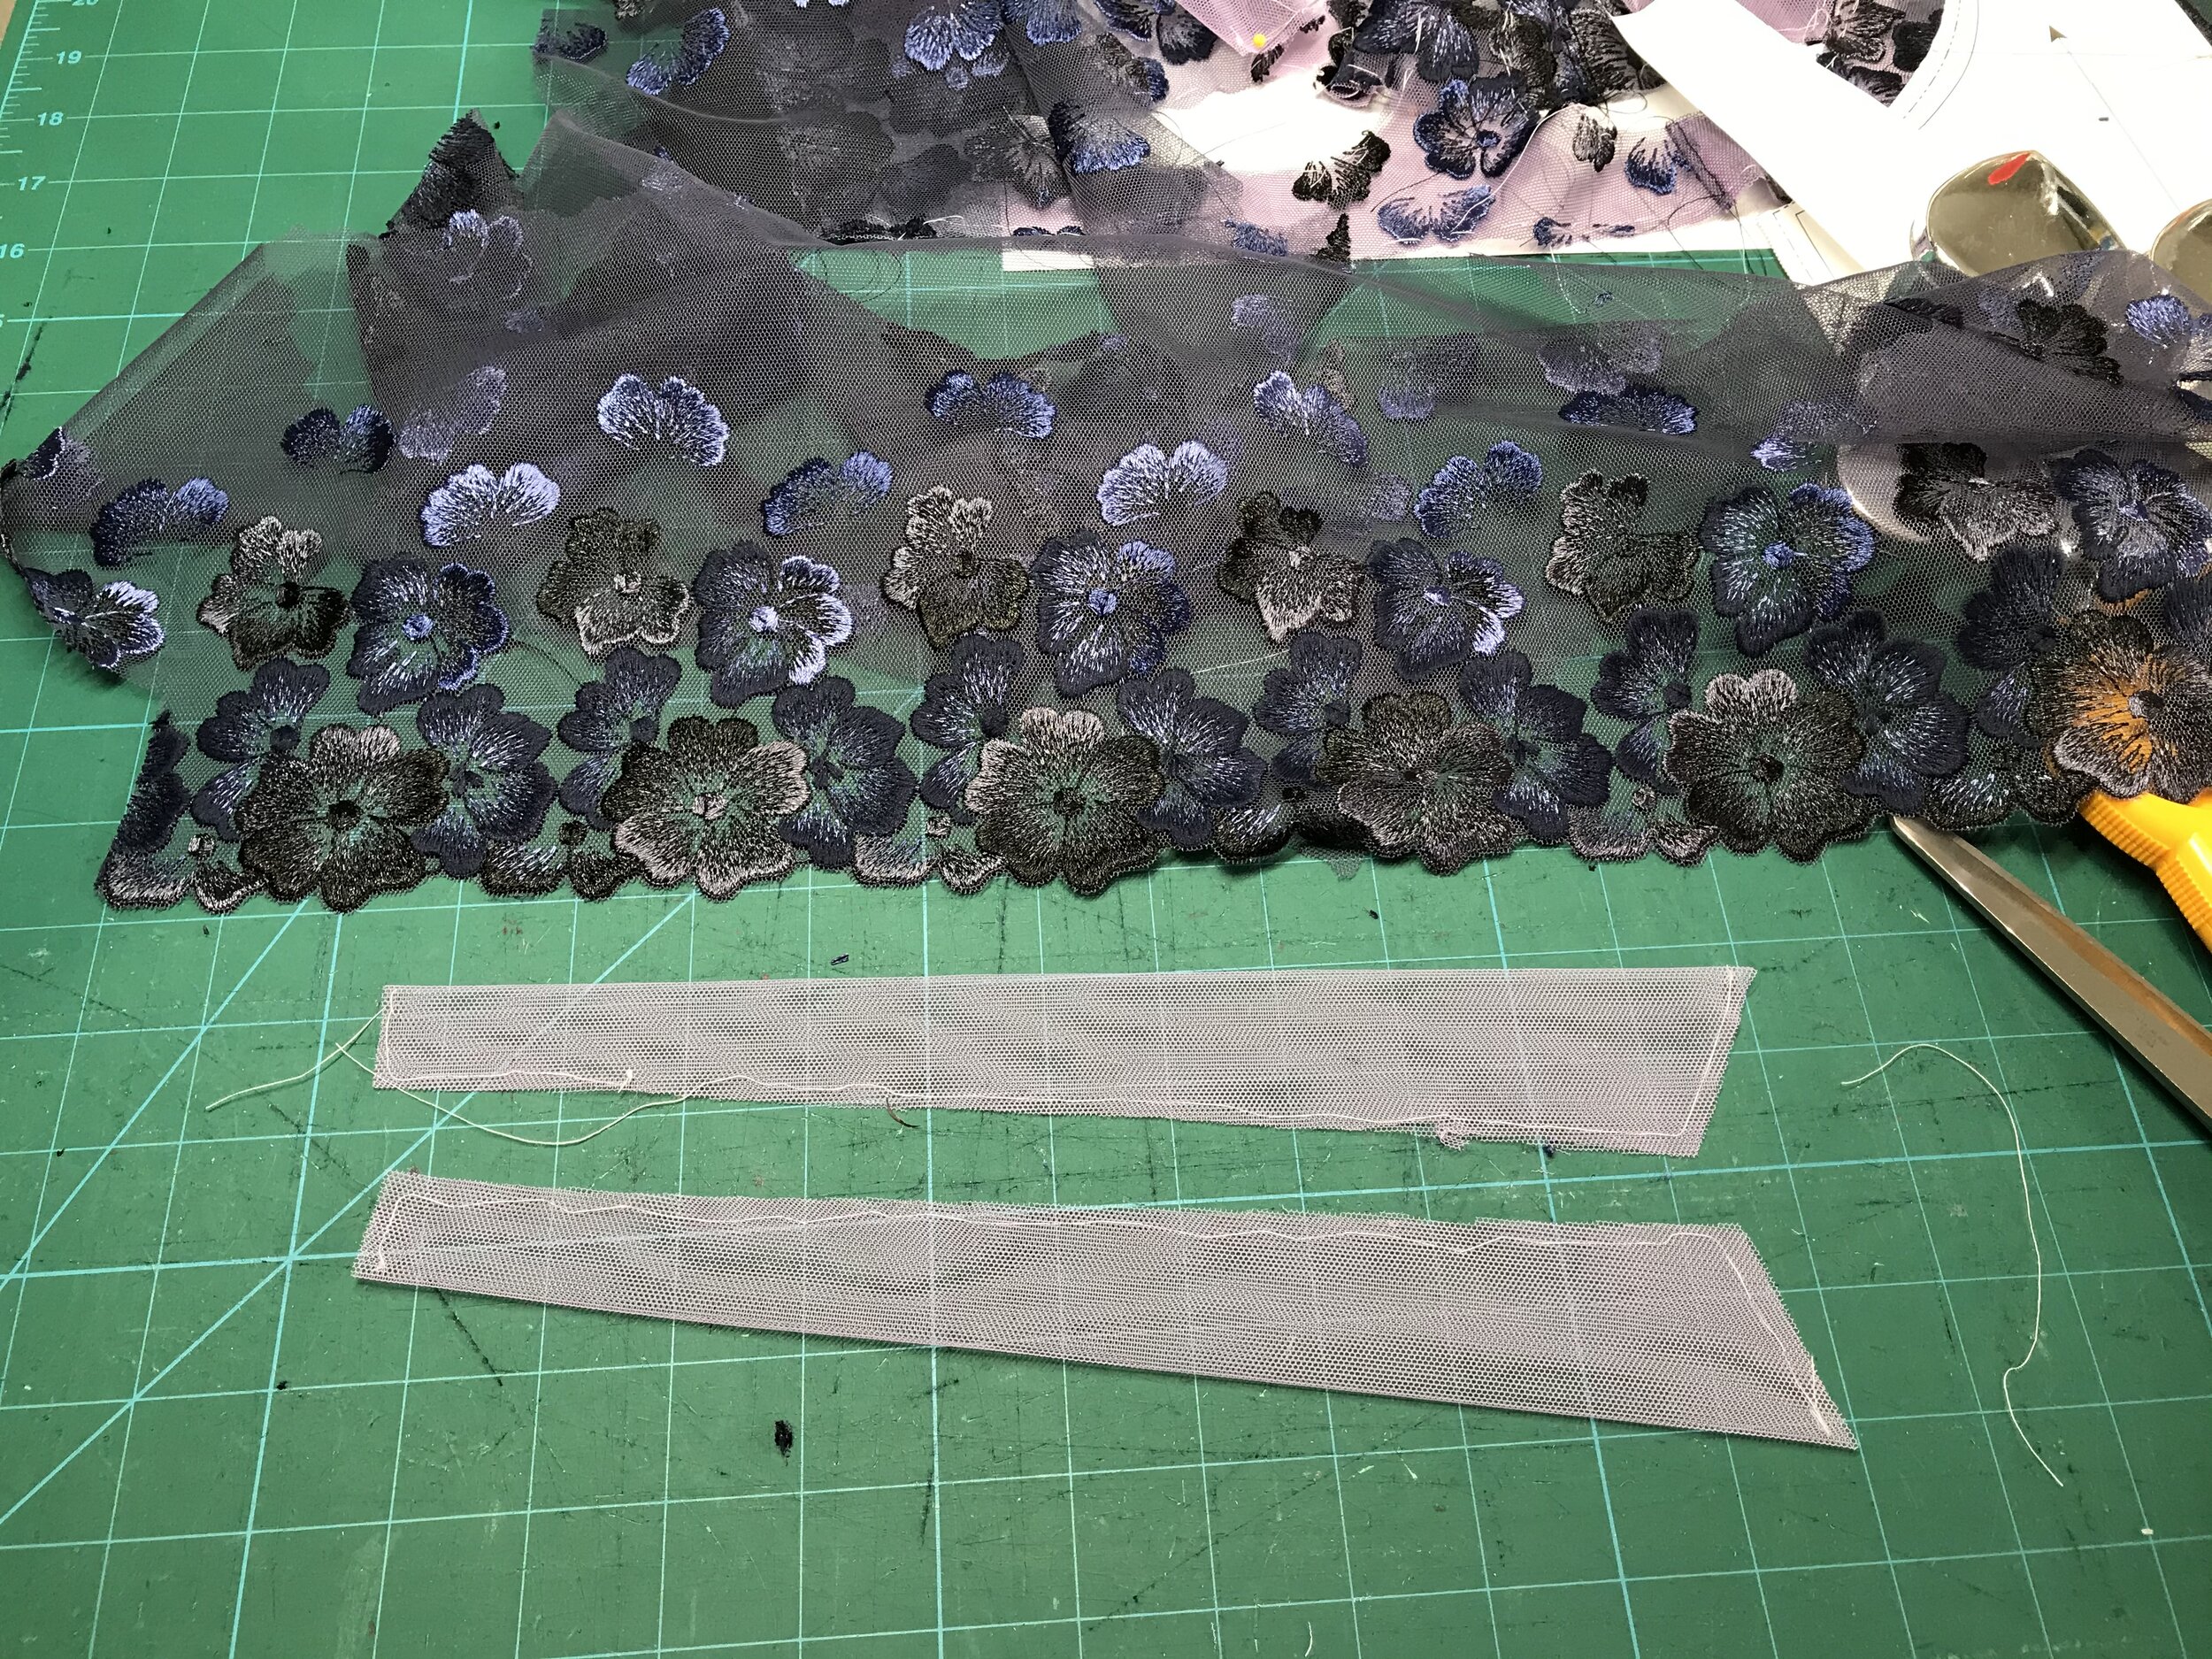
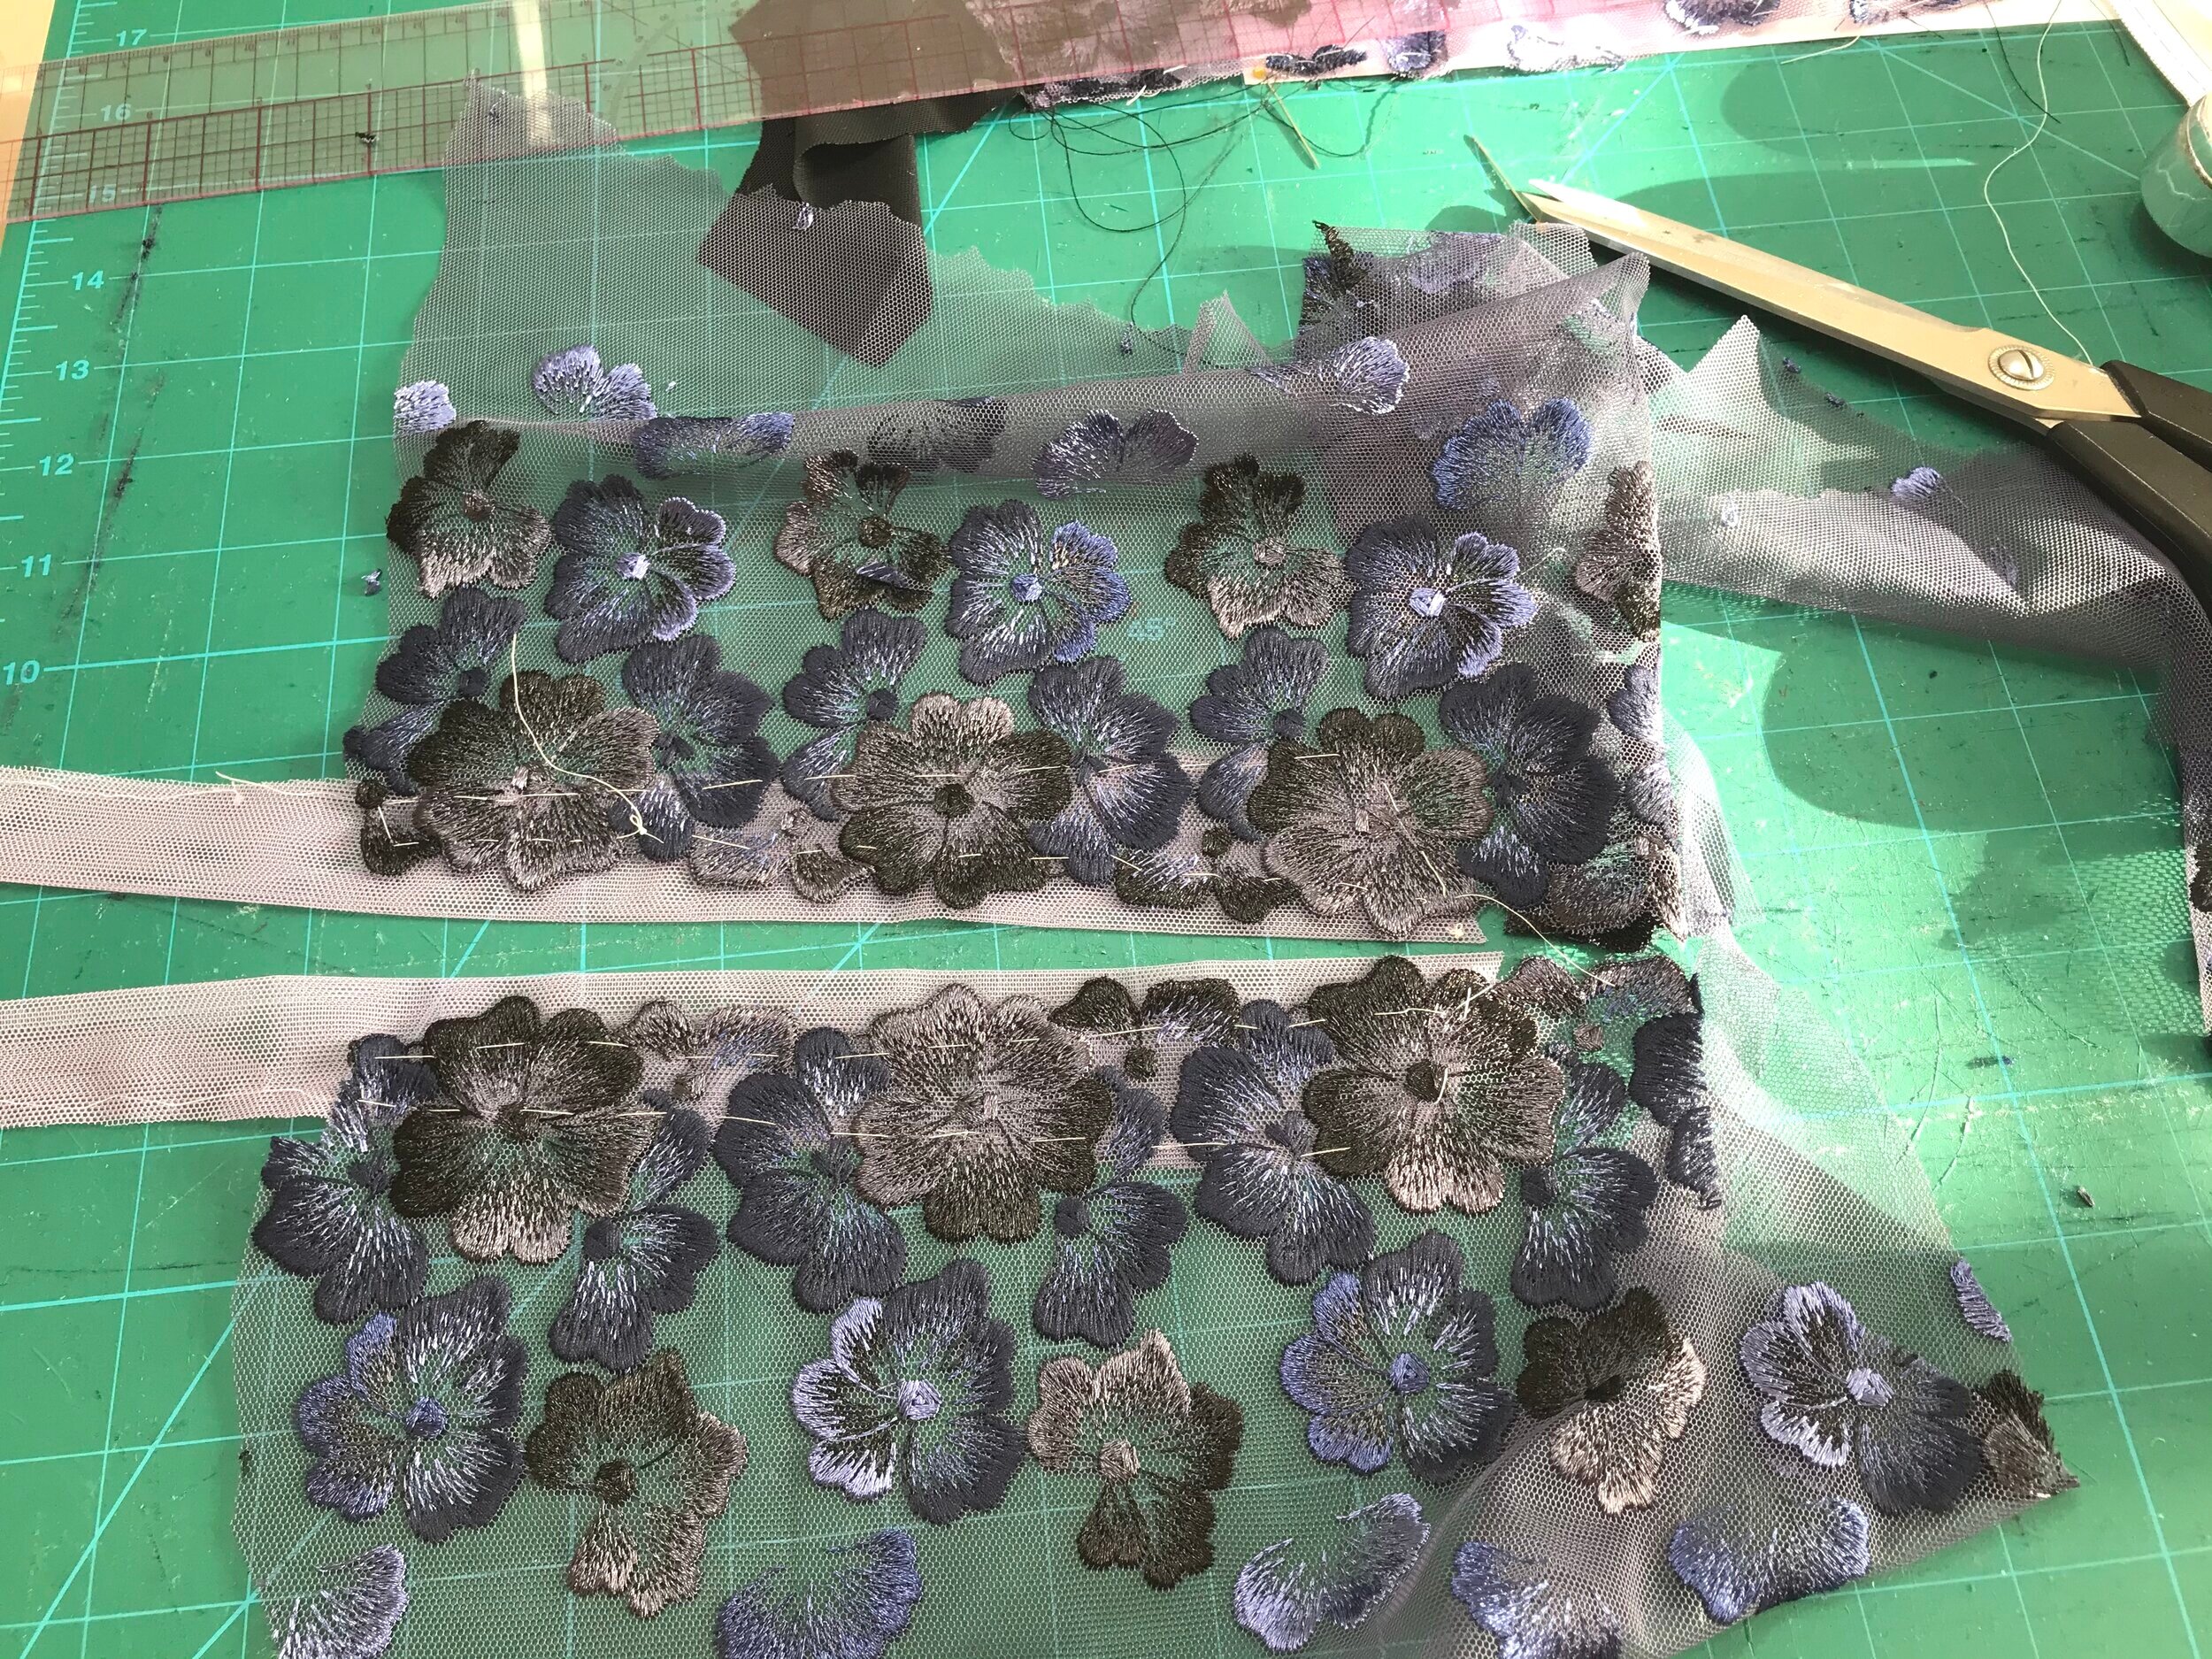
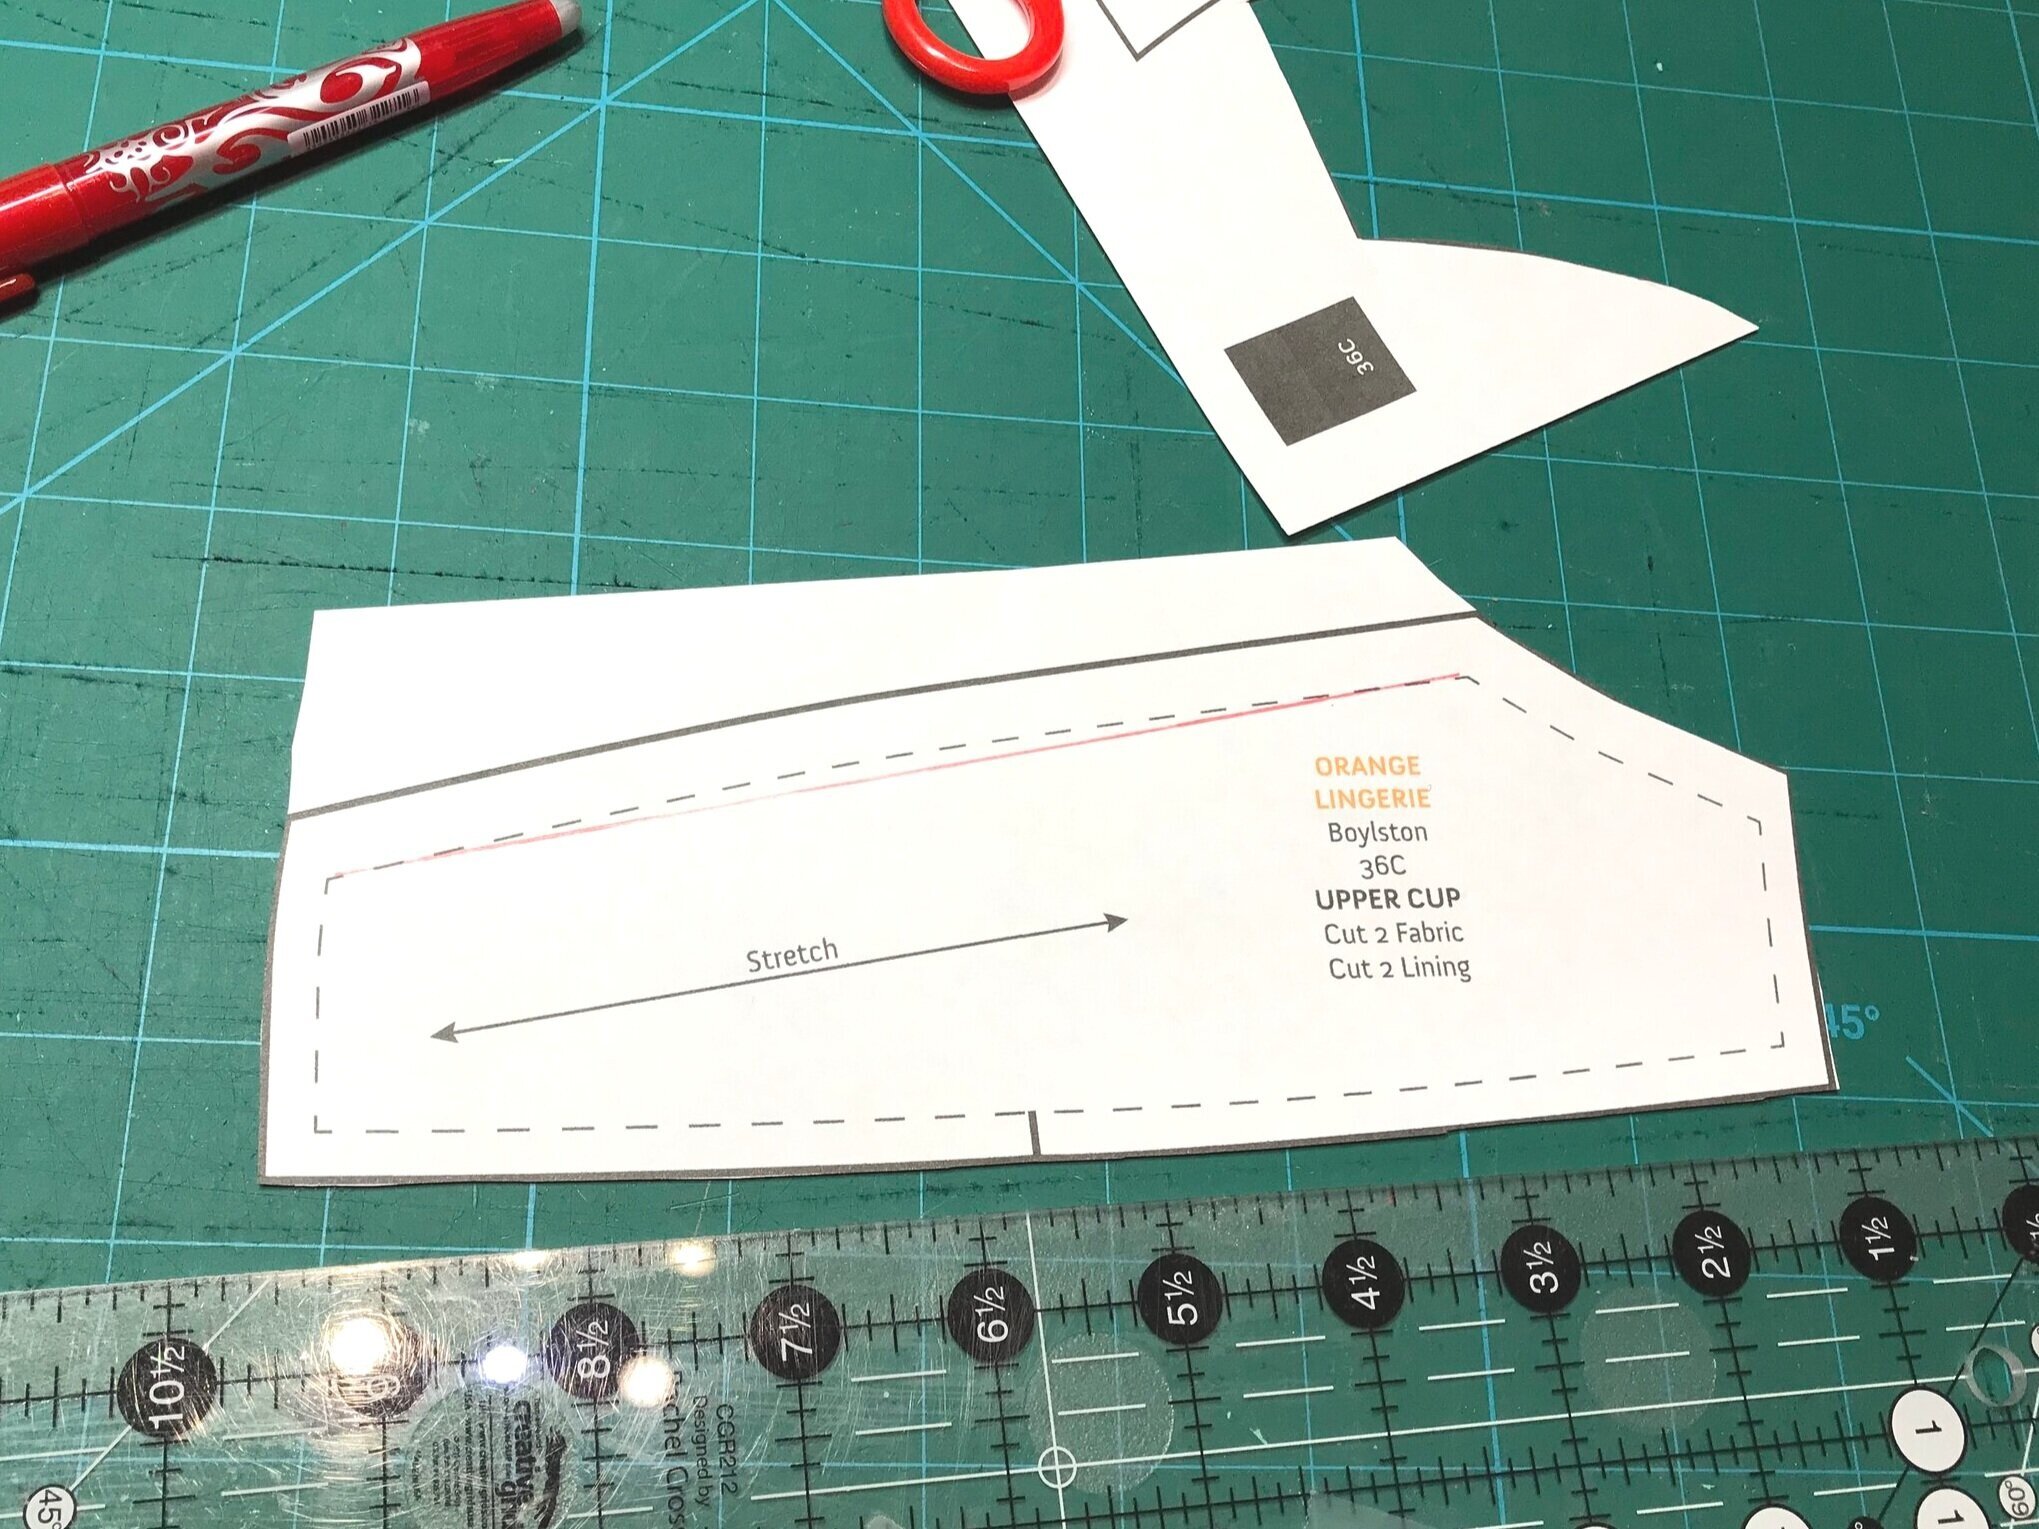
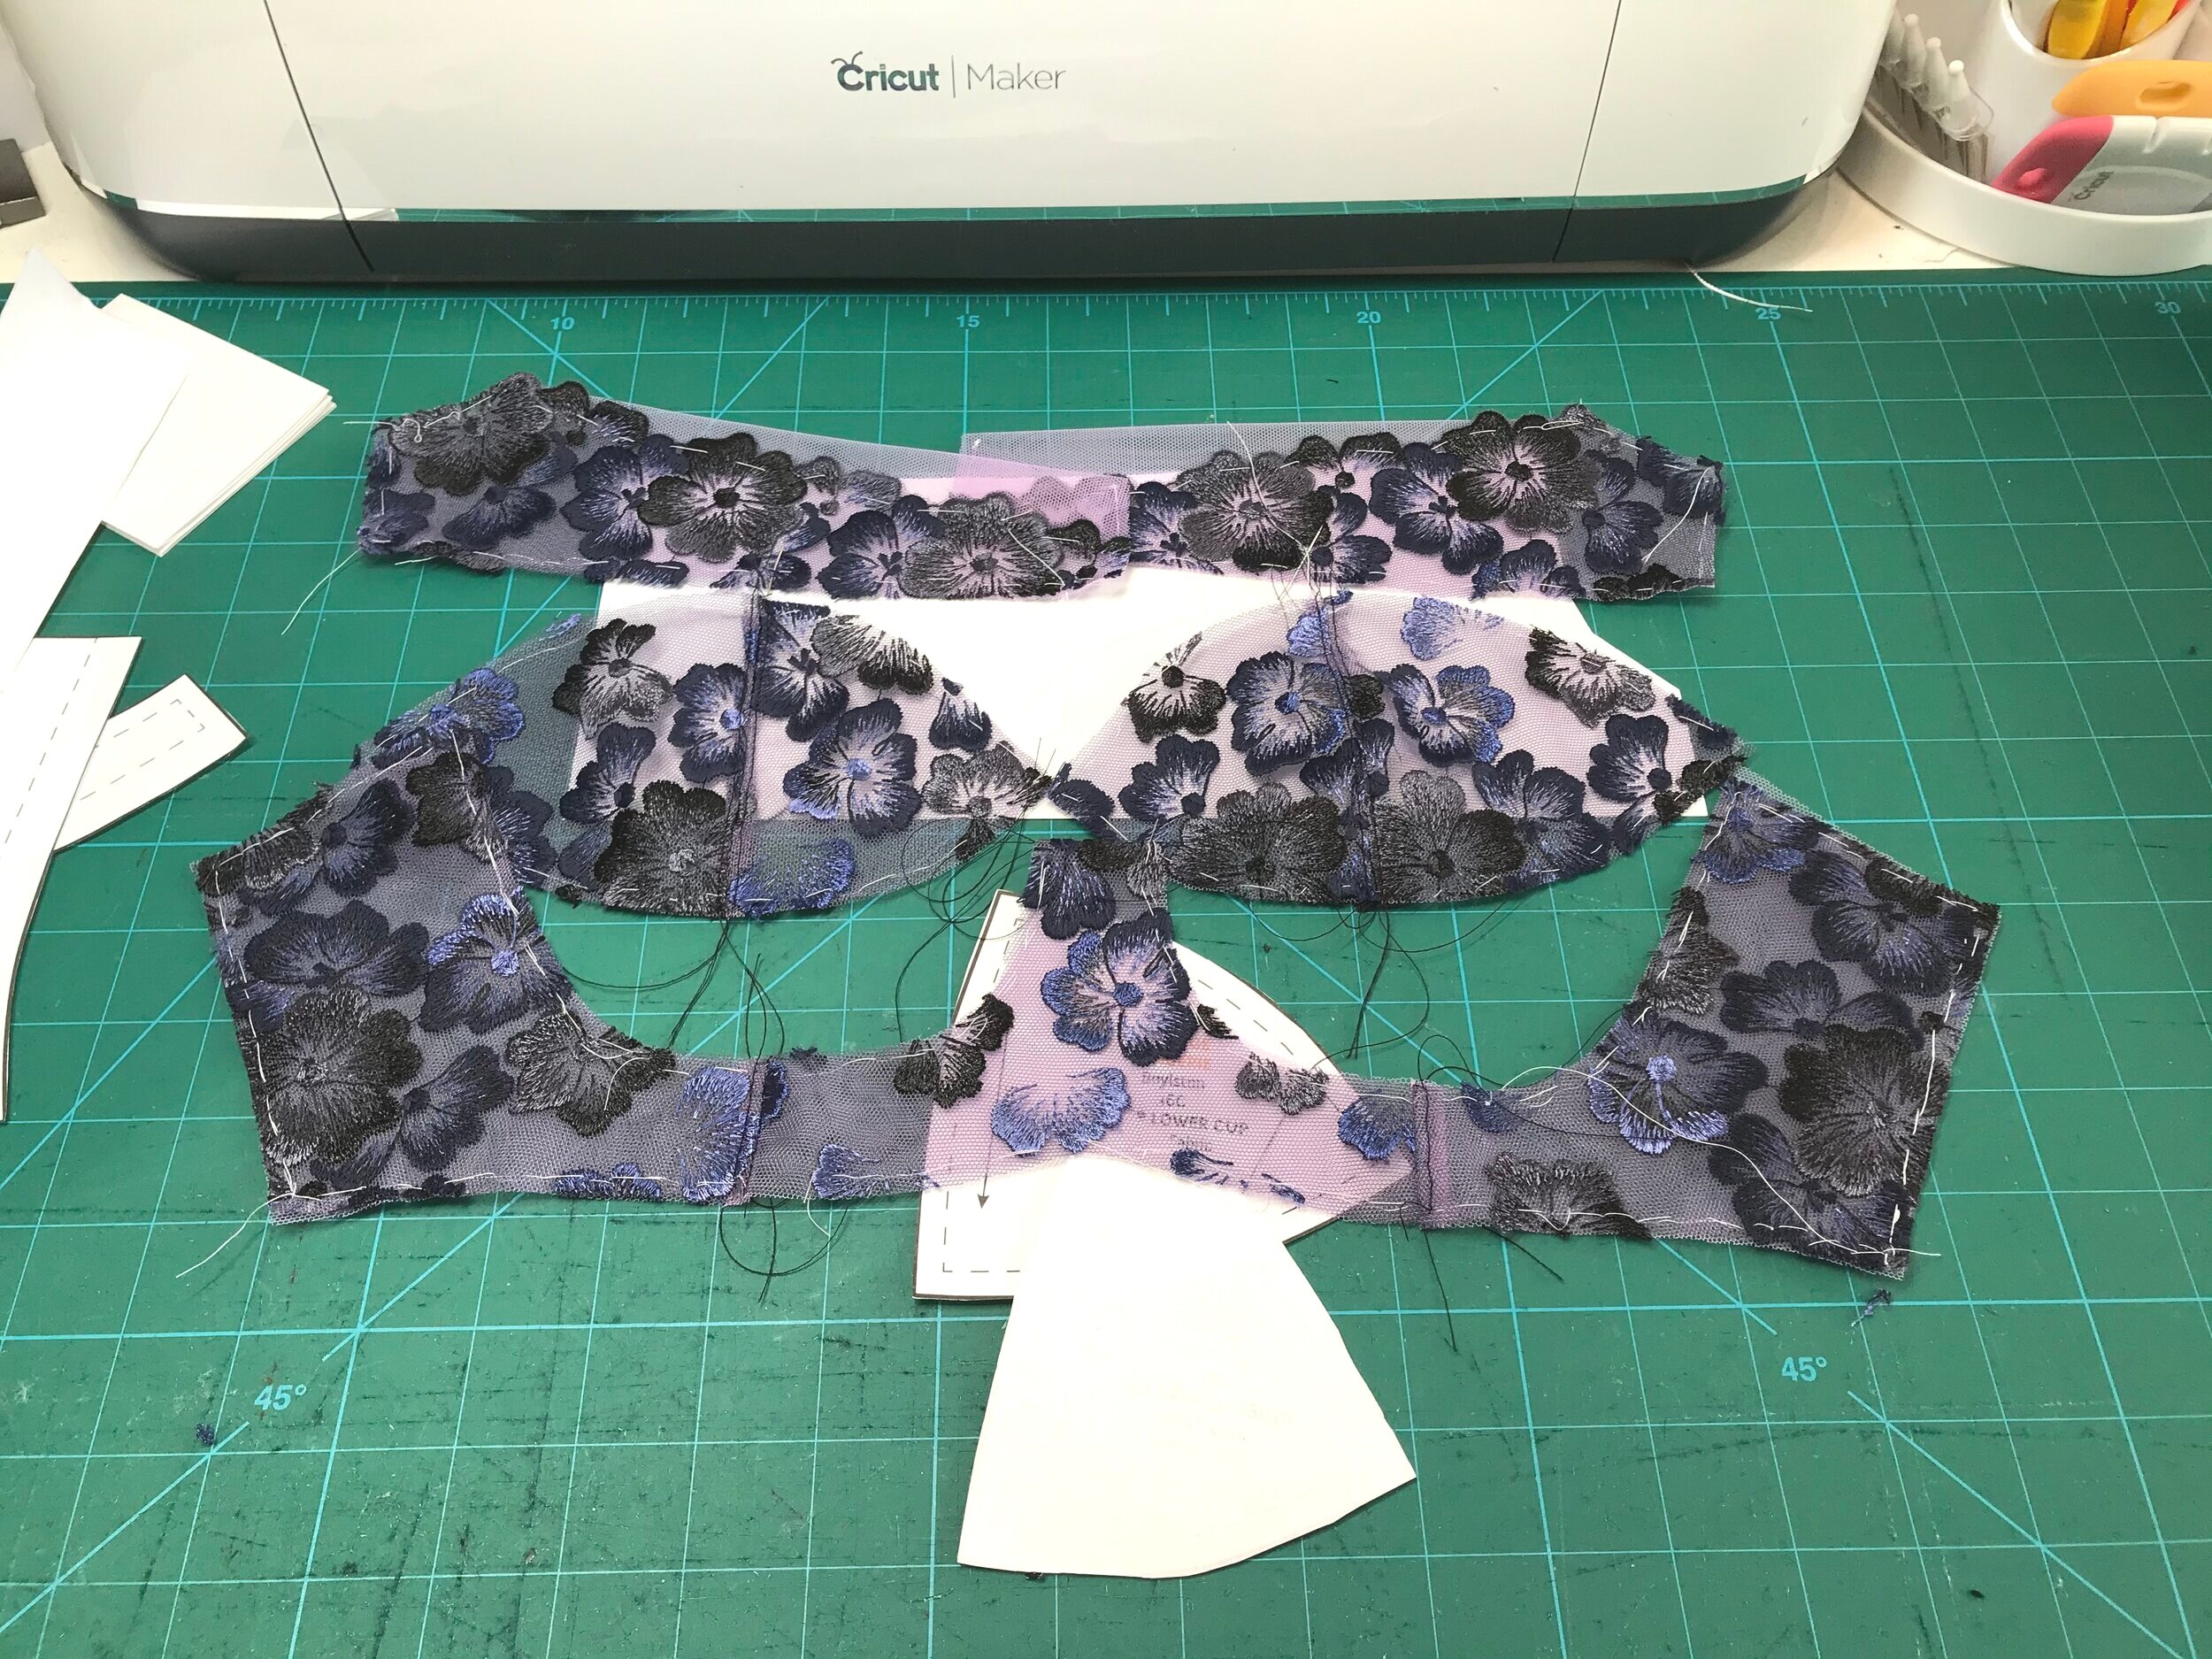
My first step was to take off the seam allowance of the upper cup and straighten the line. I then used tulle on the fold for the upper cup edge and then placed the lace over the tulle angling down from the top outer edge to the centre front seam allowance. For the lower cup pieces I basted a layer of tulle to each piece and treated as one. Then I used another layer of tulle for a lining so I could enclose the upper cup. The lace can’t be mirrored so it is a case of finding a balance for bridge and side frame. Again I basted one layer of tulle to each piece and then lined with tulle so I could enclose the seams and the front of the bra would have the same level of sheerness.

IMG_4833.jpg

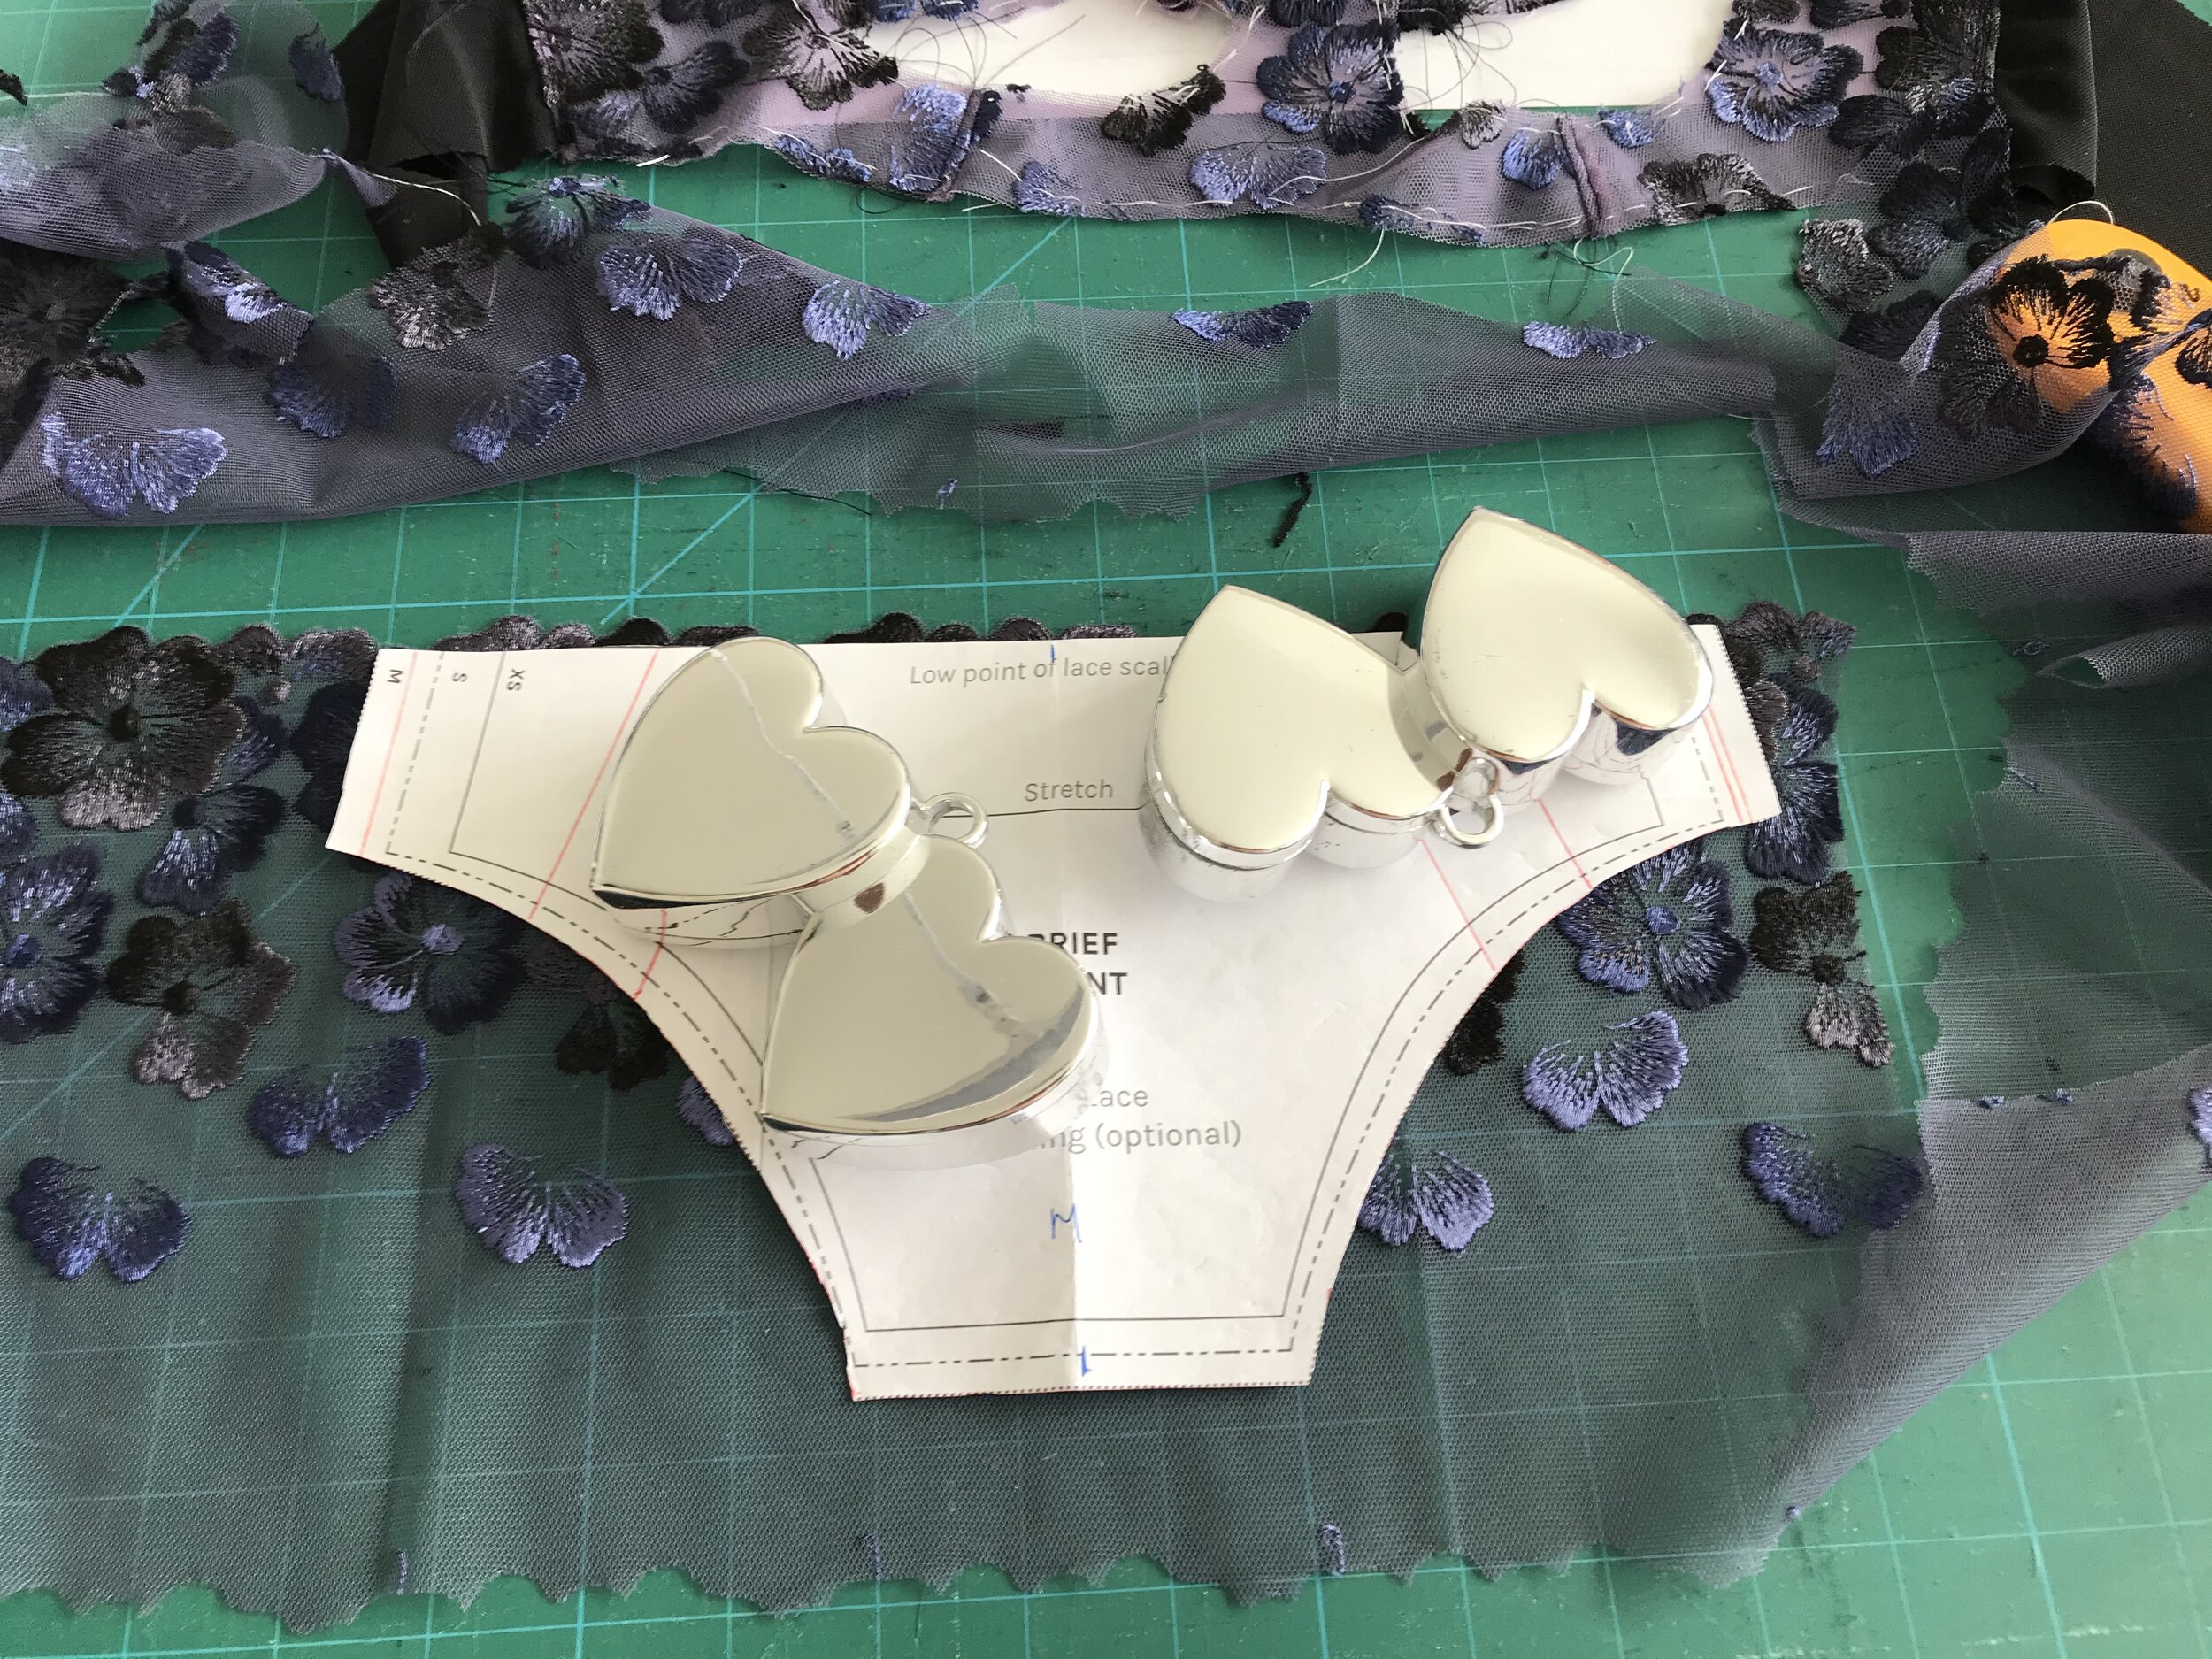
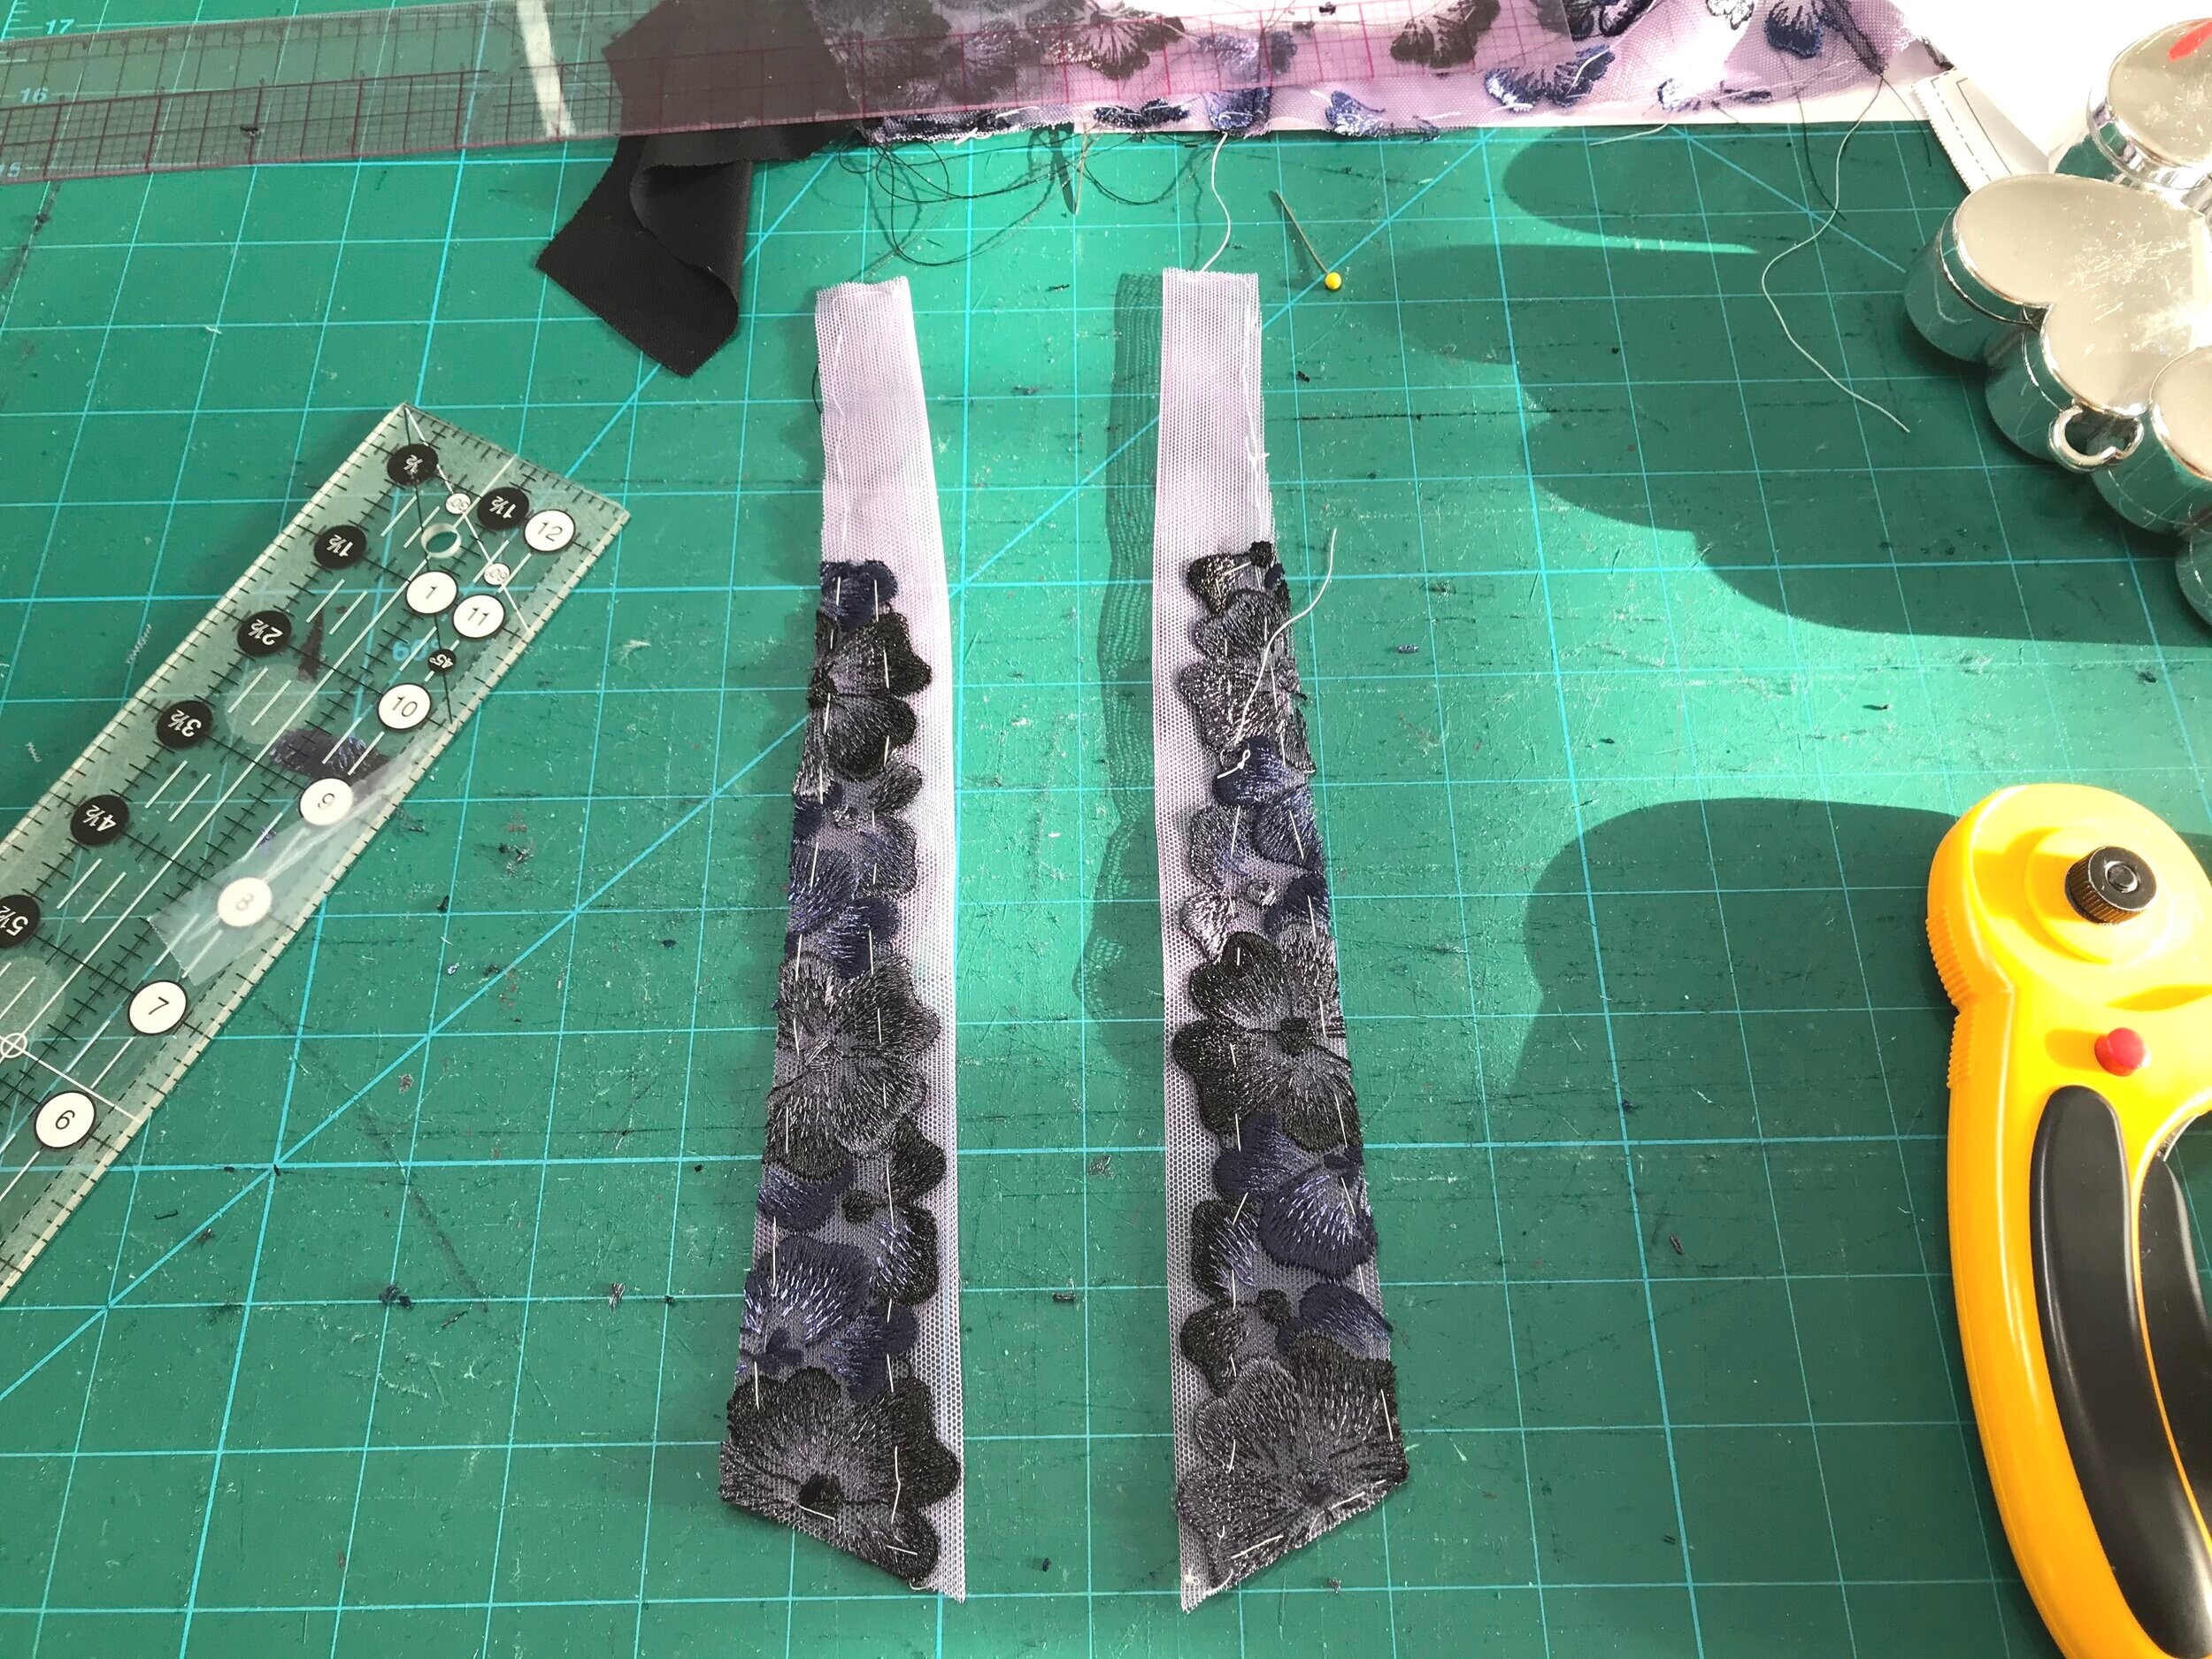
I wasn’t sure how I would make the straps but as this was a kit for a bra I thought i would cut out the front panel for a Montgomery brief and see what I was left with. I started with the straps in the tulle. There wasn’t enough lace to cover completely so I cut into two pieces and placed at an angle ensuring the low point of the scallop would hit the 3/8” line where the elastic would be sewn. For a flat and neat finish I slipped the strap in between the tulle and lace of the upper cup.

Both sets I could just sit and look at. Although I seem to enjoy deciding as I go along there is often a trigger that sends me in a particular direction!

Pattern Testing and new patterns - Bodysuits and Bralettes

As soon as I saw the PUG Diamond Bustier I knew I had to make one. Over the years I have tried a variety of RTW strapless bras and never found one that was either comfortable or a flattering fit so I was keen to try making my own. After success with this I thought it was time to try the Esplanade - the only Orange Lingerie pattern I haven’t made. So here are my two beauties.

Read More

More of my favorites - Including my most perfect Black Beauty!

I thought it time to share some of my experimental makes which have gone so well. It includes a one piece darted Emerald Erin Black Beauty with a strappy Studio Costura Vera, a pin tuck Orange Lingerie Boyston and matching Montgomery as well as all versions the Studio Costura Eva. For a collection I added the Studio Costura Mara and Stella.

Read More

Bra-A-Week Challenge - Emerald Erin Black Beauty and Orange Lingerie Devonshire

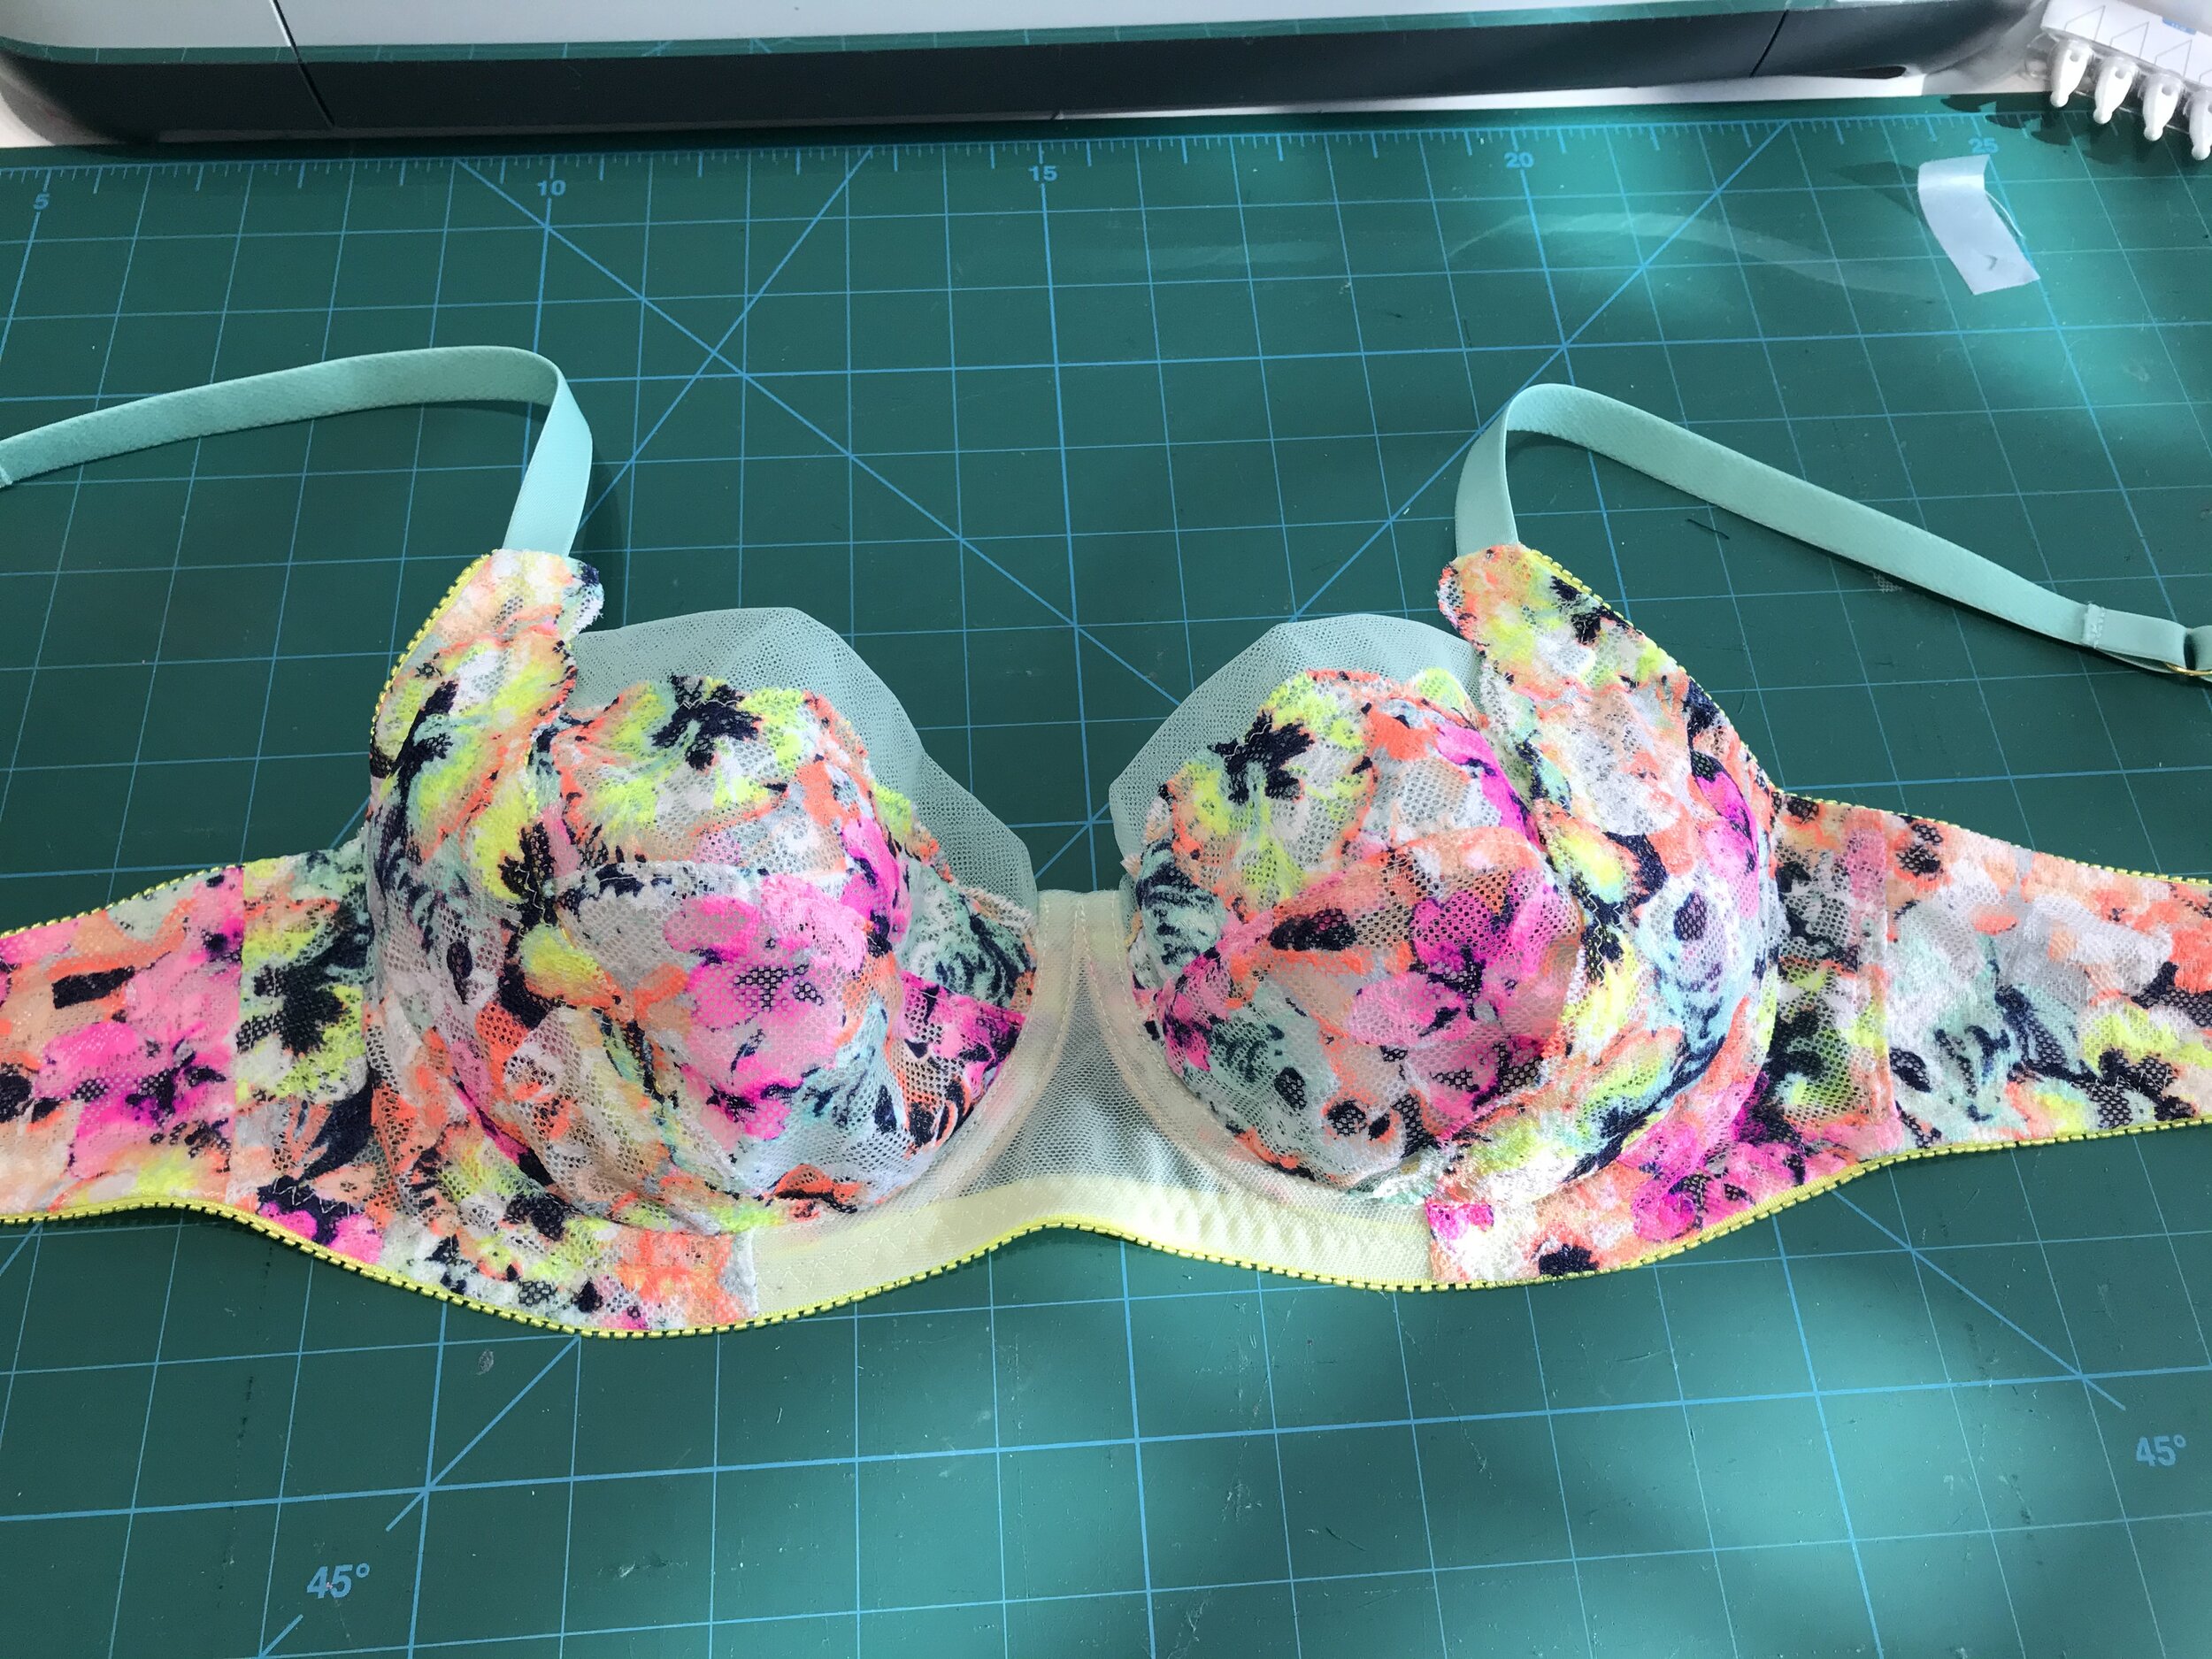
Confined to the house with a lot of time on my hands and inspired by Emerald Erin I am trying to up my game and play around with patterns for some different looks. So I am proud to present an Emerald Erin Black Beauty with neon stretch lace and Orange Lingerie Devonshire with half cups.

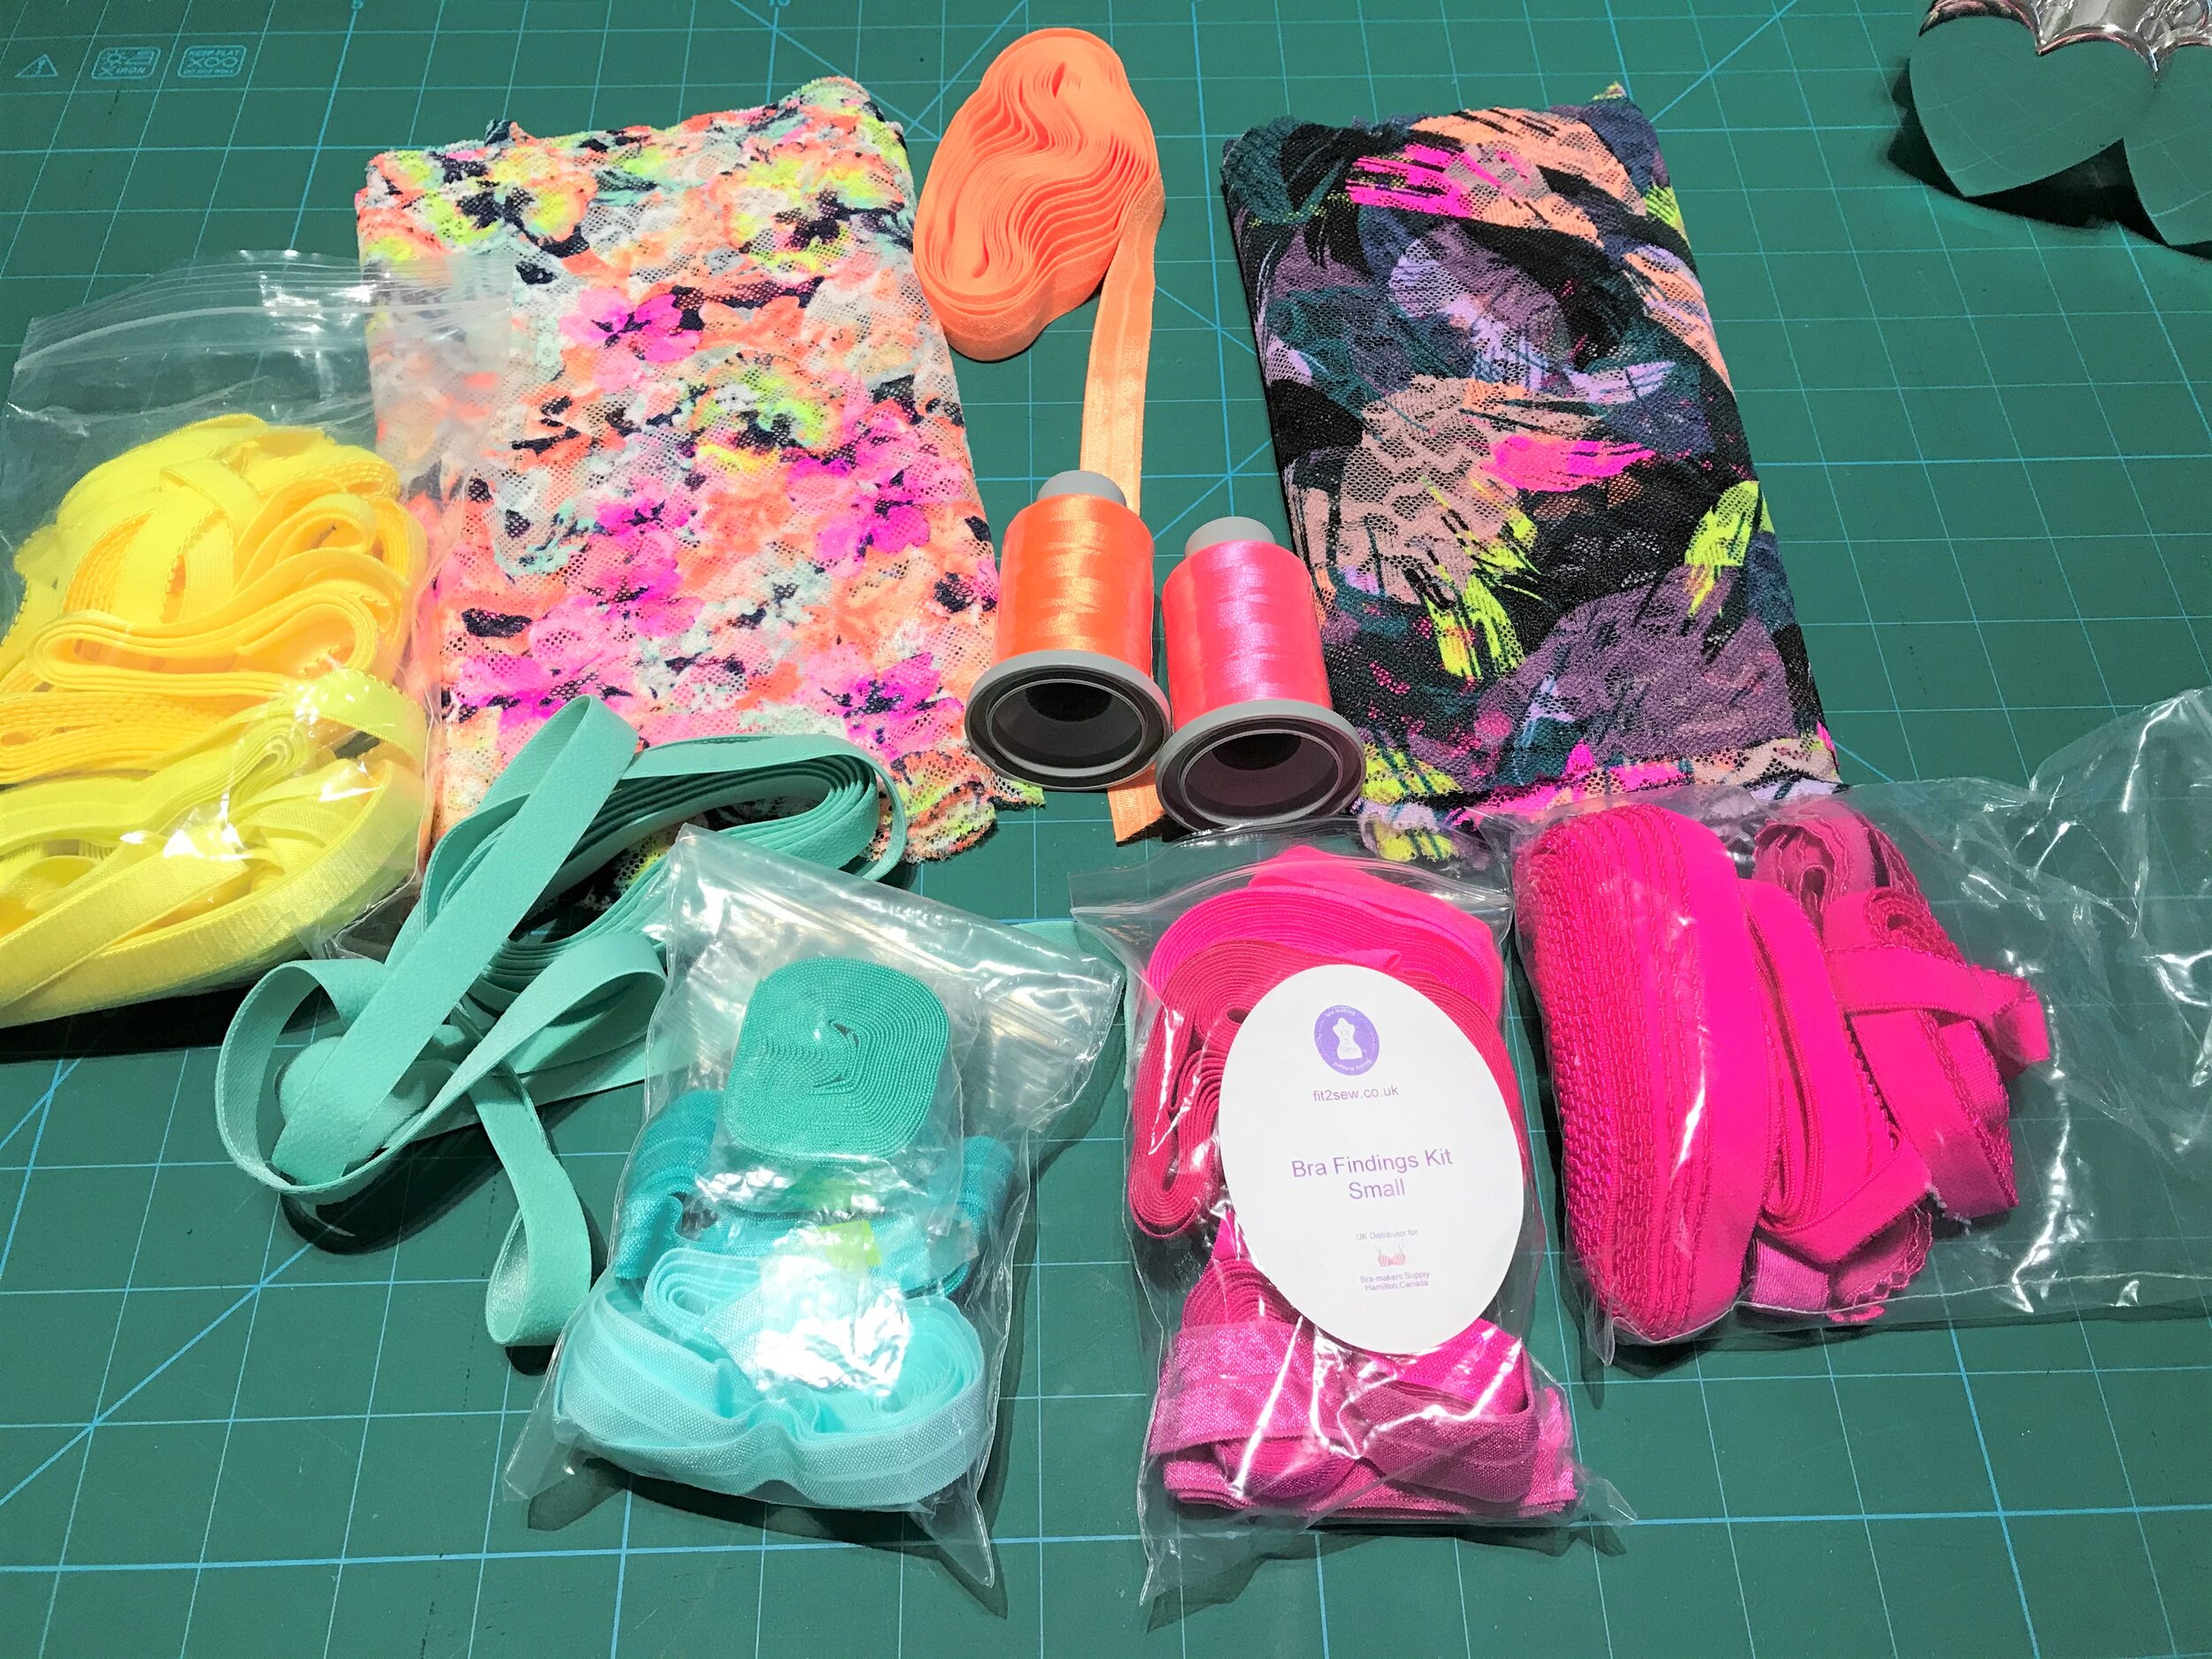
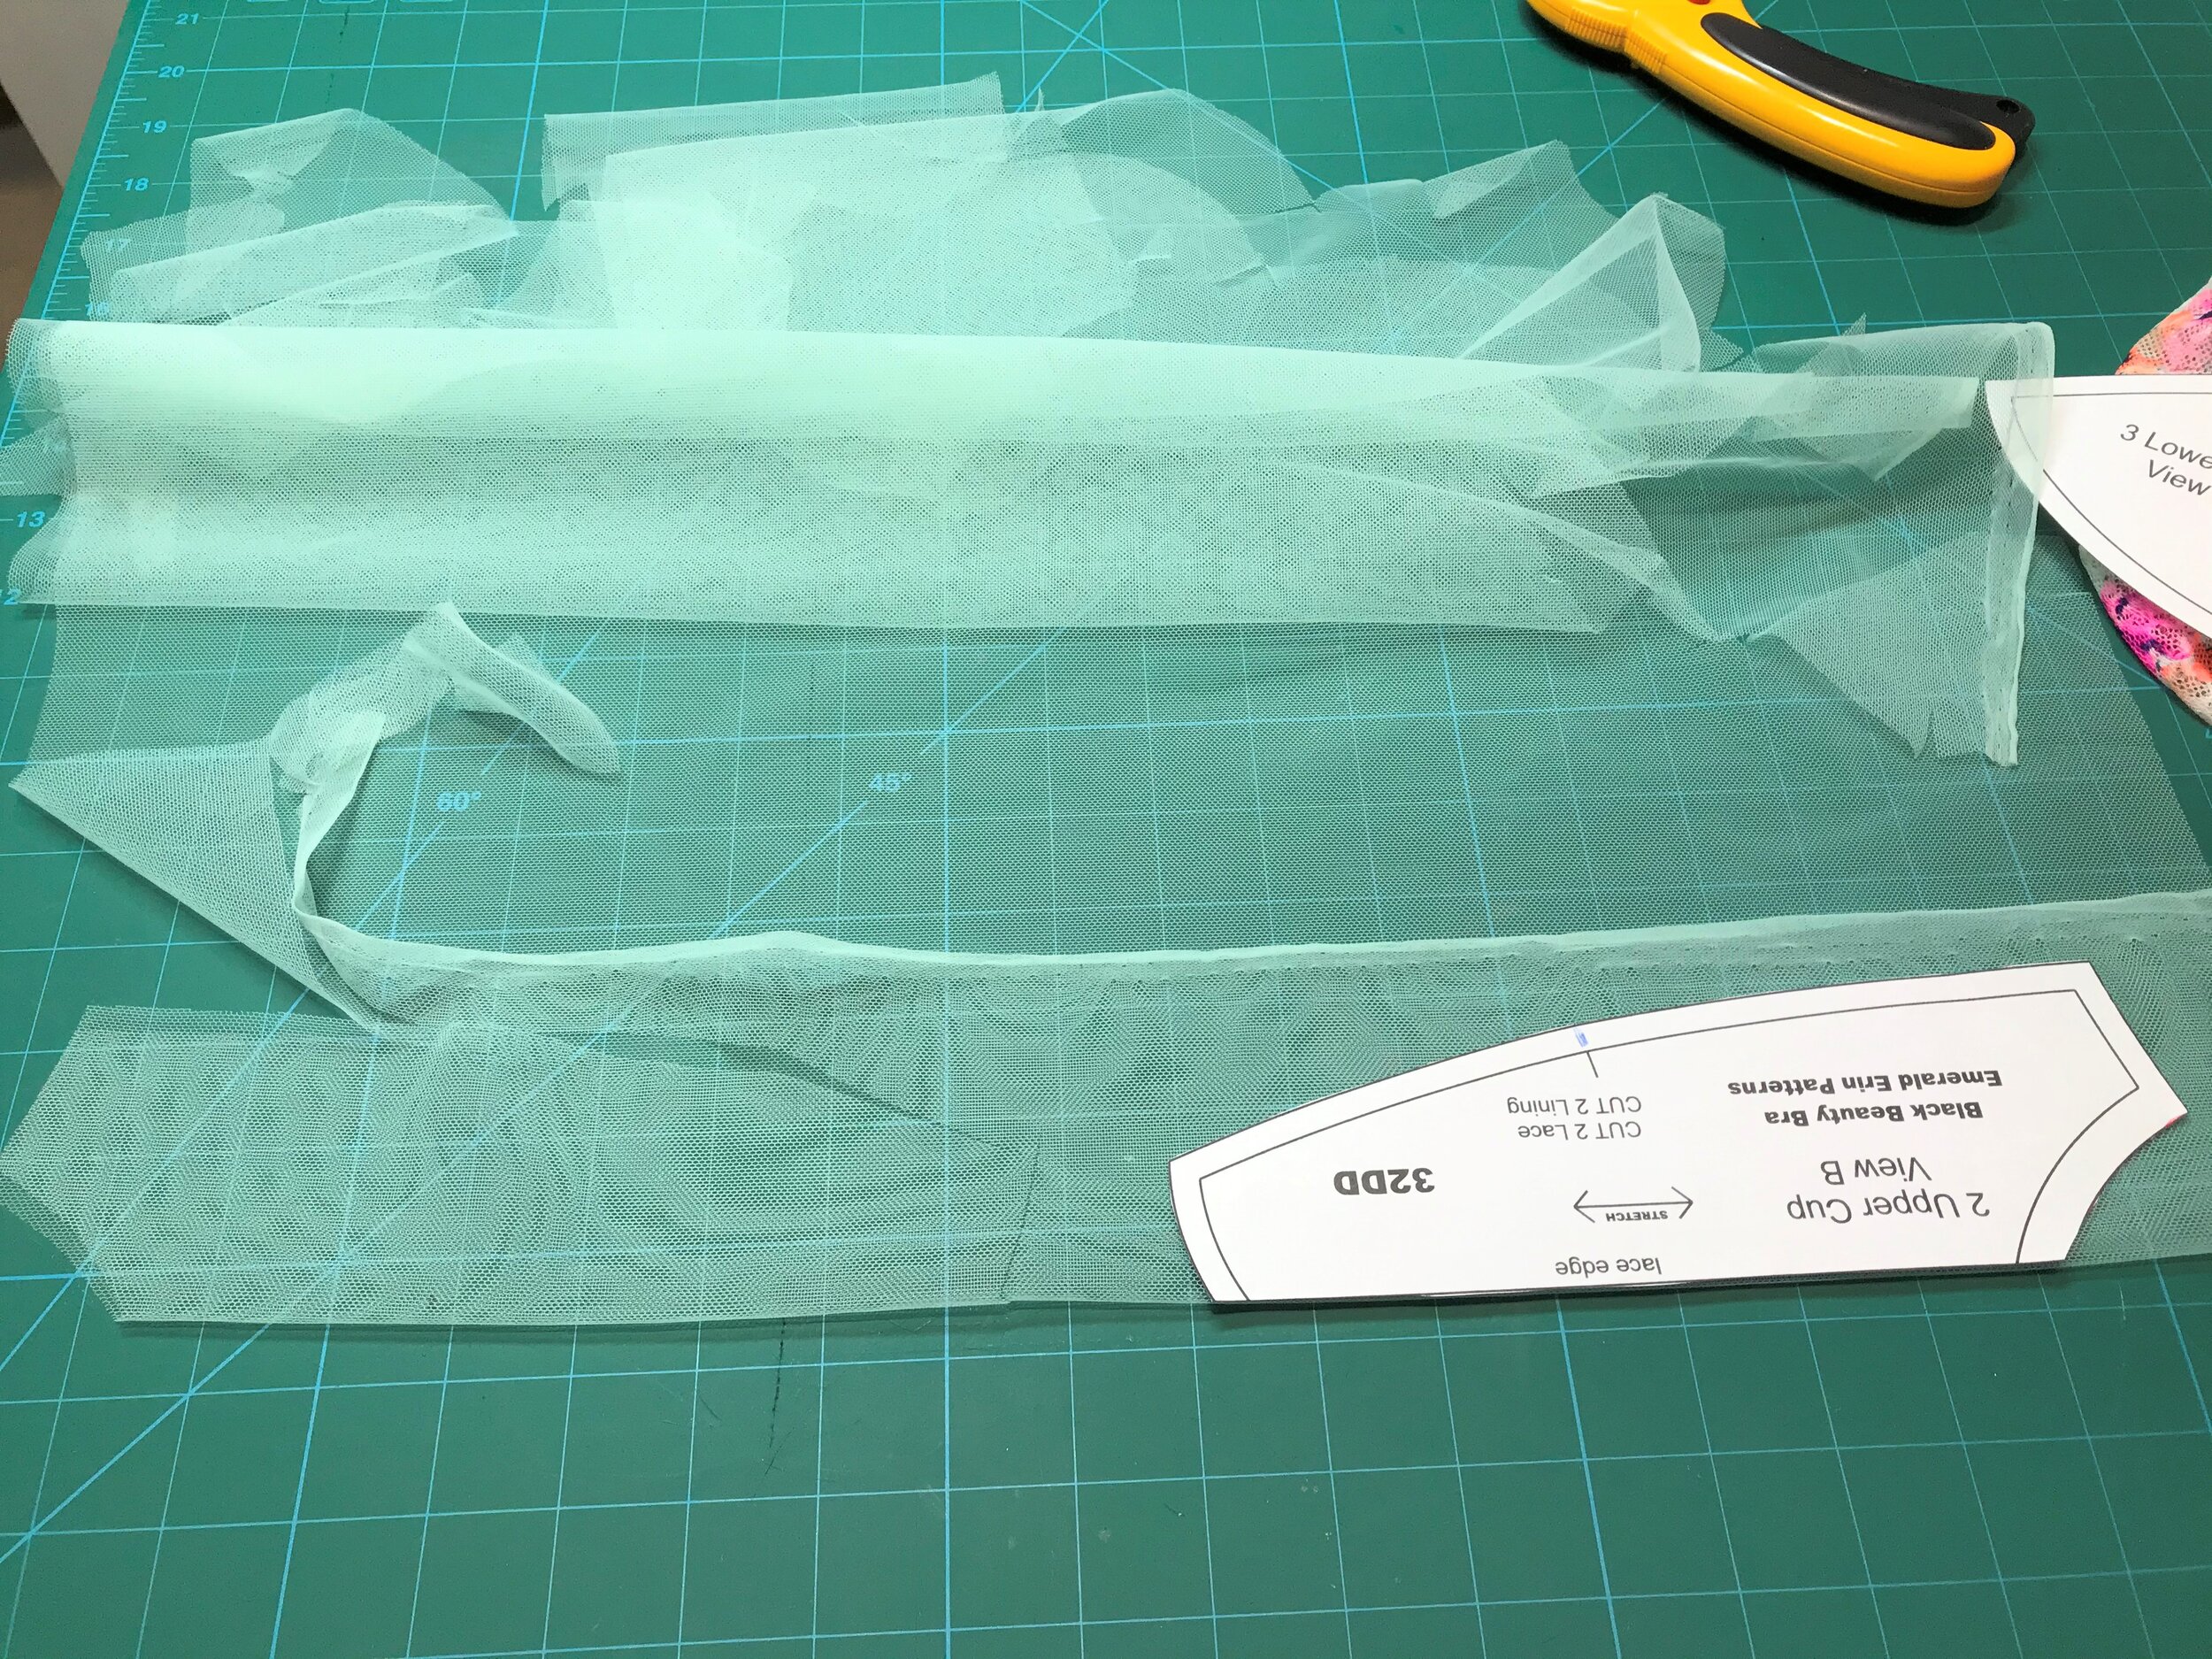
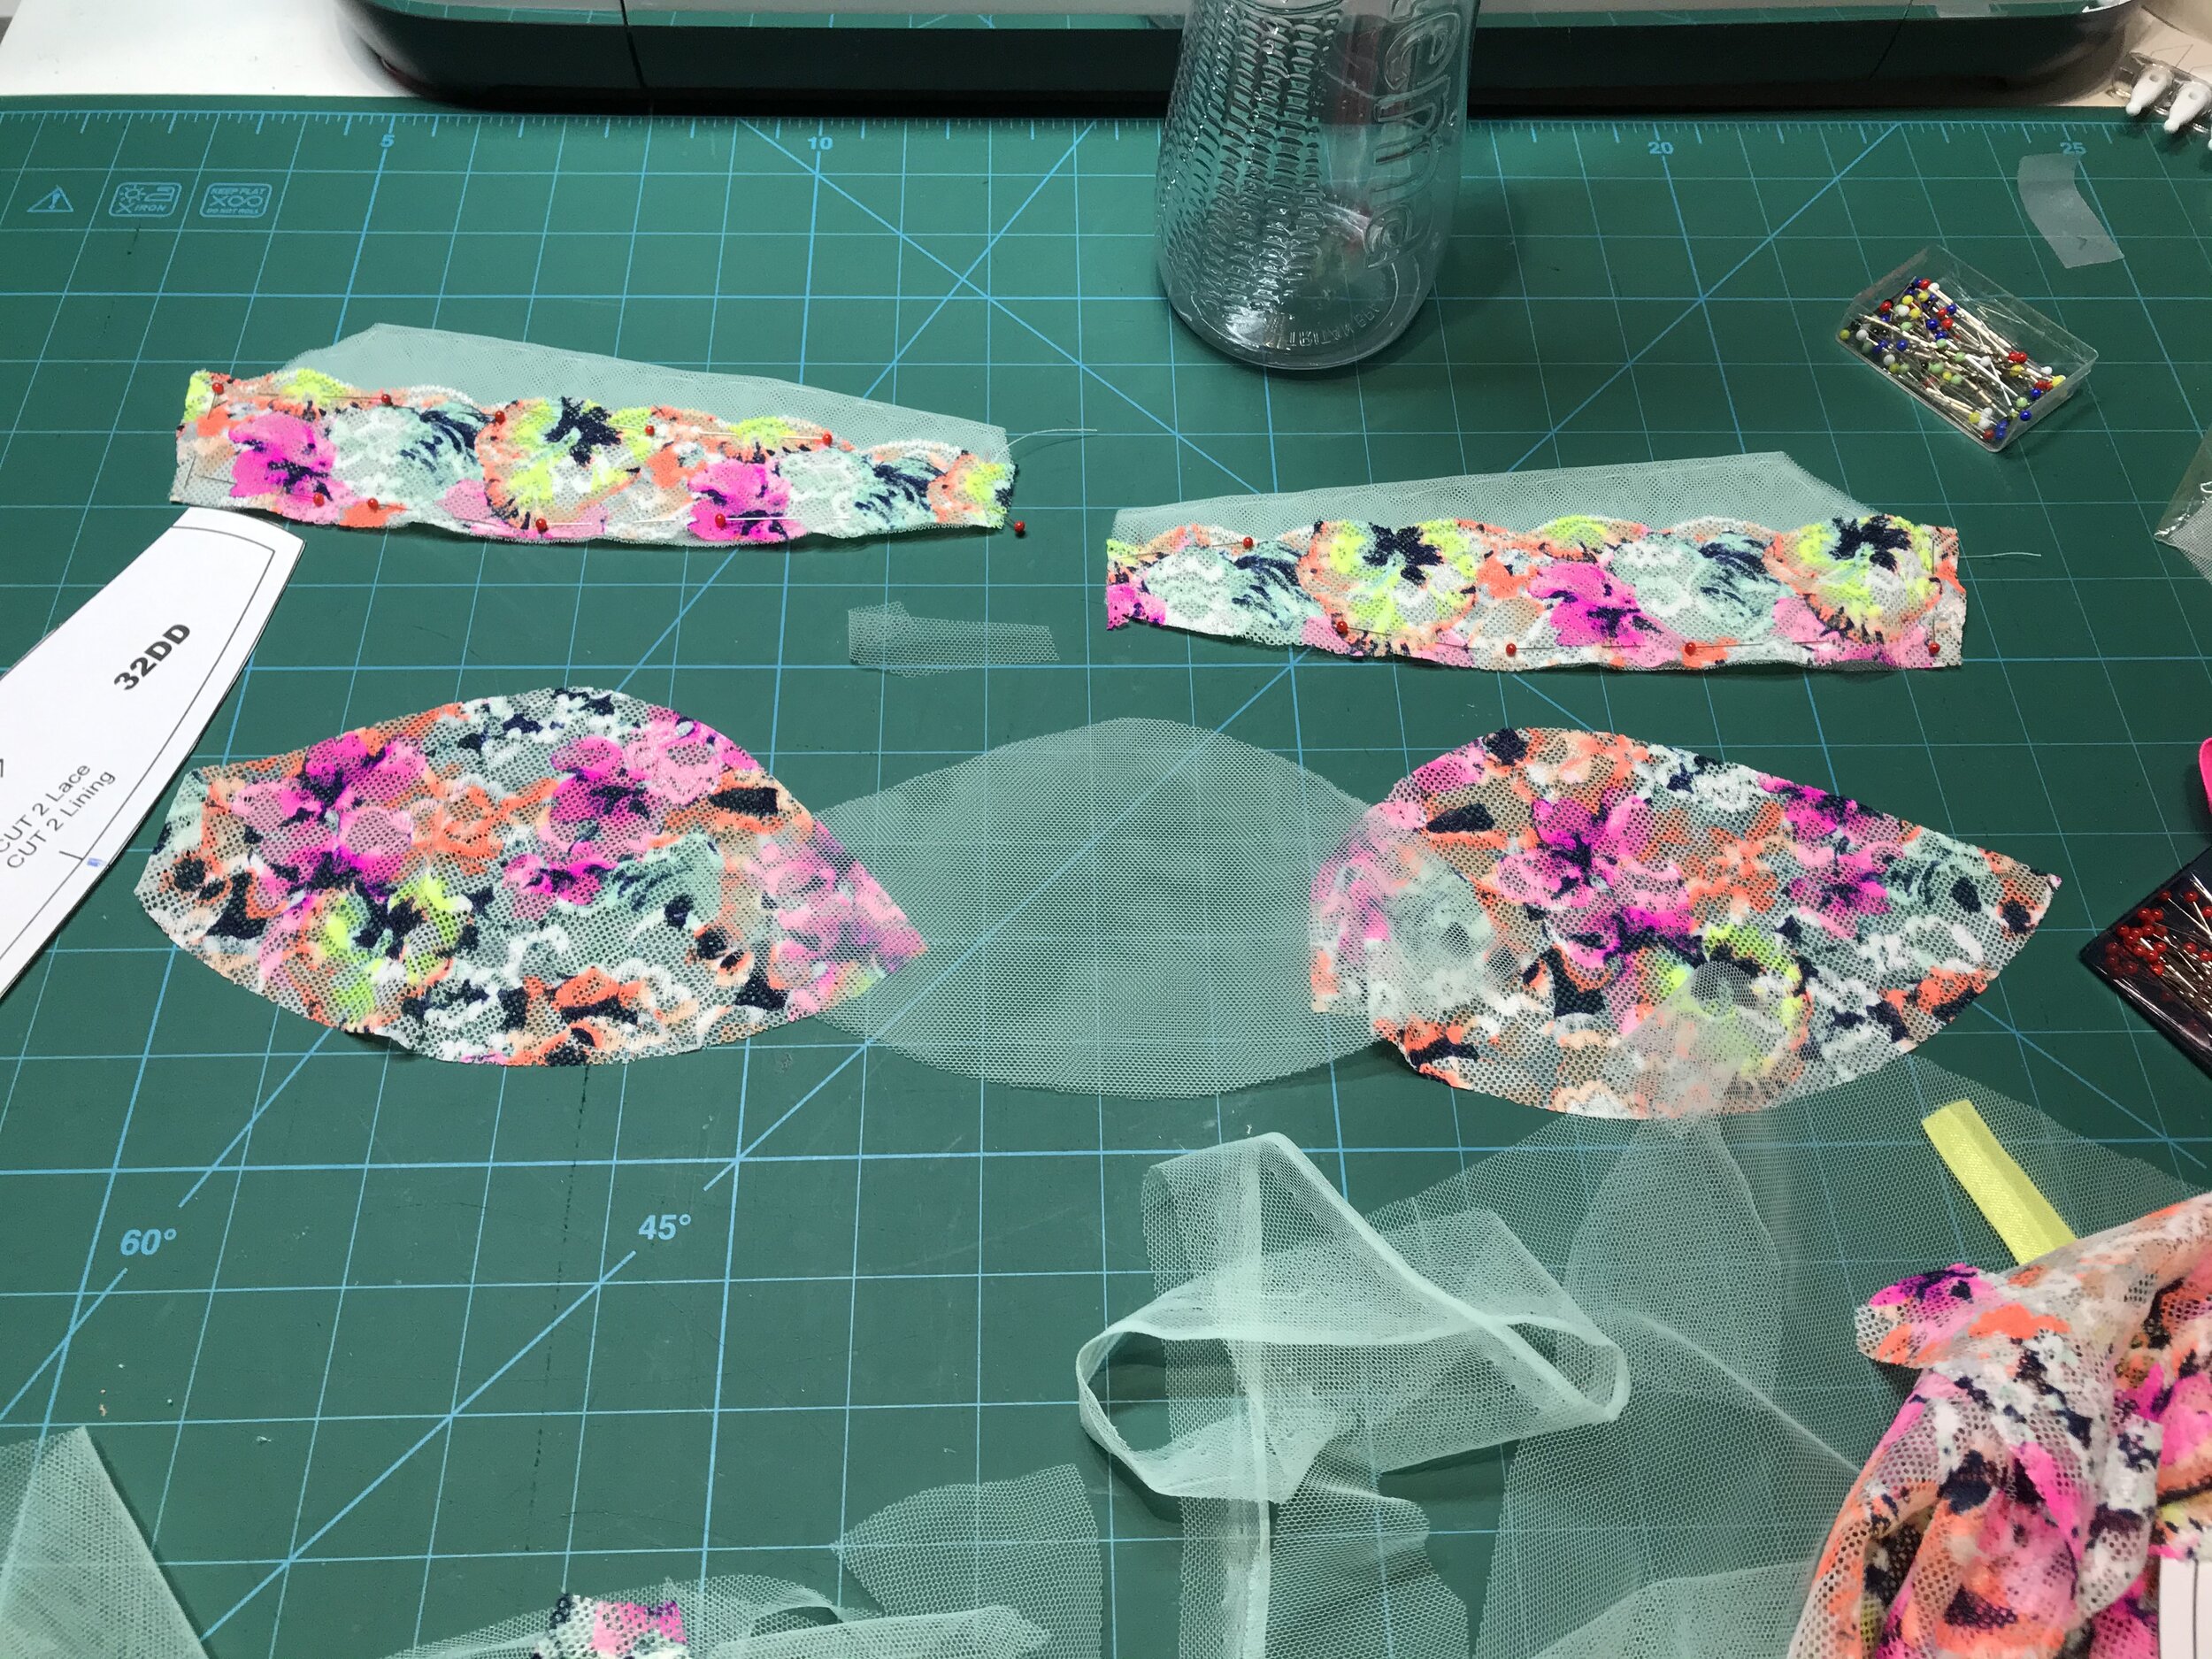
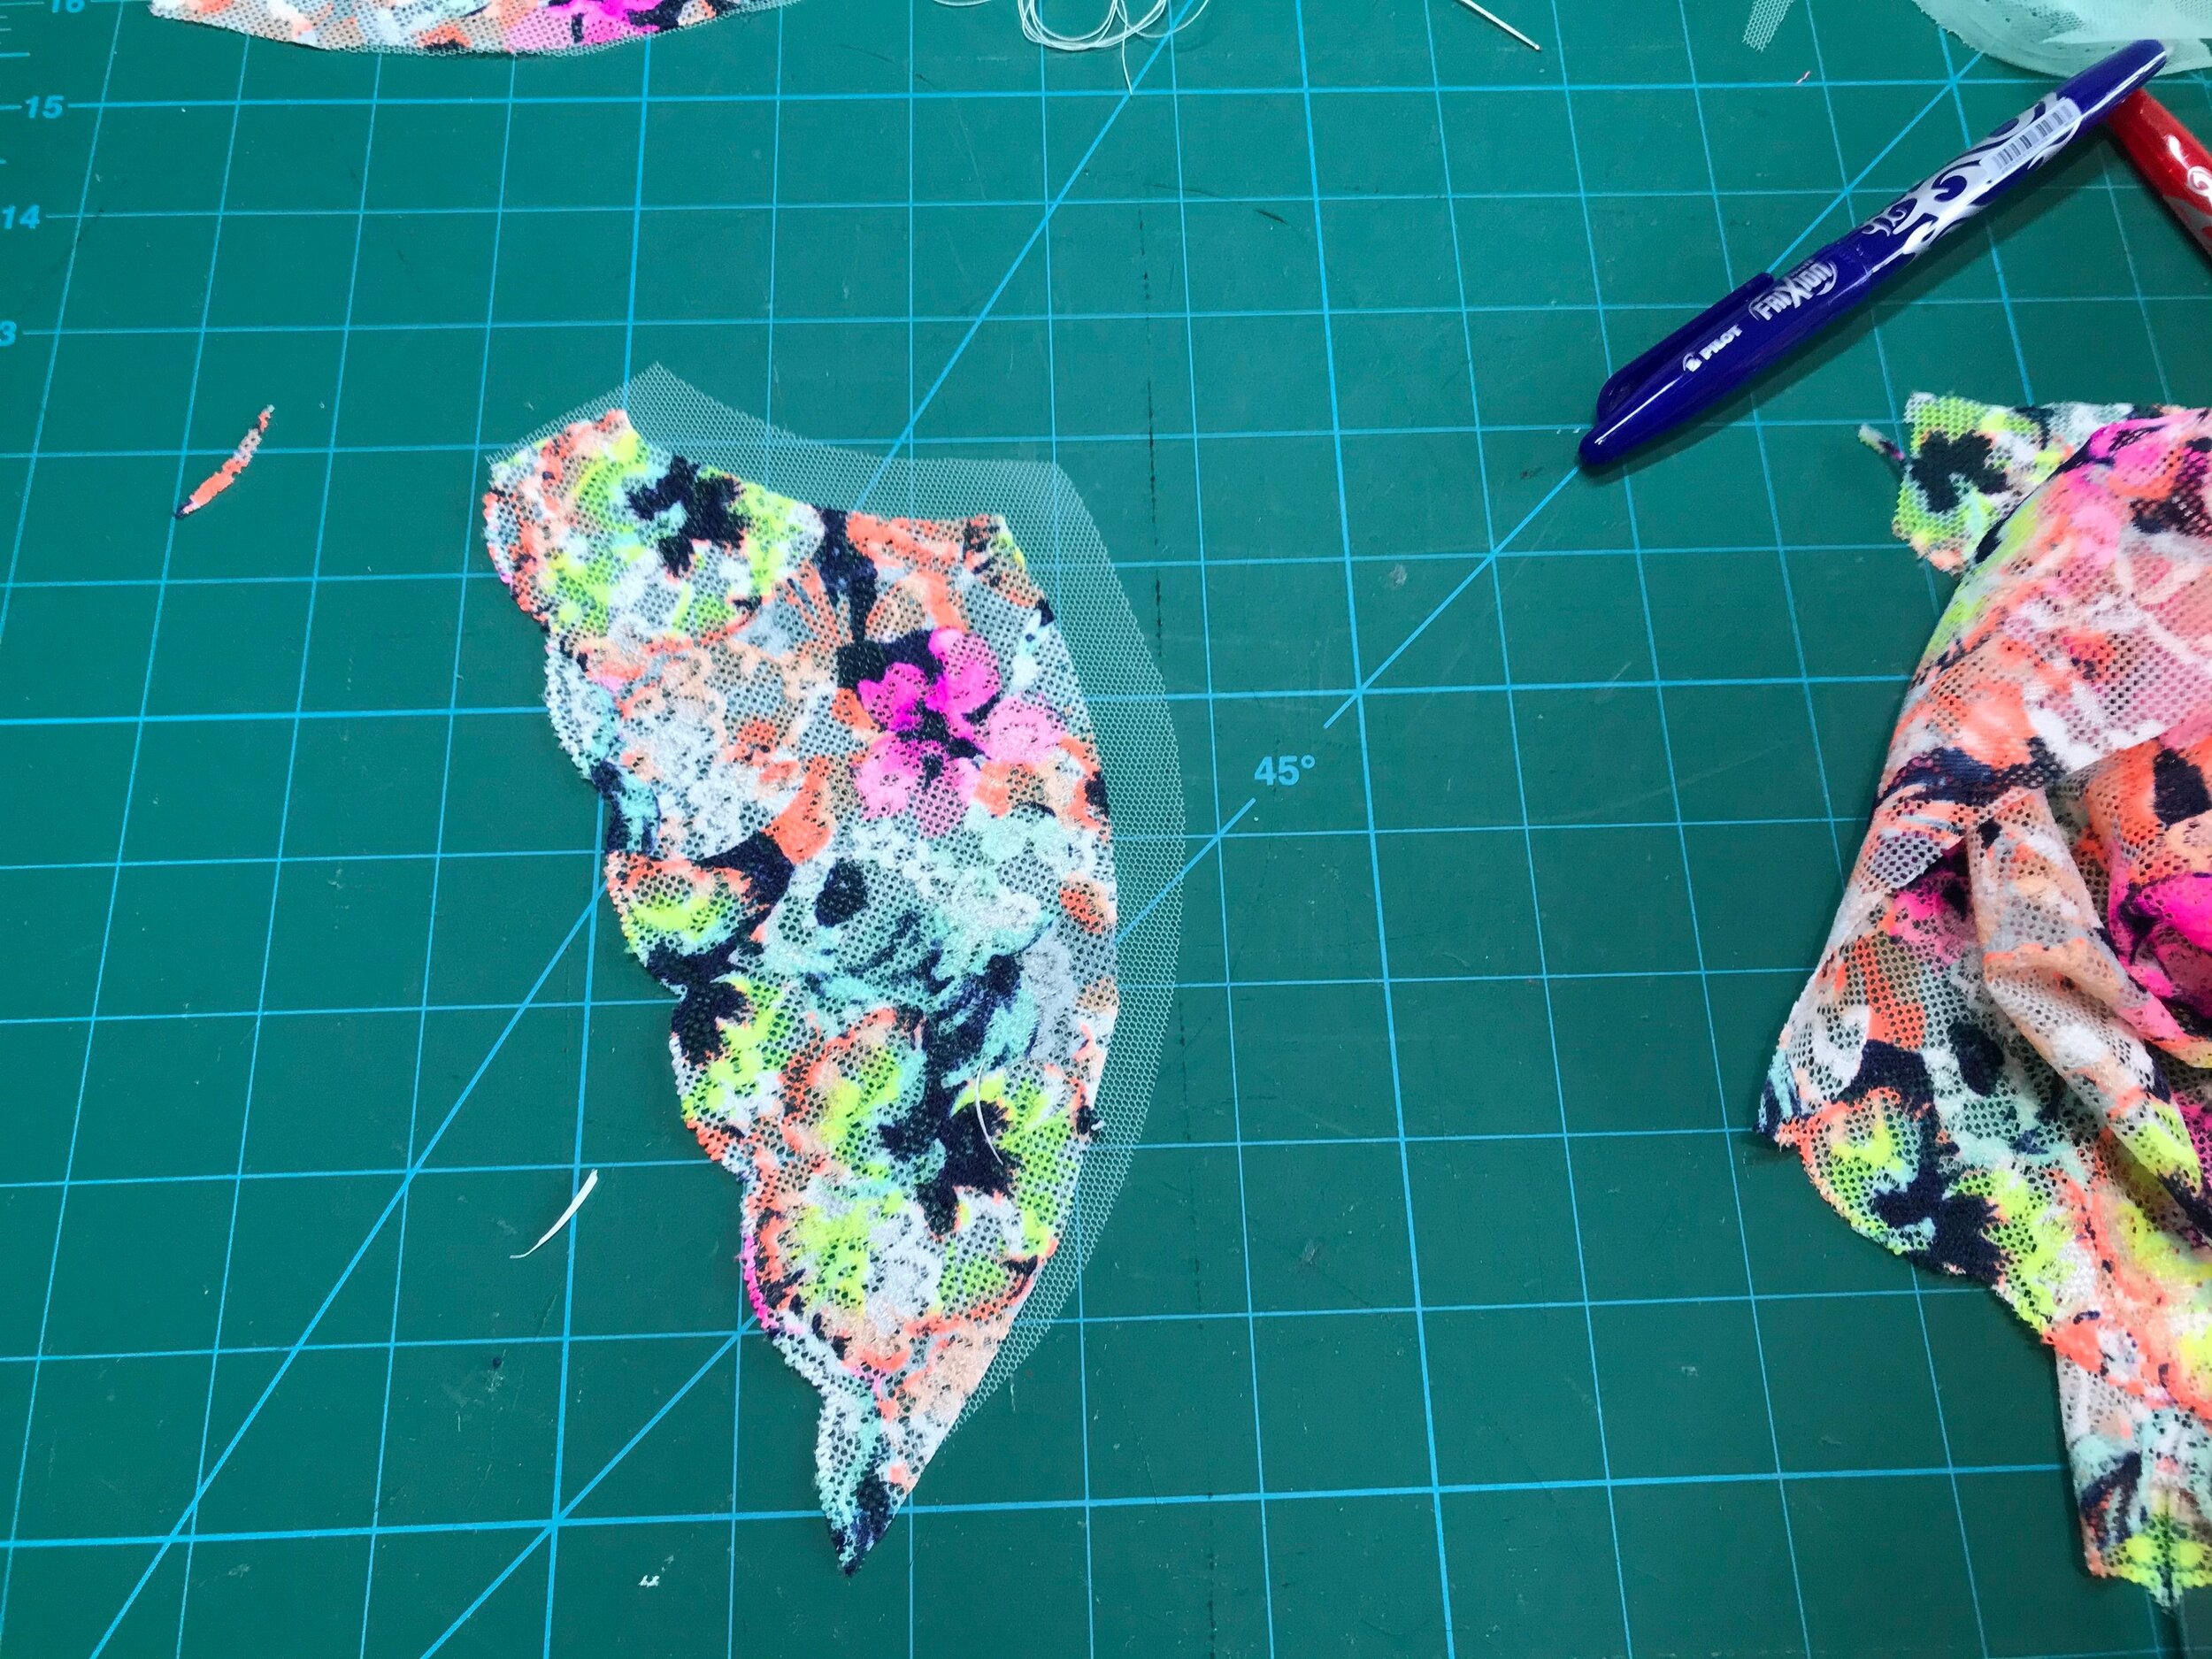
The neon lace from Tailor Made for this week is a stark contrast to the pale lilac of the previous week but the sun was out when I started and just said “please use me”. I had wanted to make a bra with a sheer edge cup and thought the Black Beauty (although it requires stable fabric) would be a good place to start as I could use a mixture of the two versions and tweak for the stretch lace. The first decision was to choose the tulle. I came across the pistachio I had left from a previous Black Beauty and I thought it would look perfect as it picked up the small amount of green in the neon.

I used two layers of folded tulle for each cup. To make sure the tulle folded flat I folded the smooth side over the less smooth side and then they stuck together. I placed the lace over the upper cup piece and cut in place that way up. Using a layer of lace and tulle I encased the upper cup.

I decided to use the lace edge on the power bar so, again, I placed over the pattern piece to get the low point of the scallop in the right place. Then I cut the tulle from this piece. This then influenced which colour elastic to use as the yellow looked better underneath than the pink. With the cups done I moved on to deciding how to make the cradle and bands.

Deciding on the mint fastener I first had to adjust the back band to accommodate the extra height. I decided to use the lace for the back bands together with a layer of soft powernet. Rather than use the lace all over I decided to bring in some more tulle and used this on the bridge. For stability I used two layers as one with sheer cup lining for stability. Again the yellow elastic looked better under the tulle. The beige channeling was chosen as this was the least obtrusive. To keep the front edge clean I closed off, sewing through the channeling and seam allowance only and then hand stitched to the front .

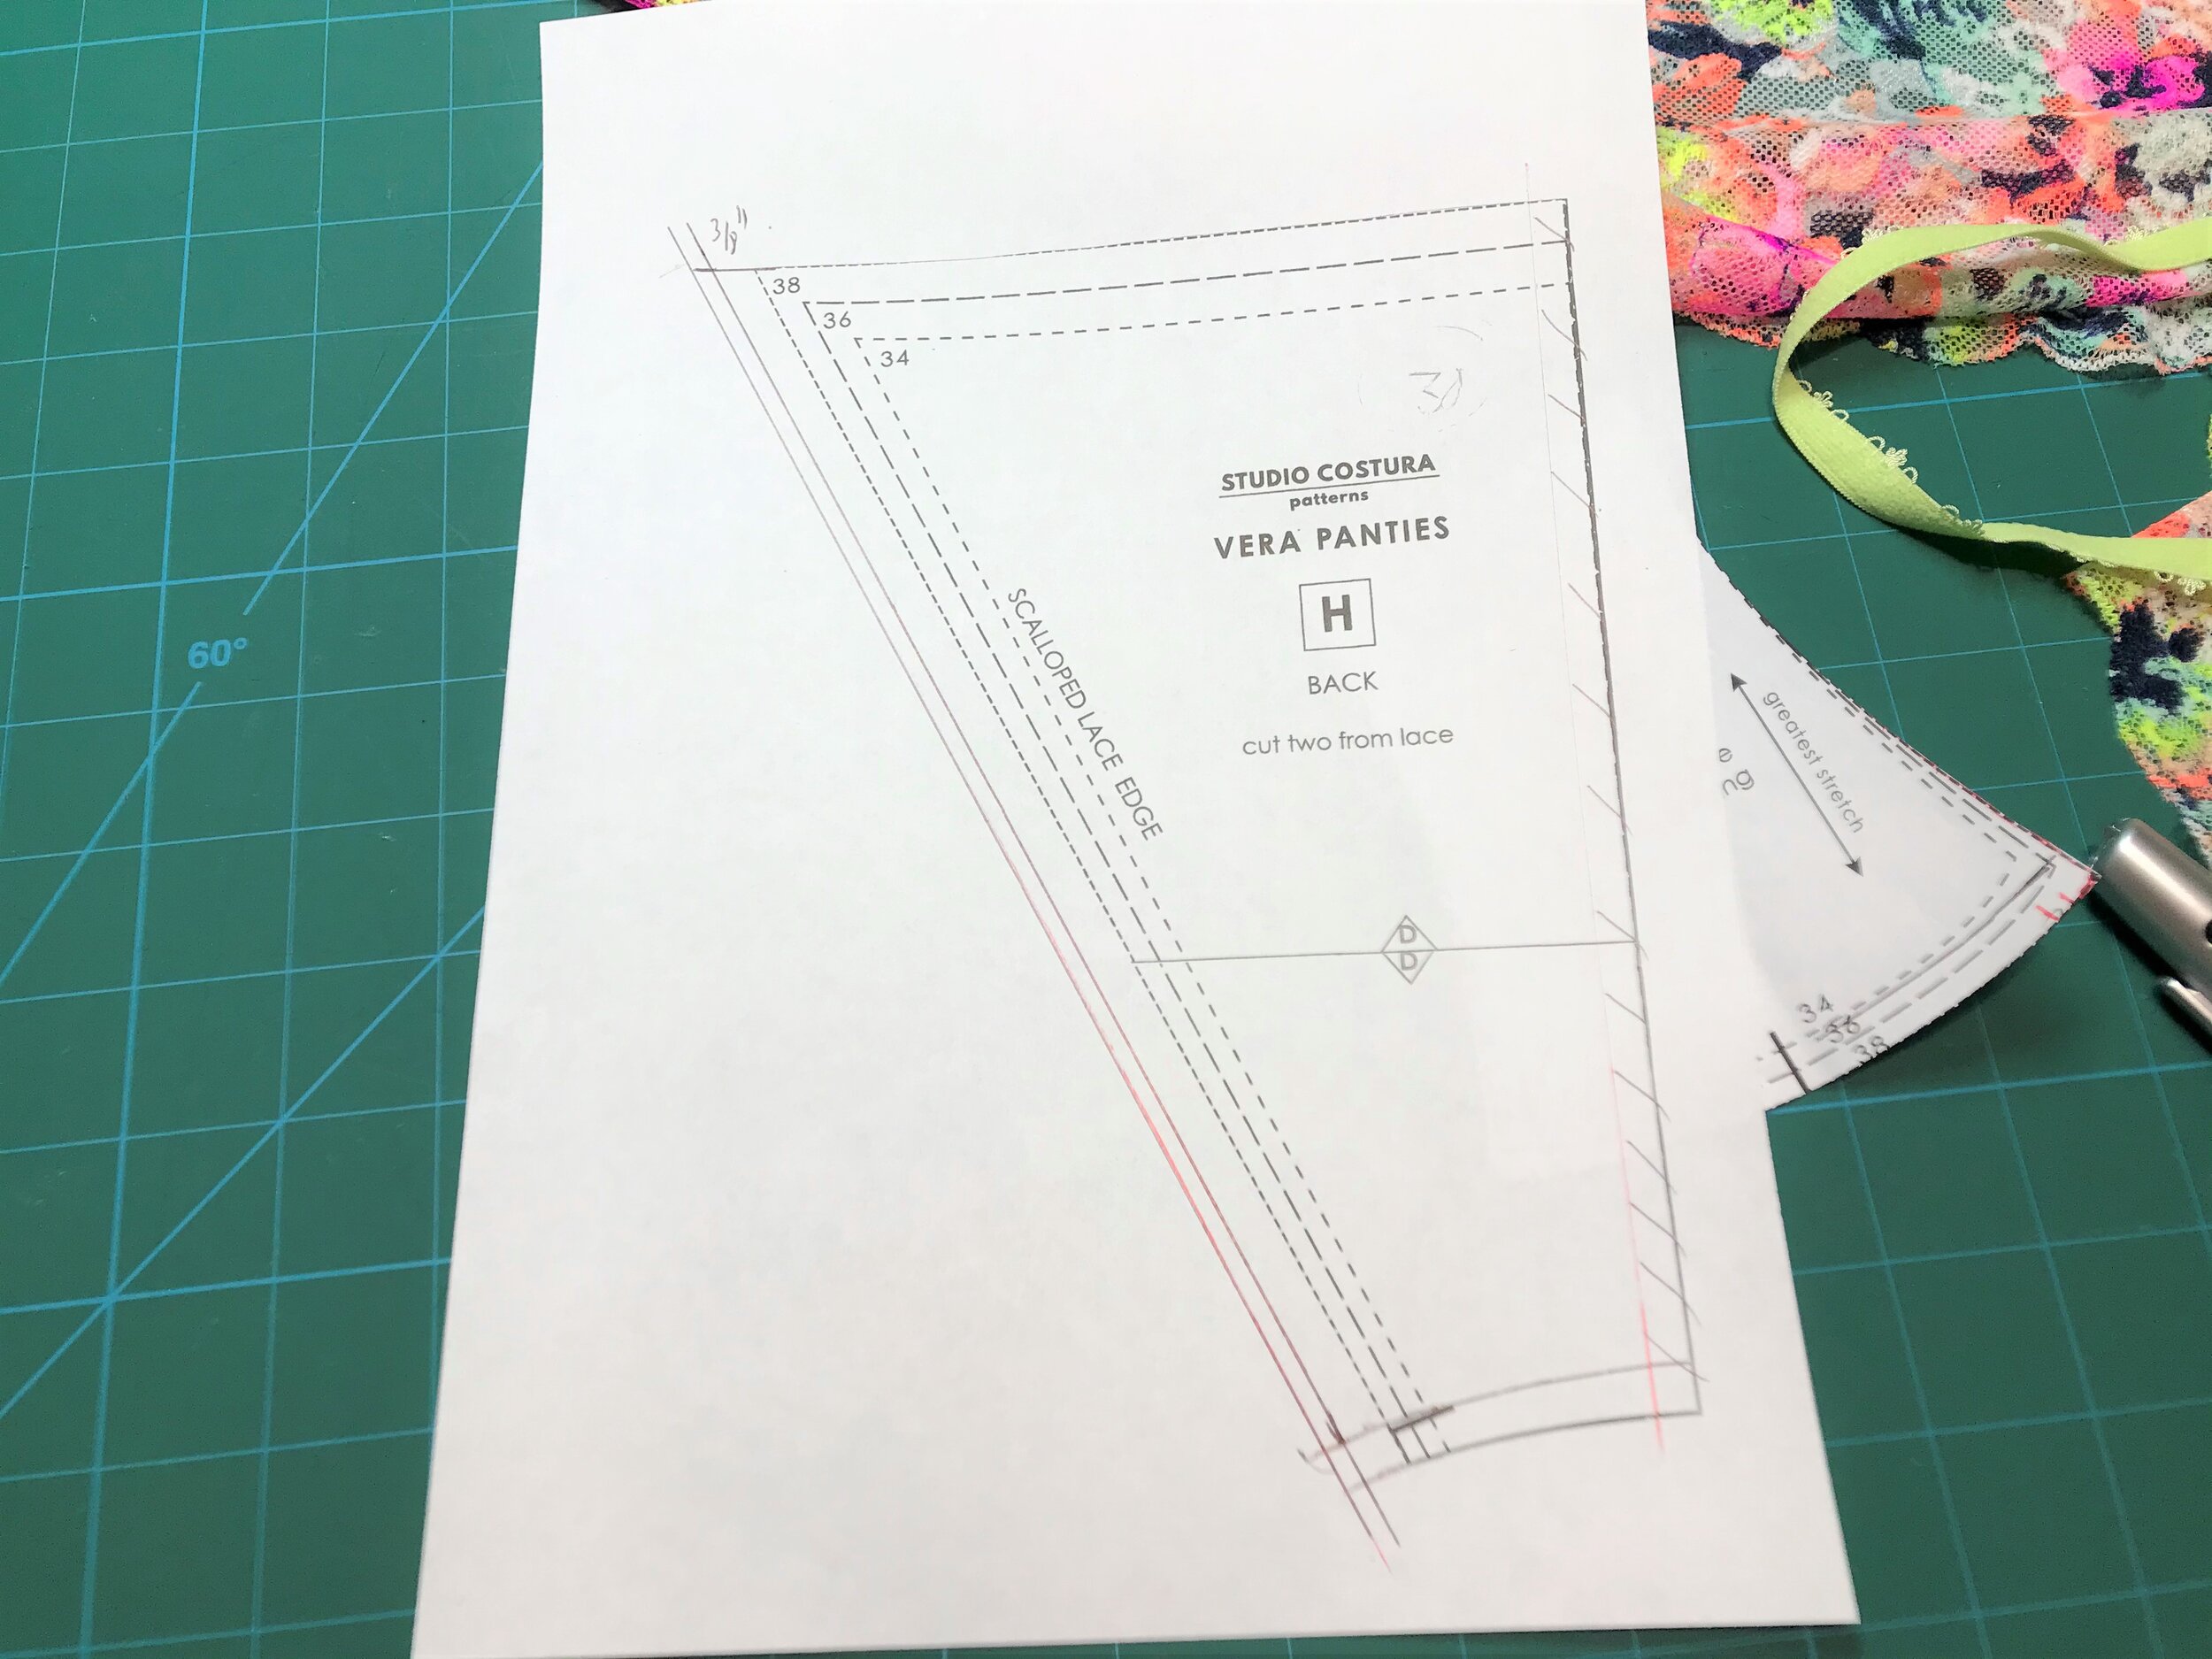
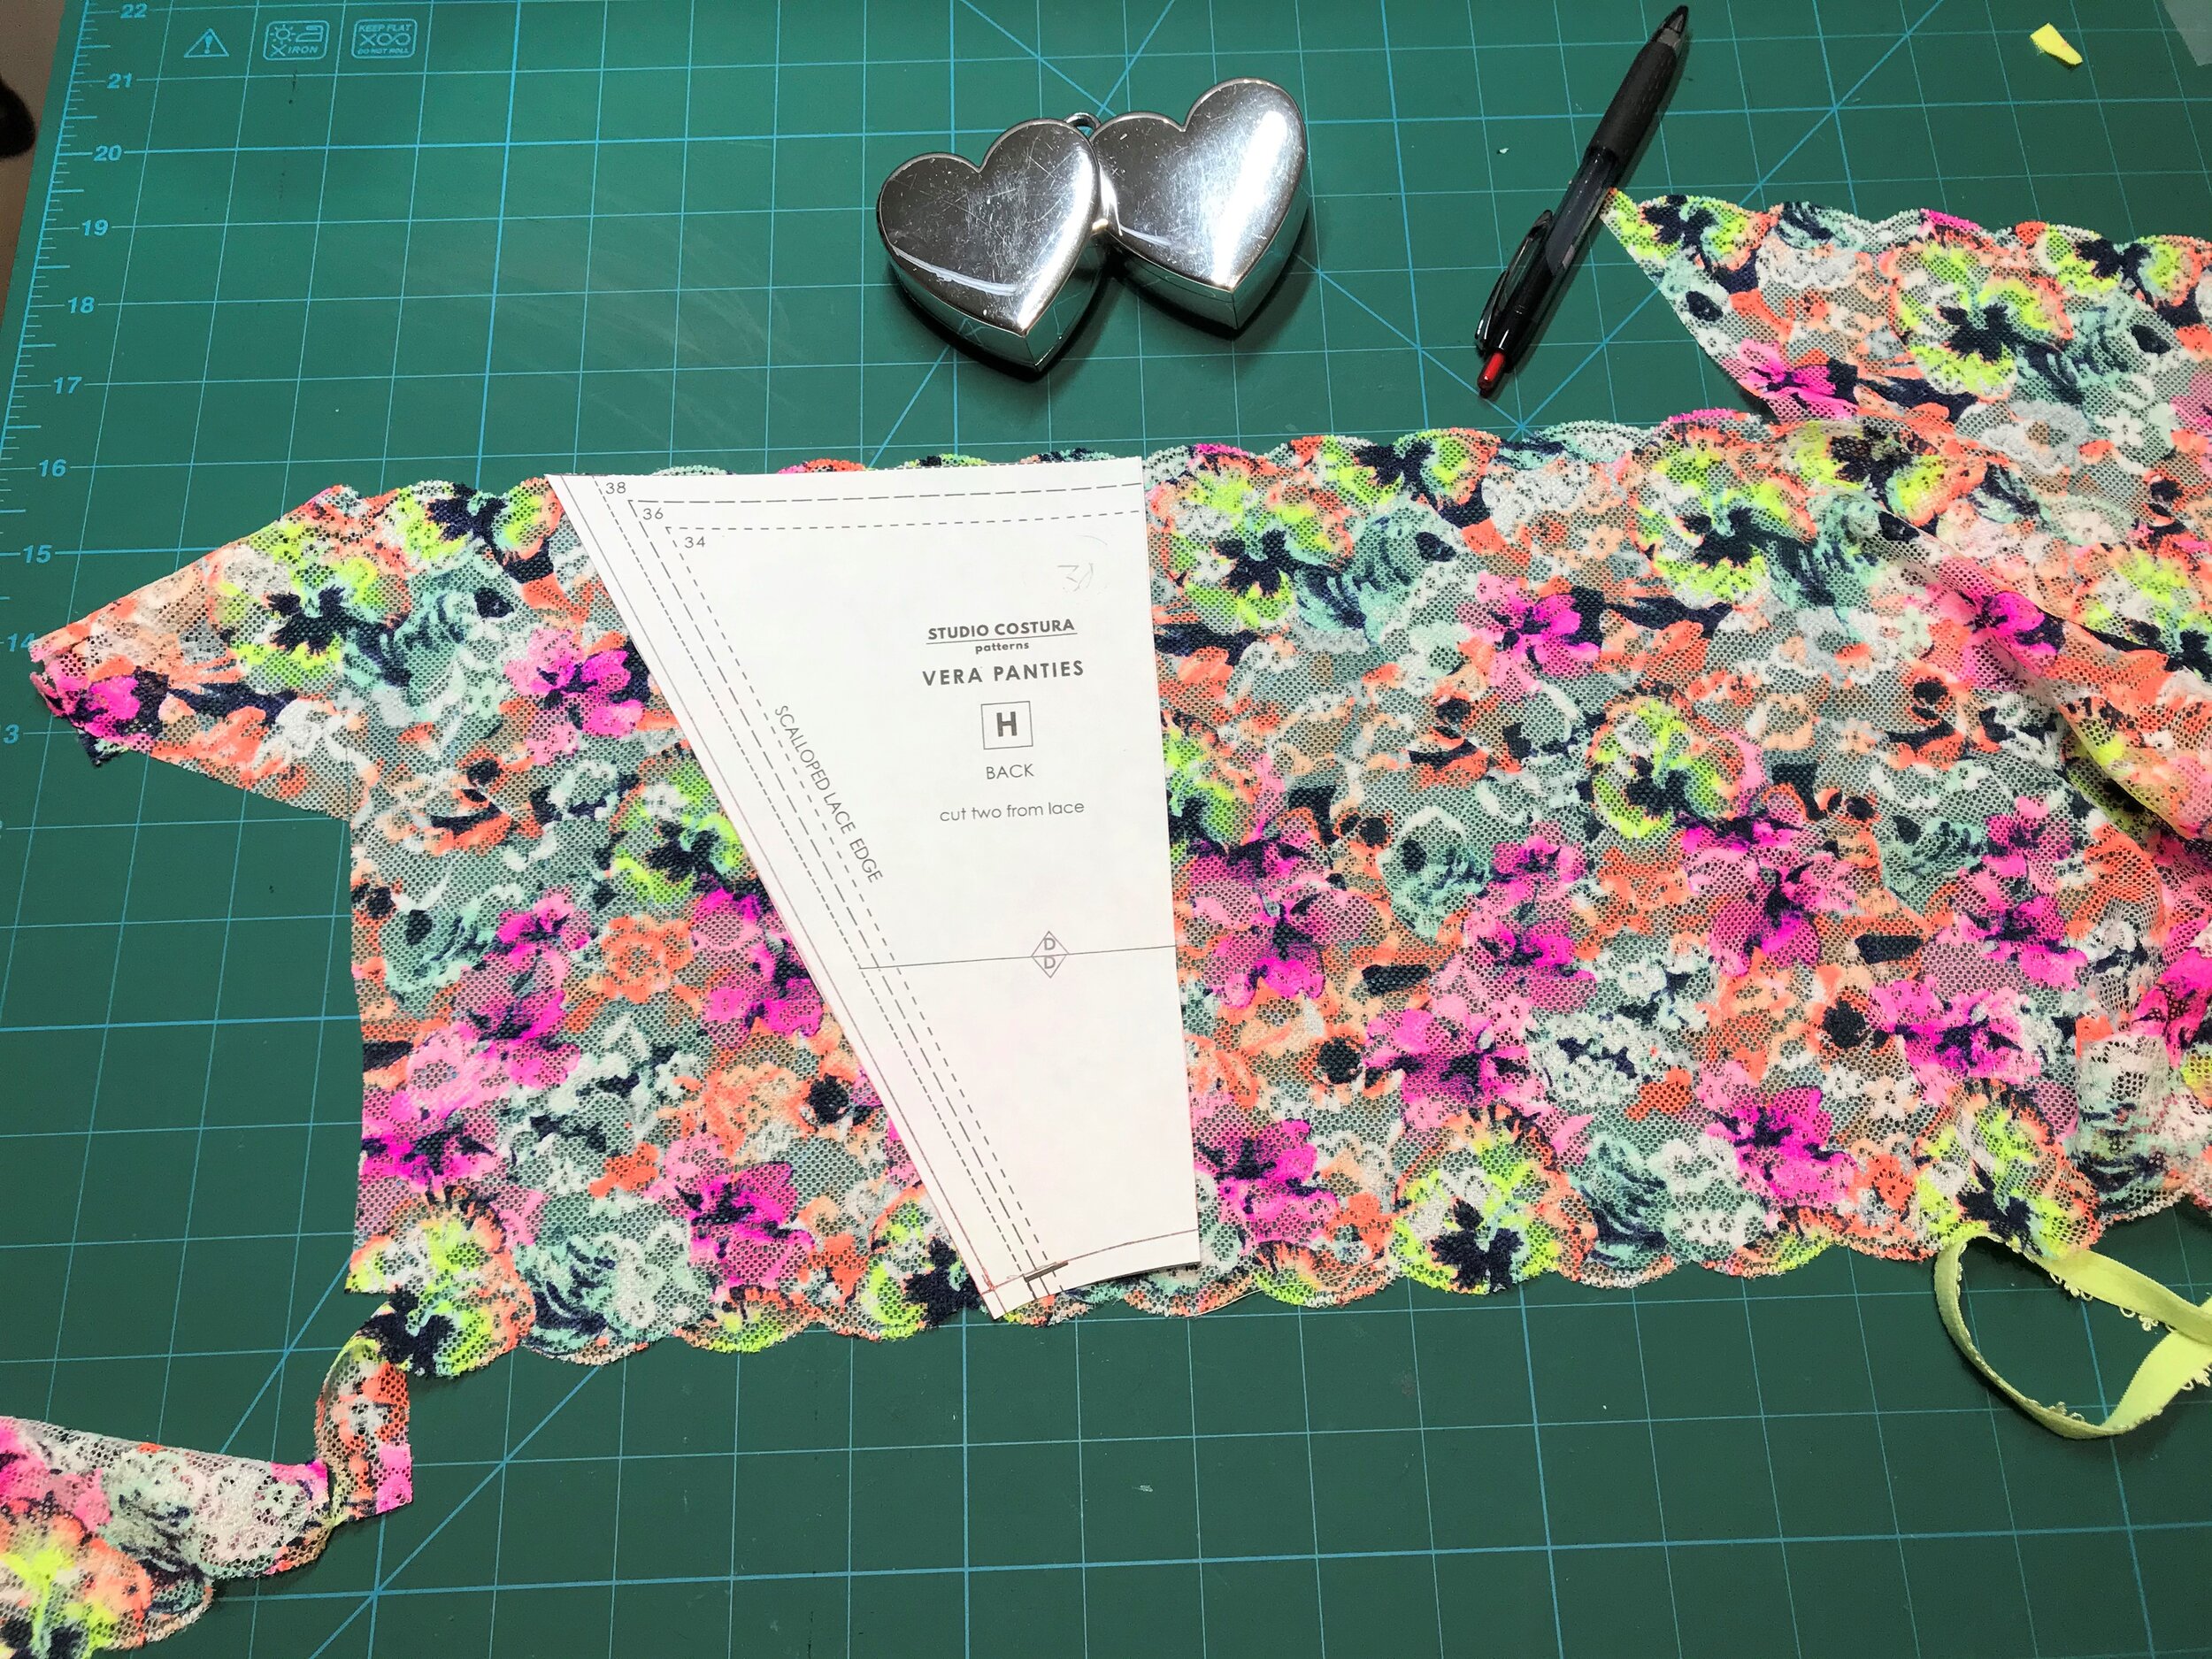
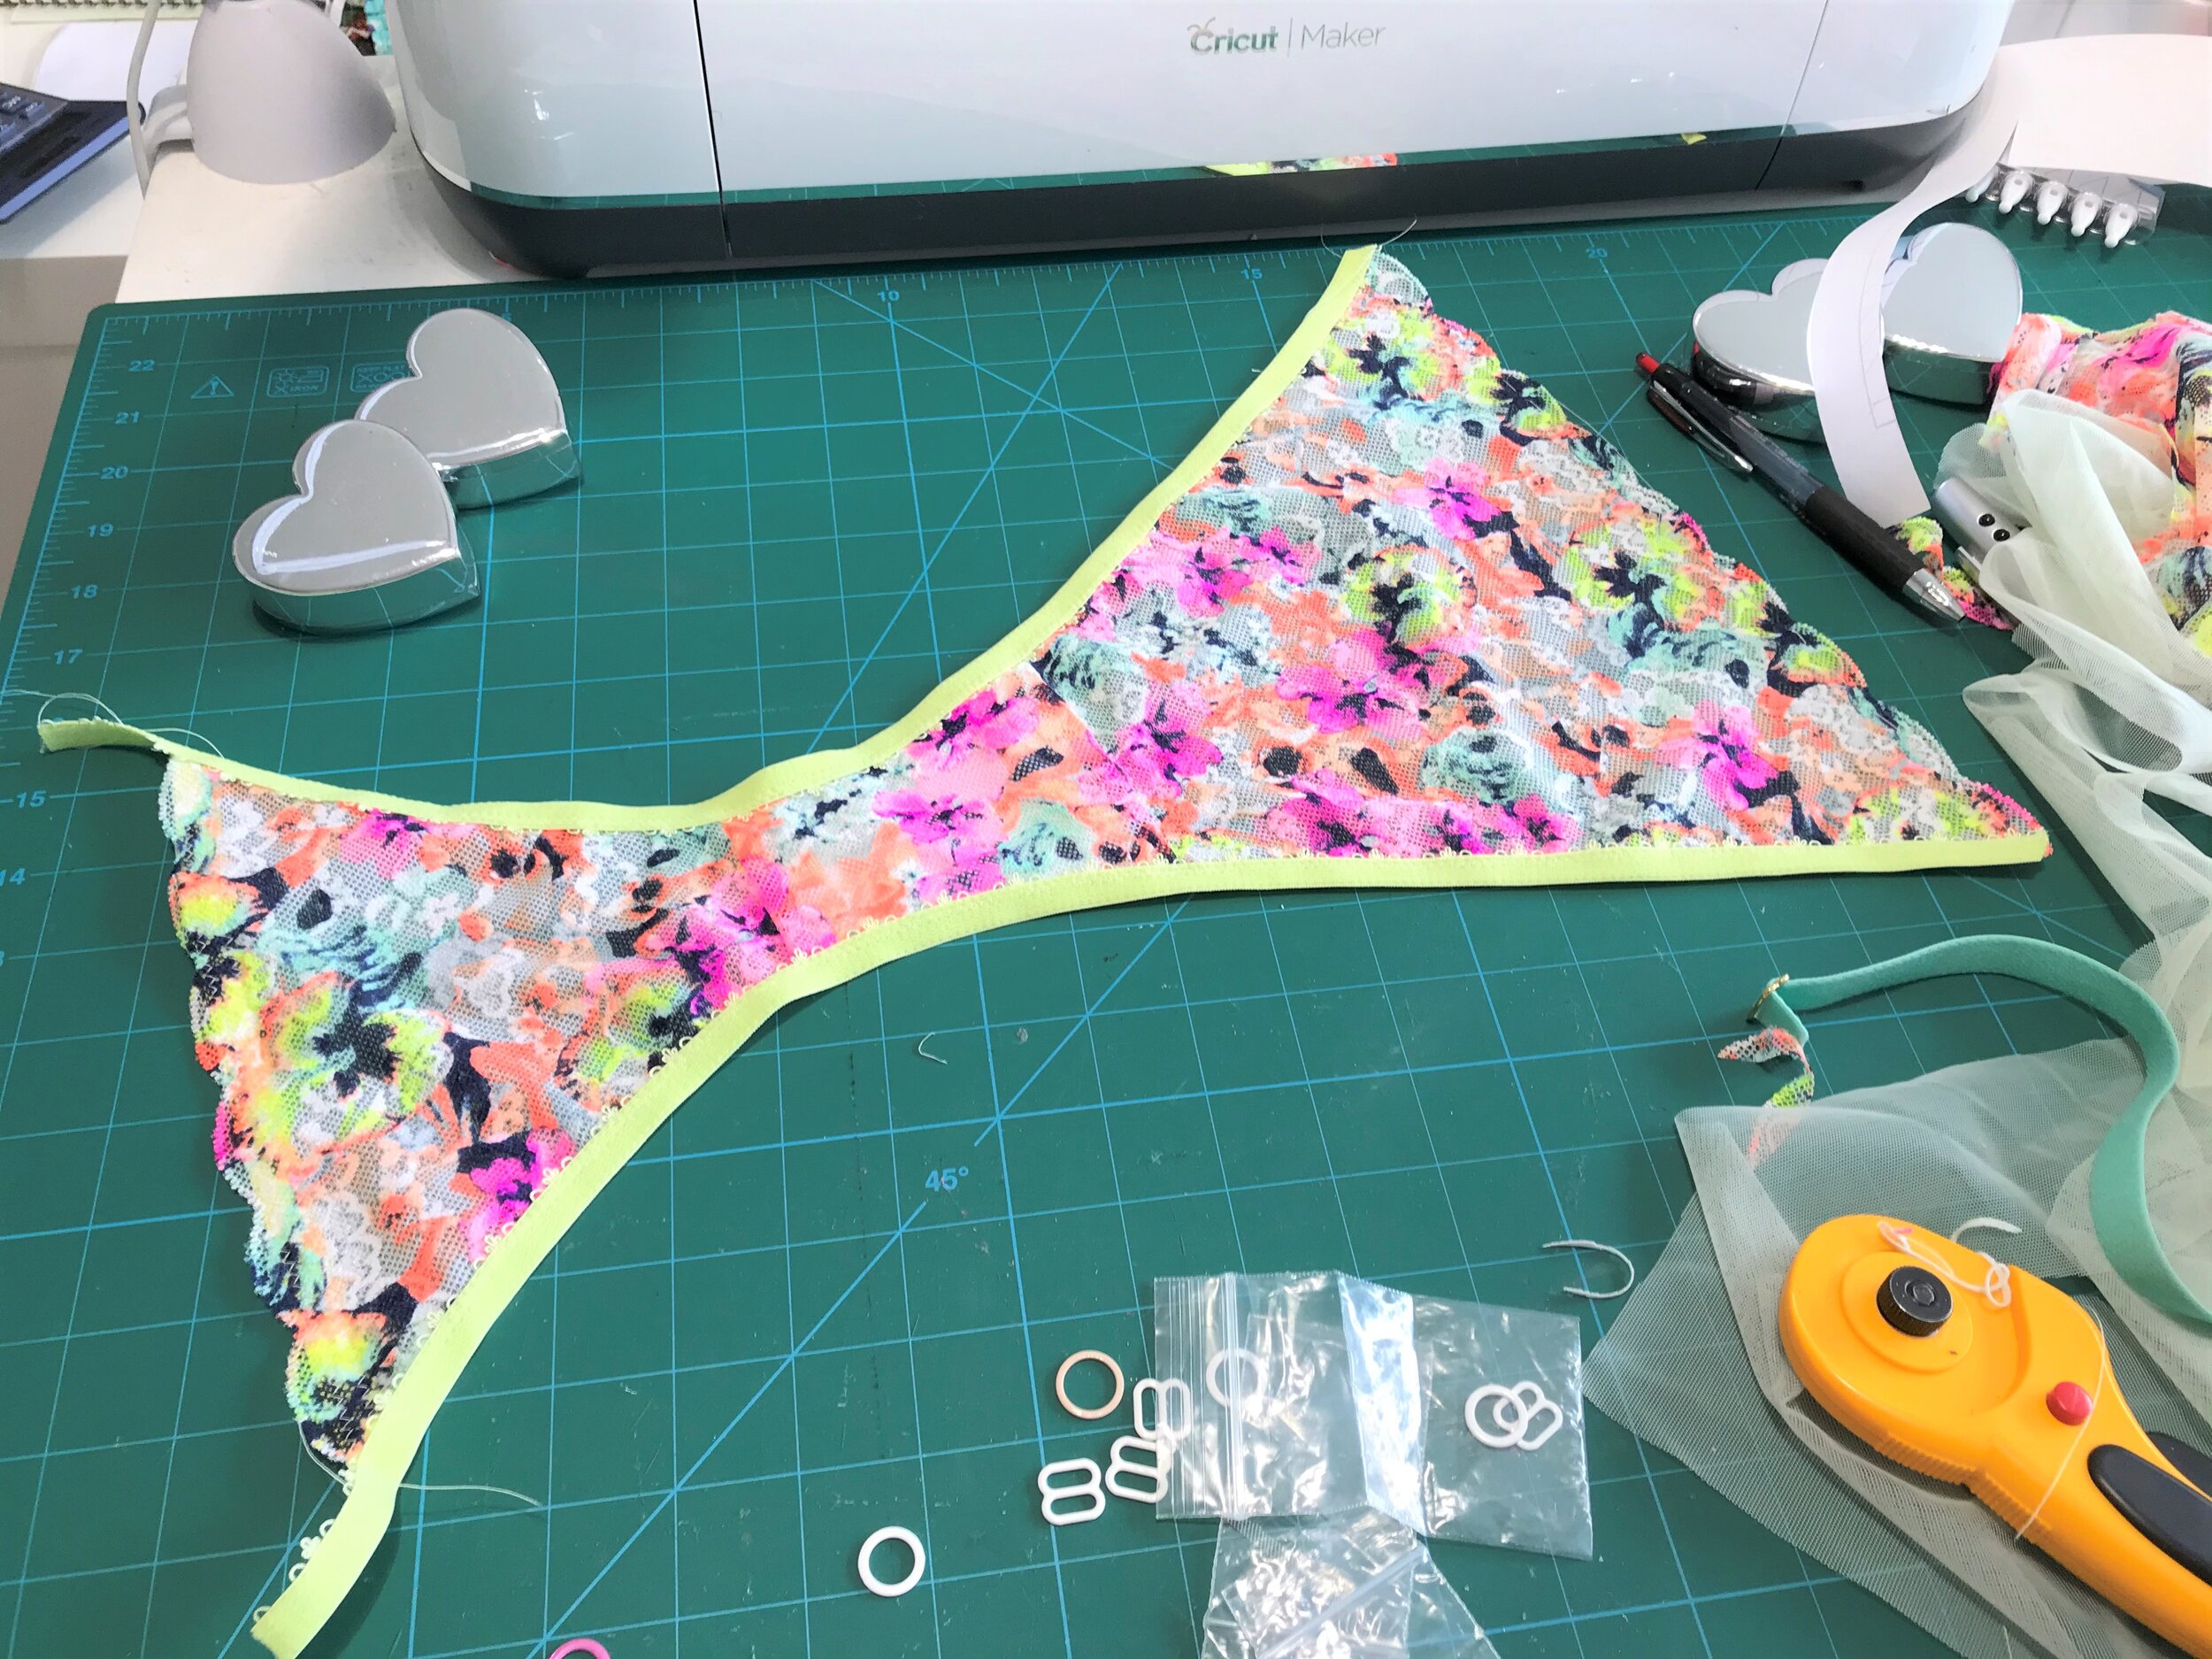
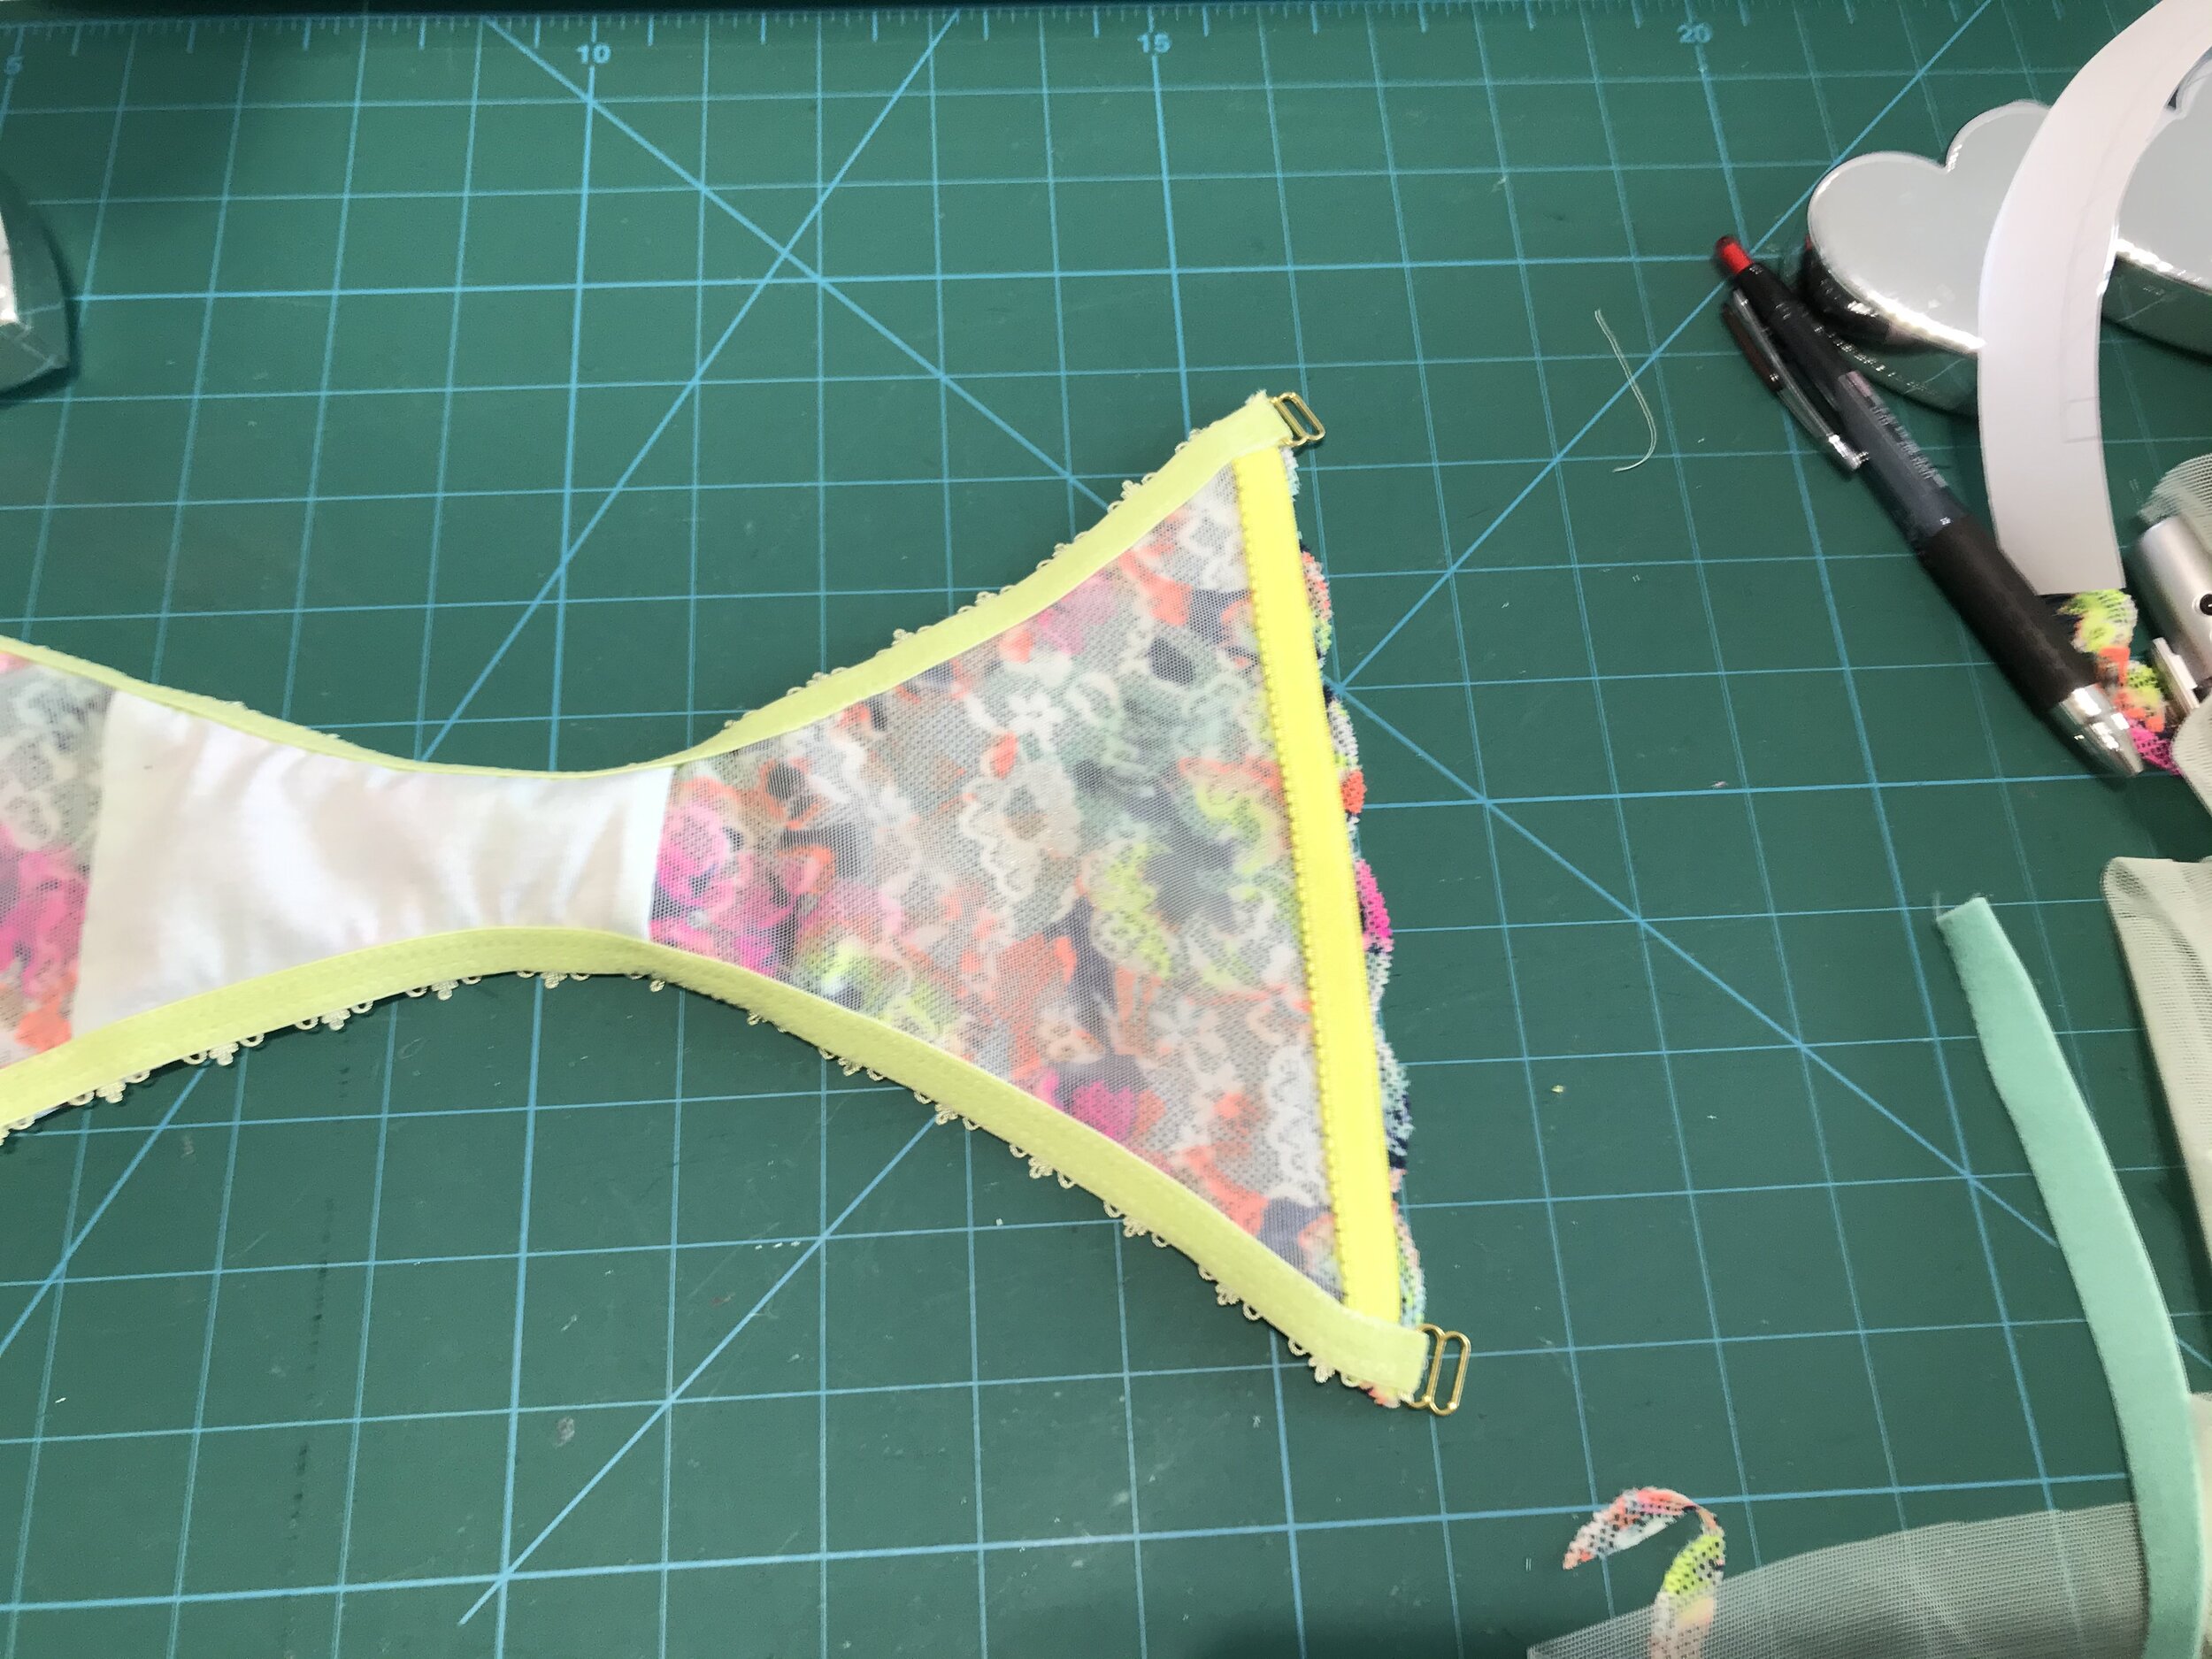
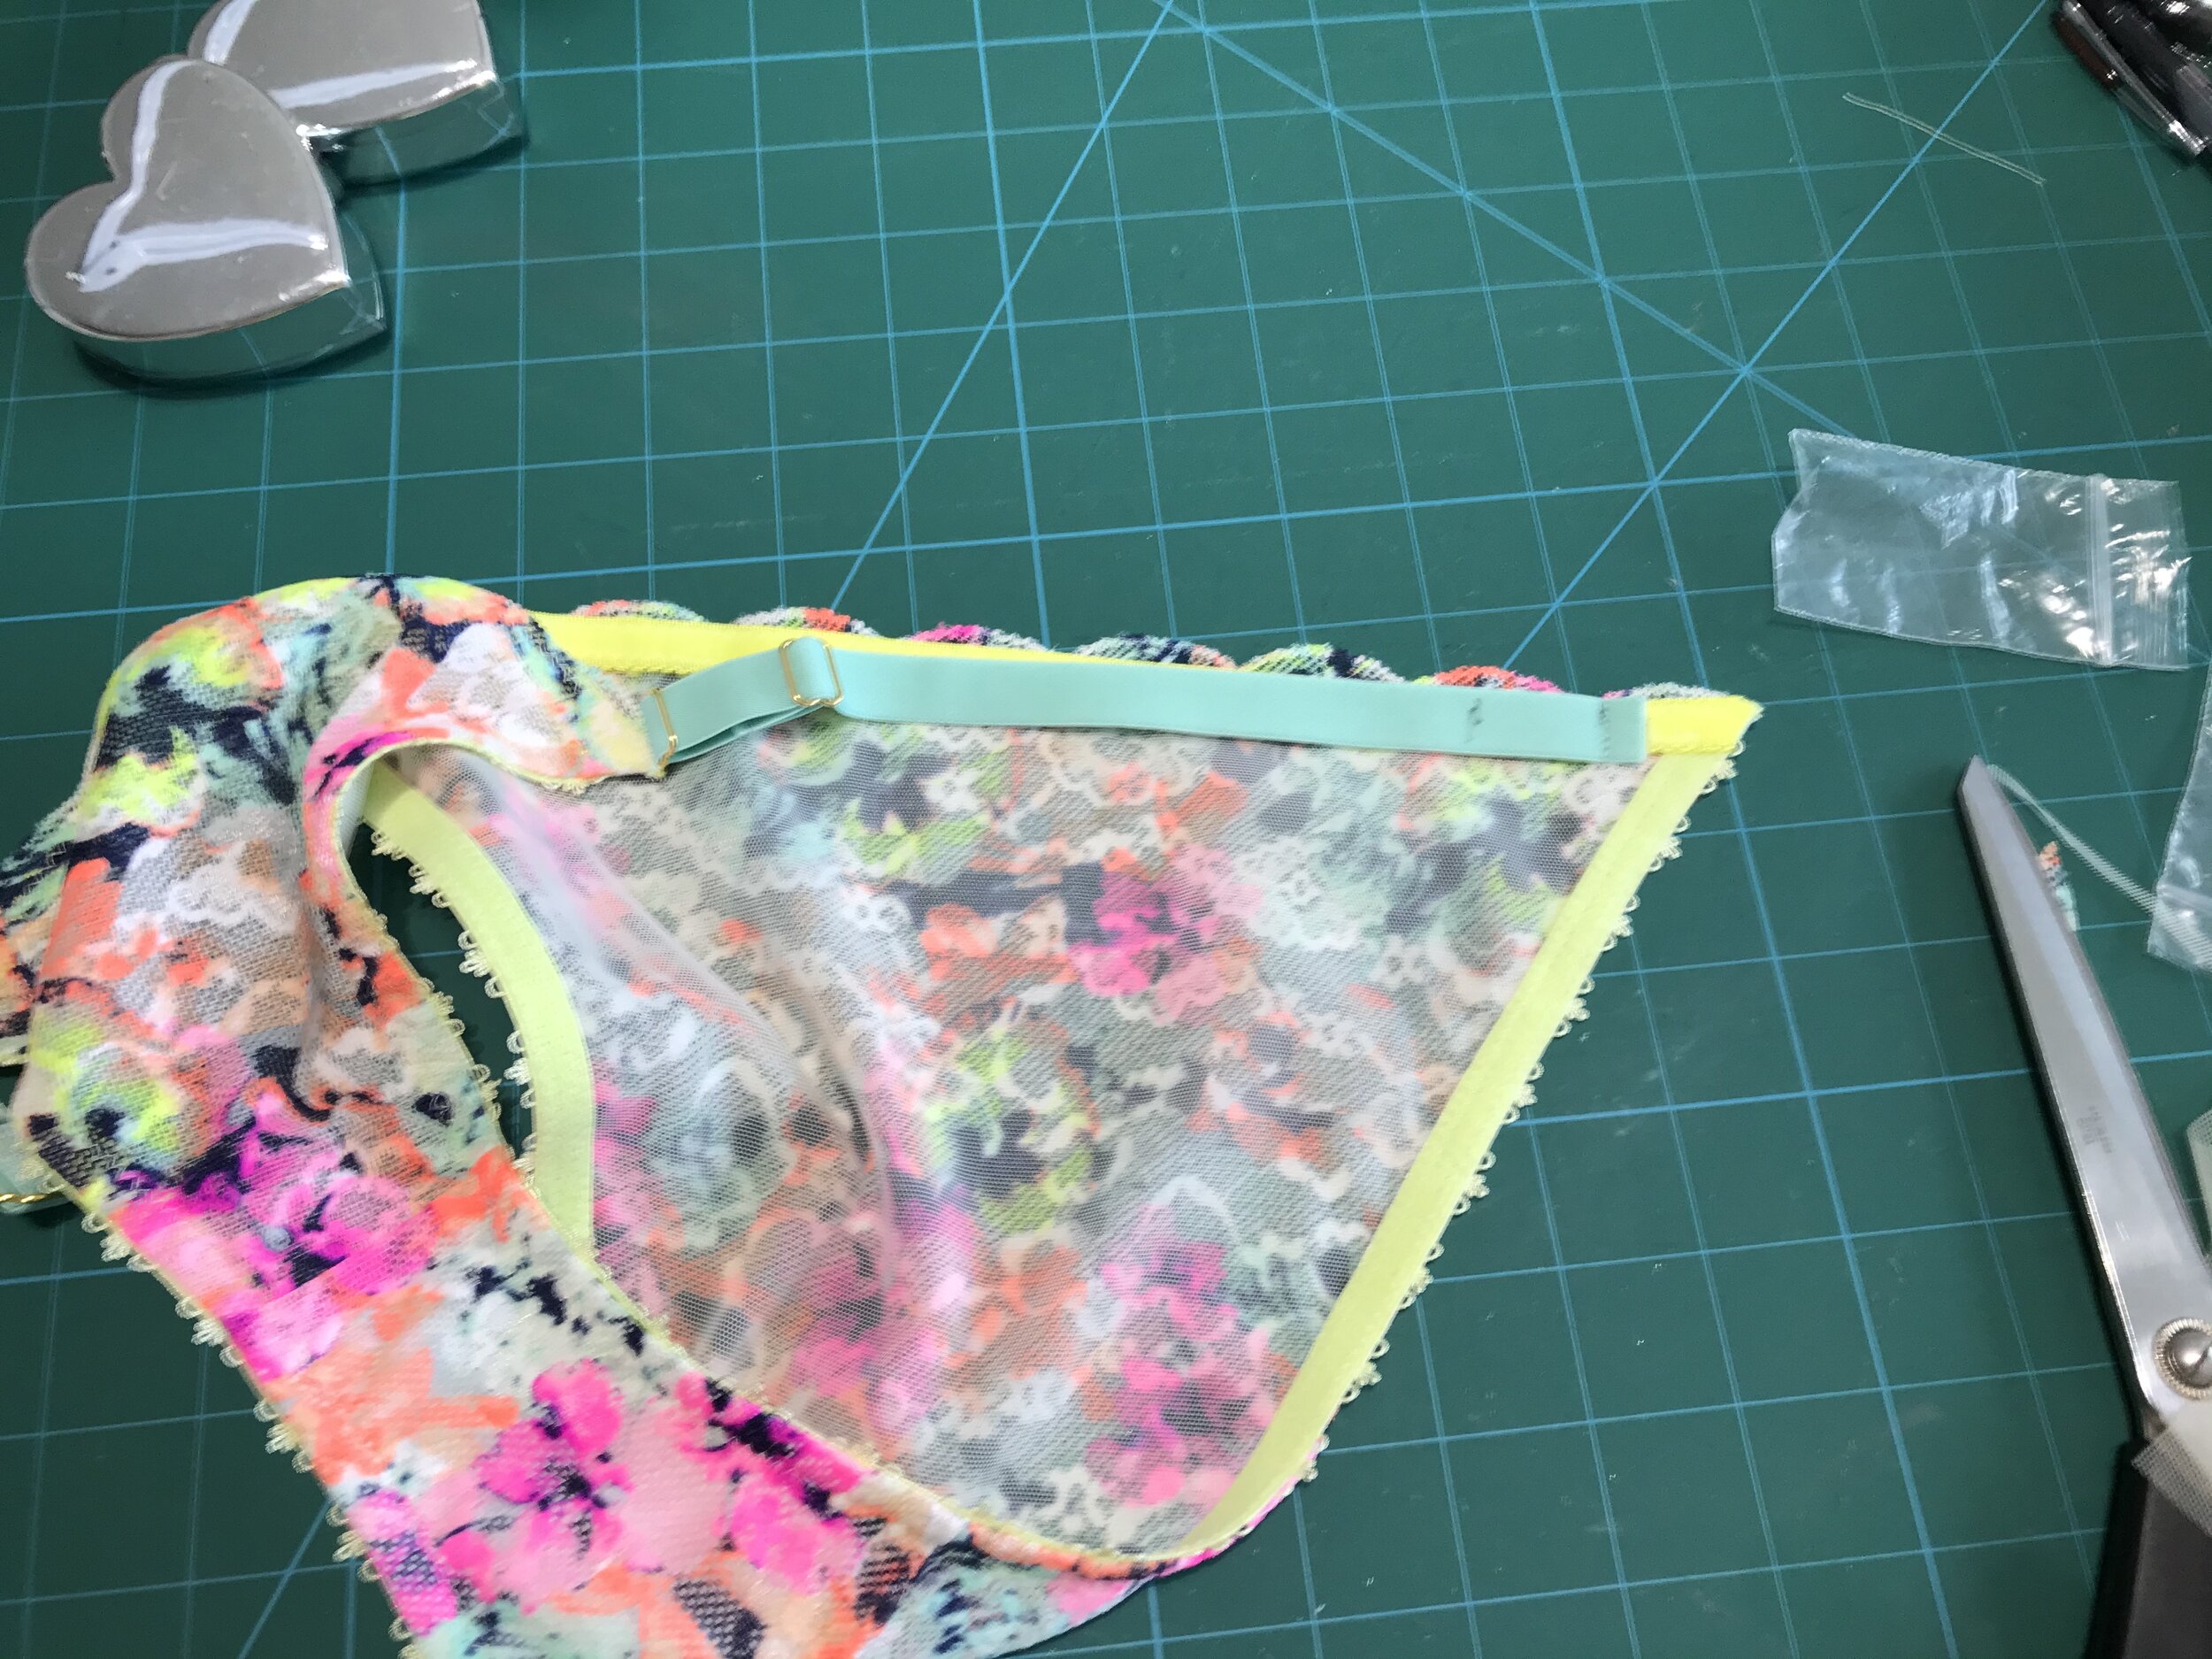
I thought the perfect partner would be the Studio Costura Vera Panties utilising the mint strapping. As the lace does not mirror I redrafted the back piece so I could use elastic and have the scallop edge on the waist. I took off the back seam and added the width of the elastic to the leg on the back pattern piece. I only had four gold sliders and no rings so I also had to adjust how I fit the straps. I used sliders for the front and tucked them in on the second pass of the elastic giving a really clean finish.

For the back I attached wrong side to wrong side and then folded back to stitch in place for another clean finish. Another fabulous combination but still hoping enough for another panty.

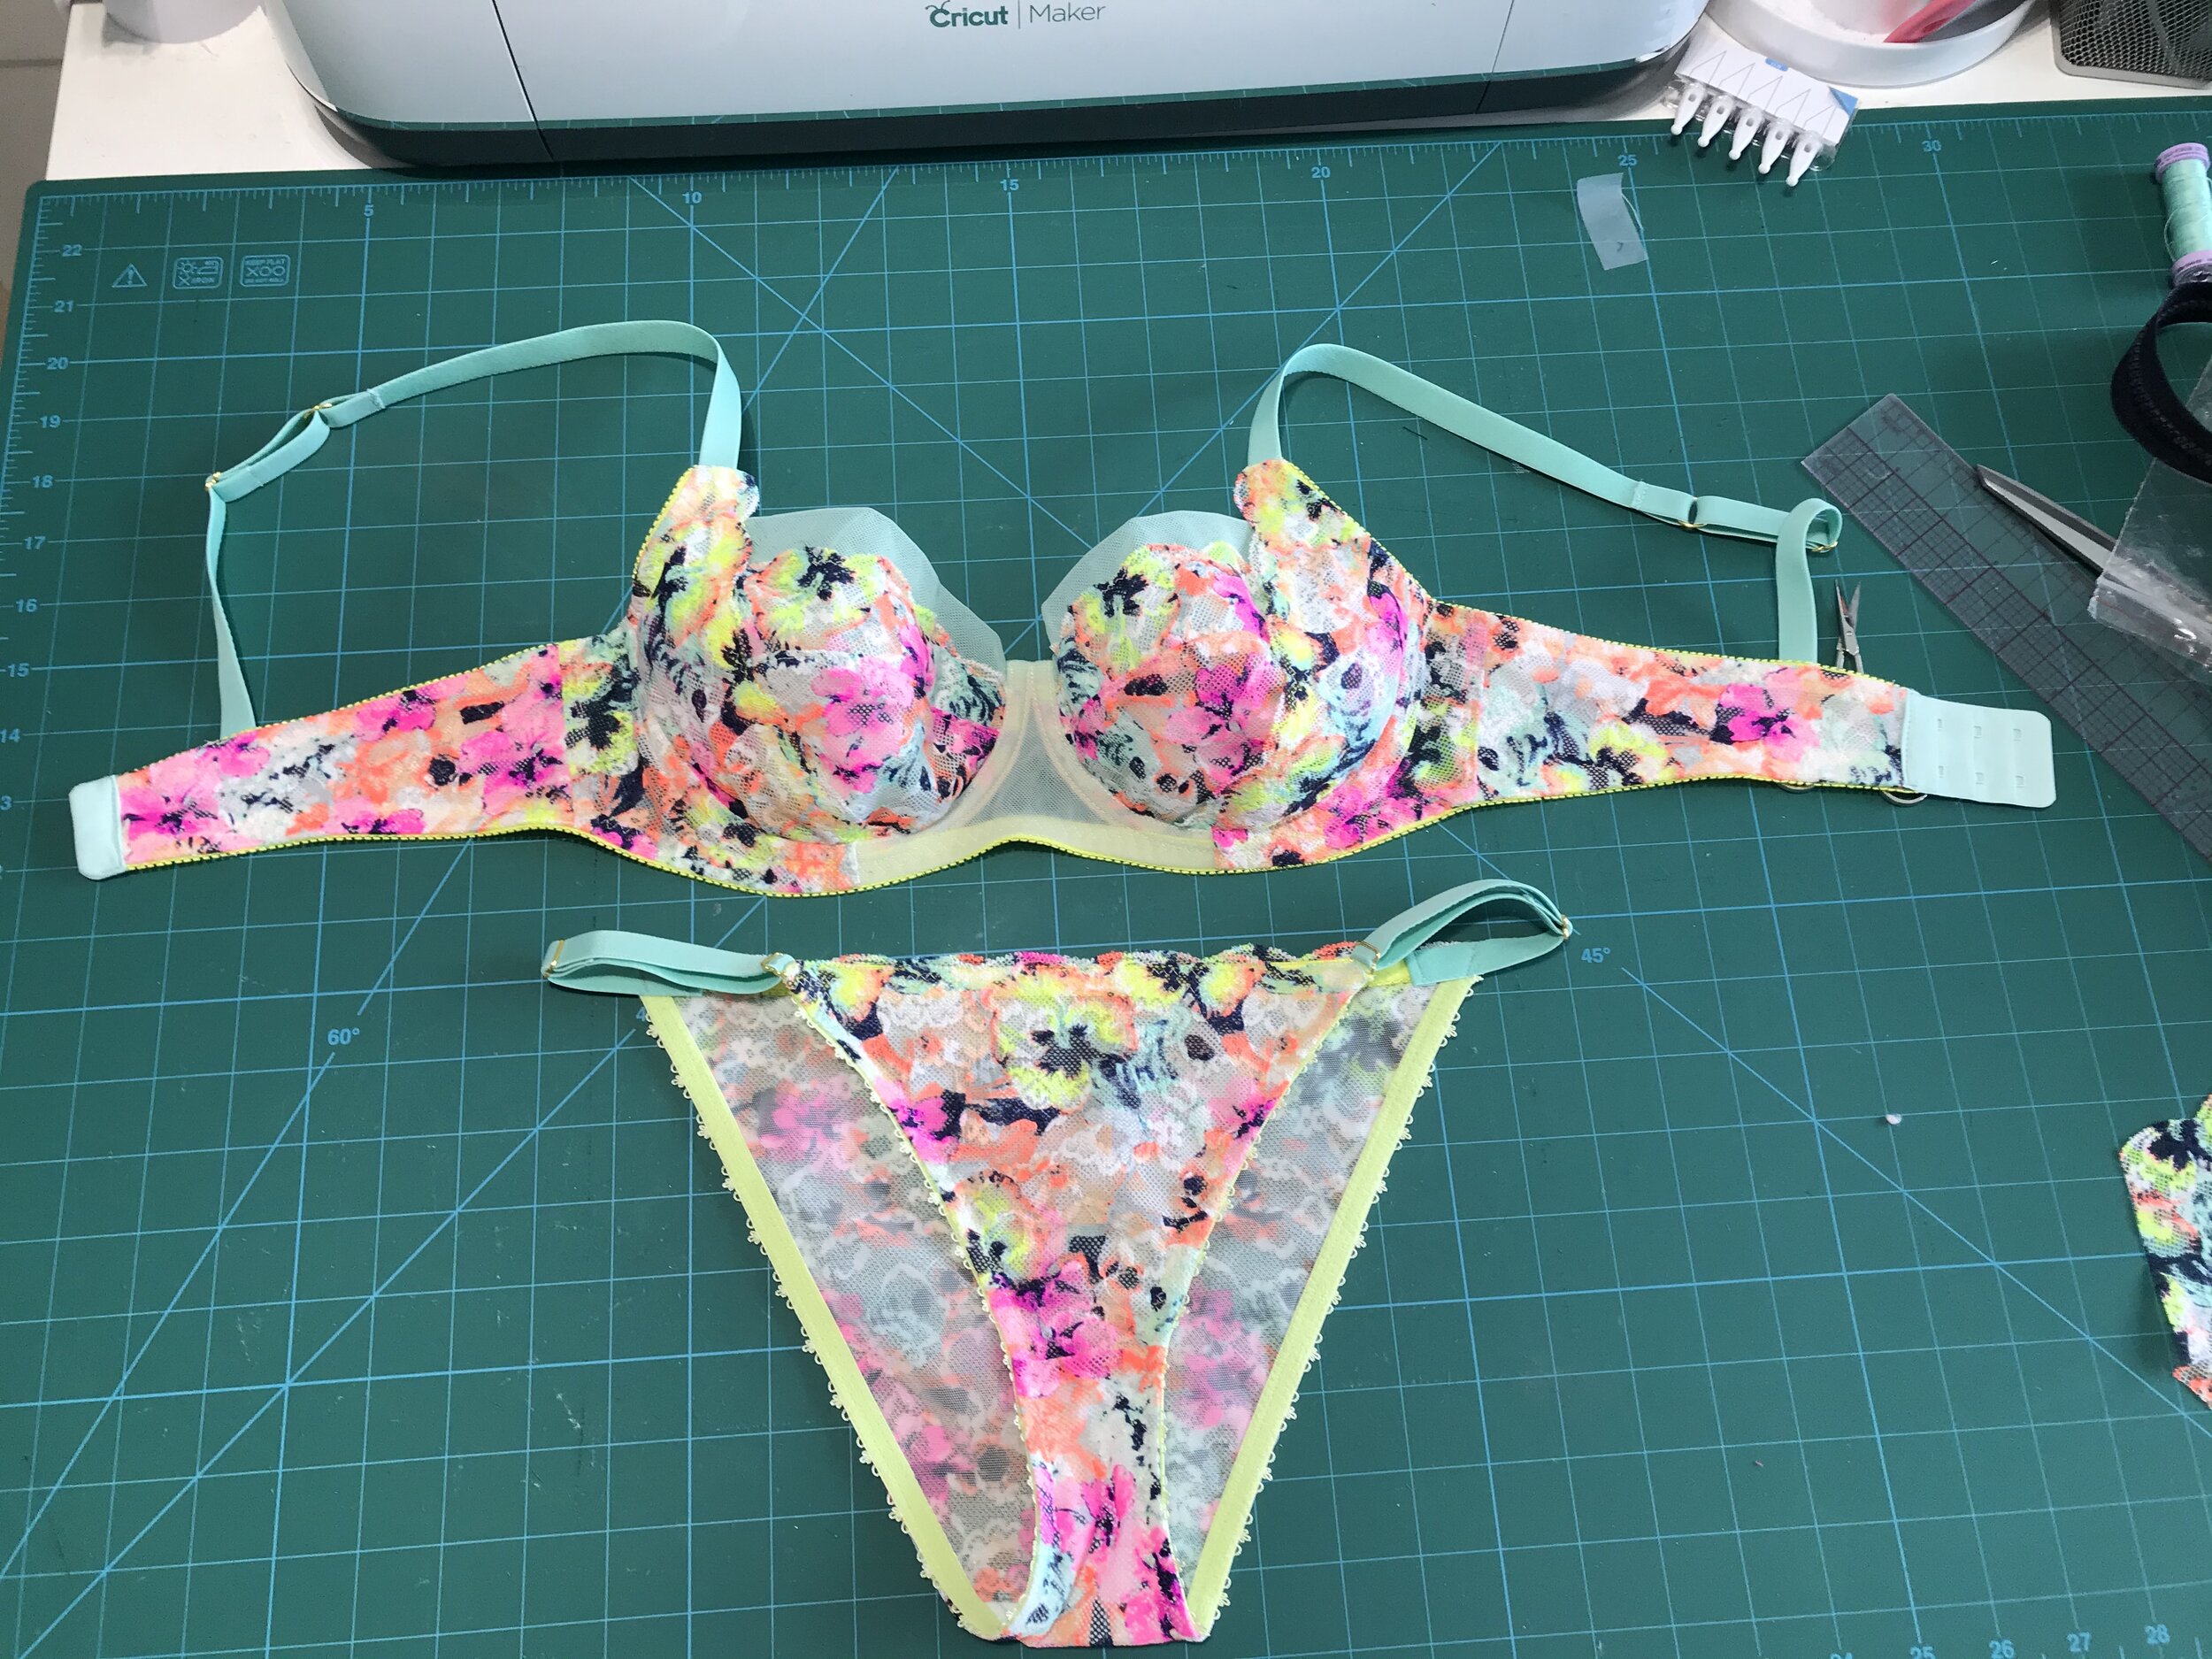
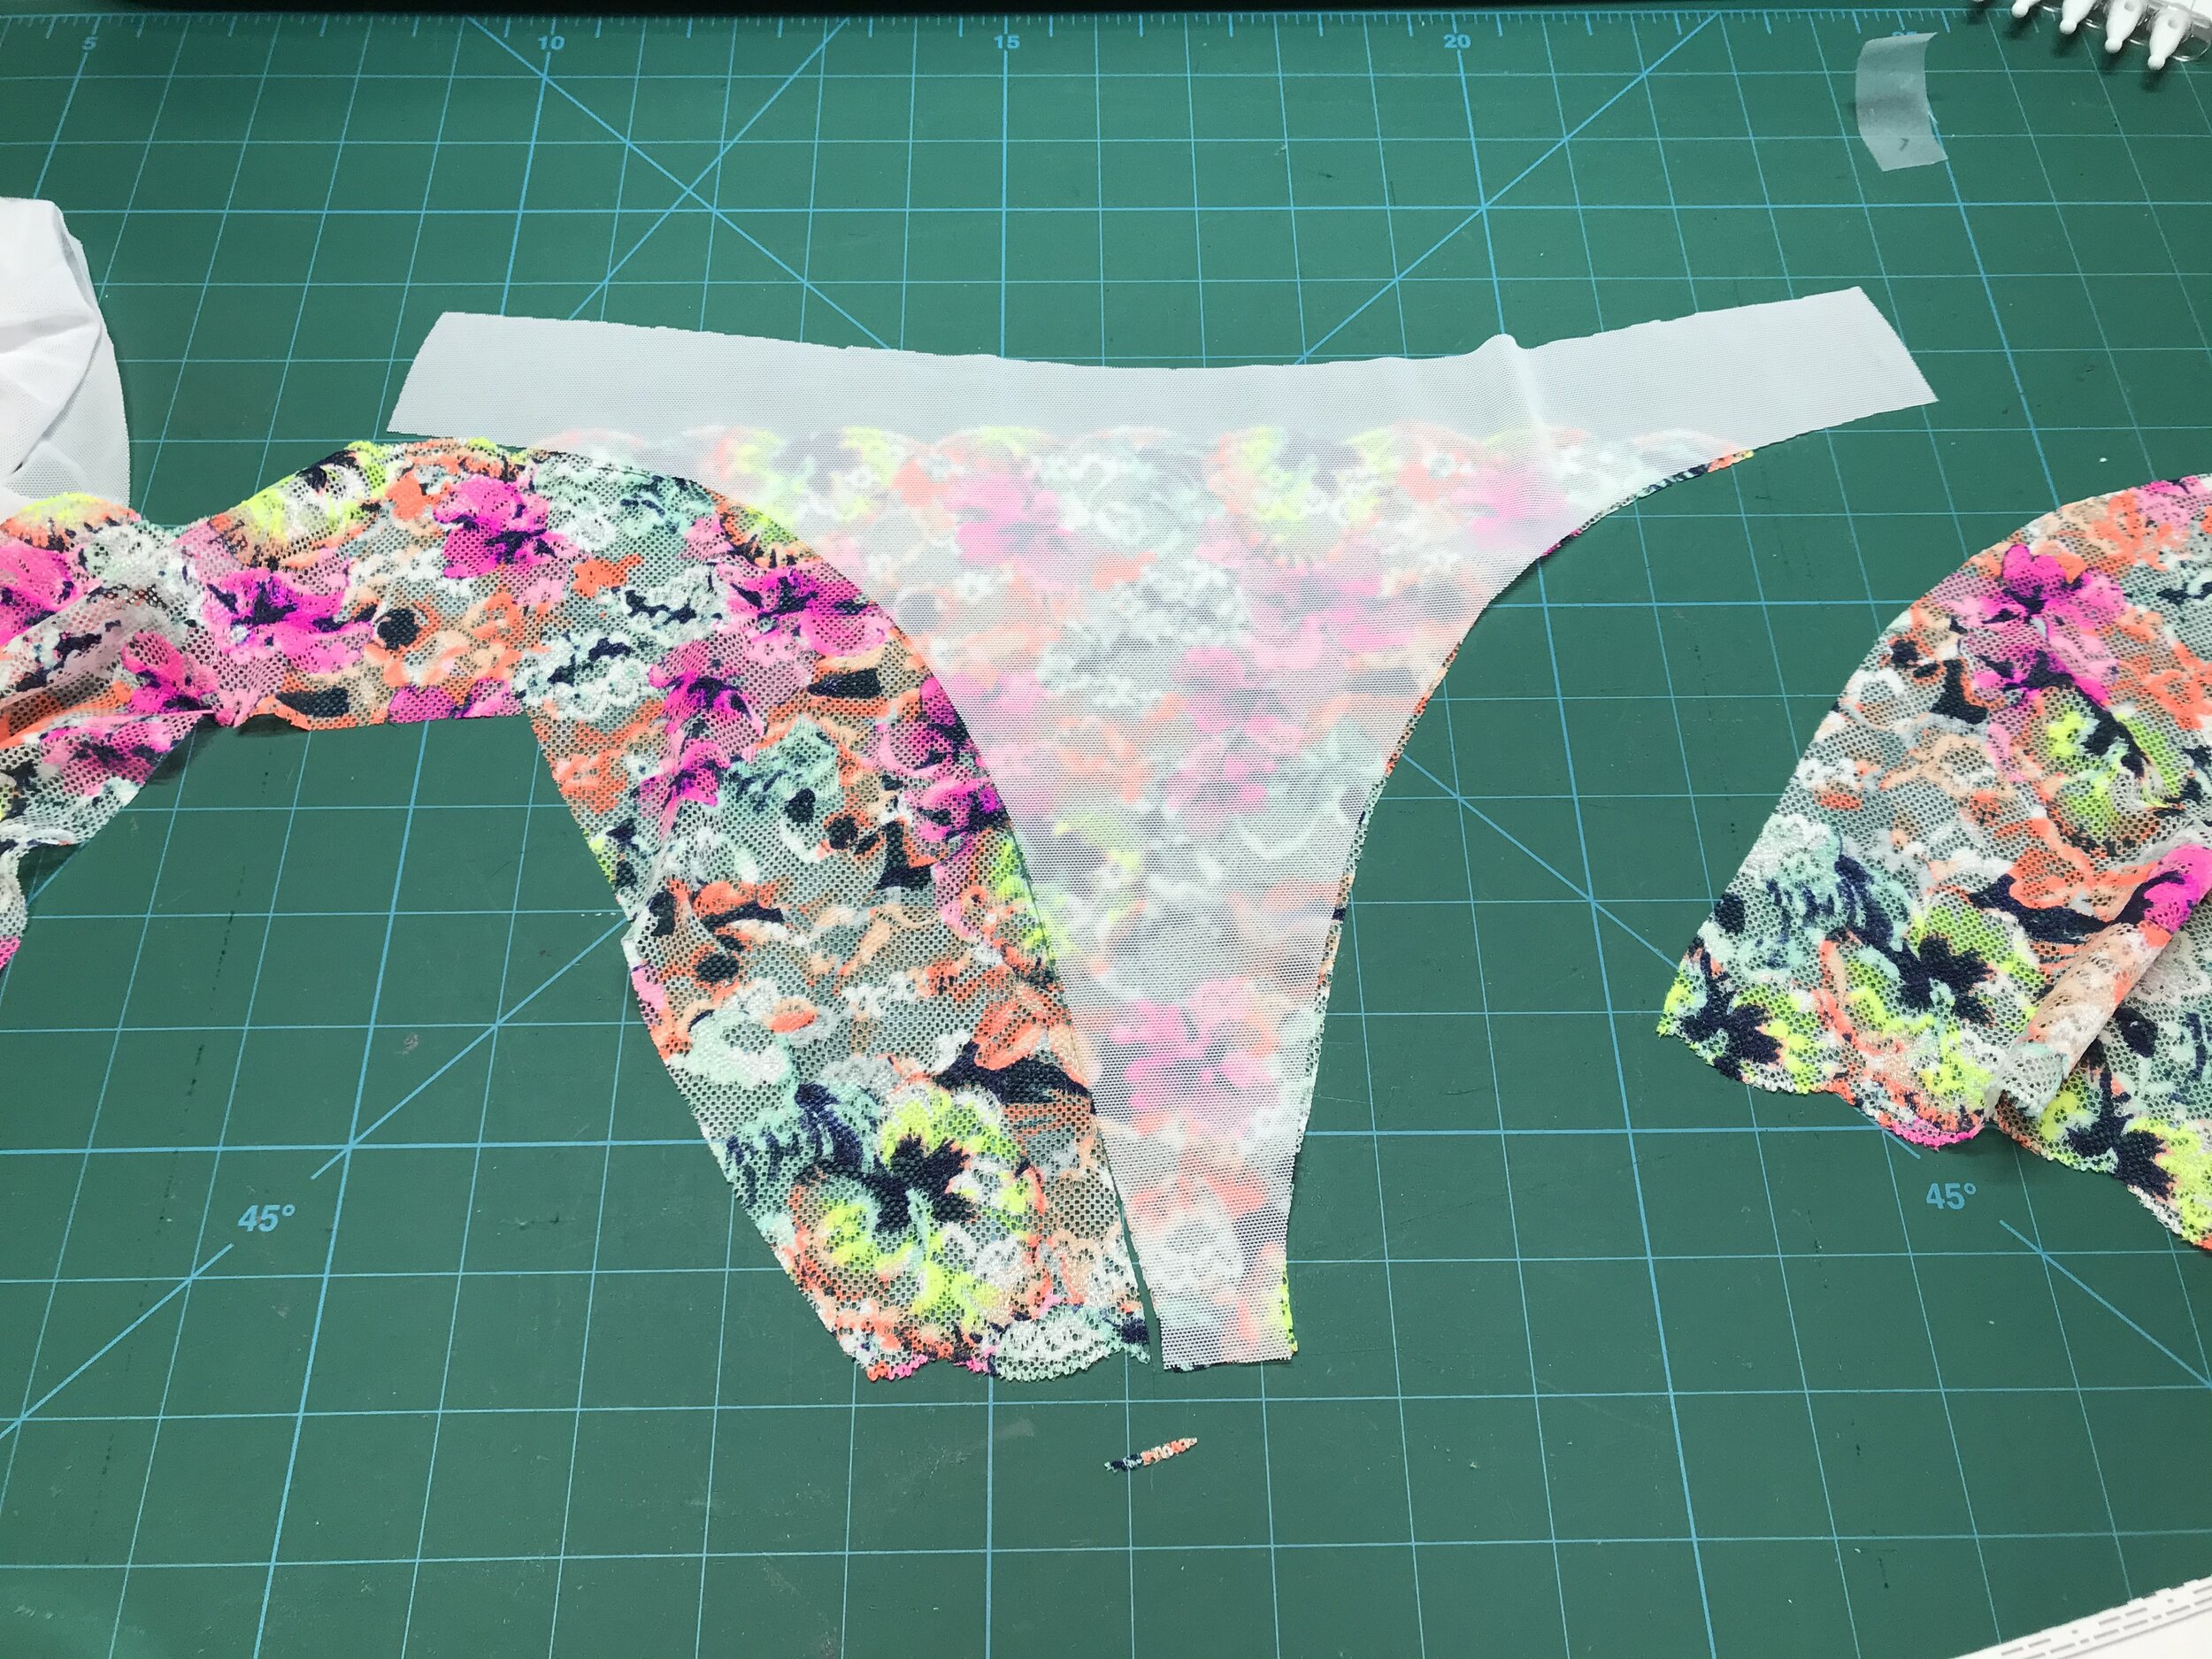
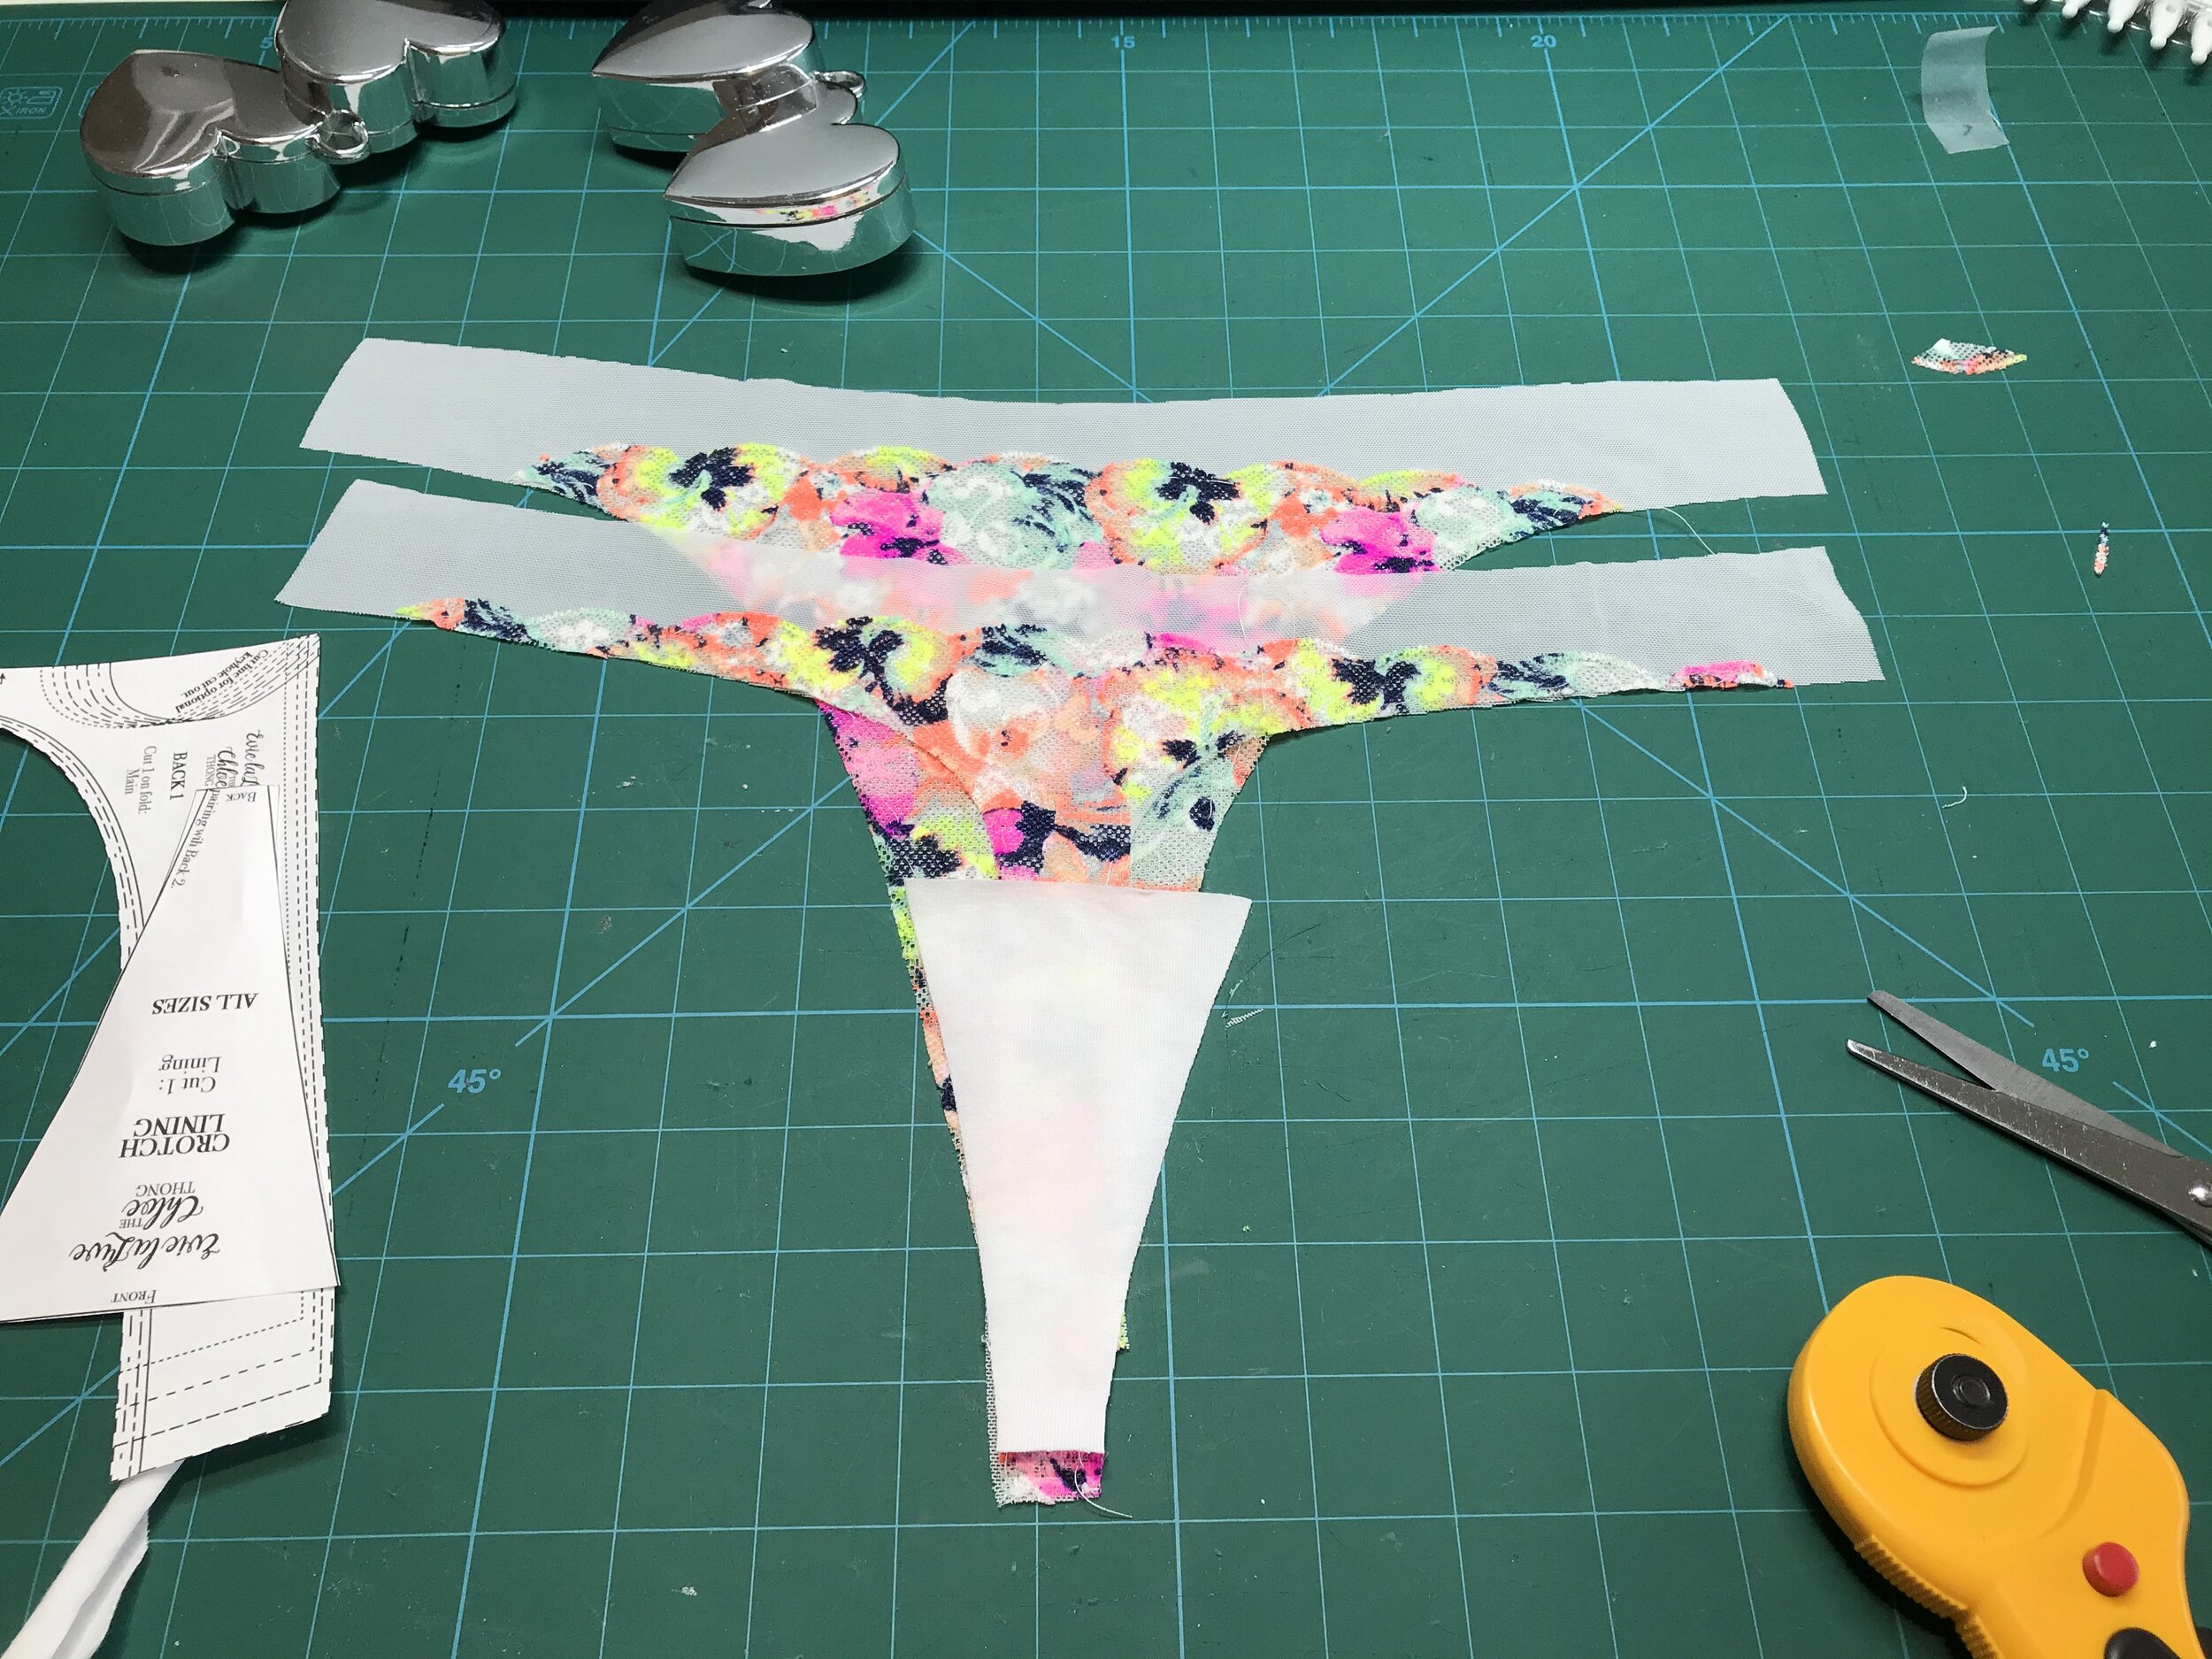
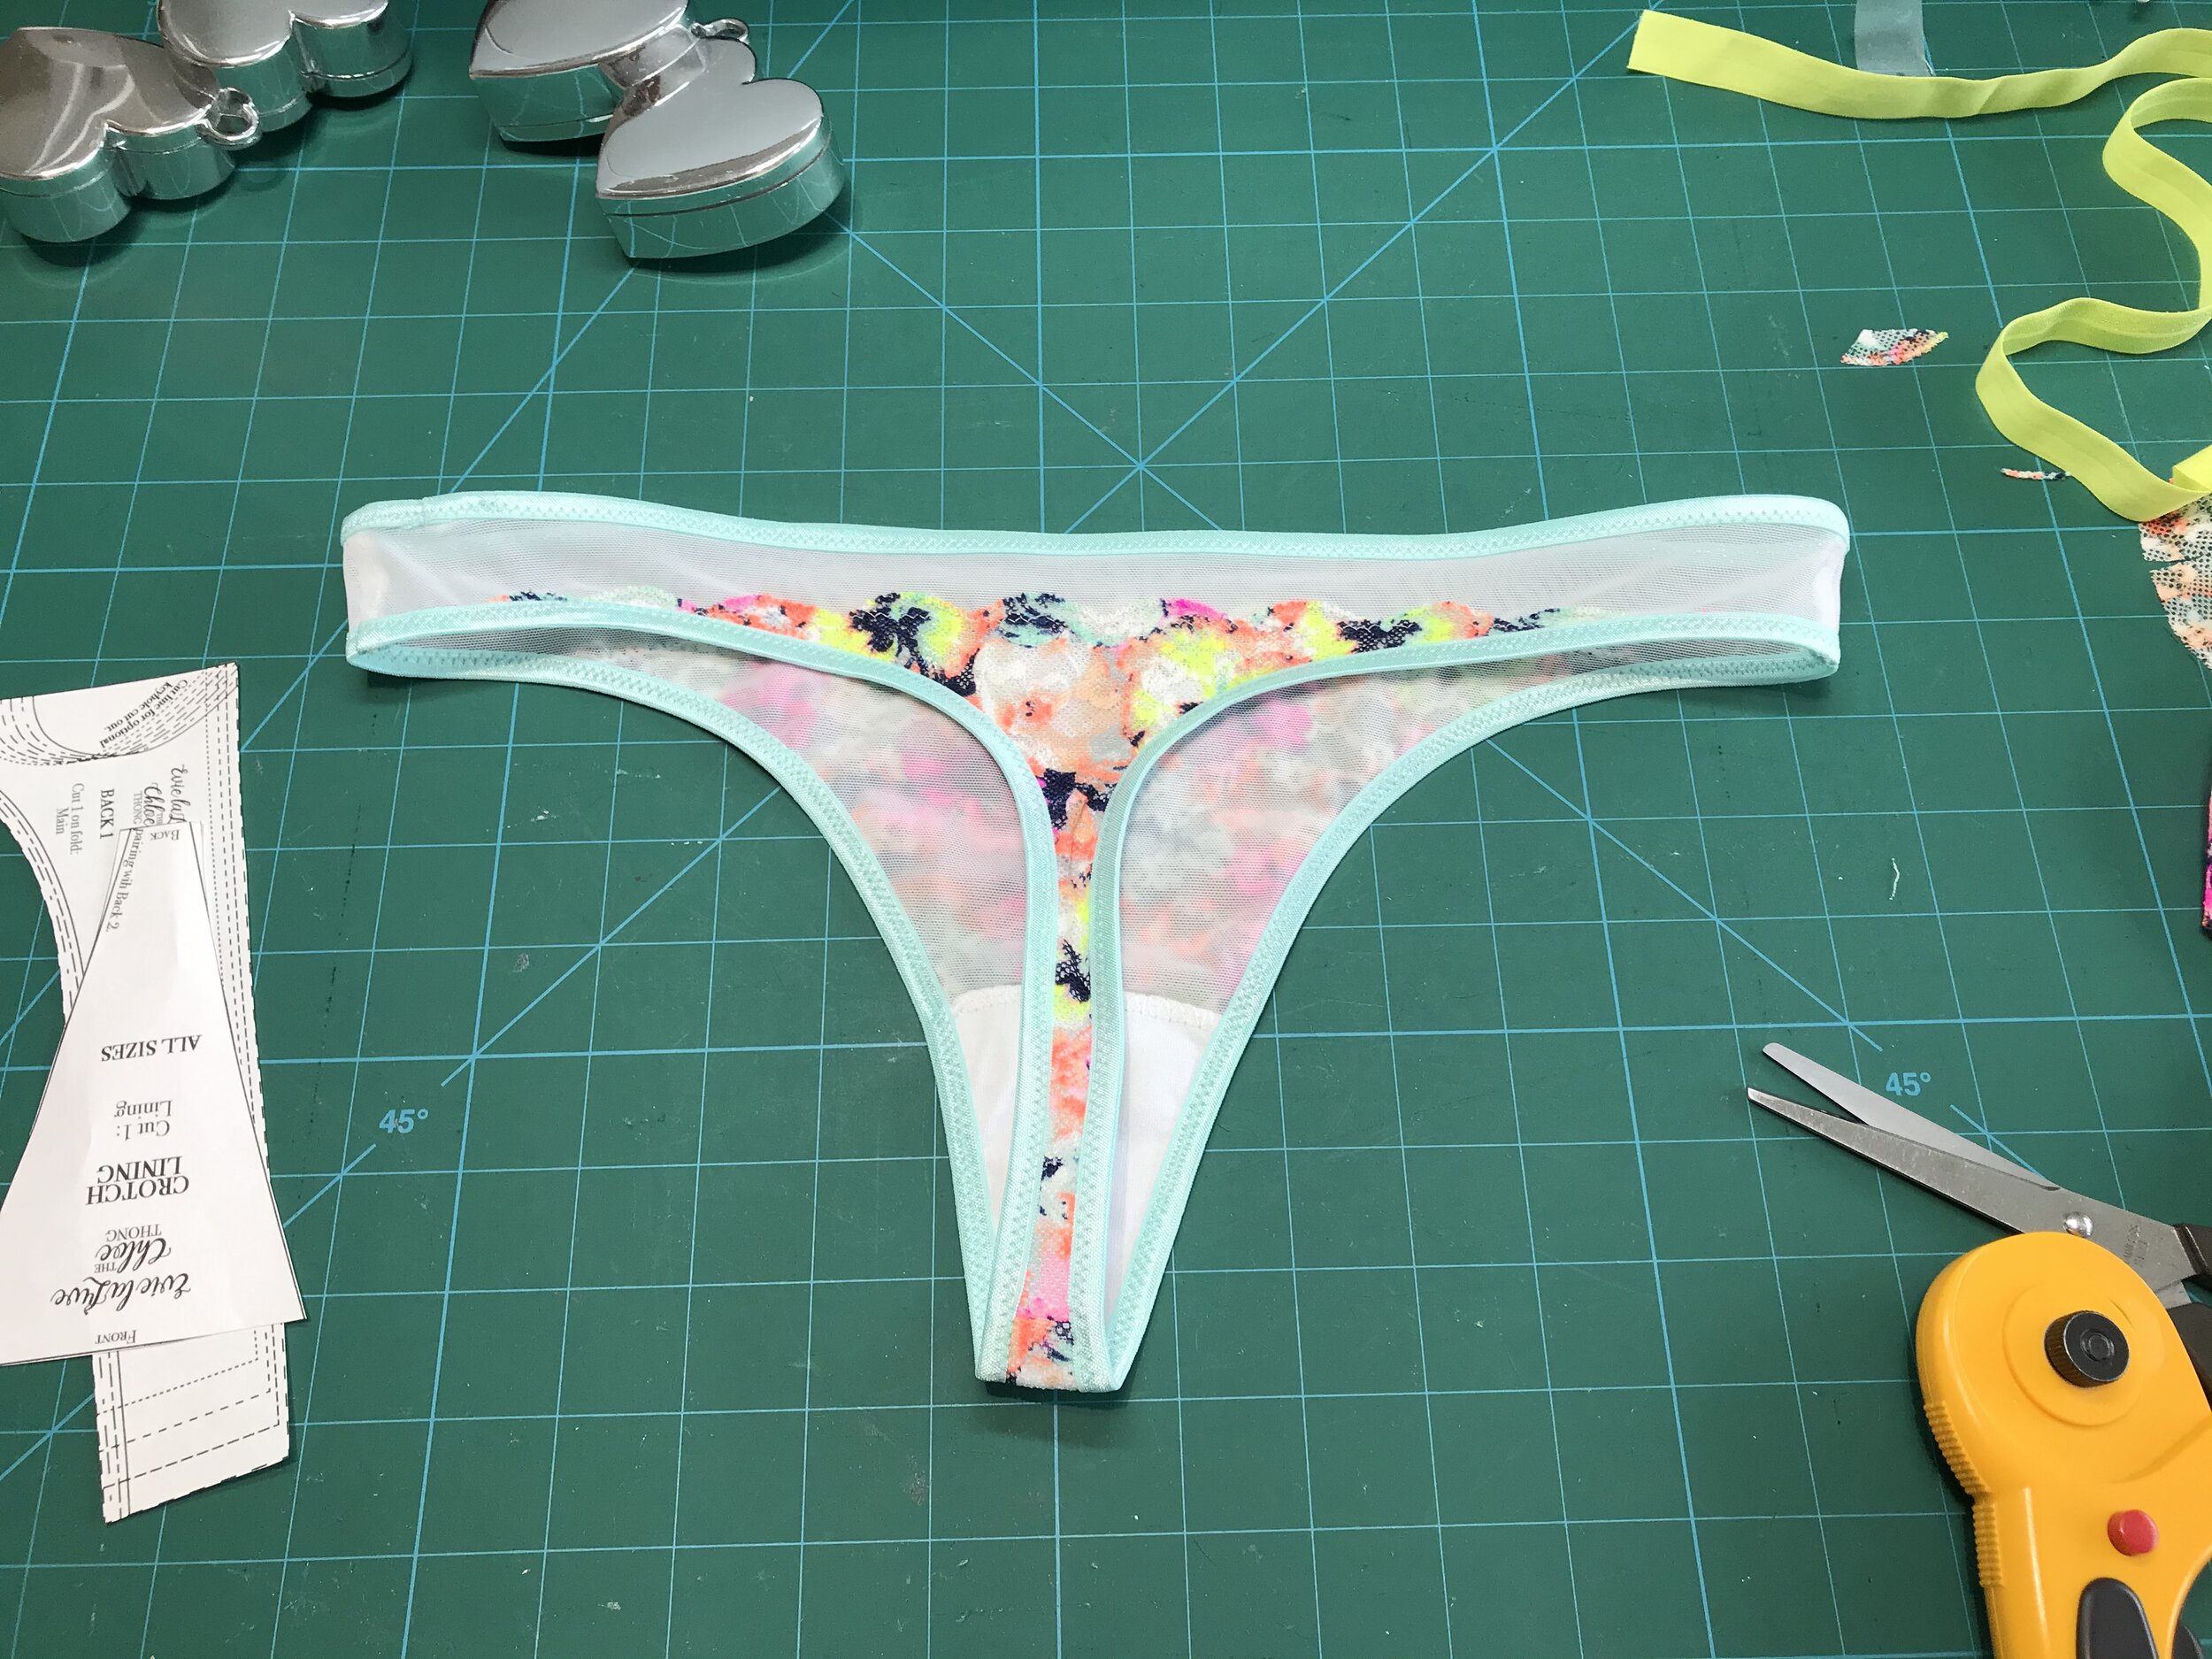
Not much left but I managed to squeeze out an Evie la Luve Chloe thong. I must admit to not being a big thong fan but with enough depth to the sides this makes for a pretty comfortable fit. I cut out the mesh first and then fitted what I had left over the front with just enough for the back as well. The mint fold over elastic was perfect.

I just love this set and very different to the set of the previous week.

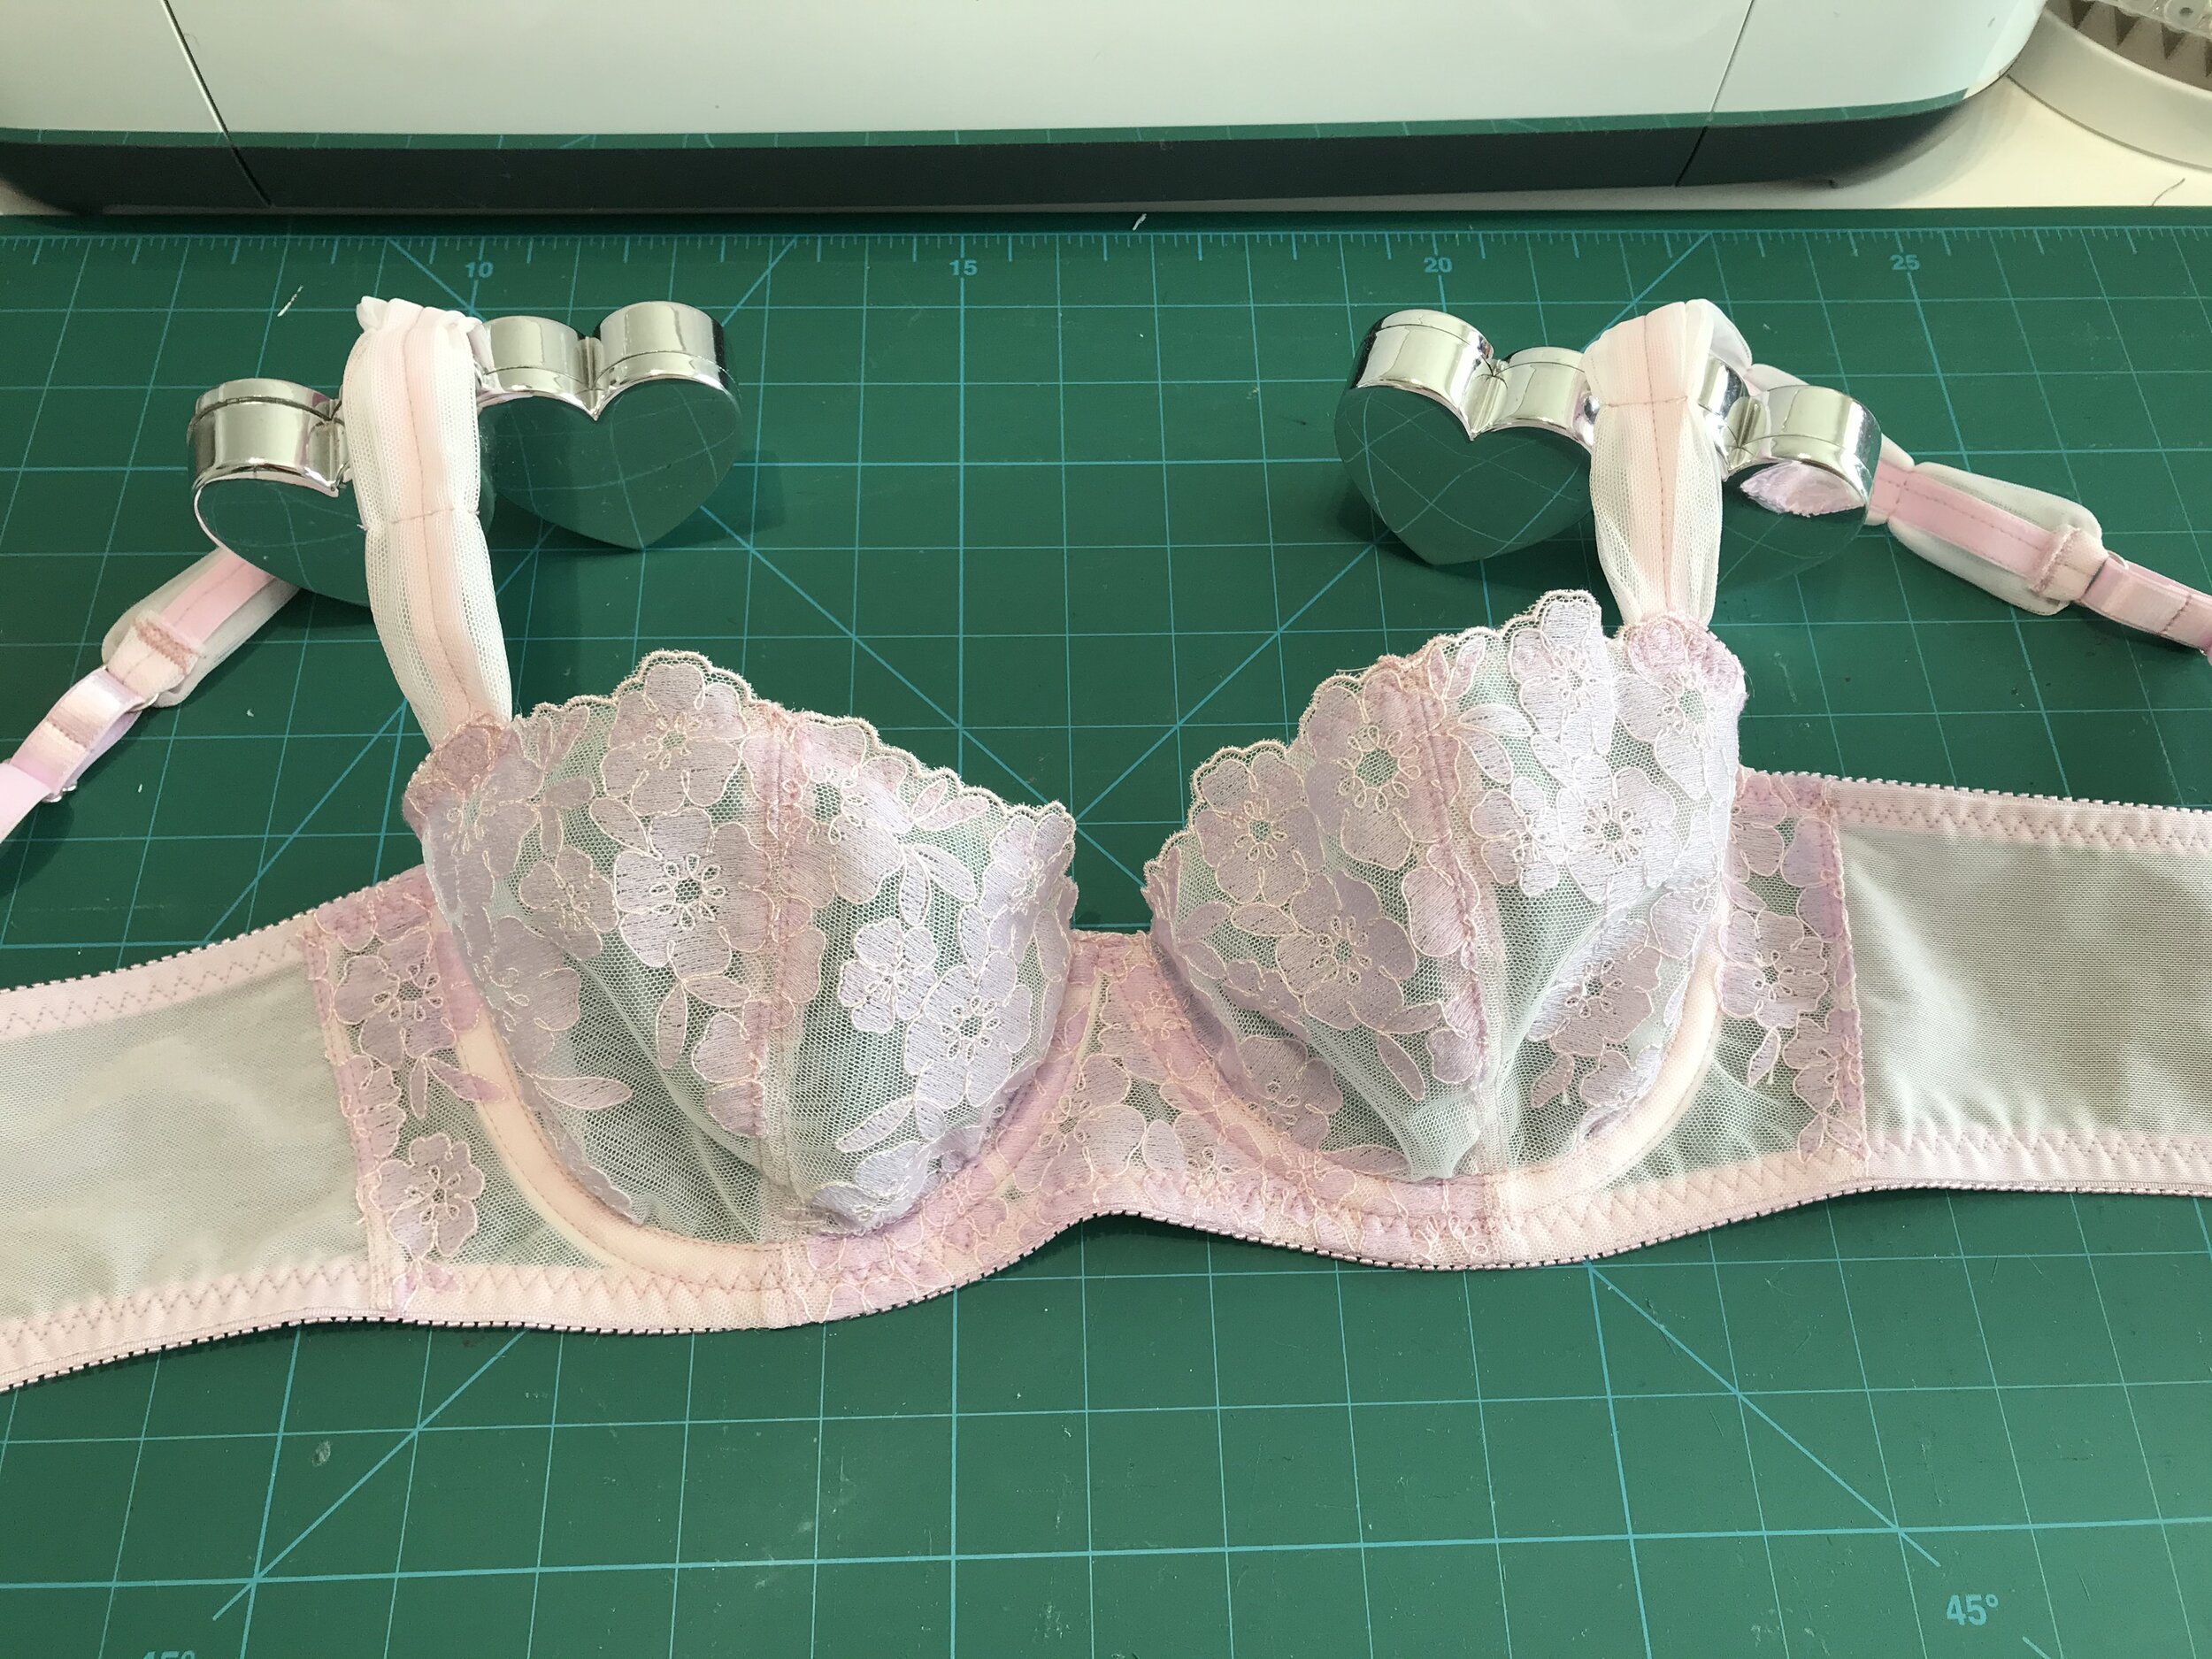
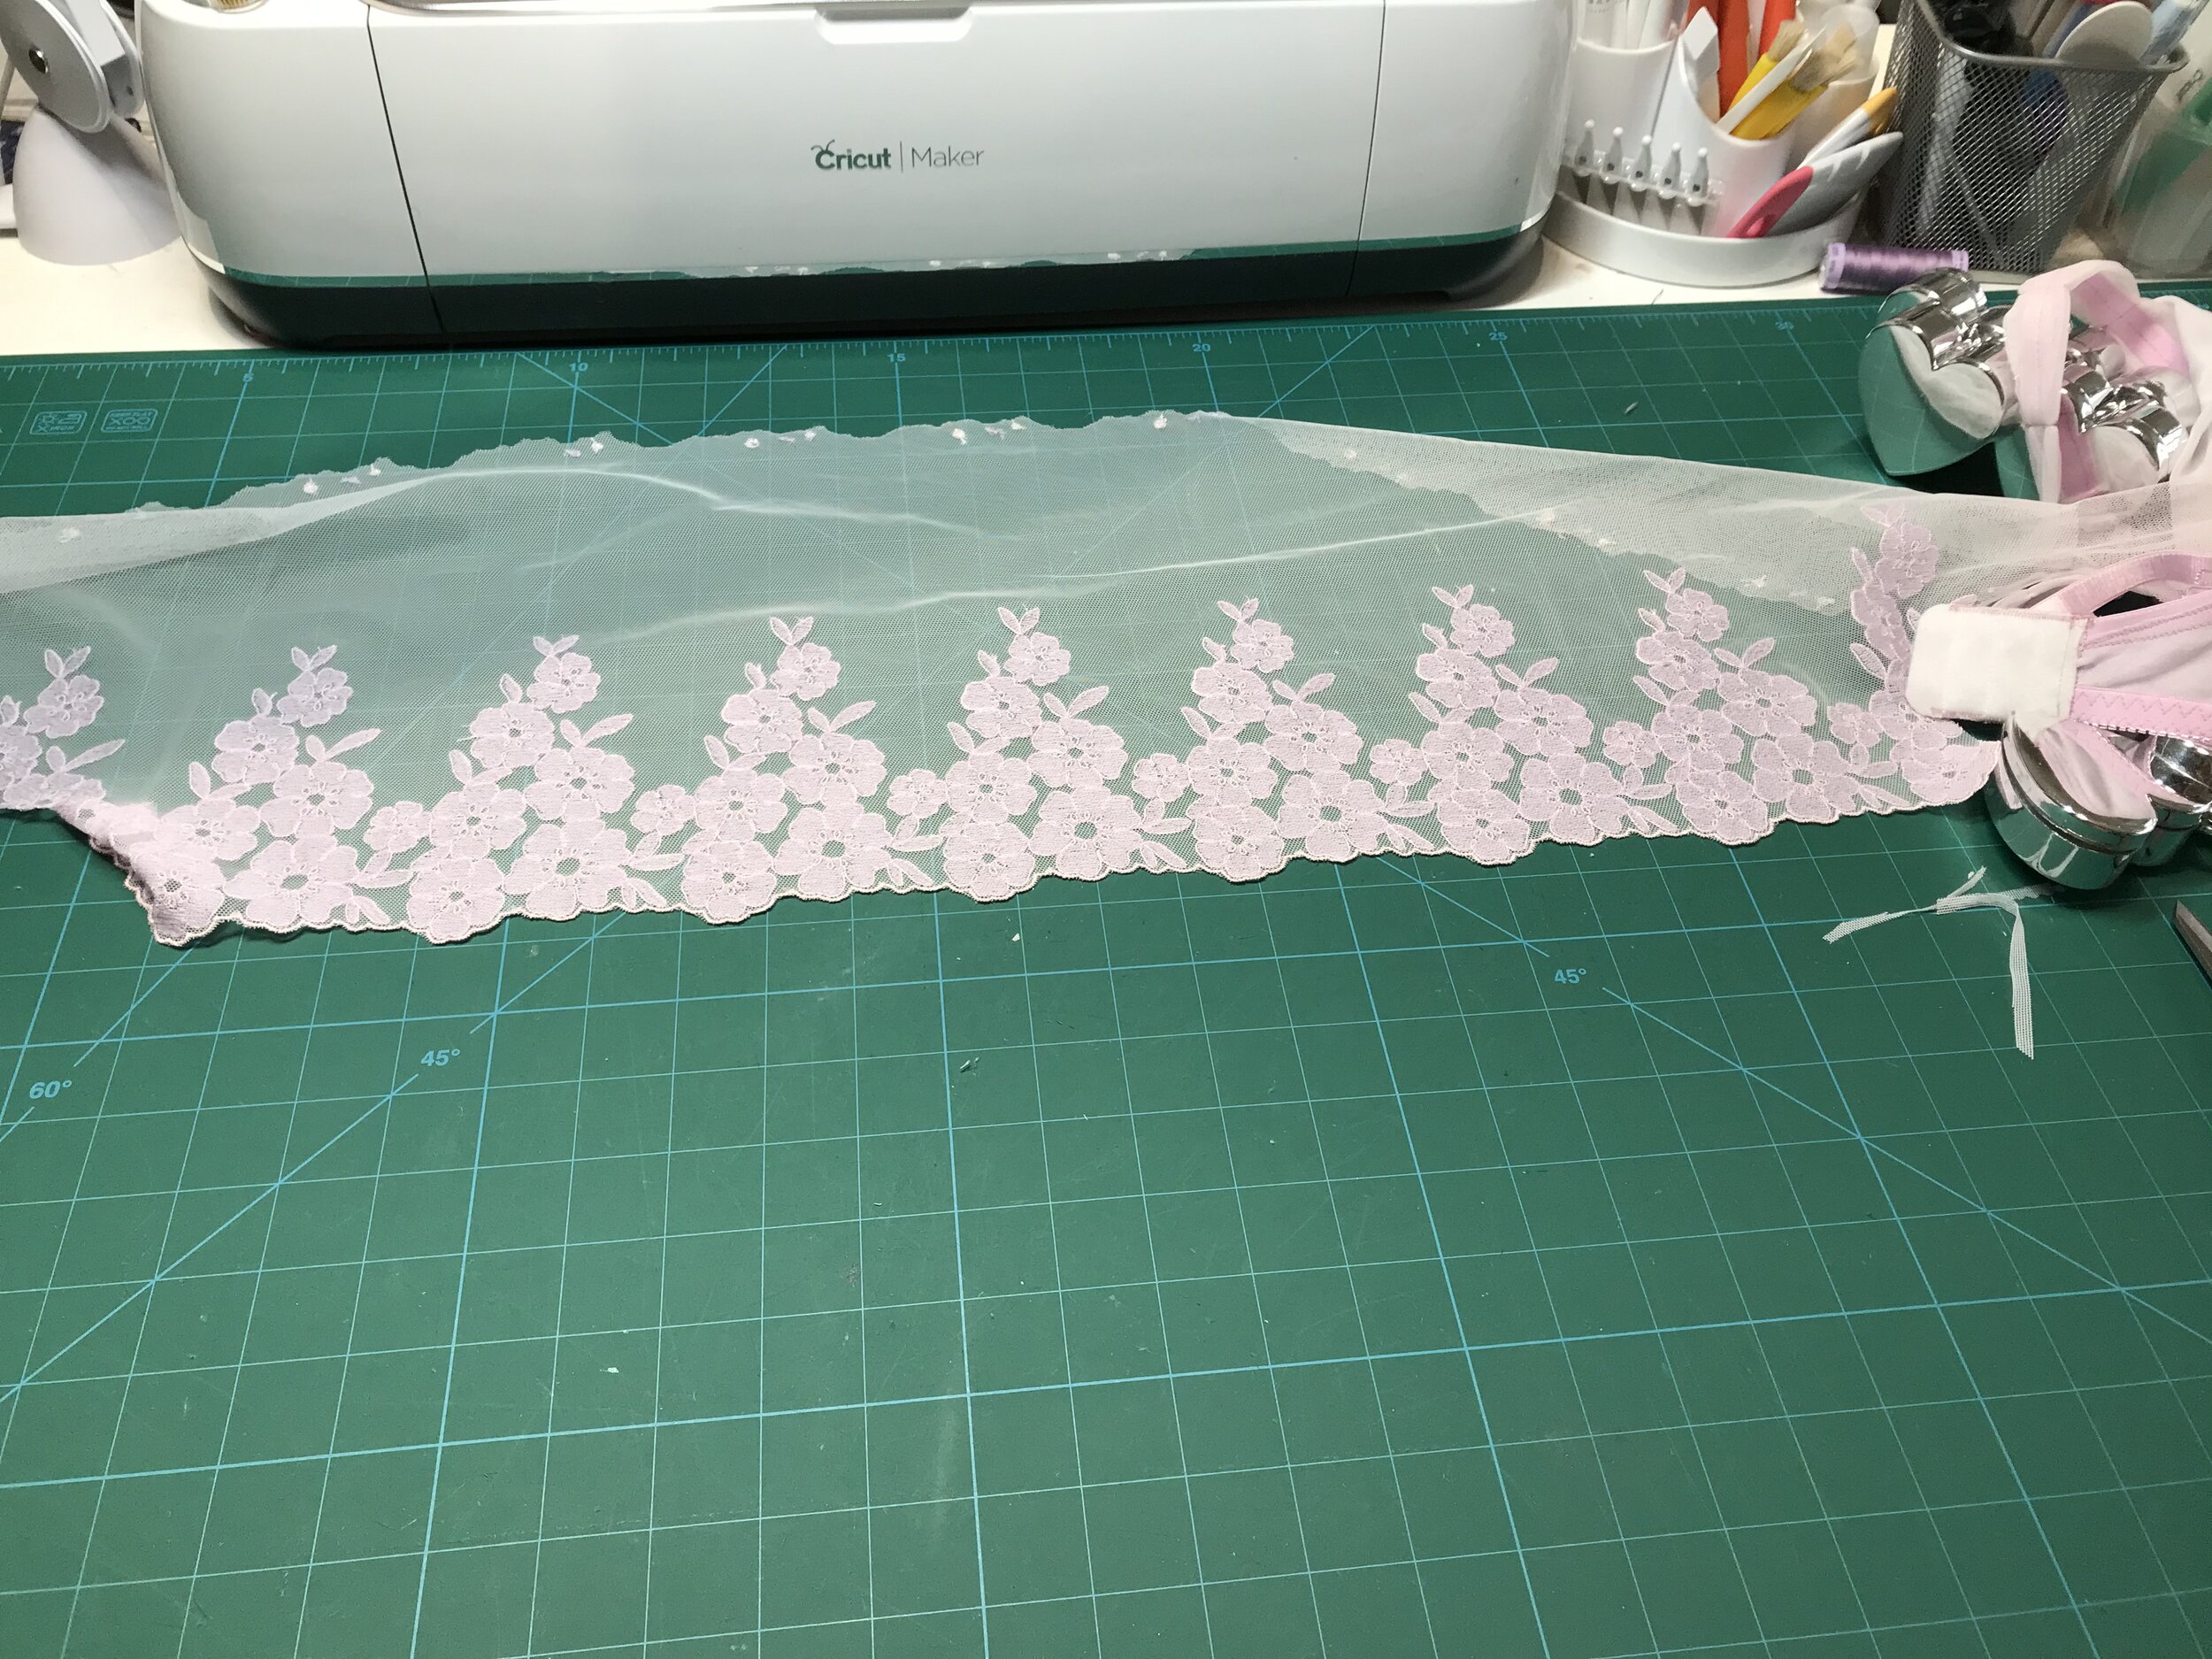
I had been waiting for the right design to come along for this very beautiful lilac tulle from Tailor Made and as with most of my makes someone releases a new pattern or hack that ticks all the boxes. Orange Lingerie posted a tutorial on how to turn the 3/4 Devonshire into a half cup and my mind was set. The adjustments are quite simple, however, I did make up a paper cup to check there was adequate coverage. Then on to choosing what colours to use with it. So out came white and various shades of pink and lilac.

I made choices as I went along as one affected another. First I decided on a very soft pink tulle which gave a pink hue and I preferred the more pink/lilac elastic over the pure lilac. Then I had some very pale lilac shimmery powernet which looks amazing but it is not showing up well in the pictures. I tried to break up the all over look of the lace by positioning the flower on the side of the frames only. The placing of the cup pieces on the lace is problematic as the lace cannot be mirrored but I think I achieved a good balance. Although I do have a pattern to make a fastener I did a quick makeover of a white fastener. I covered the front of the eye side only so the plush back was still against my skin and covered both sides of the hook side.

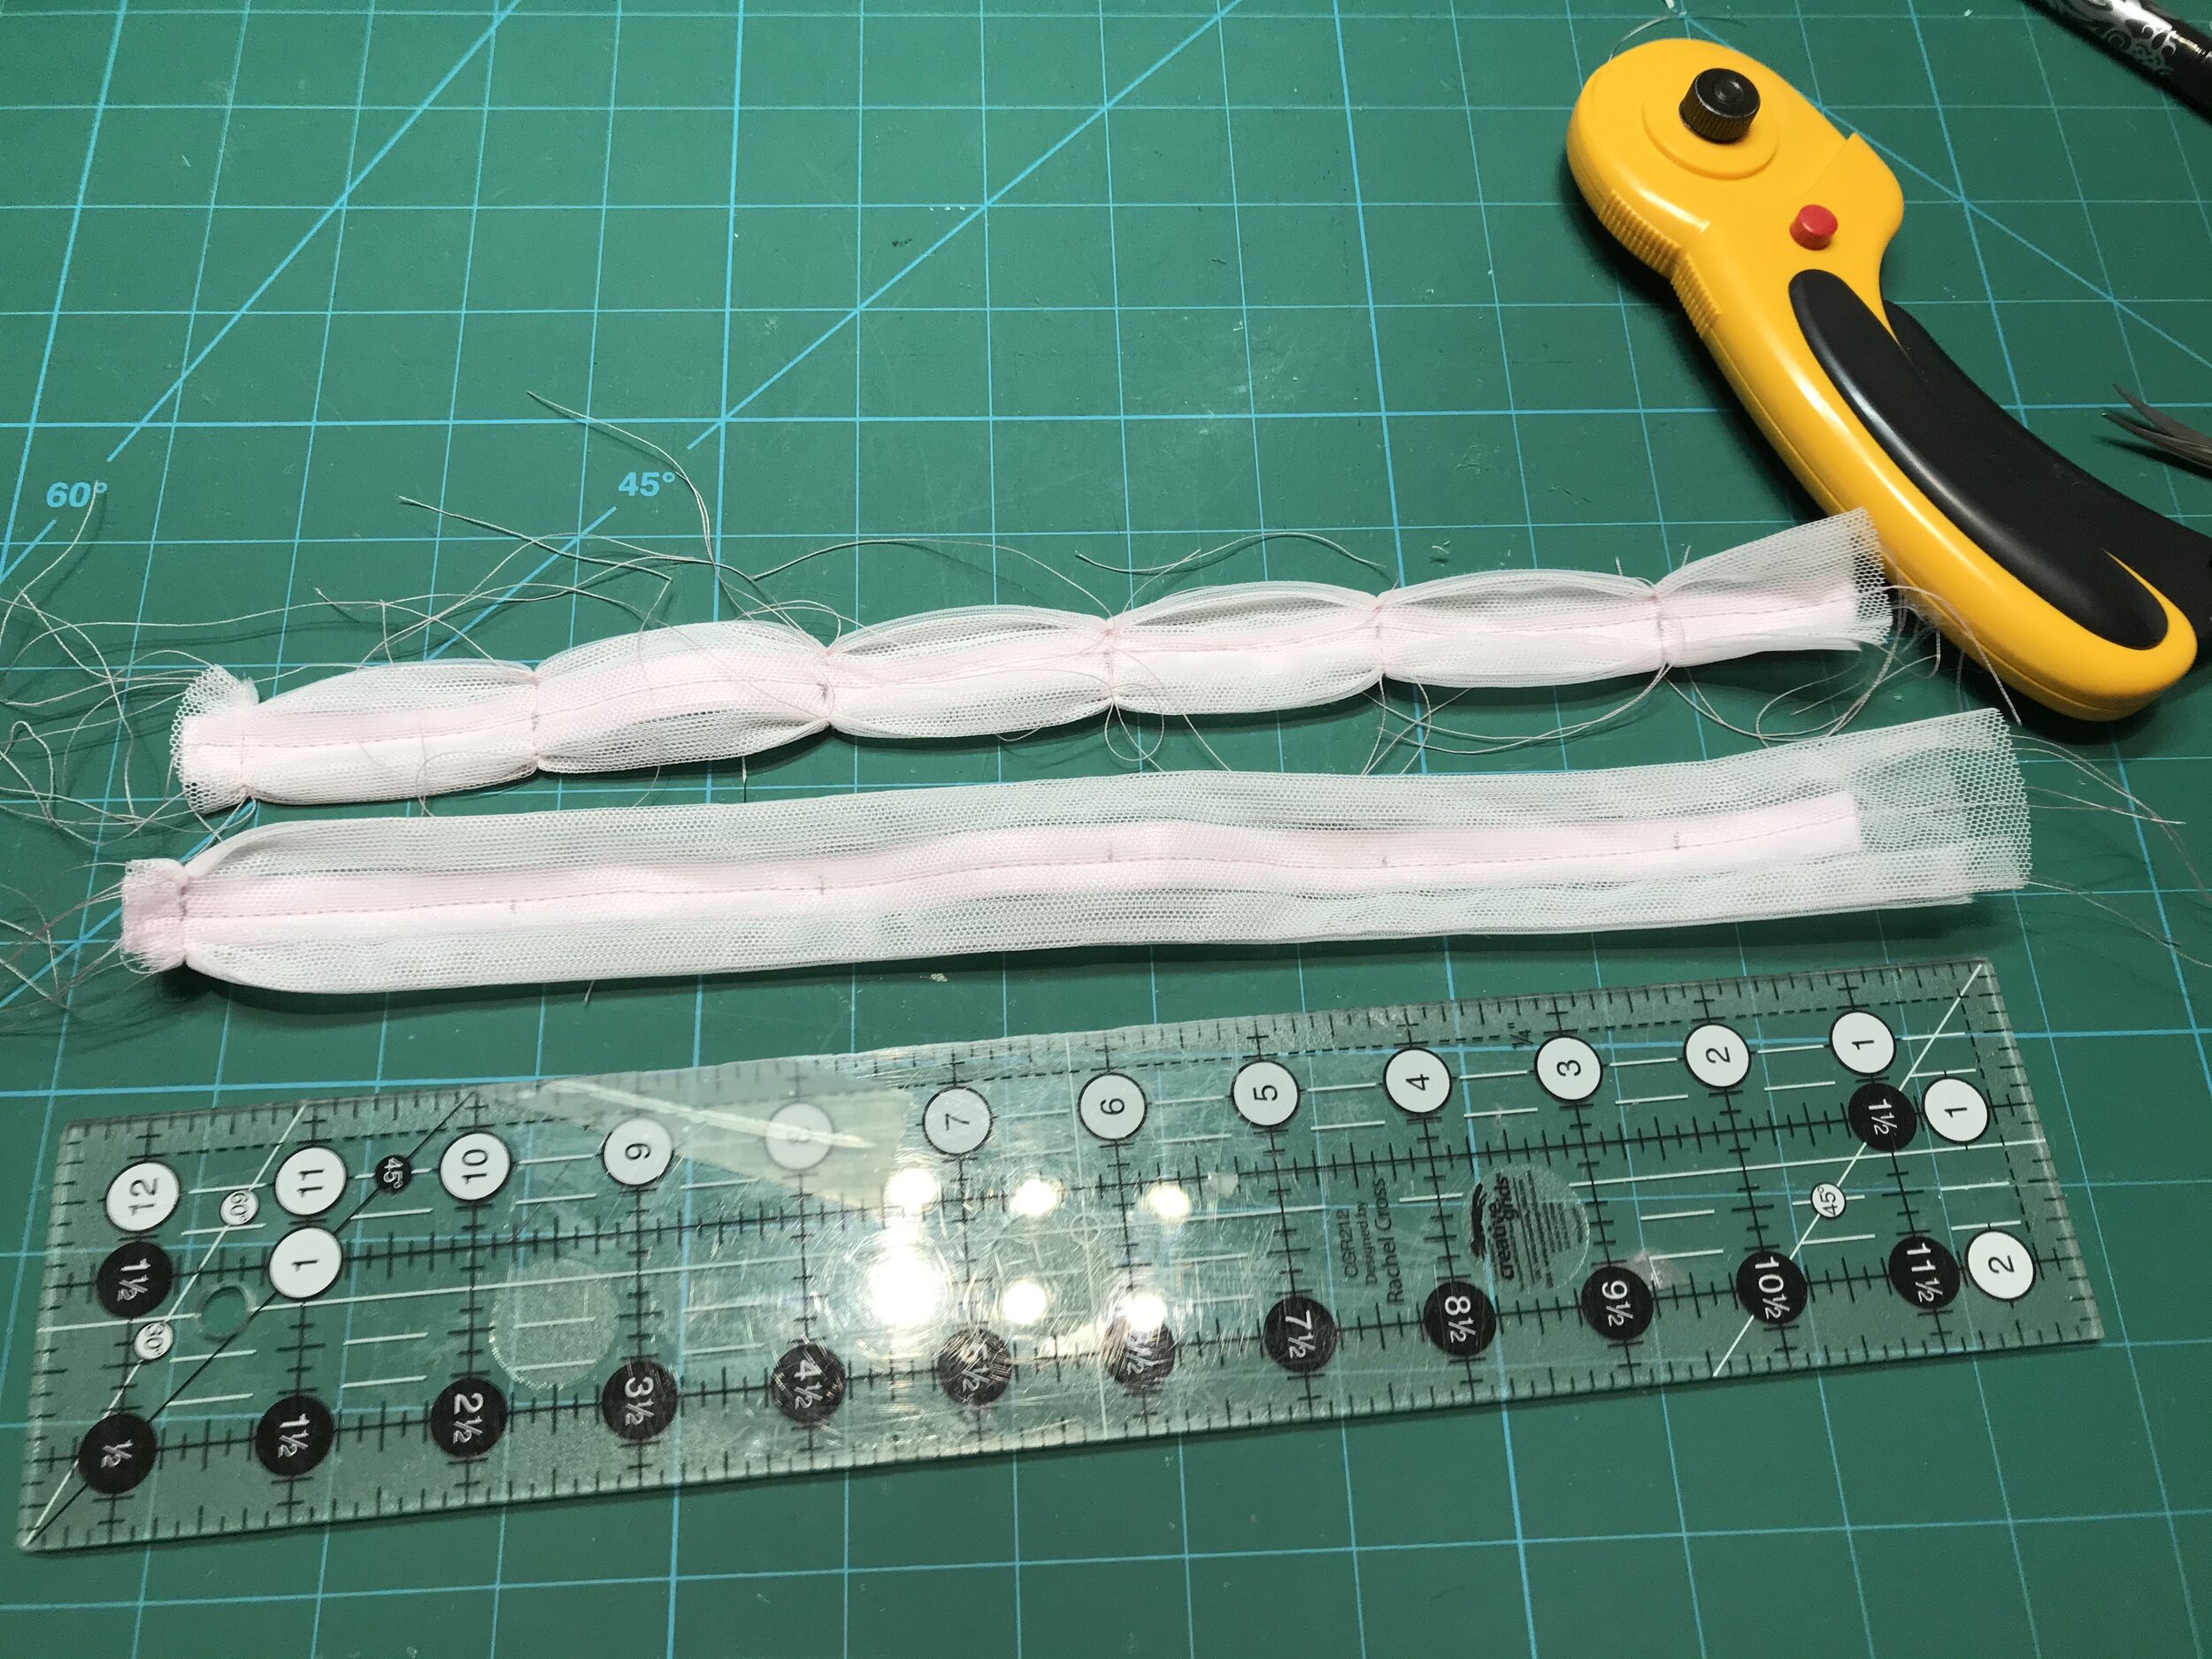
Then on to the very glamorous straps which was my attempt to achieve a RTW look I had seen. I used a strip of the lace tulle with one of the lining tulle for colour consistency. The front strap is fabric for this pattern so I ensured the strips were cut with no stretch in the length and used 1/4 seams on both long edges and turned right side out. I still wanted the comfort of plush elastic so I place over a piece of strap elastic and sewed down the middle. Then I marked a line every two inches and stitched across so I could gather to the width of the elastic. Well impressed with the look and still comfortable!
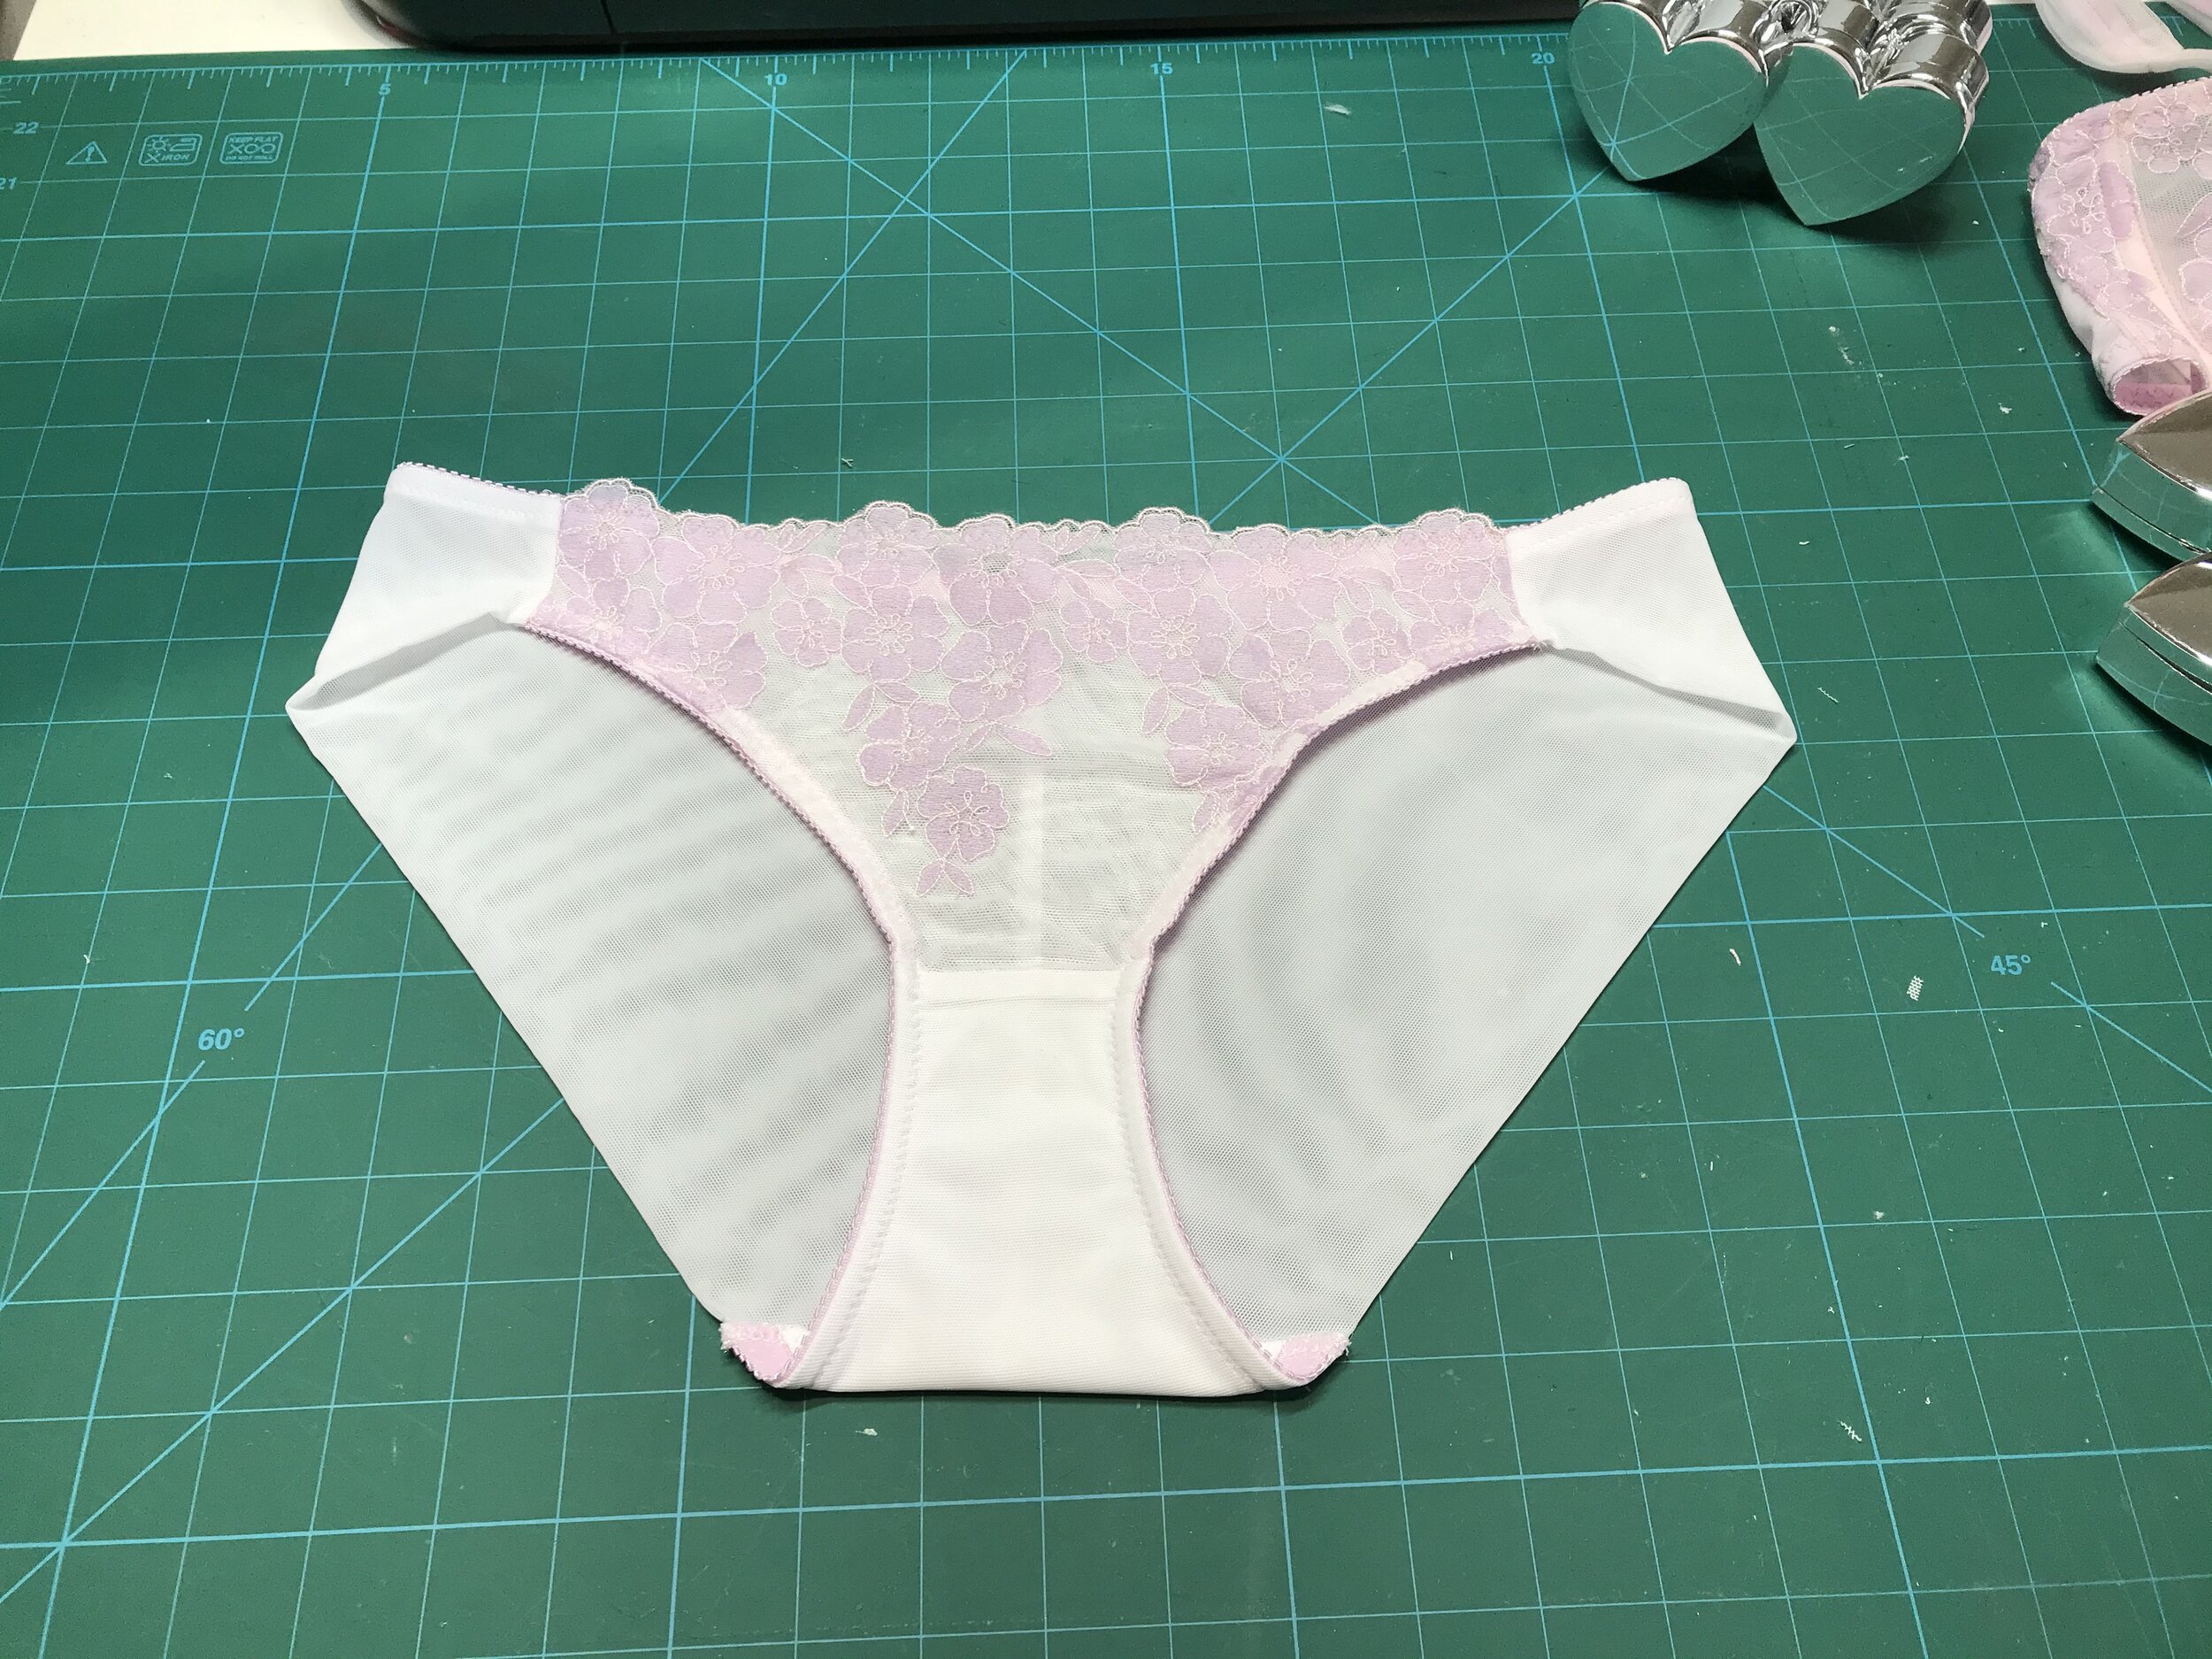
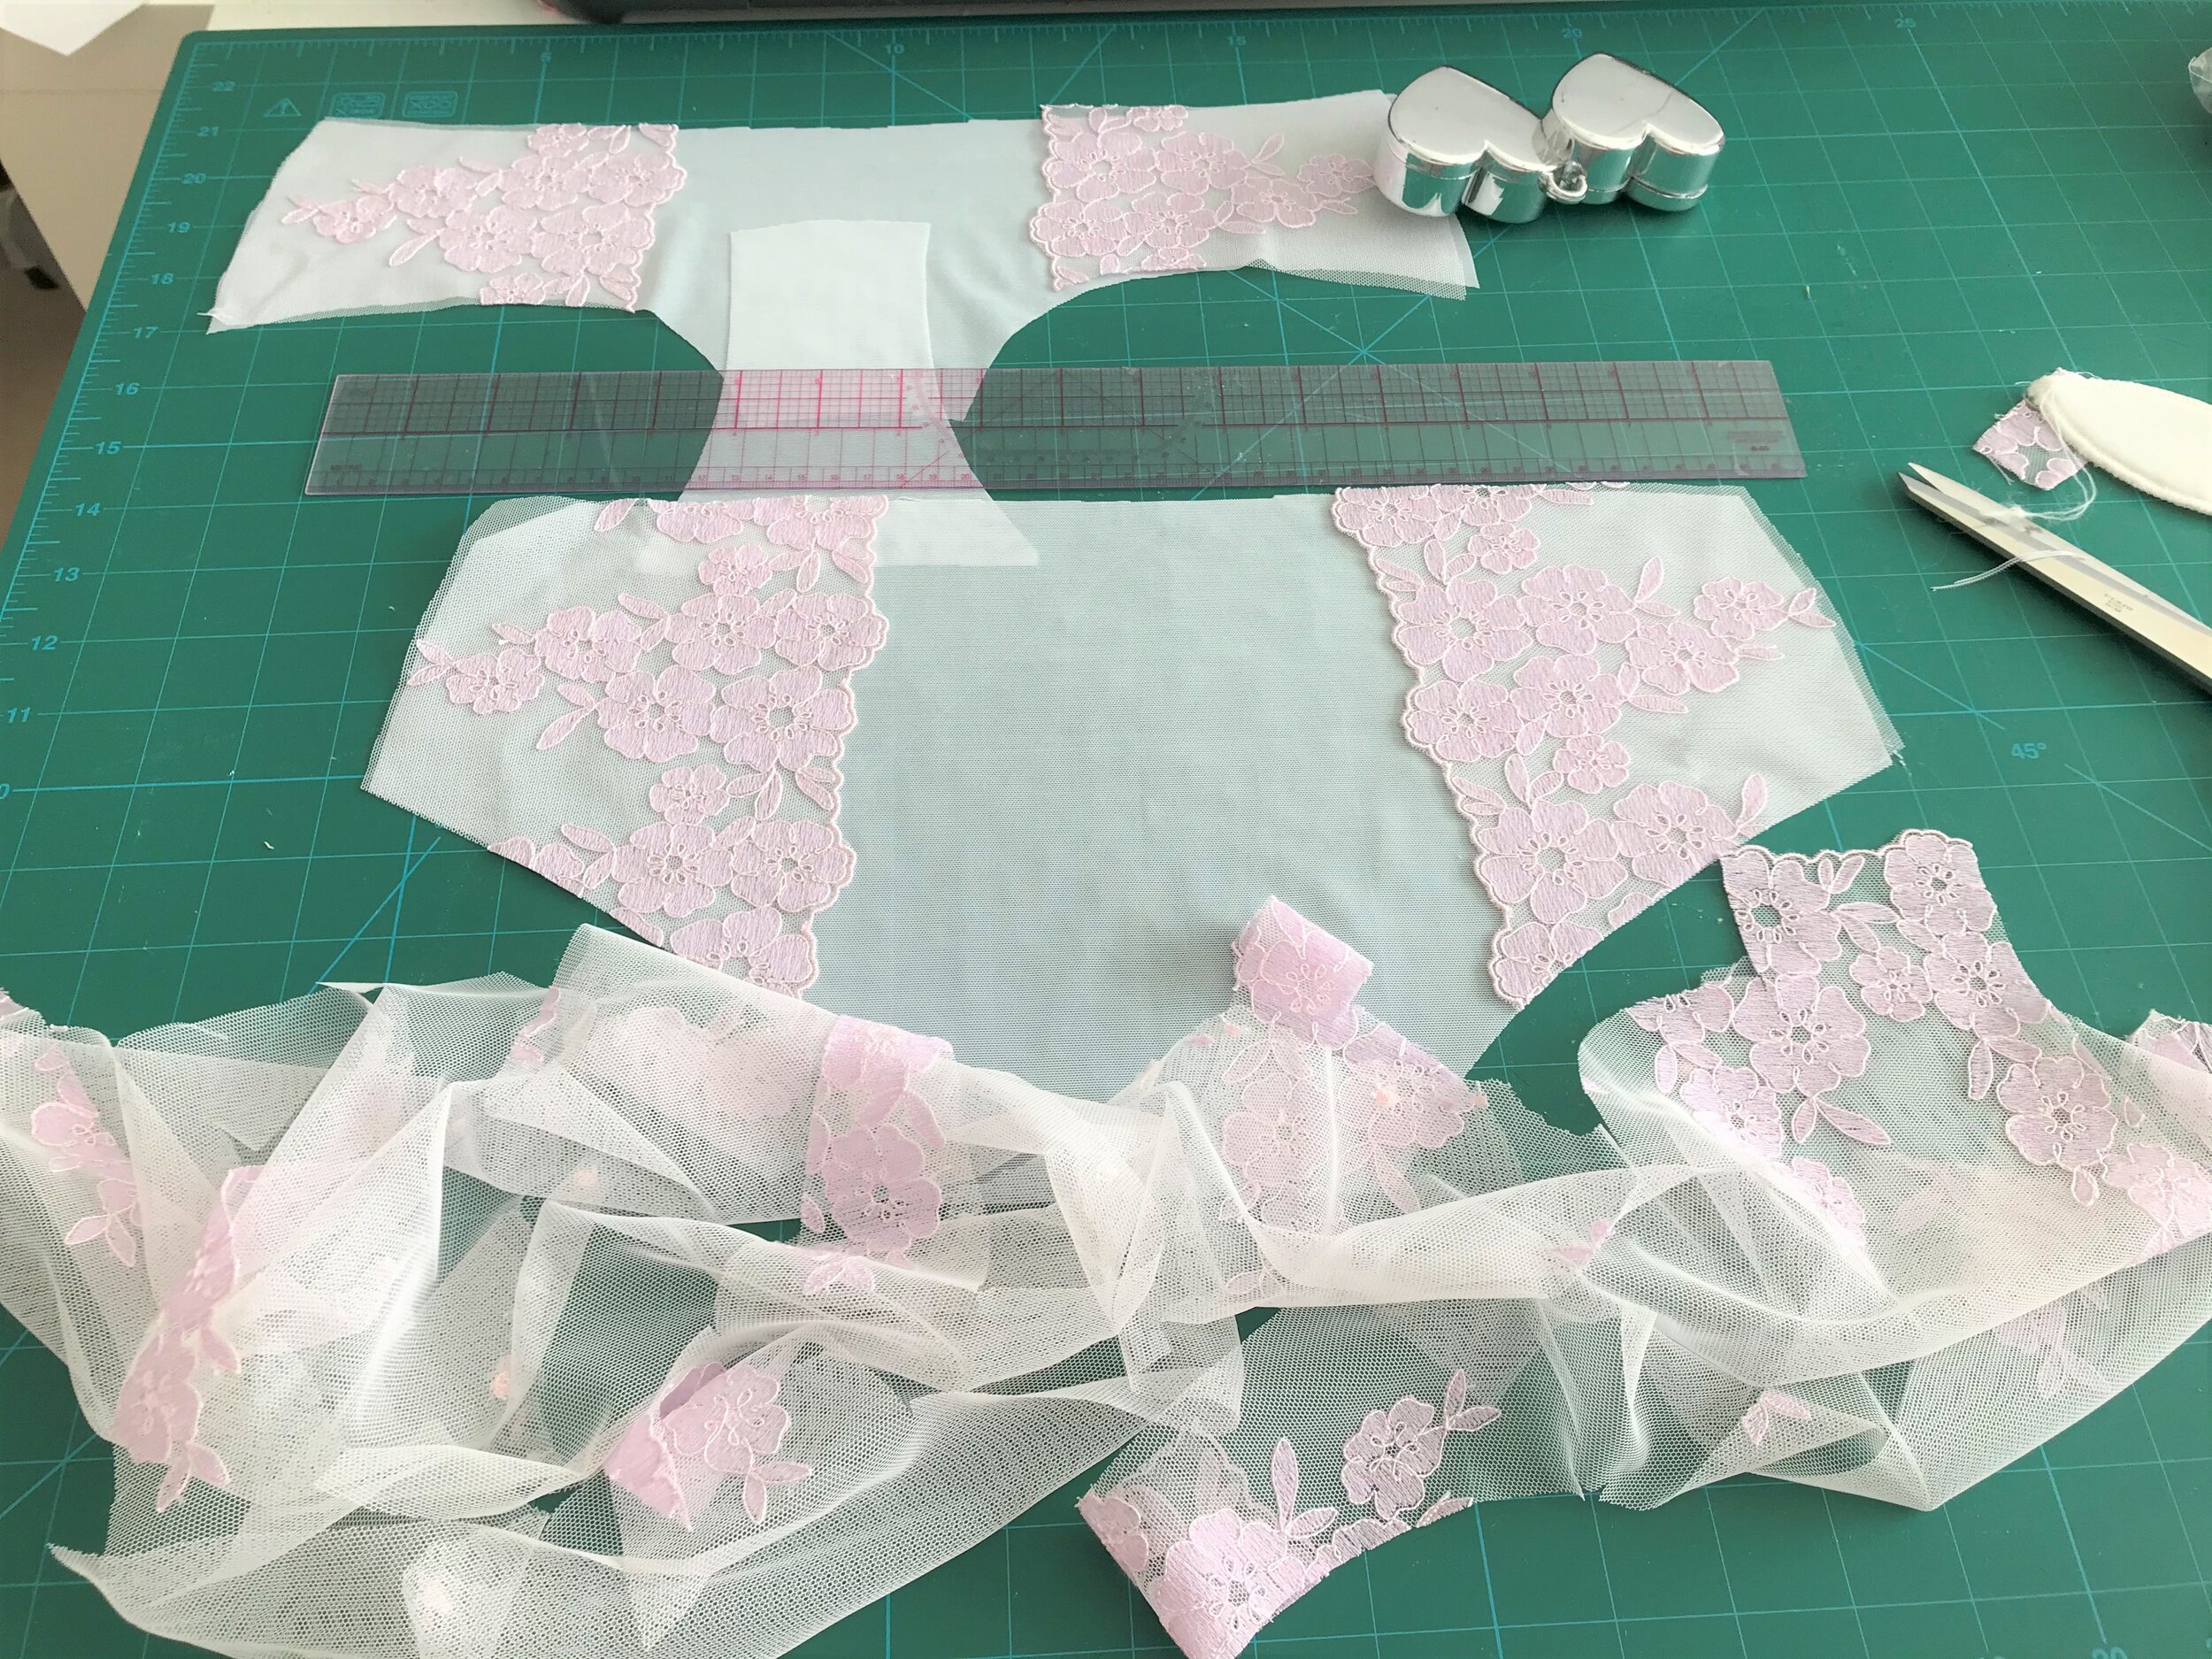
The obvious choice for underwear was another Orange Lingerie pattern, the Montgomery Brief as you can use non stretch fabric for the front panel. I’ve made this numerous times but I think this has to be the prettiest and so comfortable with the super soft mesh I found in my stash. With just a small amount of lace tulle left I managed to use this for an overlay on the Evie la Luve Binky, another favourite of mine using the direction of the stretch across the body. I used the white fold over elastic as I didn’t want it to overwhelm the single layer mesh. Amazingly pretty and feminine as well as comfortable. What more can you ask for when we are all spending so much time in t-shirts and joggers!
Who needs a reason to make more lingerie!

I don’t but I have lost so much weight since I have been back in the gym that nothing really fits so August turned into a bit of a lingerie sewing marathon. Luckily I have a stack of patterns to work with but picked up a few more along the way. So here are a few of my makes.

Read More

Mystic - Another Orange Lingerie Pattern Release!

No sooner had I finished the Orange Lingerie Lansdowne when the Mystic bra pattern flashed up on Instagram. It is described as a seamless t-shirt bra providing invisible shaping and support underneath even the most fitted garments! Never mind the numerous other projects I have stacked I just had to try. A busy work week so I had to wait until the weekend. So just in time for Strictly I managed another gorgeous set.

Read More

Lingerie Weekend - Tailor Made Order Arrived

I waited in eager anticipation for my order from the Tailor Made Shop to arrive which included the Orange Lingerie Marborough bra kit. I order as soon as Ying posts new kits on Instagram as they seem to get snapped up in minutes. I have been so busy so had to wait until weekend to start making. Good job it was cold and wet all weekend!

Read More