Mystic - Another Orange Lingerie Pattern Release!
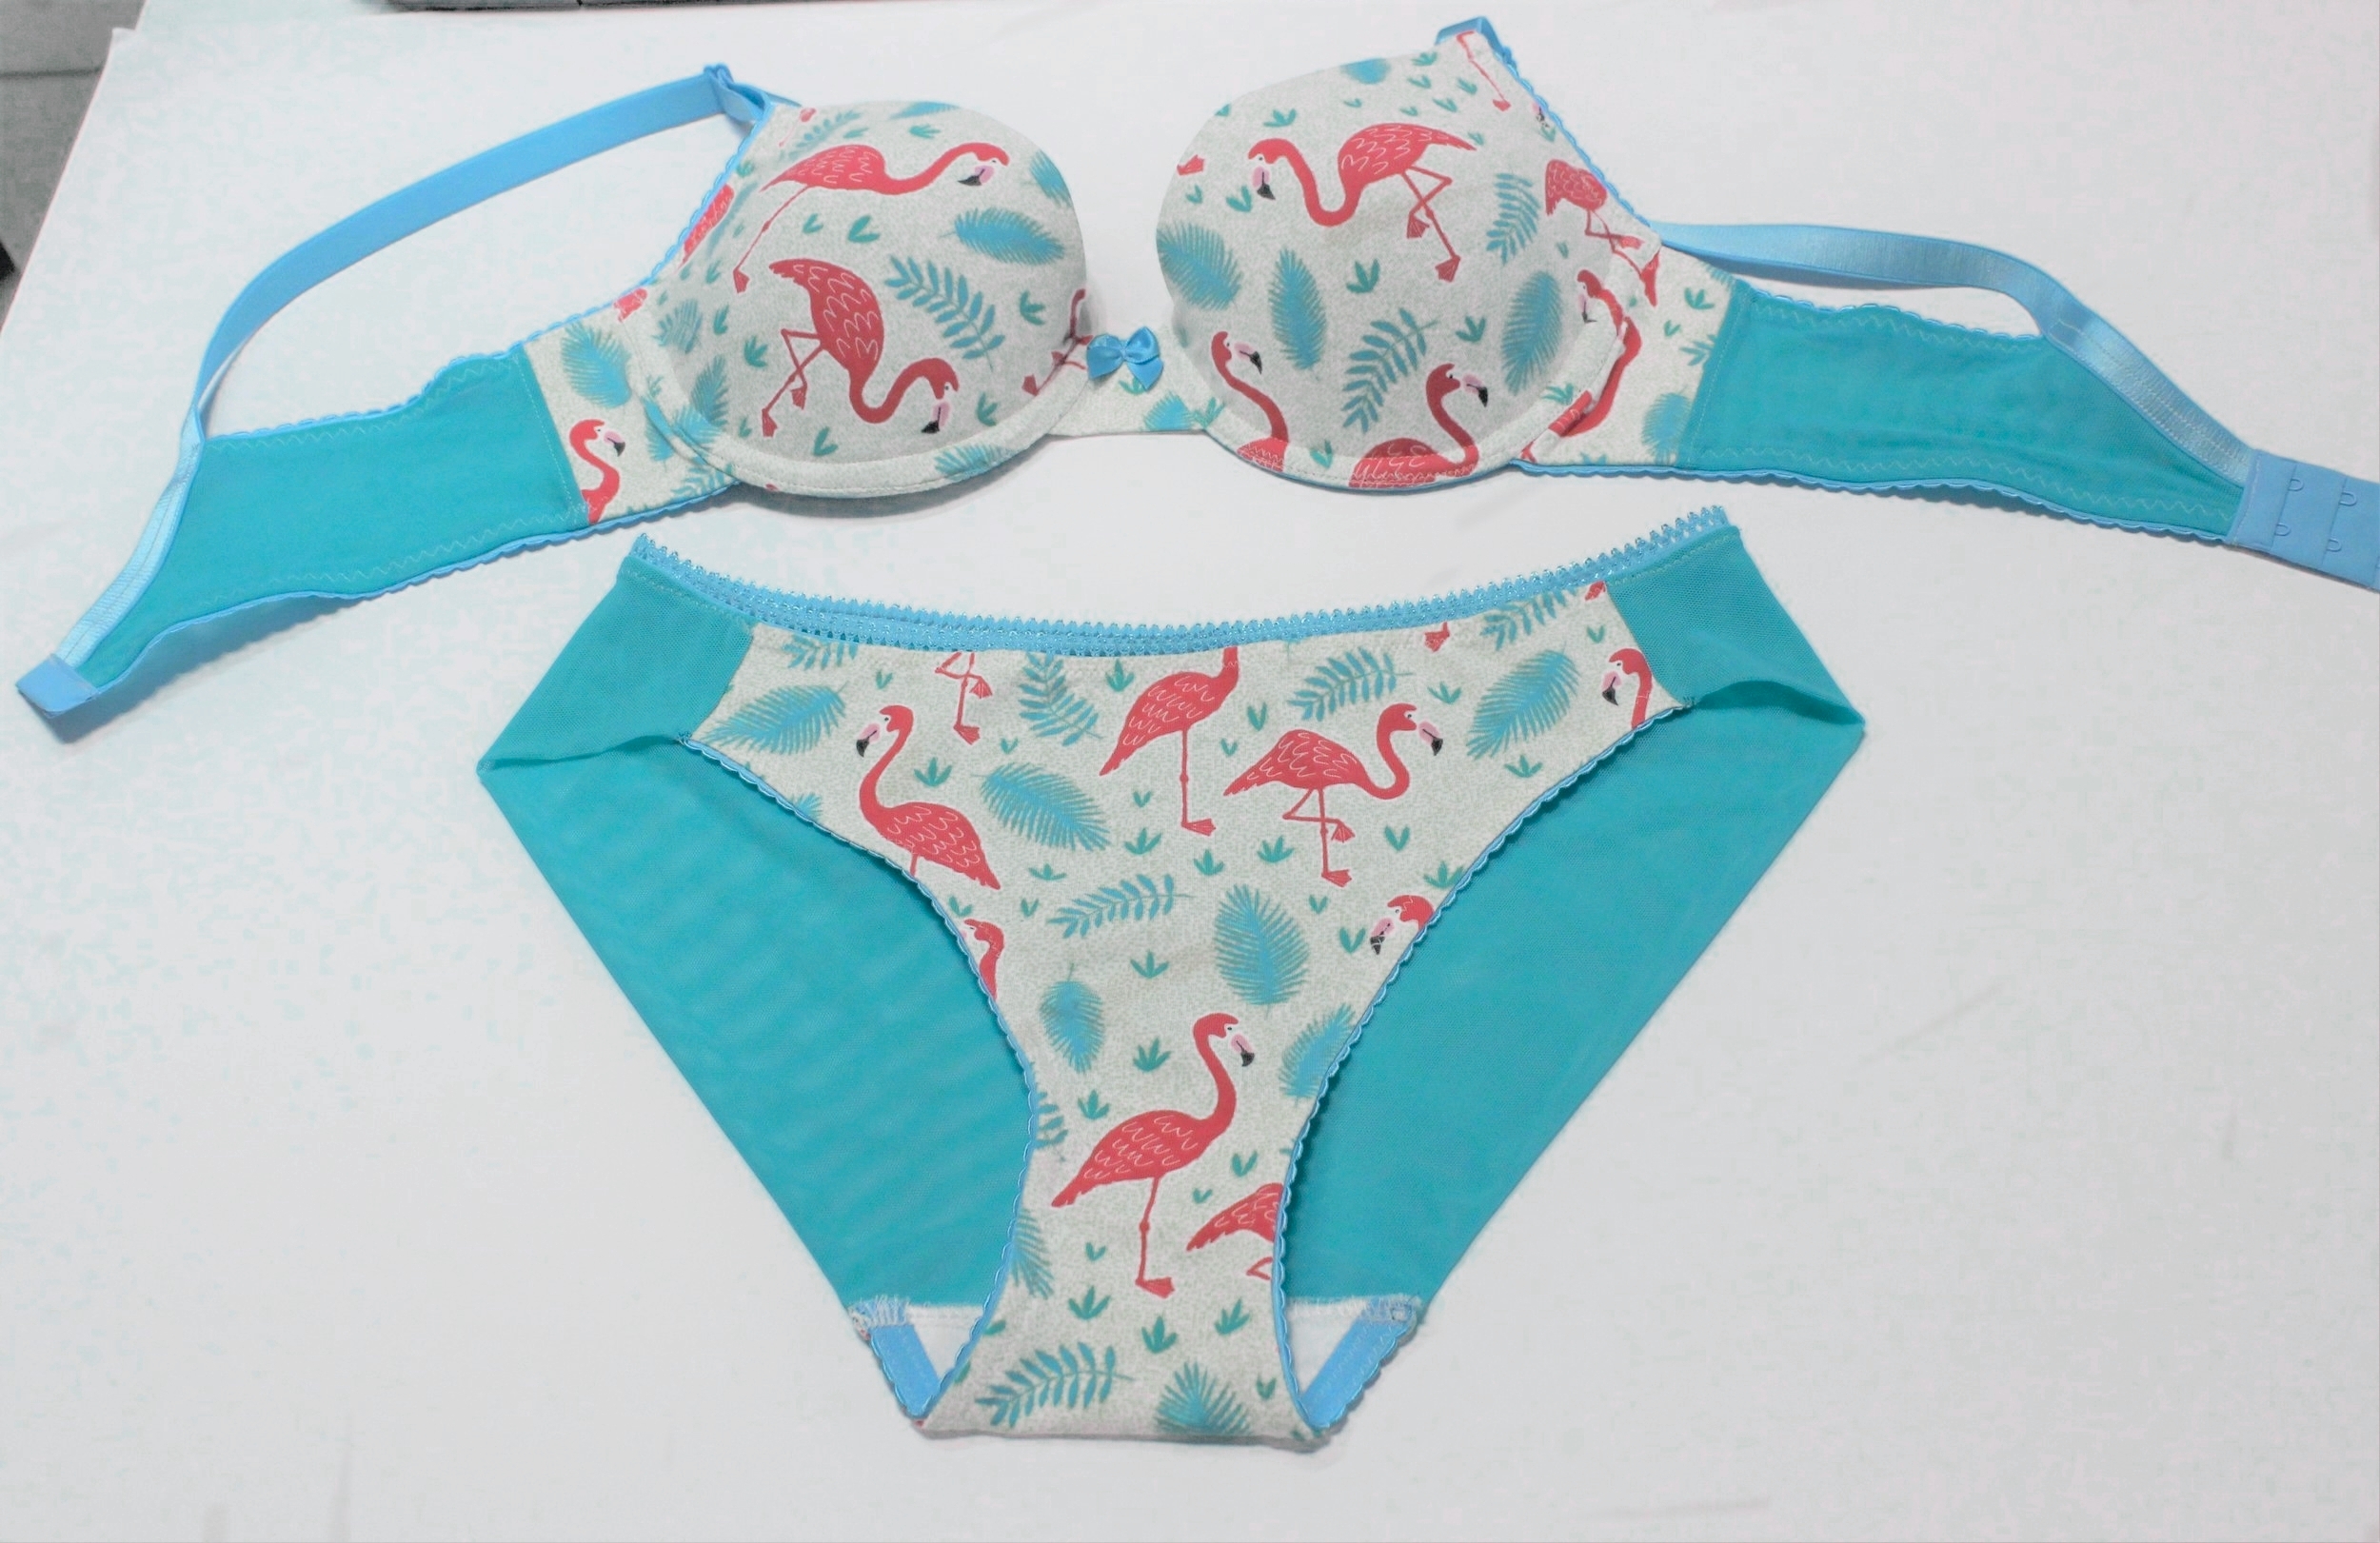
No sooner had I finished the Orange Lingerie Lansdowne when the Mystic bra pattern flashed up on Instagram. It is described as a seamless t-shirt bra providing invisible shaping and support underneath even the most fitted garments! Never mind the numerous other projects I have stacked I just had to try. A busy work week so I had to wait until the weekend. So just in time for Strictly I managed another gorgeous set.
The pattern is based on pre-formed foam bra cups. Luckily, I had a pair in my stash purchased from BWear when I first attempted making bras. I had used two sets for the Pin-Up Girl’s Anita/Amelia Foam Cup Bra Pattern. This offers both a lace and fabric cup option with a lace full band. I had bought the pattern after watching Beverly Johnson’s Craftsy Class Sewing Bras: Foam, Lace & Beyond. Then I had tried a self drafted partial band which I found hard going because of the bulk of the foam on the bottom edge of the cup. So I was intrigued to see how Orange Lingerie tackled the issue.
I knew from previous makes that you need your fabric to be really stretchy so I looked around for some soft jersey scraps and there on the pile was this super organic cotton from Jelly Fabrics I had just used to line my Charlie Jacket. I only had black foam cups but when I stretched the fabric over slightly it looked fine so I went ahead.
I read the instructions and the trick is to to attach a seam allowance to the inside of the cup. I struggled to find something appropriate and I ended up with some tape. Once you have the tape in place you have to place your fabric with the greatest stretch direction in line with the upper edge and then manipulate until you get out all the creases.
This does take some time and patience. You just need to keep moving the pins around until the creases eventually are stretched out, taking care not to distort the foam cup. Once you are happy with this you then mark a line on the upper cup as well as a notch in the middle on both the fabric and cup. You then need to take out your pins and put the right side of the fabric against the cup with the line matching the edge as well as the notches. You sew an 1/8” seam along the edge and then roll the fabric over and then start the placing of the fabric all over again. When all the wrinkles have gone you sew the fabric to the new seam allowance and cut the the underarm fabric back to 3/8”.
I did one cup and decided to try something different with the second for a smoother look. I left attaching the seam allowance until after I finished the upper edge and got the fabric back in place. Then I basted the fabric in place along the side and bottom edge. With the fabric in place I butted fusible tape along the edge of the cup and fused to the fabric only and then trimmed back to the 1/4” seam allowance.
With the cups done I had to choose what fabric to use for the rest of the bra. I had some matching red jersey as well as some aqua marine stretch mesh from Costura Secret Shop. Then a decision between red findings or a Fit2Sew findings kit in turquoise. Too much choice but I decided on using the same fabric for the bridge and side band with two layers of the mesh for the back band. With this combination the turquoise findings looked best.
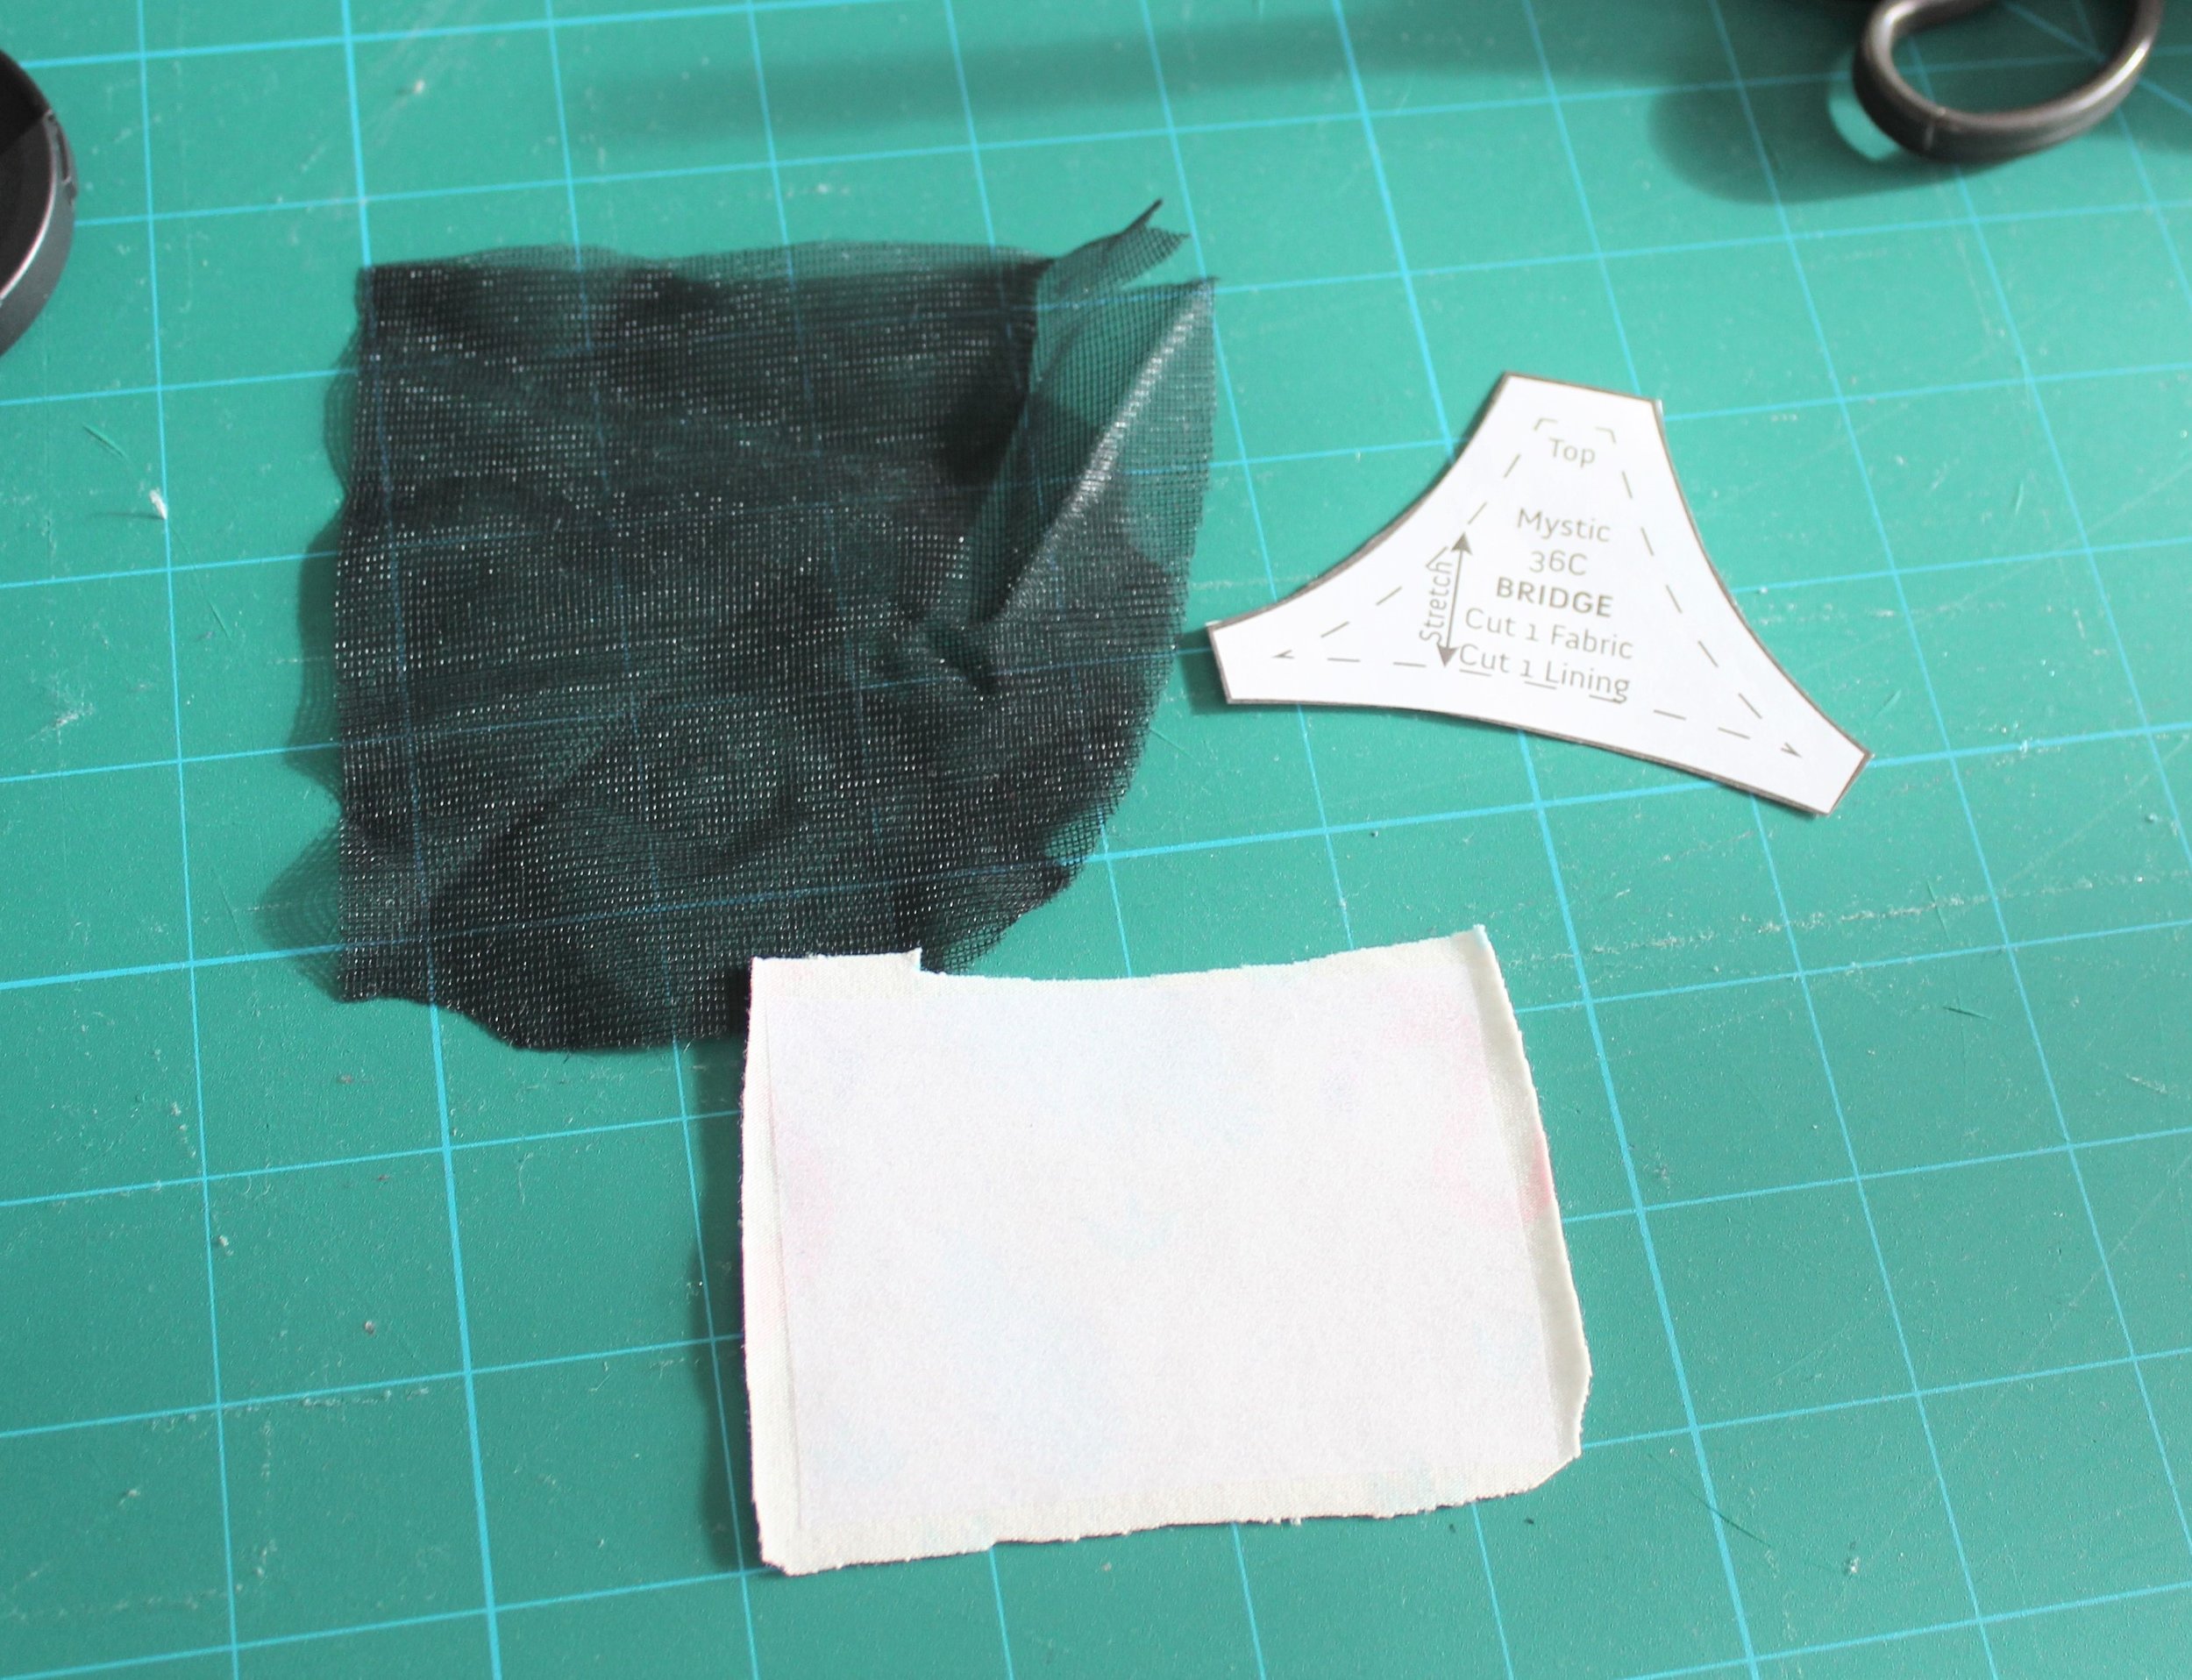
On to the bridge. The pattern does say to stabilise if using your cup fabric. This is really important as I found out in previous makes. The jersey stretches out and causes creases when used with a stable lining. So I used an ultra soft fusible to stabilise. Initially I was going to use black sheer lining to match the foam cup but changed to beige. Attaching the bridge to the cups is quite fiddly to get right but worth the effort.
The elastic is added to the cup at this stage. On the first pass the elastic is attached to the fabric seam allowance only. You then attach stabiliser to the end of the elastic so that it is not stretched out by the strap. The pattern has you hand stitch the elastic in place using a fell stitch. However, I just used a machine zigzag as thought a stronger finish and my hand stitching is not very neat.
After stabilising the side bands I used temporary adhesive spray to attach the beige lining to the back and also to keep the two layers of mesh together. The back band is then attached to the side band. This should be pressed towards the side band but my fabric preferred to sit the other way because of the bulk. So rather than overlock the seam and add extra bulk I topstitched close to the edge and trimmed back to the stitching. I think it is worth saying it would be hard to pattern match the cups. I started with two different flamingos in the middle of each cup and this looks fine. However, with so much moving of the fabric you could struggle to be anymore precise.
After attaching the top and bottom elastic to the bands you make the strap. Before attaching the strap I checked the fit of the fastener. The band was too wide so I pinned the two sides together and reshaped to fit. This ensures the bands are exactly the same.
The bands are then attached to the cups. There is an awful lot of bulk where the two elastics meet on the underarm but thankfully not an issue for the sewing machine. Just the chaneling to do before attaching the strap. Before sealing off the ends I made sure that the wires fit through . All done and on to making a matching set.
The Orange Lingerie Montgomery brief is a perfect match as it has an innovative design that eliminates elastic from the bottom for a smooth profile under clothing. I have made this pattern a number of times as it is a really comfortable fit. Although a pattern for a lace front there is a great guide on Norma’s website for a simple adaption so you can use fabric.
You just need to add the seam allowance for the waist elastic and because you are not using the edge of the lace you can draw a light curve for the waist. To make sure it was symmetrical I folded the pattern piece over and used on the fold rather than cut on one layer. To use as much of my fabric as I could I also added the gusset to the panel, rather than use the mesh. So you need to eliminate the seam allowance . This would mean I wouldn’t be able to enclose the front seam but not a big issue for me. I overlocked the front edge and basted in place.
The findings kit was just for a bra so there was not enough 3/8” elastic for both the legs and waist. The kit does contain a neck edge elastic which is rather decorative so I used this for the waist instead. I always put my waist elastic join on the side but the match on this was so good you can’t see it! The guide does say not to stretch the elastic over the front panel as it is meant for a rigid lace. However, this jersey is very stretchy so I calculated my usual deduction and distributed the elastic evenly. Worked perfectly.
Another fabulous make. It is a time consuming process but worth the effort. It did help that I had used a similar method before and knew what size cup, wire and back band works for me and all made from my stash.


