Greenstyle Fit Capsule Challenge and My Perfect Sports Bra
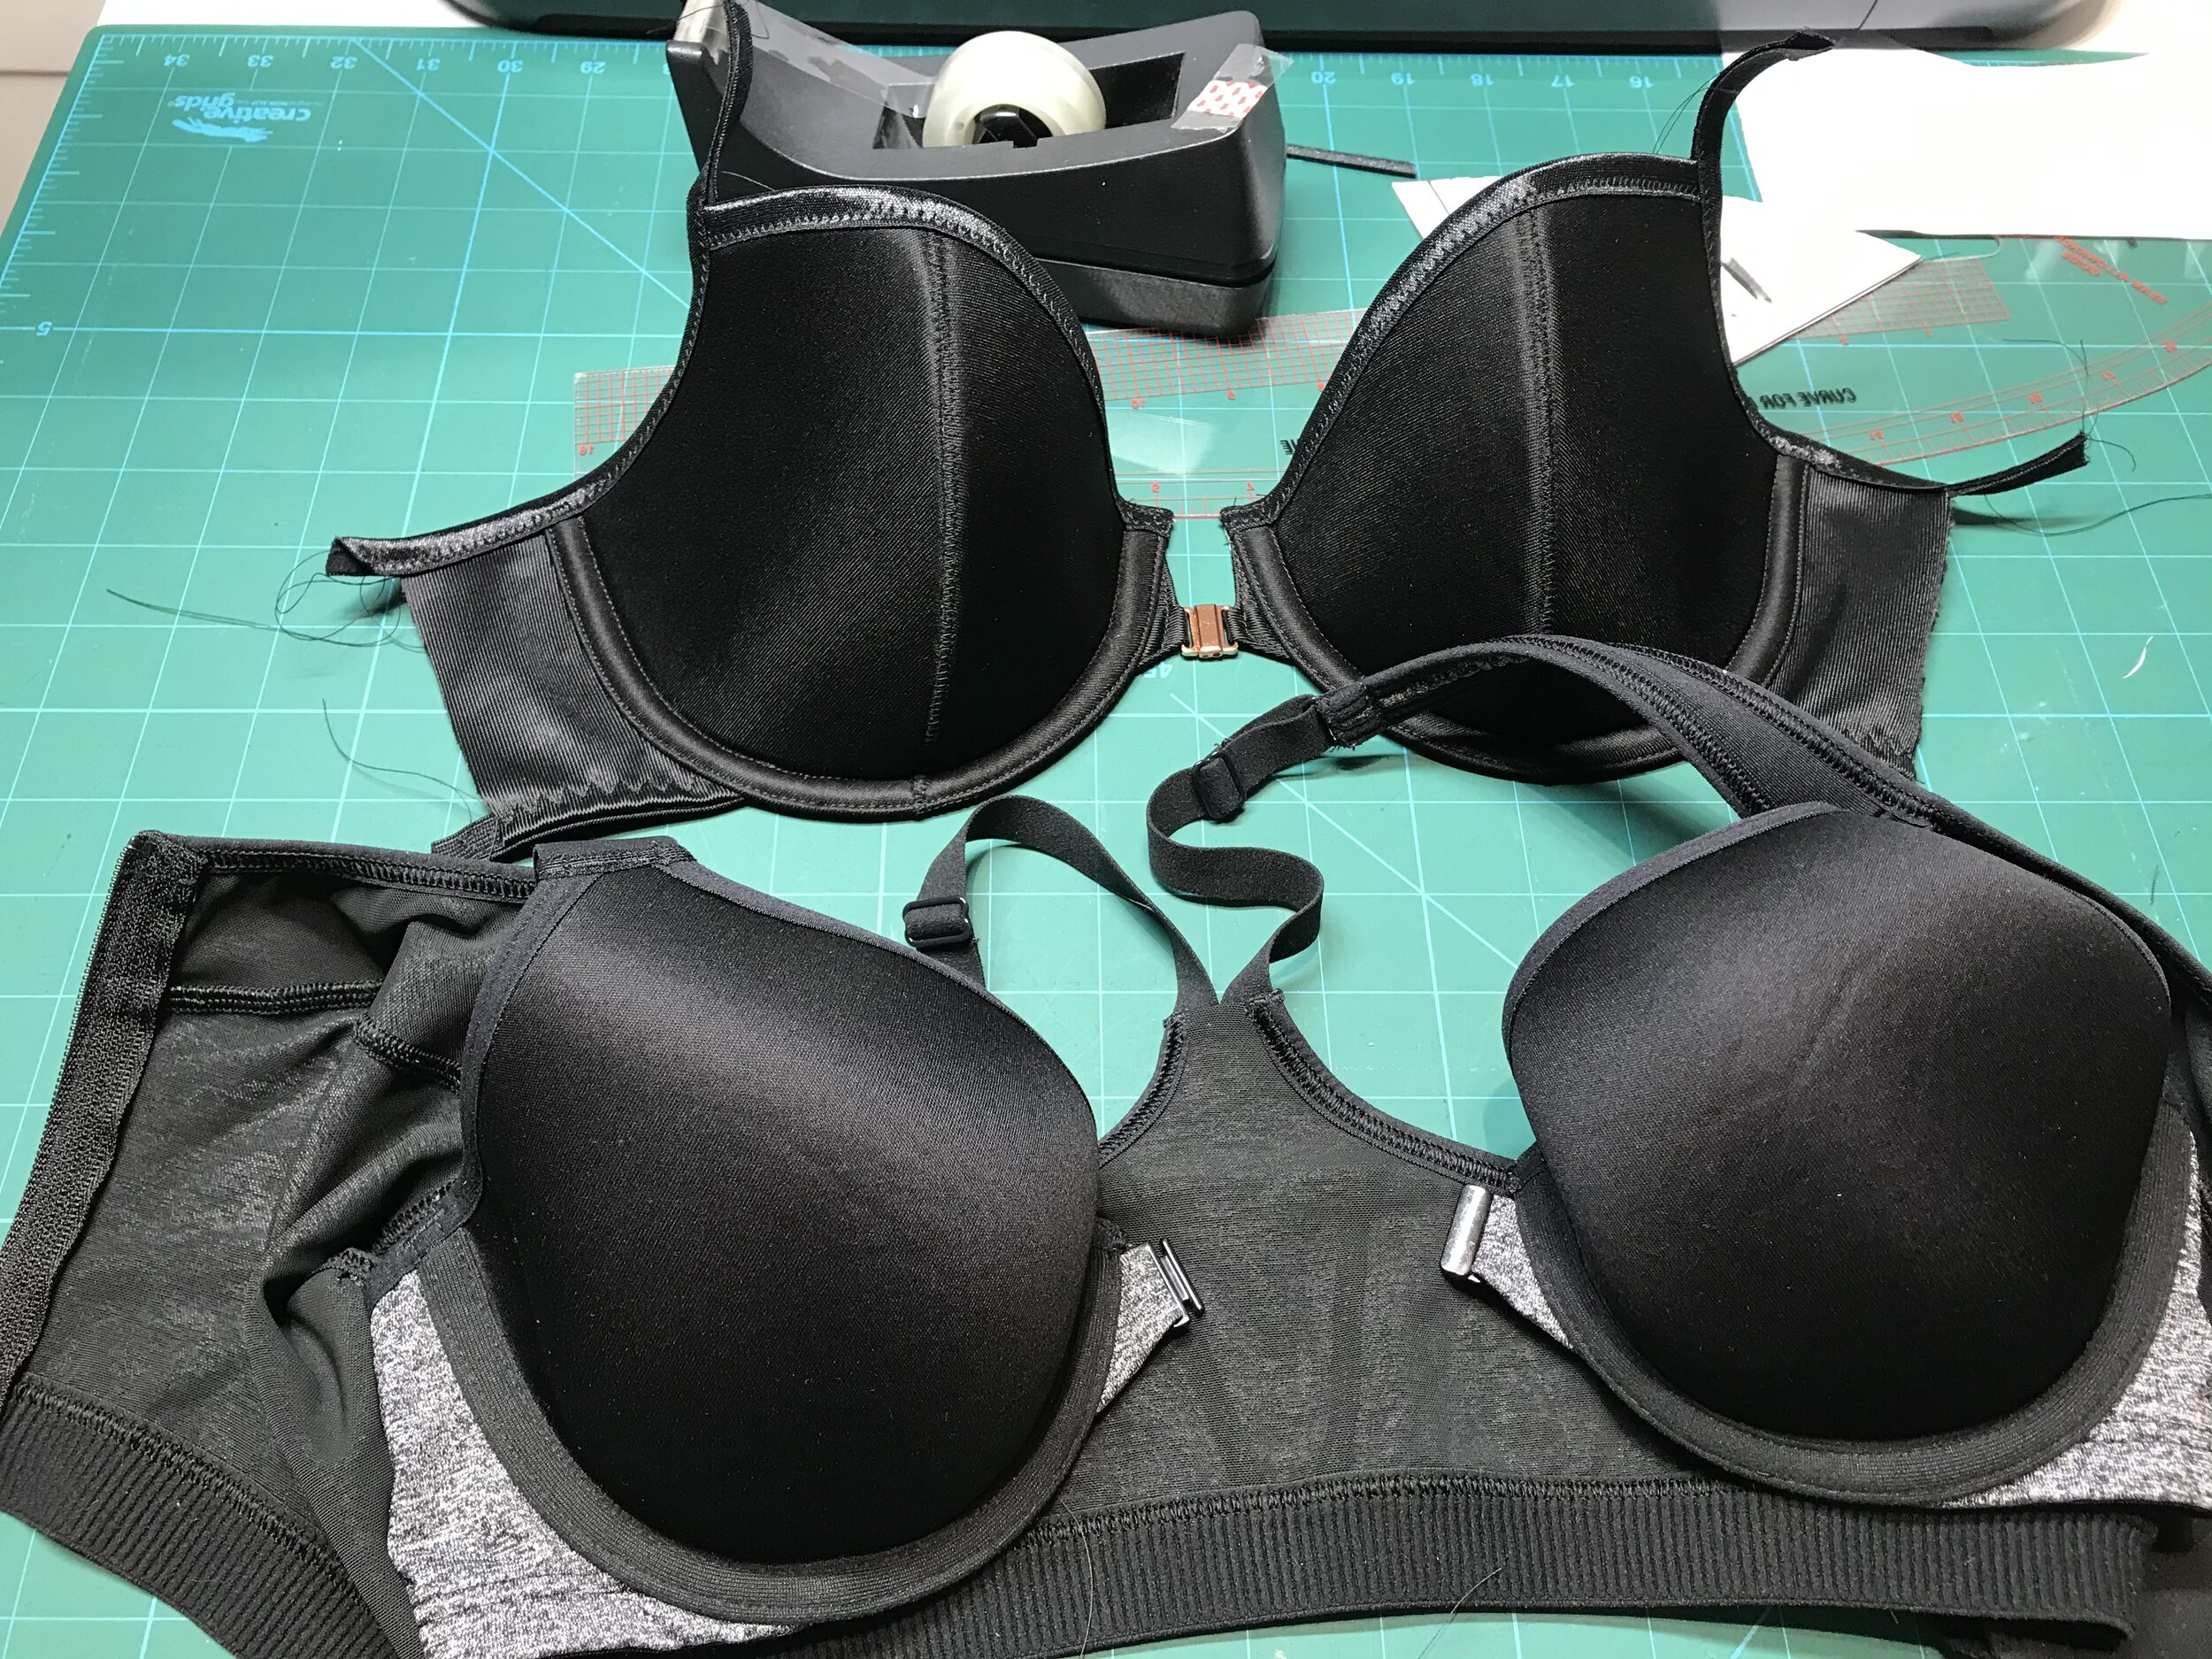
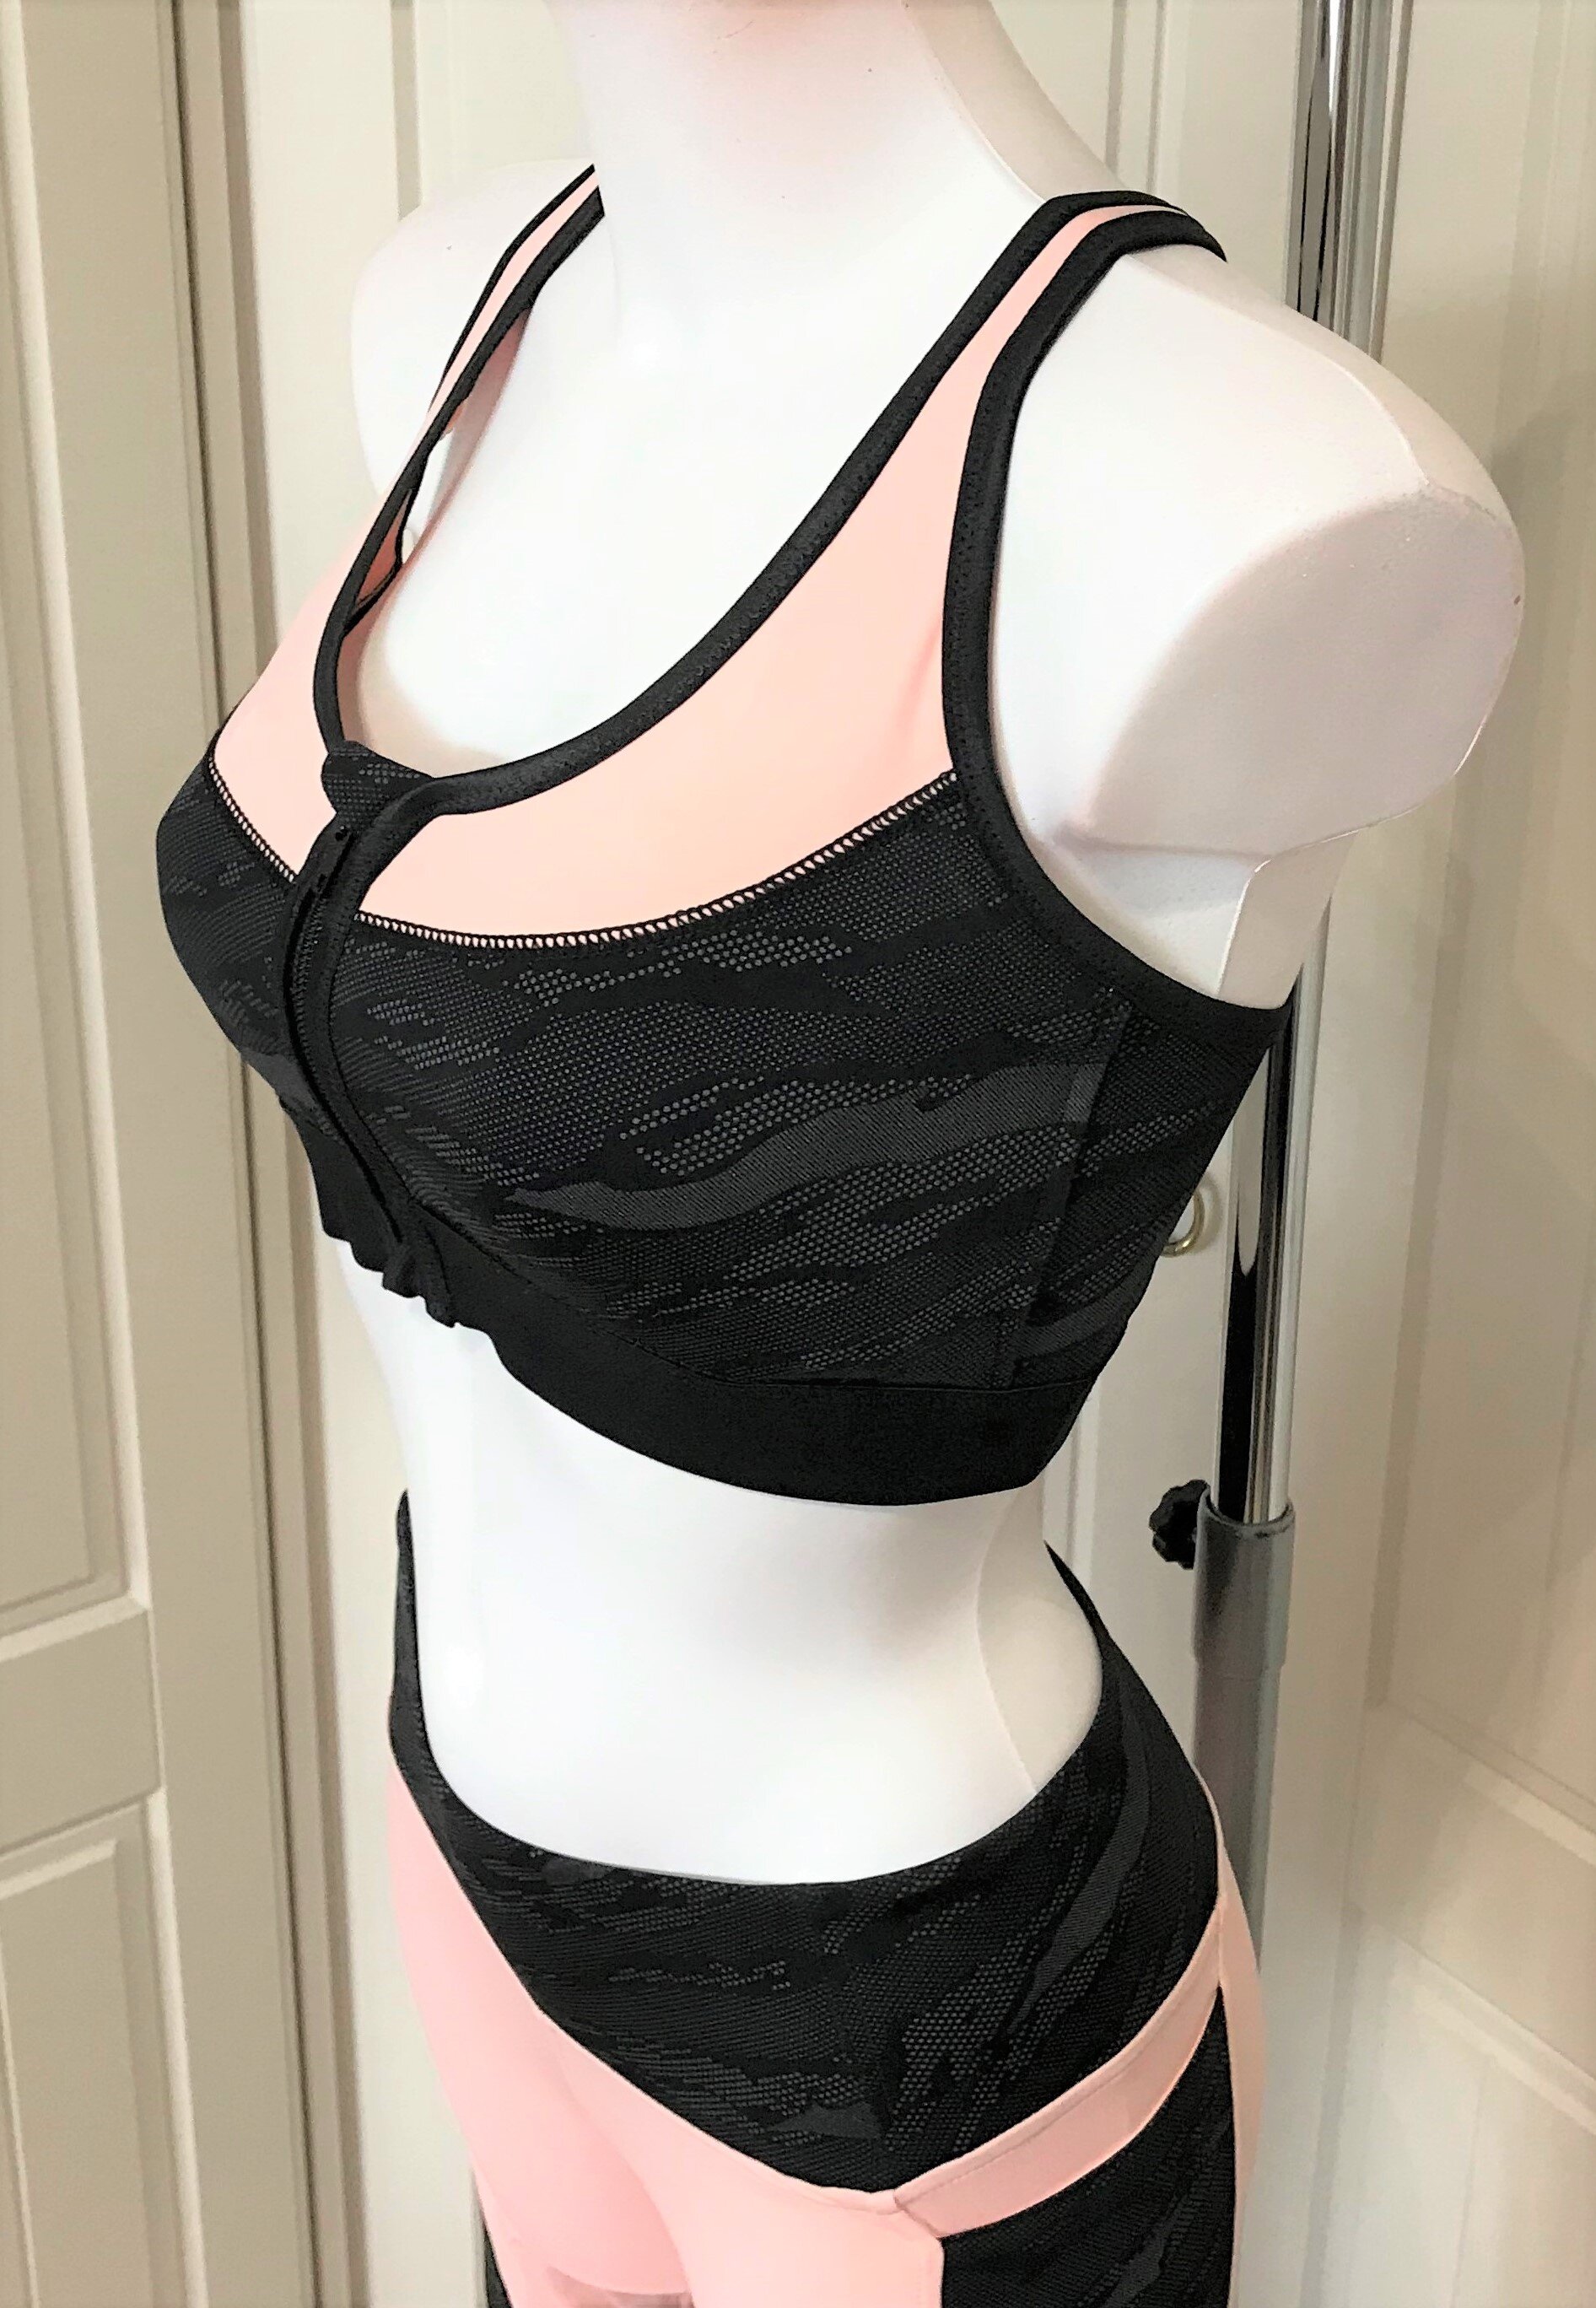
So I have a favourite RTW sports bra and since I started making lingerie I thought I really need to try making my own version. It is a foam cup bra inserted into a zip front top. It took a whole lot of thinking through but I achieved a perfectly wearable, comfortable and supportive sports bra. And it looks amazing!
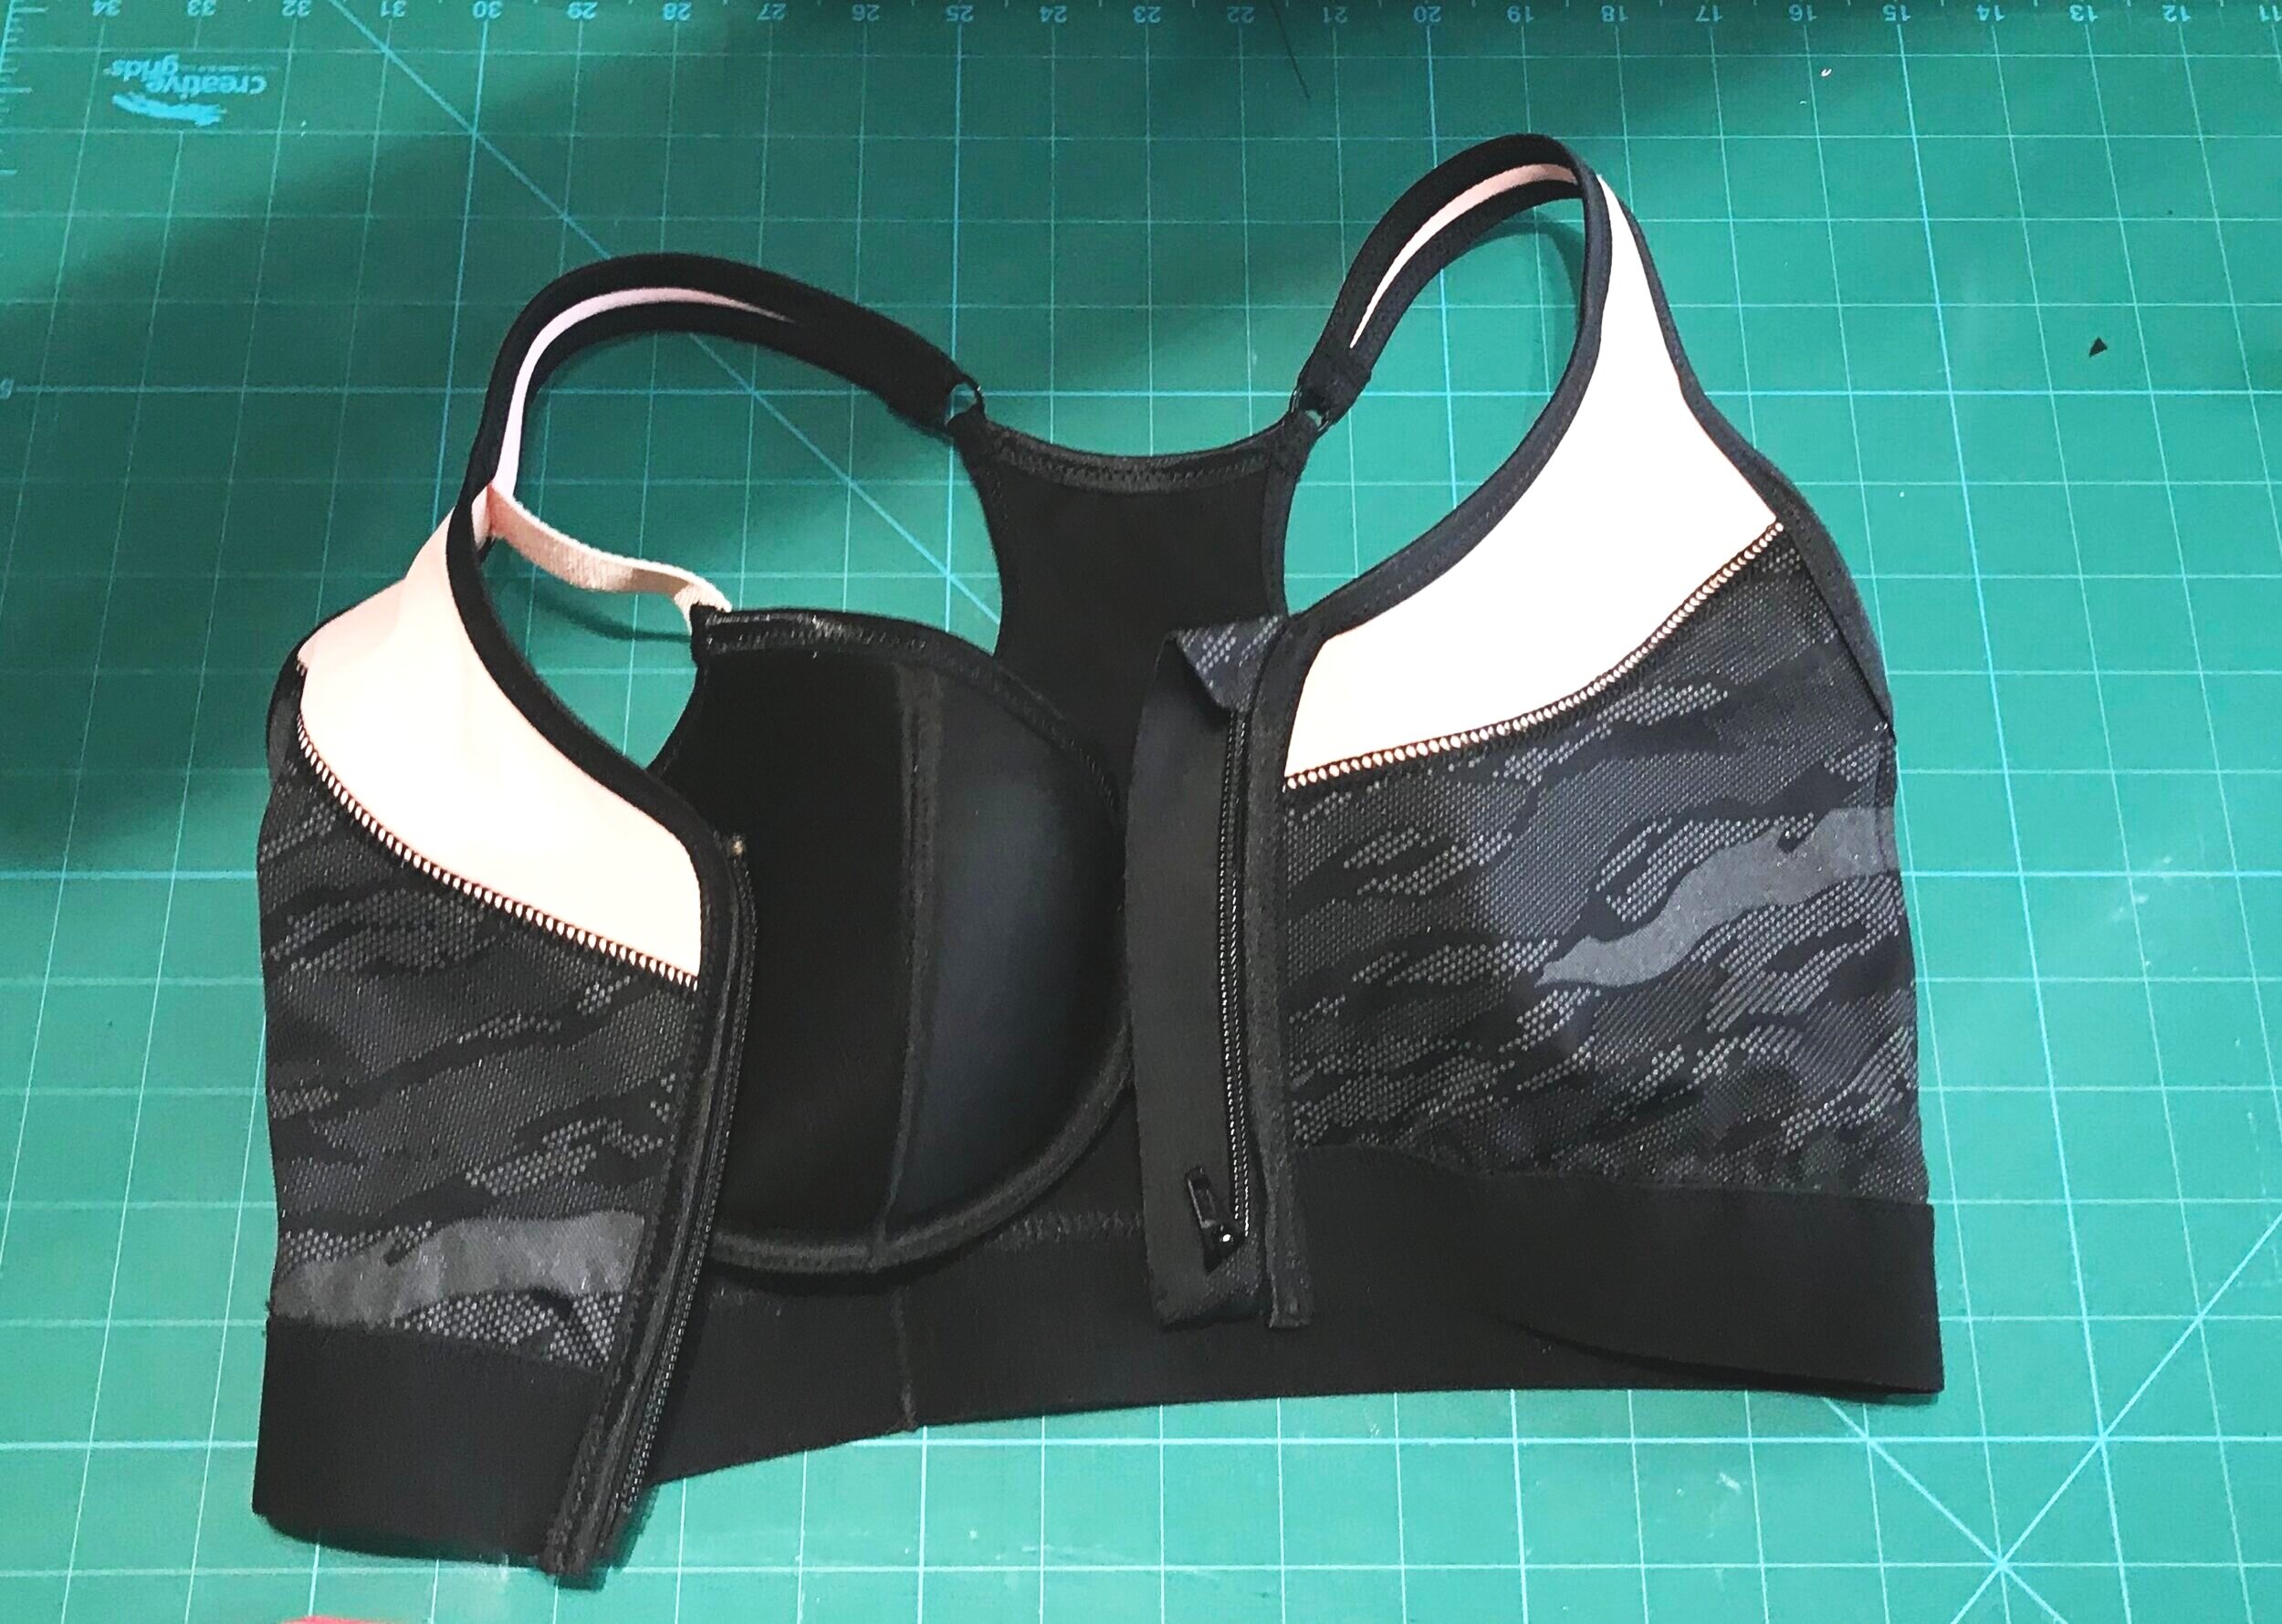
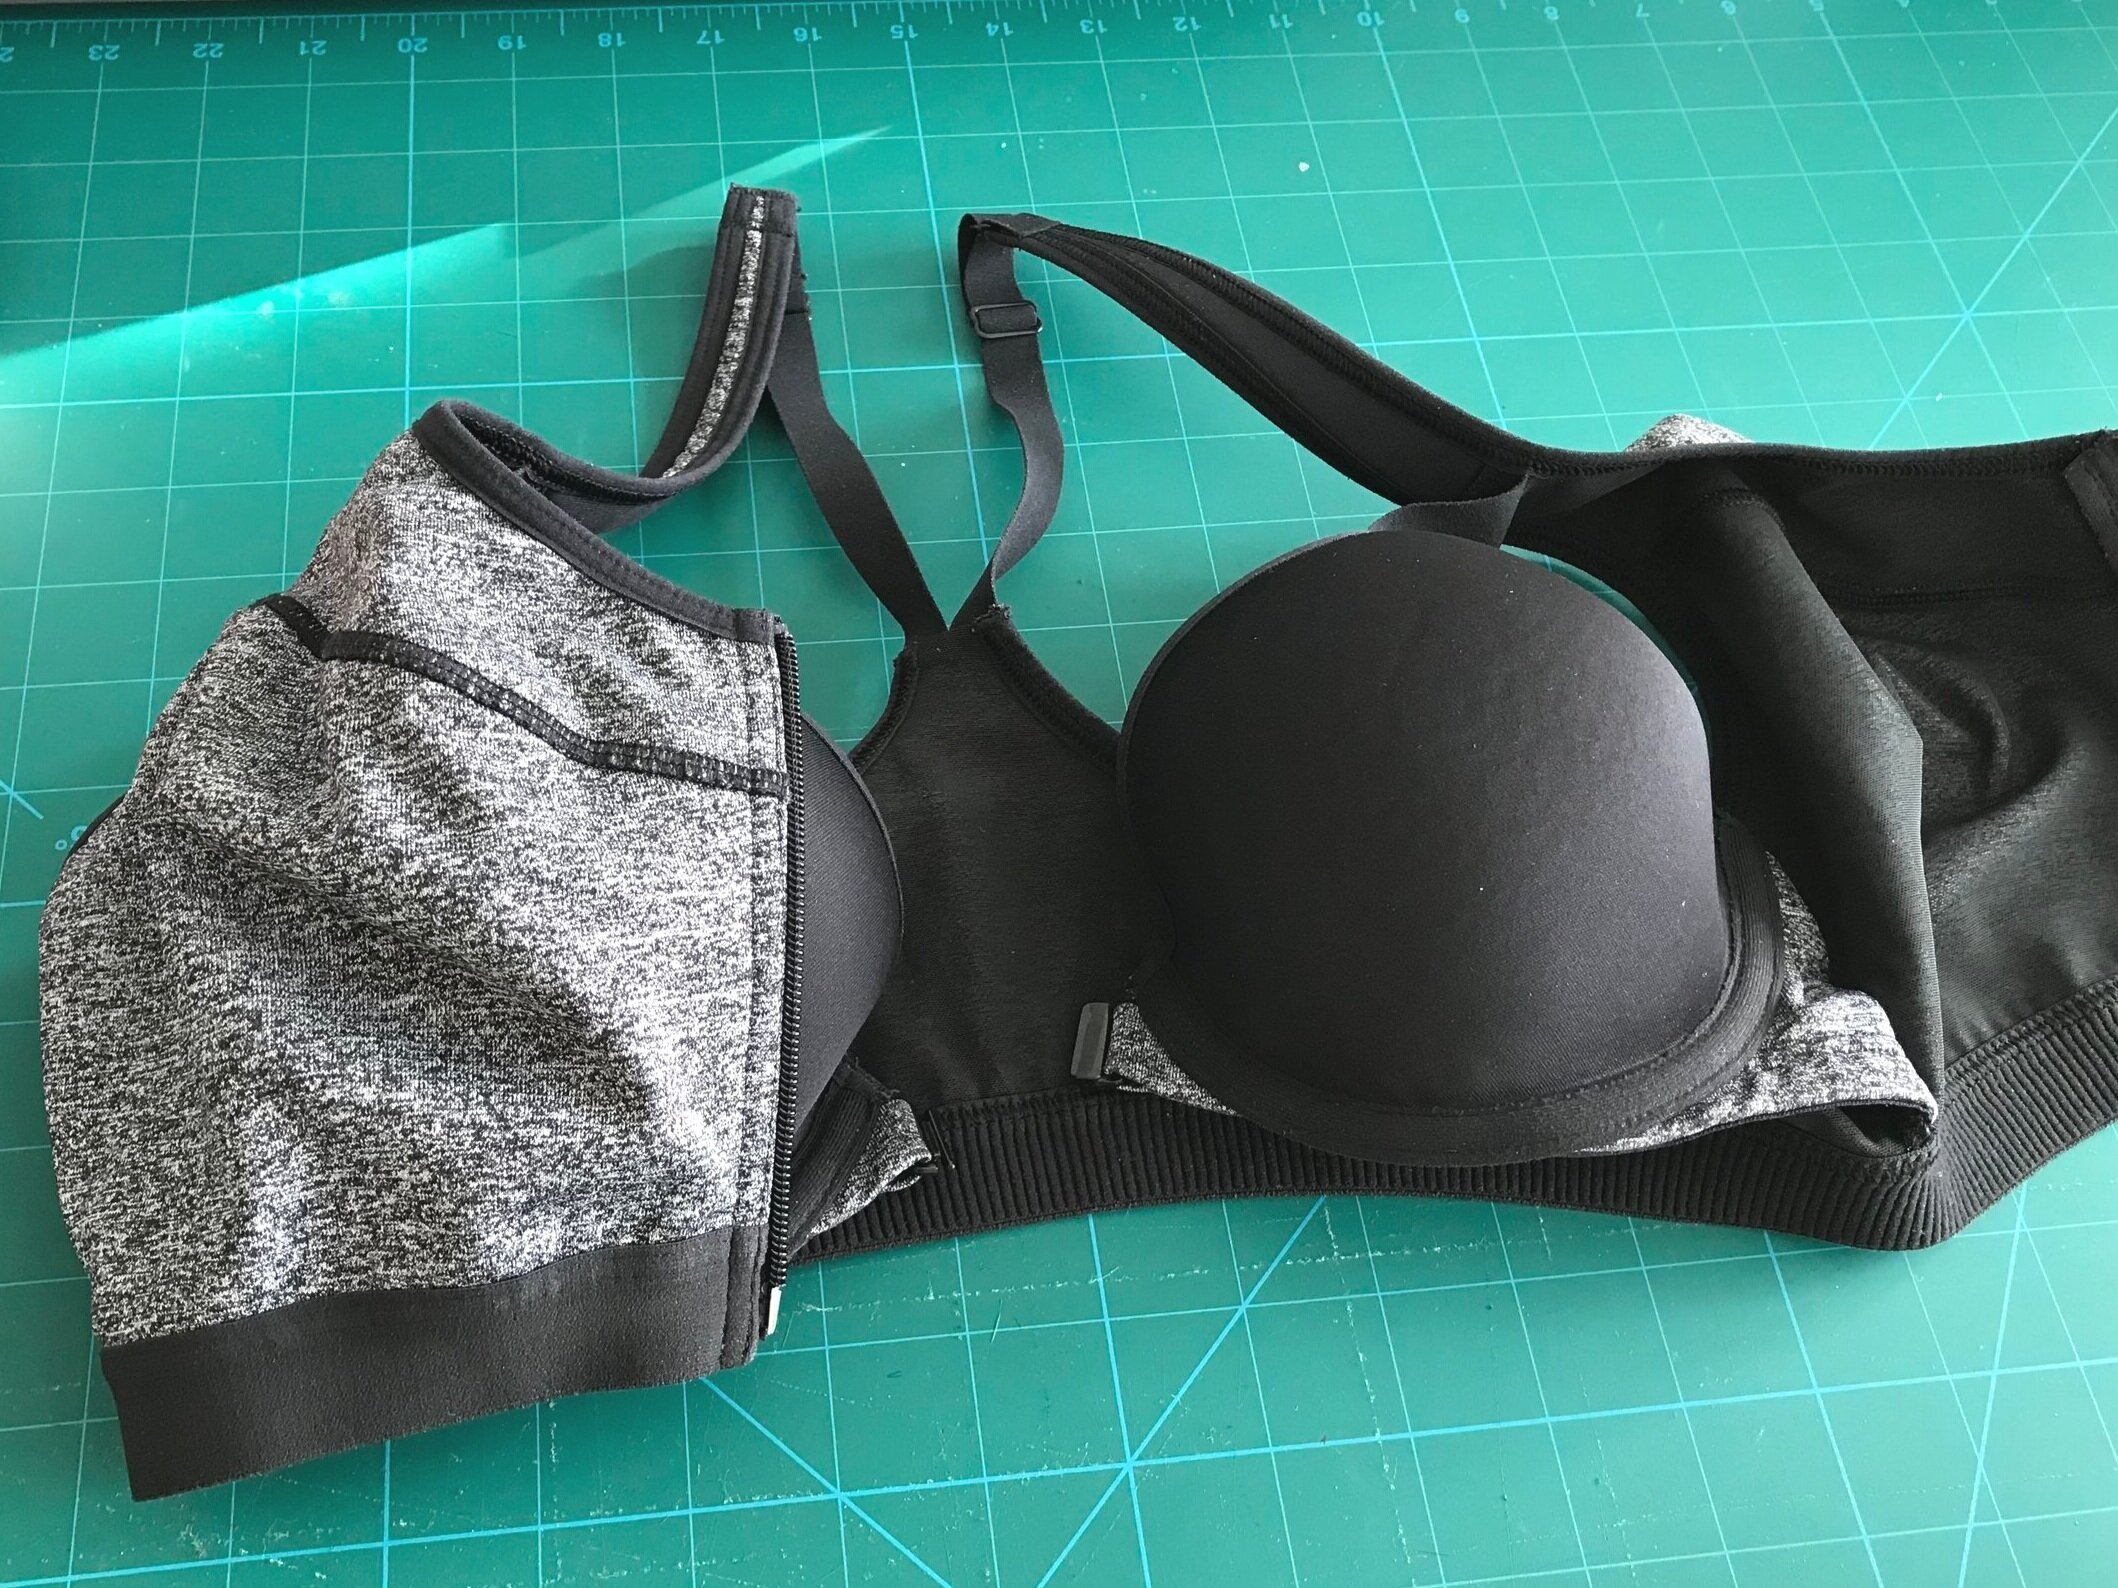
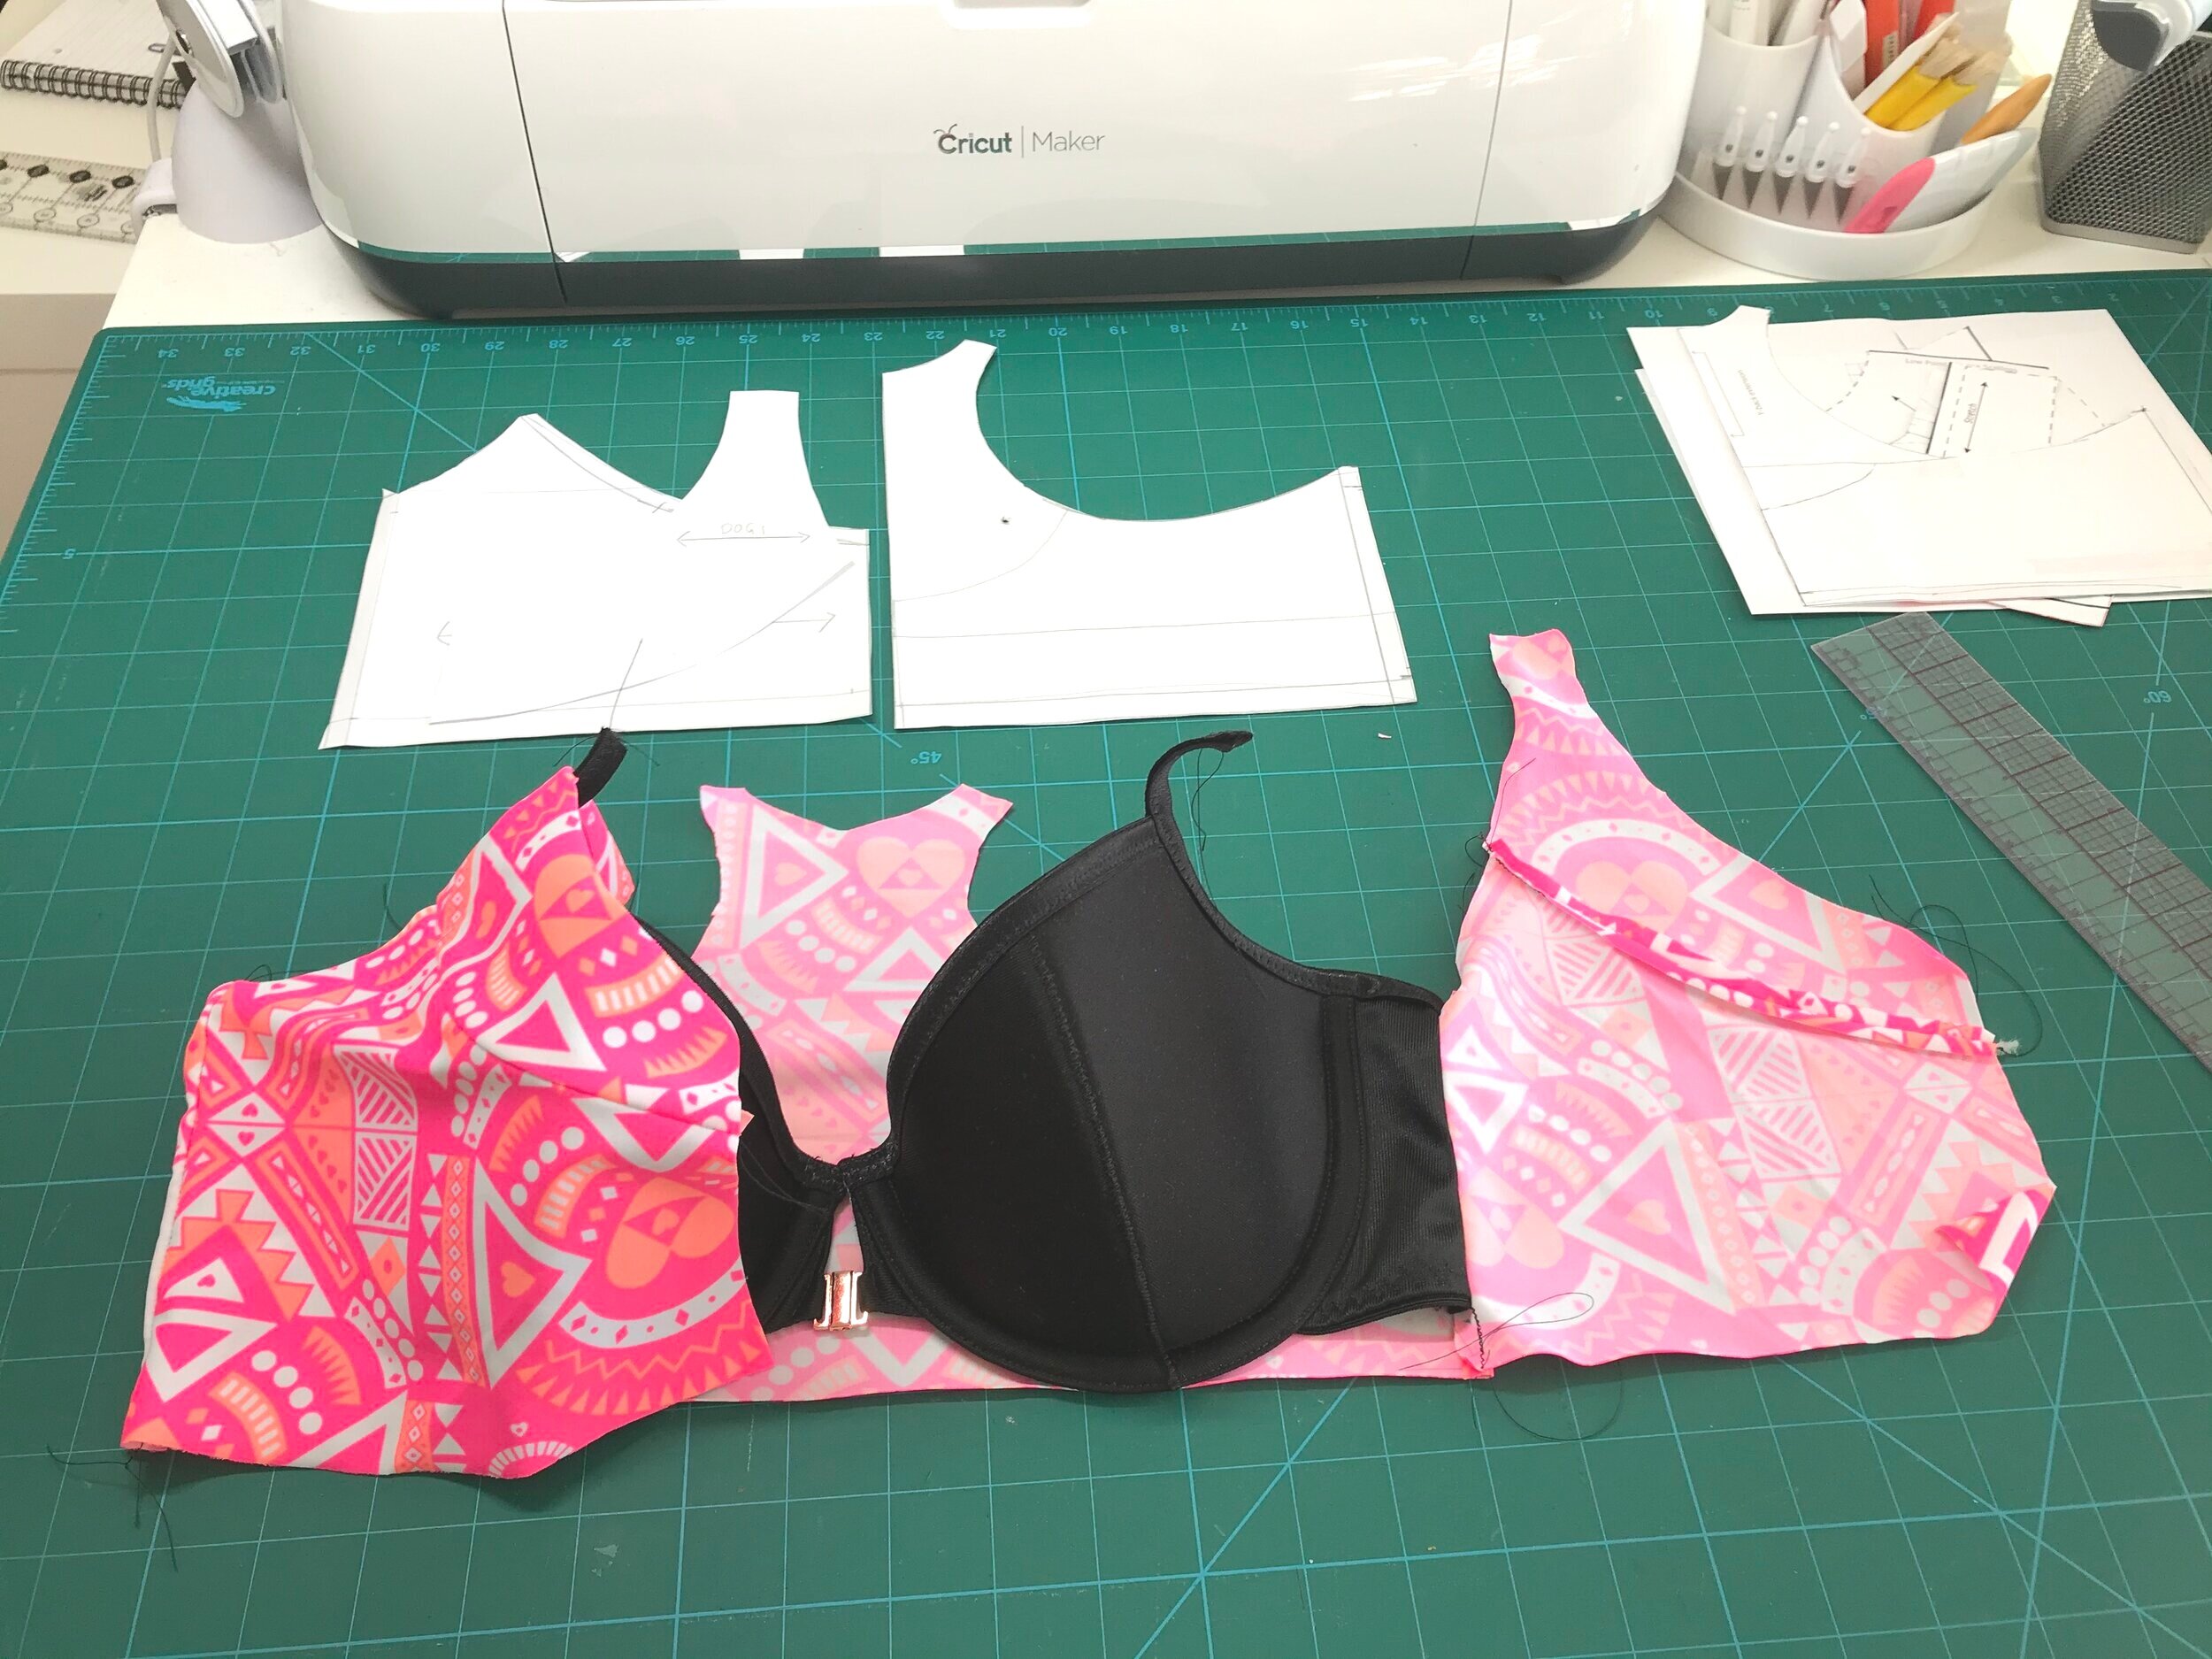
I started by designing the cup section. As I didn’t have access to preformed foam cups or a front closing pattern I had to improvise. The starting point was to watch Beverly Johnson’s Bluprint class Sewing Bras: Designer Techniques which covers adapting for a partial band then on to a front closure and a Y back. Everything I needed.
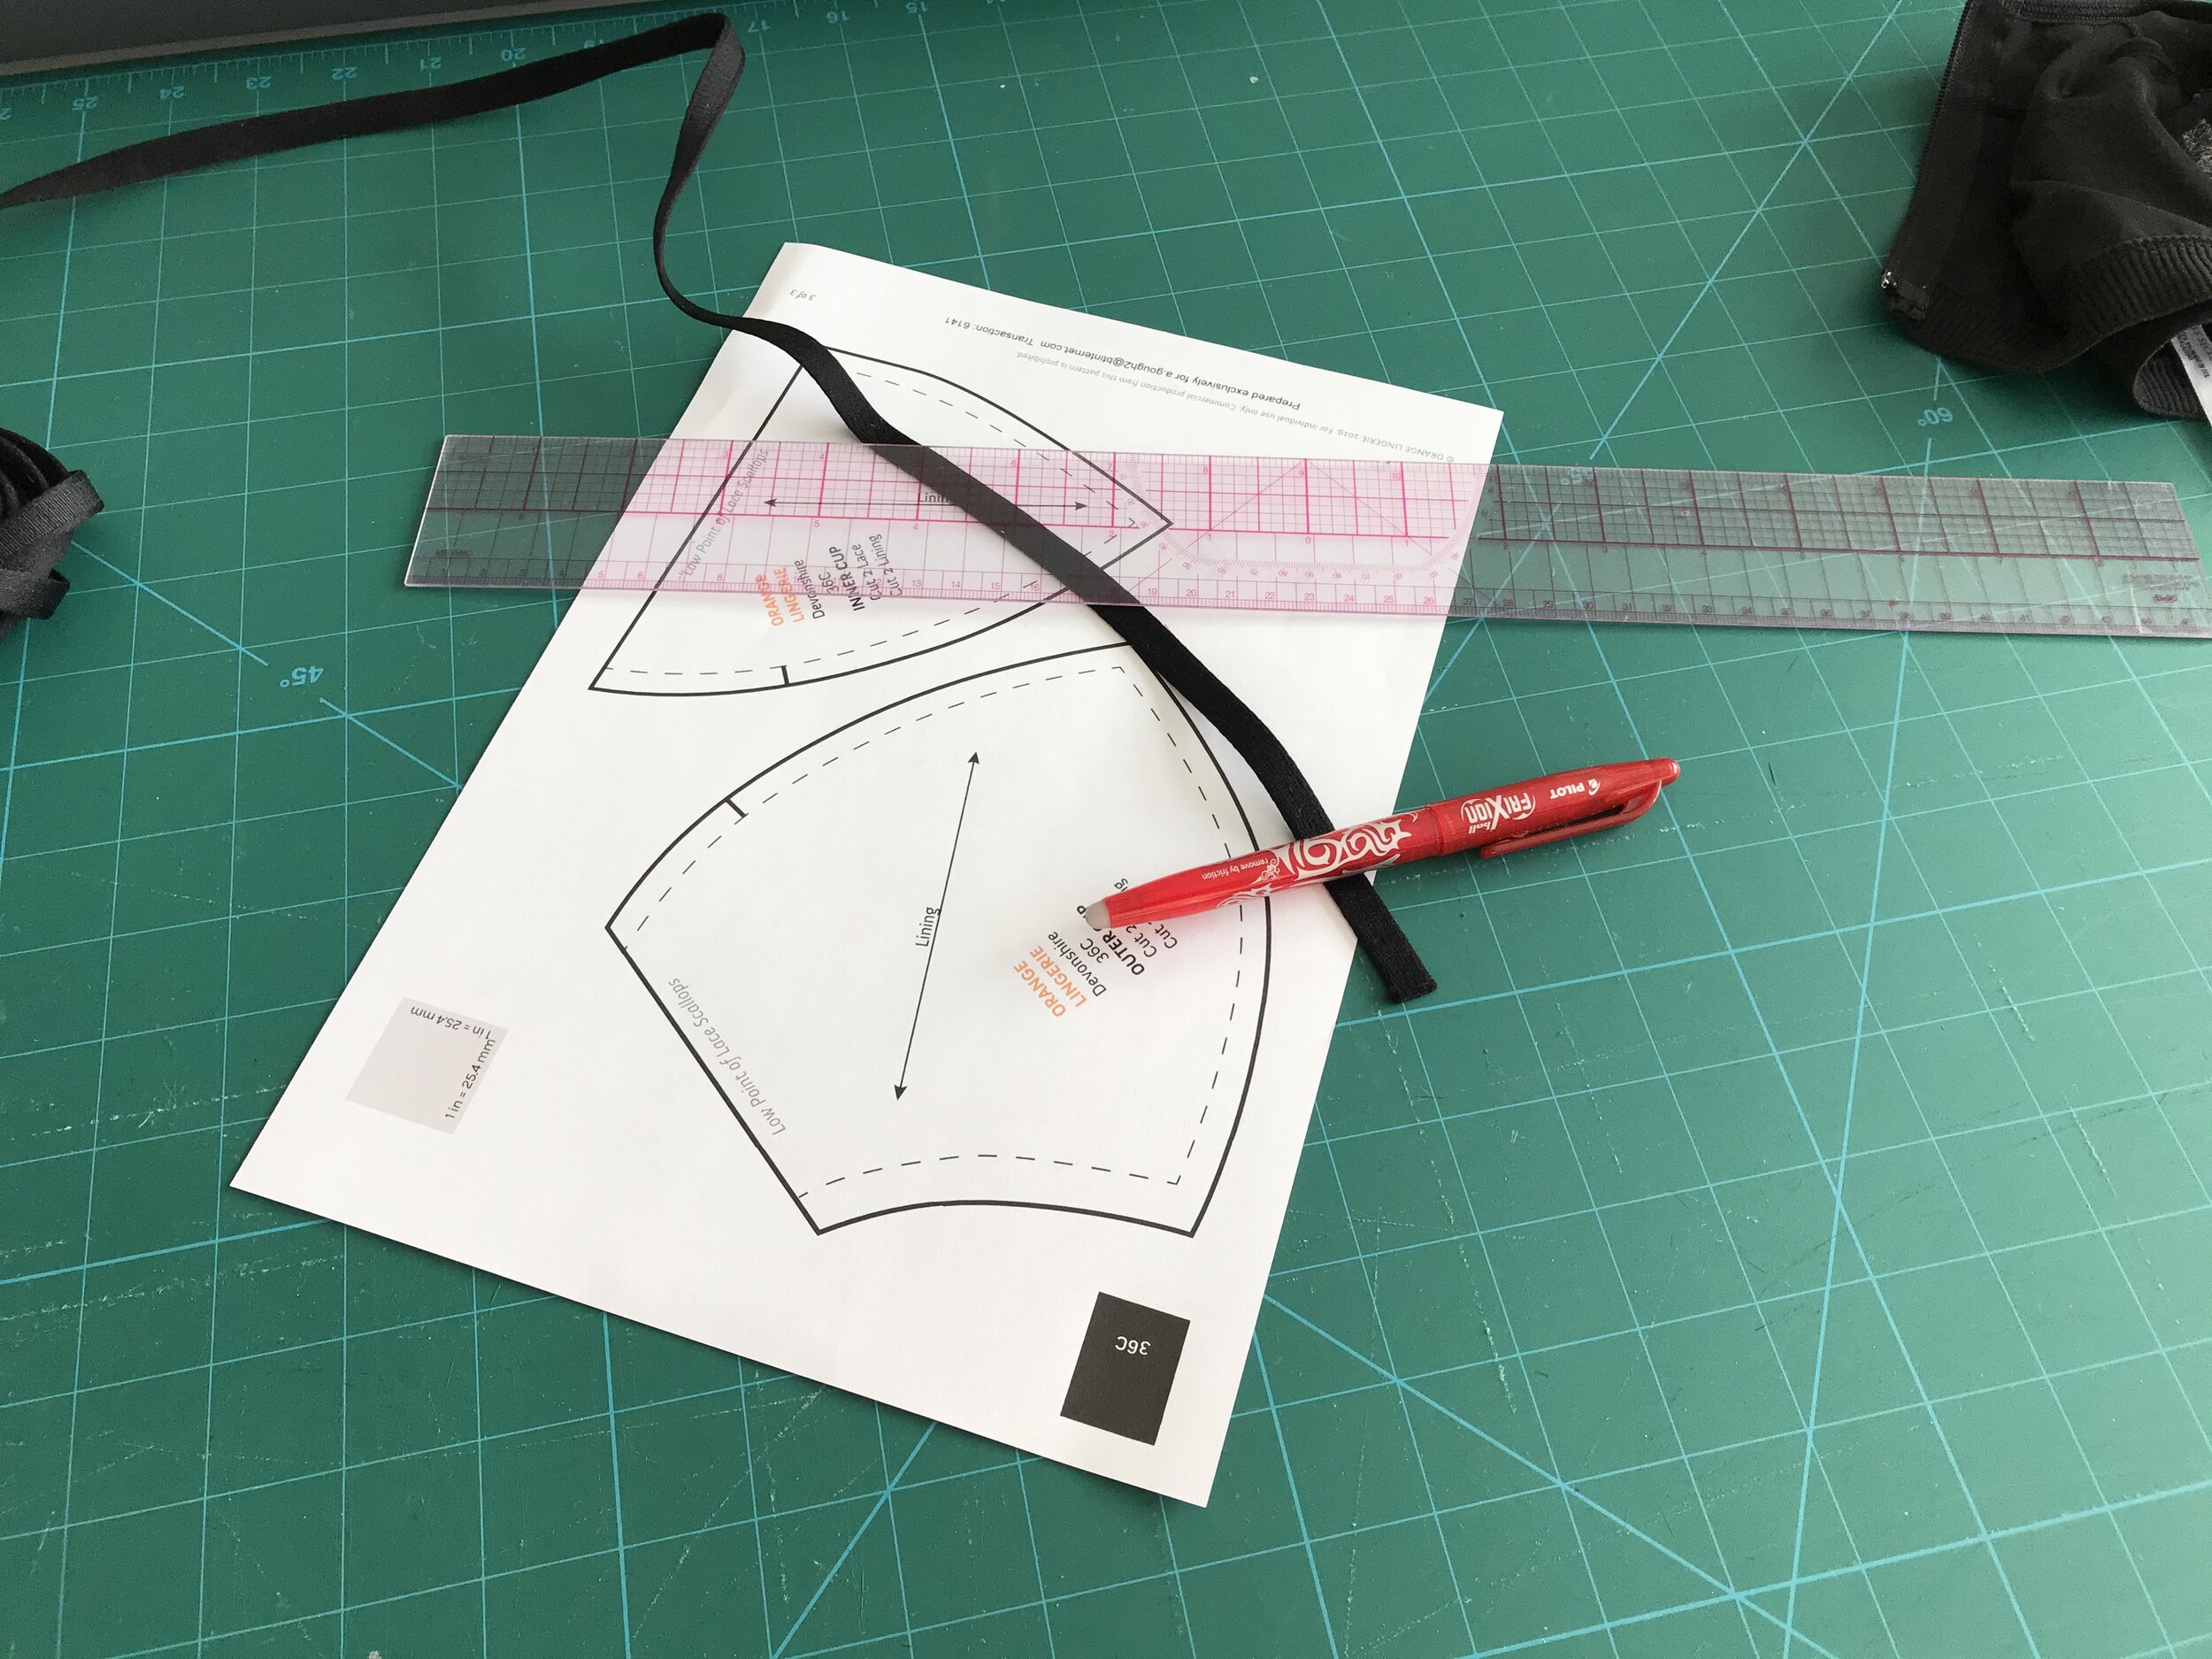
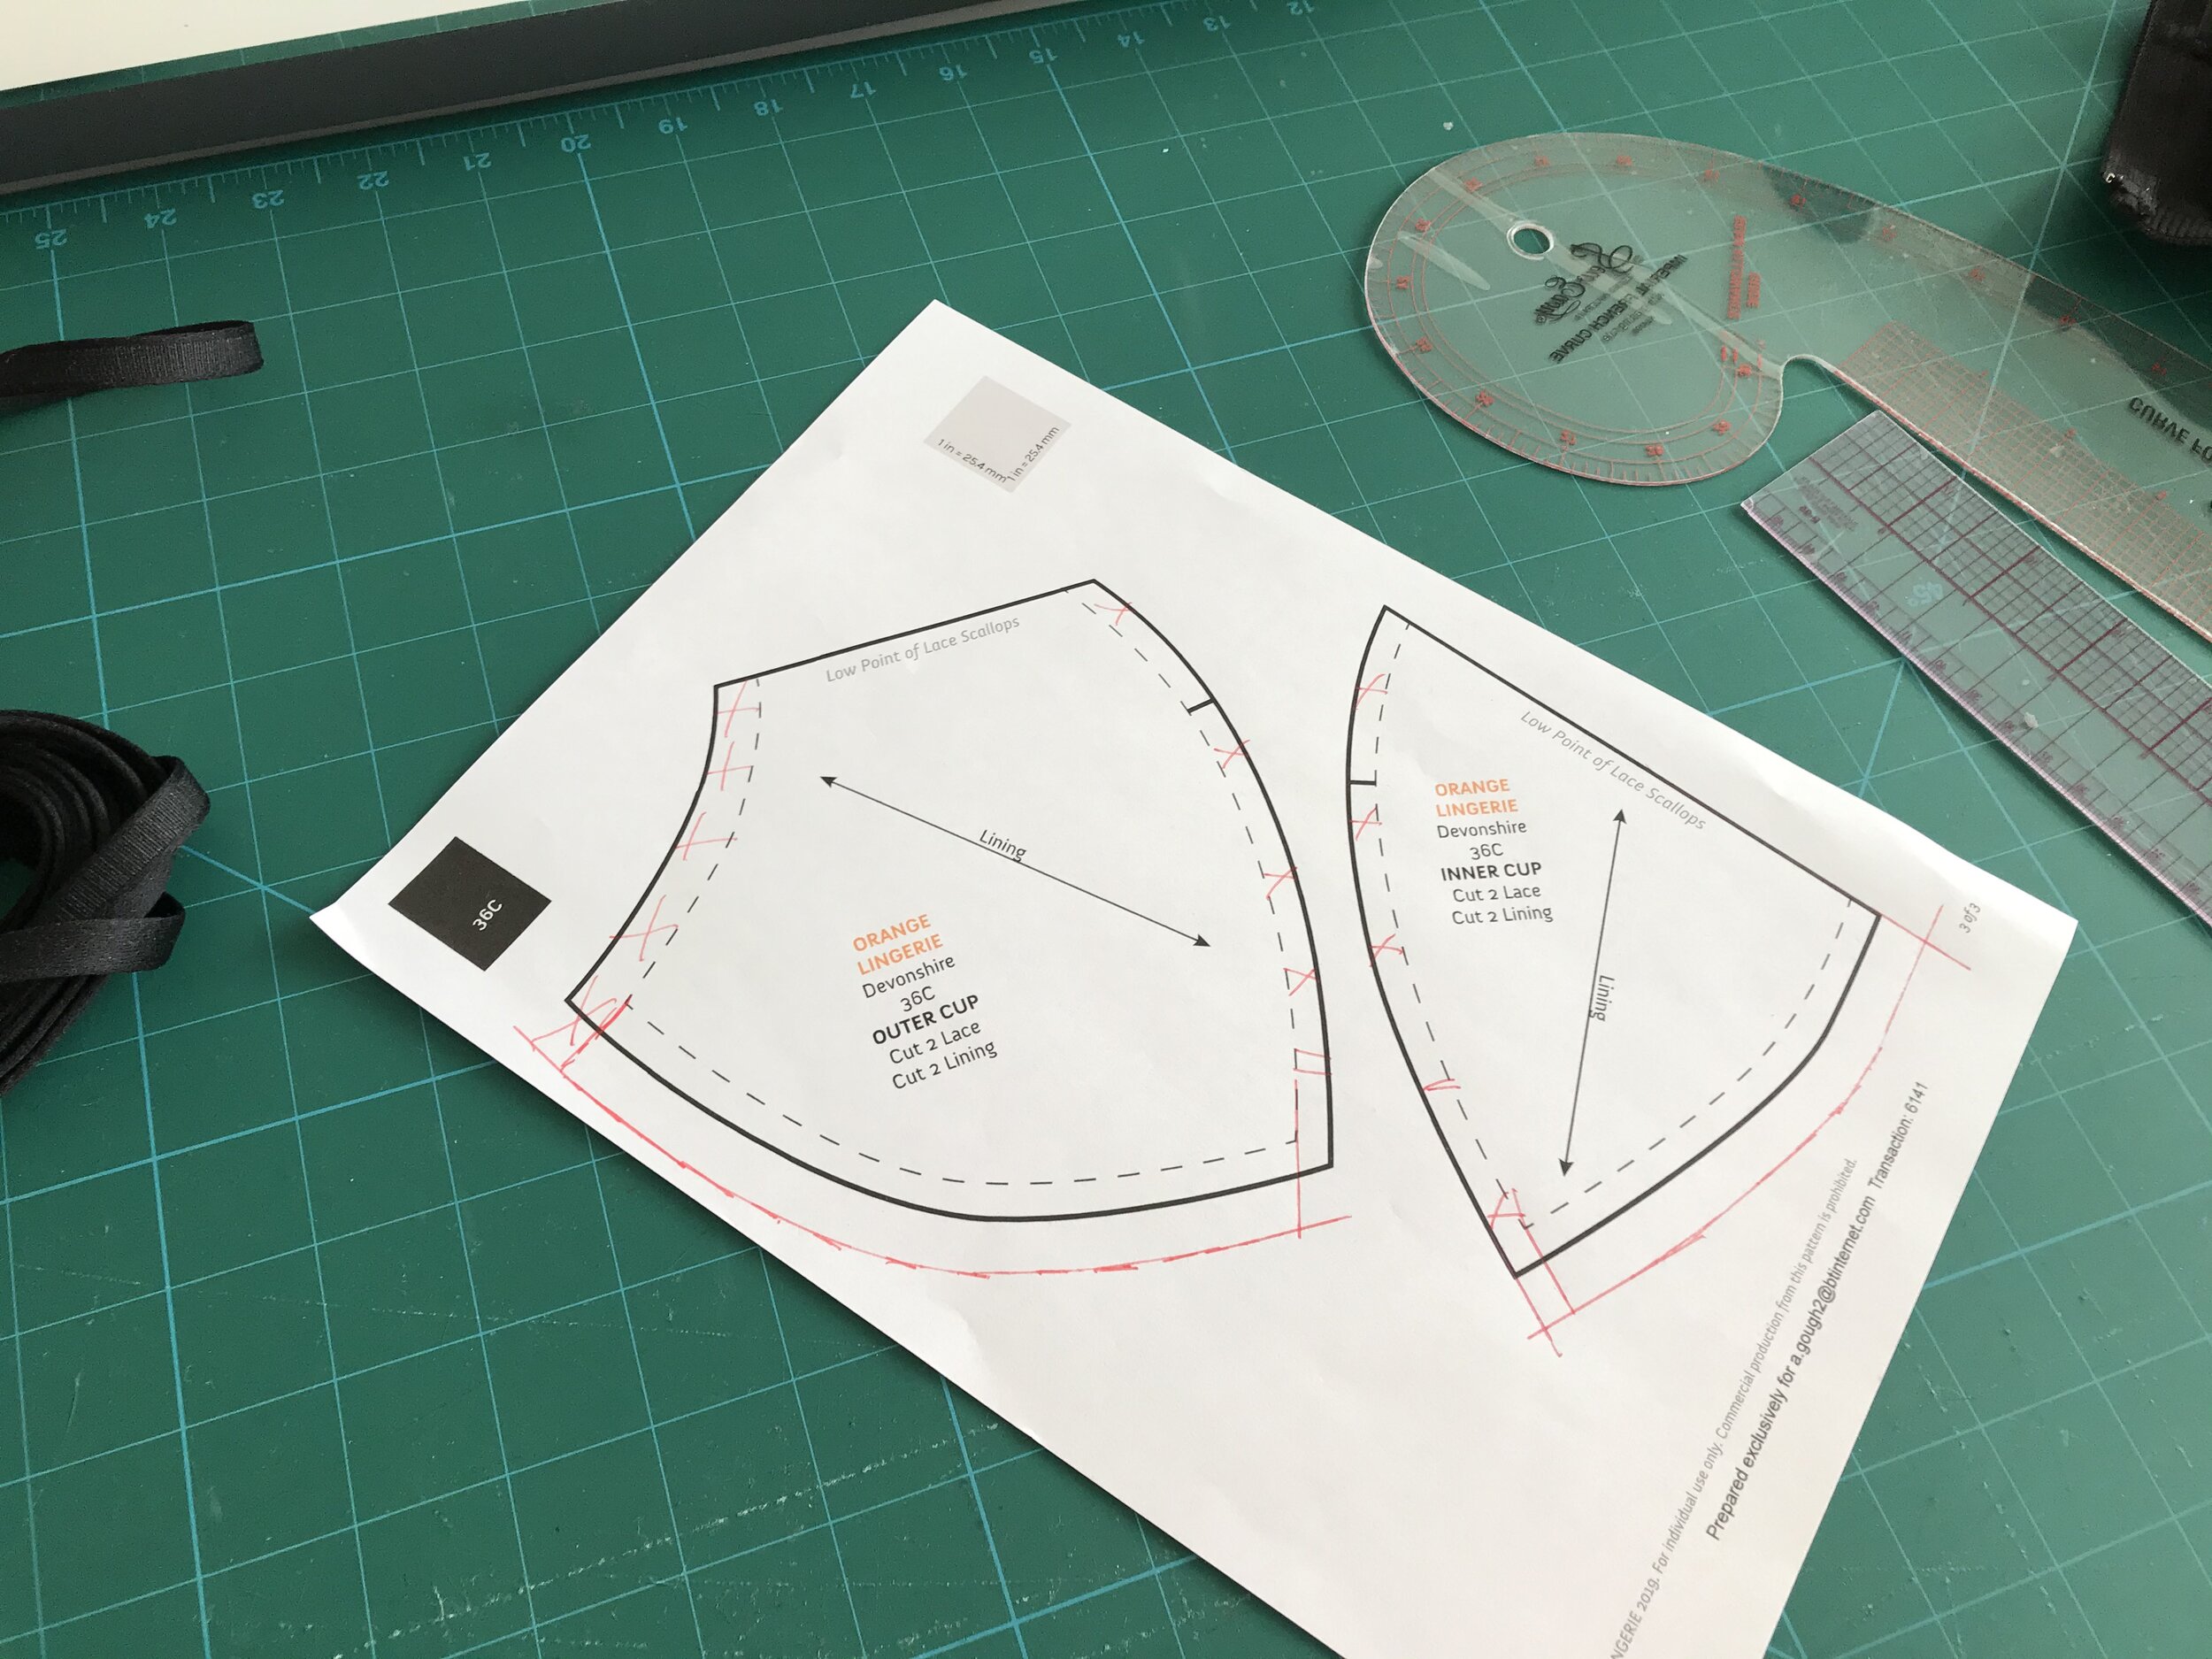
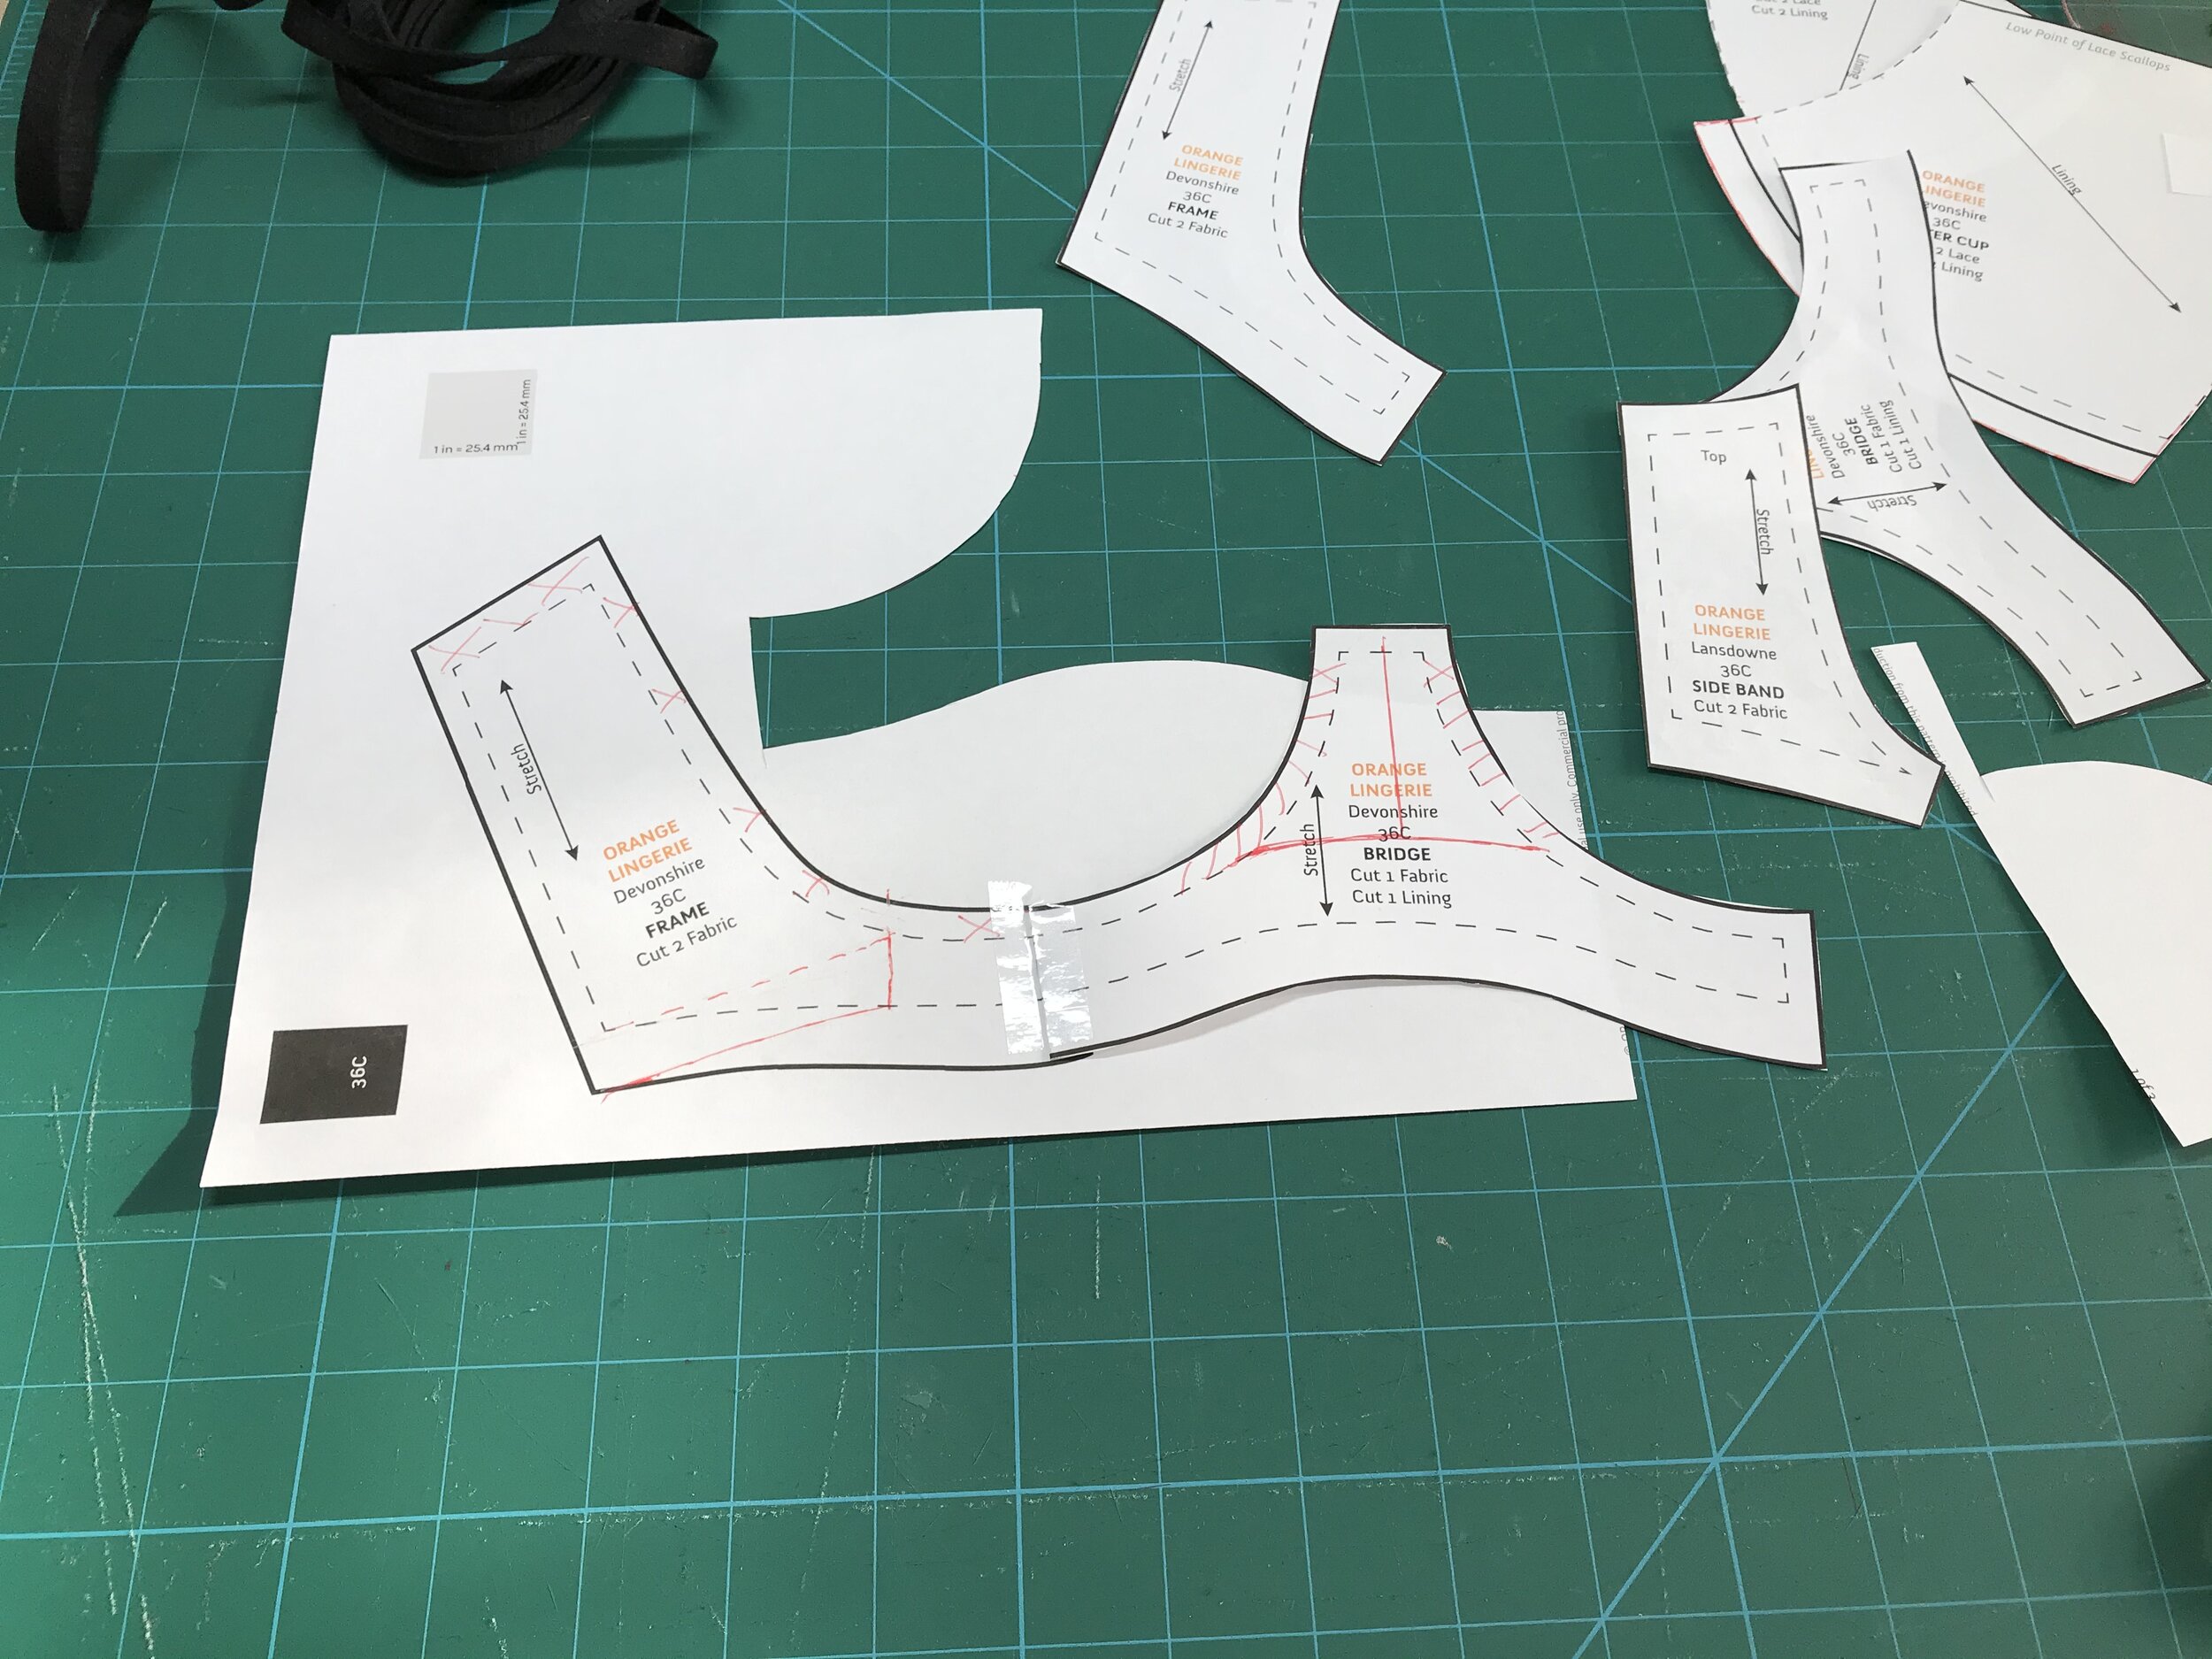
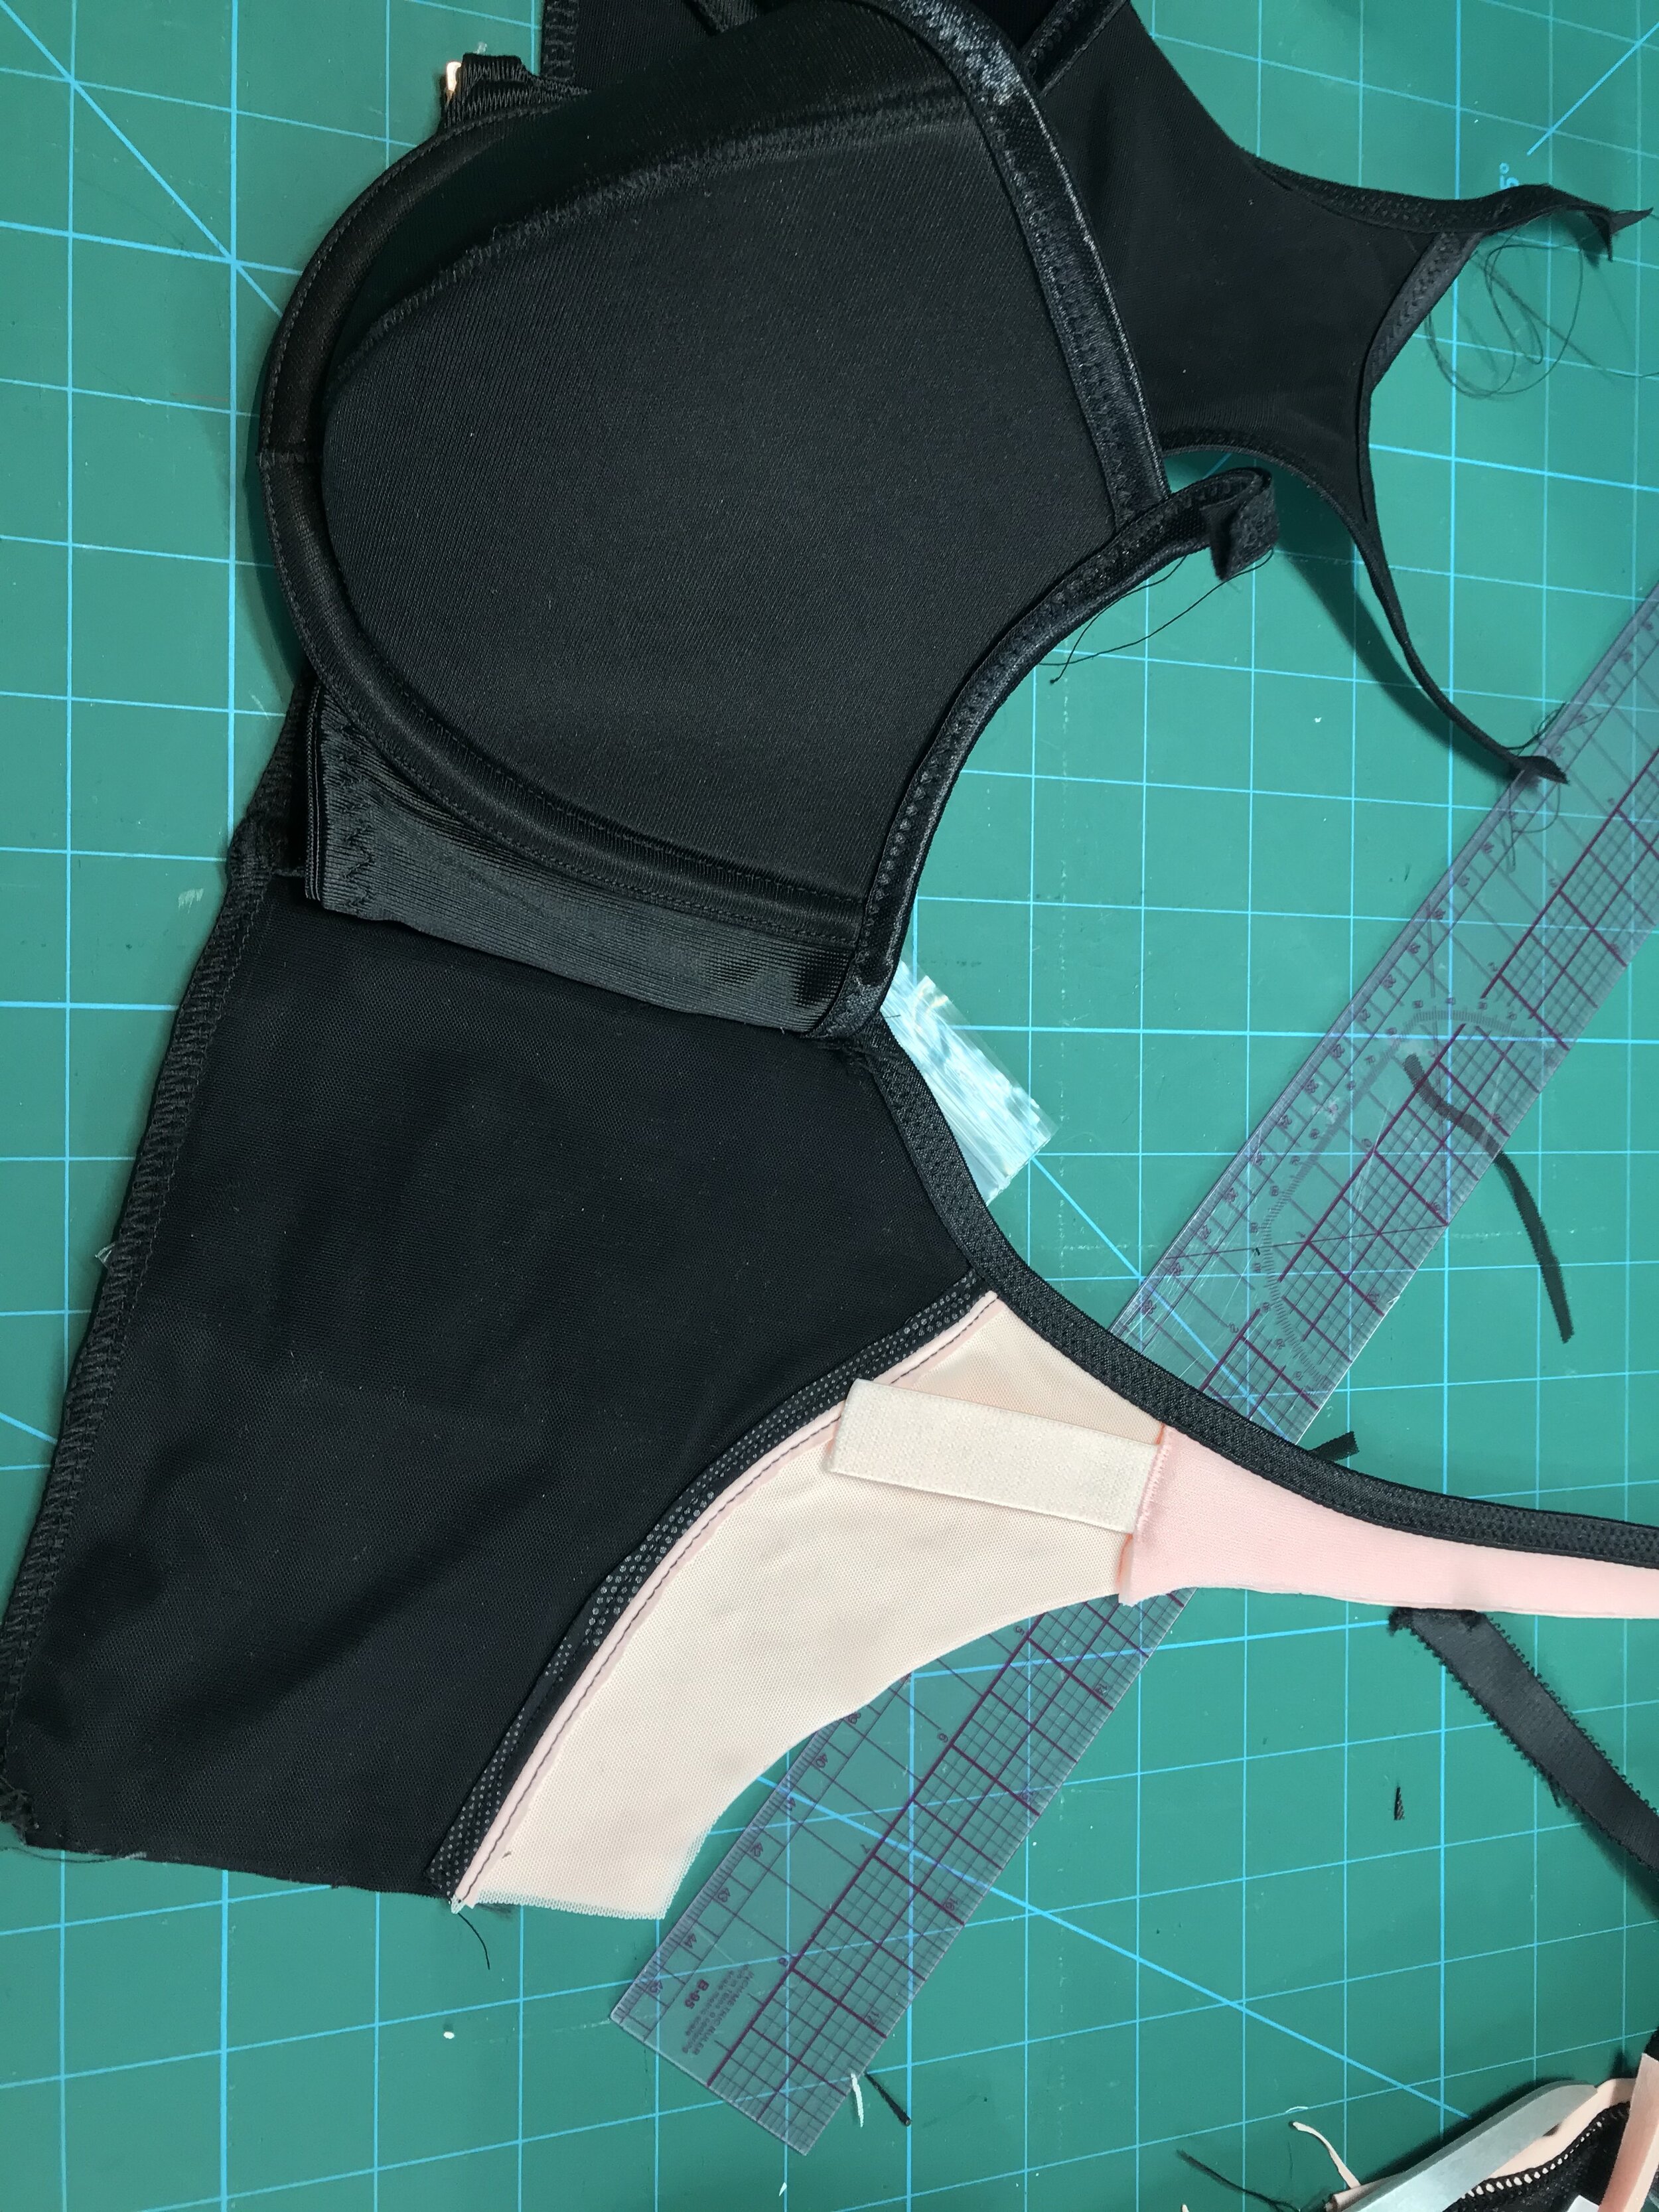
The closest shape I had was Orange Lingerie’s Devonshire Bra. I adapted the pattern piece for foam (taking out the centre seam) and adding the width of the chanelling as it is turned into the cup for a partial band. Then I adapted the bridge and side frame, this time taking off the seam allowance.


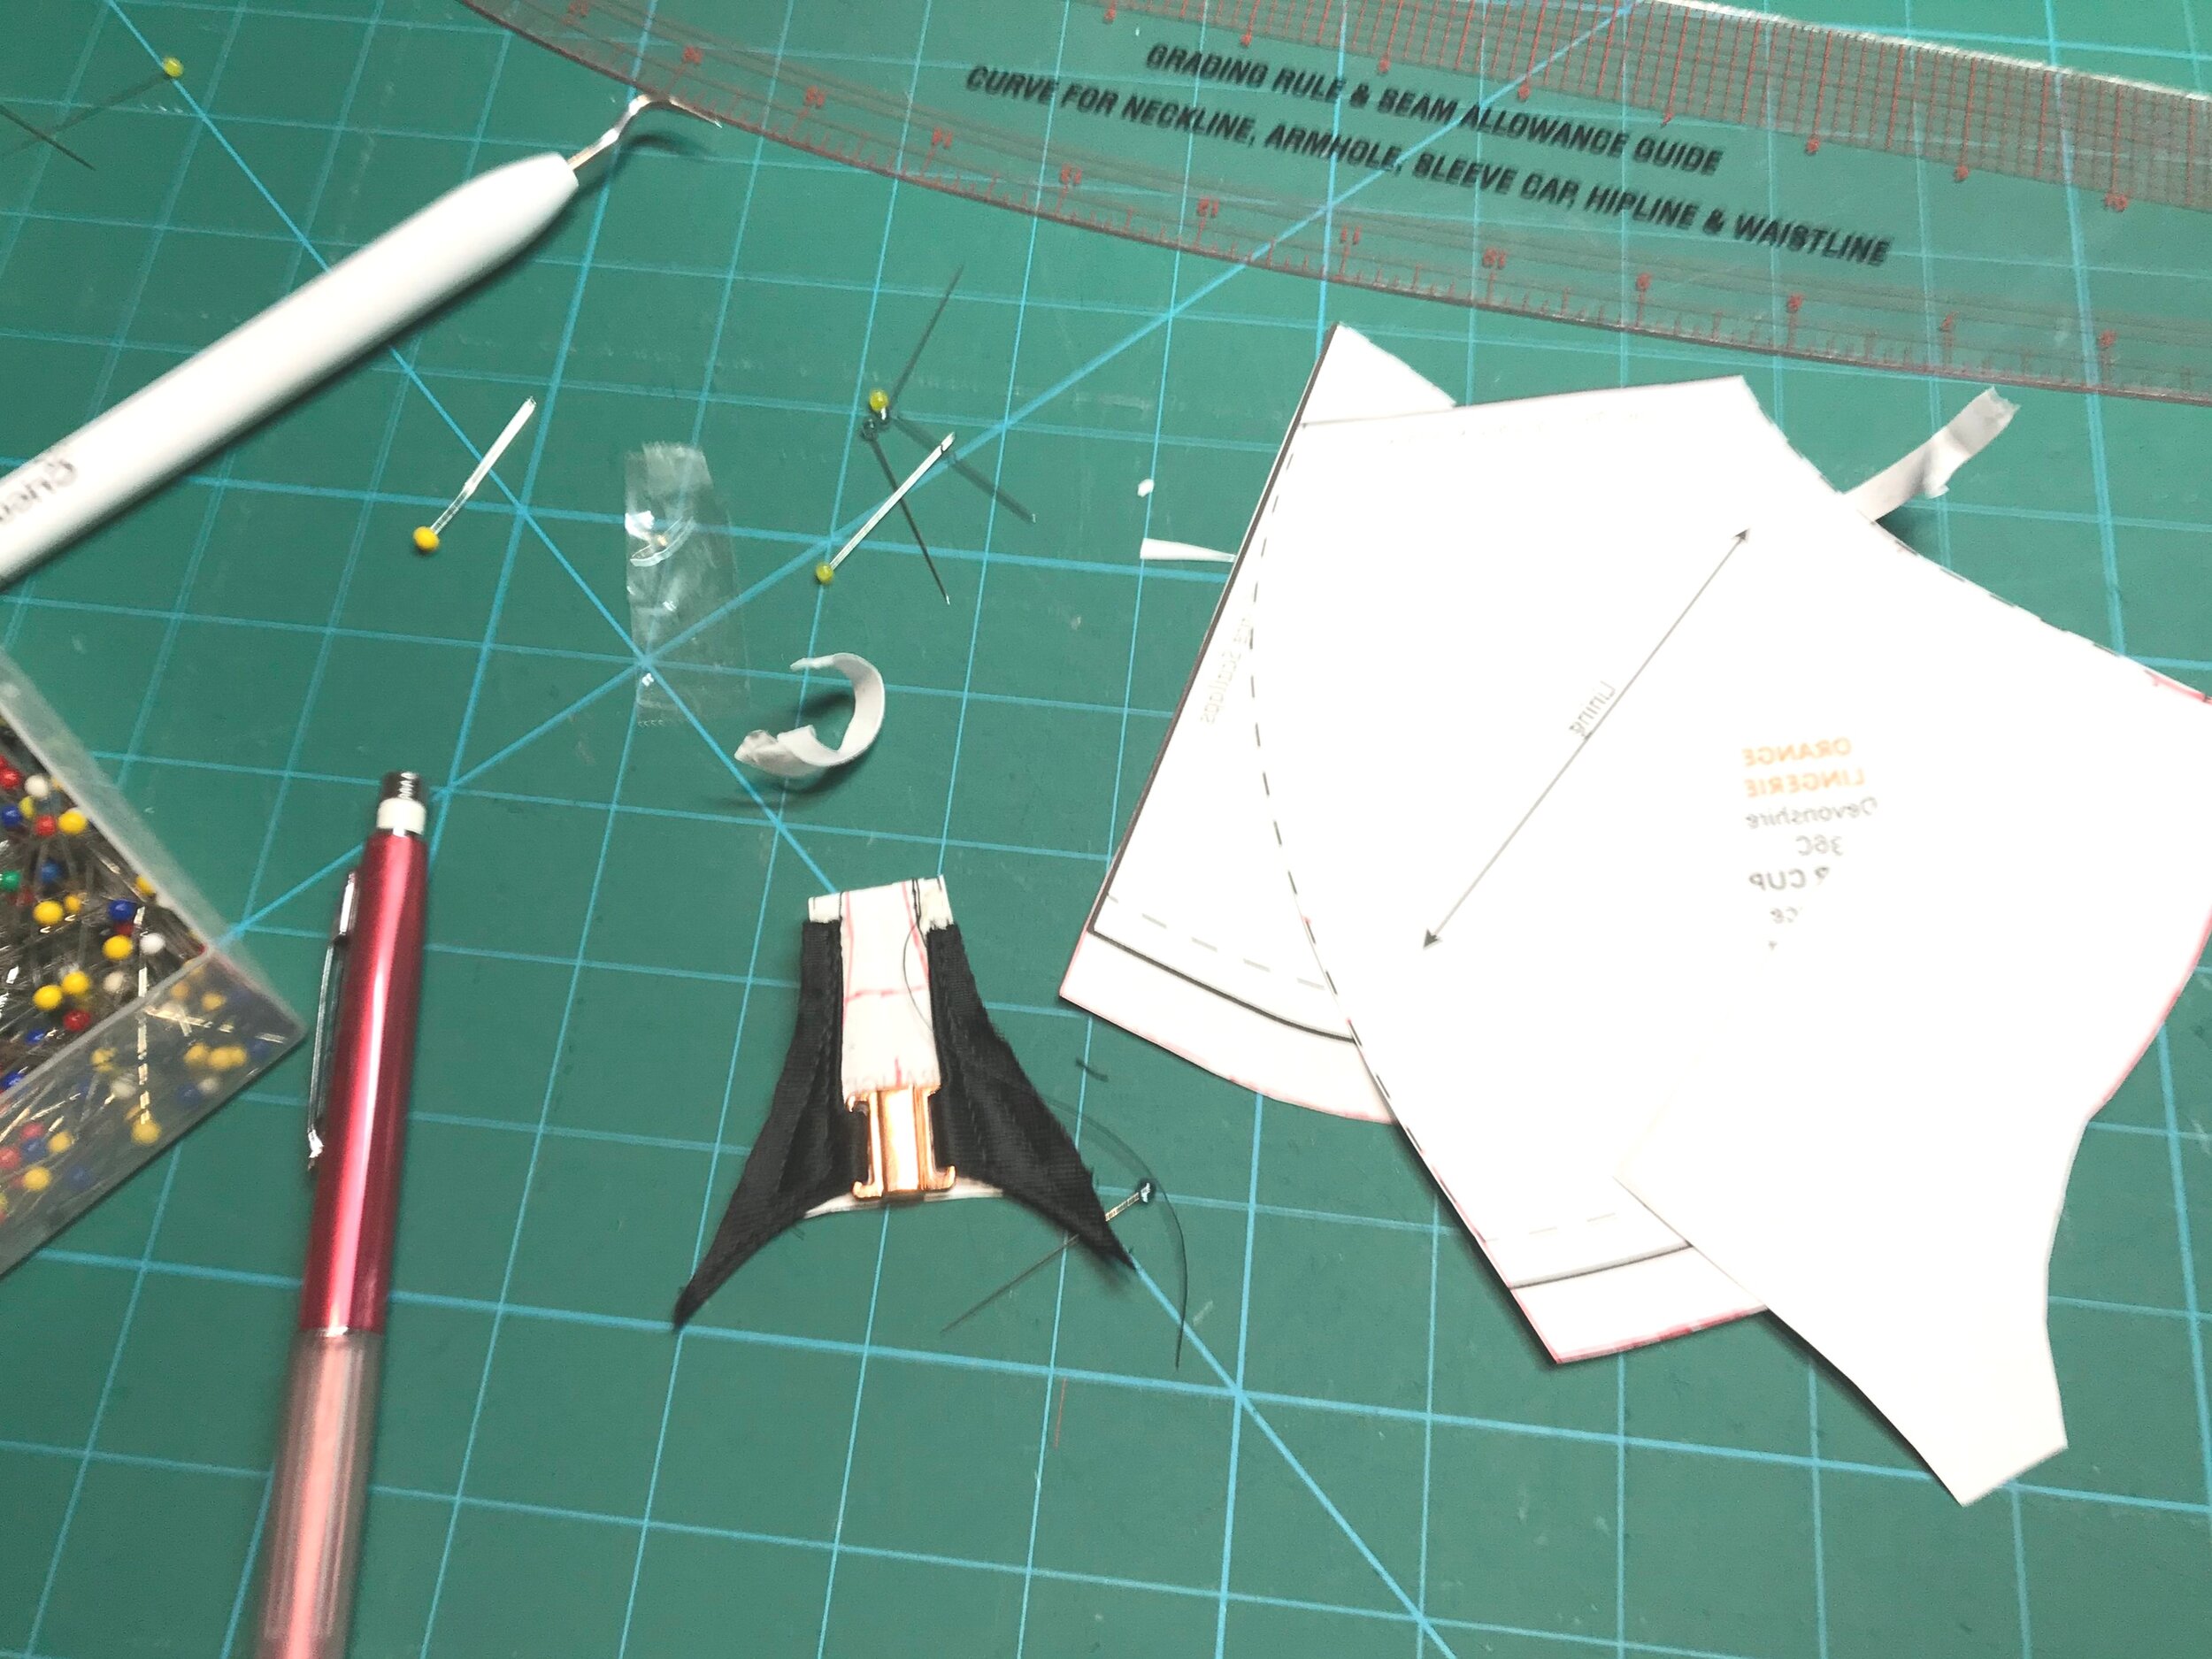
The front closure took the most time. To fit, my fastener had to be inserted quite low down so I used Beverly’s “alternate front closing” technique and the end result looks like a butterfly. I was really pleased with the result. Now to think through the rest of the bra.
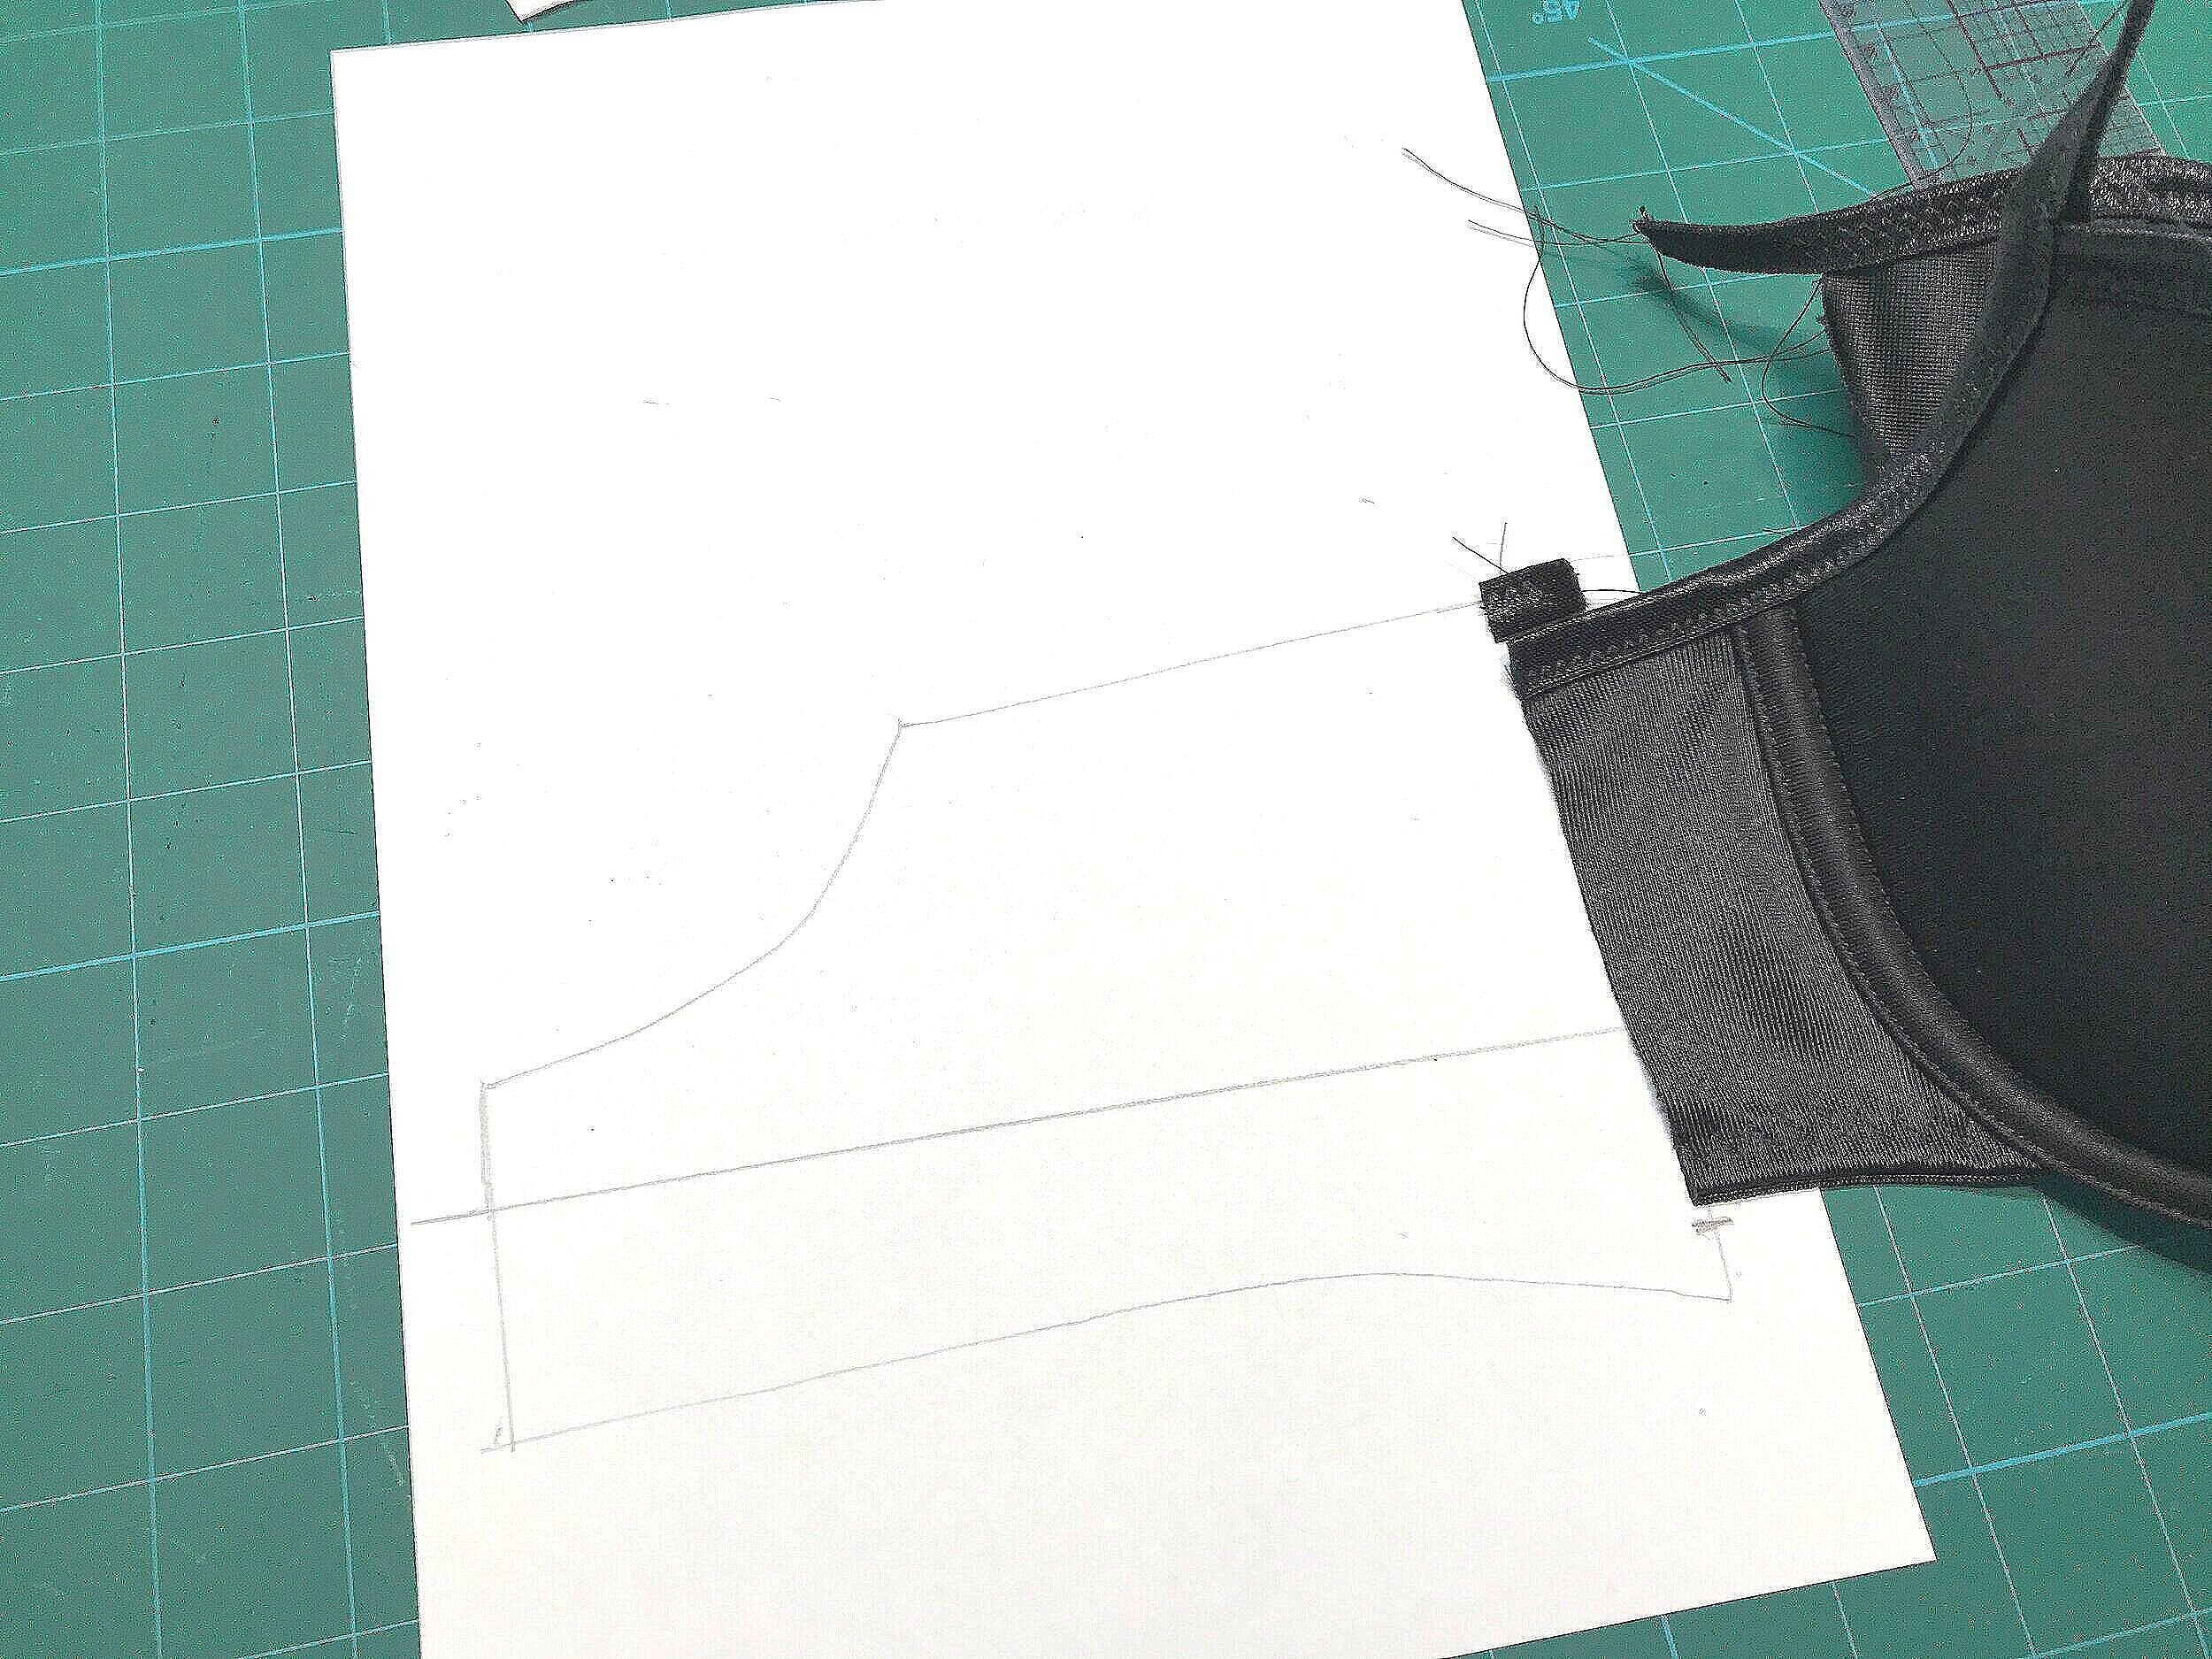
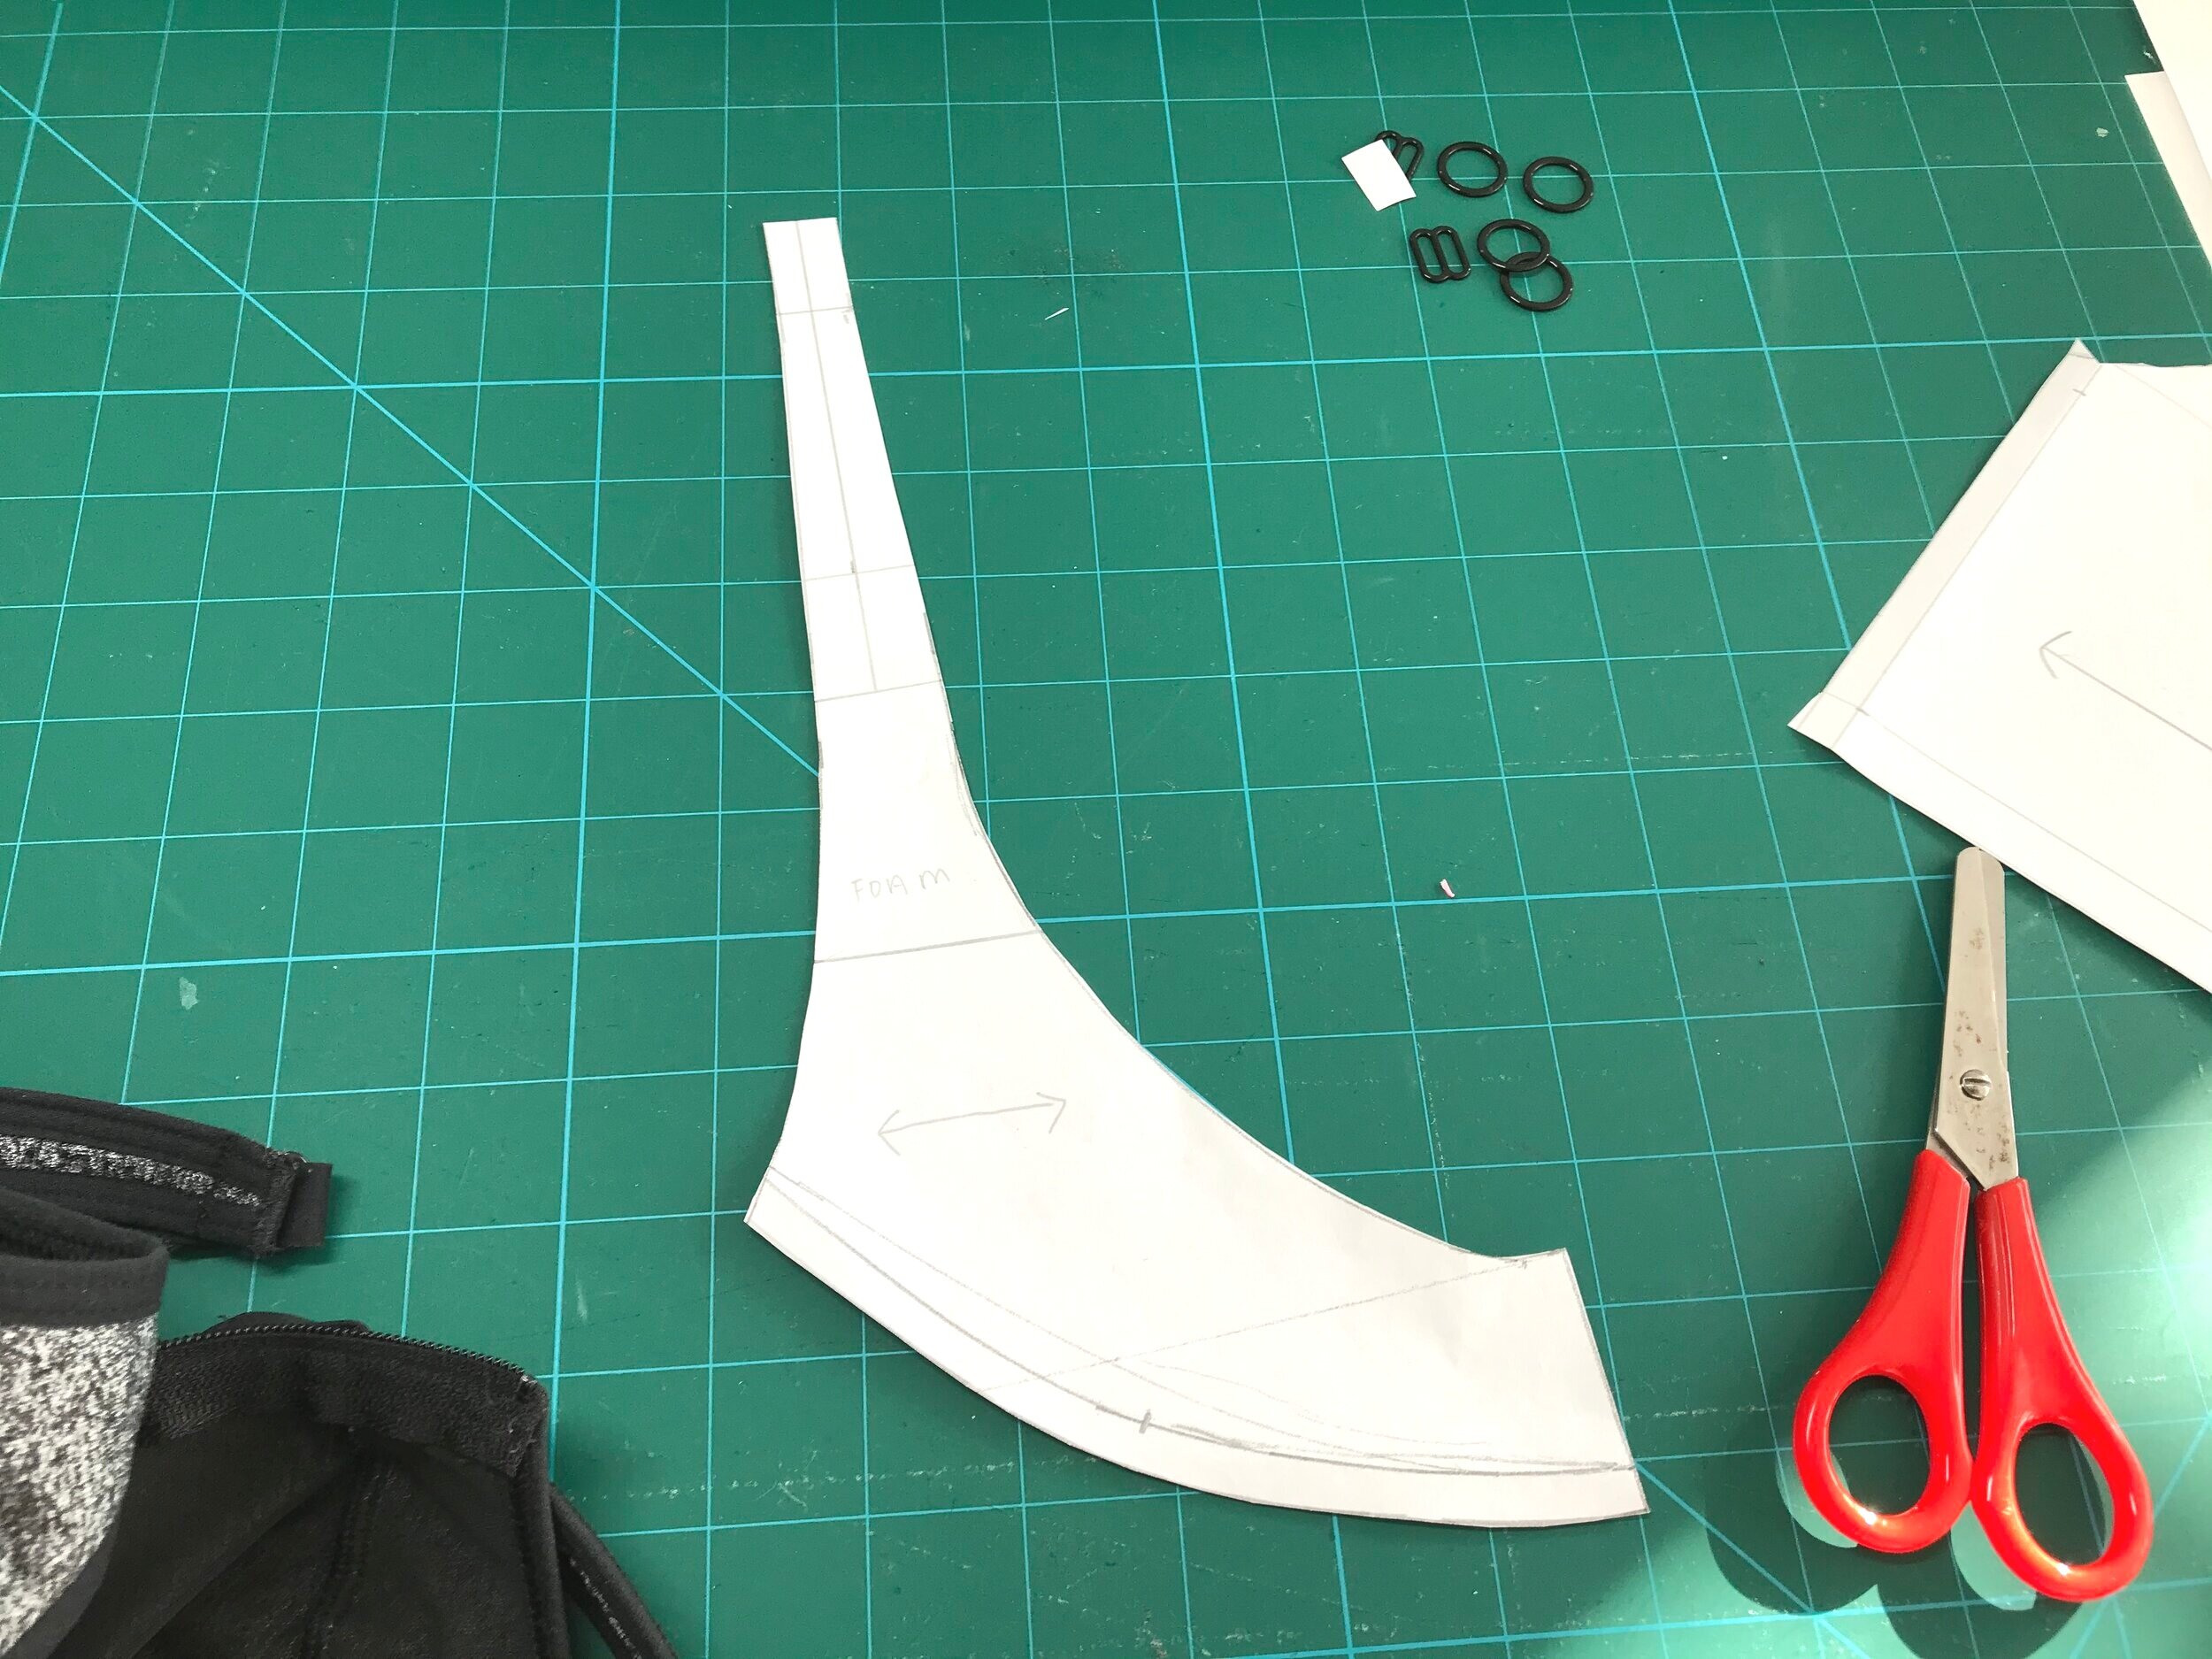
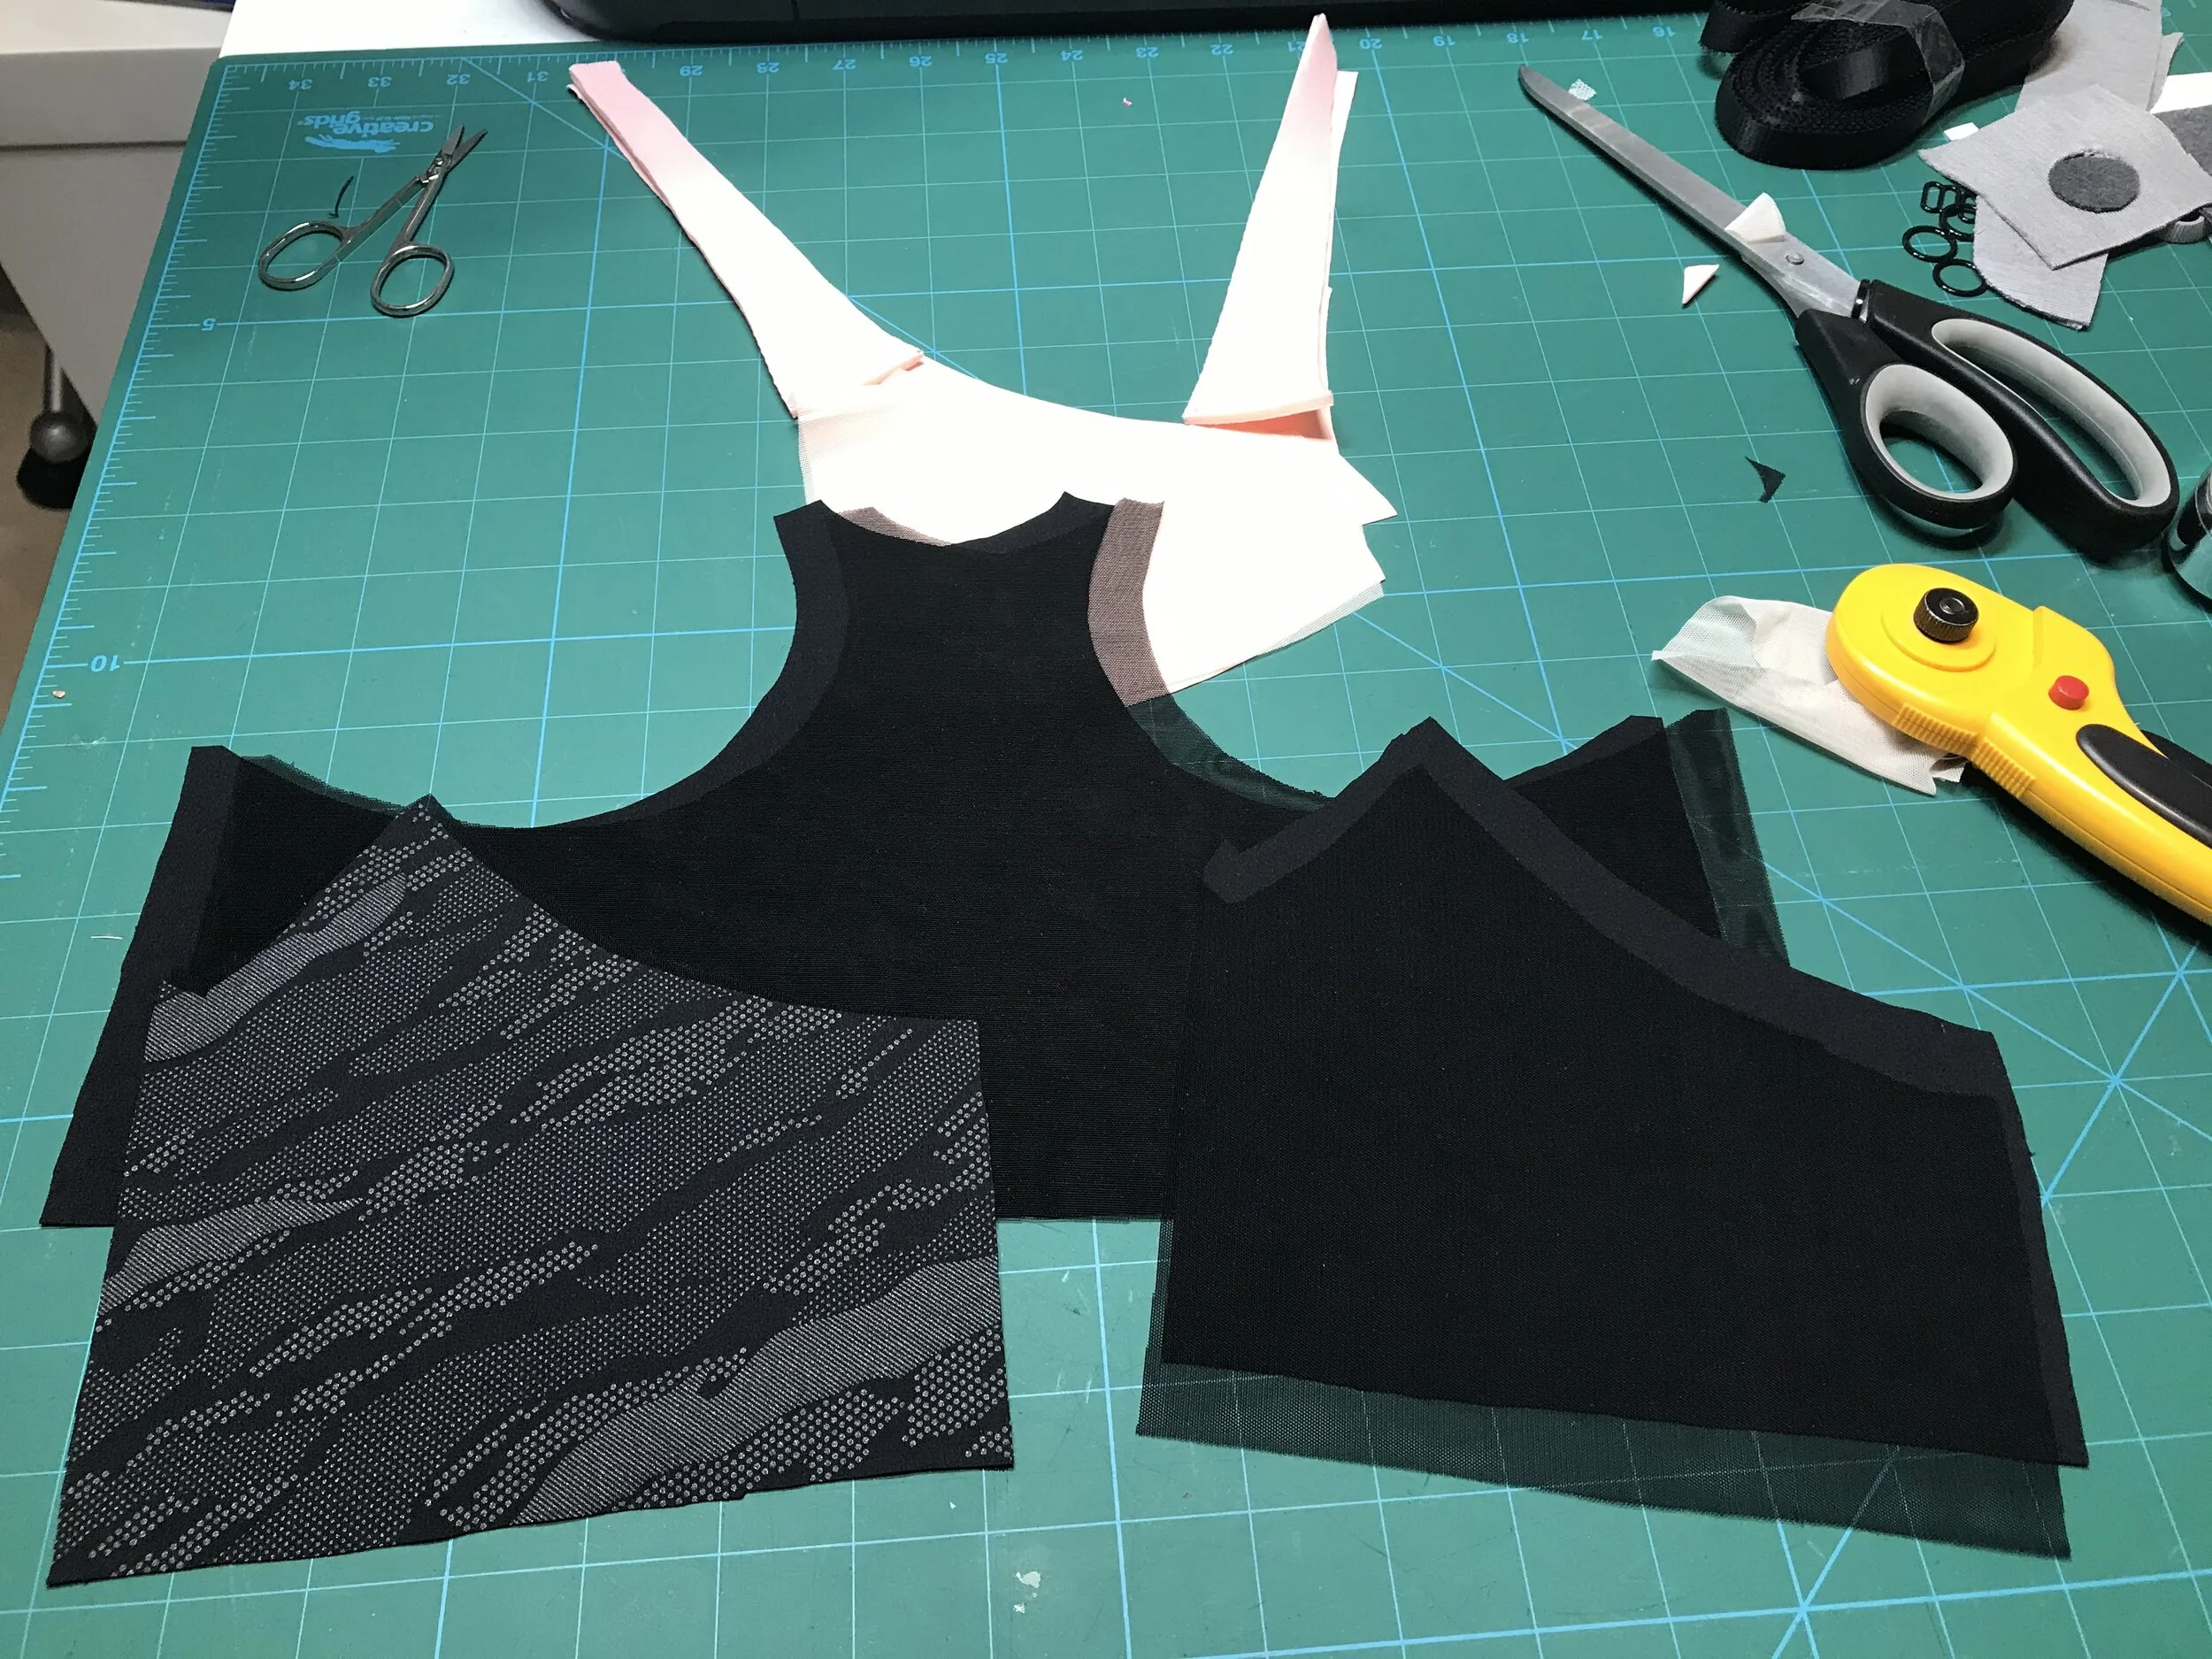
I started by tracing off the back band. I added the depth of the fold over elastic to the top and the overlap for the bottom band. Based on my Endurance I didn’t add any width to the centre back. I then used Beverly’s template for the racer back using my curved ruler to create a nice shape. Again using my Endurance to draft a front piece which I then split this around the same place as my RTW and used my ruler to create a smooth curve. I then tested these pieces using some scraps of lycra. The next step was to add a strap to the top piece which included marking where I wanted the foam strap to start. This is where the strap from the foam cup is inserted. Time to cut out in my beautiful Tailor Made sports fabric as well as lining in a soft mesh.
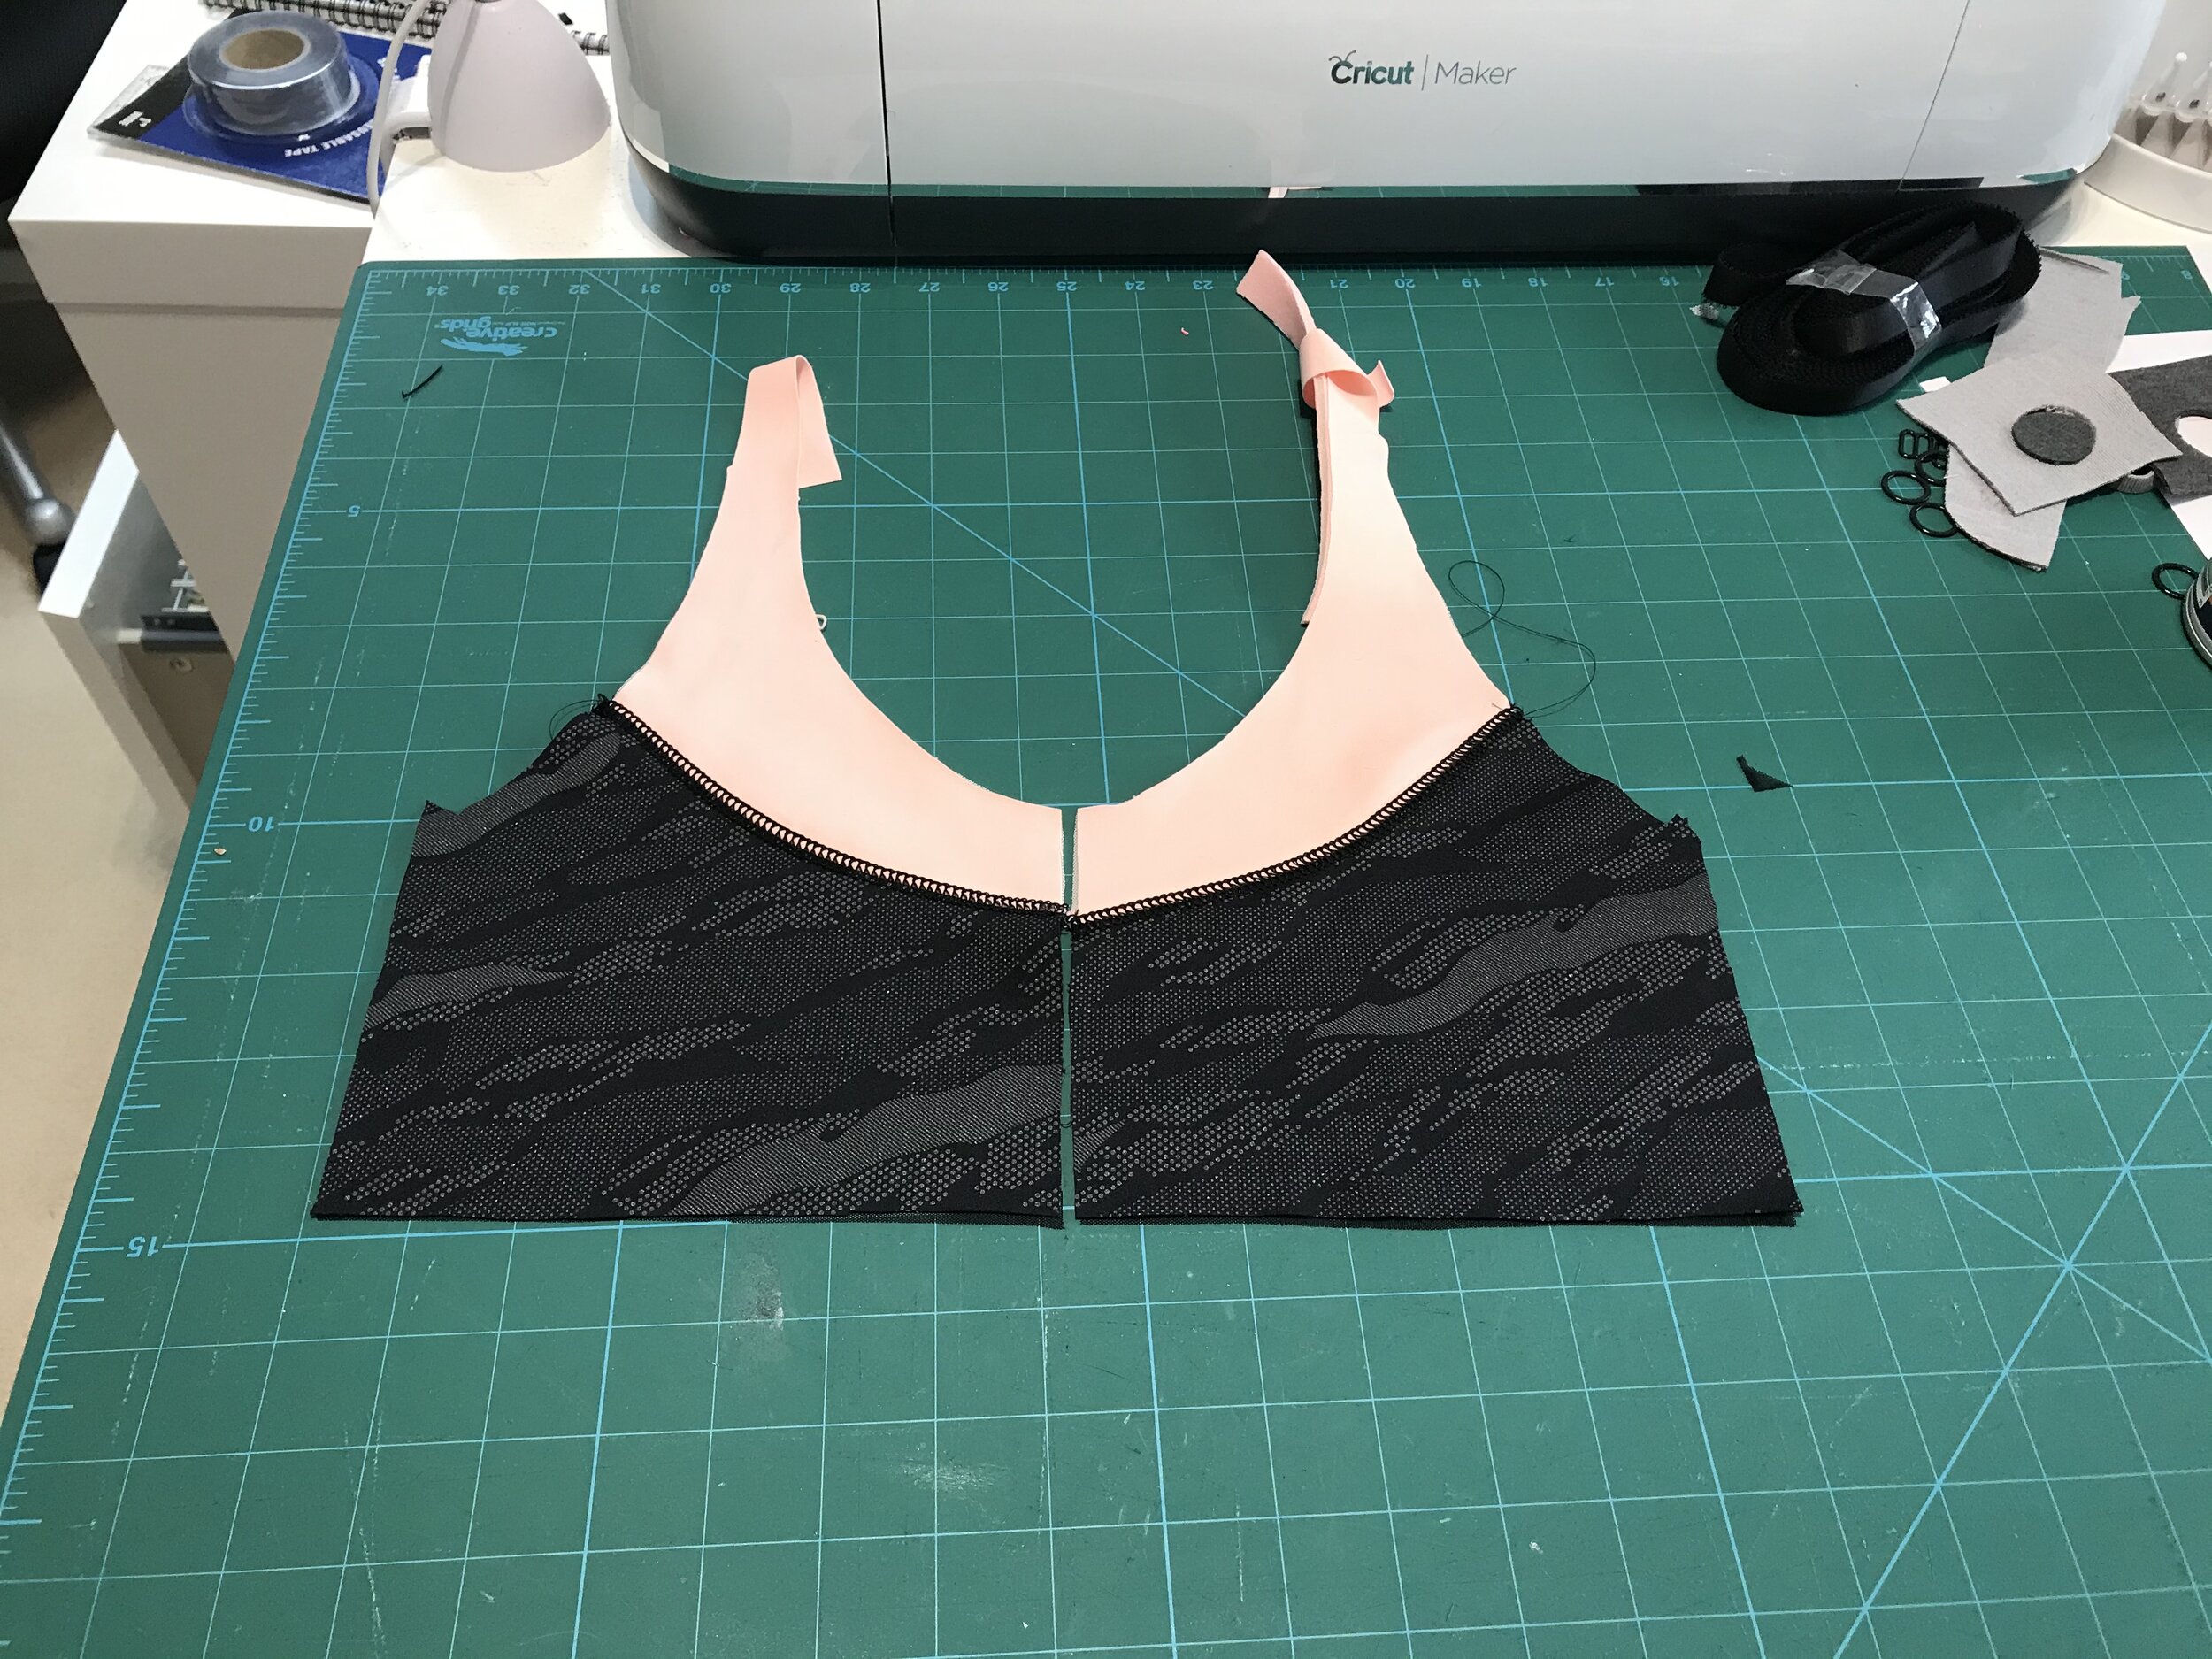
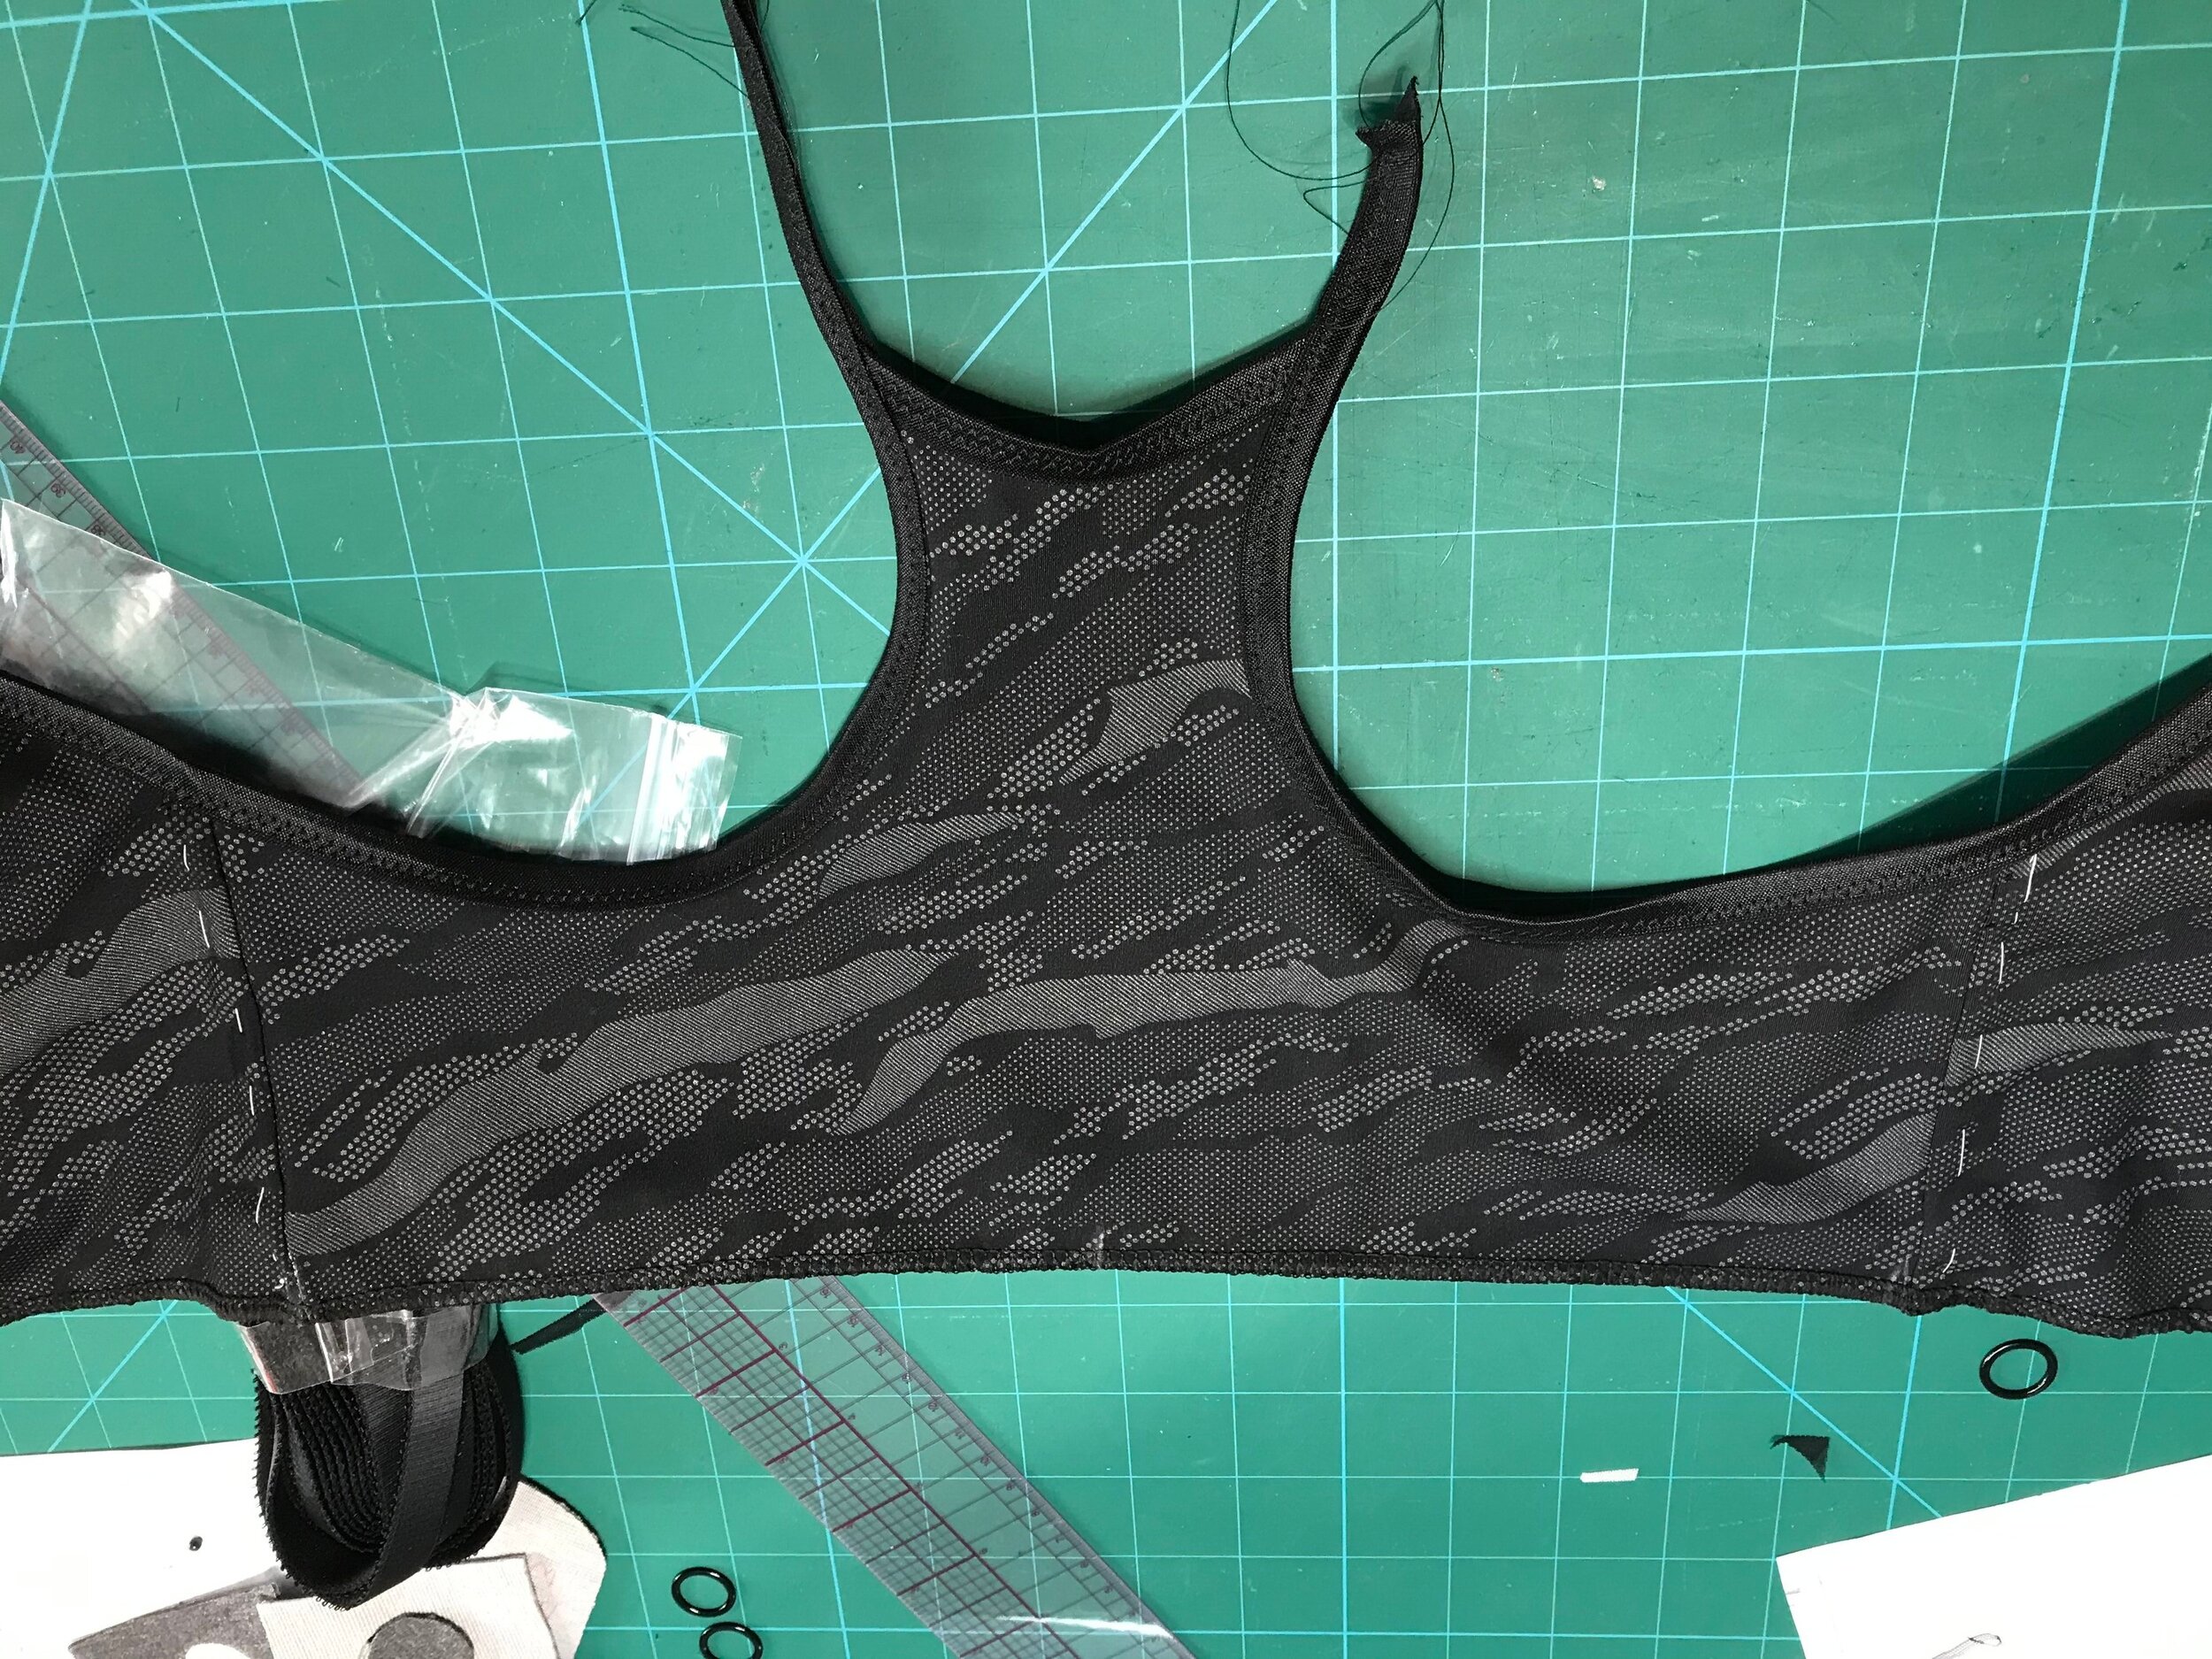
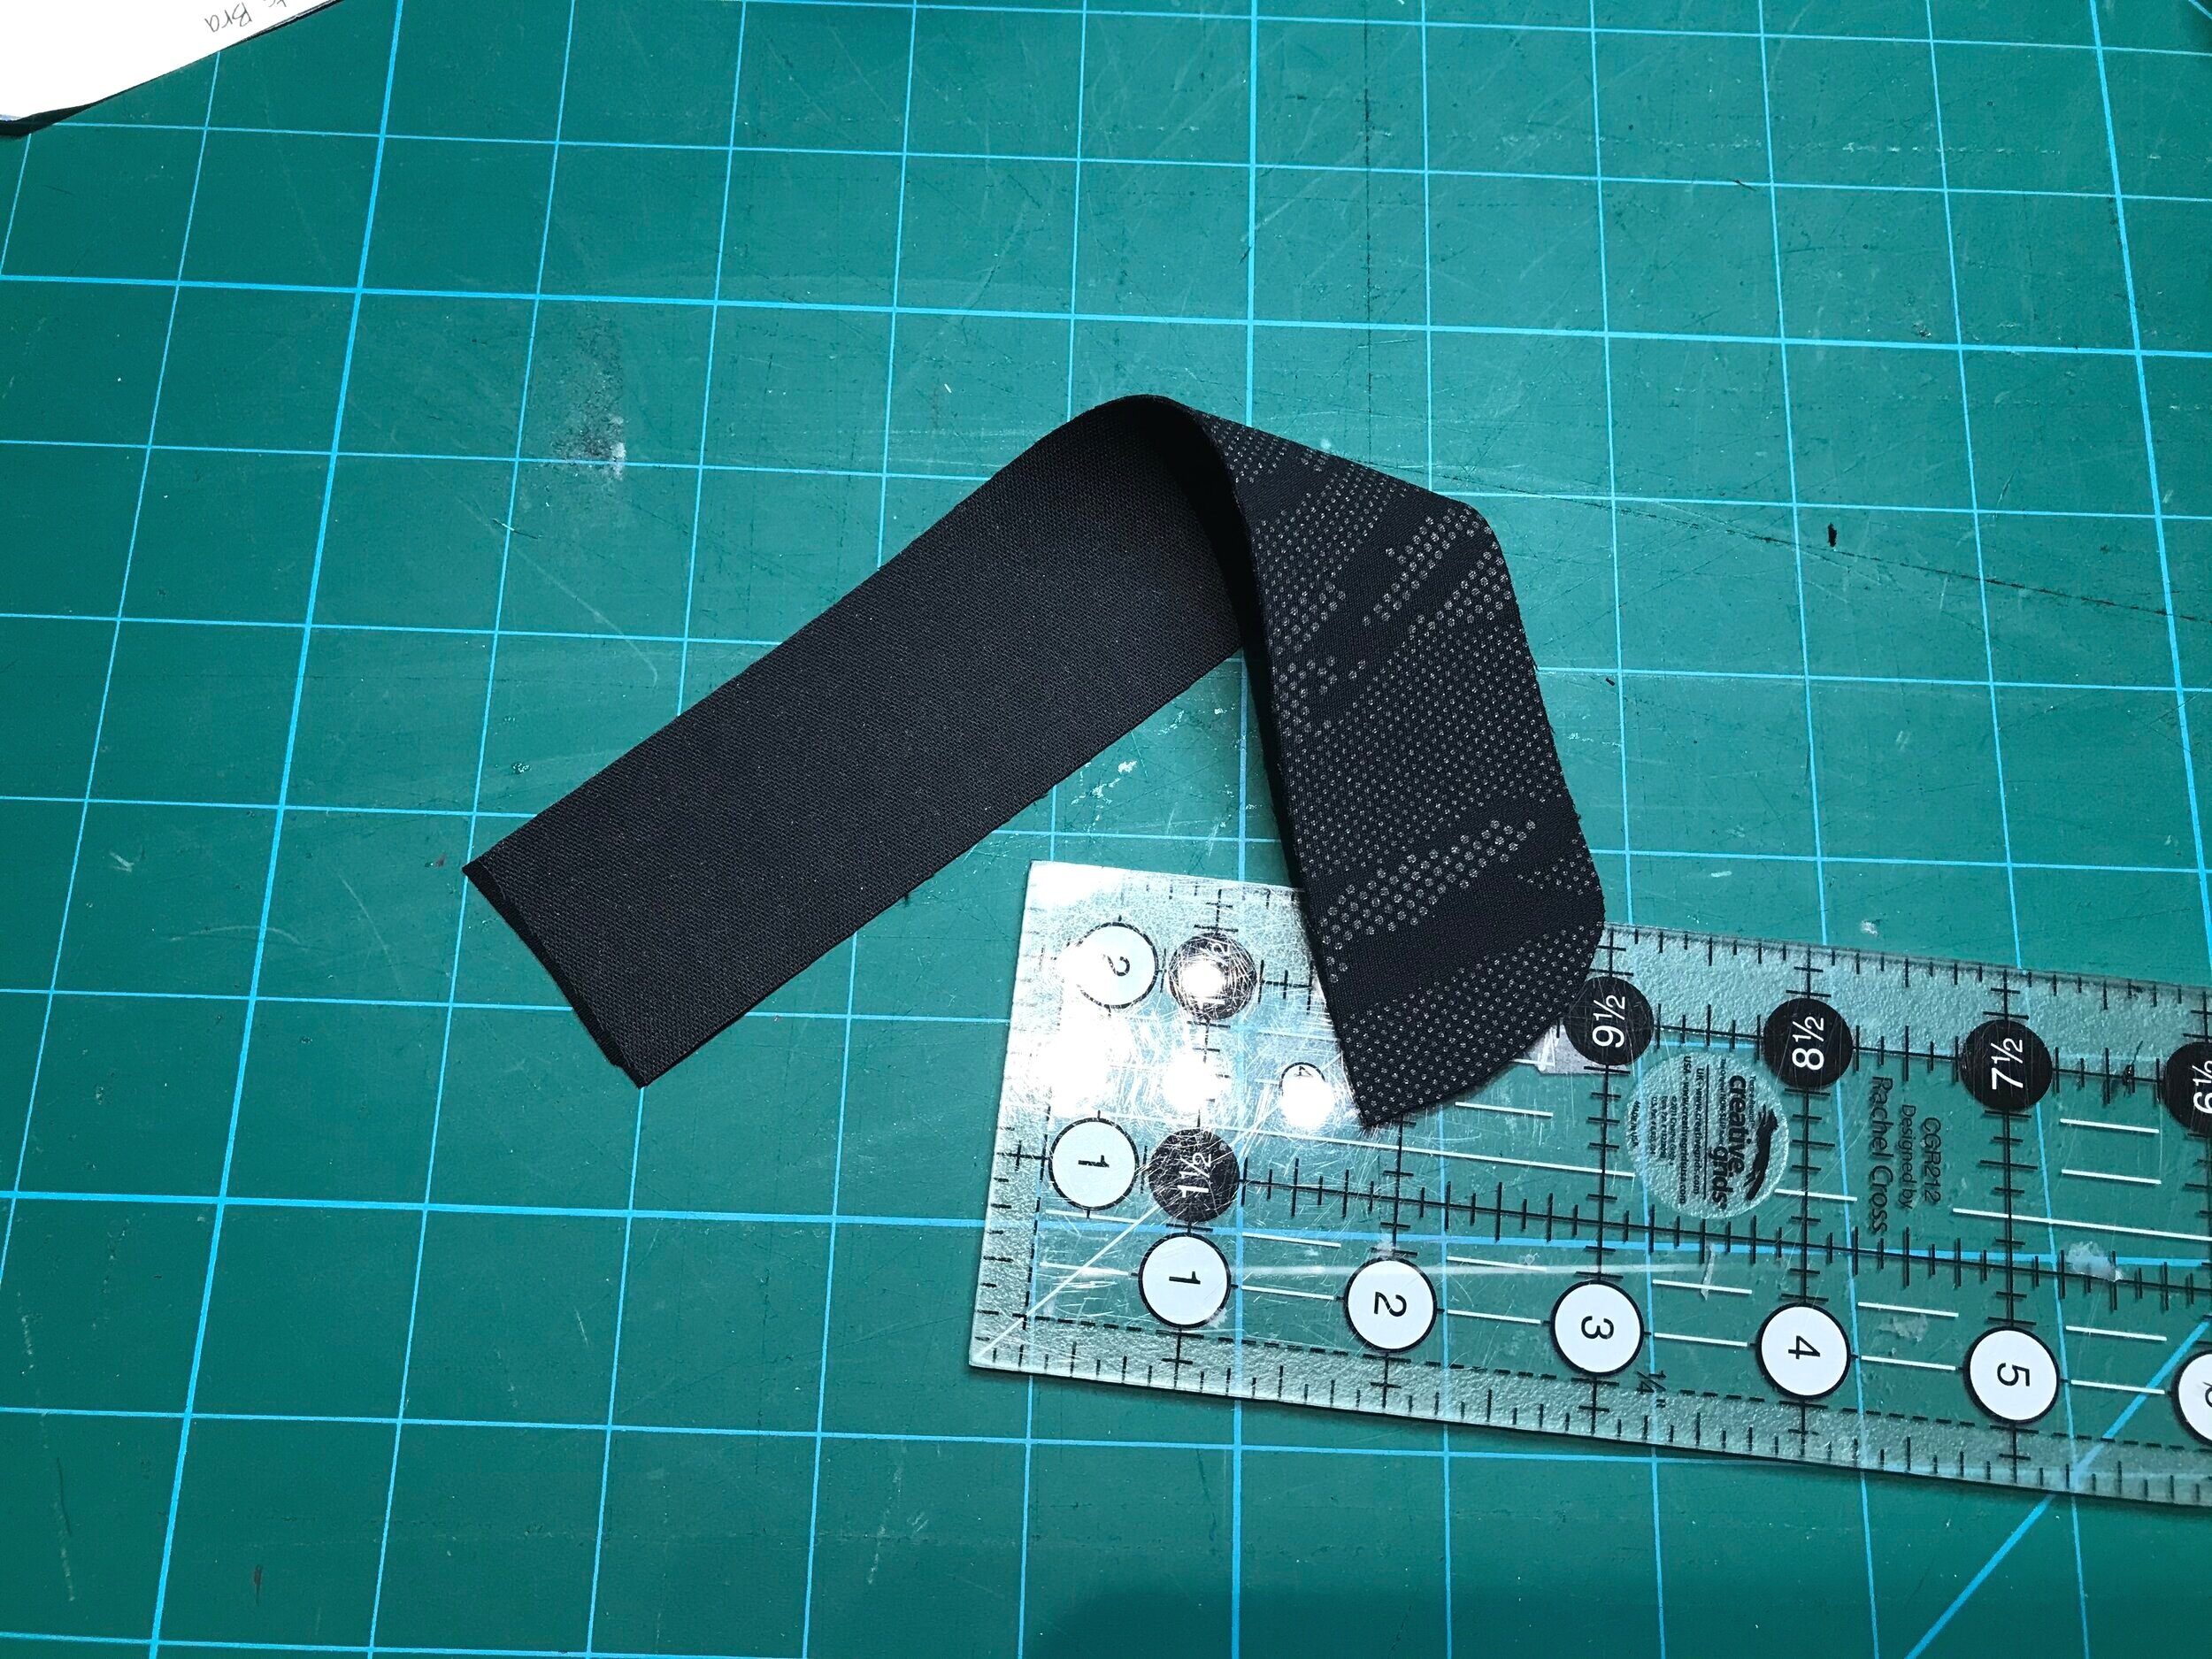
After sewing the front seam with a lightning stitch I finger pressed open and used a wide reverse coverstitch with woolly nylon. Using the open seam meant less bulk. I attached the fronts to the back enclosing the side frame of the bra. Before I added the fold over elastic to the neck and arms I attached strap elastic to the foam. Not knowing quite where the cup would sit I left a reasonable length. Then I overlocked the bottom edge before attaching the band to give a neat finish on the inside. I then attached fold over elastic to the front. I originally had a square edge but changed to a curve for ease of applying the elastic.
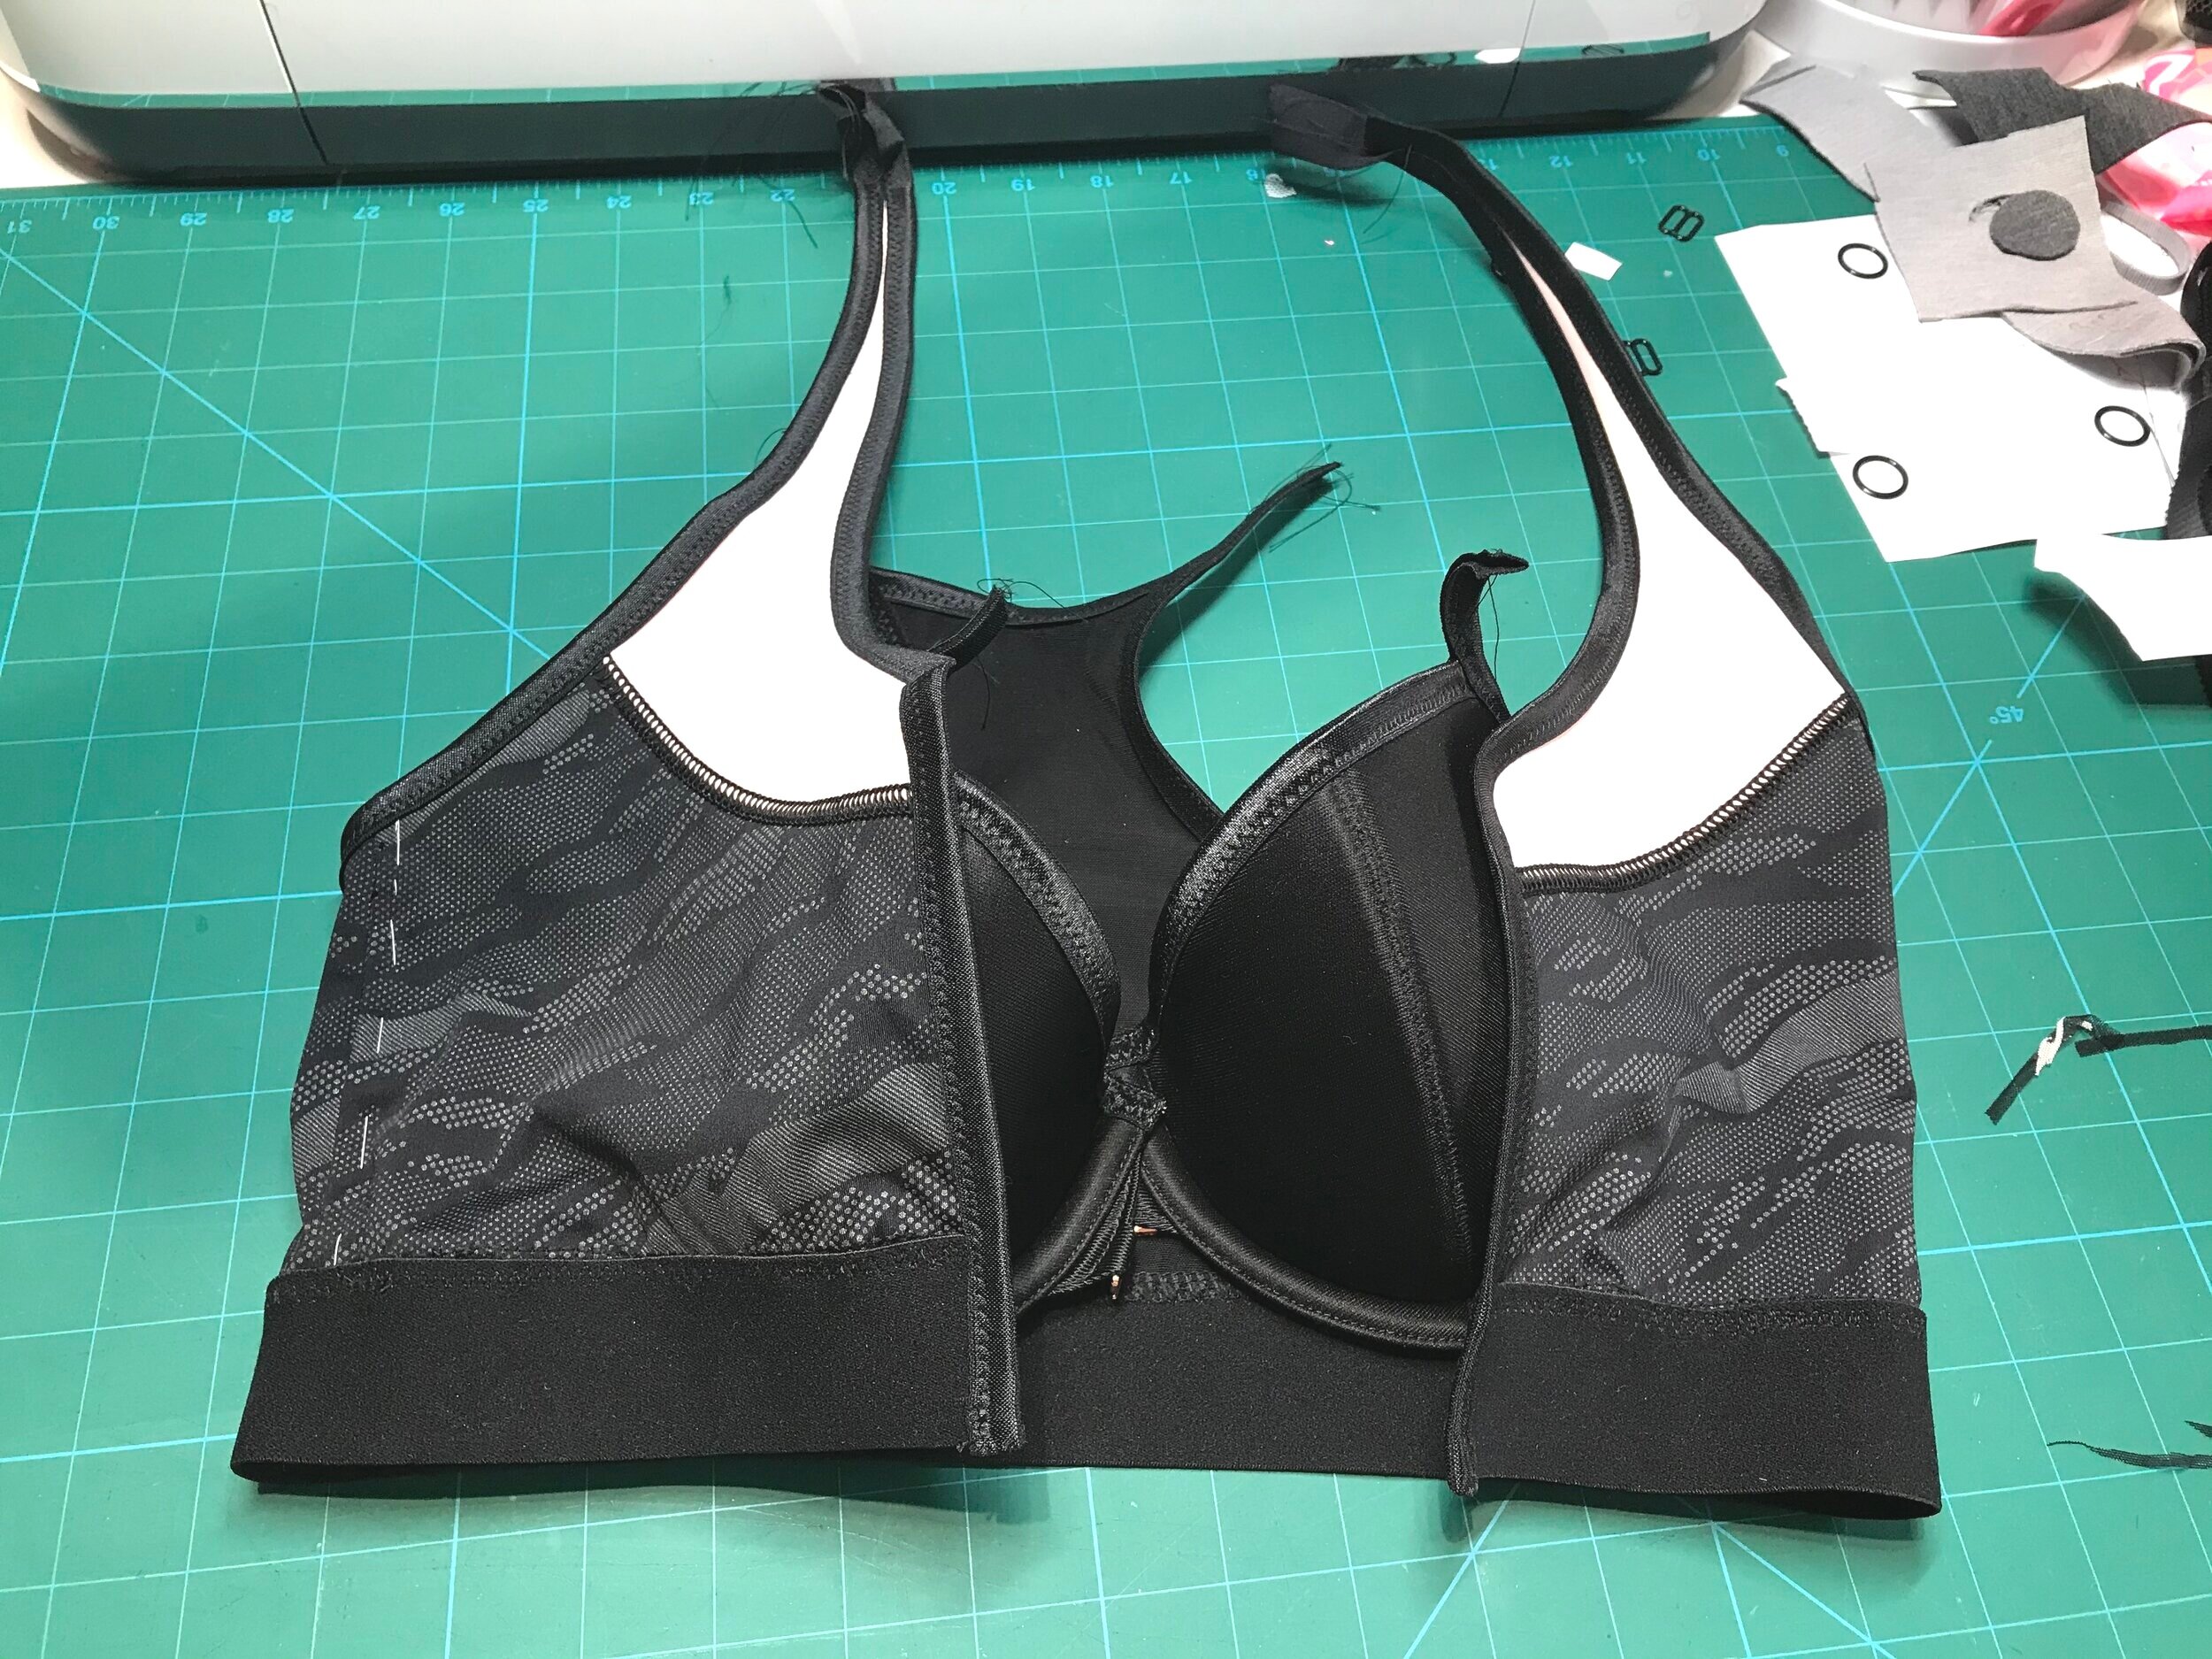
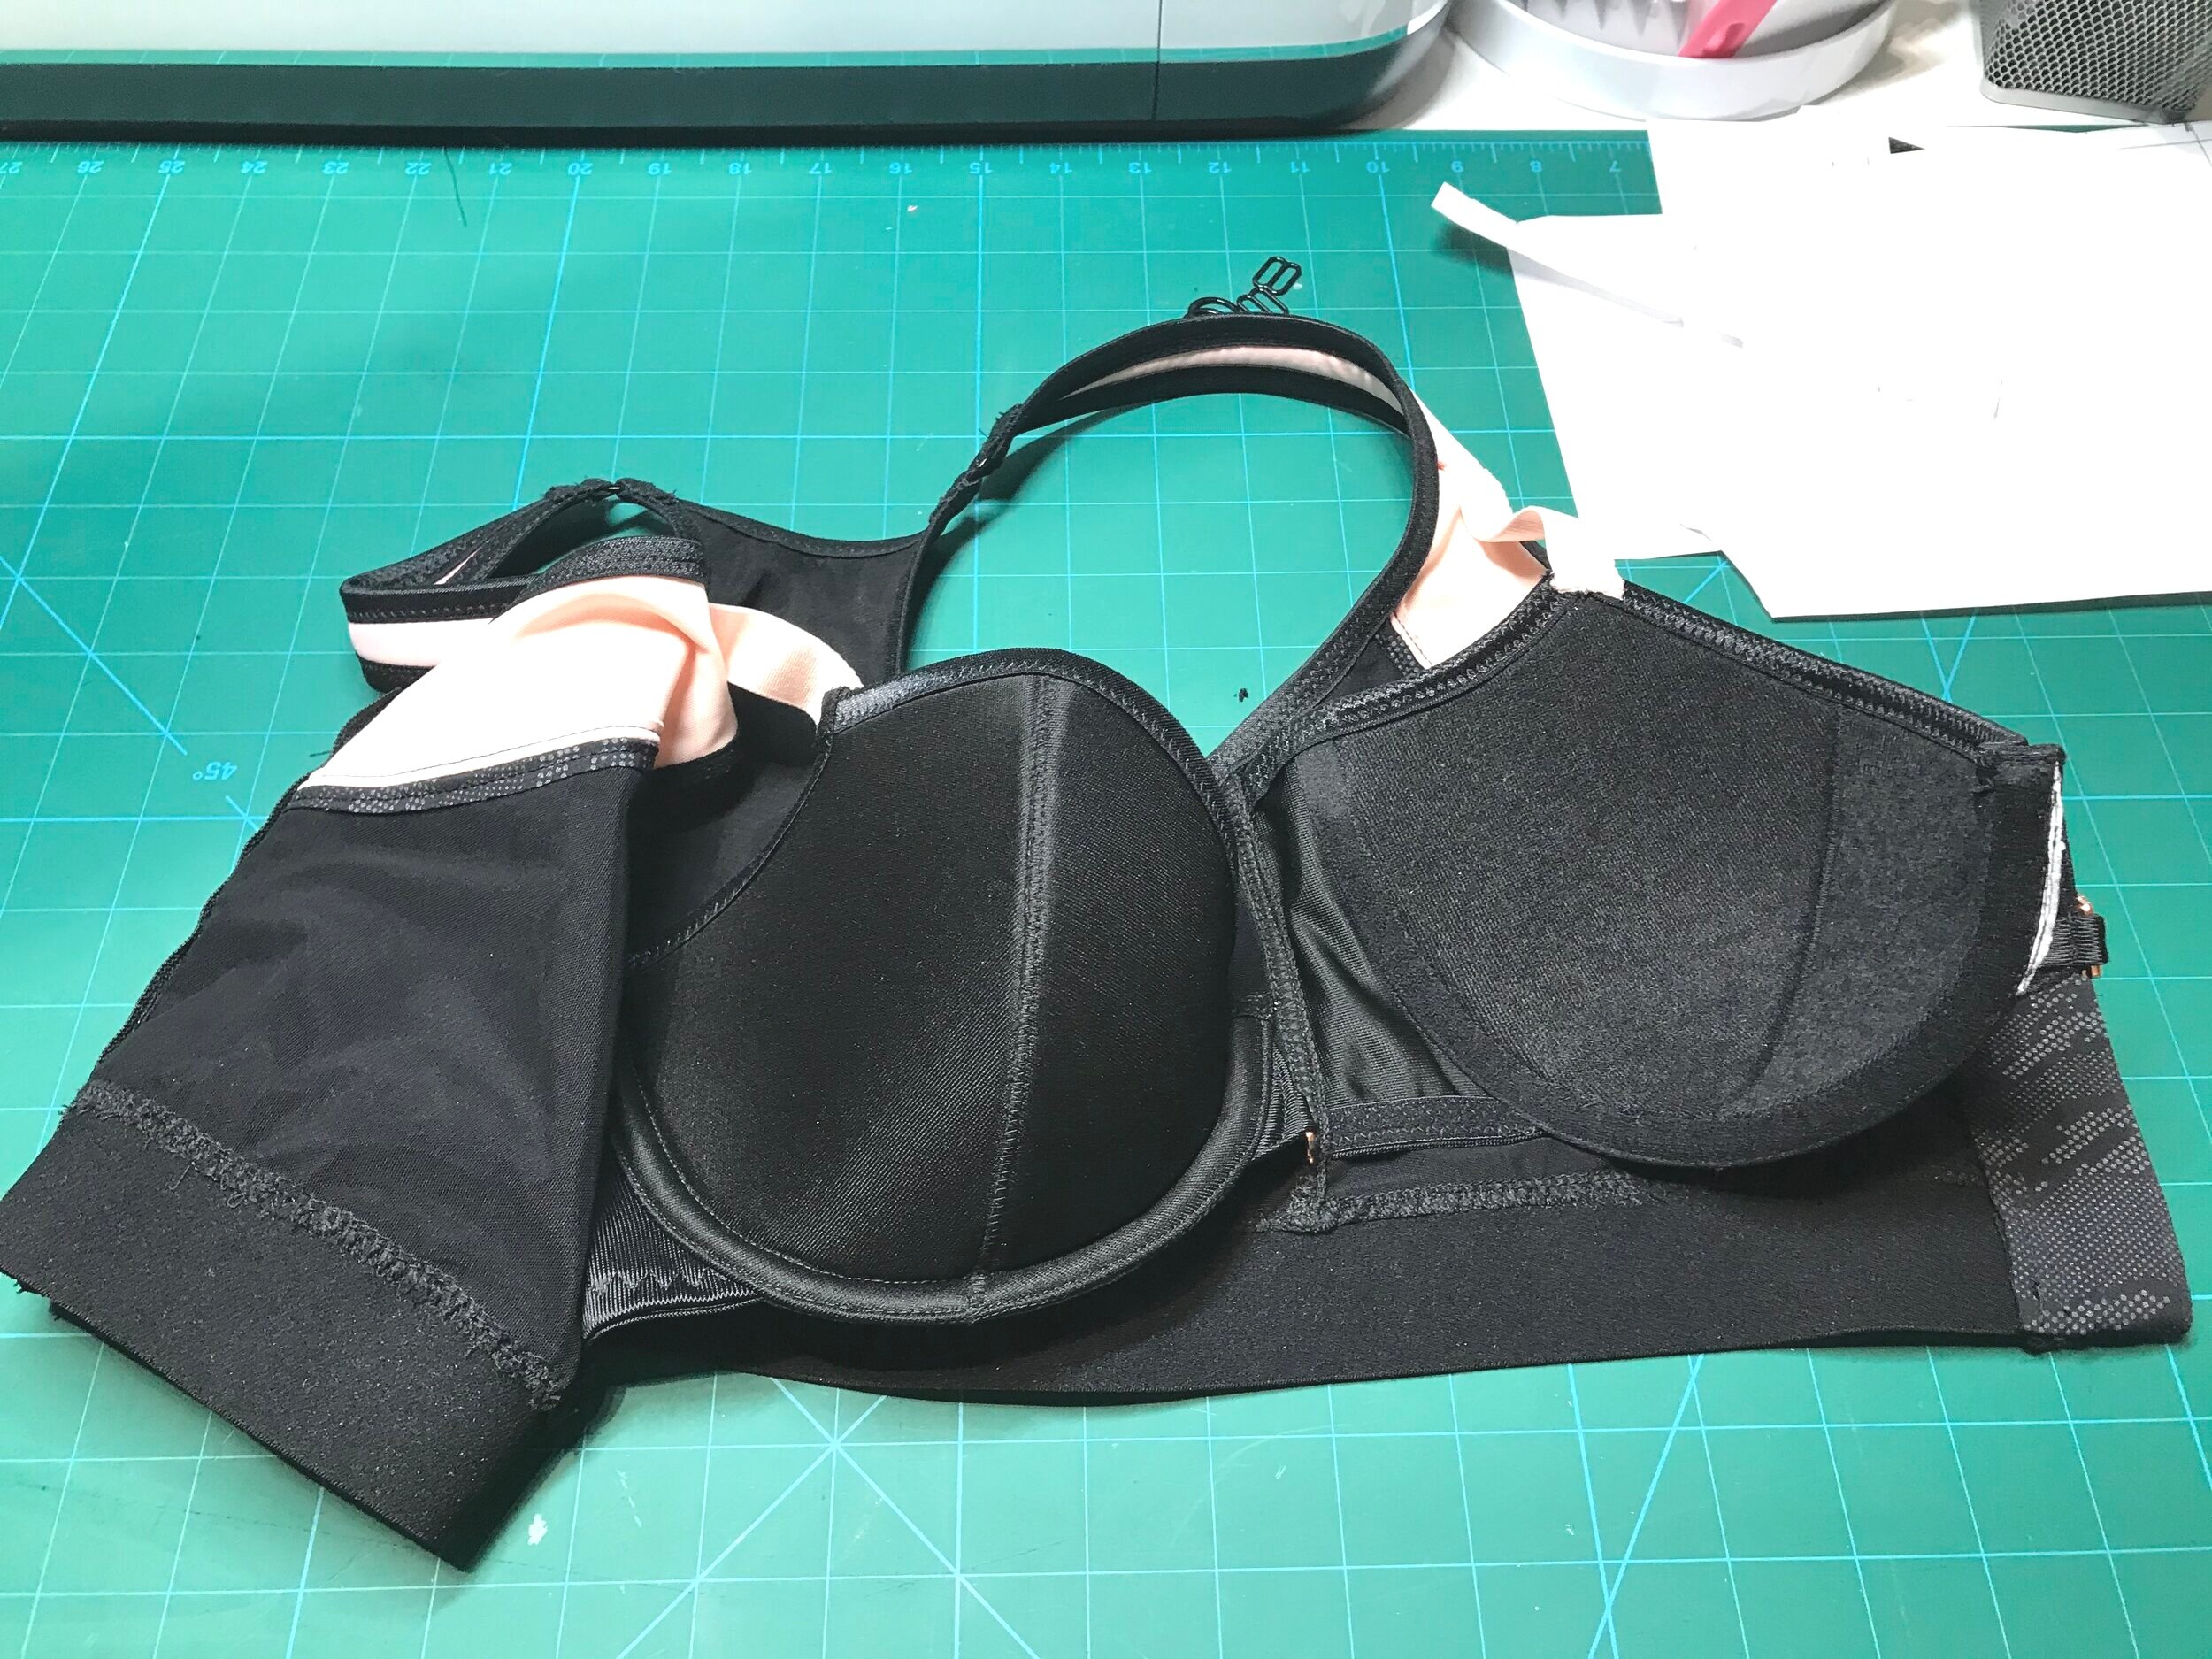
To keep any bulk from the zip guard I fused soft woven interfacing to the main fabric using the Endurance pattern piece and then attached the straps to the back using rings. At this stage I could try on and work out where to attach the cups. This was a labour of love but so worth the effort as it explored so many new techniques.
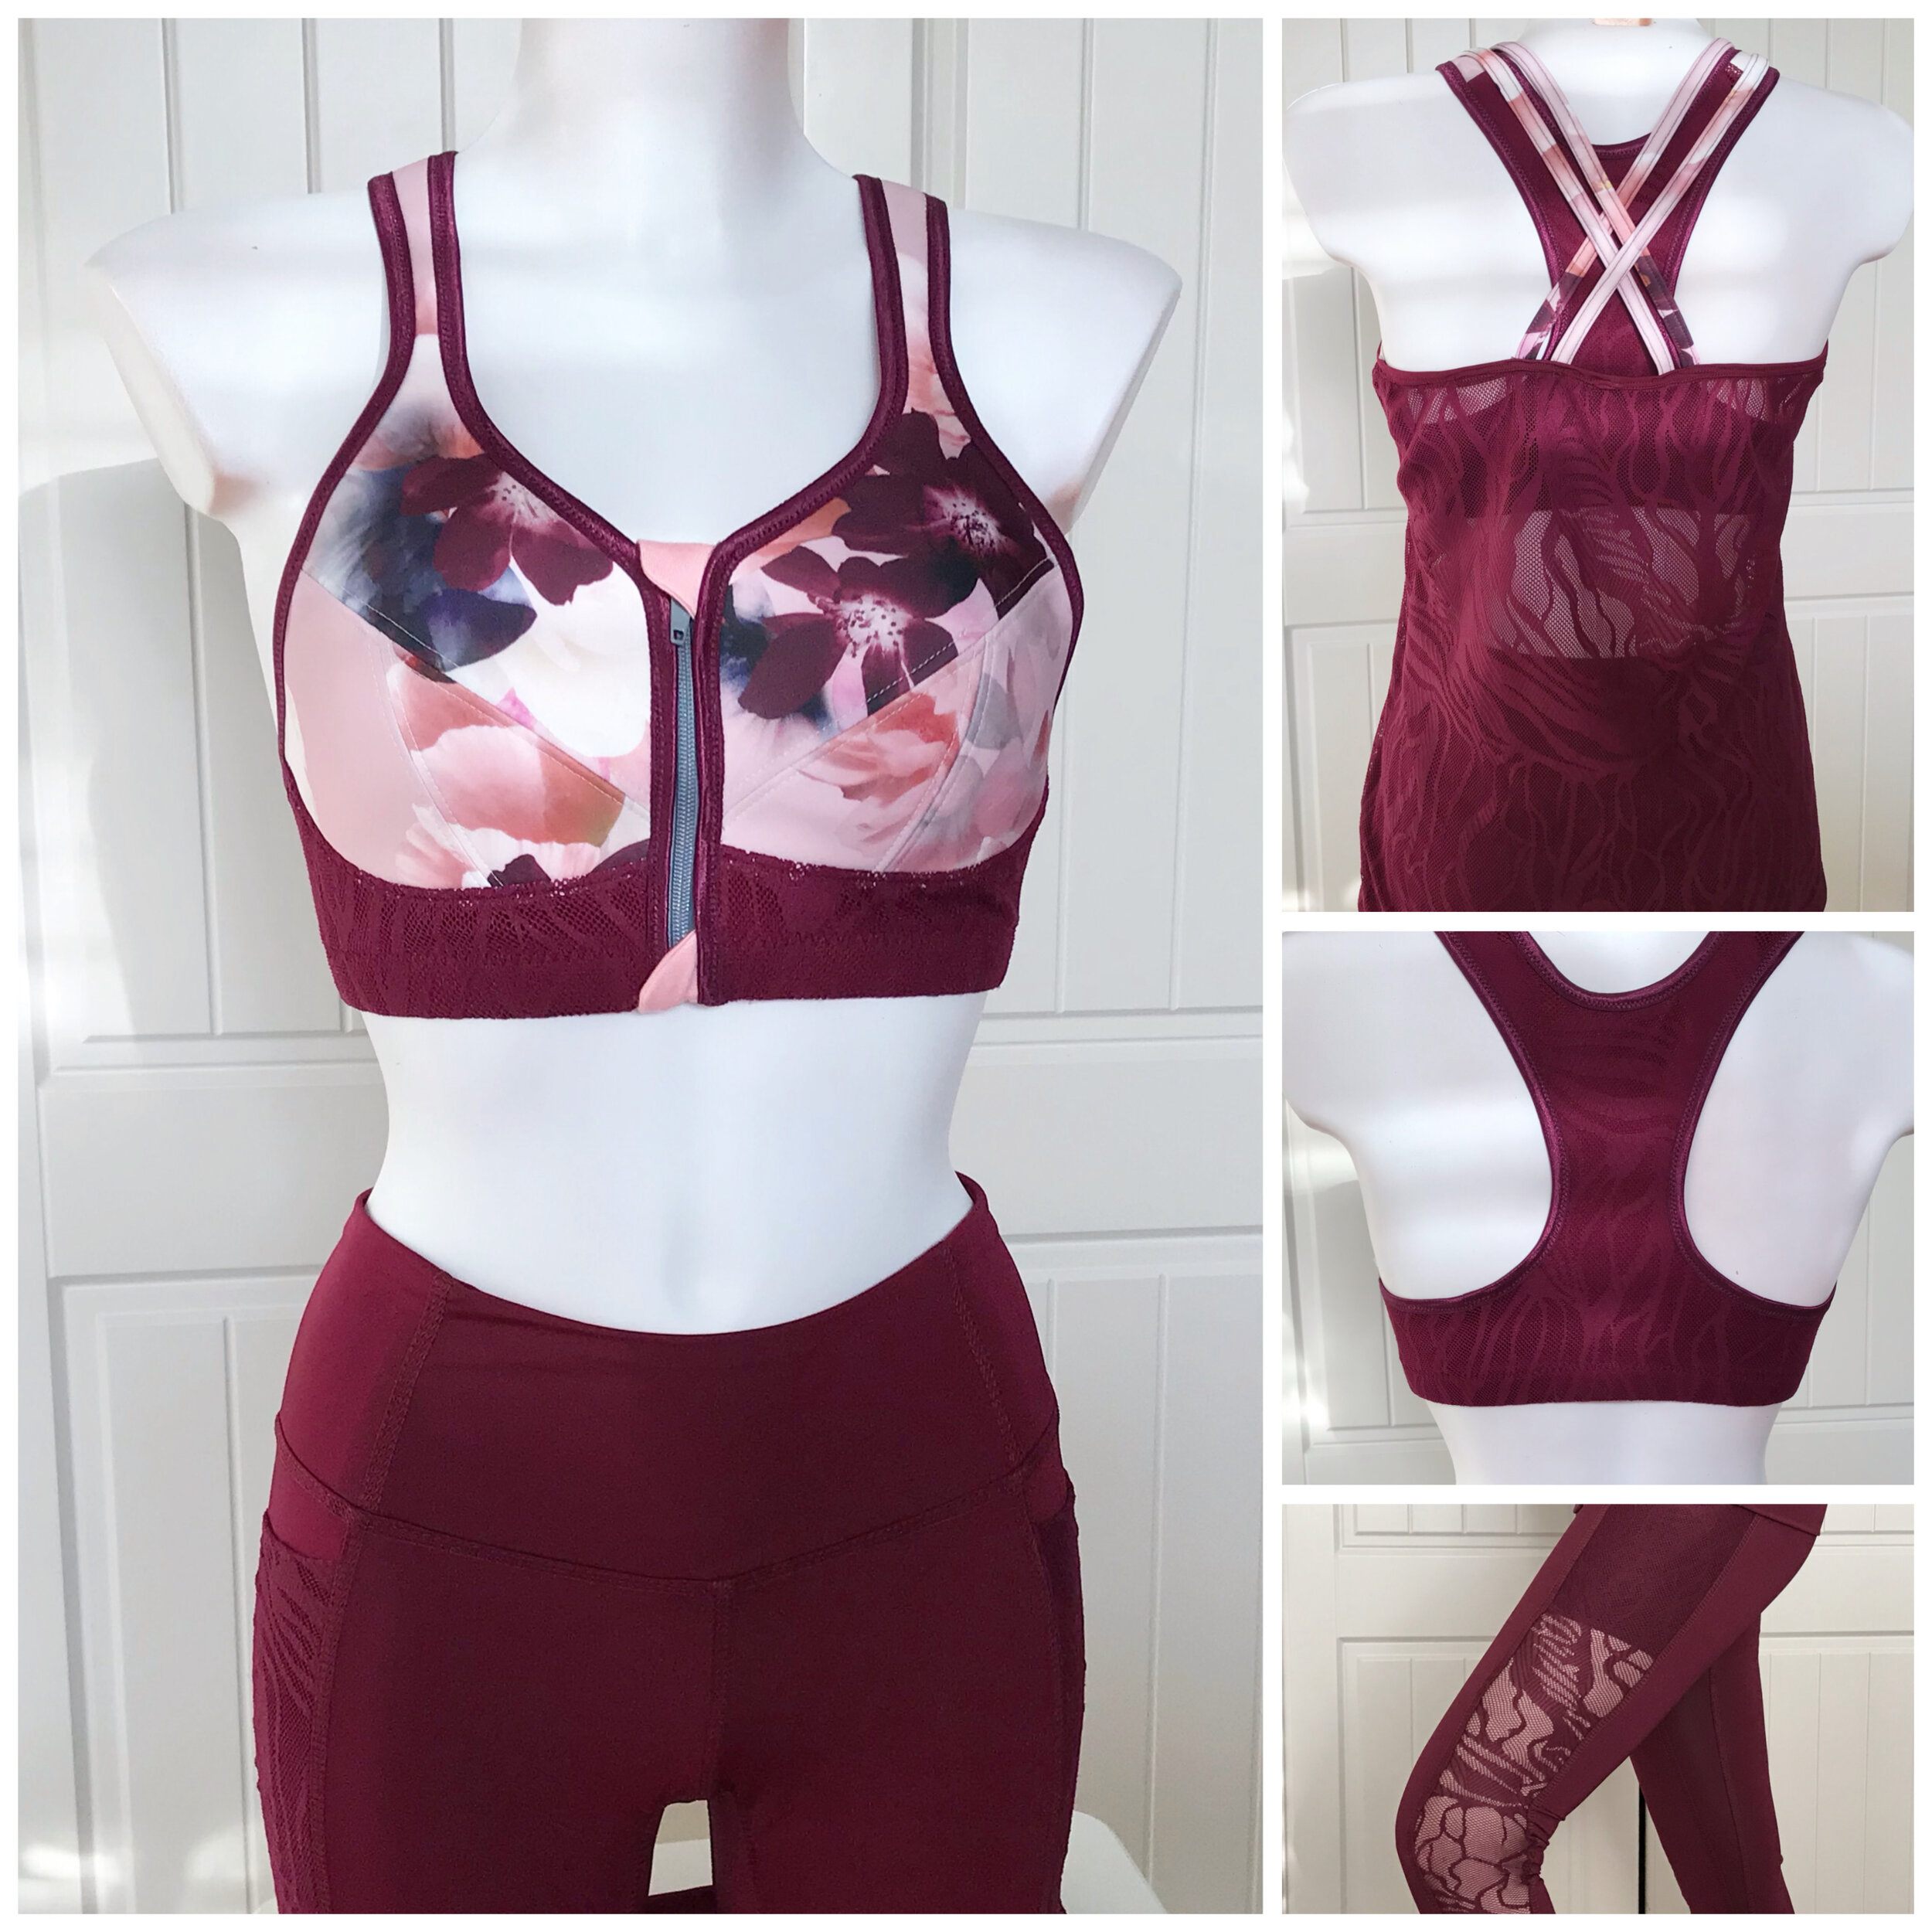
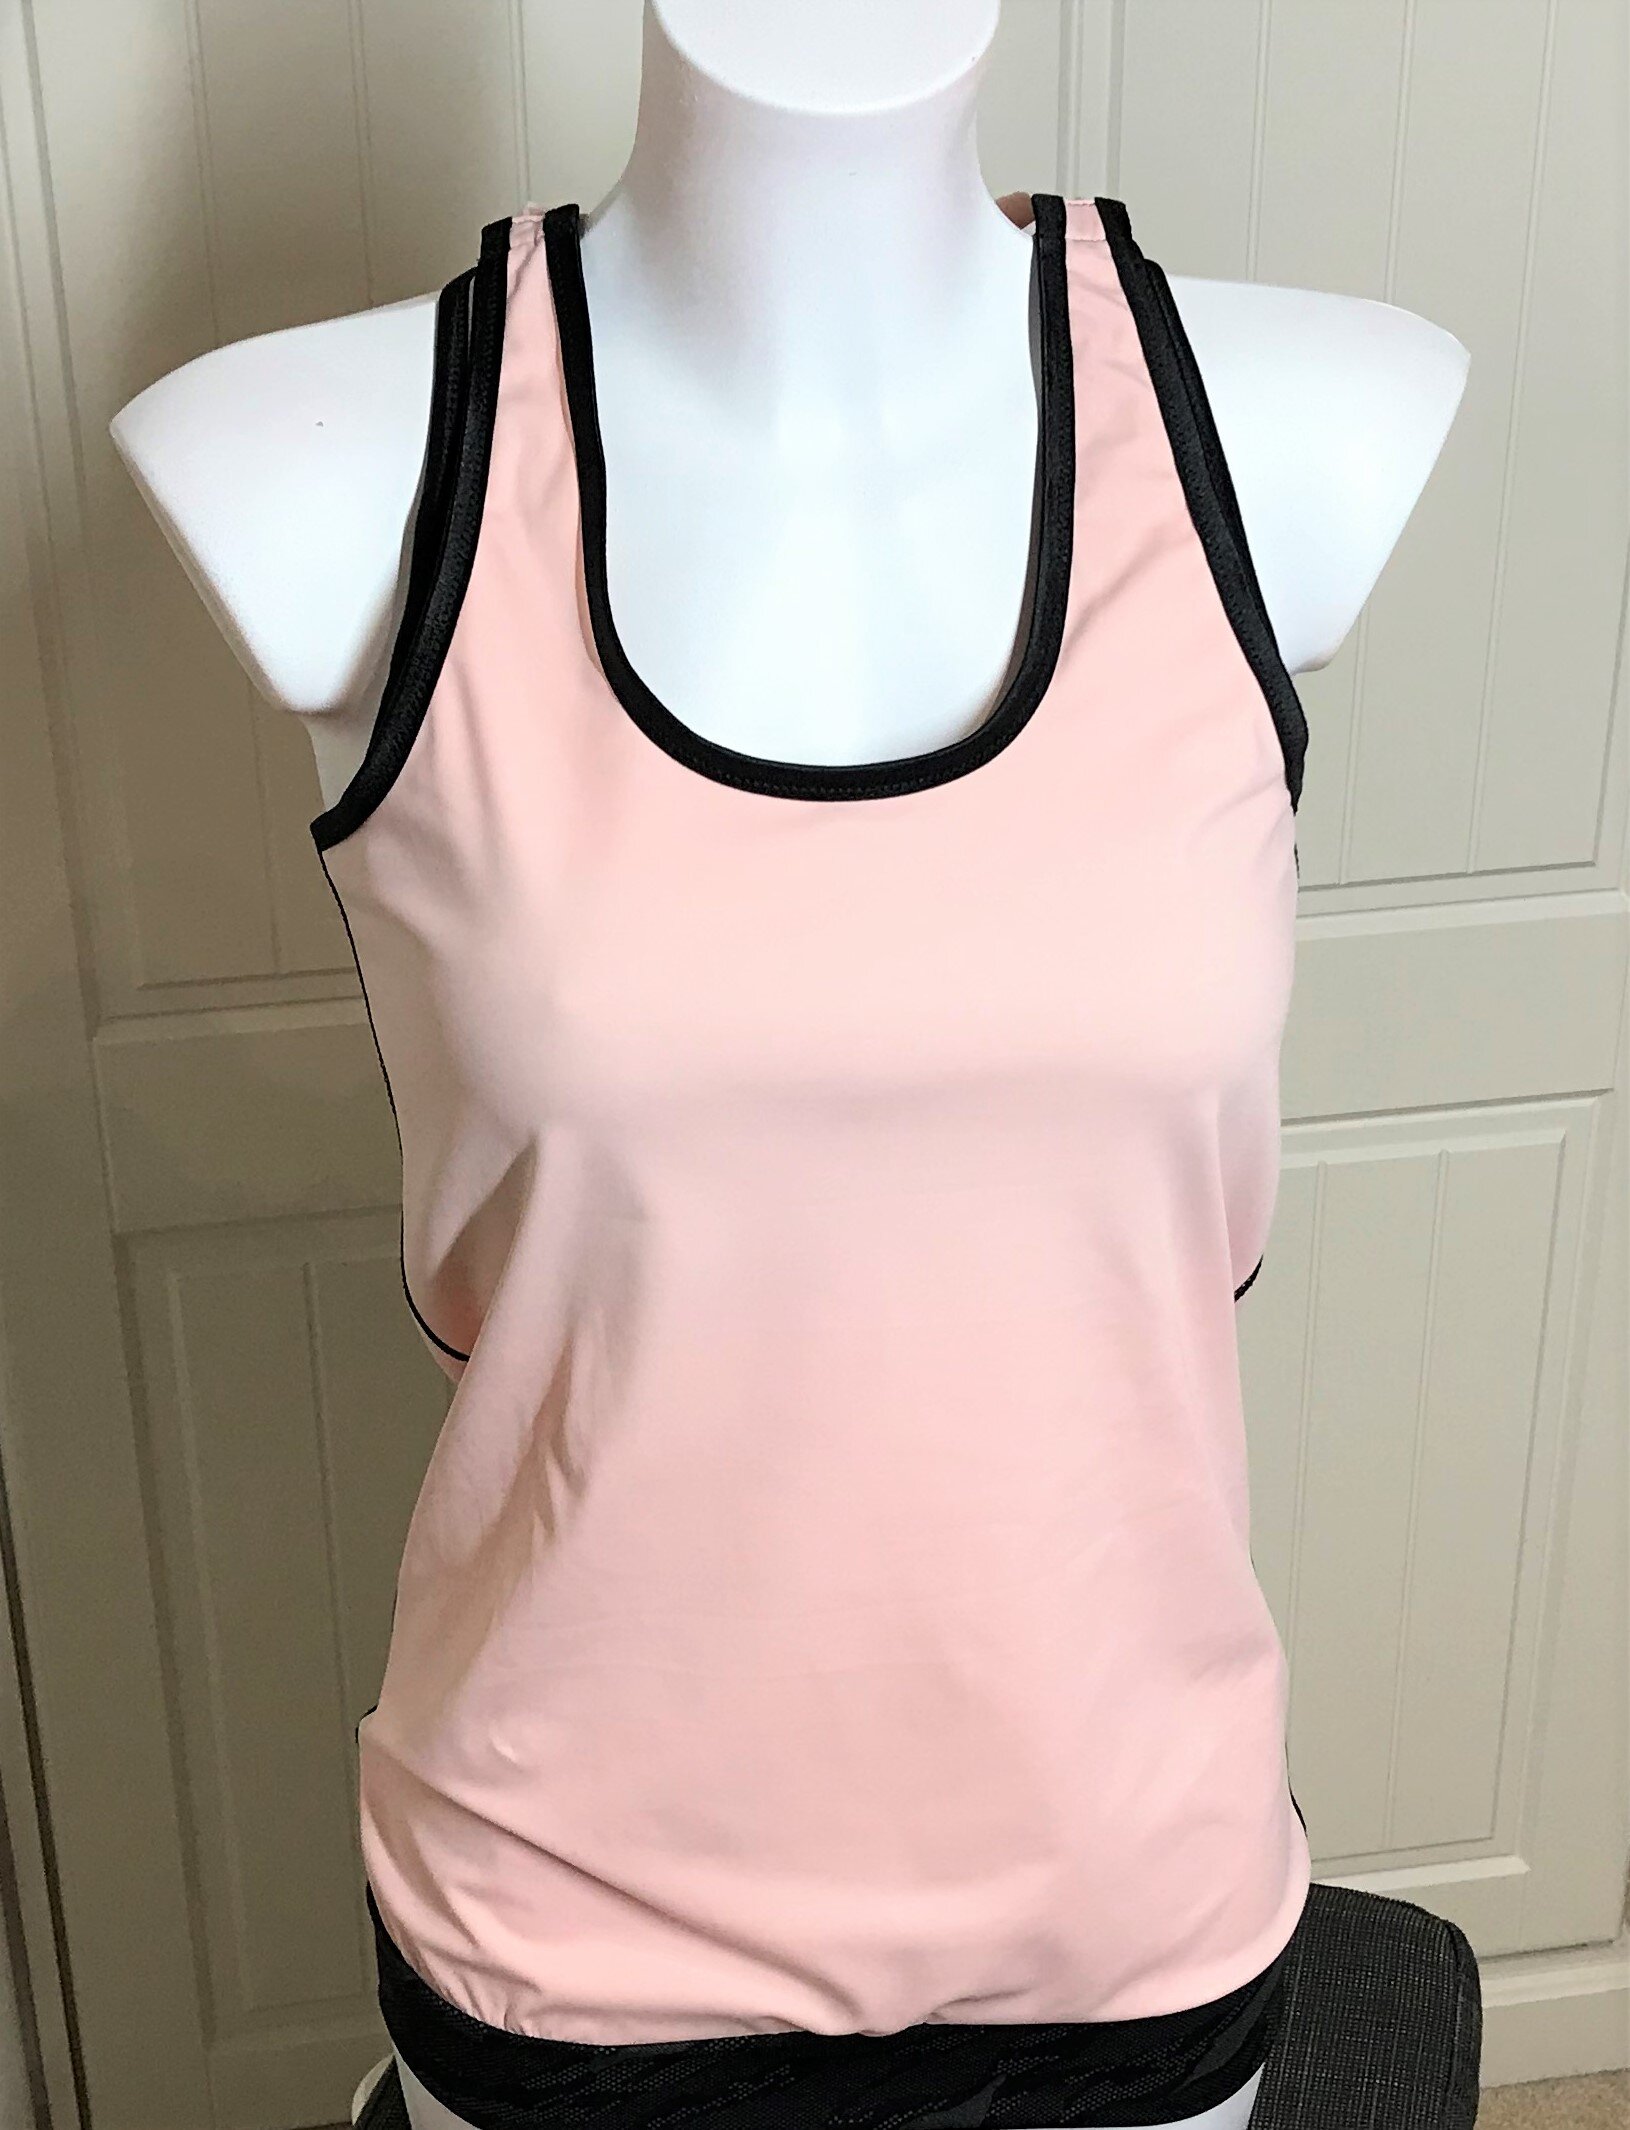
The bra was made for a couple of challenges I am running with at the moment - the BraAWeek challenge hosted by Emerald Erin and FitCapsule hosted by Greenstyle Creations. My first make was inspired by the lace GS Super G made by Sewing With Sarah and I tried to recreate the look using Funky Fabrics lycra and lace. The flower fabric is Scuba from SewWardrobe with black cherry findings from Fit2Sew. The sports bra is the GS Endurance and top is the inner tank from the GS Jillian. The zip guard is made from stabilised bamboo knit. The Super G fits as well as the Stride. Gorgeous and practical

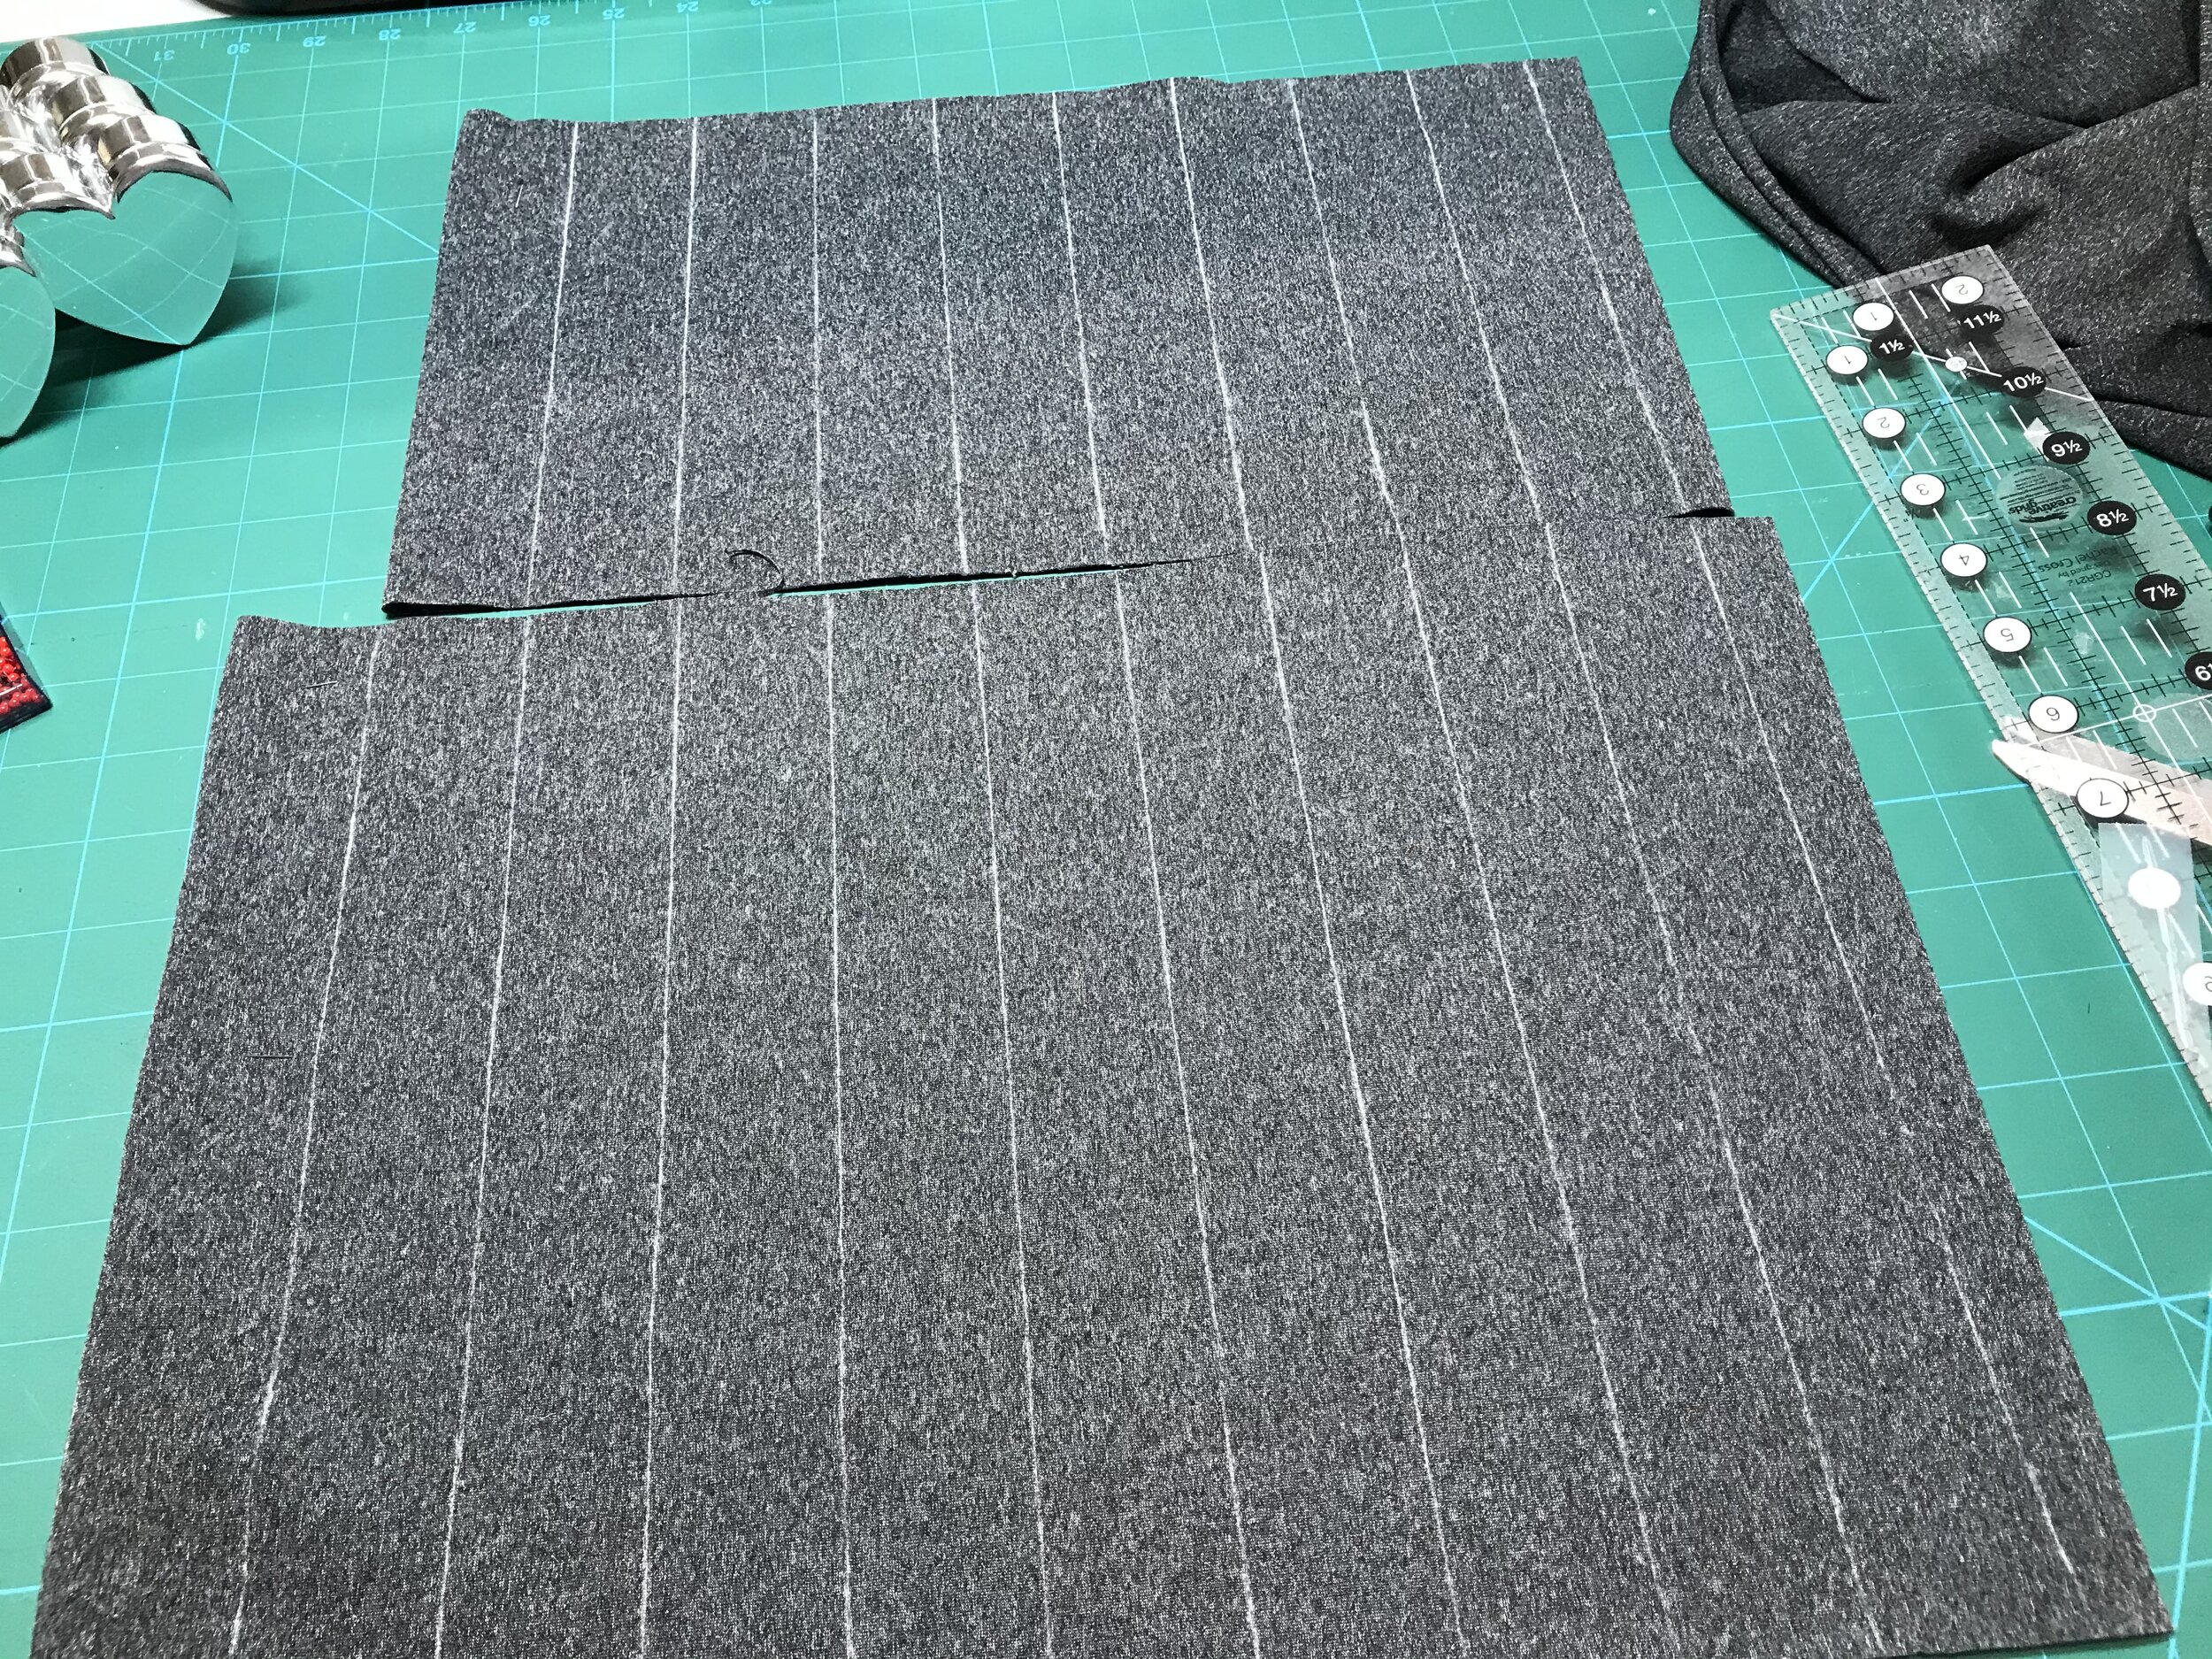
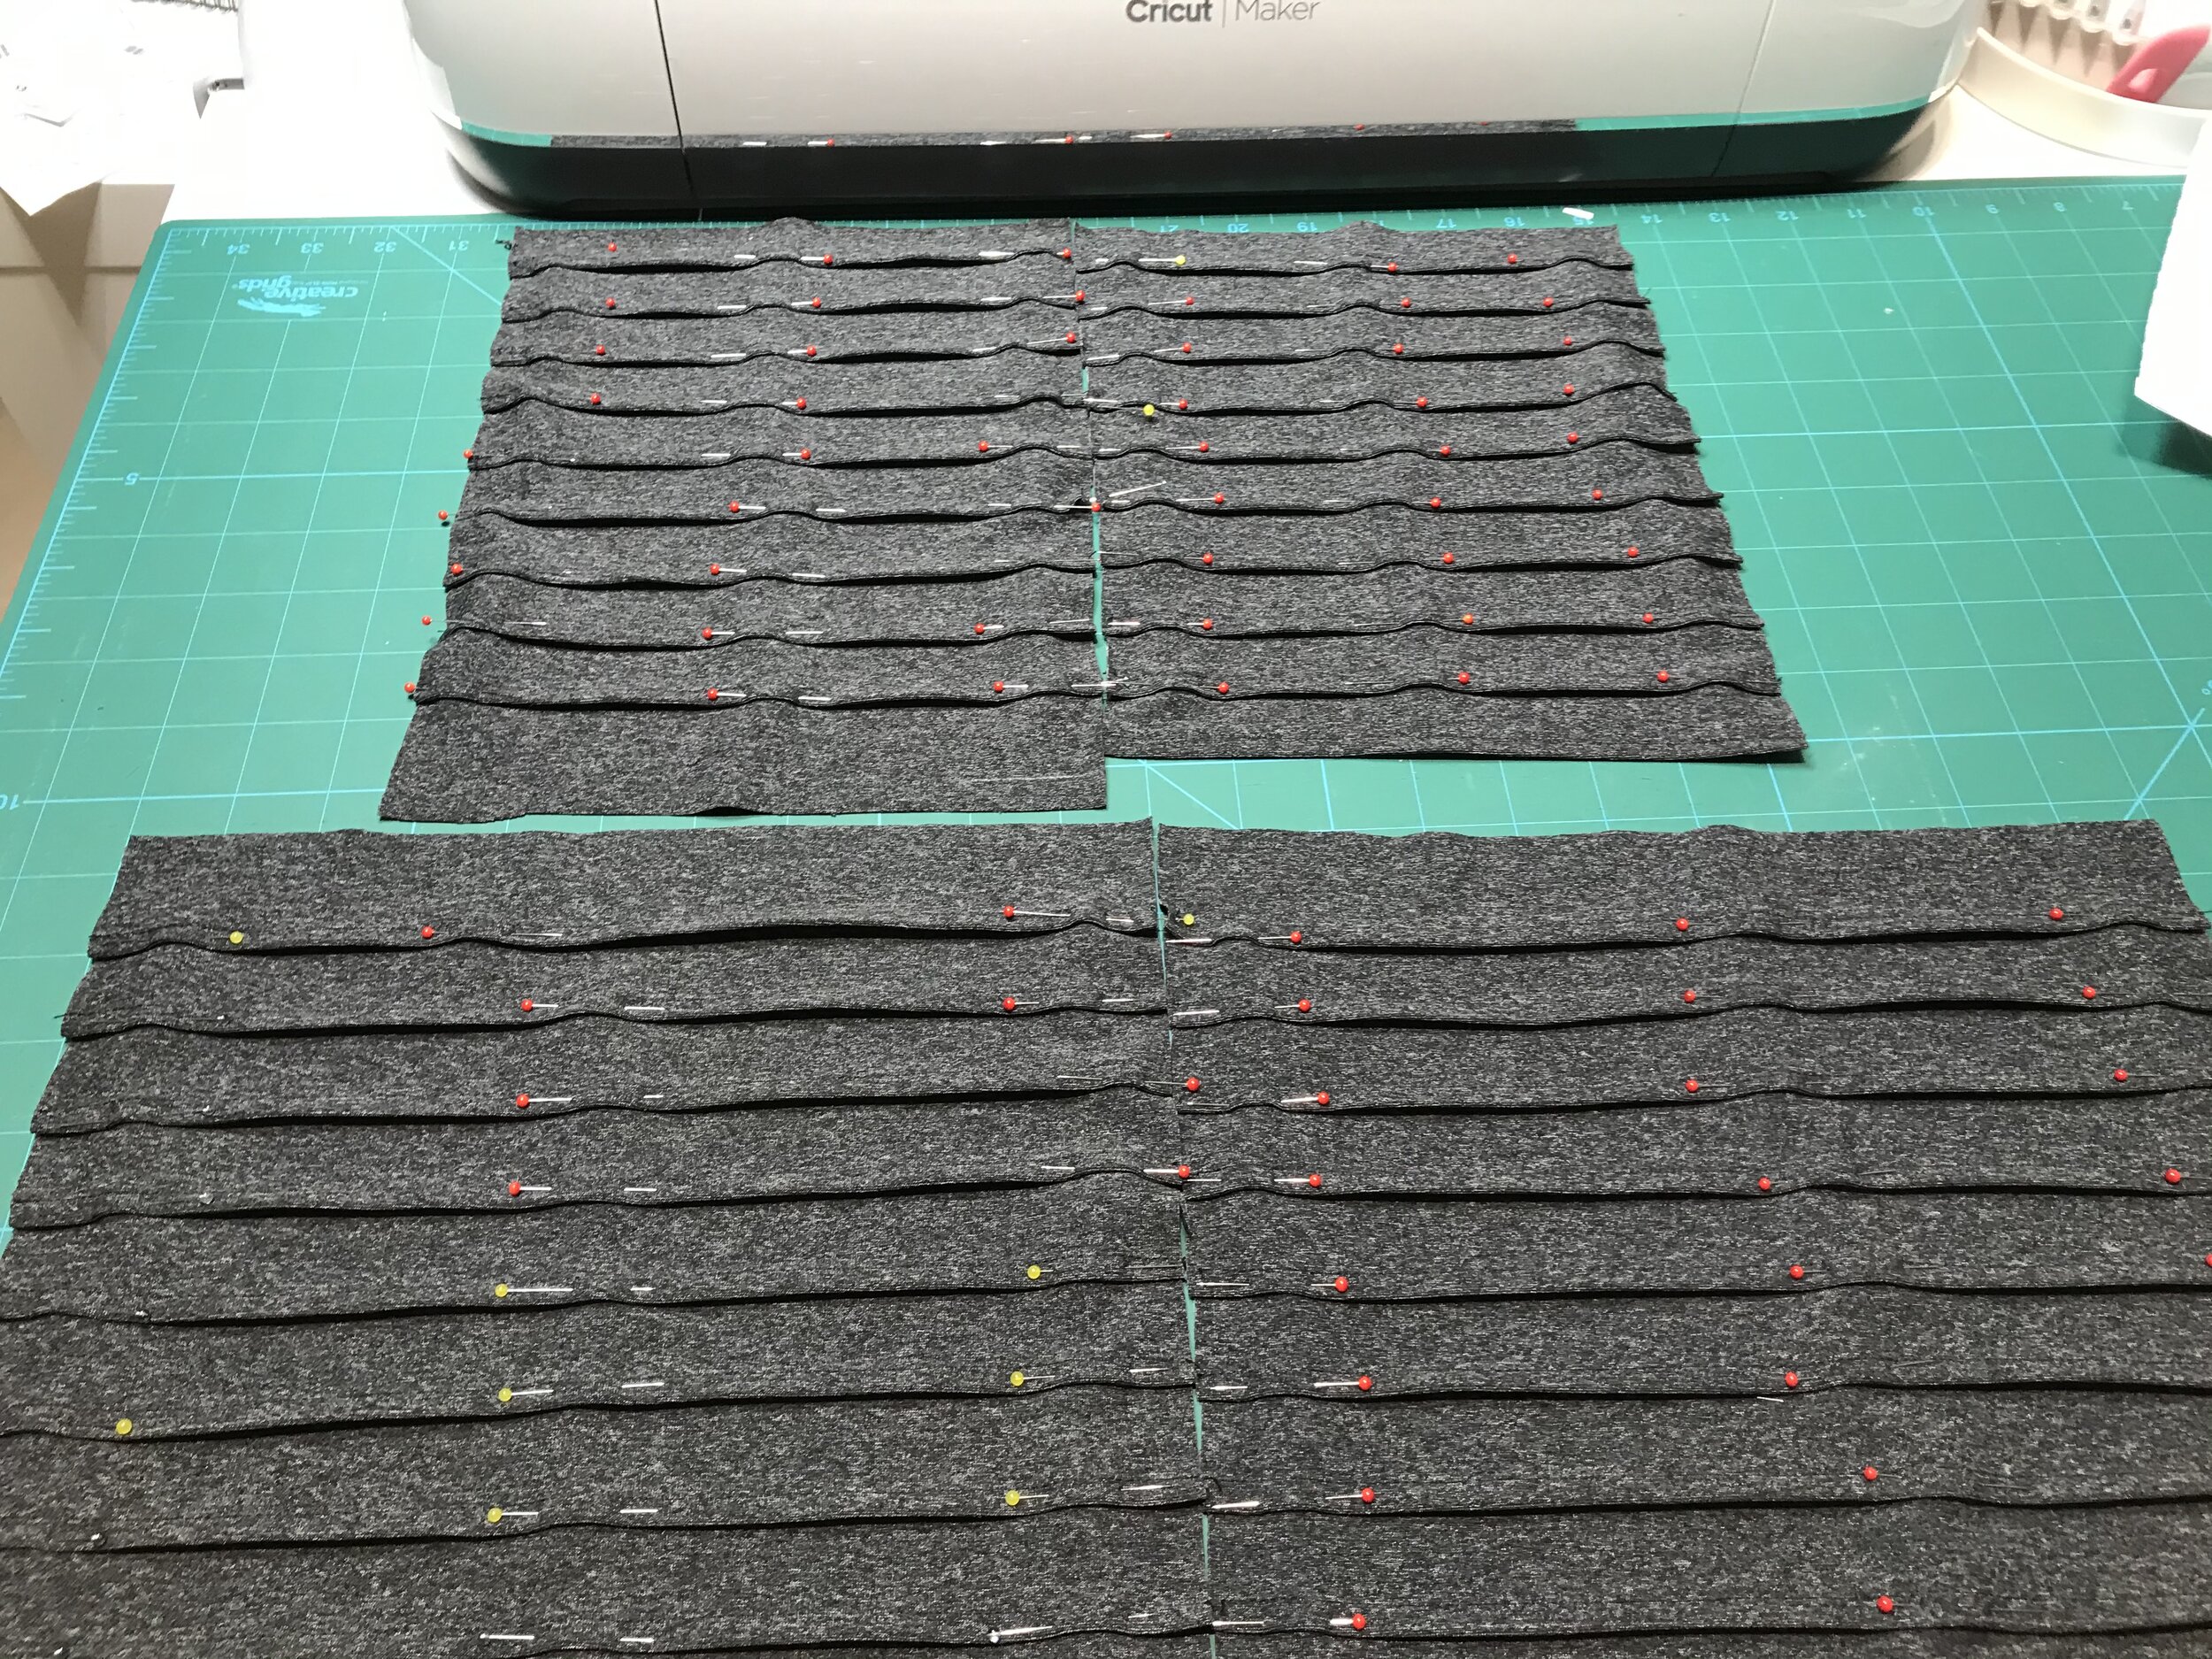
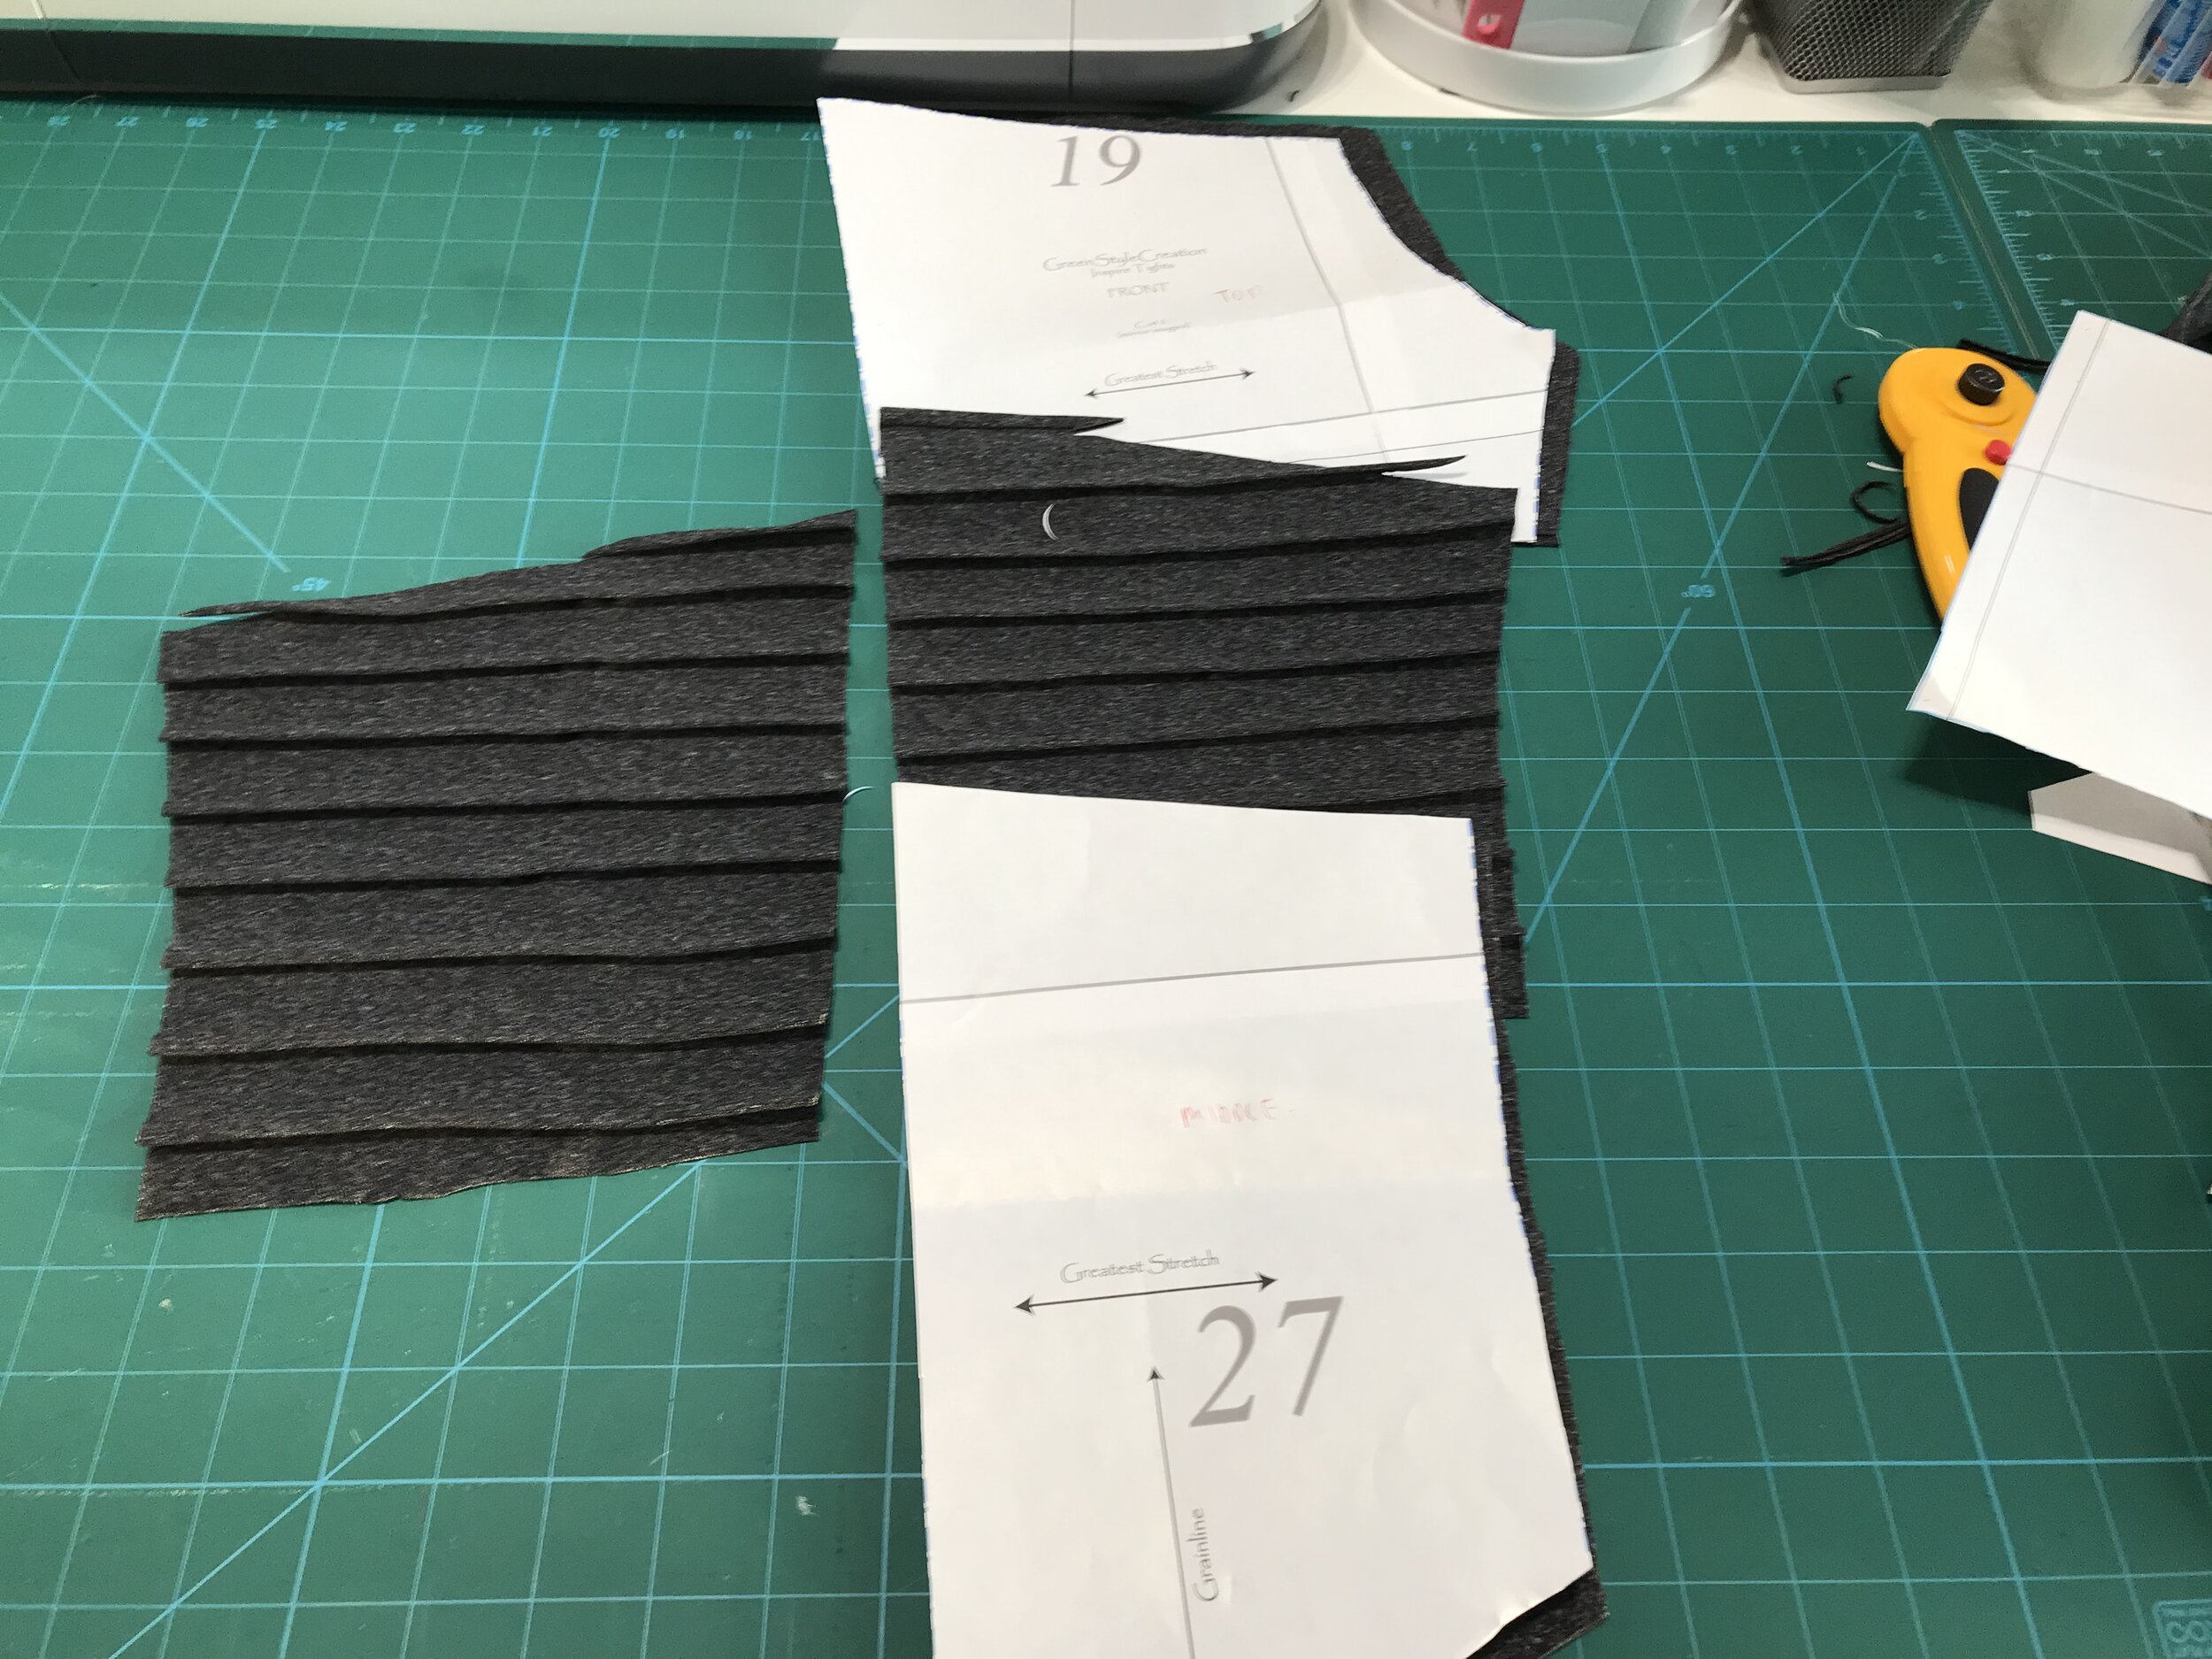
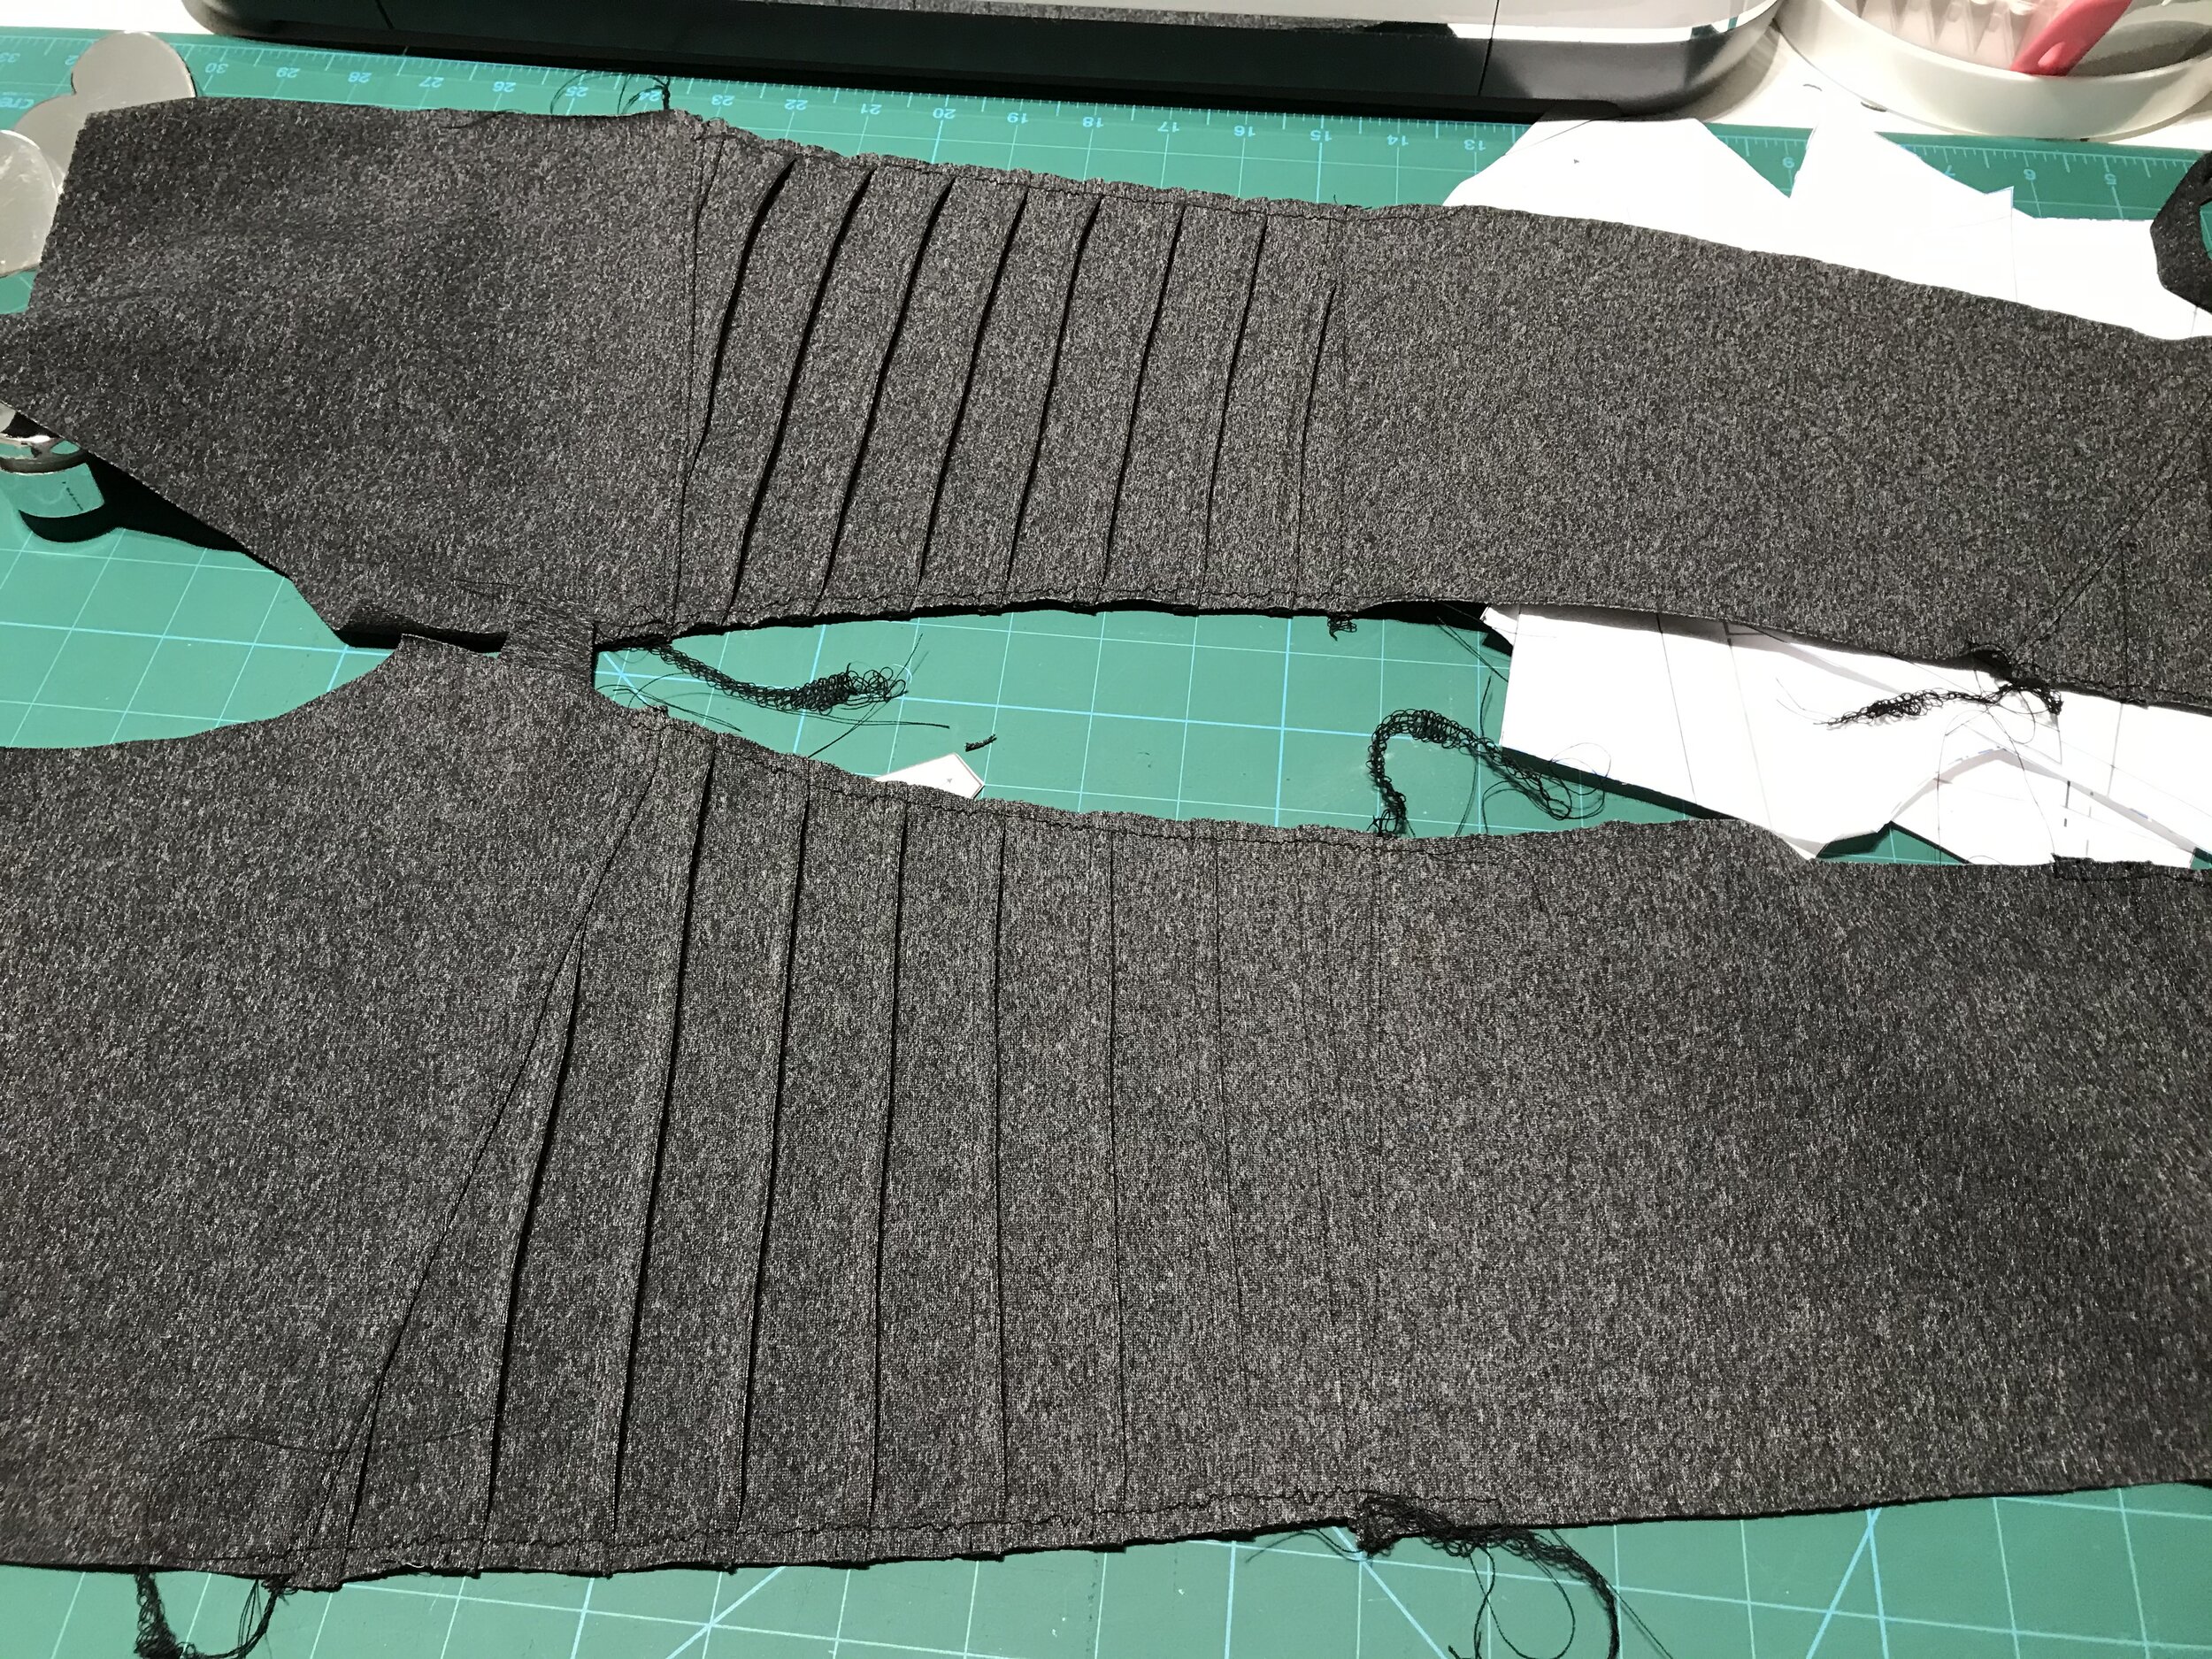
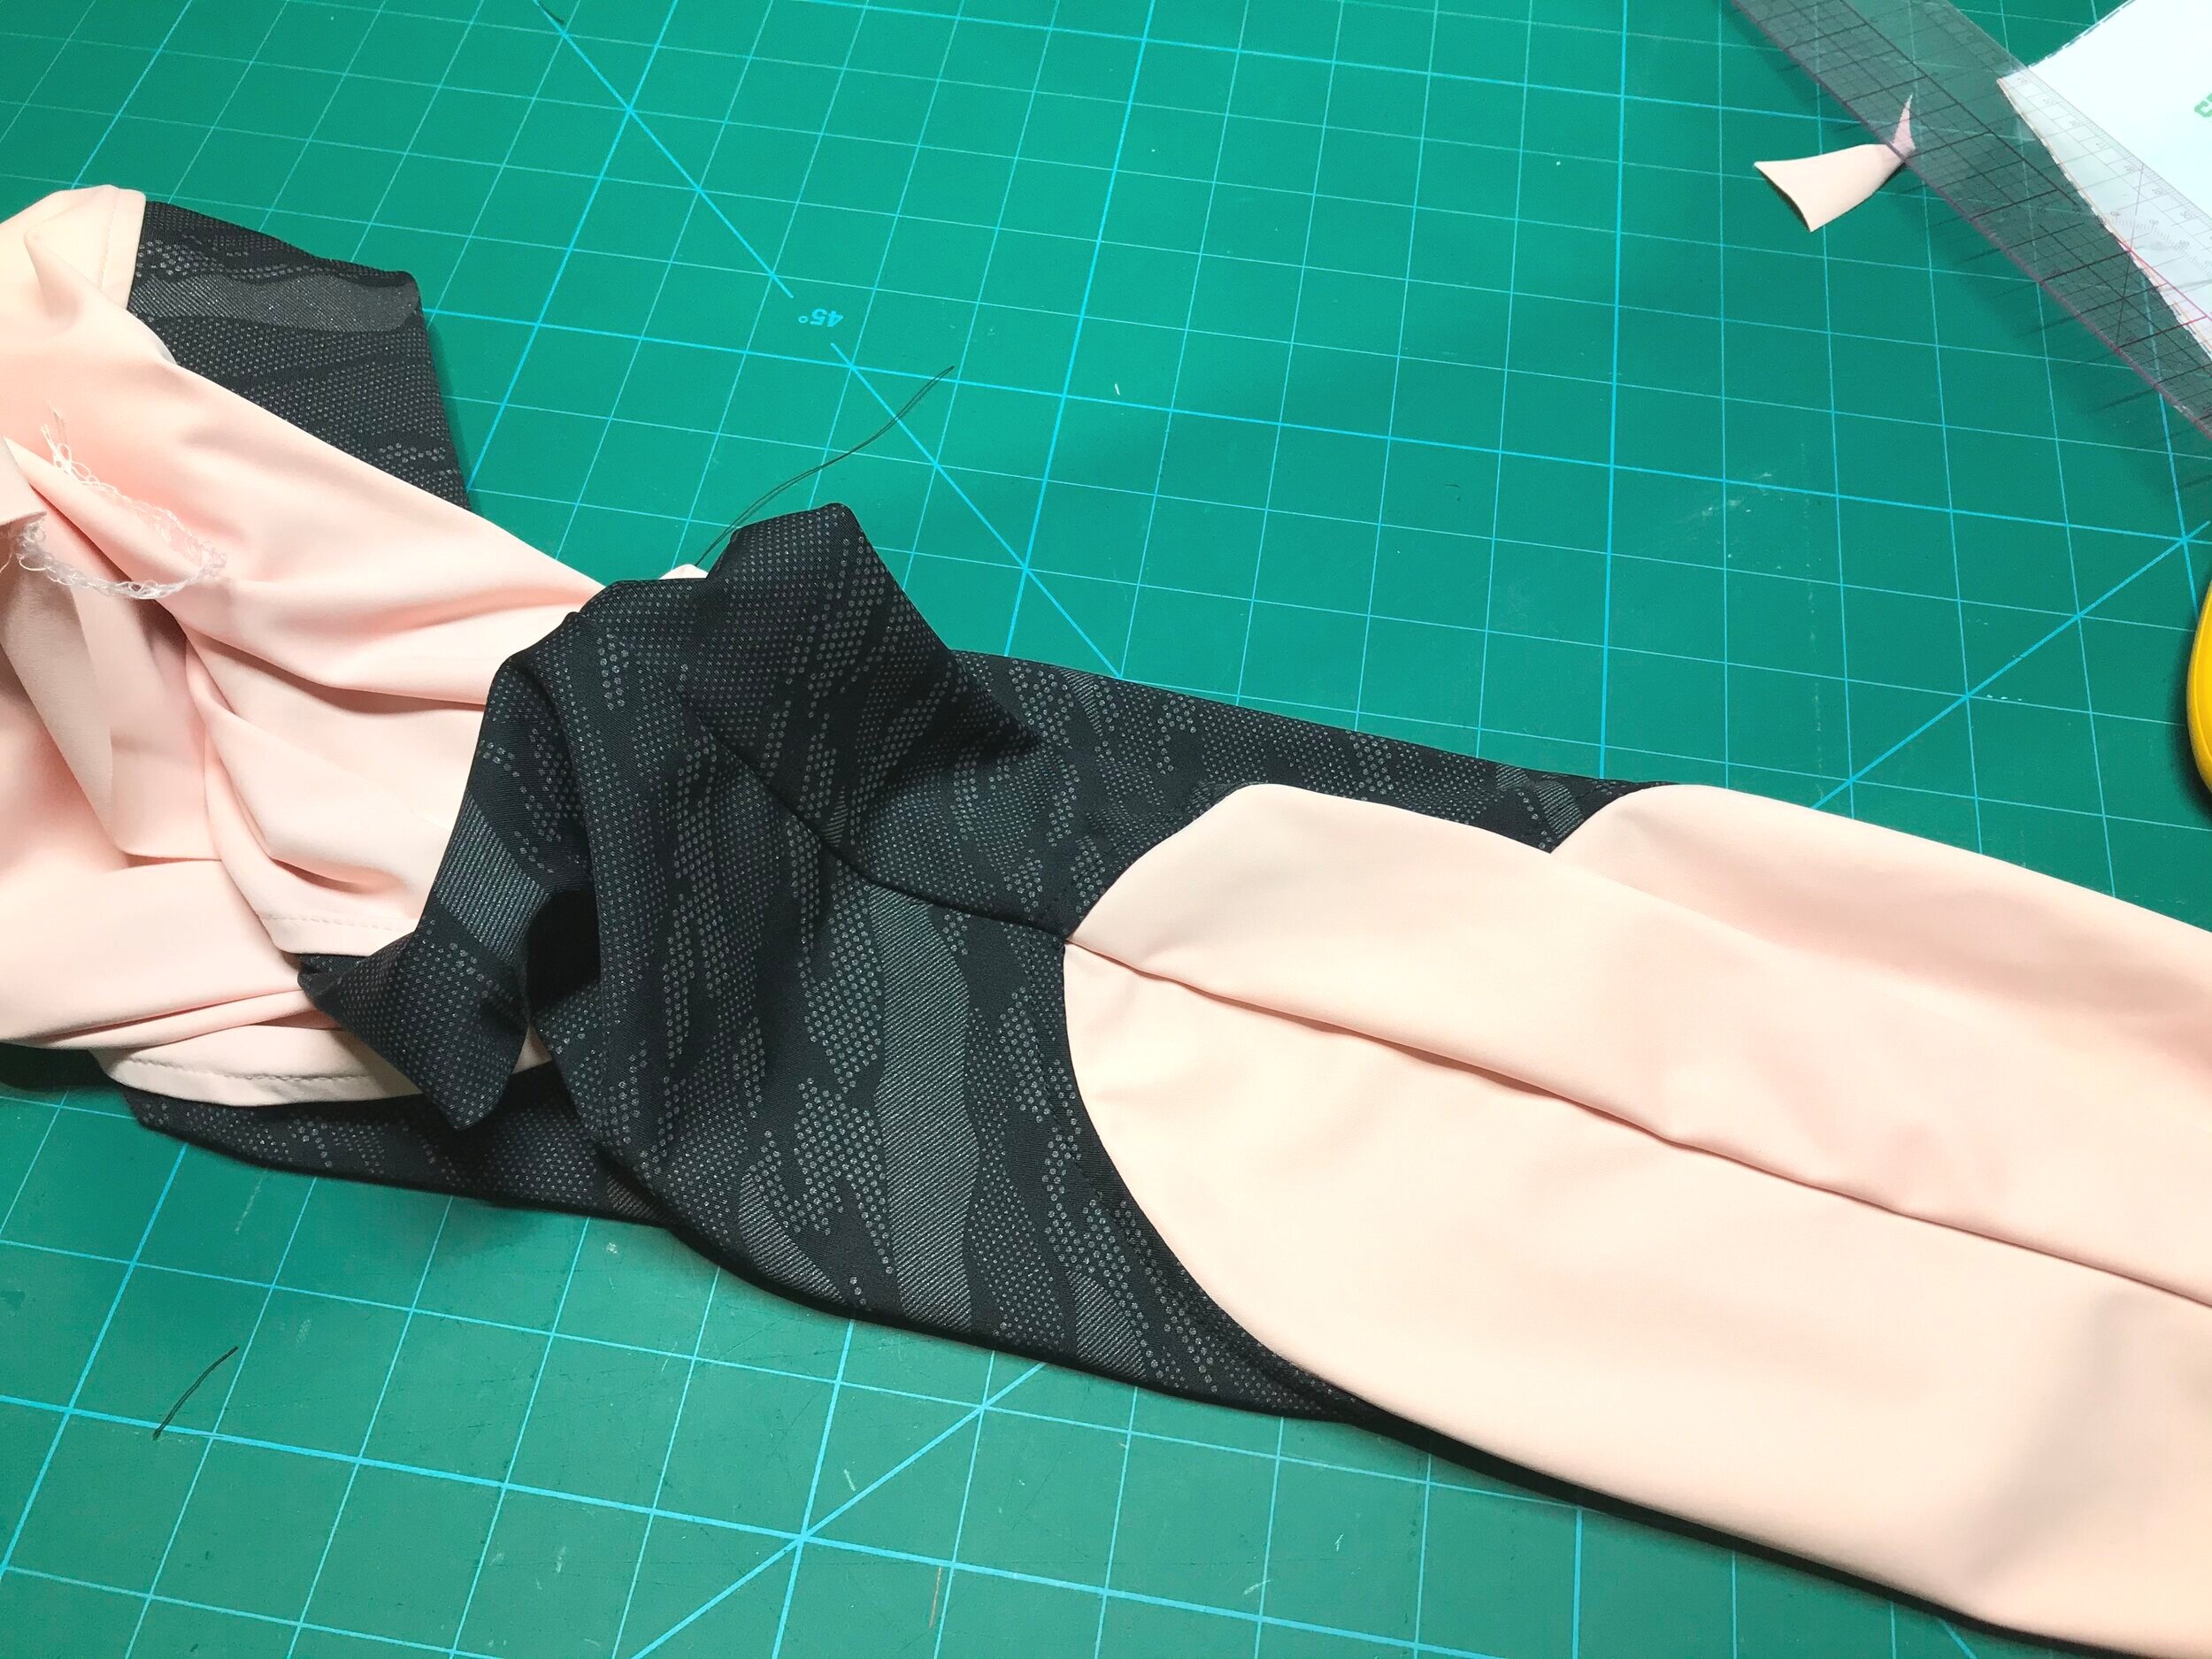
Working my way through all the GS patterns I waited for my order from TailorMade to arrive for the next batch. The Moto Hack Inspire was another Sewing With Sarah inspired project. A lot of preparation as I wanted to do both the upper and lower panel but the fabric was beautiful to work with. This involves marking pintucks for four panels. I used a single needle coverstitch and very carefully cut out the panels so they matched. Well worth the effort and I hope to make more for casual wear.
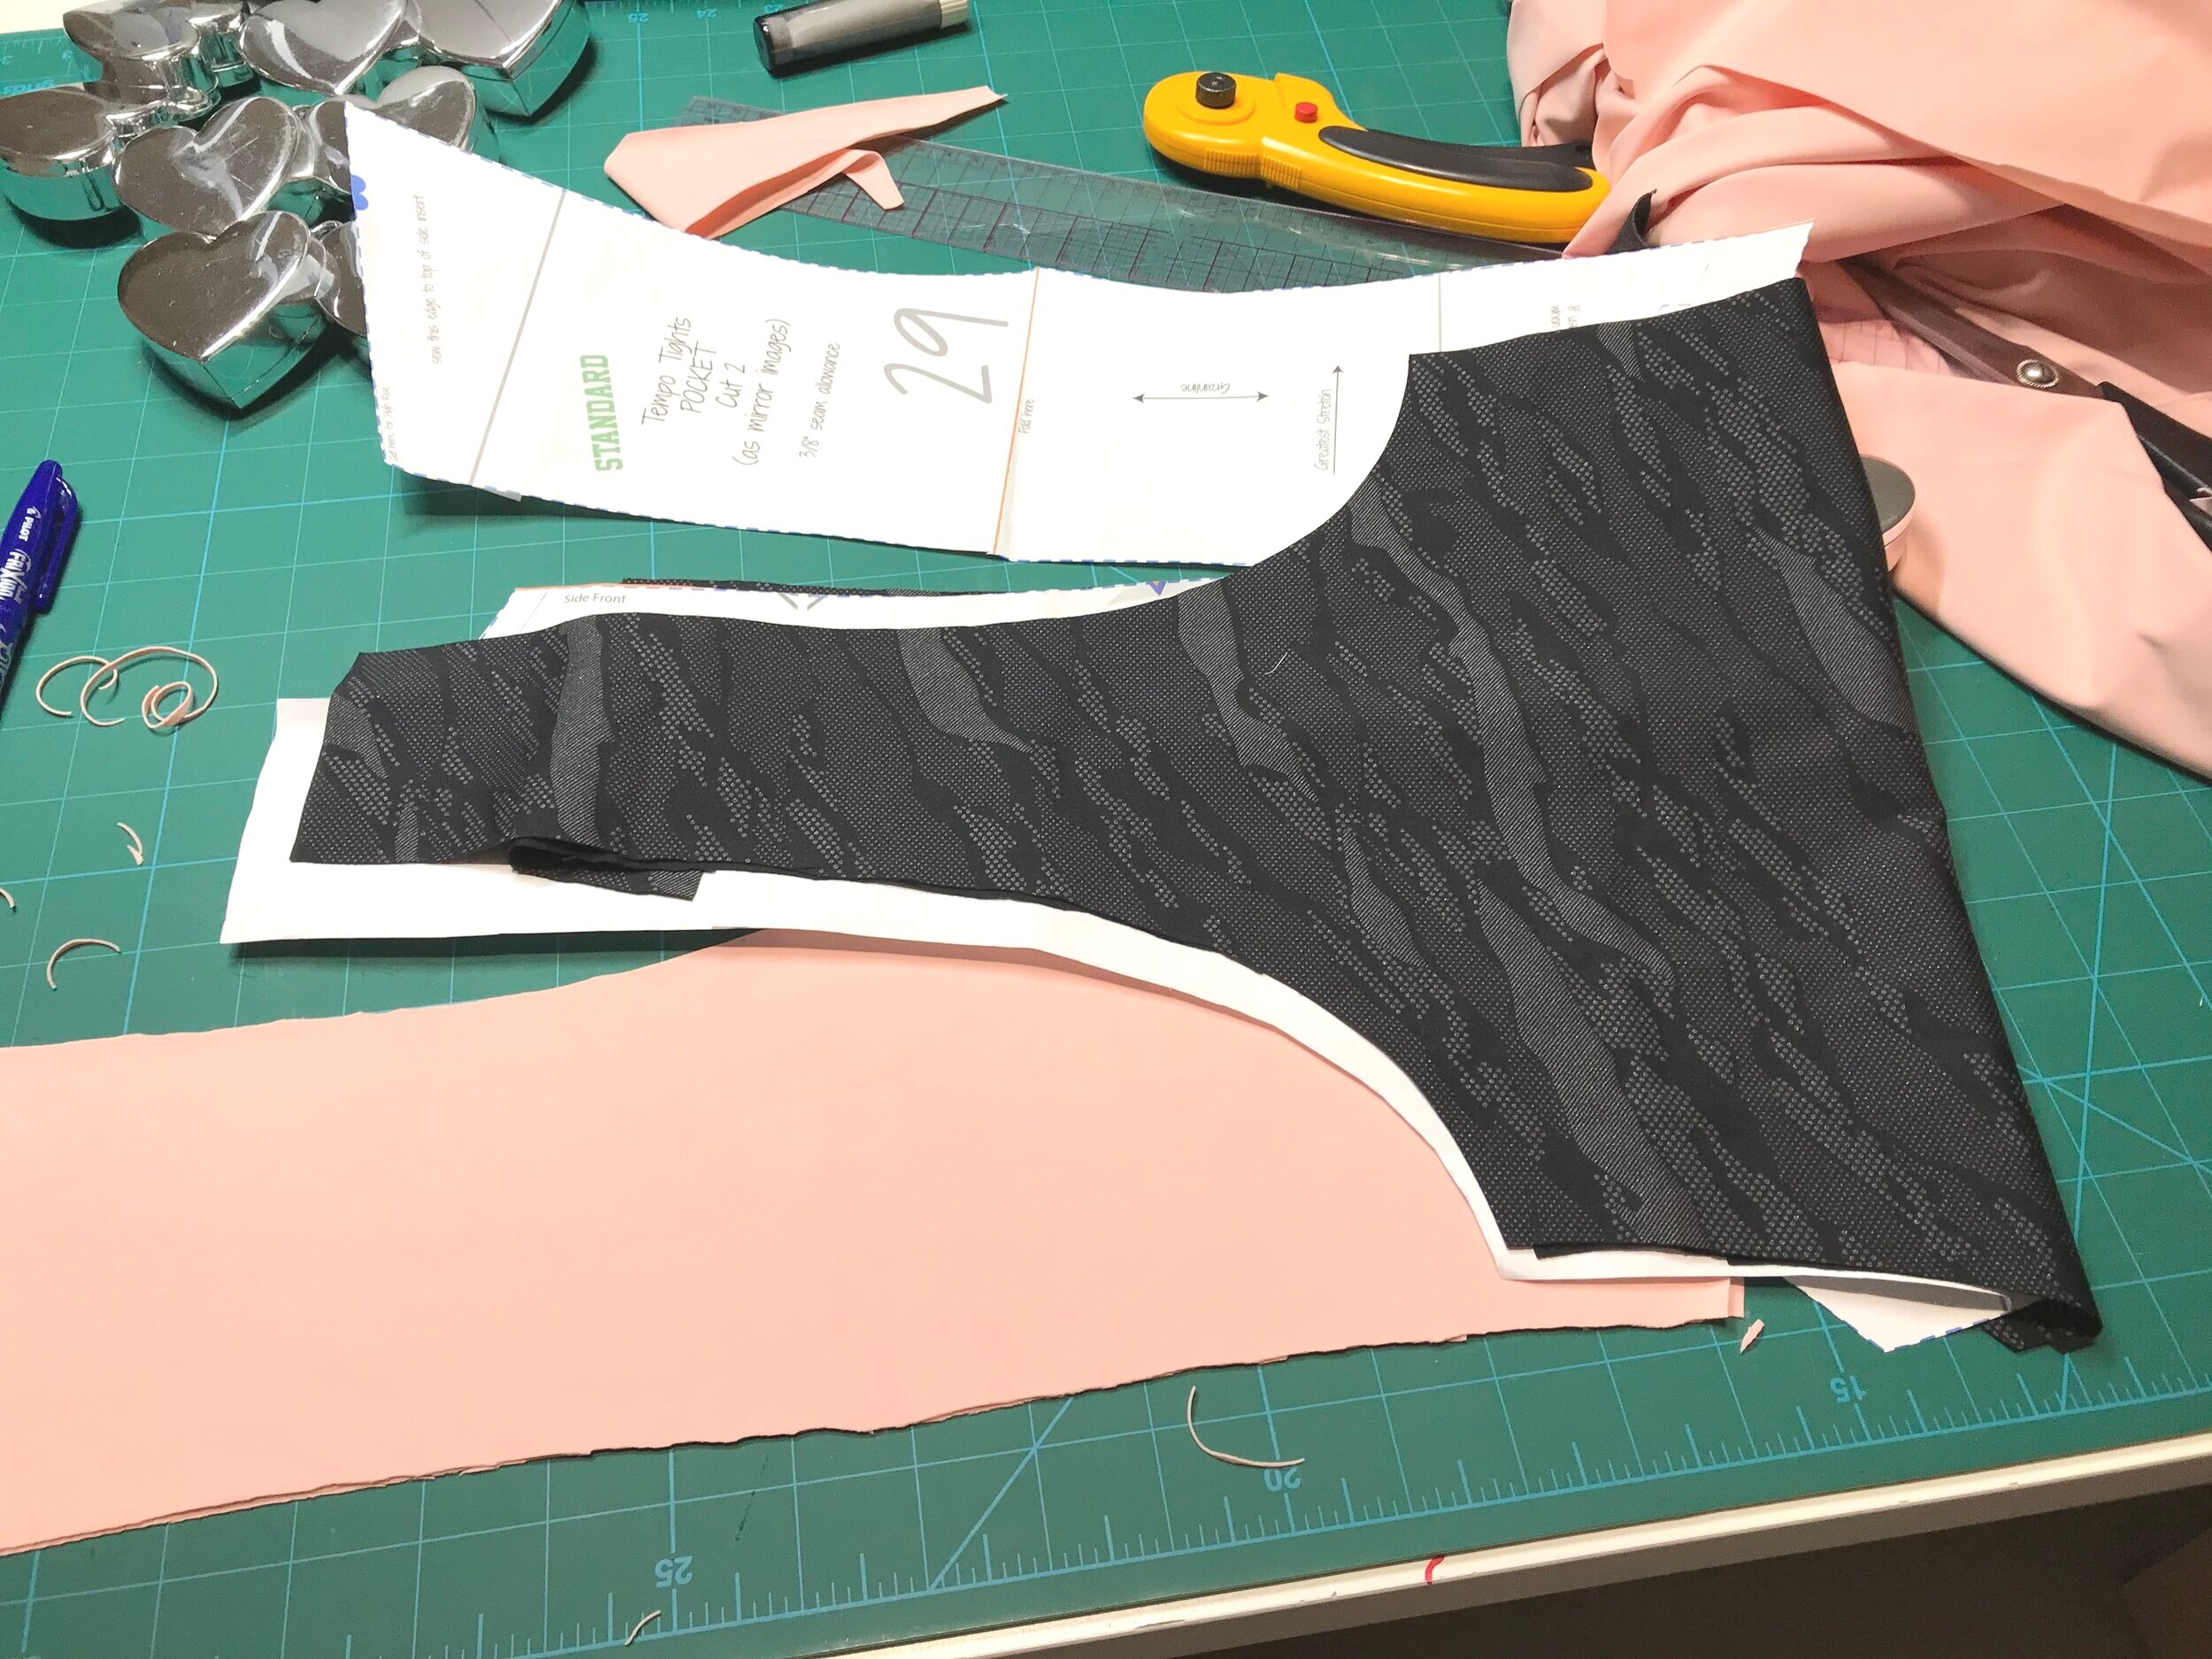
Then on to the new Tempo. I normally make capri length leggings but as with the Inspire you need the full length for the effect. For these I went with the abstract/coral combo. I used soft interfacing to keep the pocket from stretching. I didn’t use a reverse coverstitch as the seam allowances are pressed to the coral at the top and to the main fabric at the bottom. So I just used a single needle matching the thread to the side I was topstitching. Again I paid attention to getting the inserts lined up.
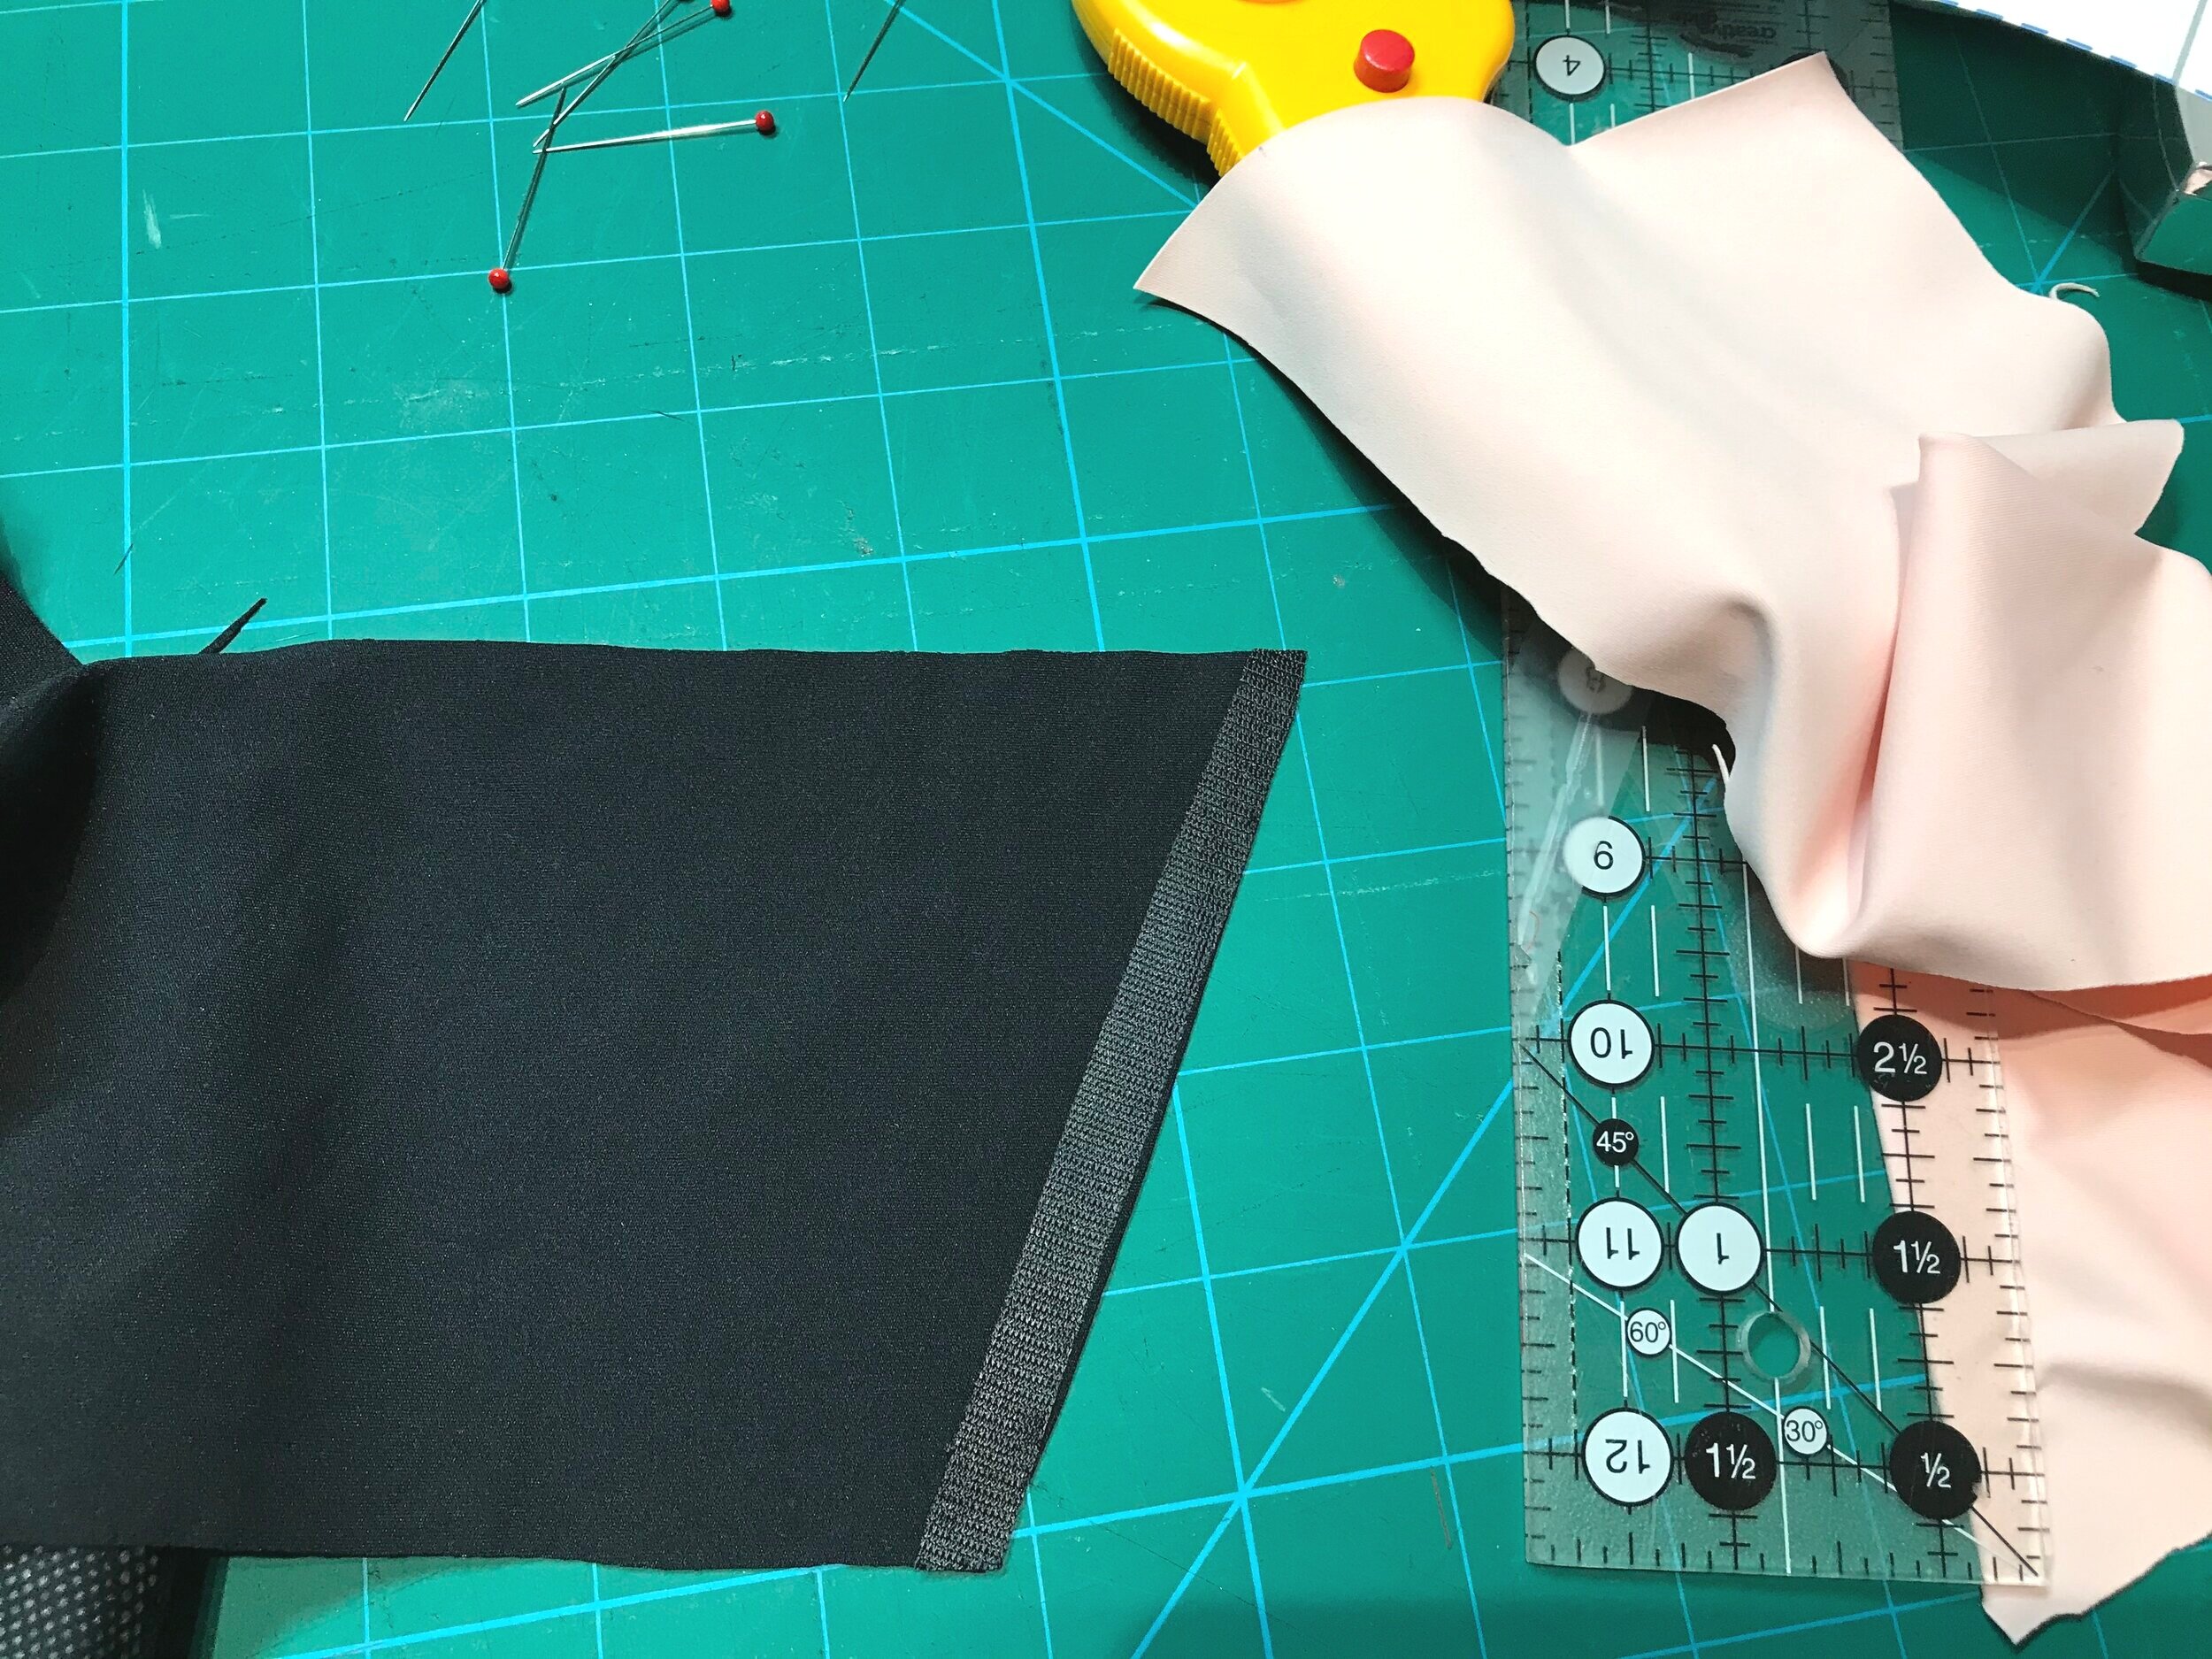

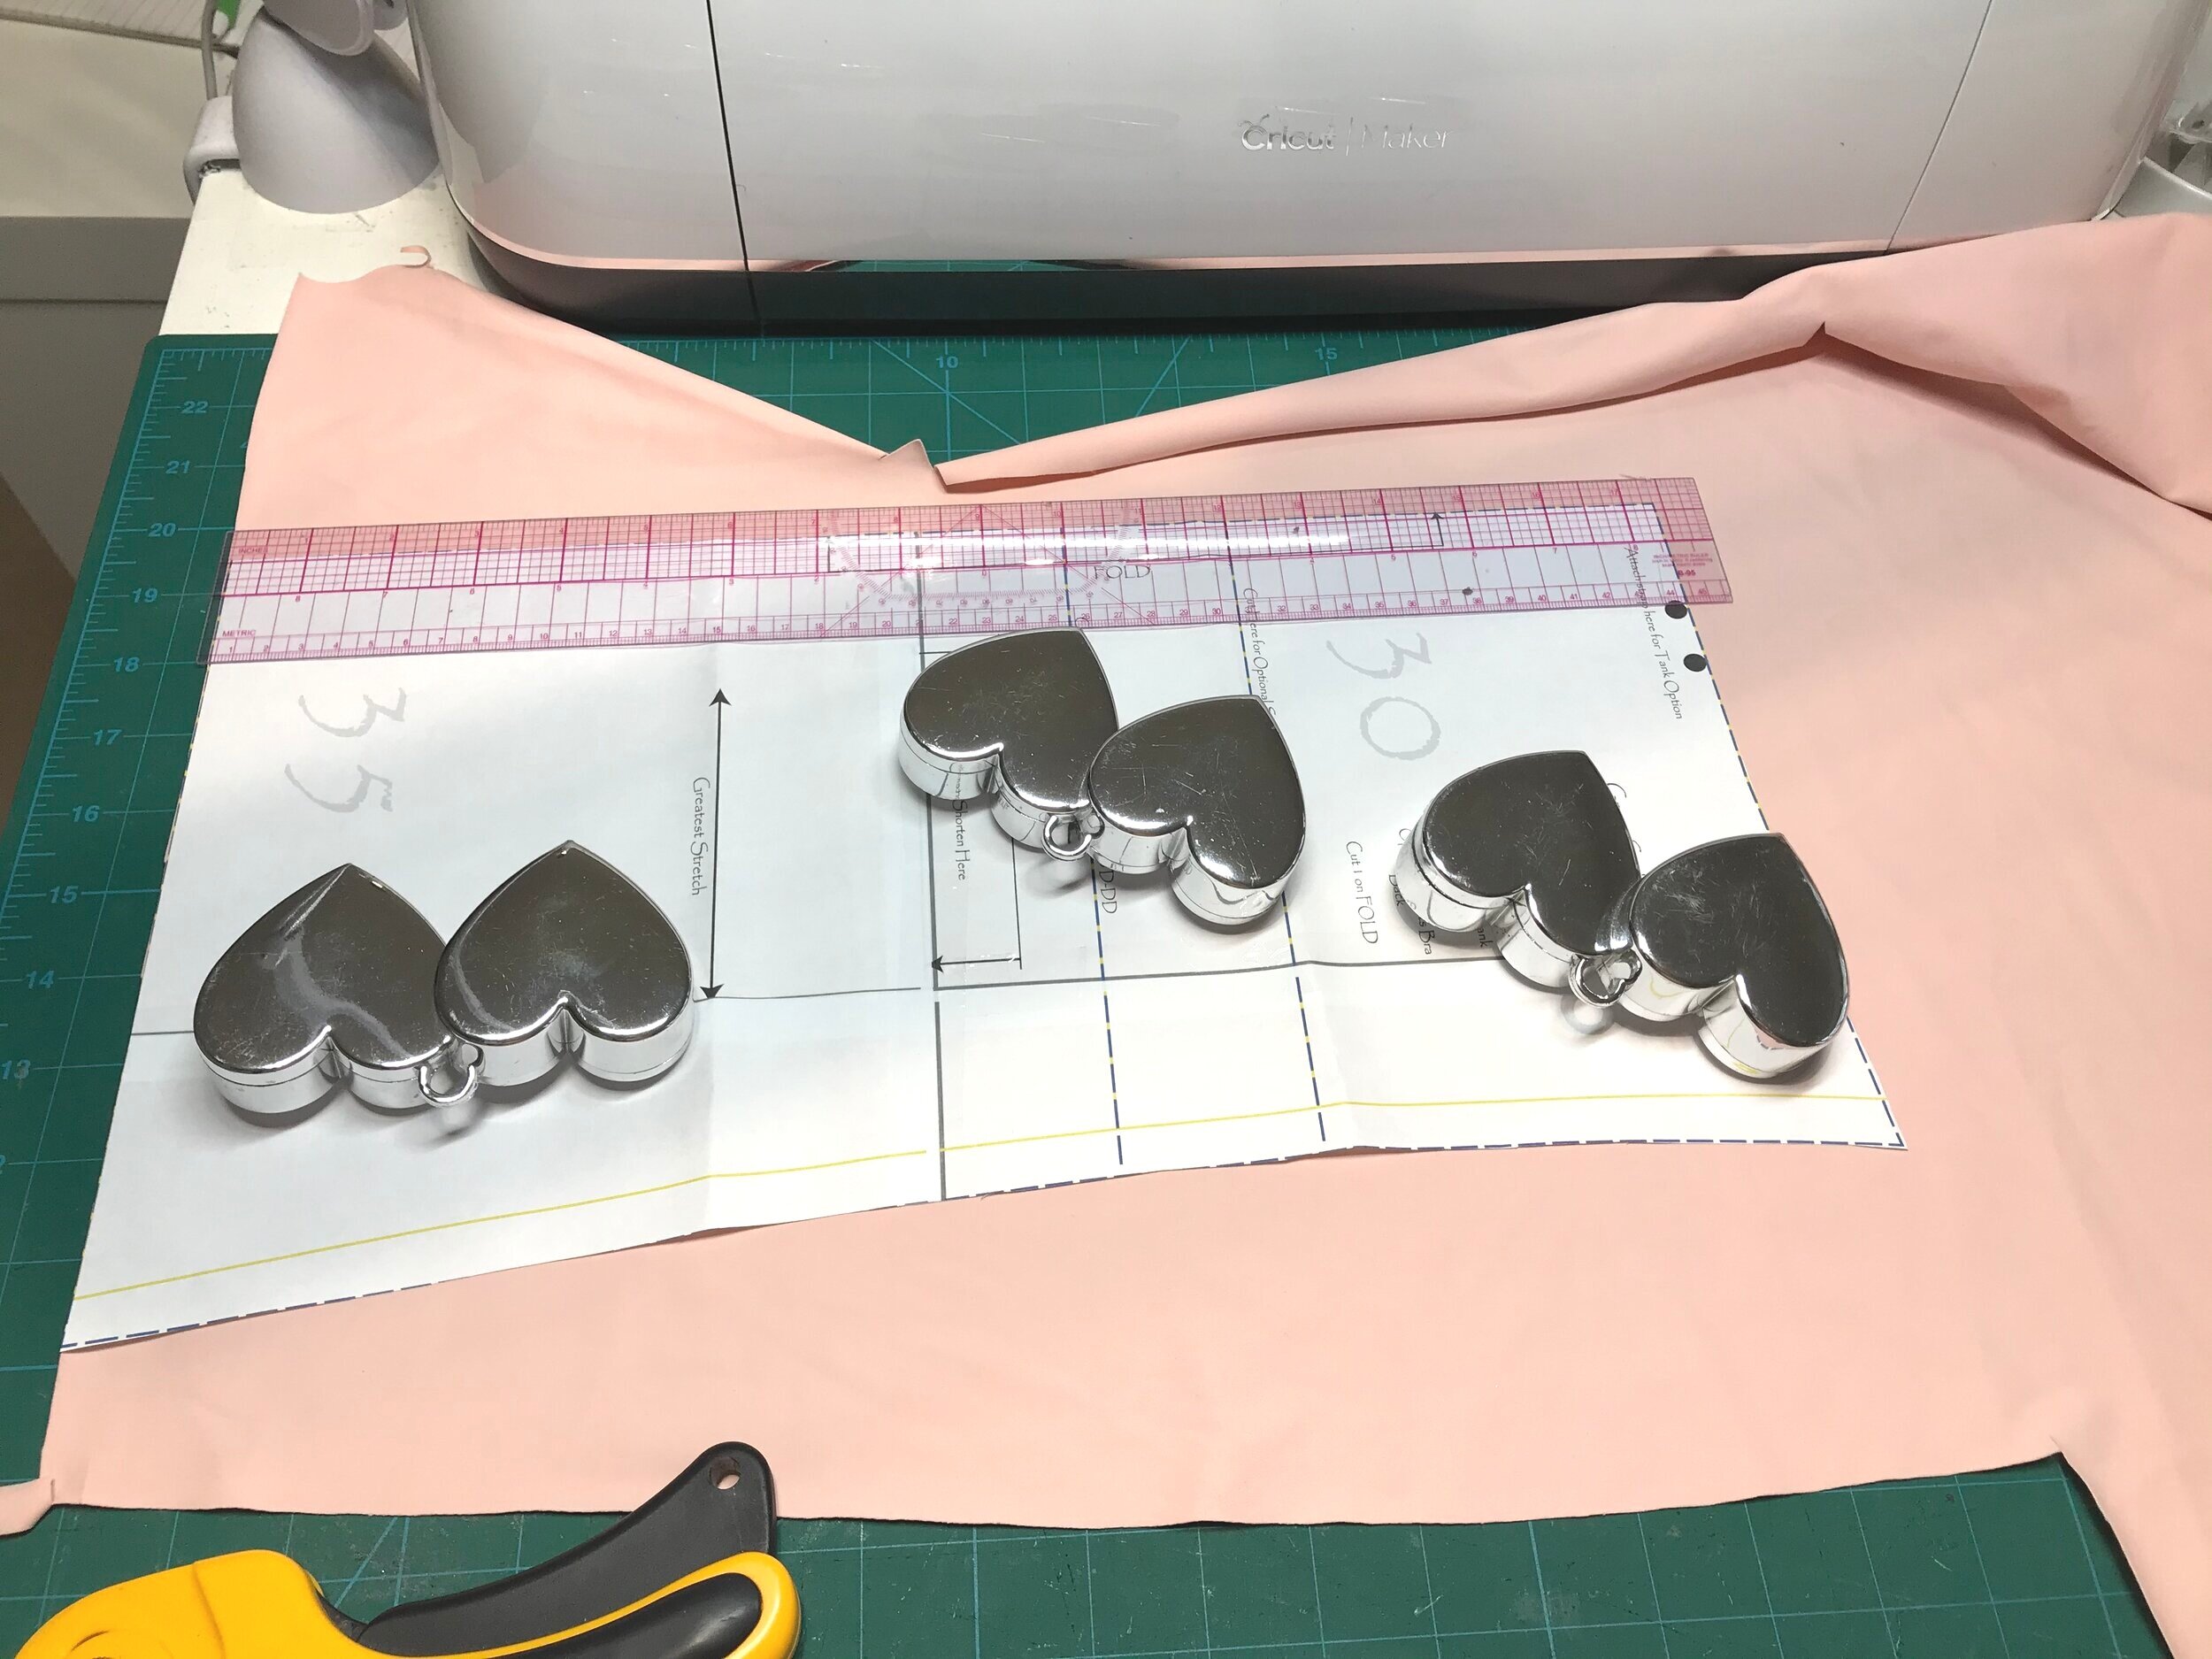
I went for the back heart option and I found it difficult to keep the fabric from moving so I used double sided tape to keep in place whilst I sewed this section with a lightning stitch. Then I finished the rest of the seam with the overlocker finishing where I started. Another great fit
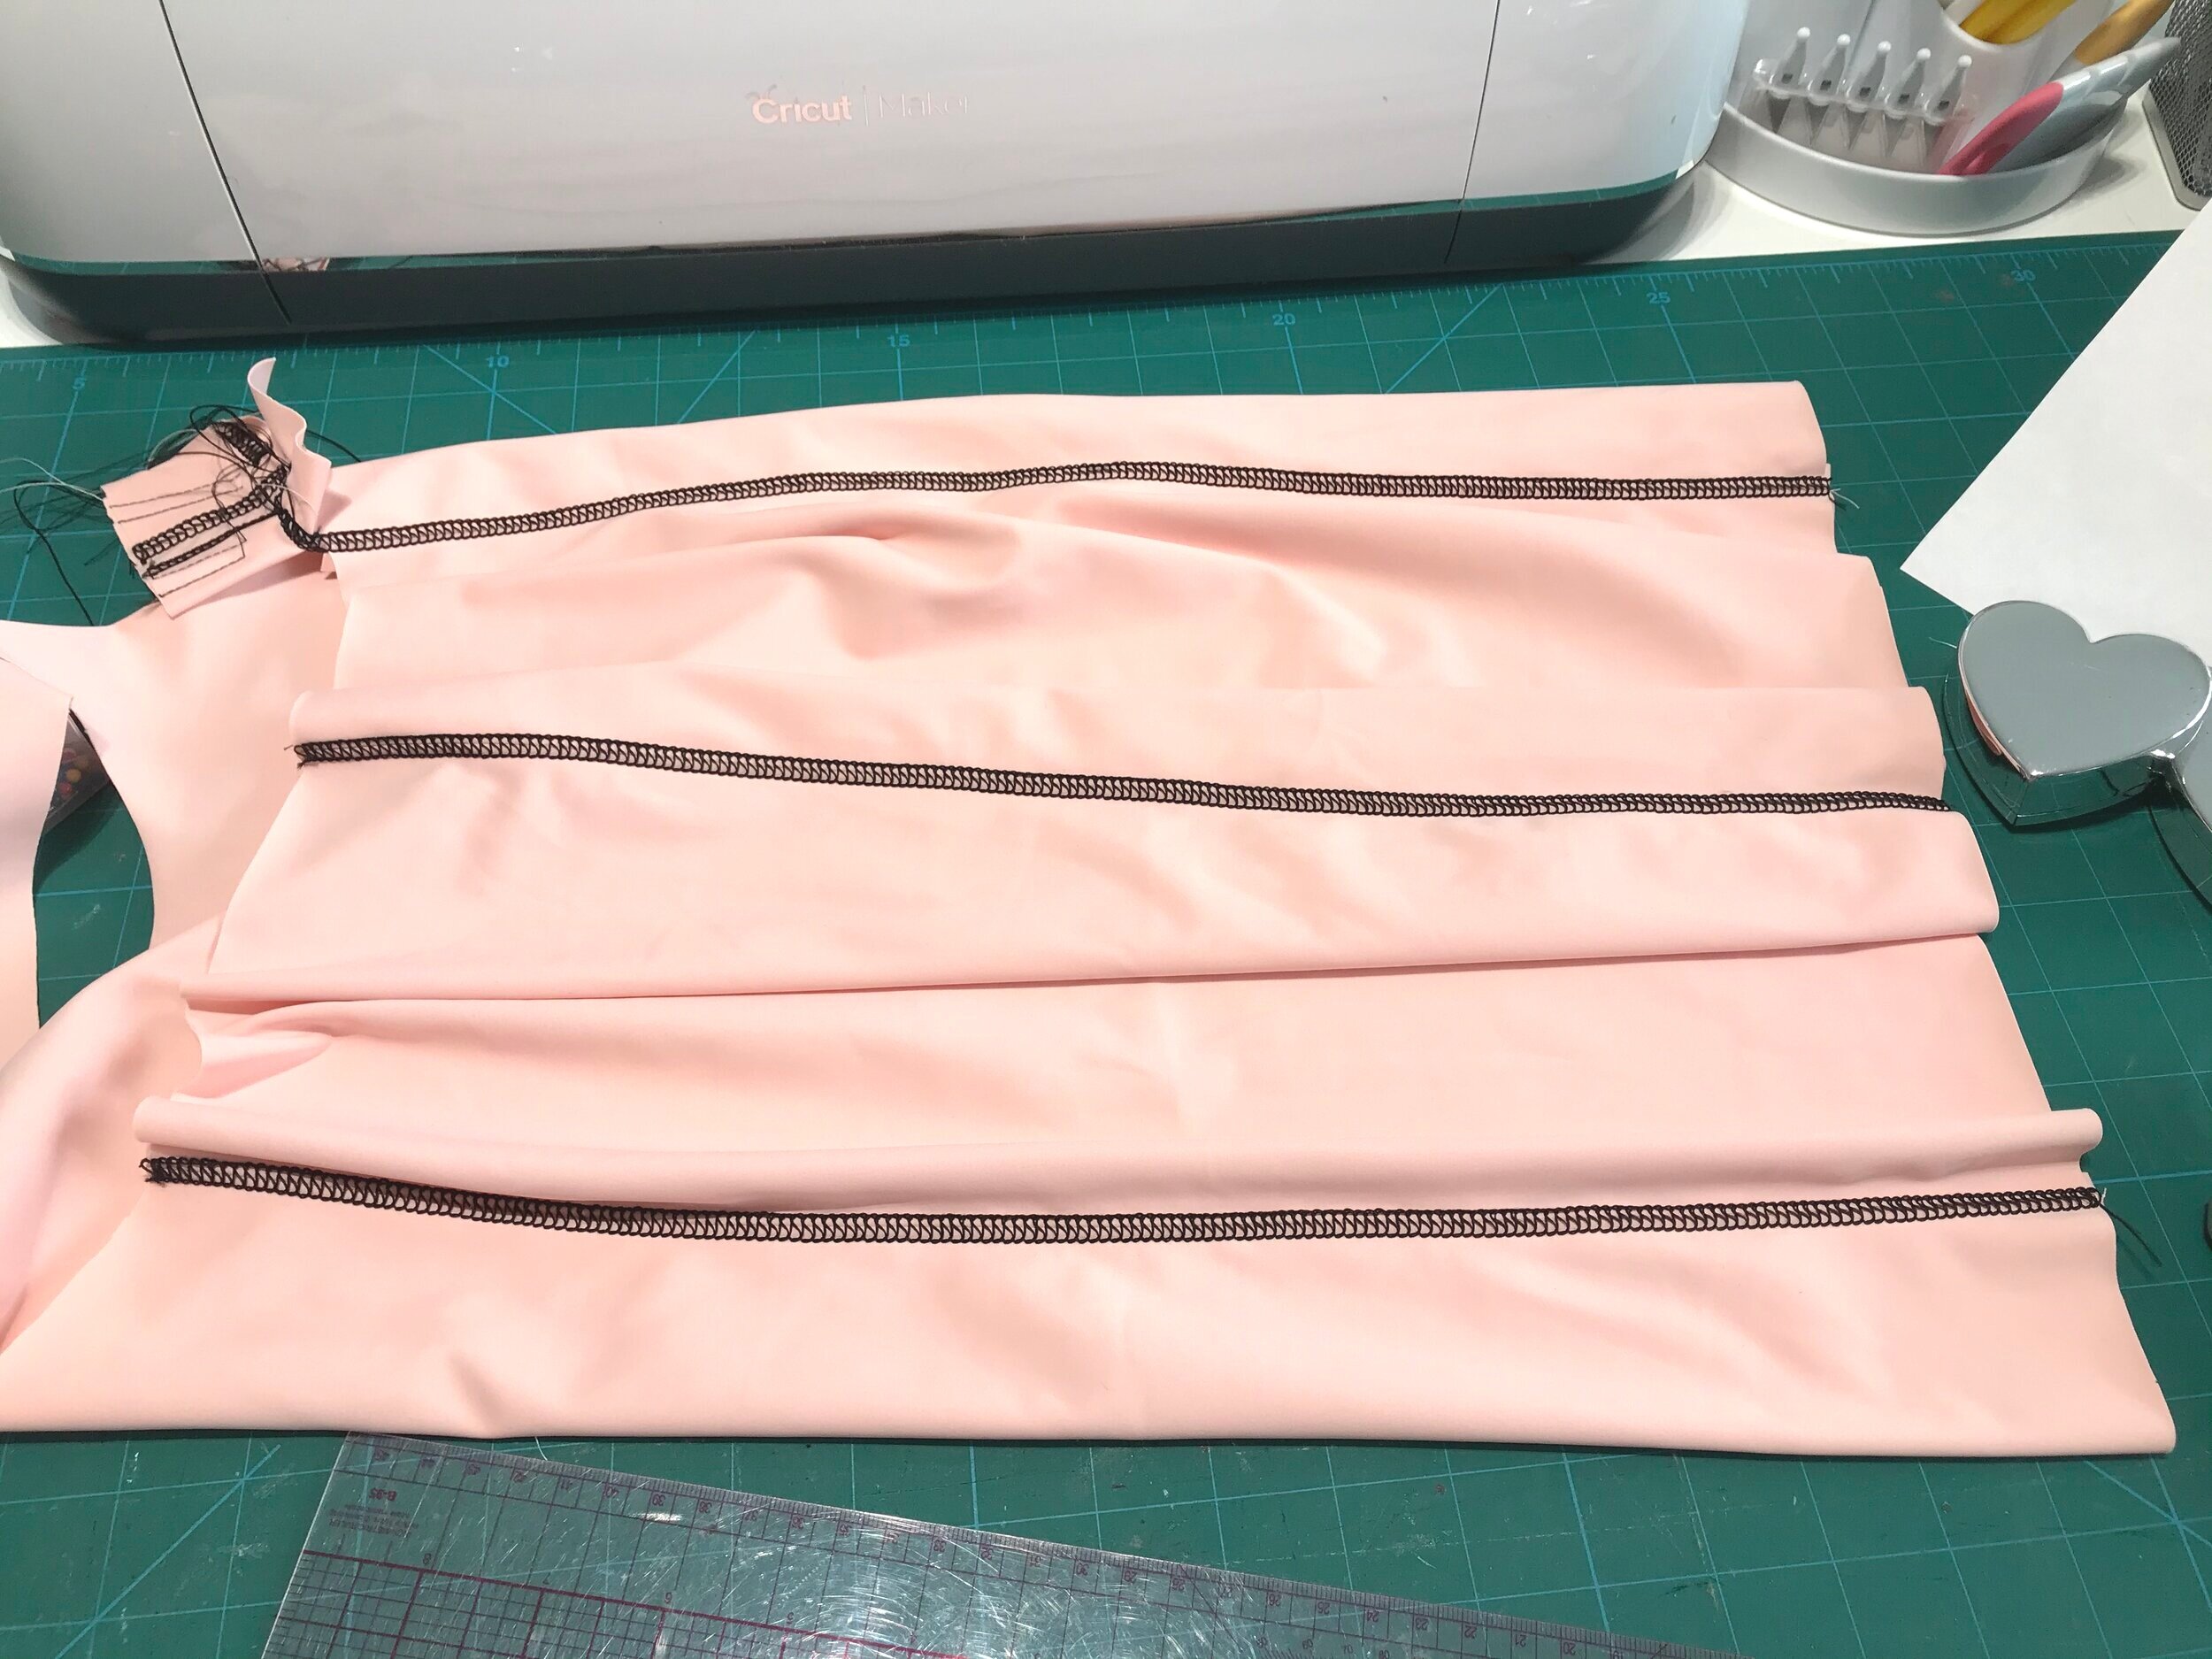
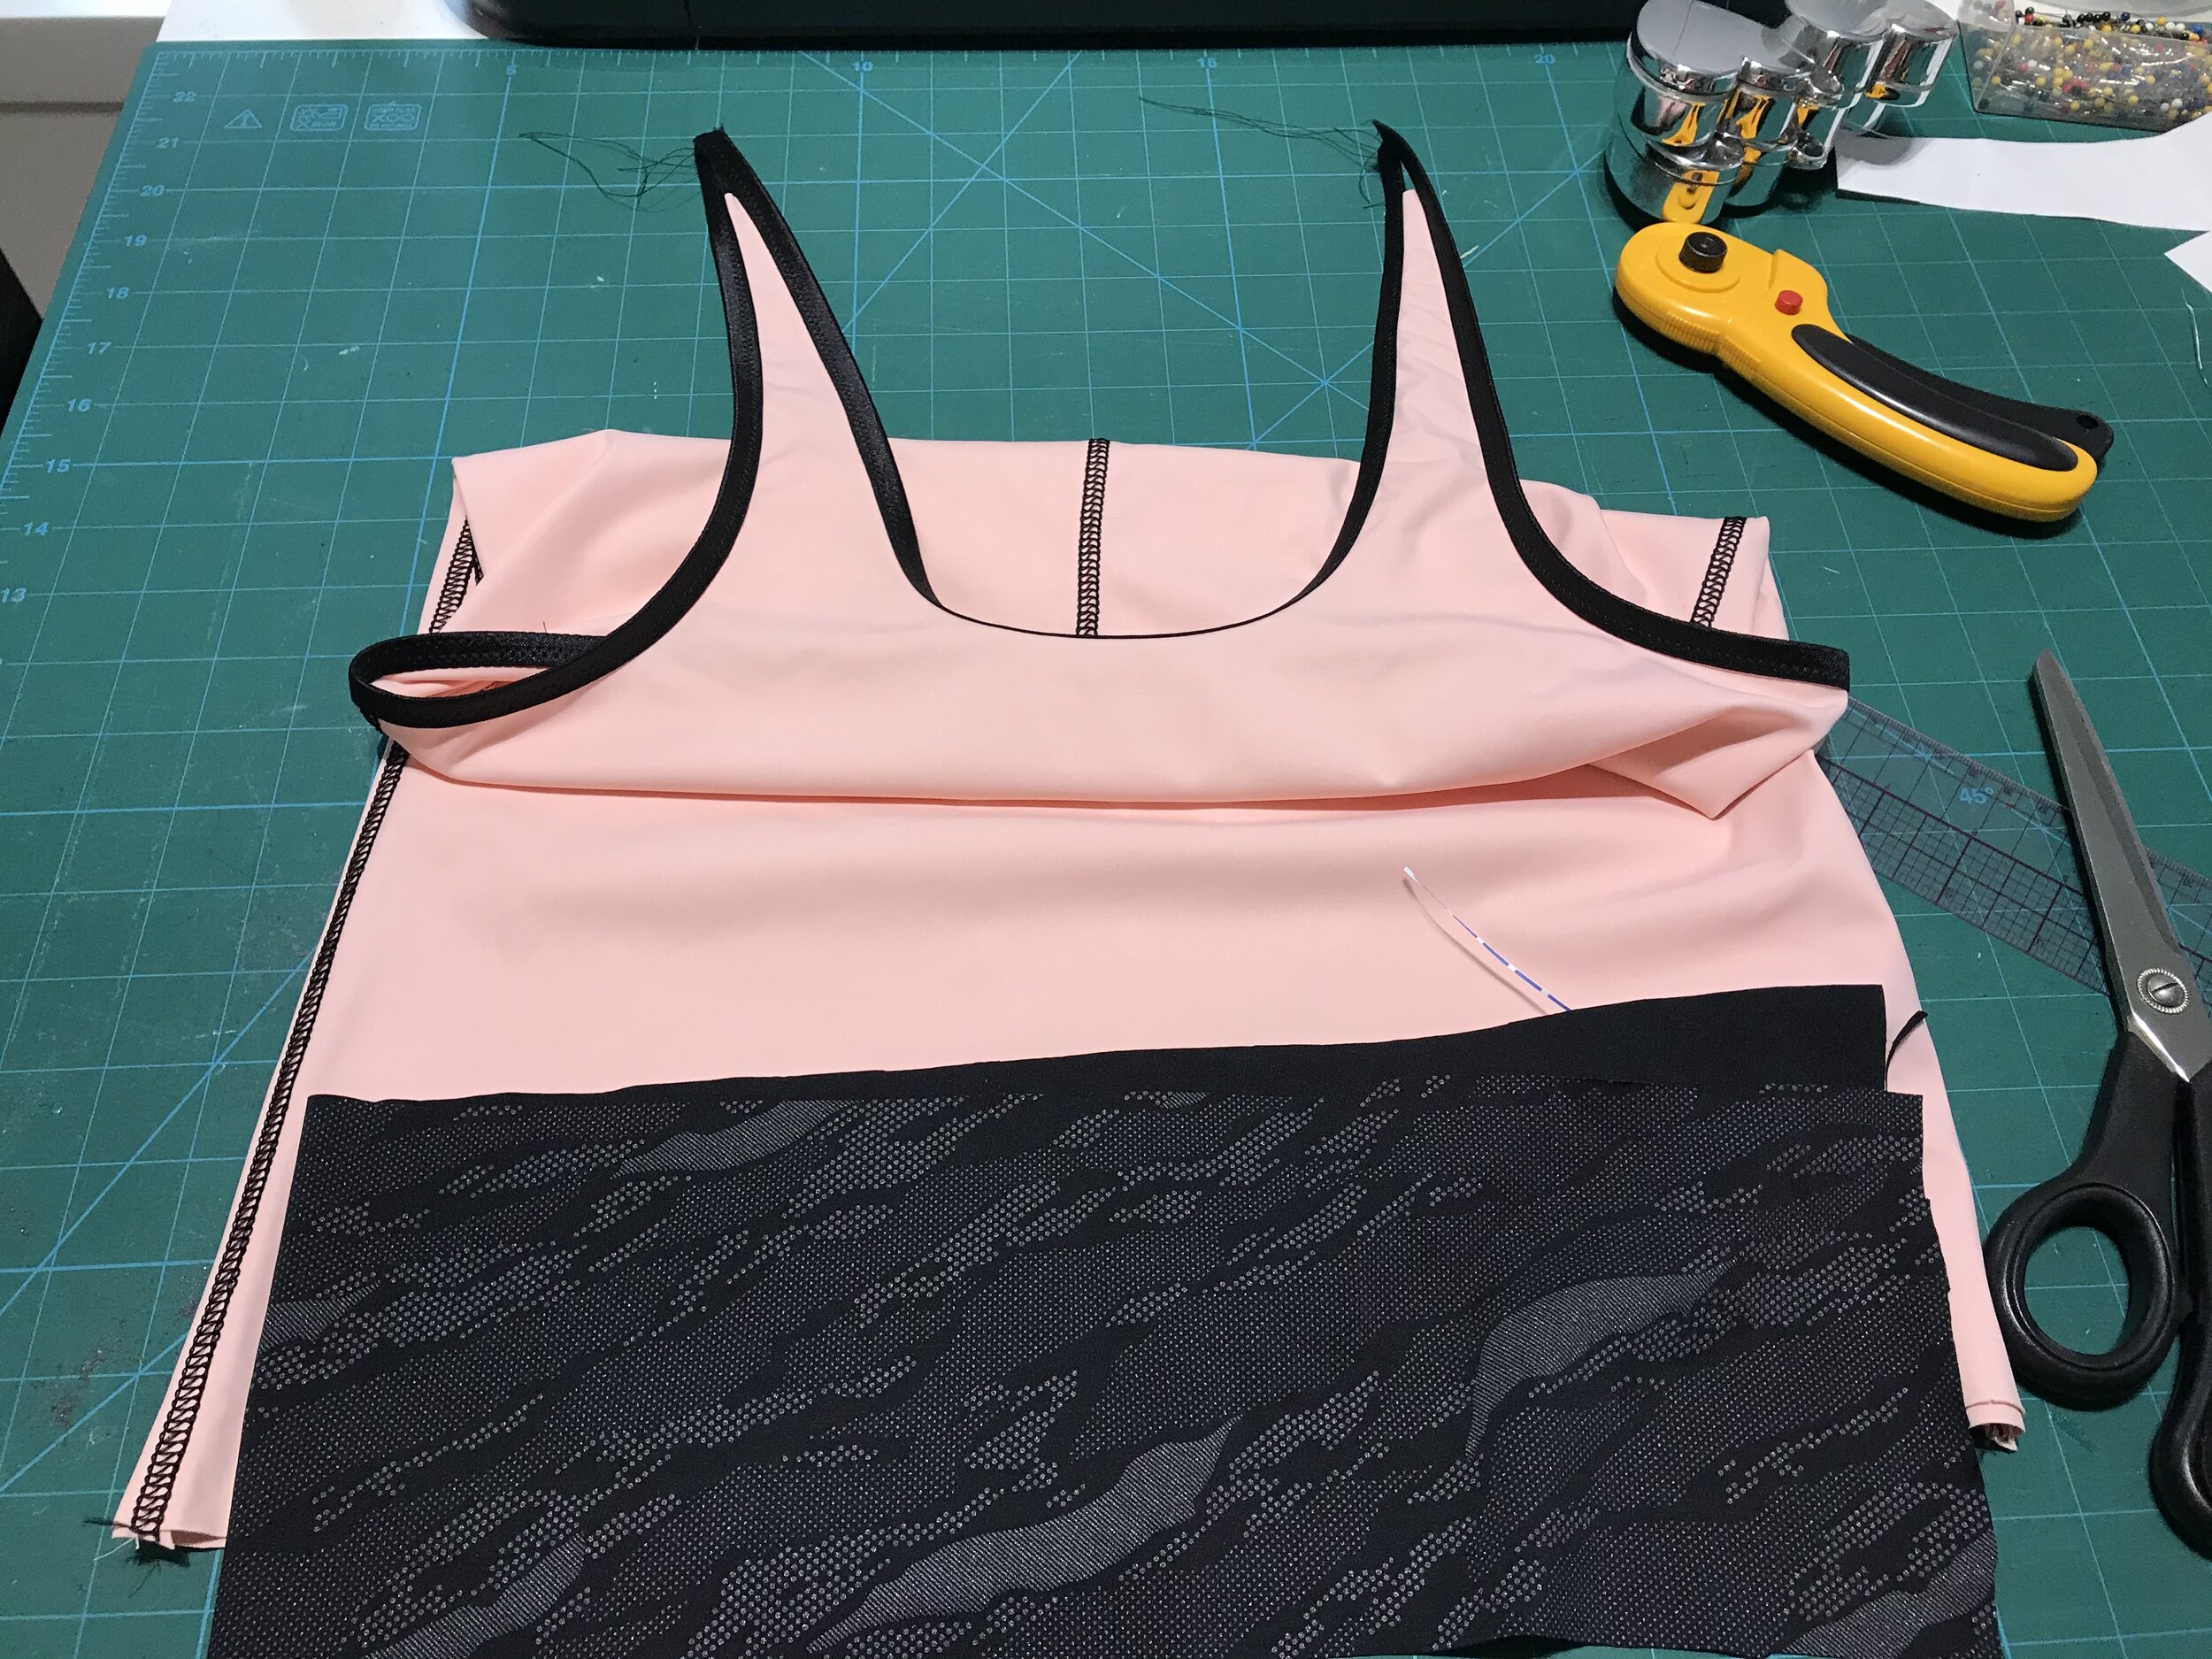
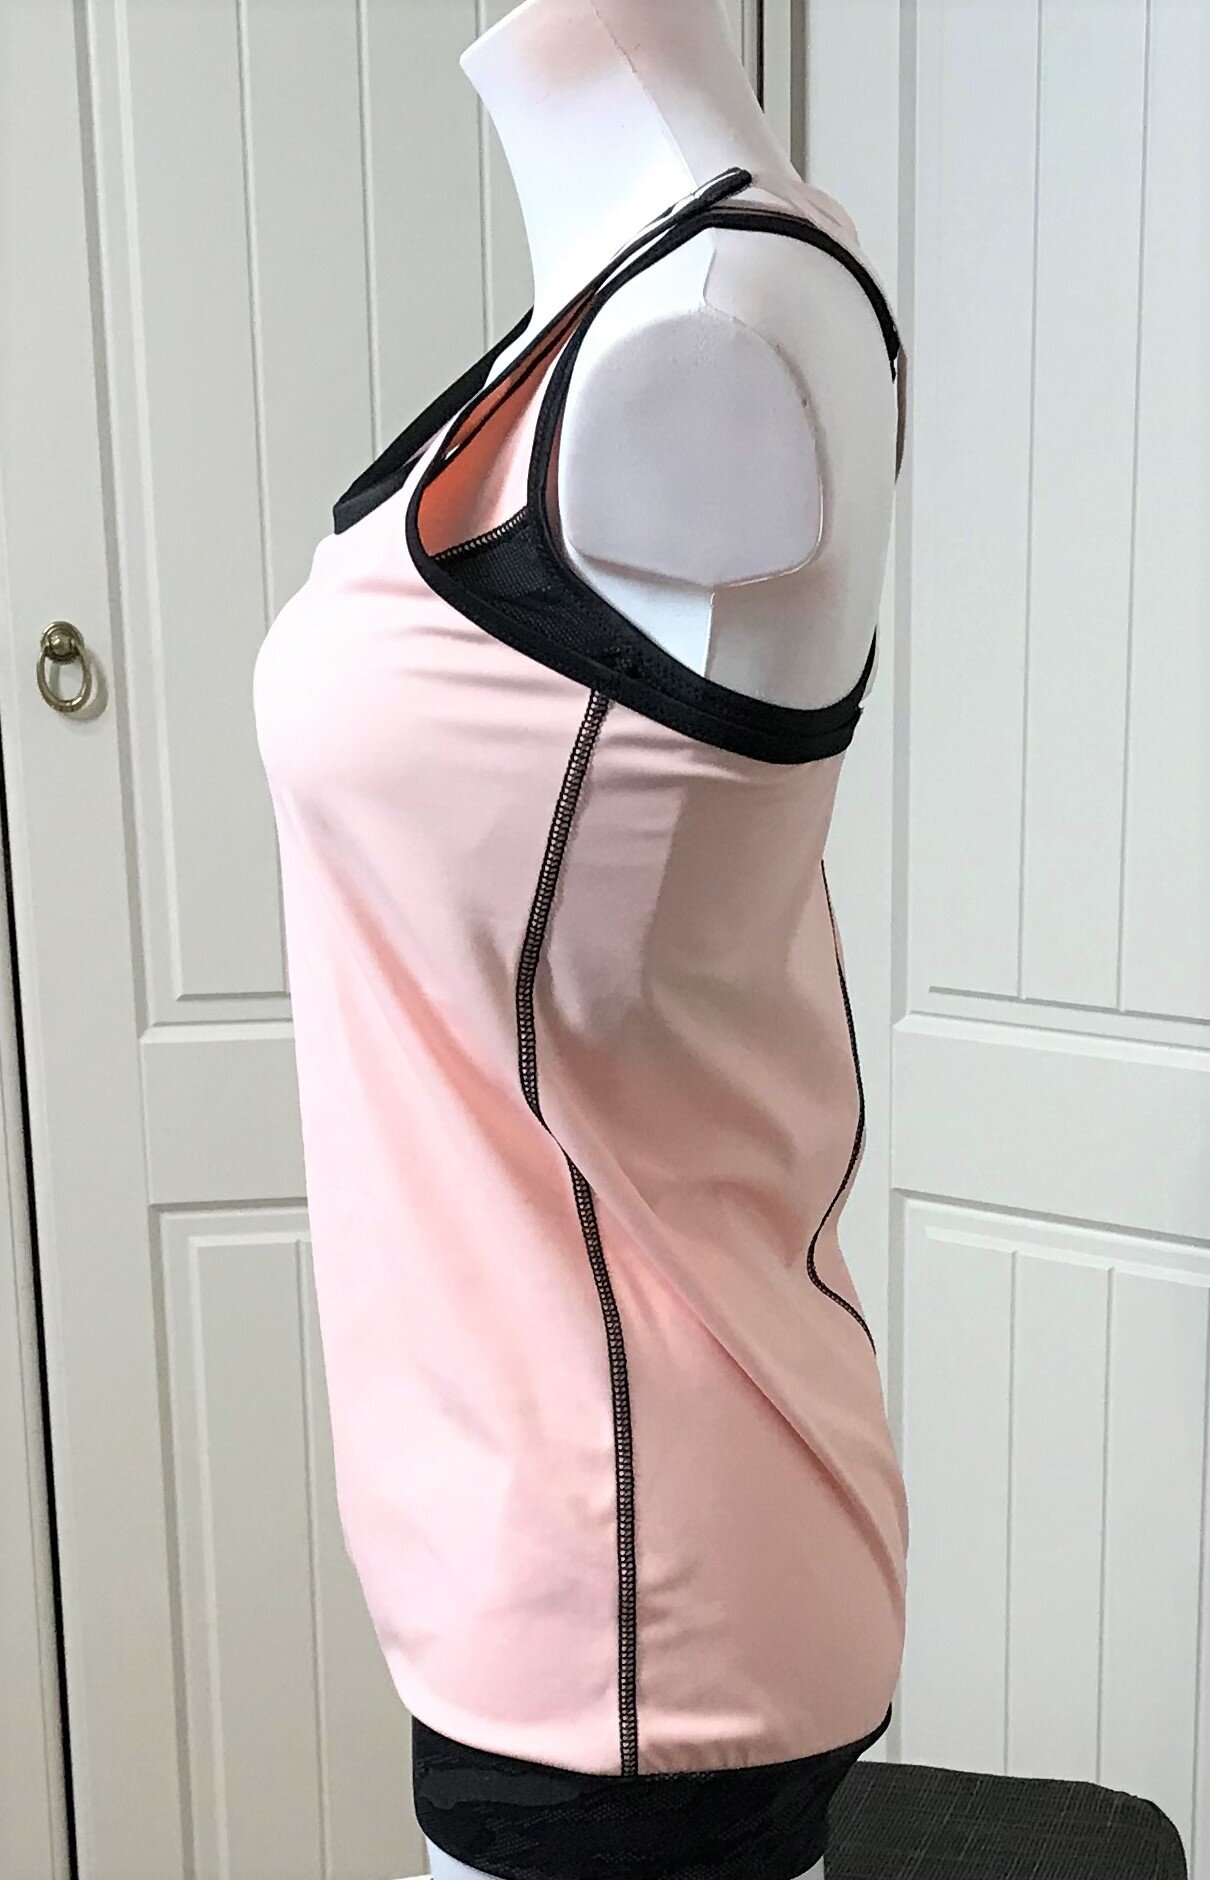
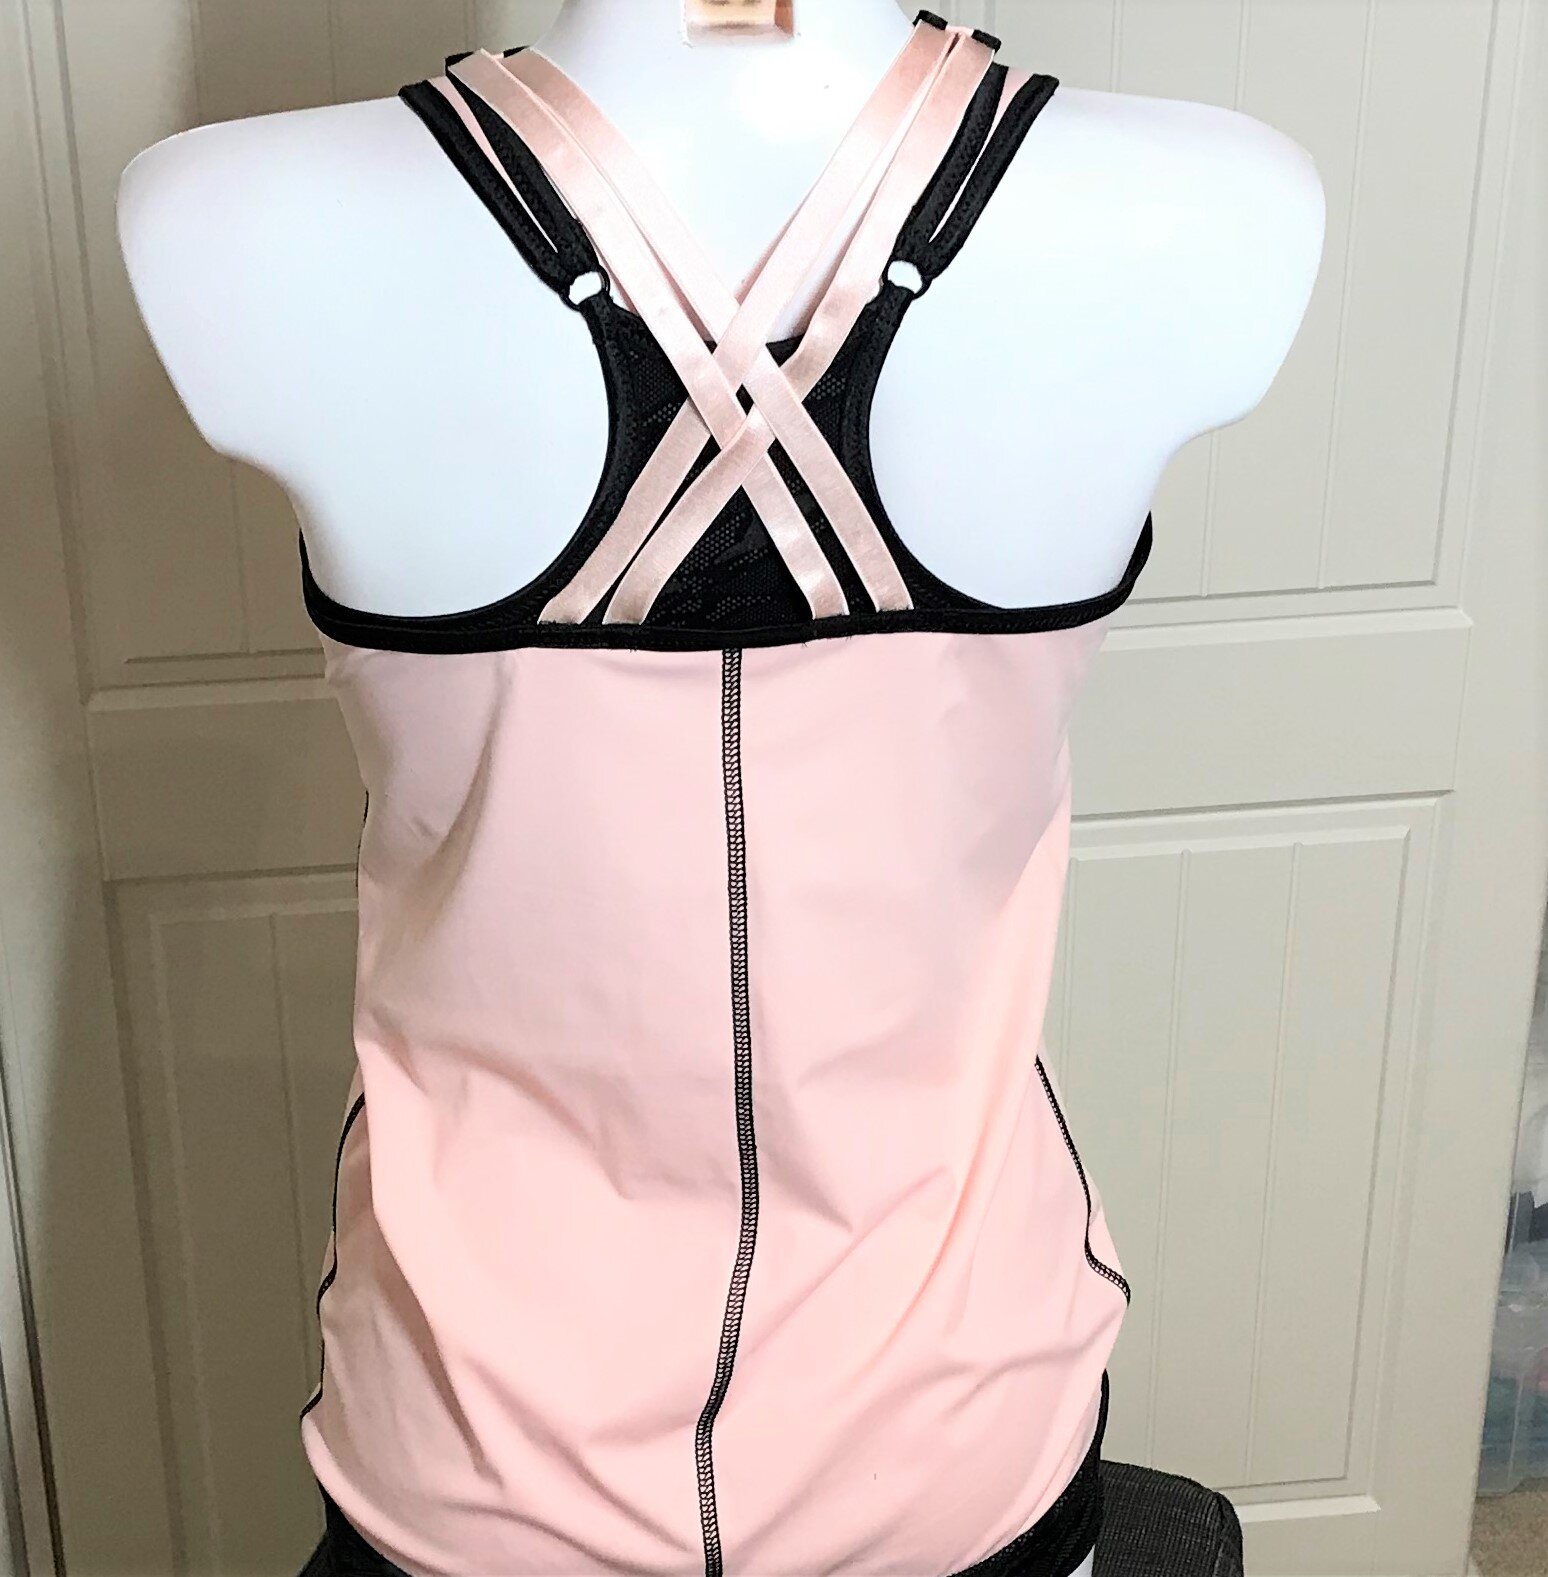
Just a top to do. I managed another Jillian by cutting two separate back pieces. To add detail I used a reverse coverstitch for all three seams which coordinated with the bra. To tie all three pieces together I used fold over elastic for the neck and arm and the black fabric for the optional band. With no material for the straps I used matching strap elastic as a contrast to the racer back fabric.
Now to take them for a test drive!