Delving into Denim with Closet Case Ginger Jeans and Alina Sewing & Design Hampton Jacket
My journey with denim began a long time ago when at 15, inspired by my home economics teacher, Miss Hobbs, I made my first pair of straight leg jeans along with a tweed waistcoat and matching tie! No stretch denim back then and luckily no photos. My interest was renewed just a couple of years ago when I was lucky enough to be the only person in a Jeans Technique class with Lorna Knight. Sewing machines and fabric have certainly moved on in forty years.

The Ginger pattern I bought last year after seeing so many great reviews on IG but only got around to making up last month when I decided I needed to use my embroidery machine more. Having signed up for the Alina Sewing and Design newsletter when I bought the Chi pattern for SewMyStyle2019 I got an email on a promotion for the Hampton - more denim practice as well as another chance to embroider.
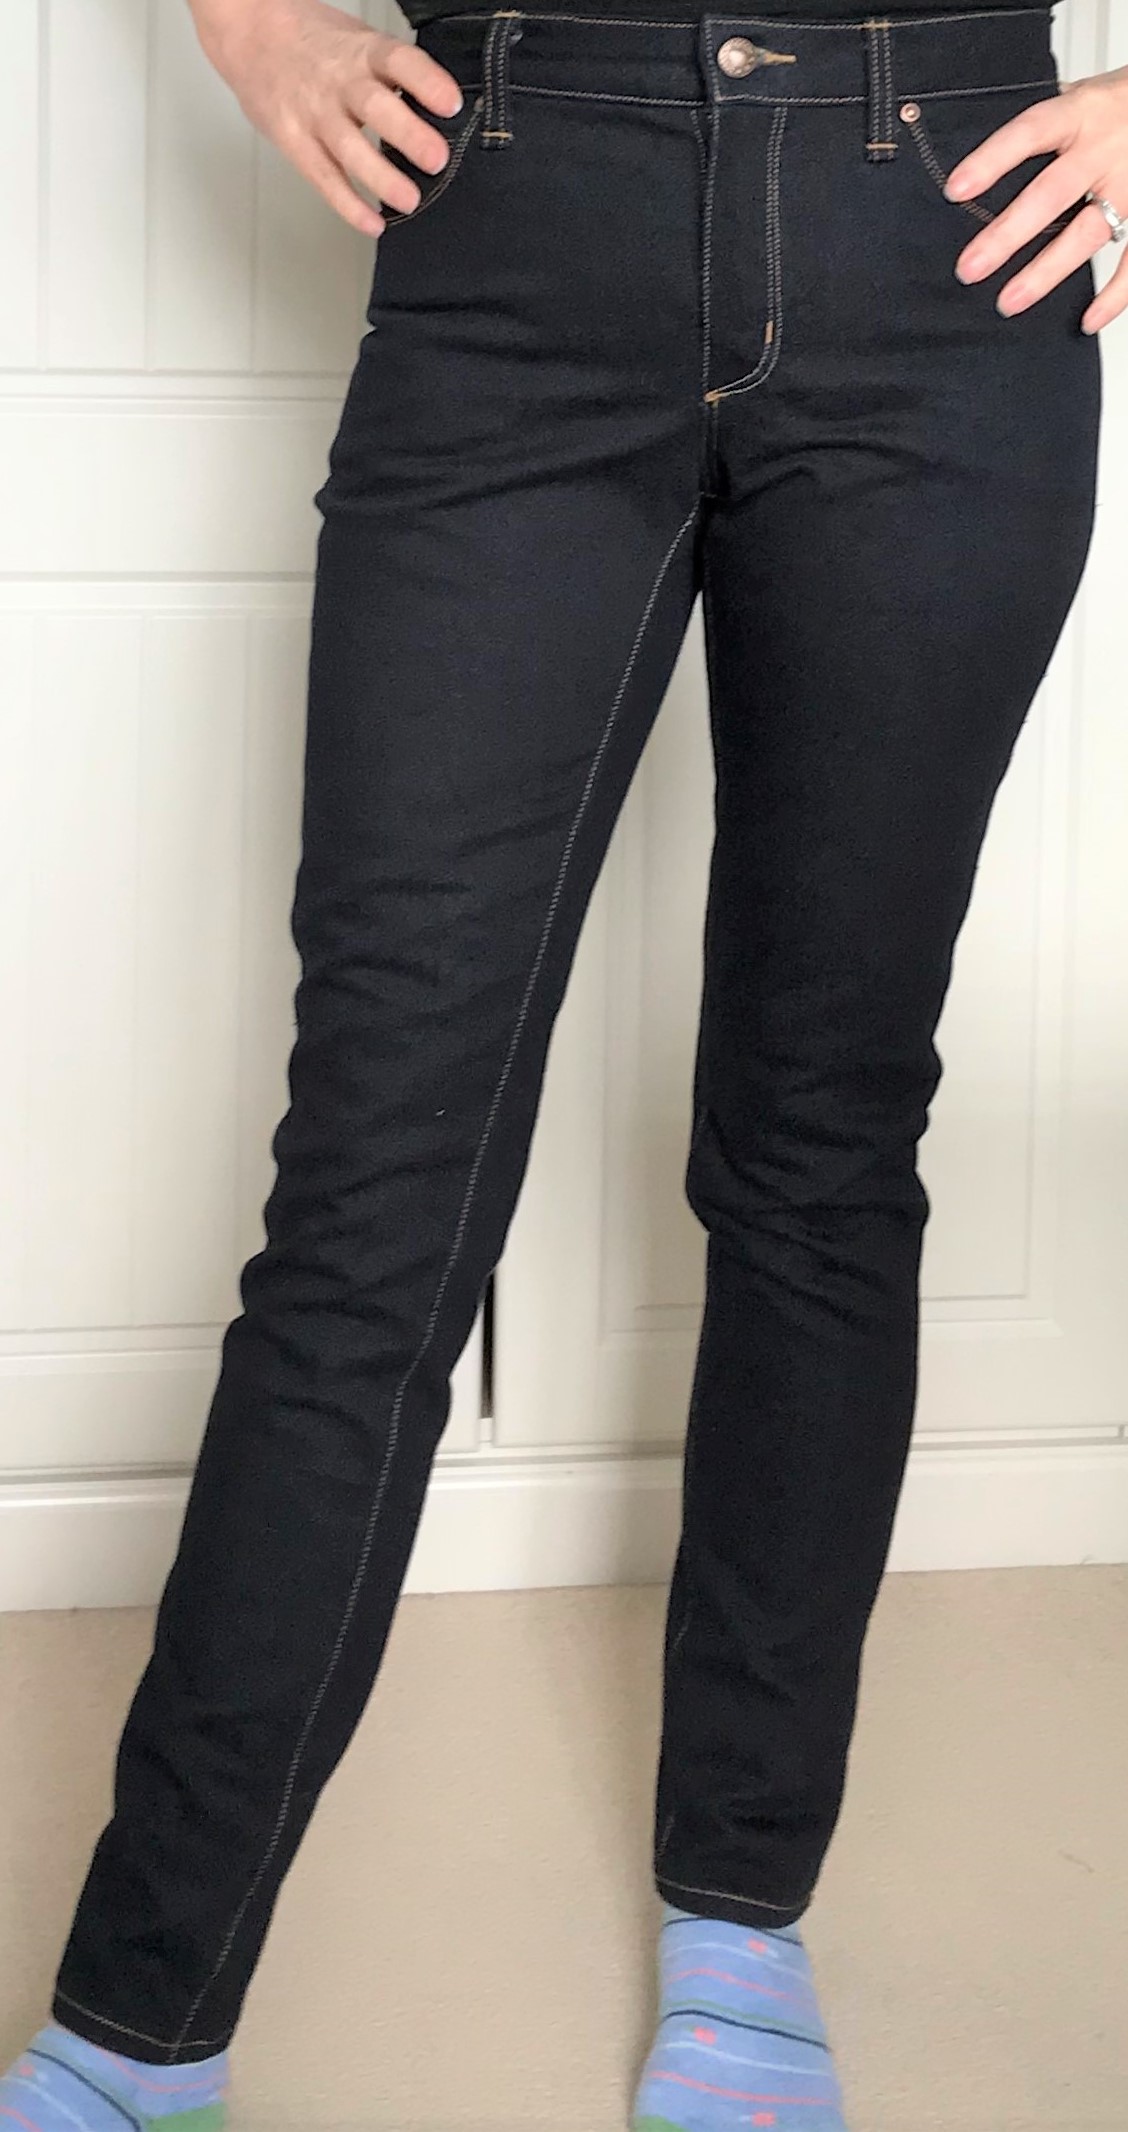
First I made the skinny leg version of the Ginger mid-rise pattern using some lovely dark denim from Guthrie & Ghani. This is a 61 page PDF pattern so I had printed at Netprinter. The big debate was which size to make as I have little difference between waist and hips. I compared my favourite RTW pair with the finished size measurements and went with the 8. I didn’t think through the fact that my fabric had a lot less stretch than the RTW pair so they fit pretty tight and had to reduce the leg seam allowance to be able to pull up.
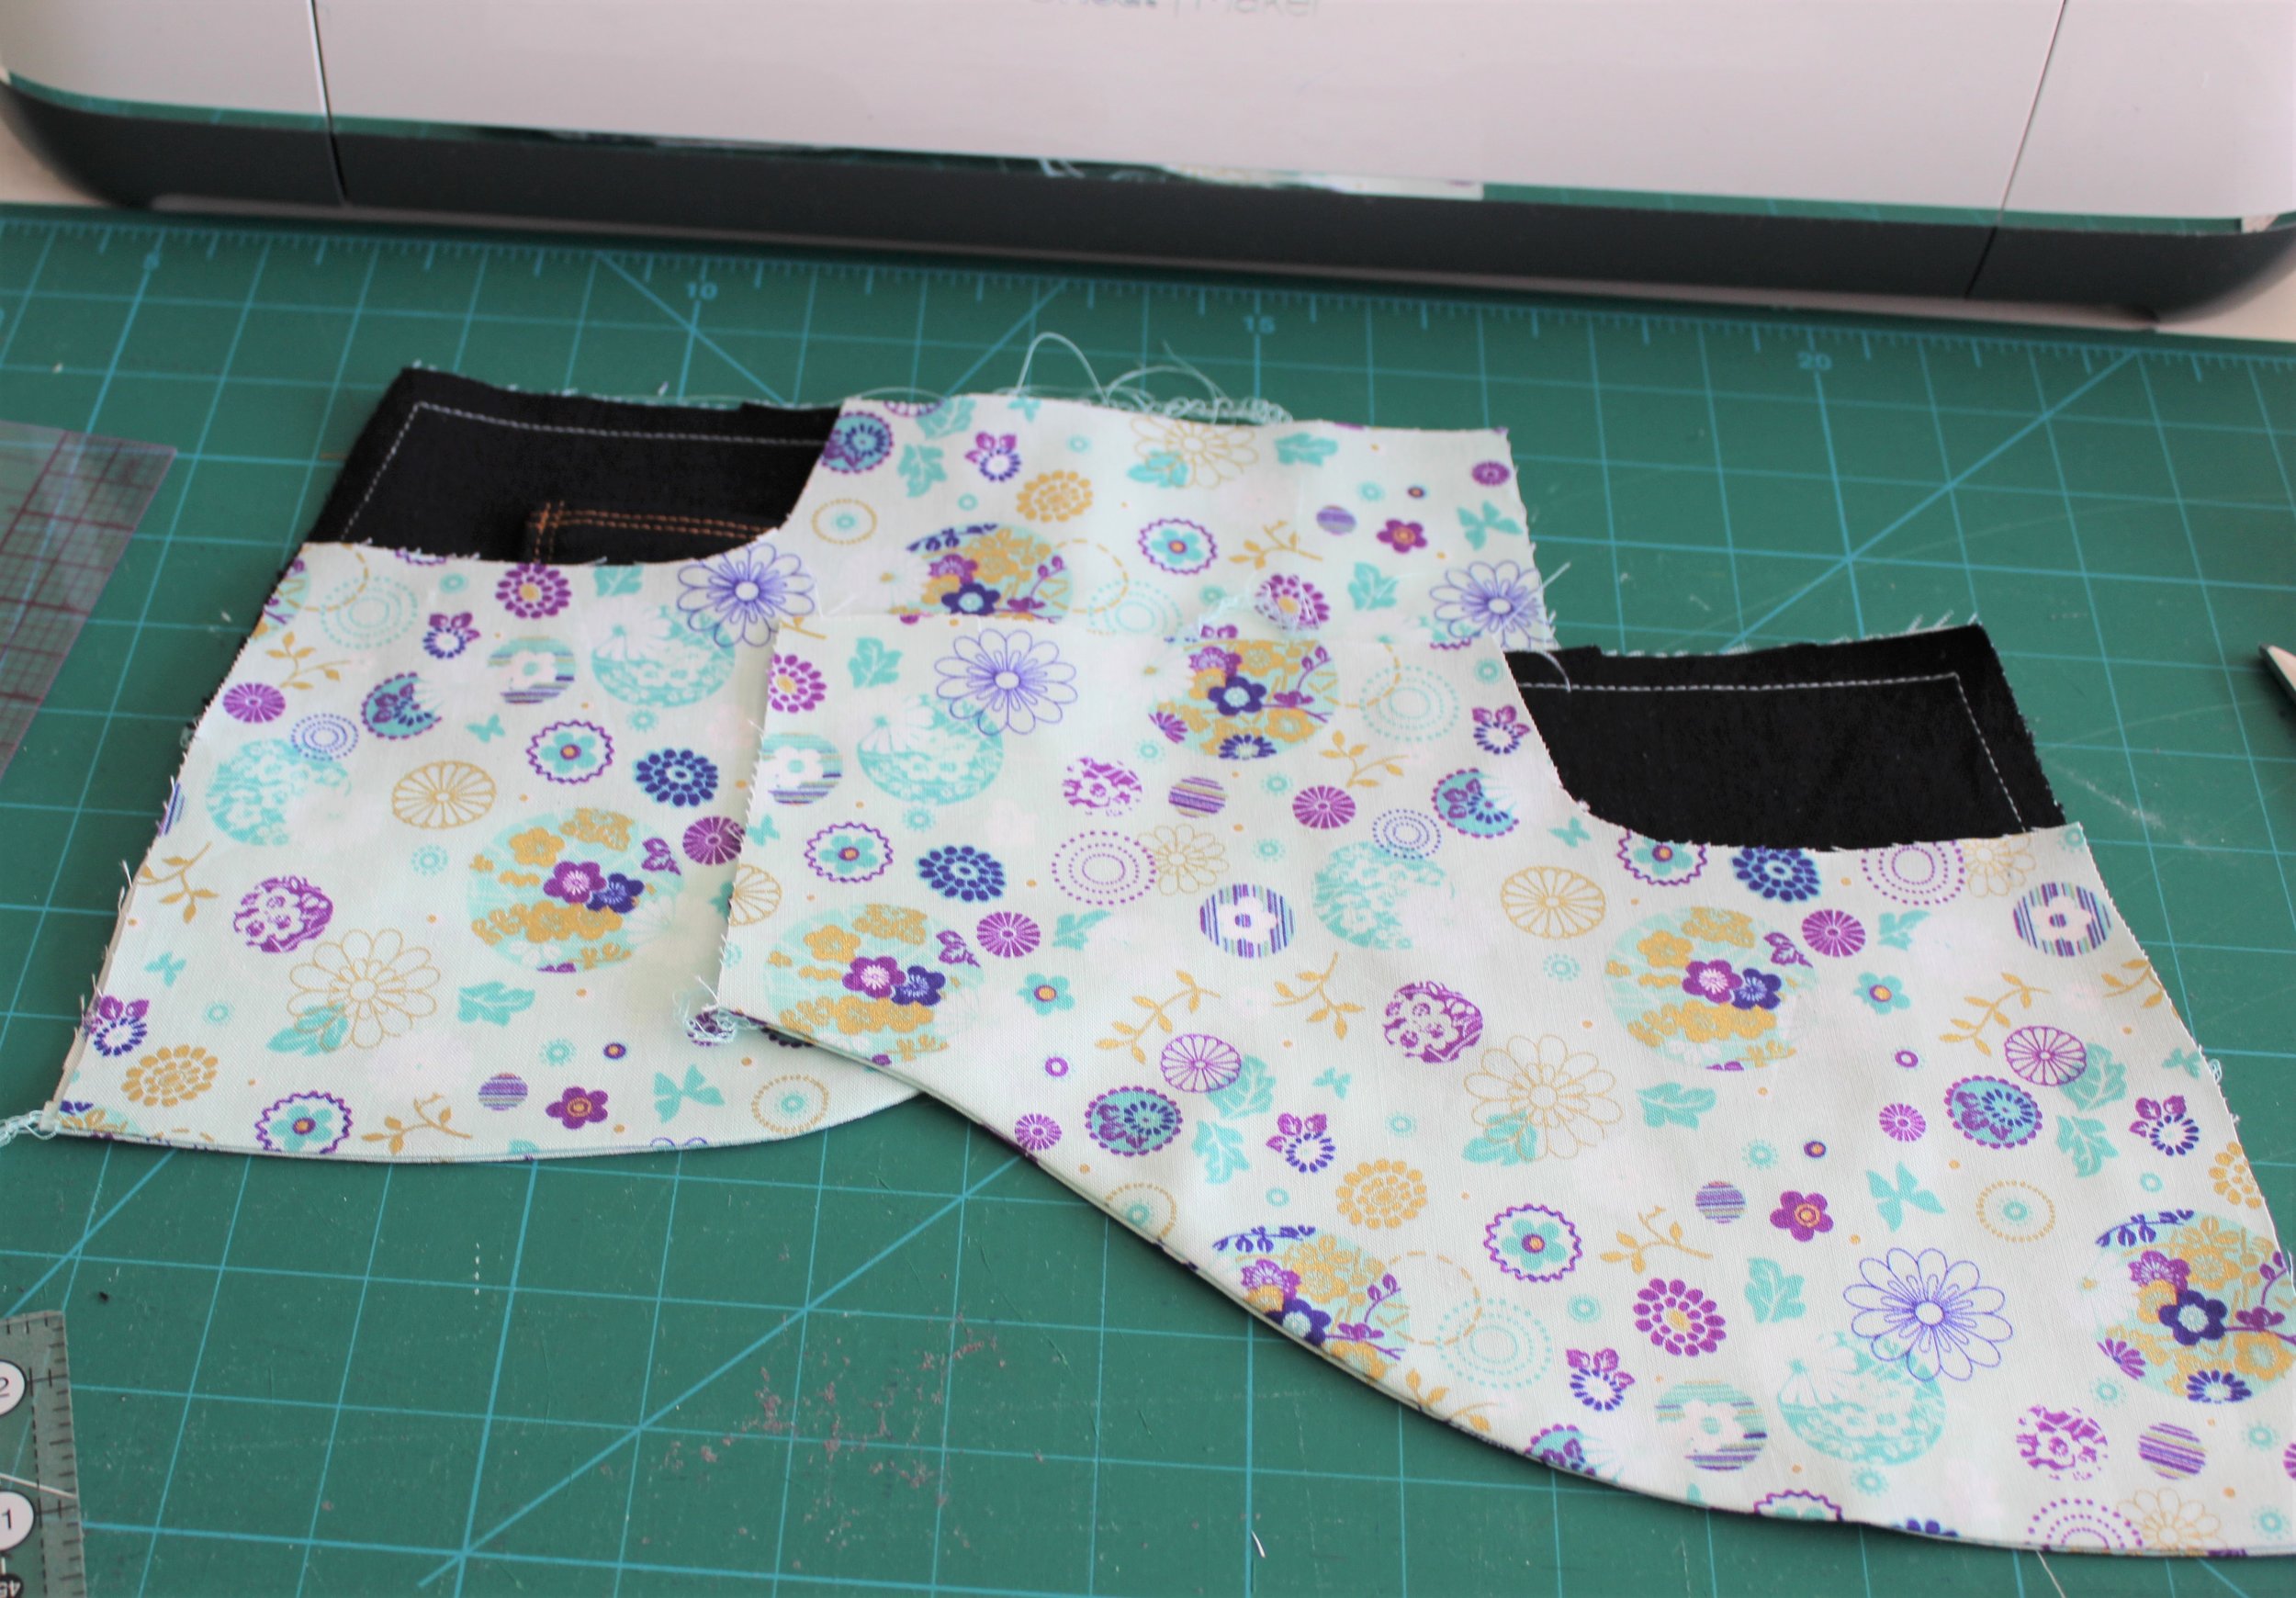
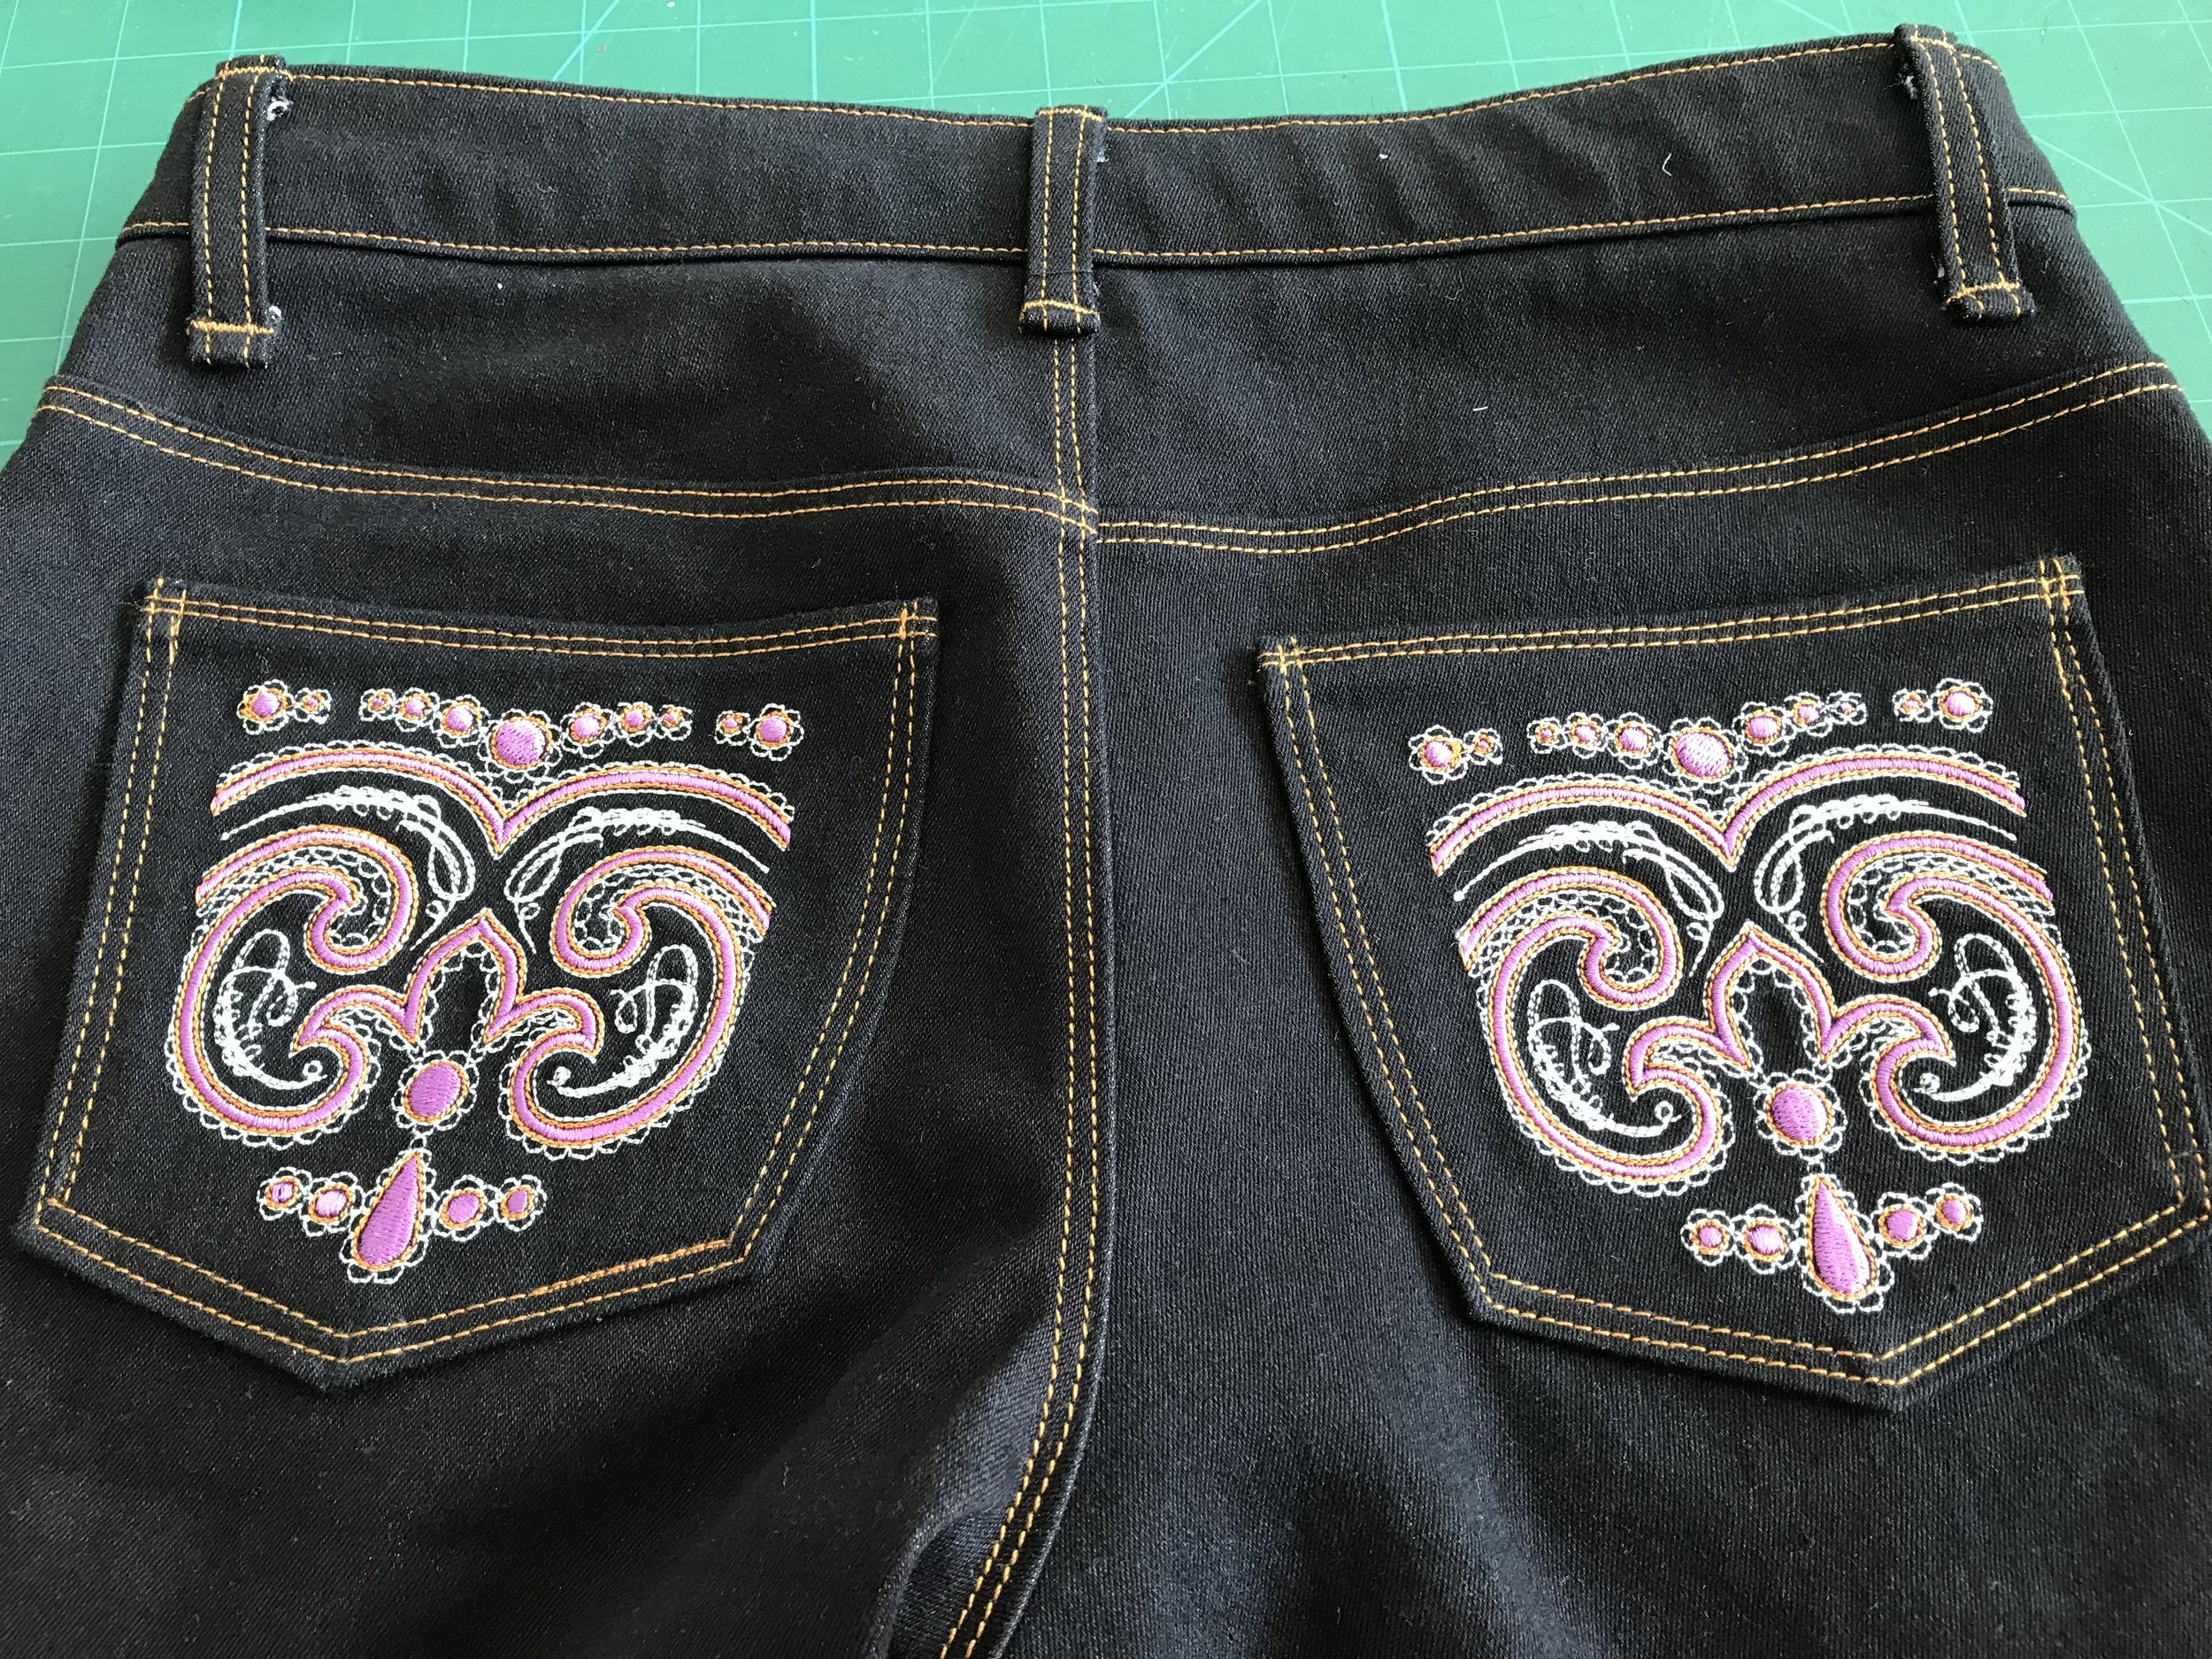
On to the lining fabric. I have so much cotton fabric left from quilting to choose from but went for a colourful fabric that I thought would look good with denim. Then I wanted an embroidery design for the pocket to tie in with the lining fabric colours. It was quite hard to find a design with multi colours and would also fit well within the stitch lines. The design is Western Flair by Embroidery Library.
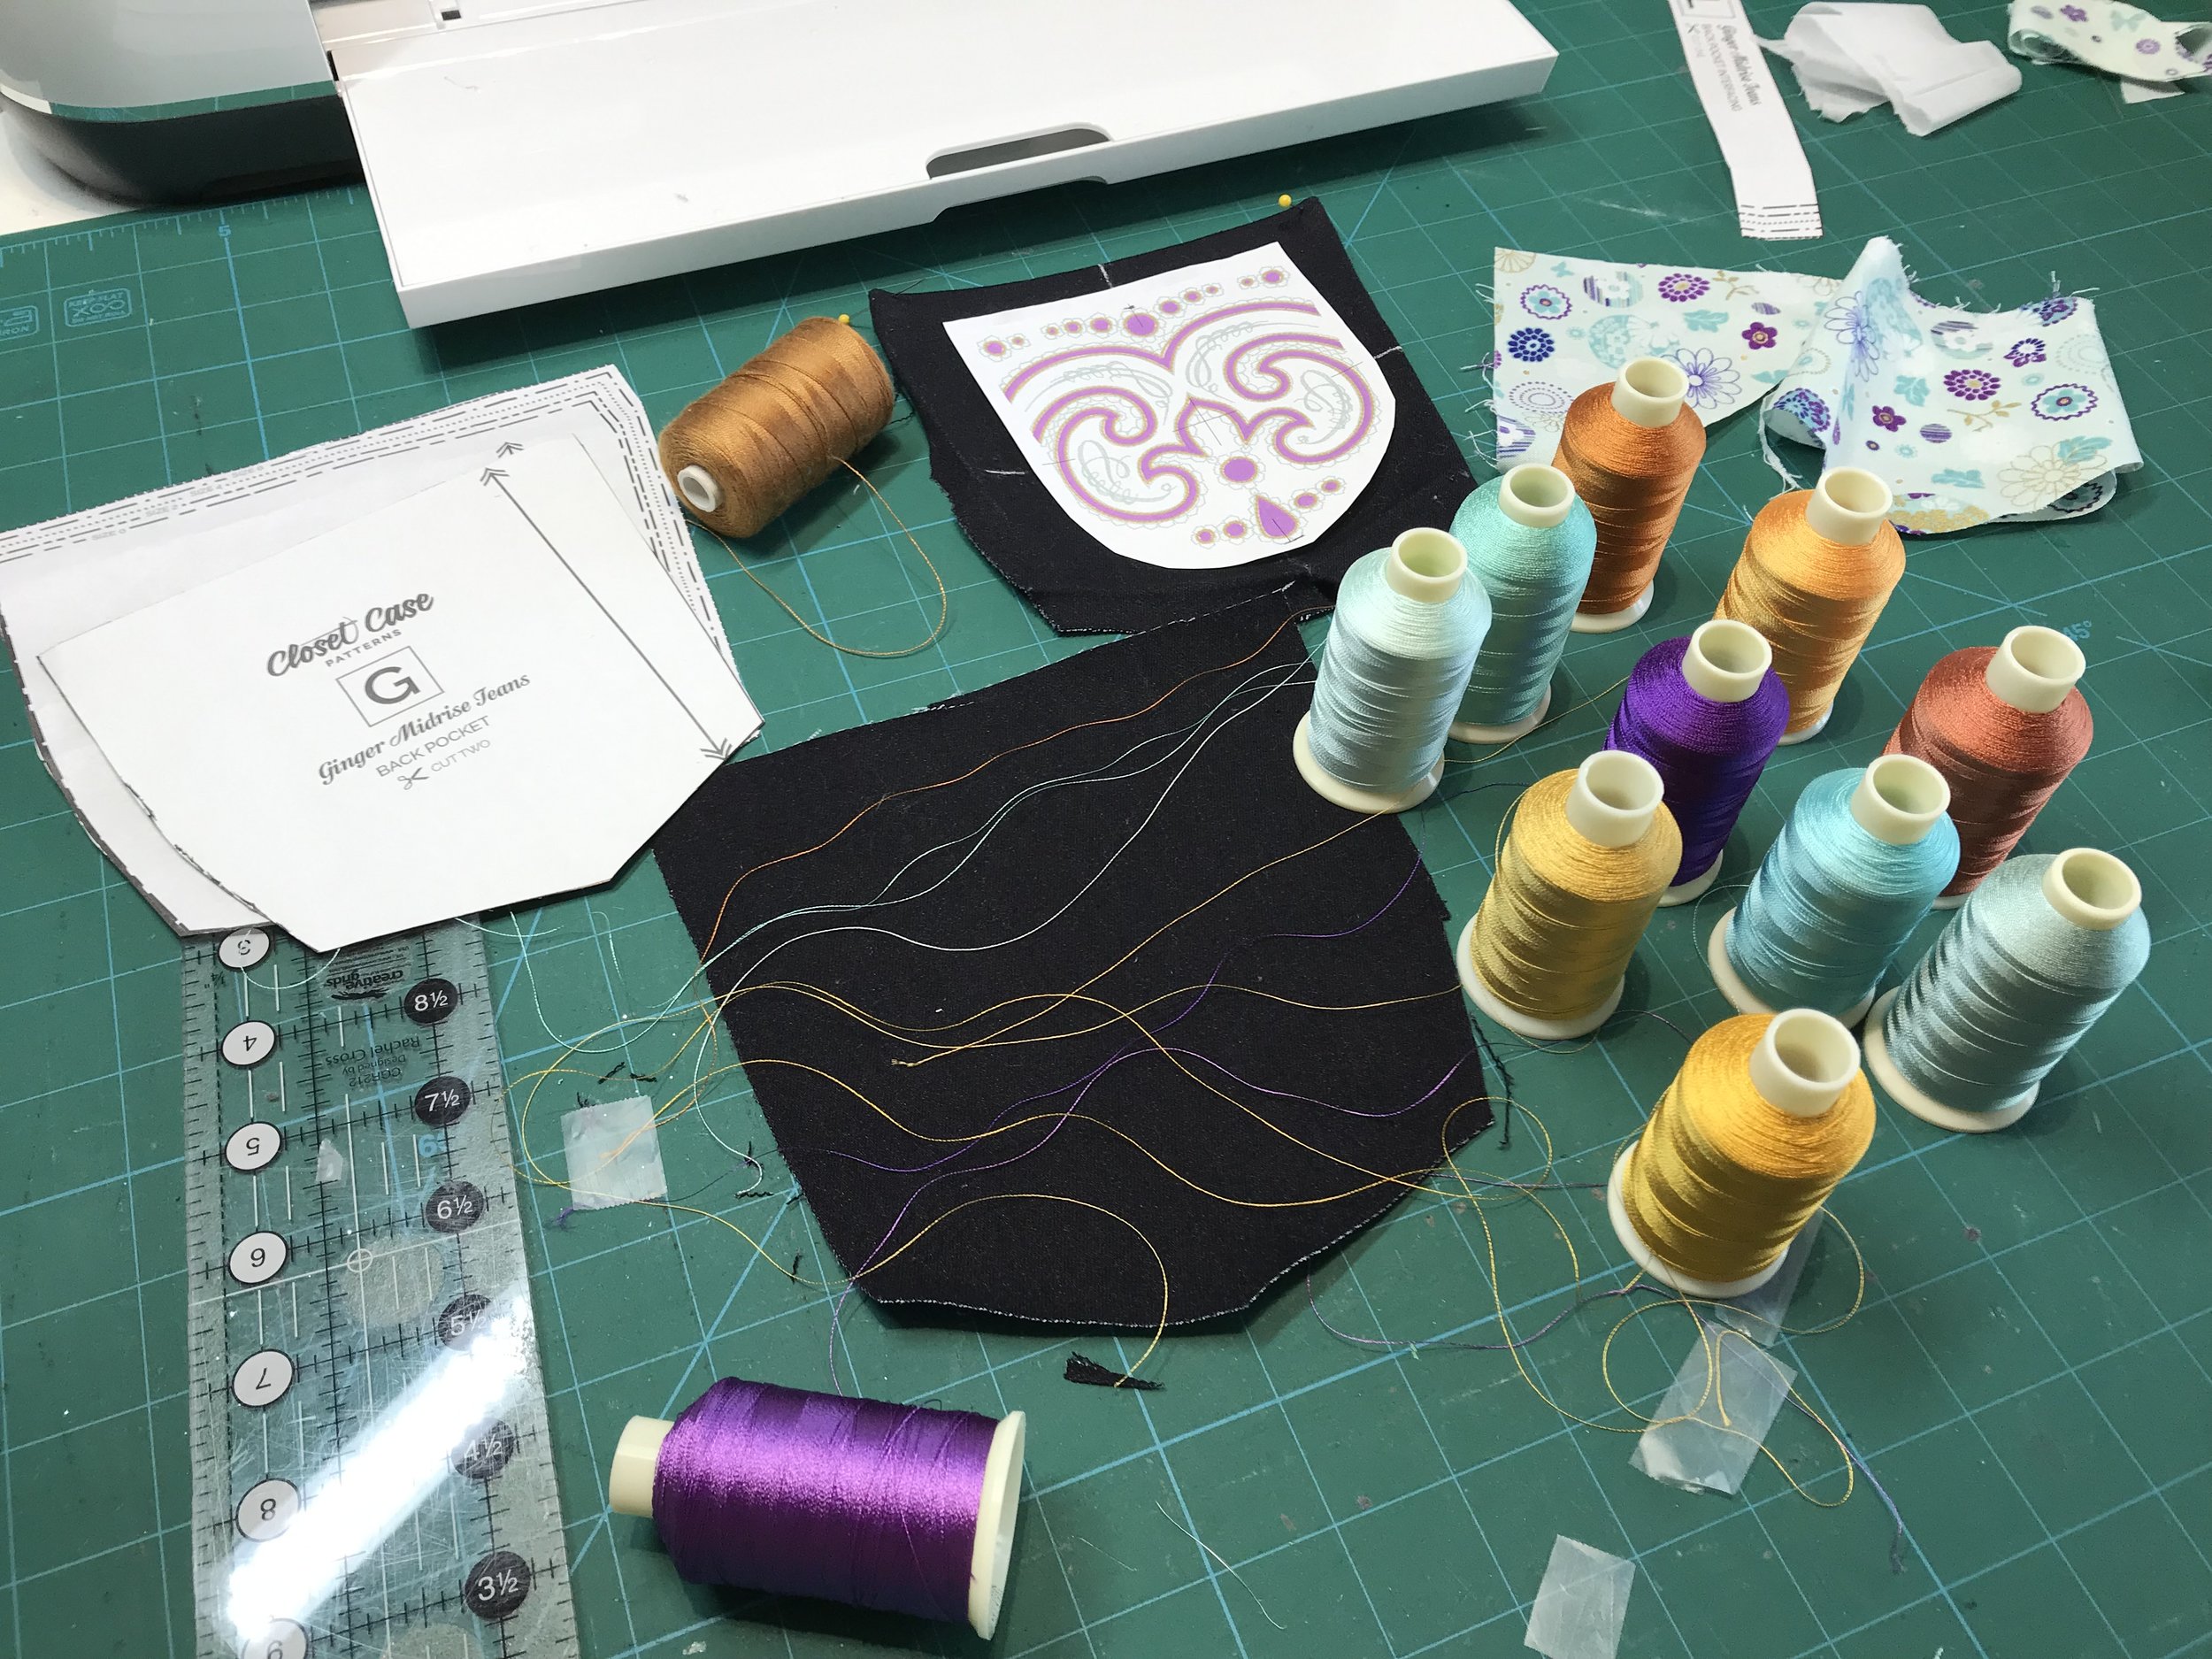
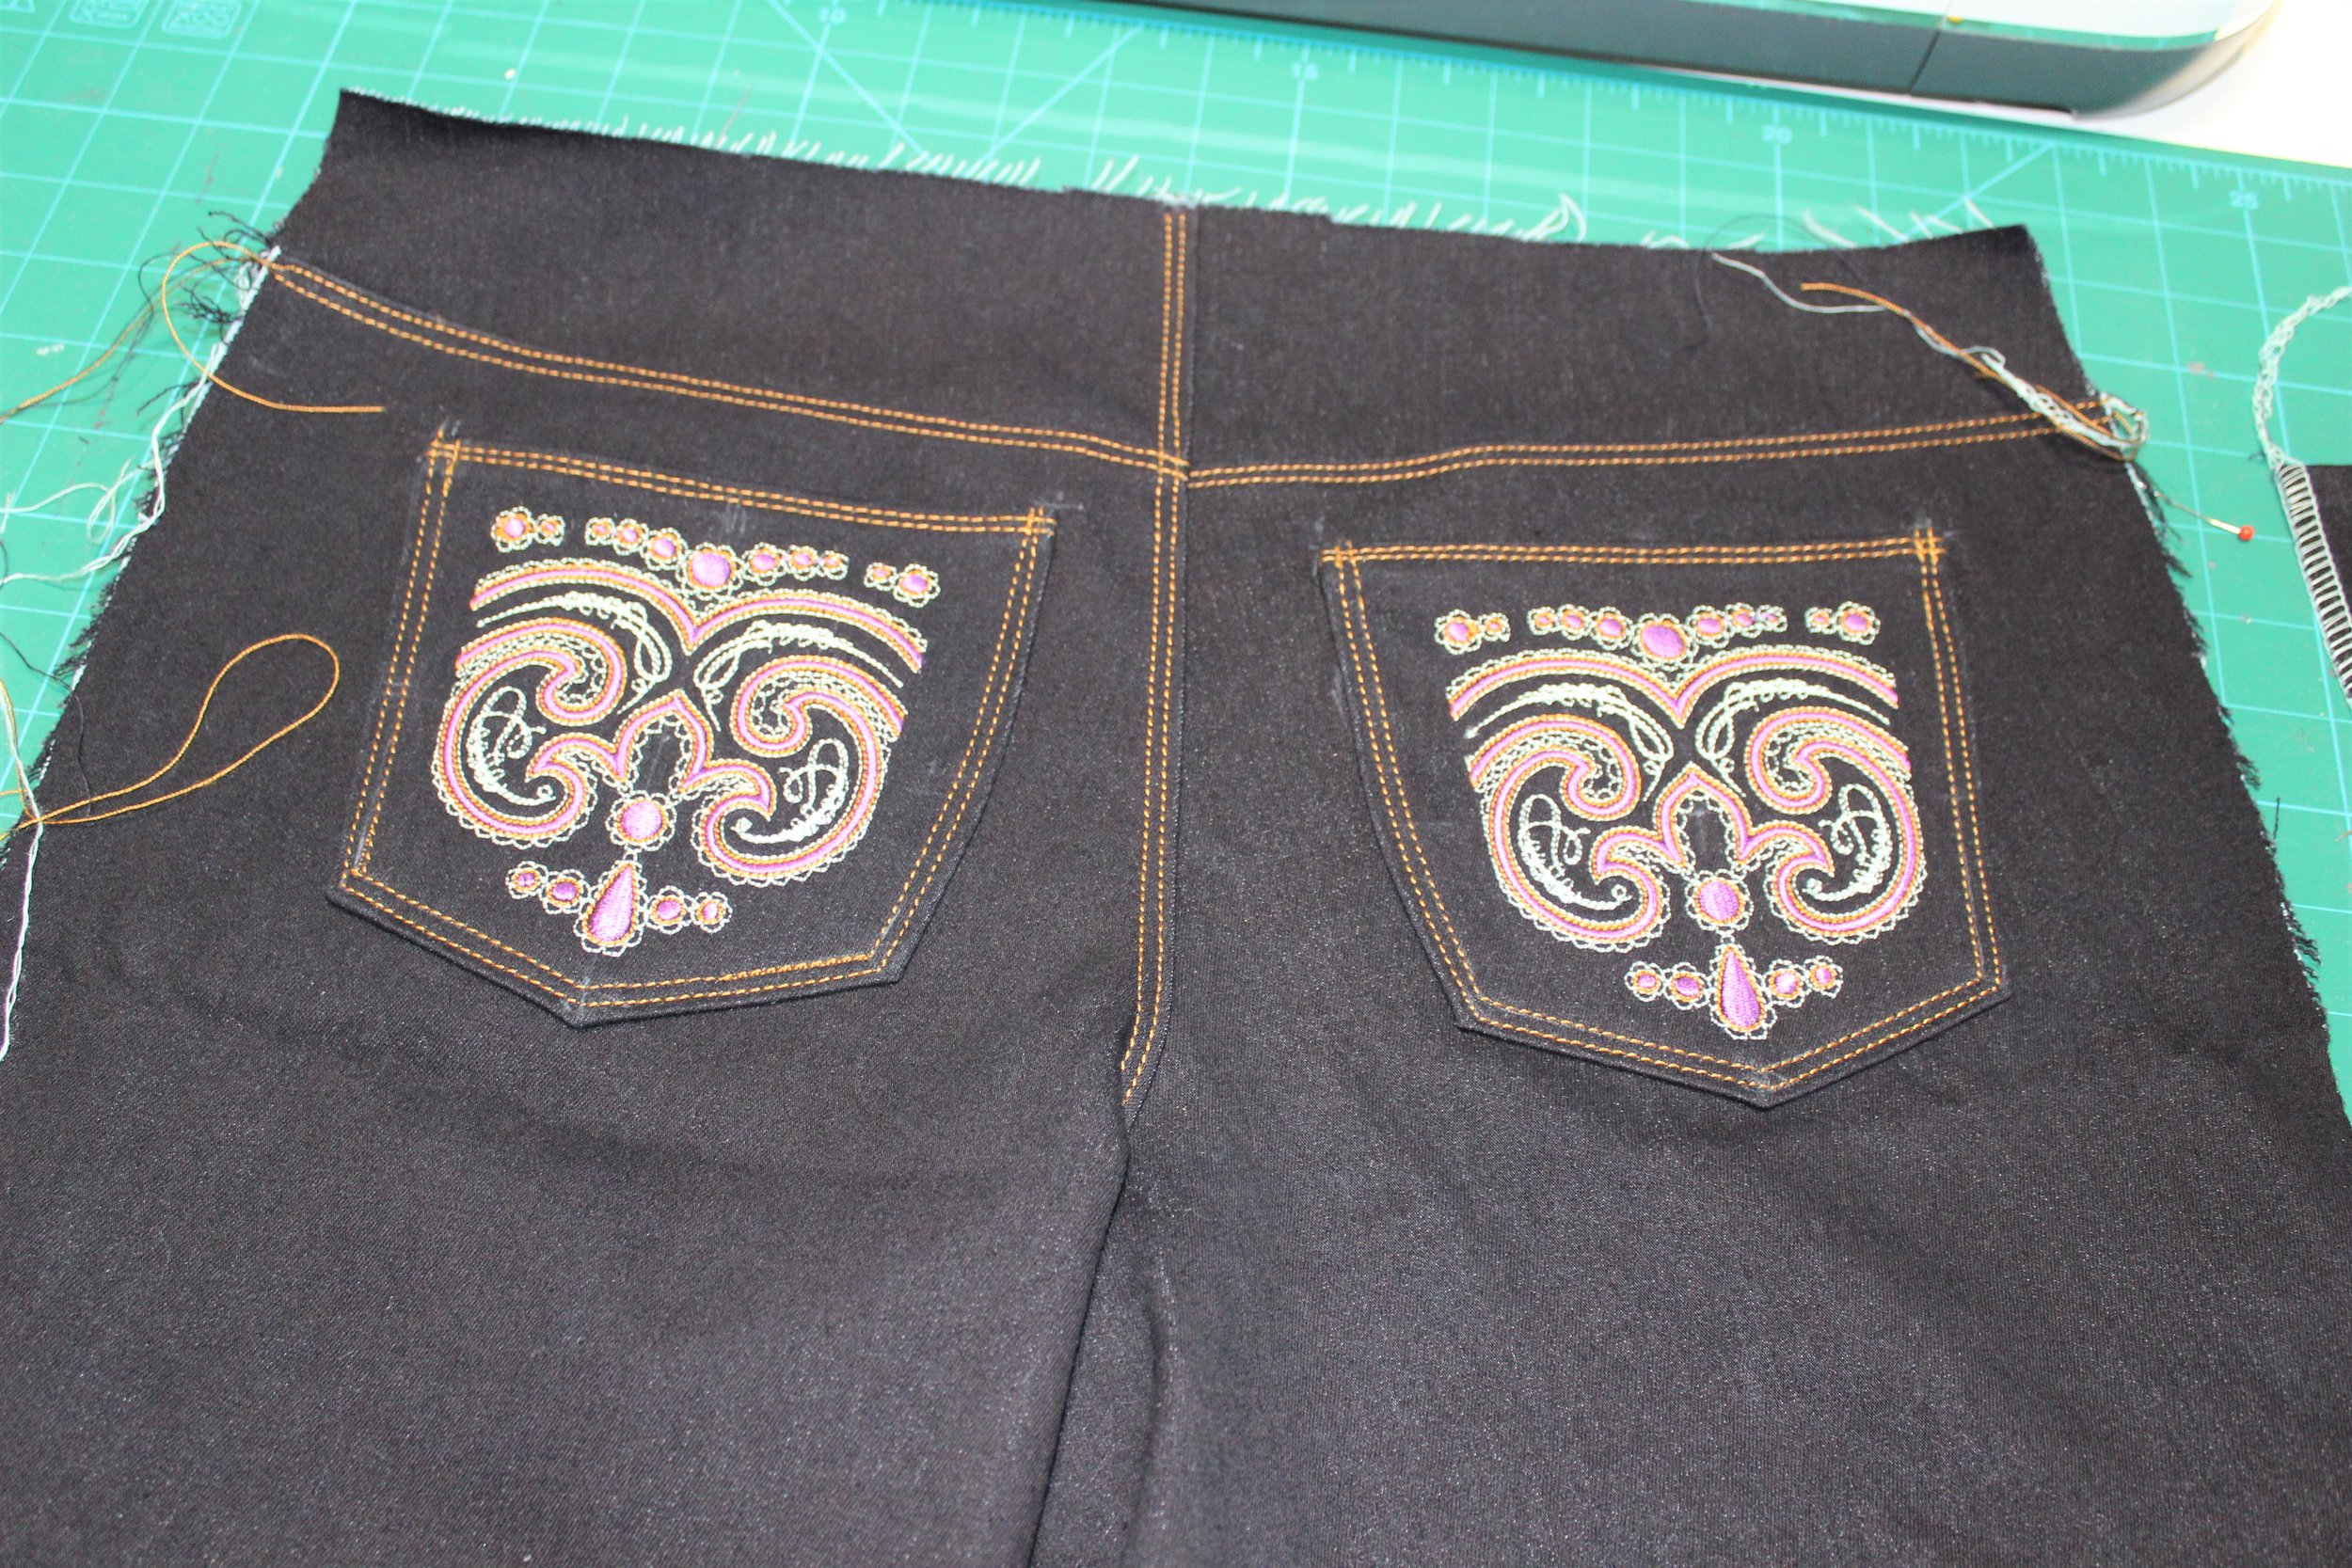
Choosing the embroidery thread was quite difficult as I was also matching the topstitch thread as well. So in the end it was more orange gold than the fabric and a lighter purple as the darker colour didn’t show up enough. I had just watched a class on my Bluprint subscription called Machine Embroidery on Denim by Katrina Walker which went through these issues.
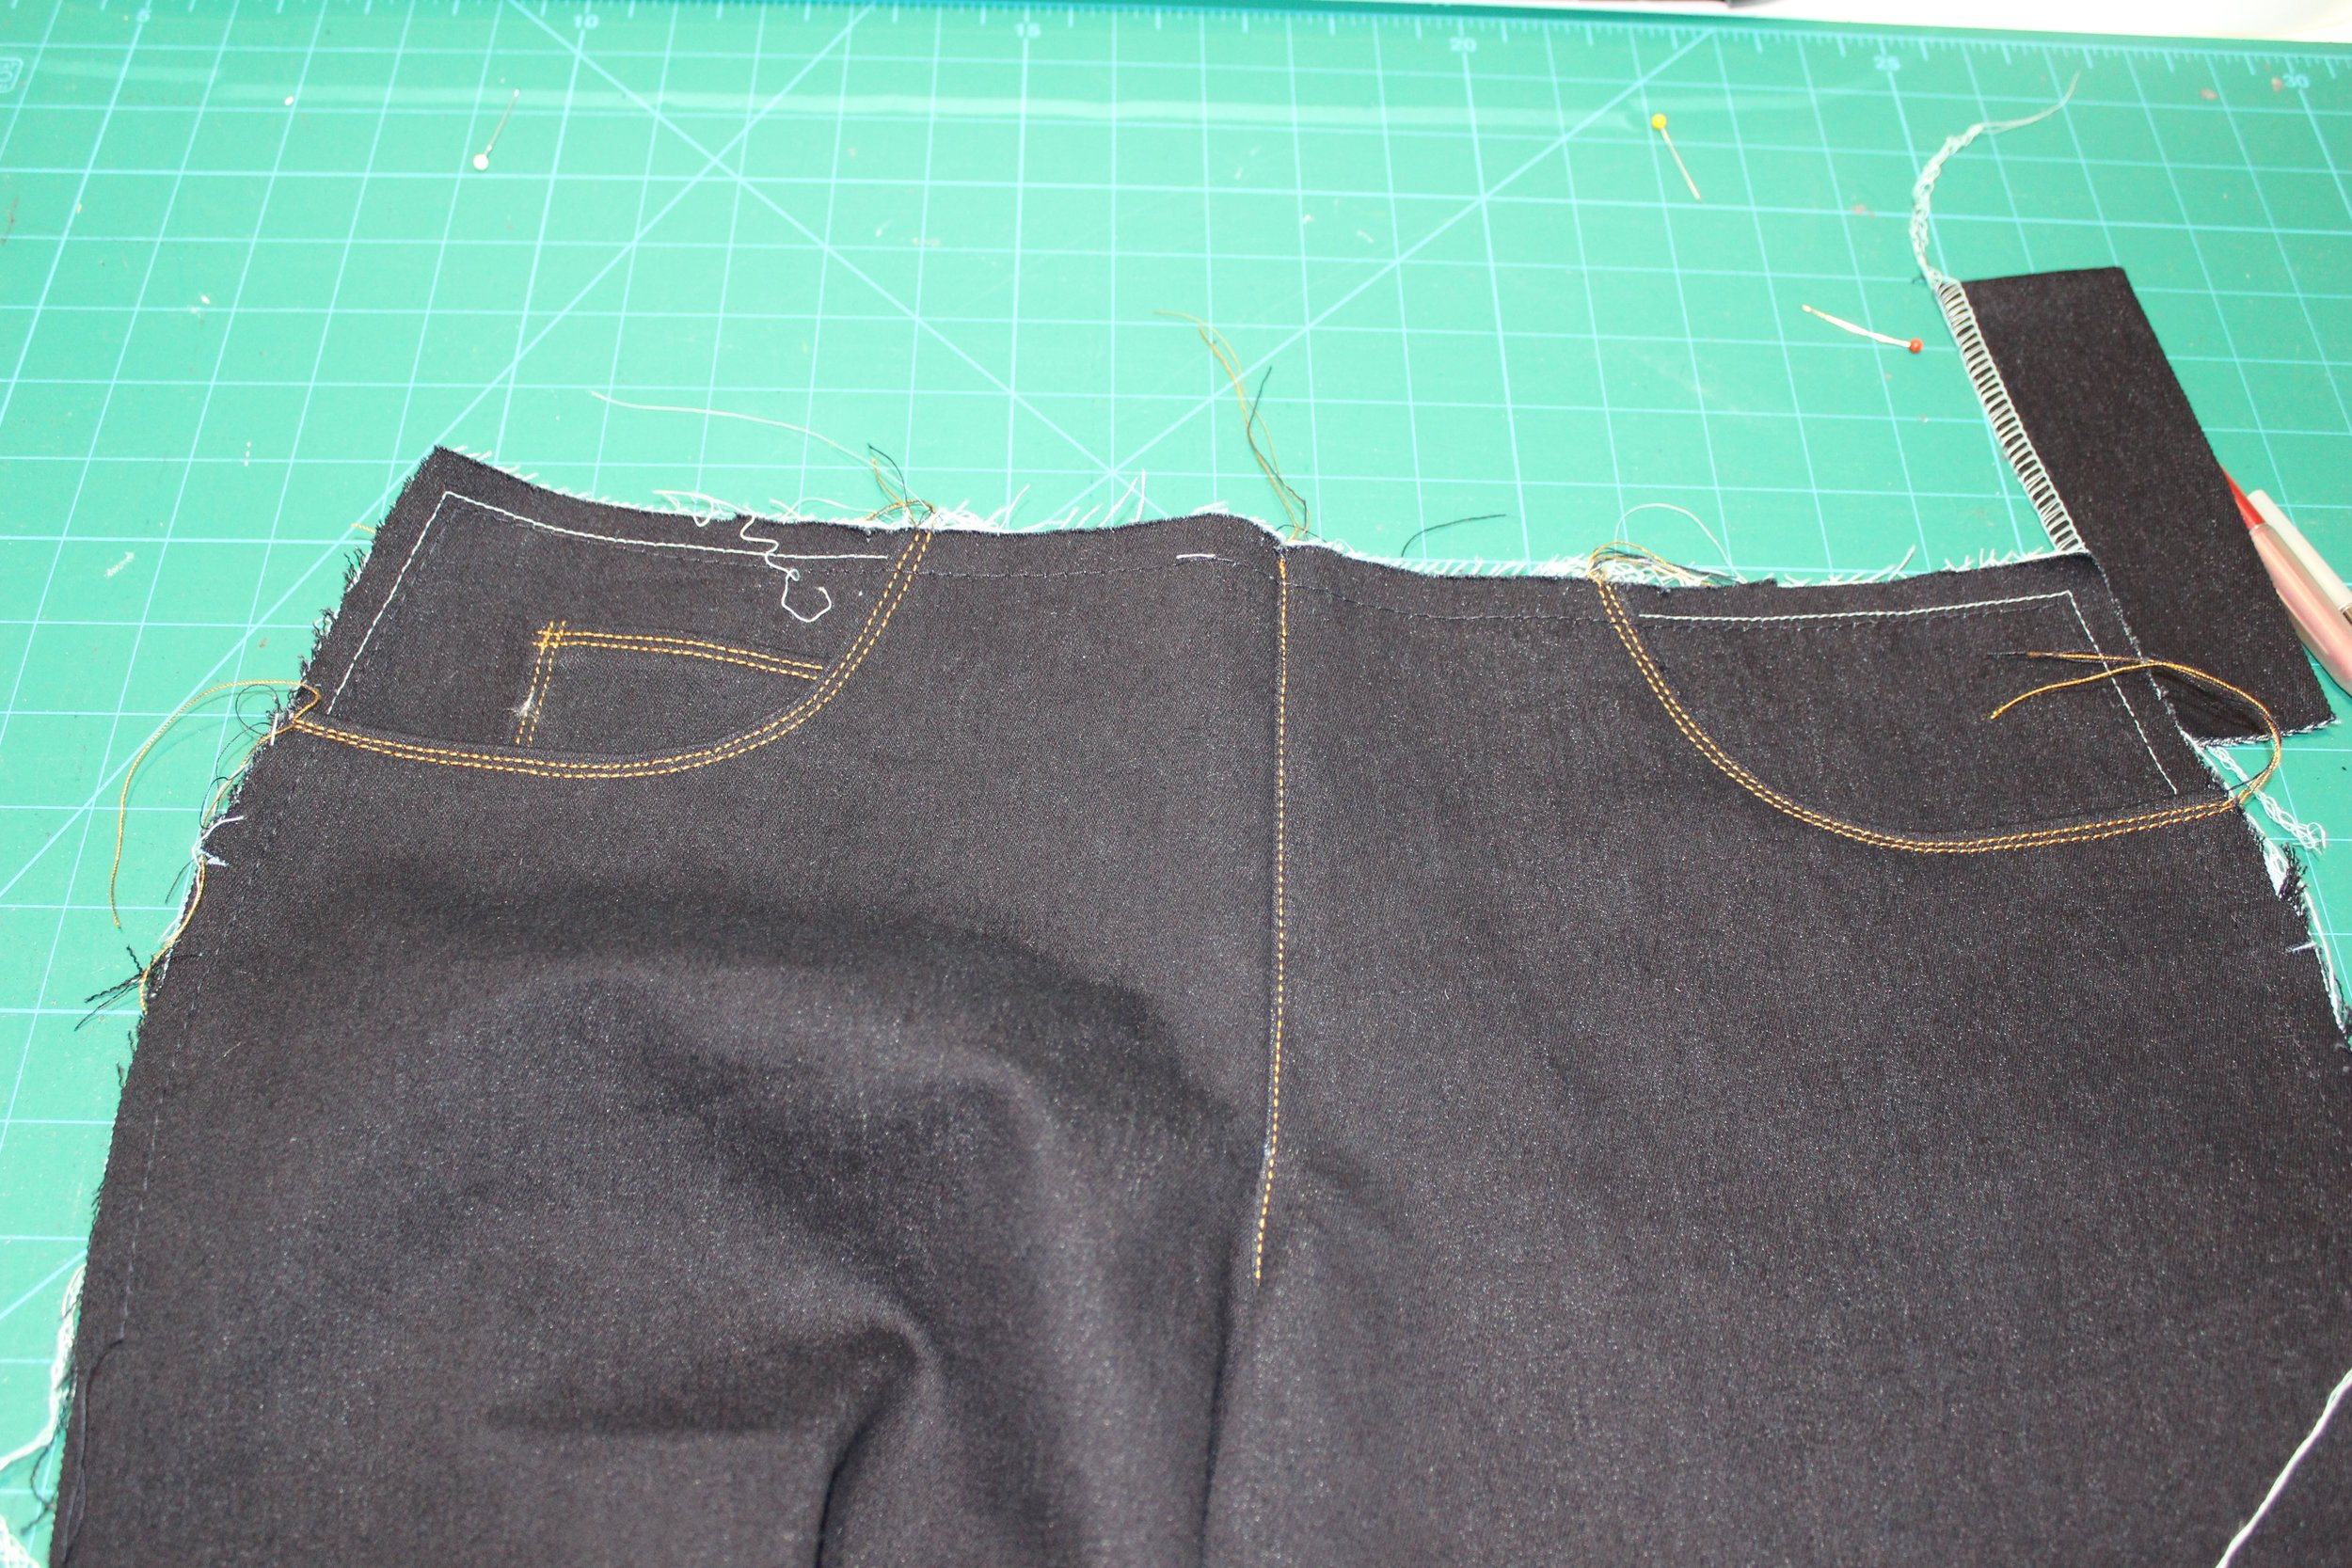
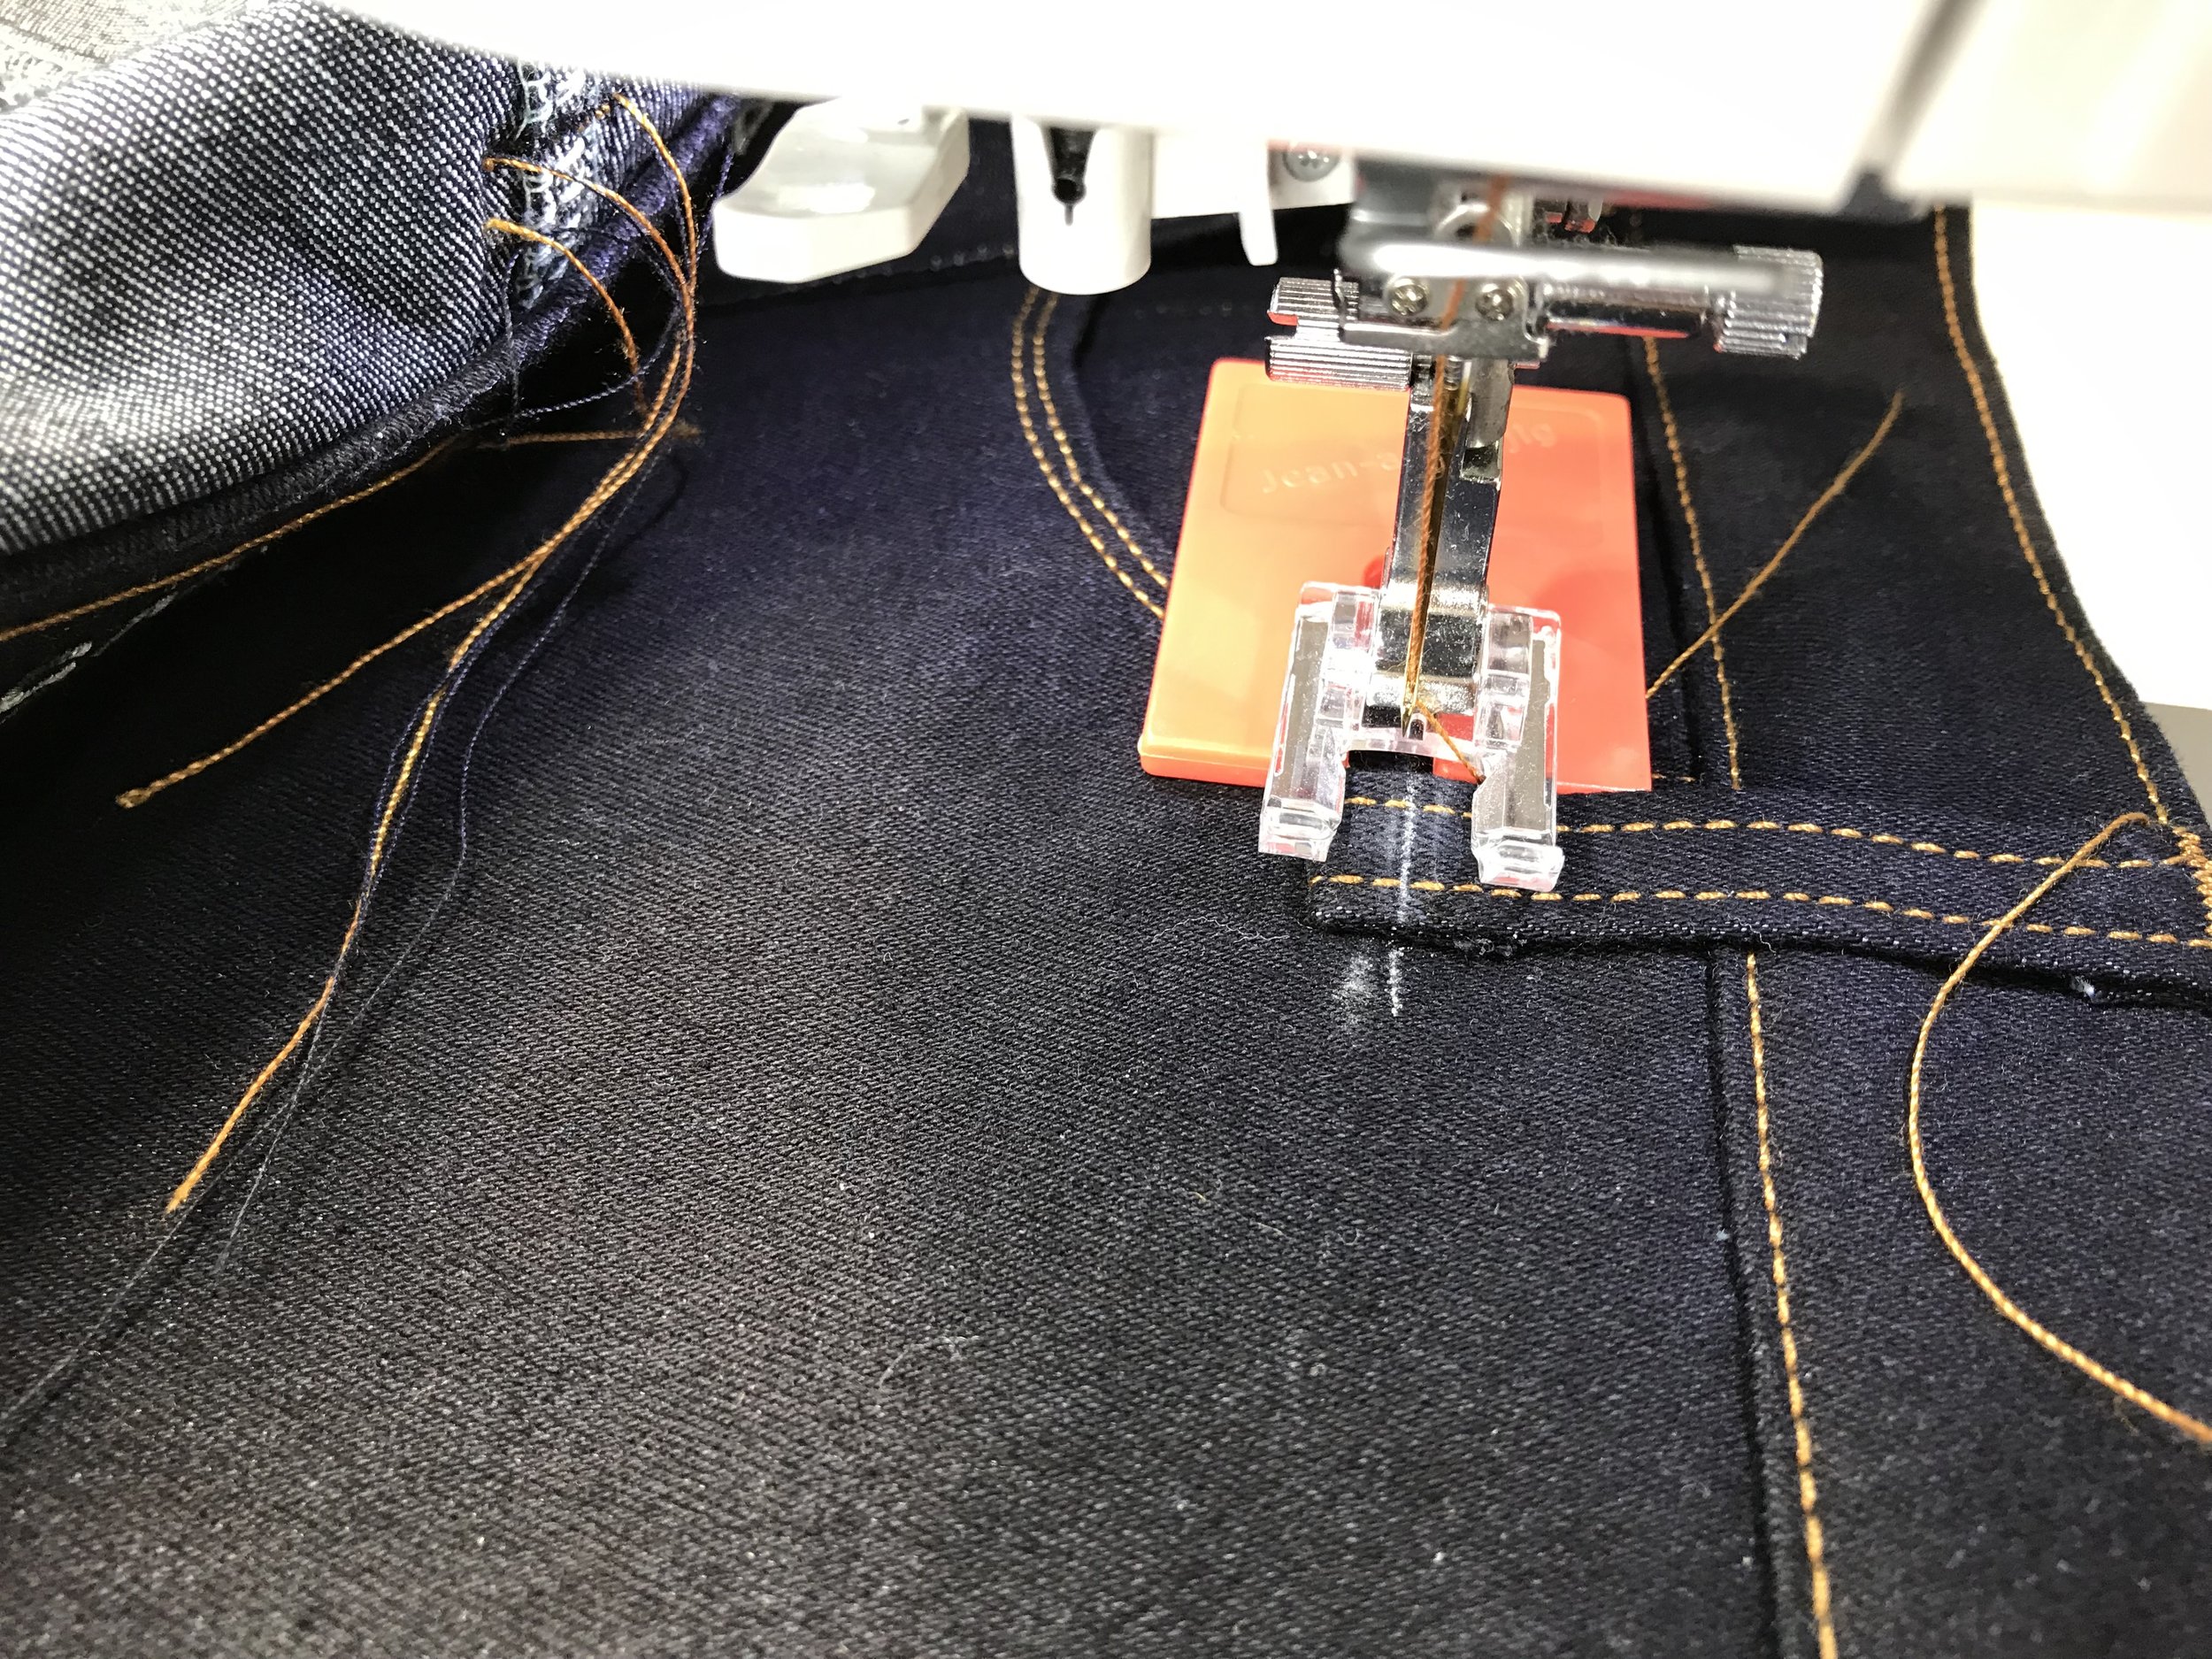
I mostly followed the sewalong as I prefer photos to technical drawings. However, the pattern has been updated since the sewalong to accommodate a pocket stay (attached in the fly) which at the time of the sewalong was just an option. My only out of sync action was to sew the back pockets in before attaching to the front. The idea is to get to the stage of being able to test fit and check the position but I went with where my RTW sat as didn’t want to fiddle around topstitching later.
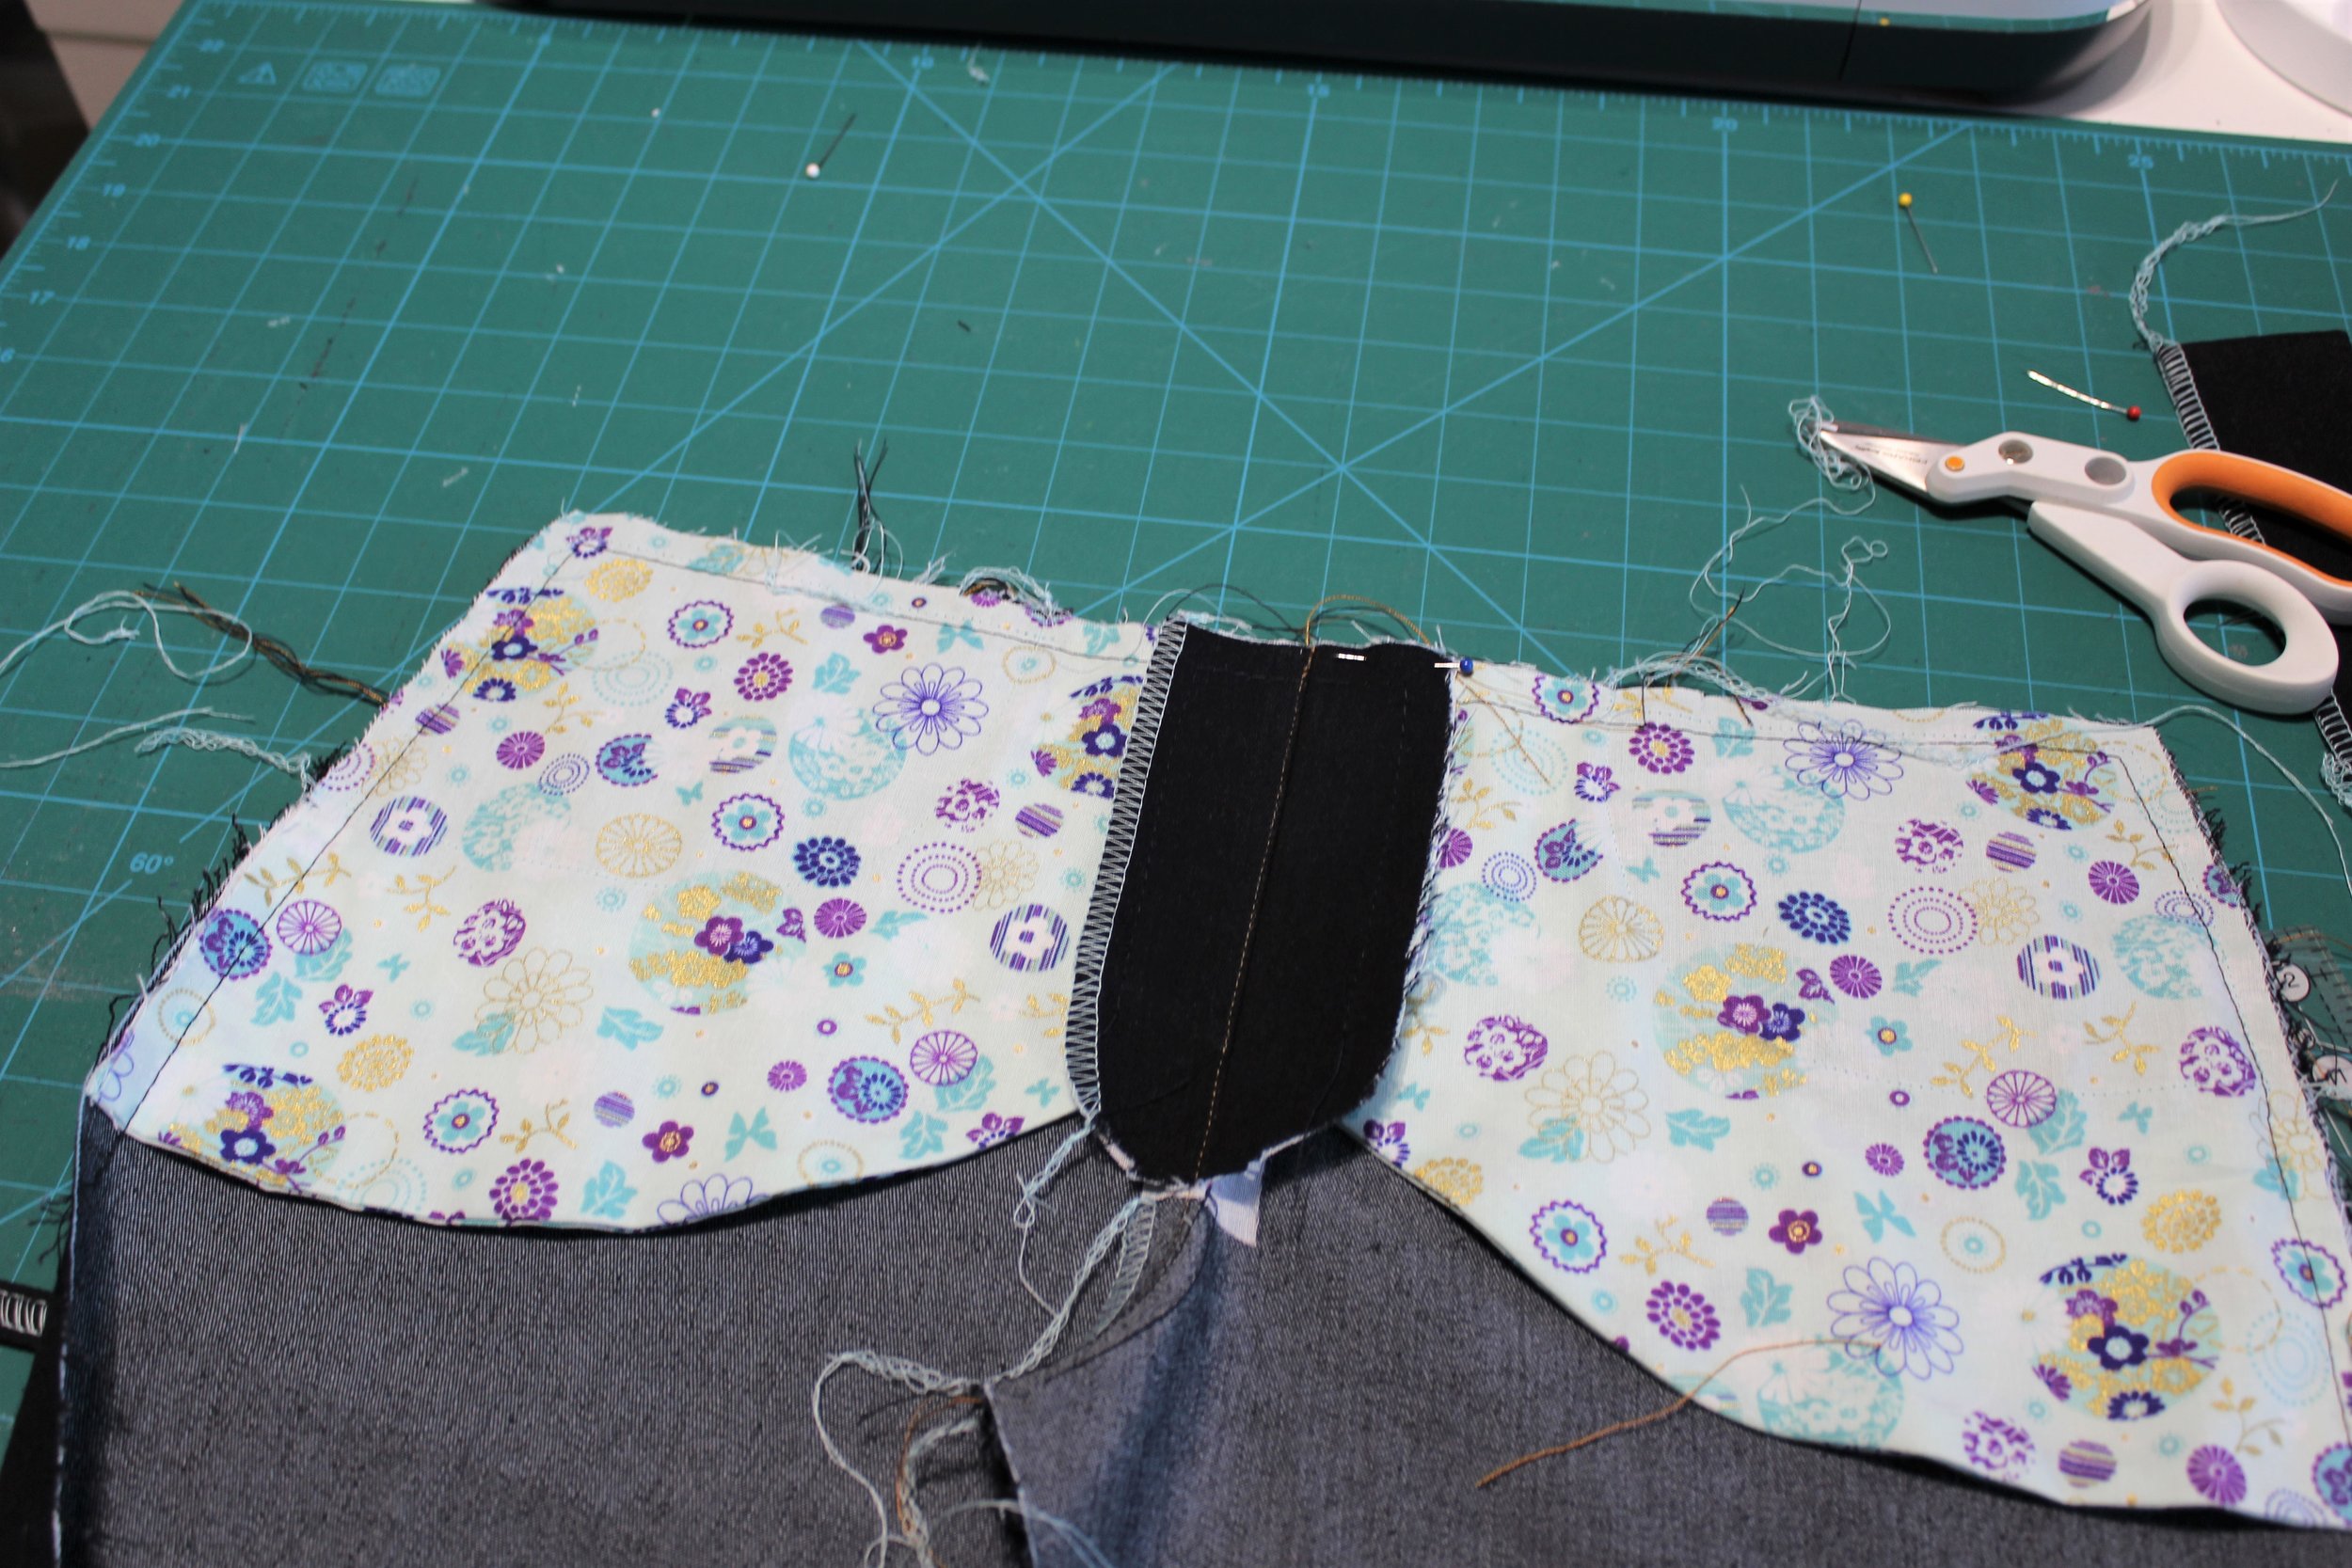
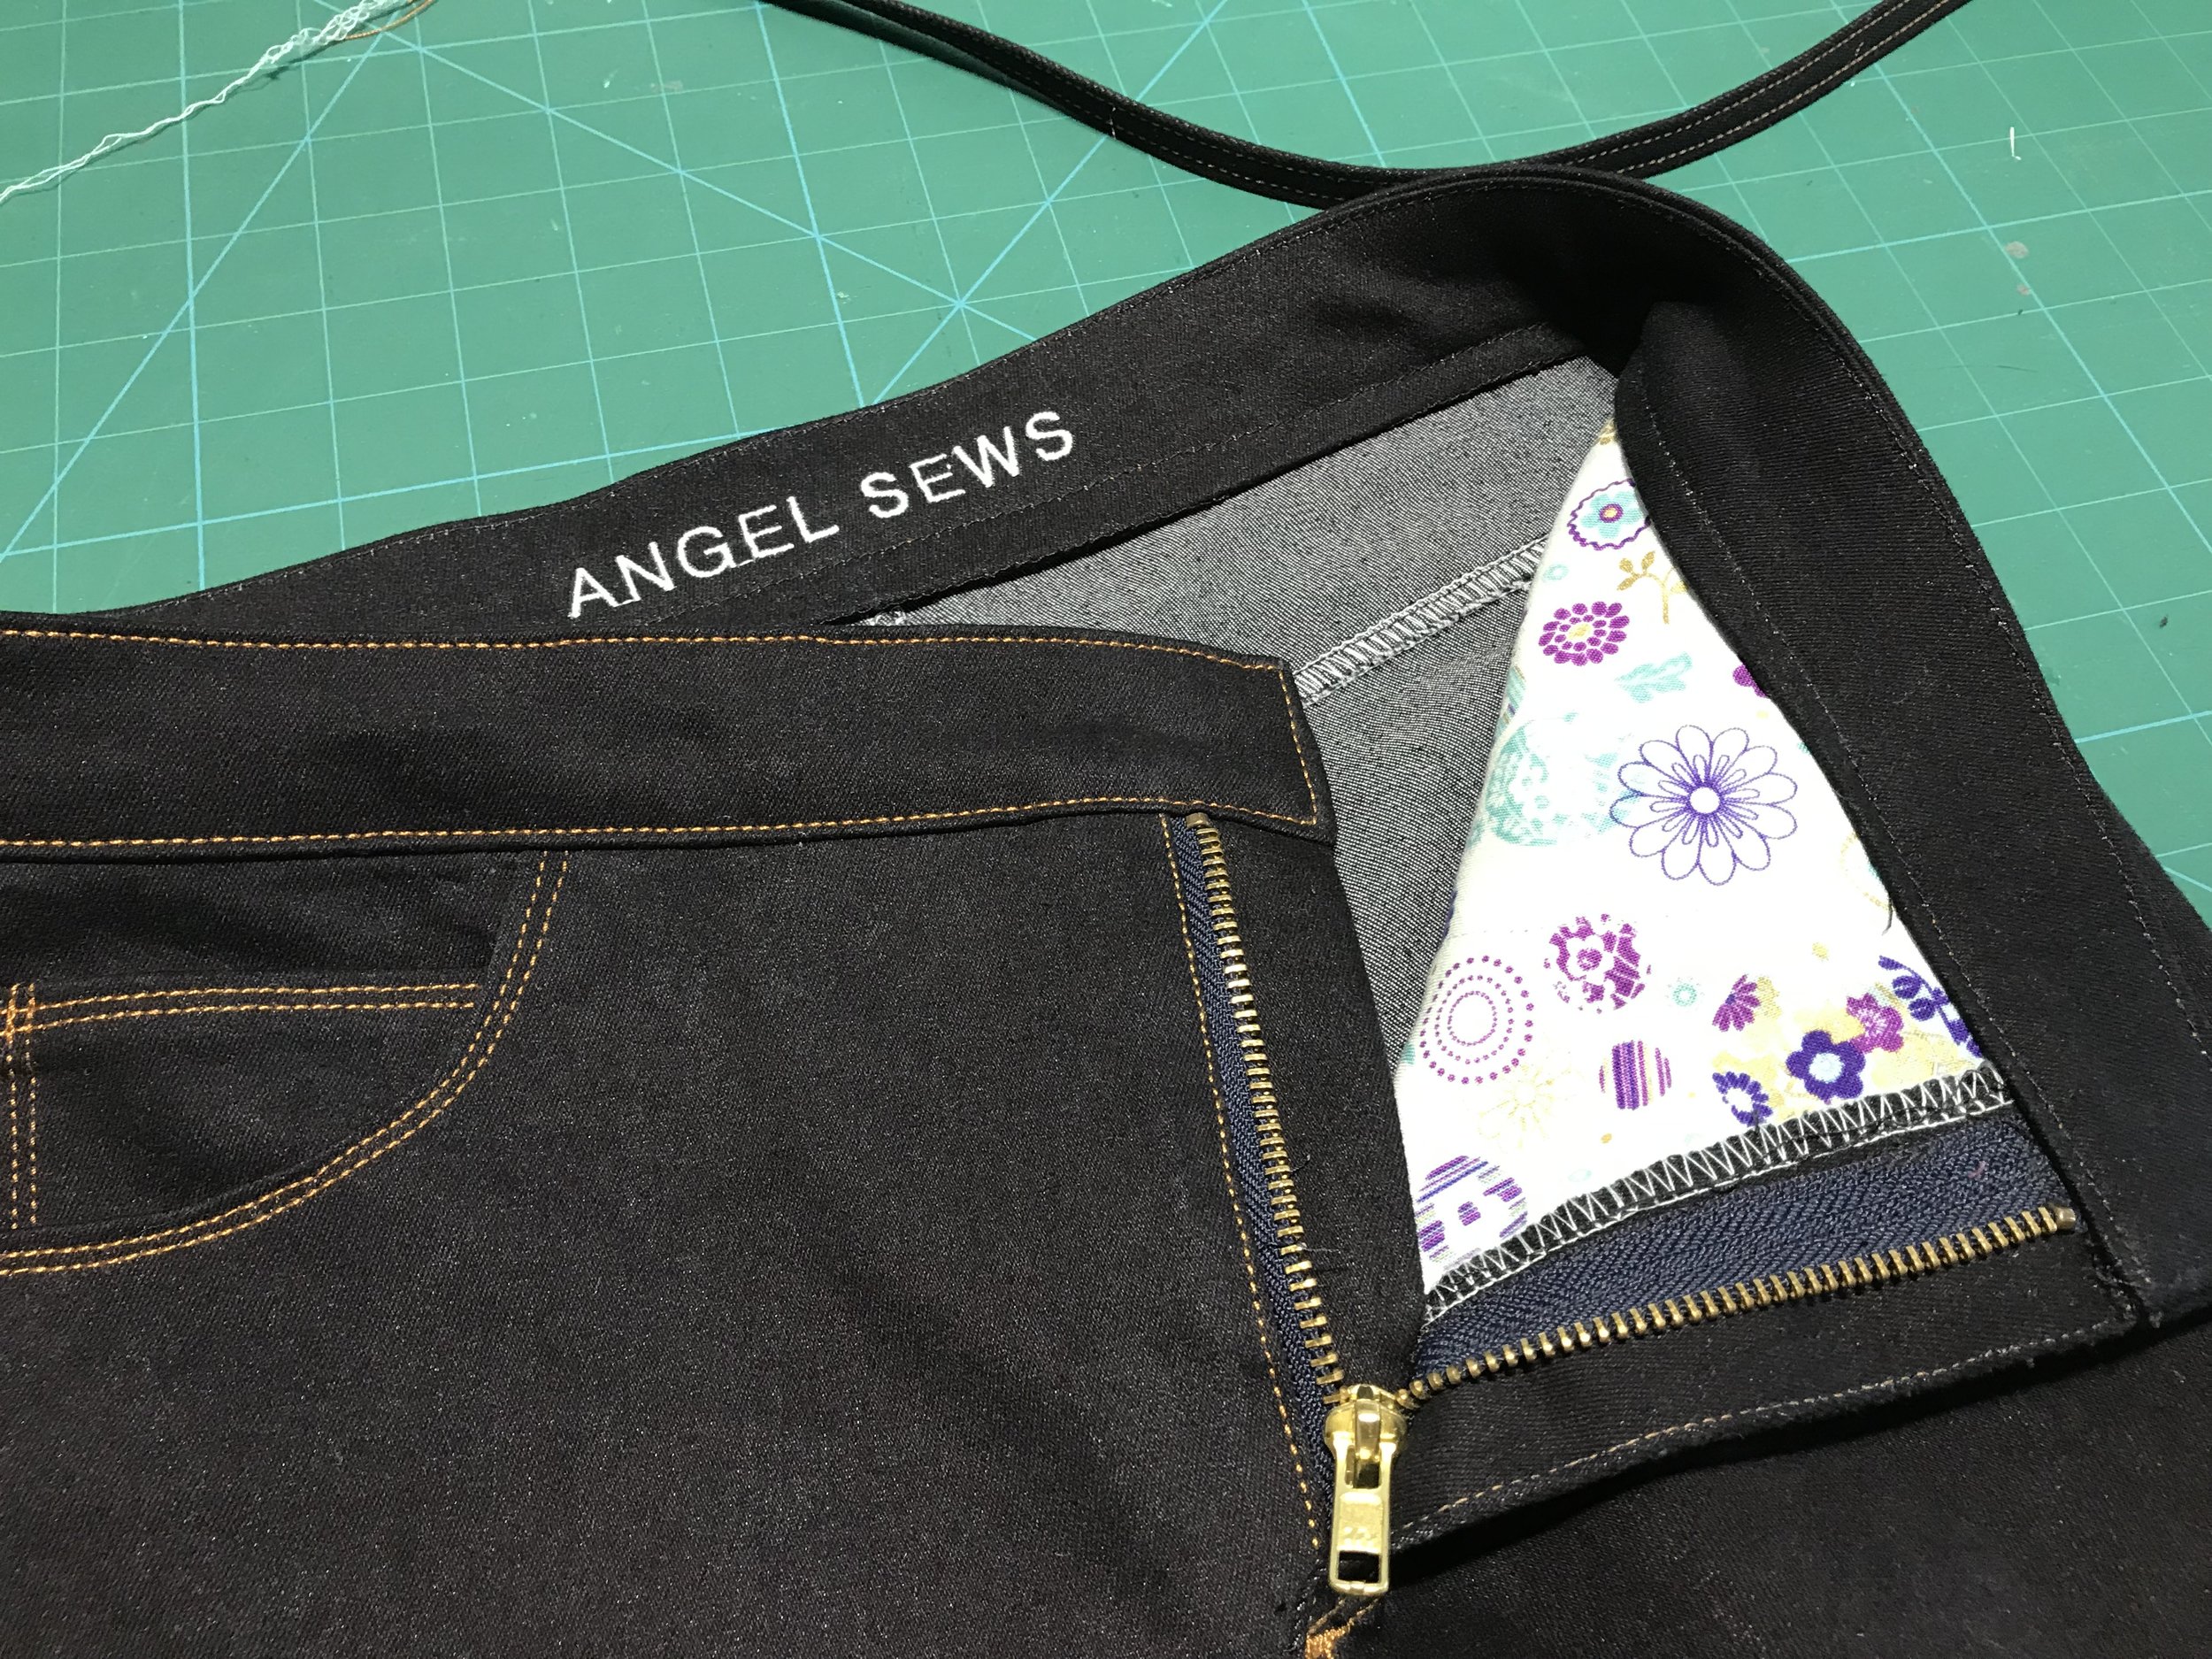

I have to say if you follow the instructions you should come out with some impressive looking jeans. The contrasting overlocker thread is a great idea and I picked up the lining fabric colour and followed through with my embroidered name. I ordered a couple of zips, one as per the instructions and then 1” shorter, but in the end I used a much shorter one I had lying around. It was still a little long and uncomfortable with feeling for the metal teeth I used my little kit to take out the extra teeth and replace the end stops.
I hadn’t bothered with a test make so the only room I had for adjusting was when I came to sew the outside leg seams. This is when I realised how little stretch my fabric had. So from just above my knee I reduced the seam allowance by 1/4” and this is enough to get them on. Although I did end up with loads of small bruises where I caught my skin on my first attempt to get them on.
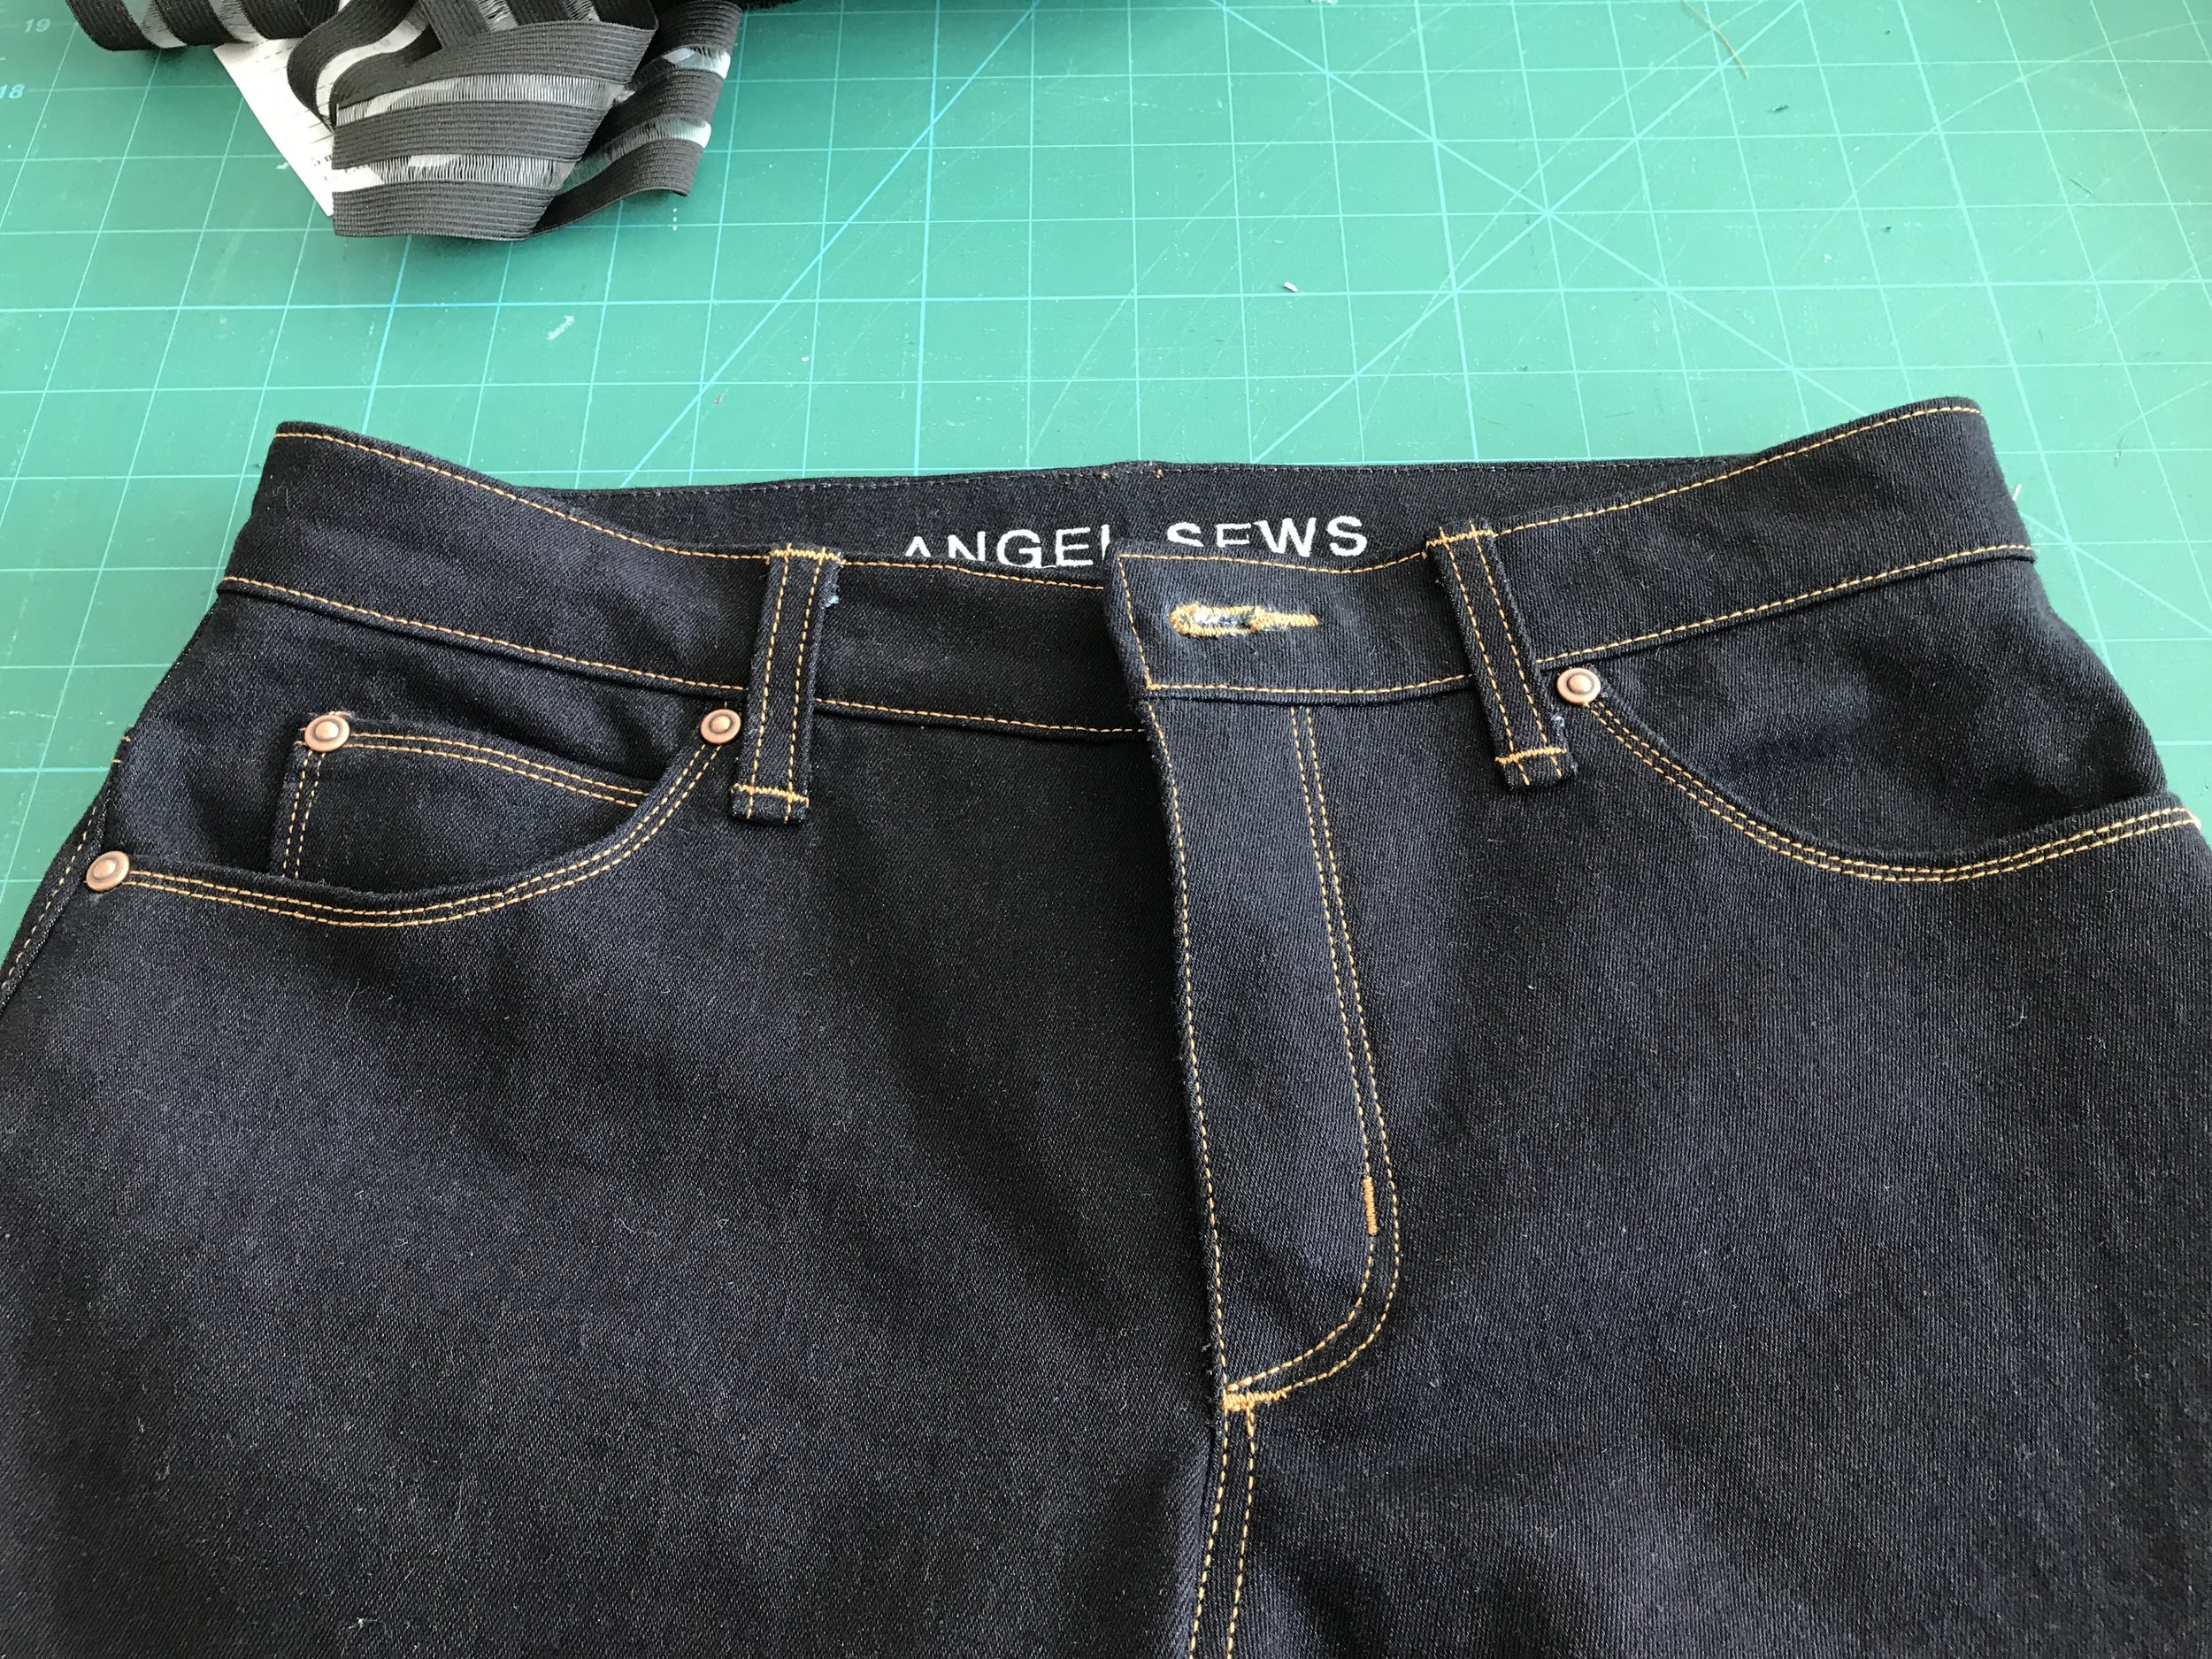
I attempted to sew on the belt loops with my walking foot attached but I just couldn’t see what I was doing. In the end I used my applique foot which is quite short and open. Along with the jean-a-ma-jig and wonder tape I managed 5 perfectly placed neat belt loops. And then the dreaded buttonhole. The buttonhole foot just kept catching in the seam allowance and knotted. I tried normal thread the same colour as the topstitch thread. After a google search I came across a Youtube video on a manual buttonhole. It takes a bit of practice but looks fantastic. However, I did use fraycheck on the back and let dry before I cut open.
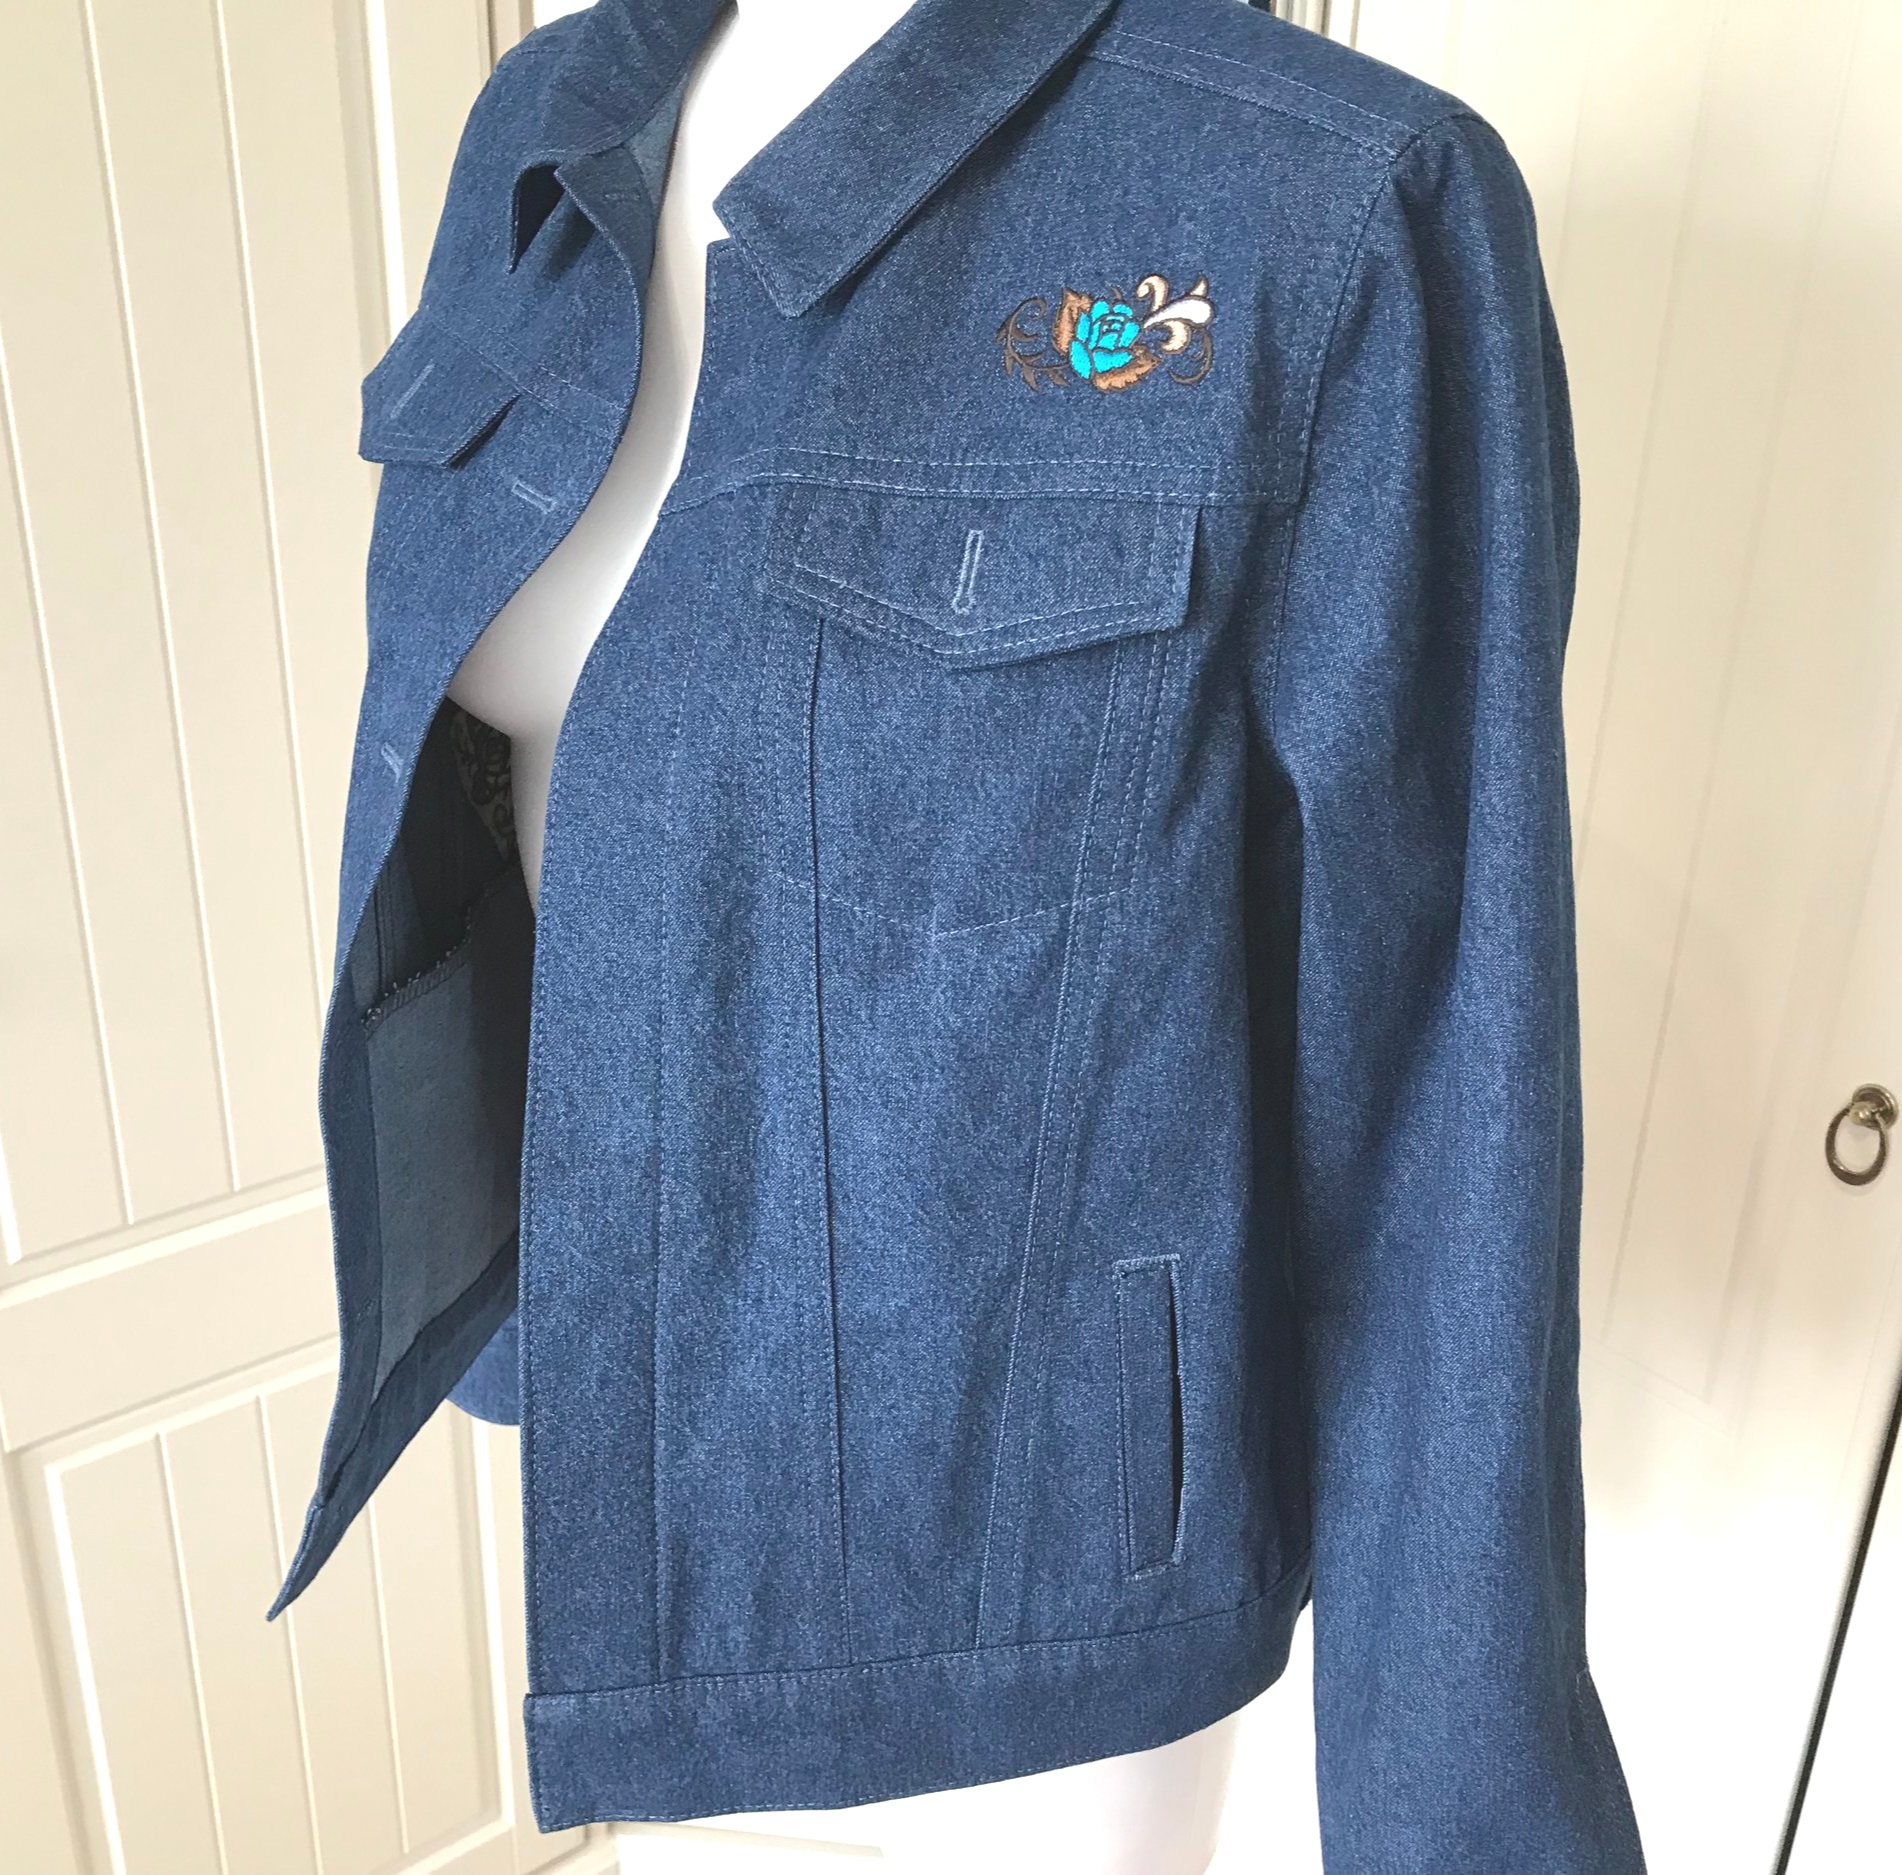
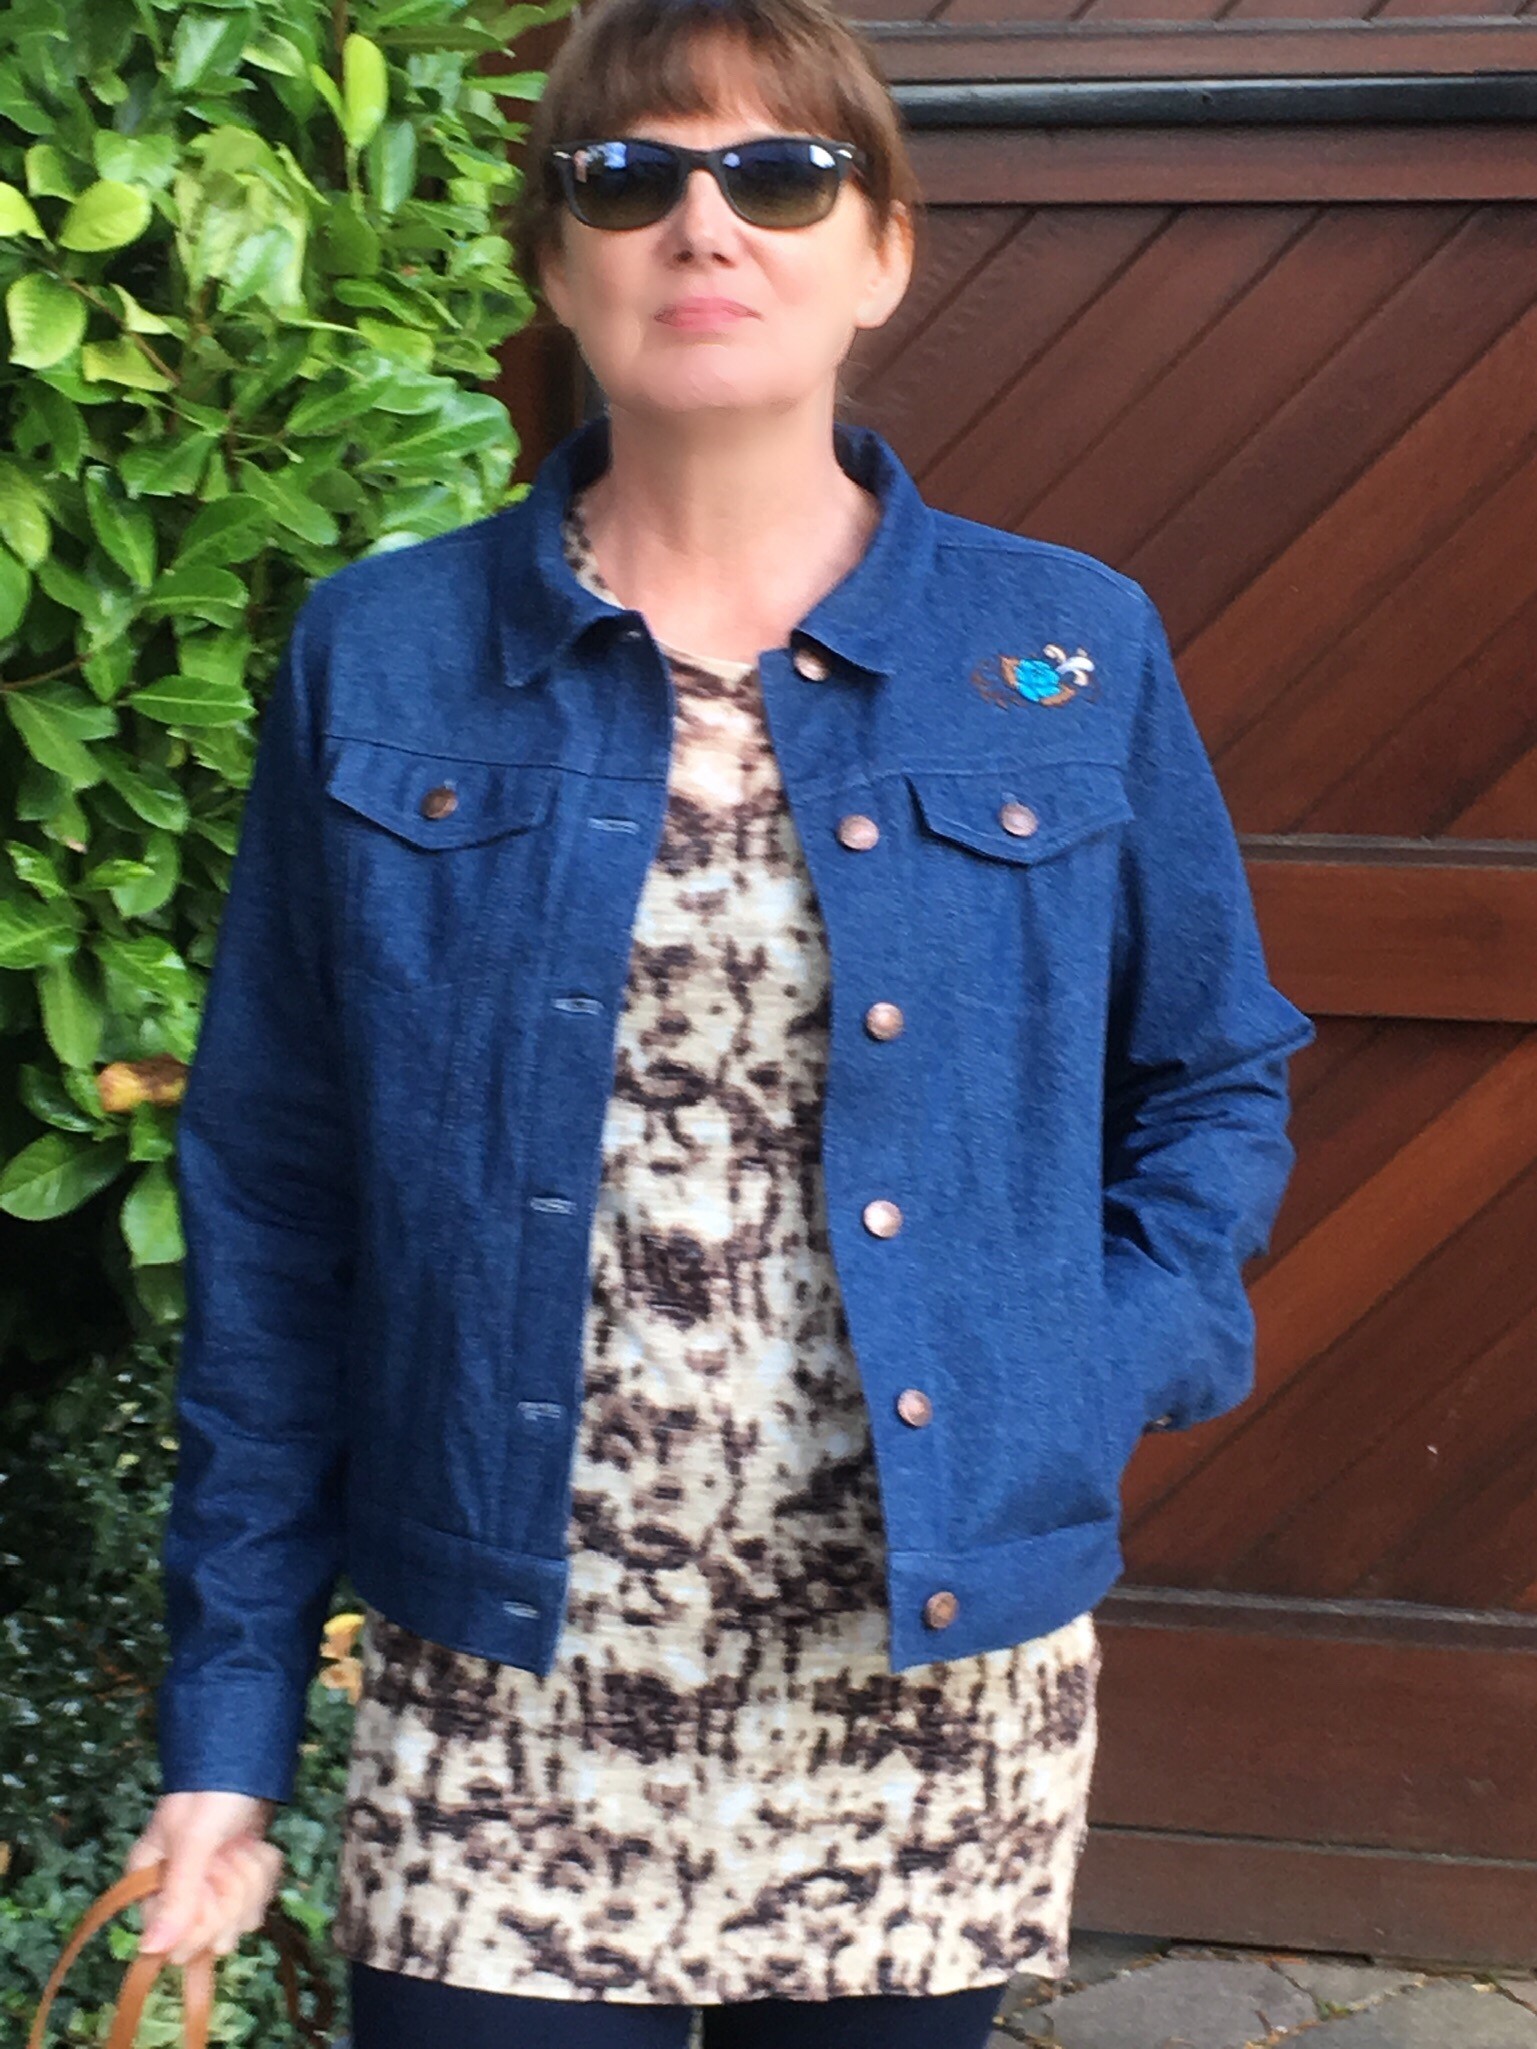
Now a little more relaxed around denim I thought I would tackle the jacket - all those buttonholes! It was easier to decide which size to make as my waist measurement ties in with my bust and I again made an 8. Another PDF but this pattern is layered so I could just print out the one size and a manageable number of pages. Every single page lined up perfectly. Then it struck me there were an awful lot of pattern pieces - 20 in fact, A to T. Thankfully, as with the Ginger there is a fabulous sewalong to accompany the pattern instructions which have technical drawings. Again I mostly followed the sewalong occasionally referring back to the pattern but I should point out that they are enough but I prefer photos.
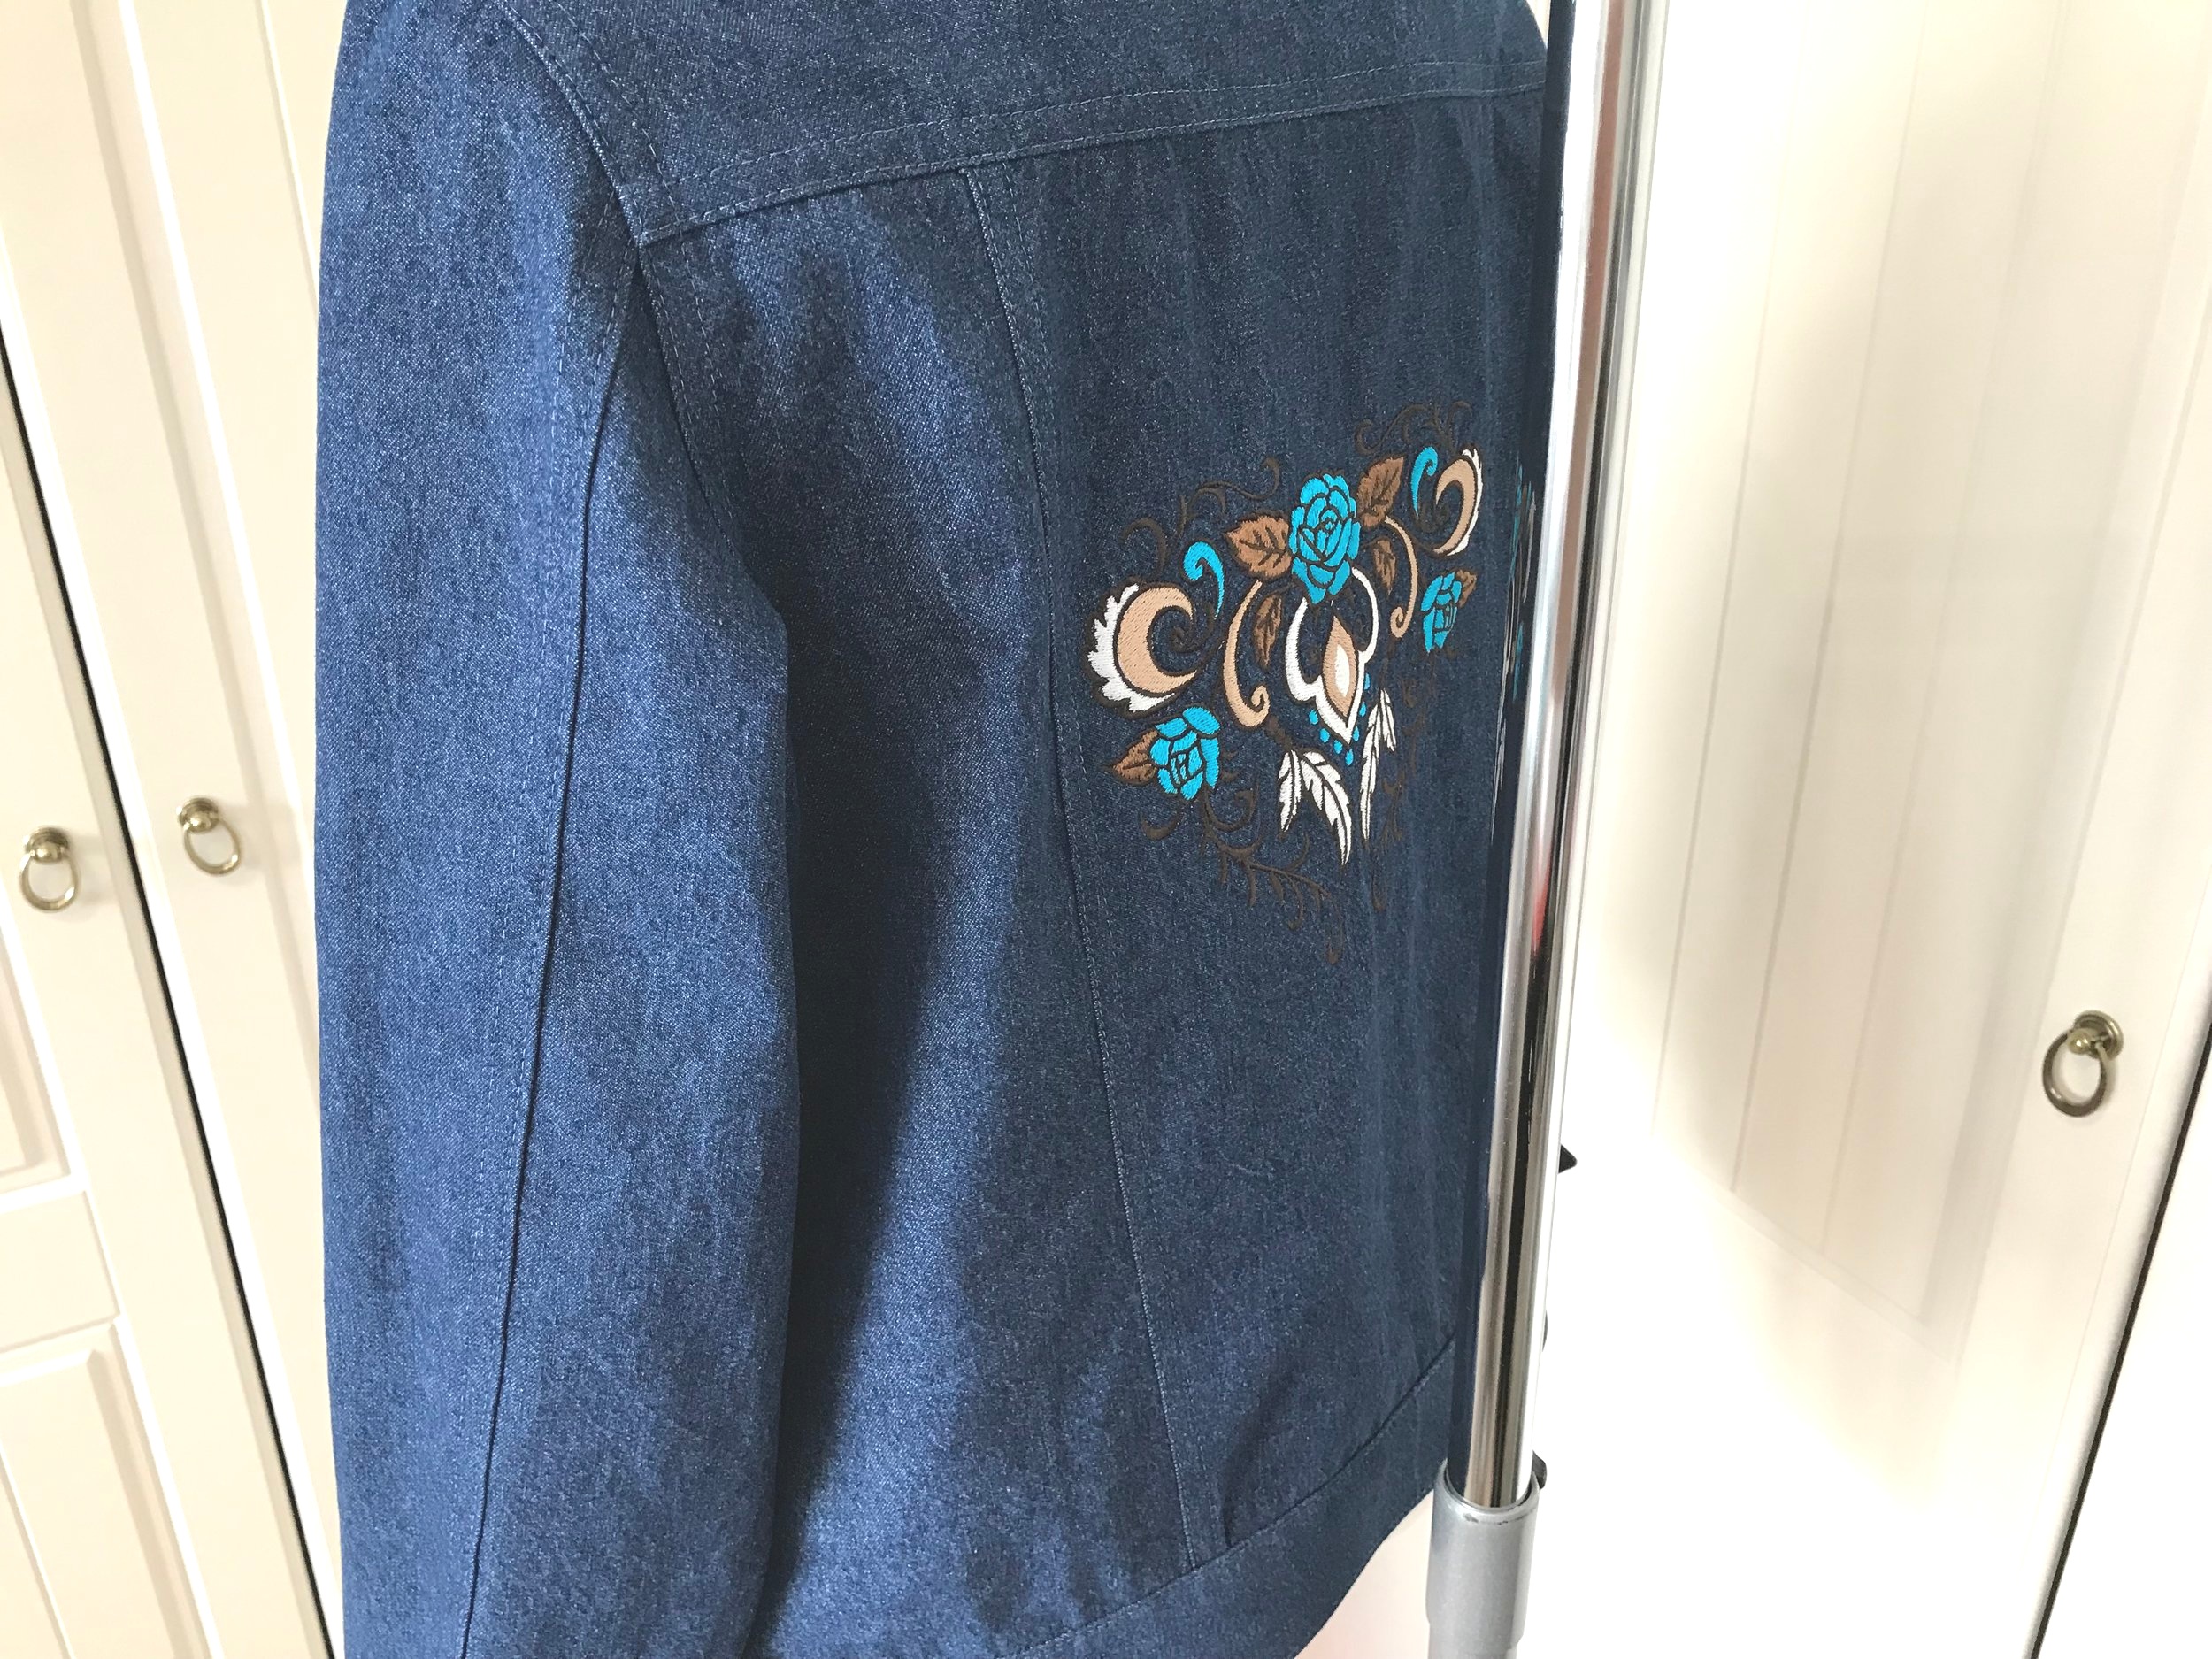
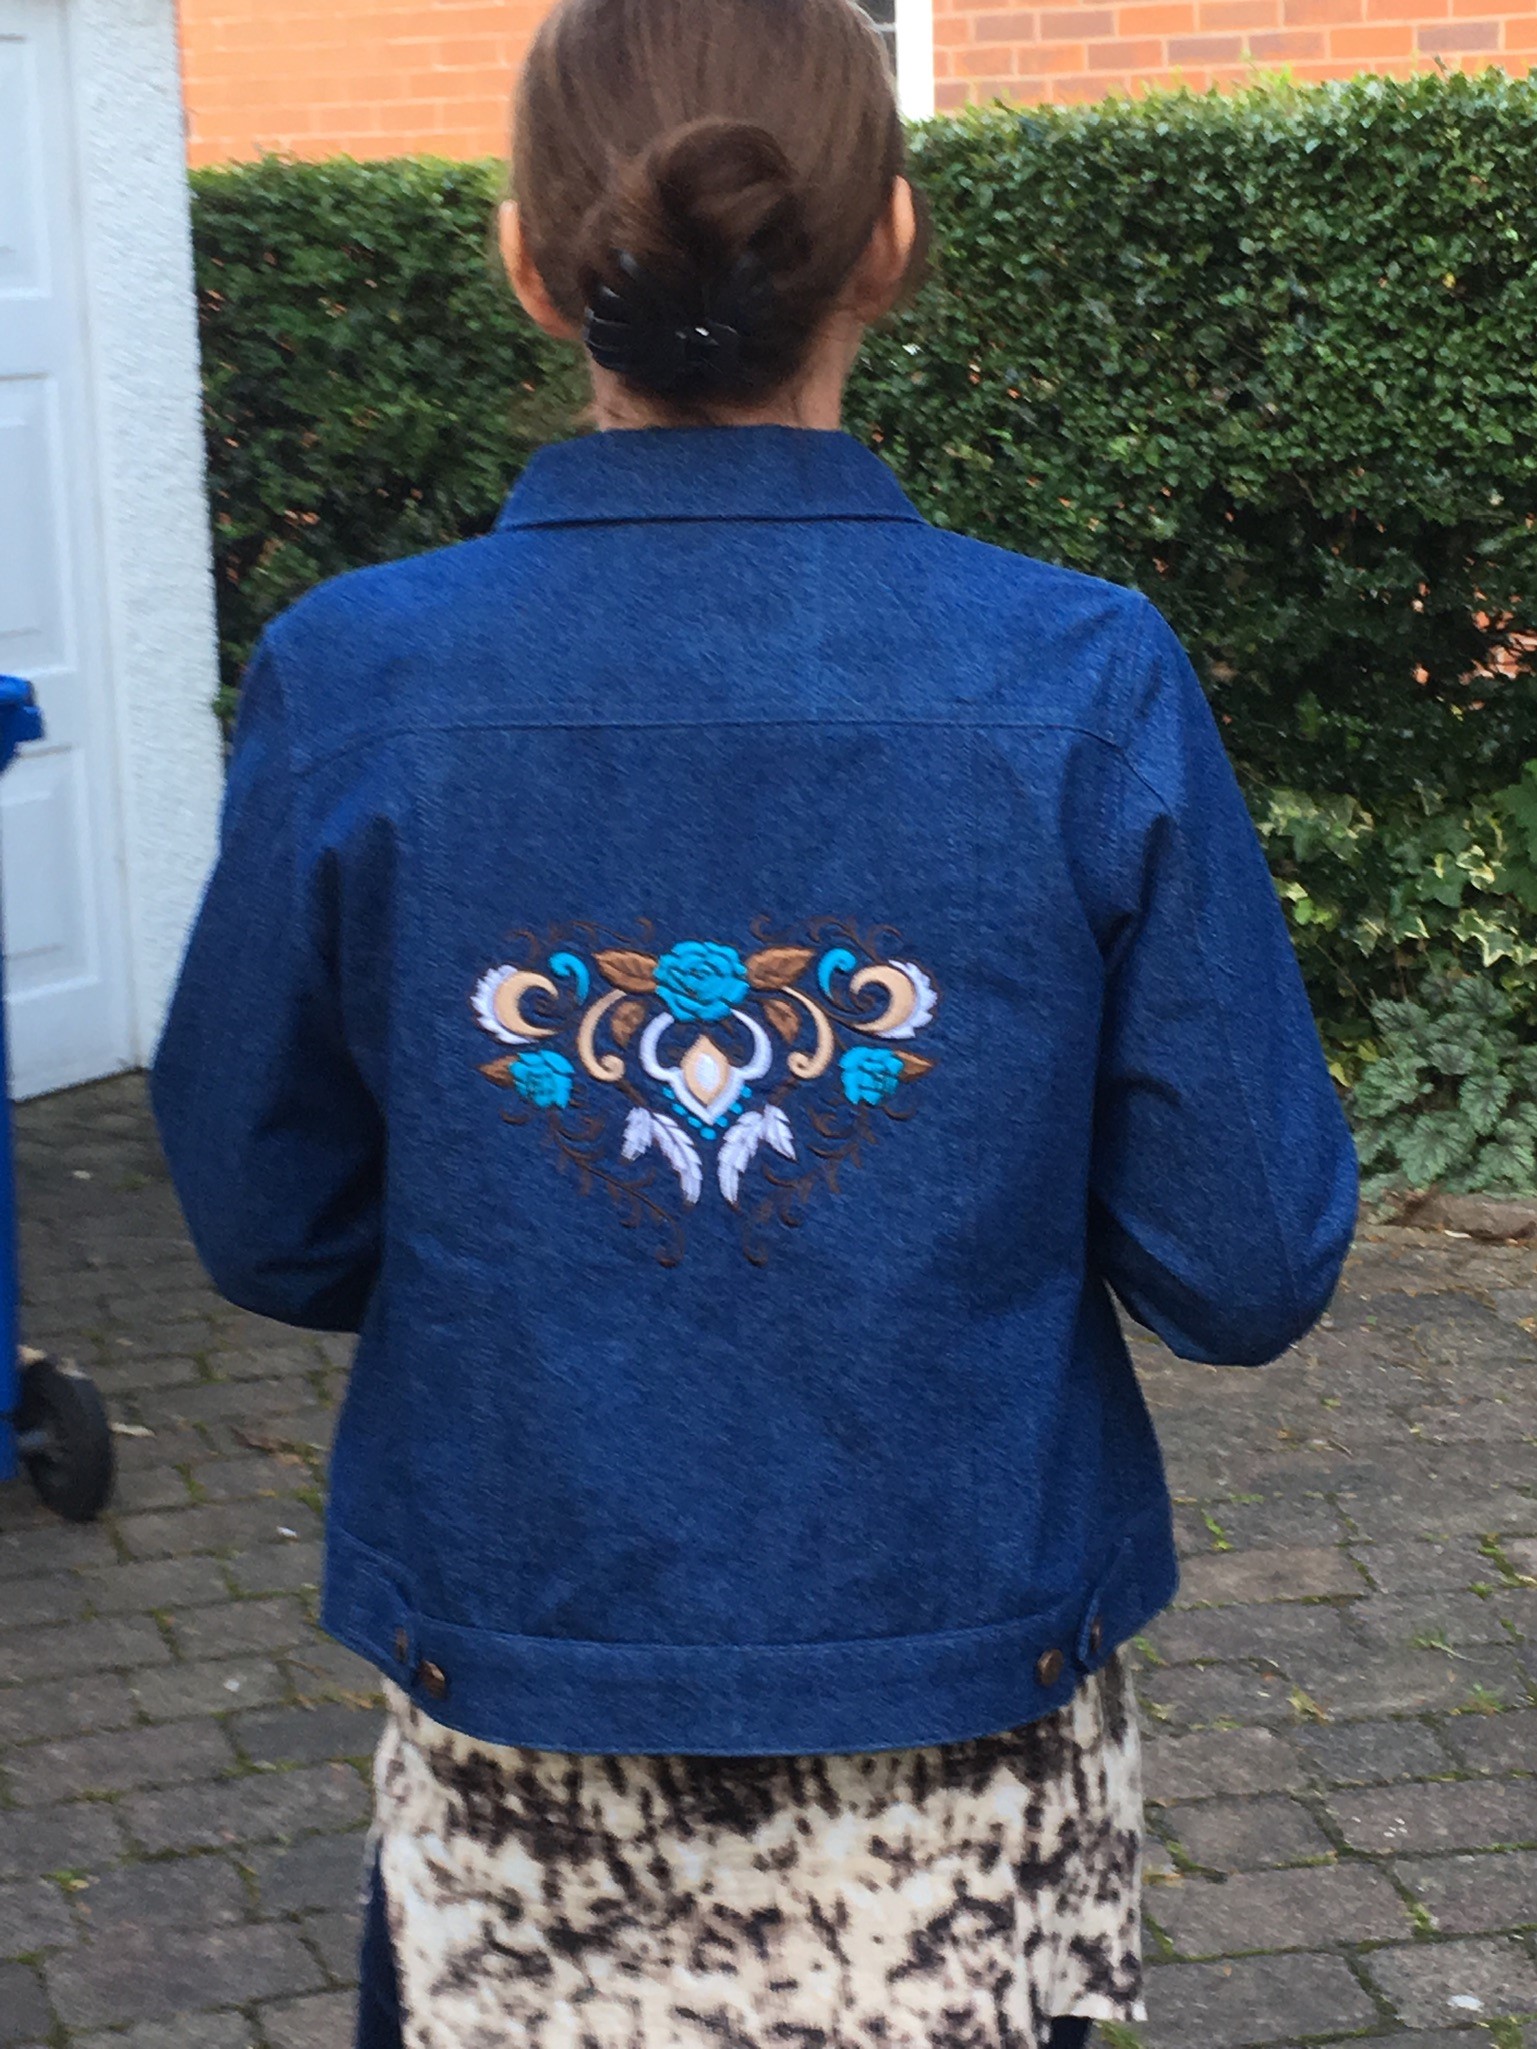
I wanted to embroider the back but wanted the design to fit within the centre back panel as I didn’t want to go over the bulky seams. This time the pattern is for a non-stretch denim and I used a mid blue from Empress Mills. This influenced the design I used because a lot of the designs would work on either bleached or very dark denim. I found another Embroidery Library design that I thought would work really well called Wild West Blooms. I changed out the teal for a more turquoise colour to pop on the denim.
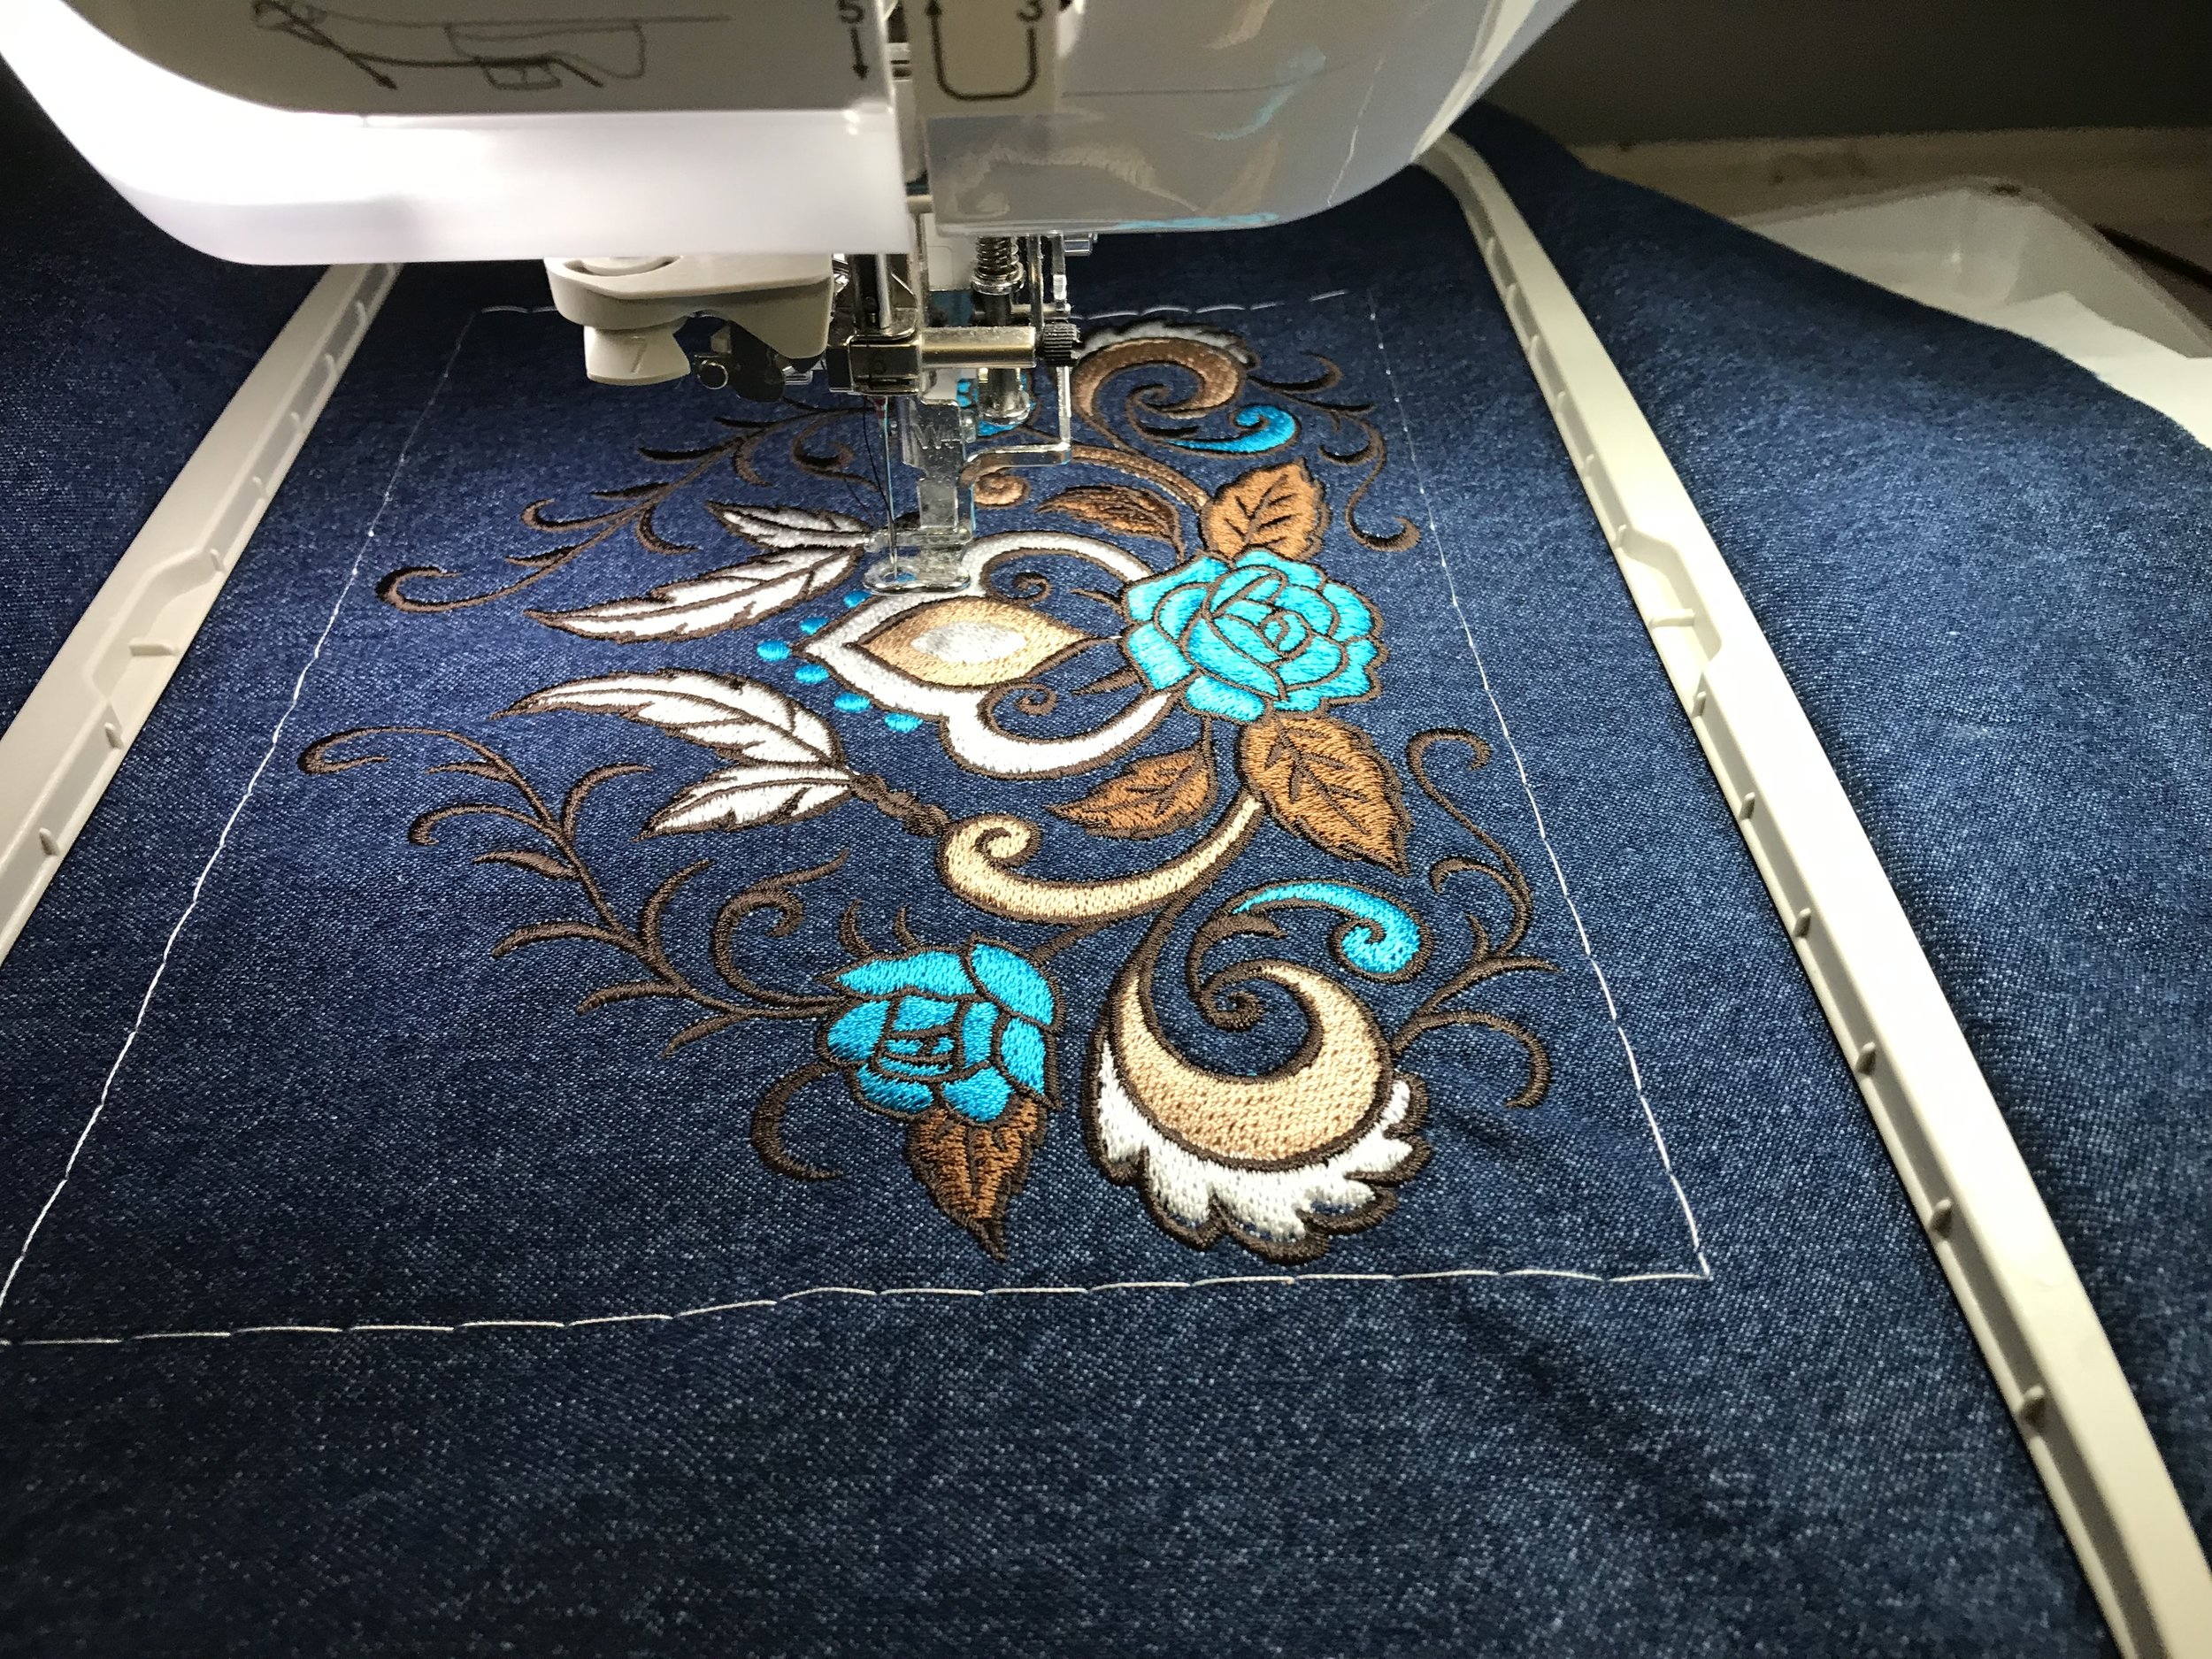
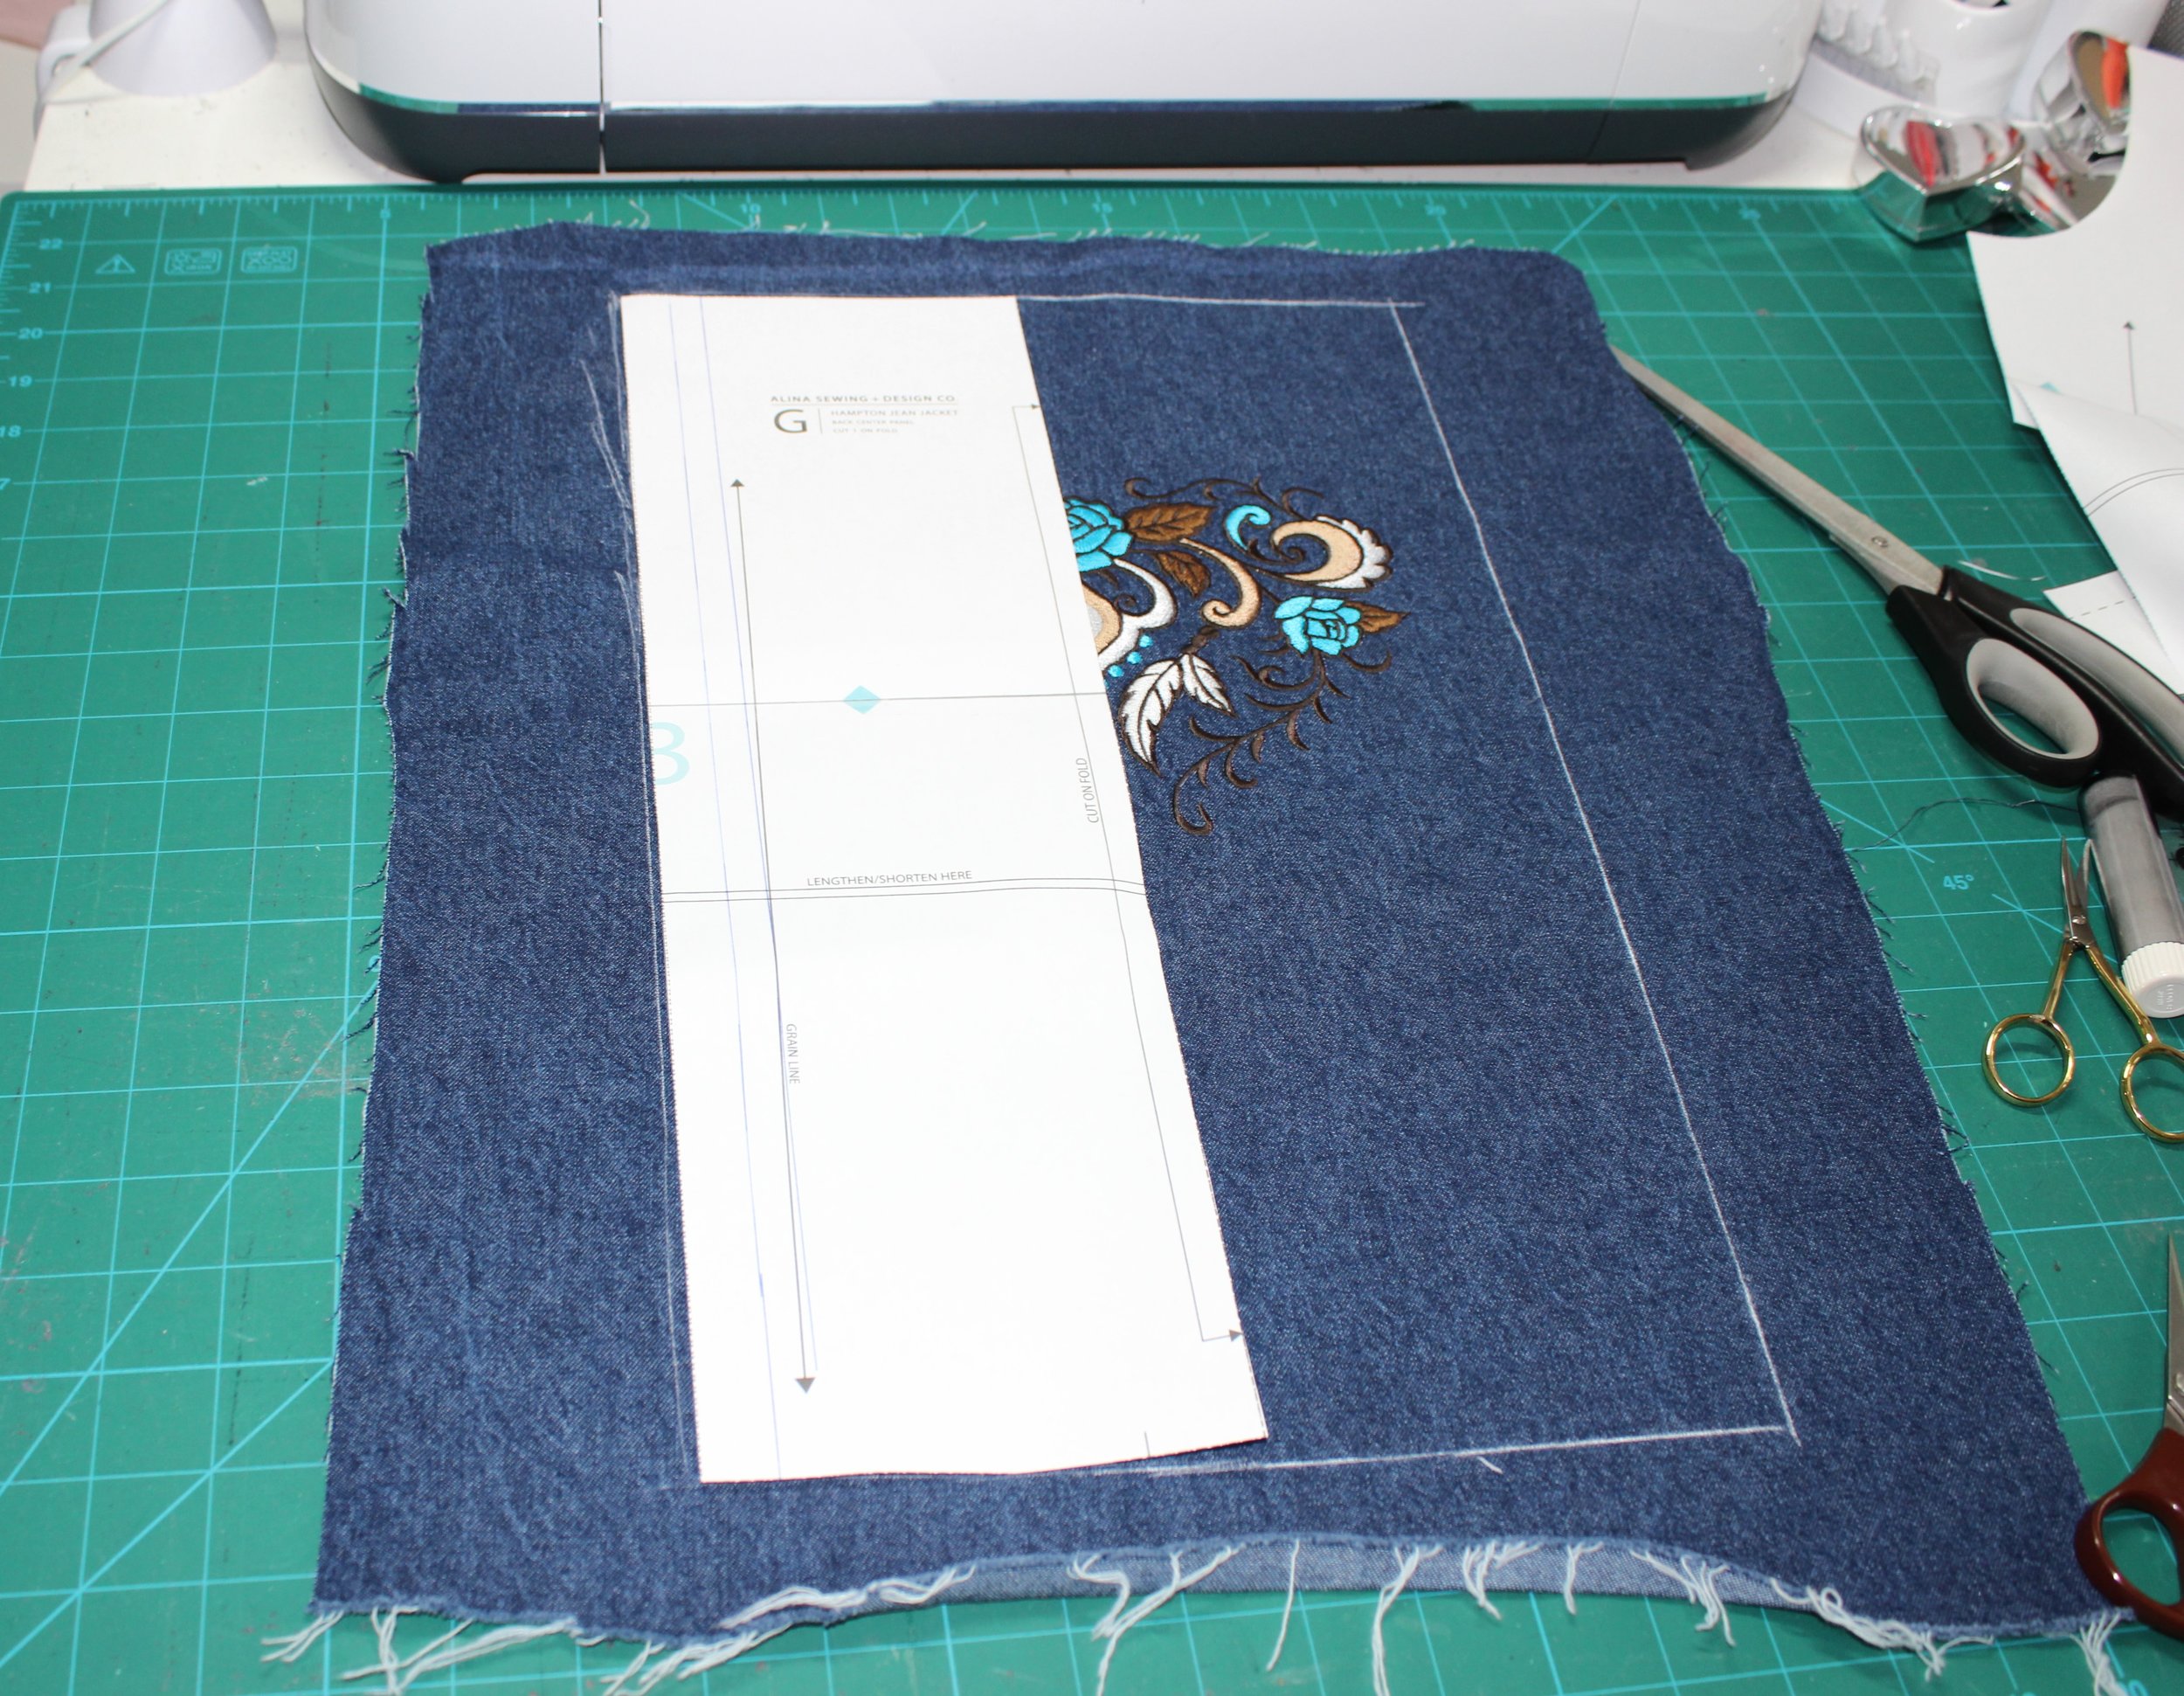
I traced the pattern piece and roughly cut around so I didn’t have to be too precise in the hooping as I am still a complete beginner with the bigger hoops. I then traced out the pattern piece ensuring it was exactly in the centre.
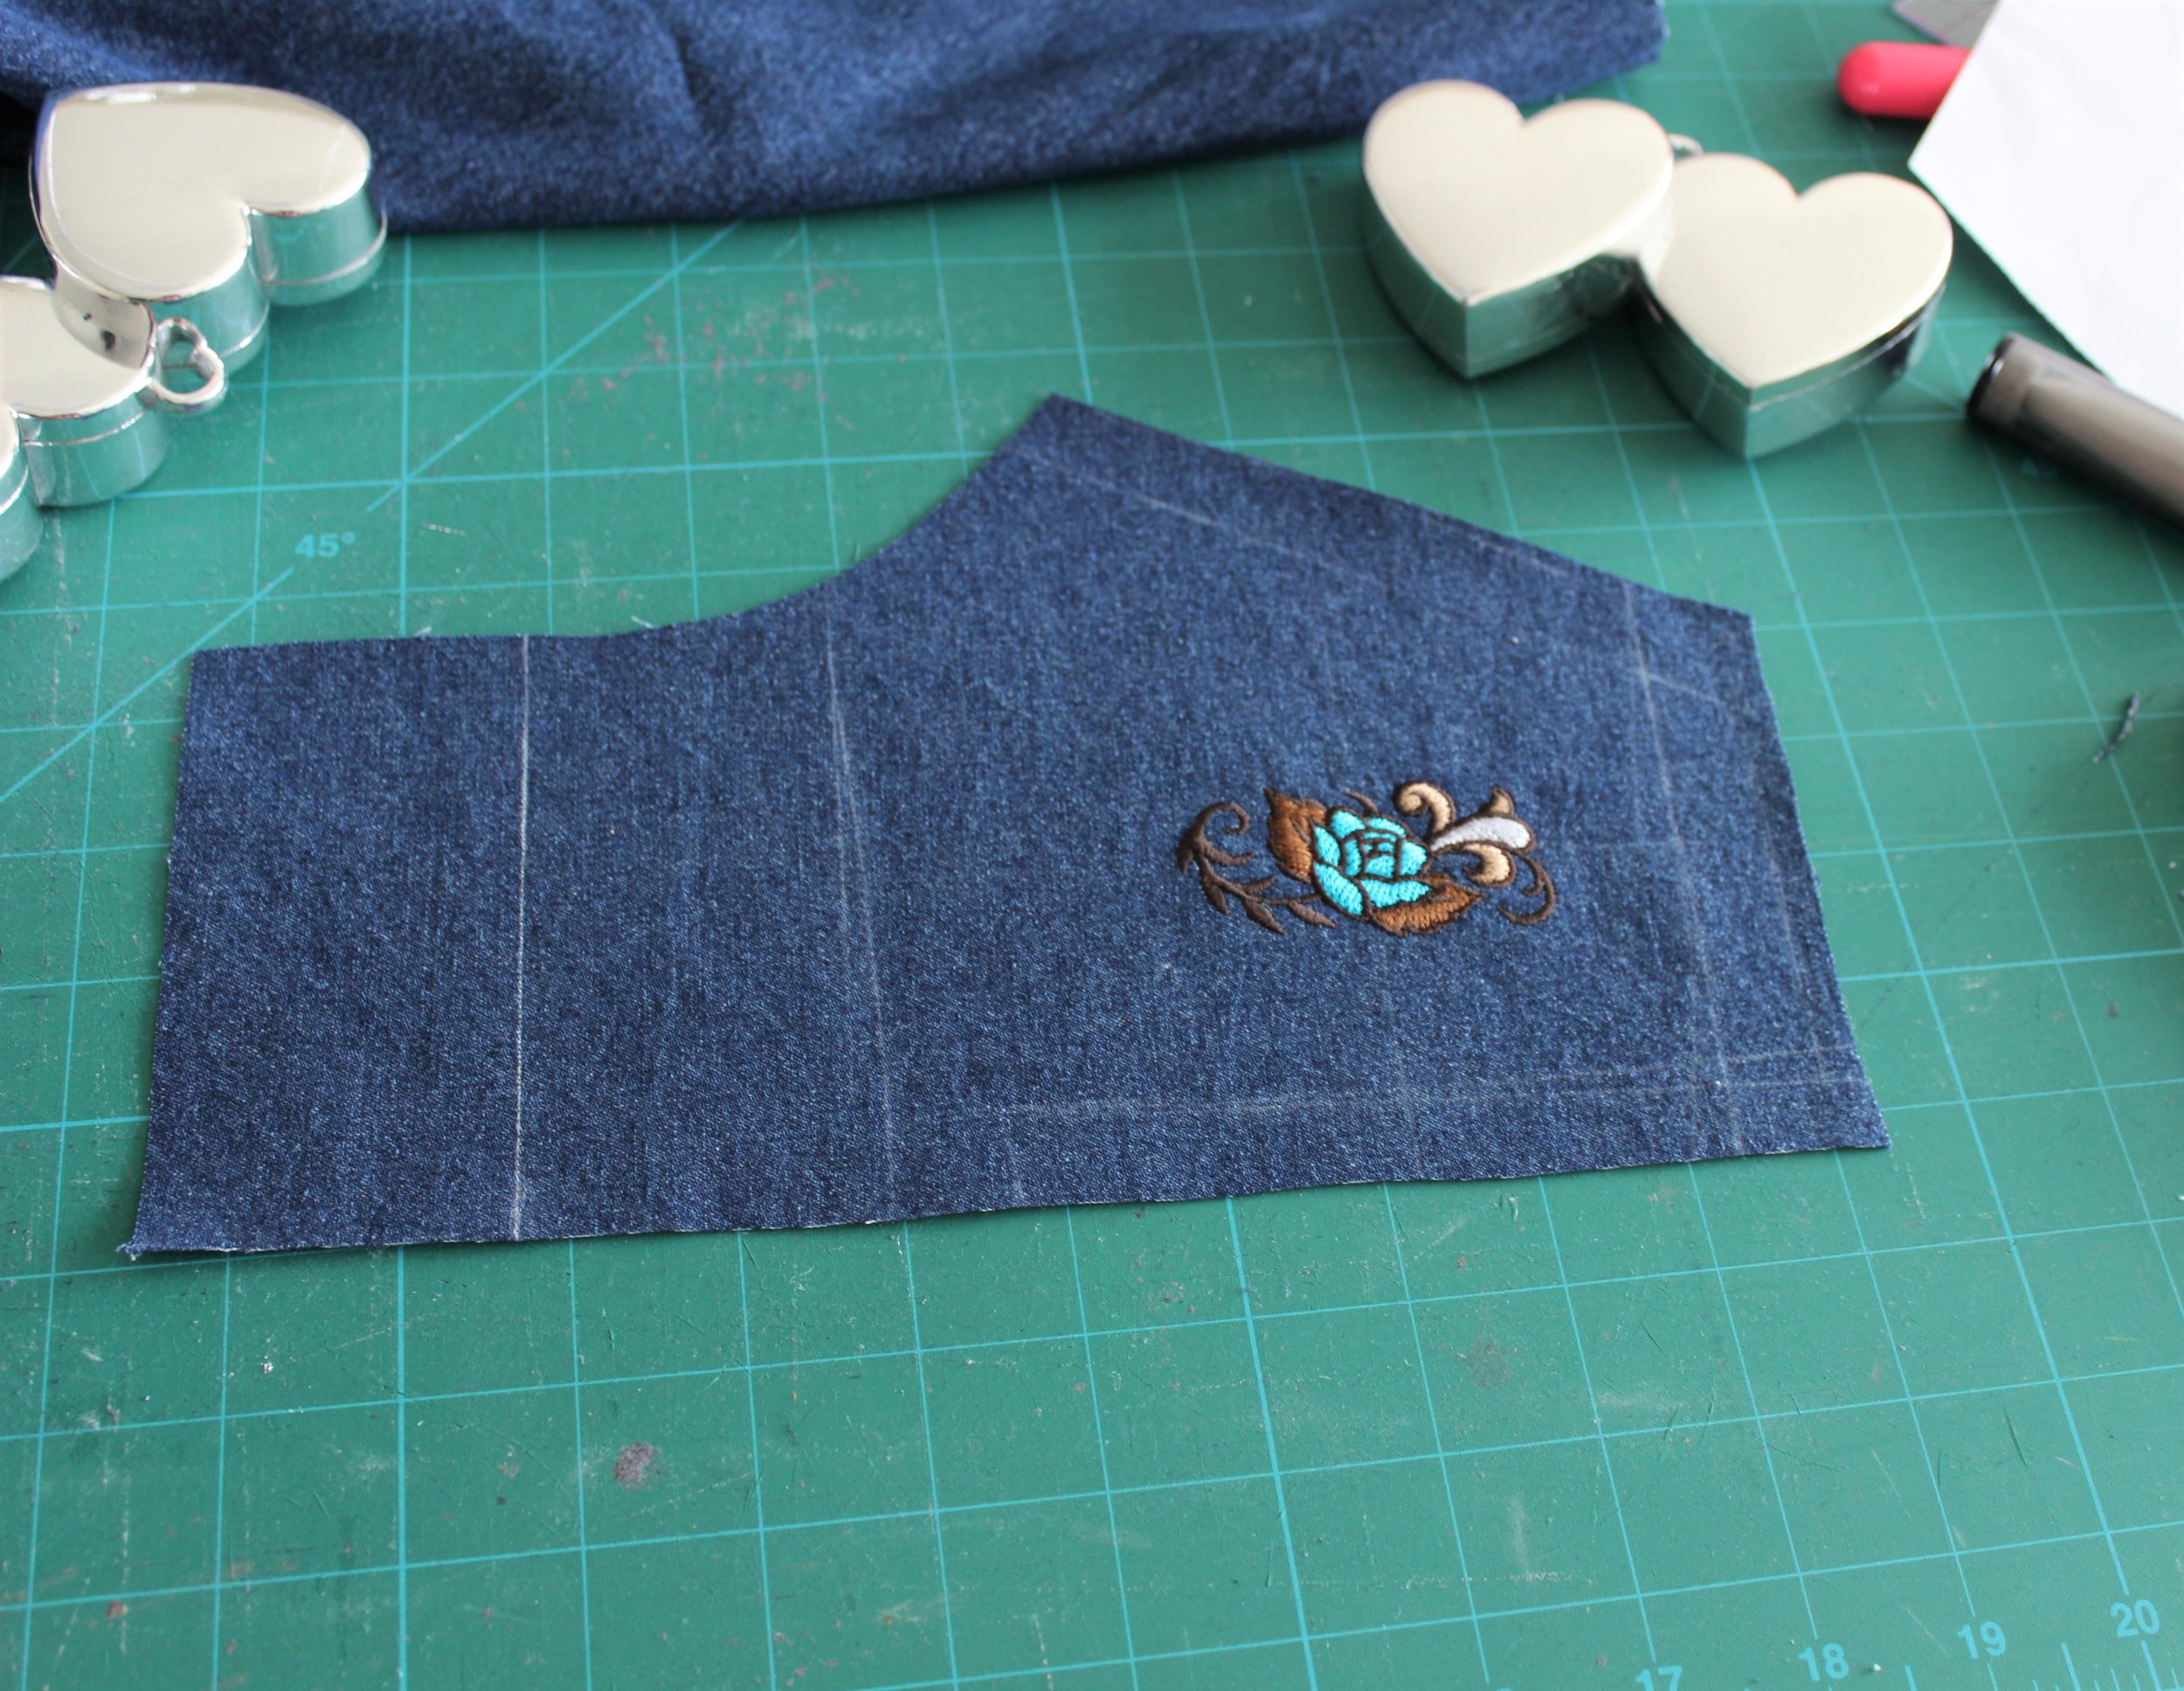
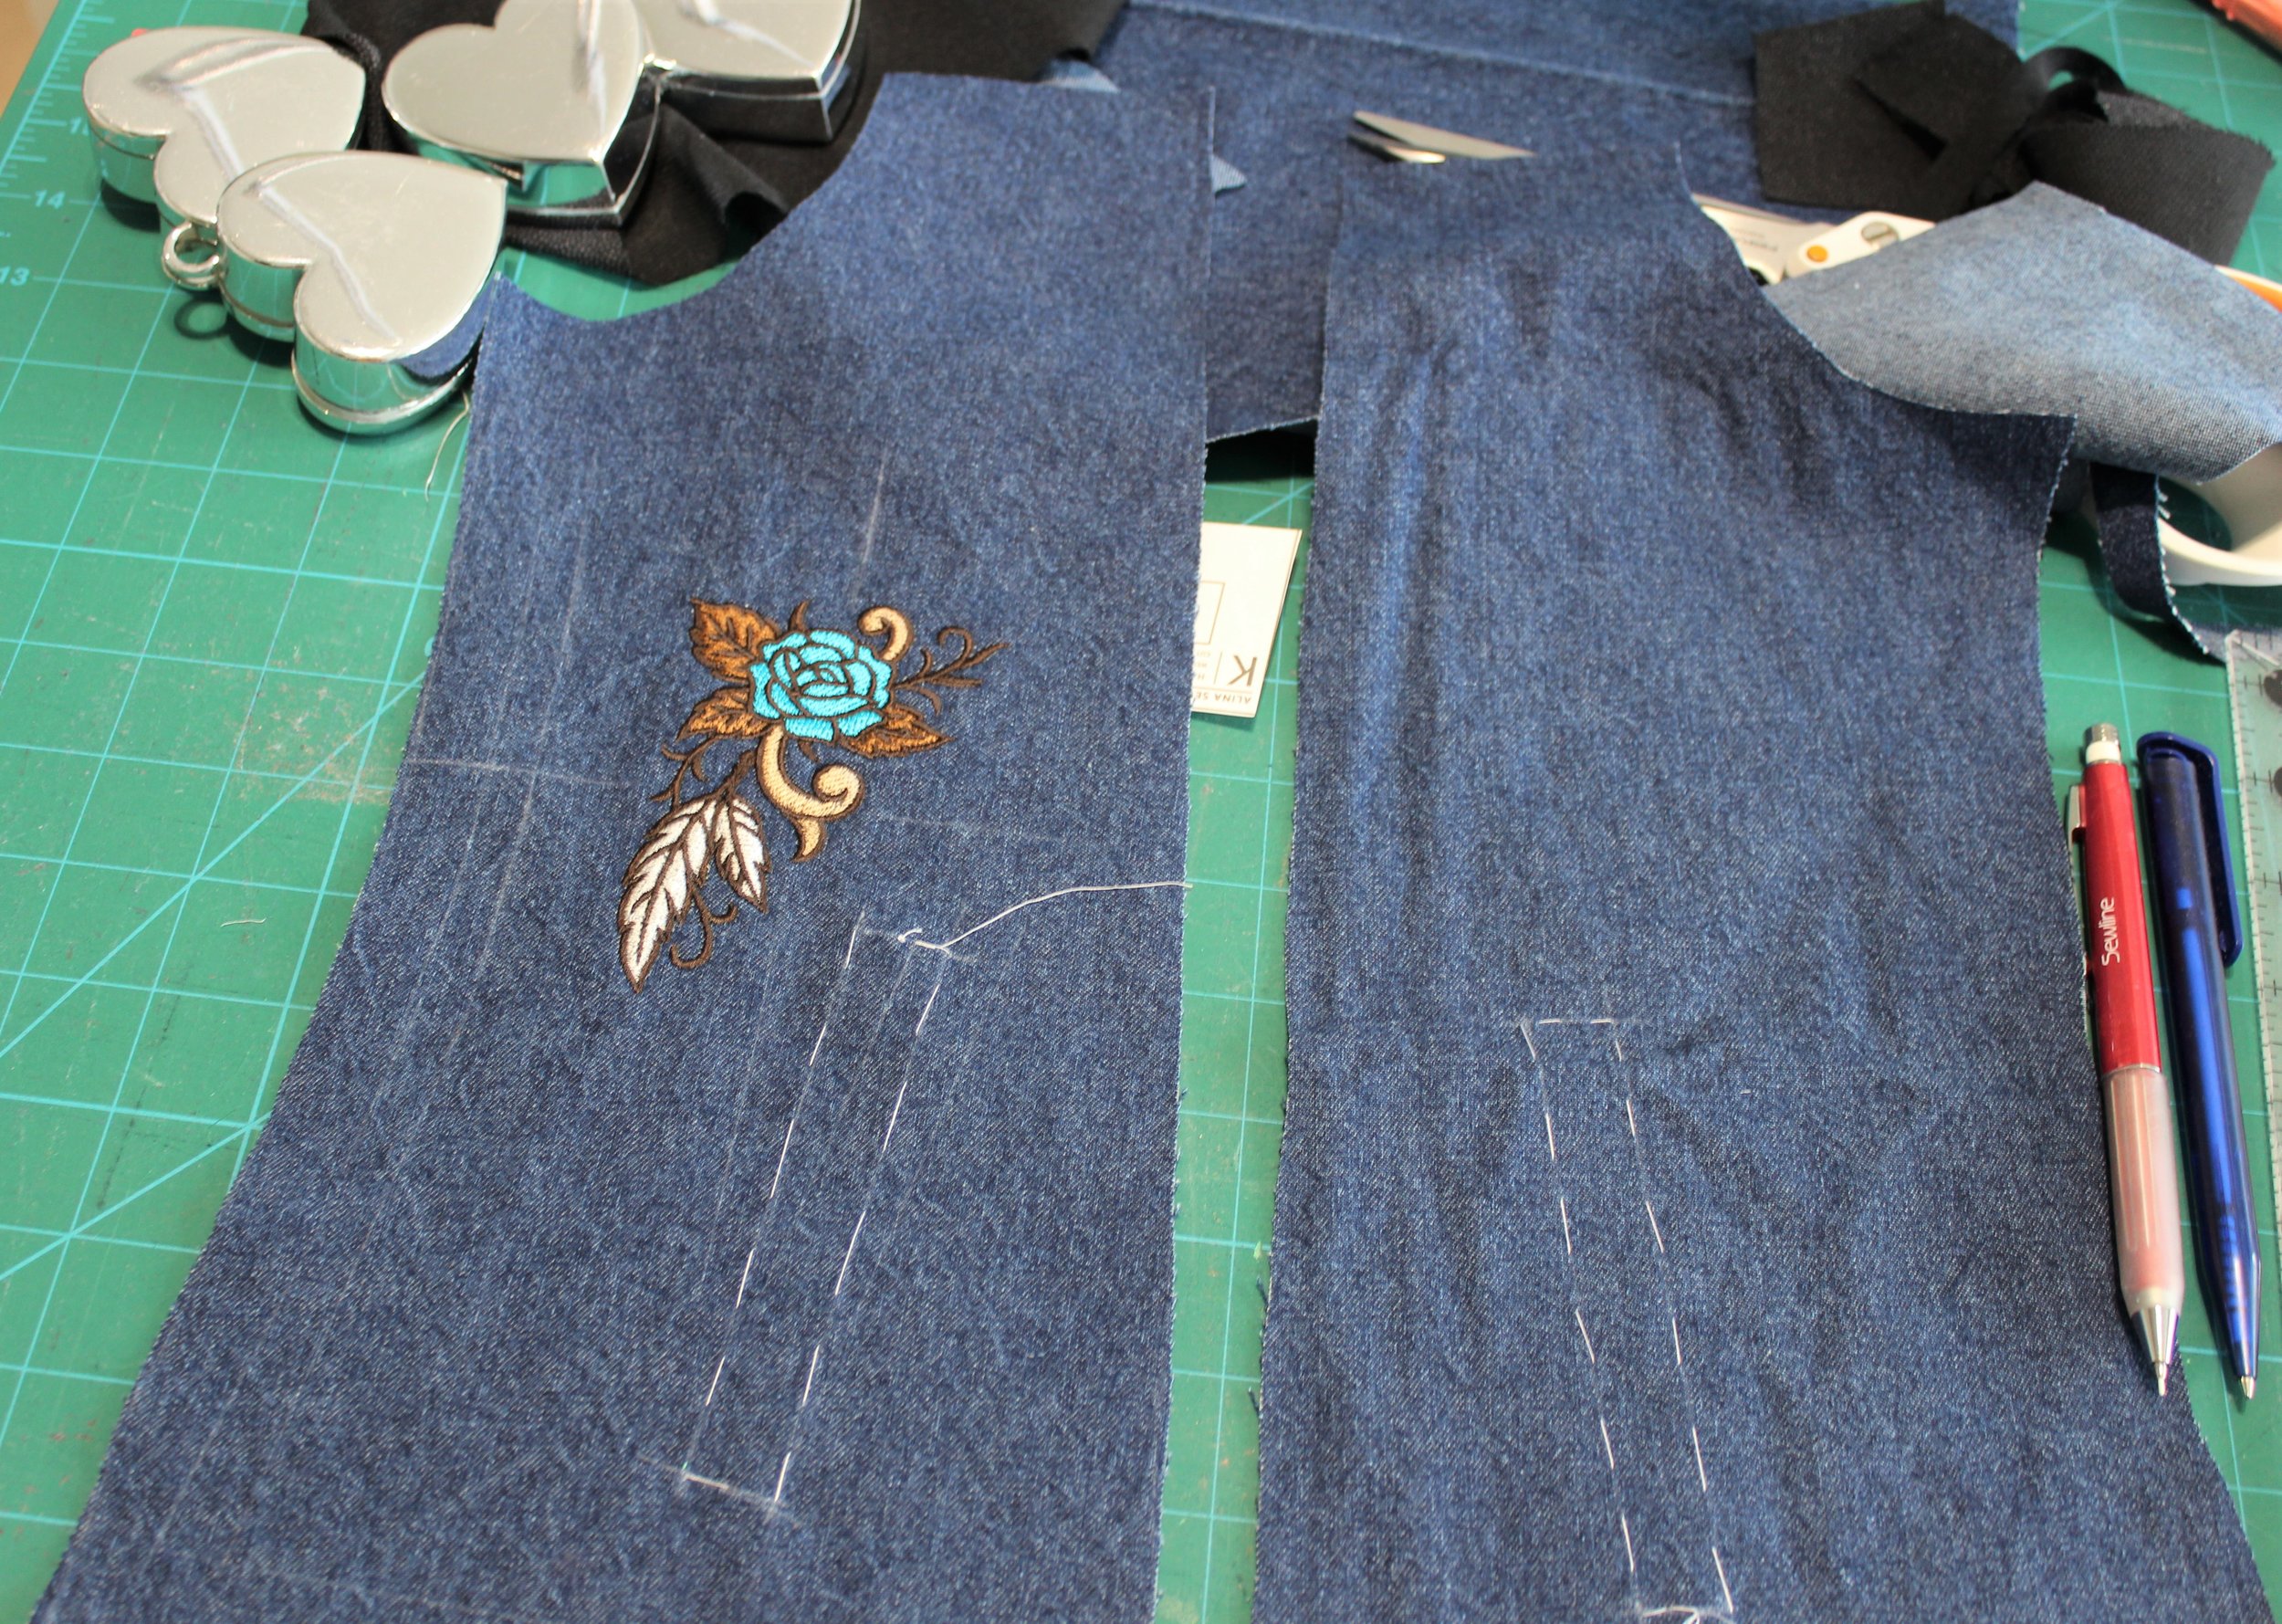
I used smaller designs in the set for the front yoke and side panel. To help with placement I drew on all the seam allowances and top stitching lines. I am so pleased with the result.
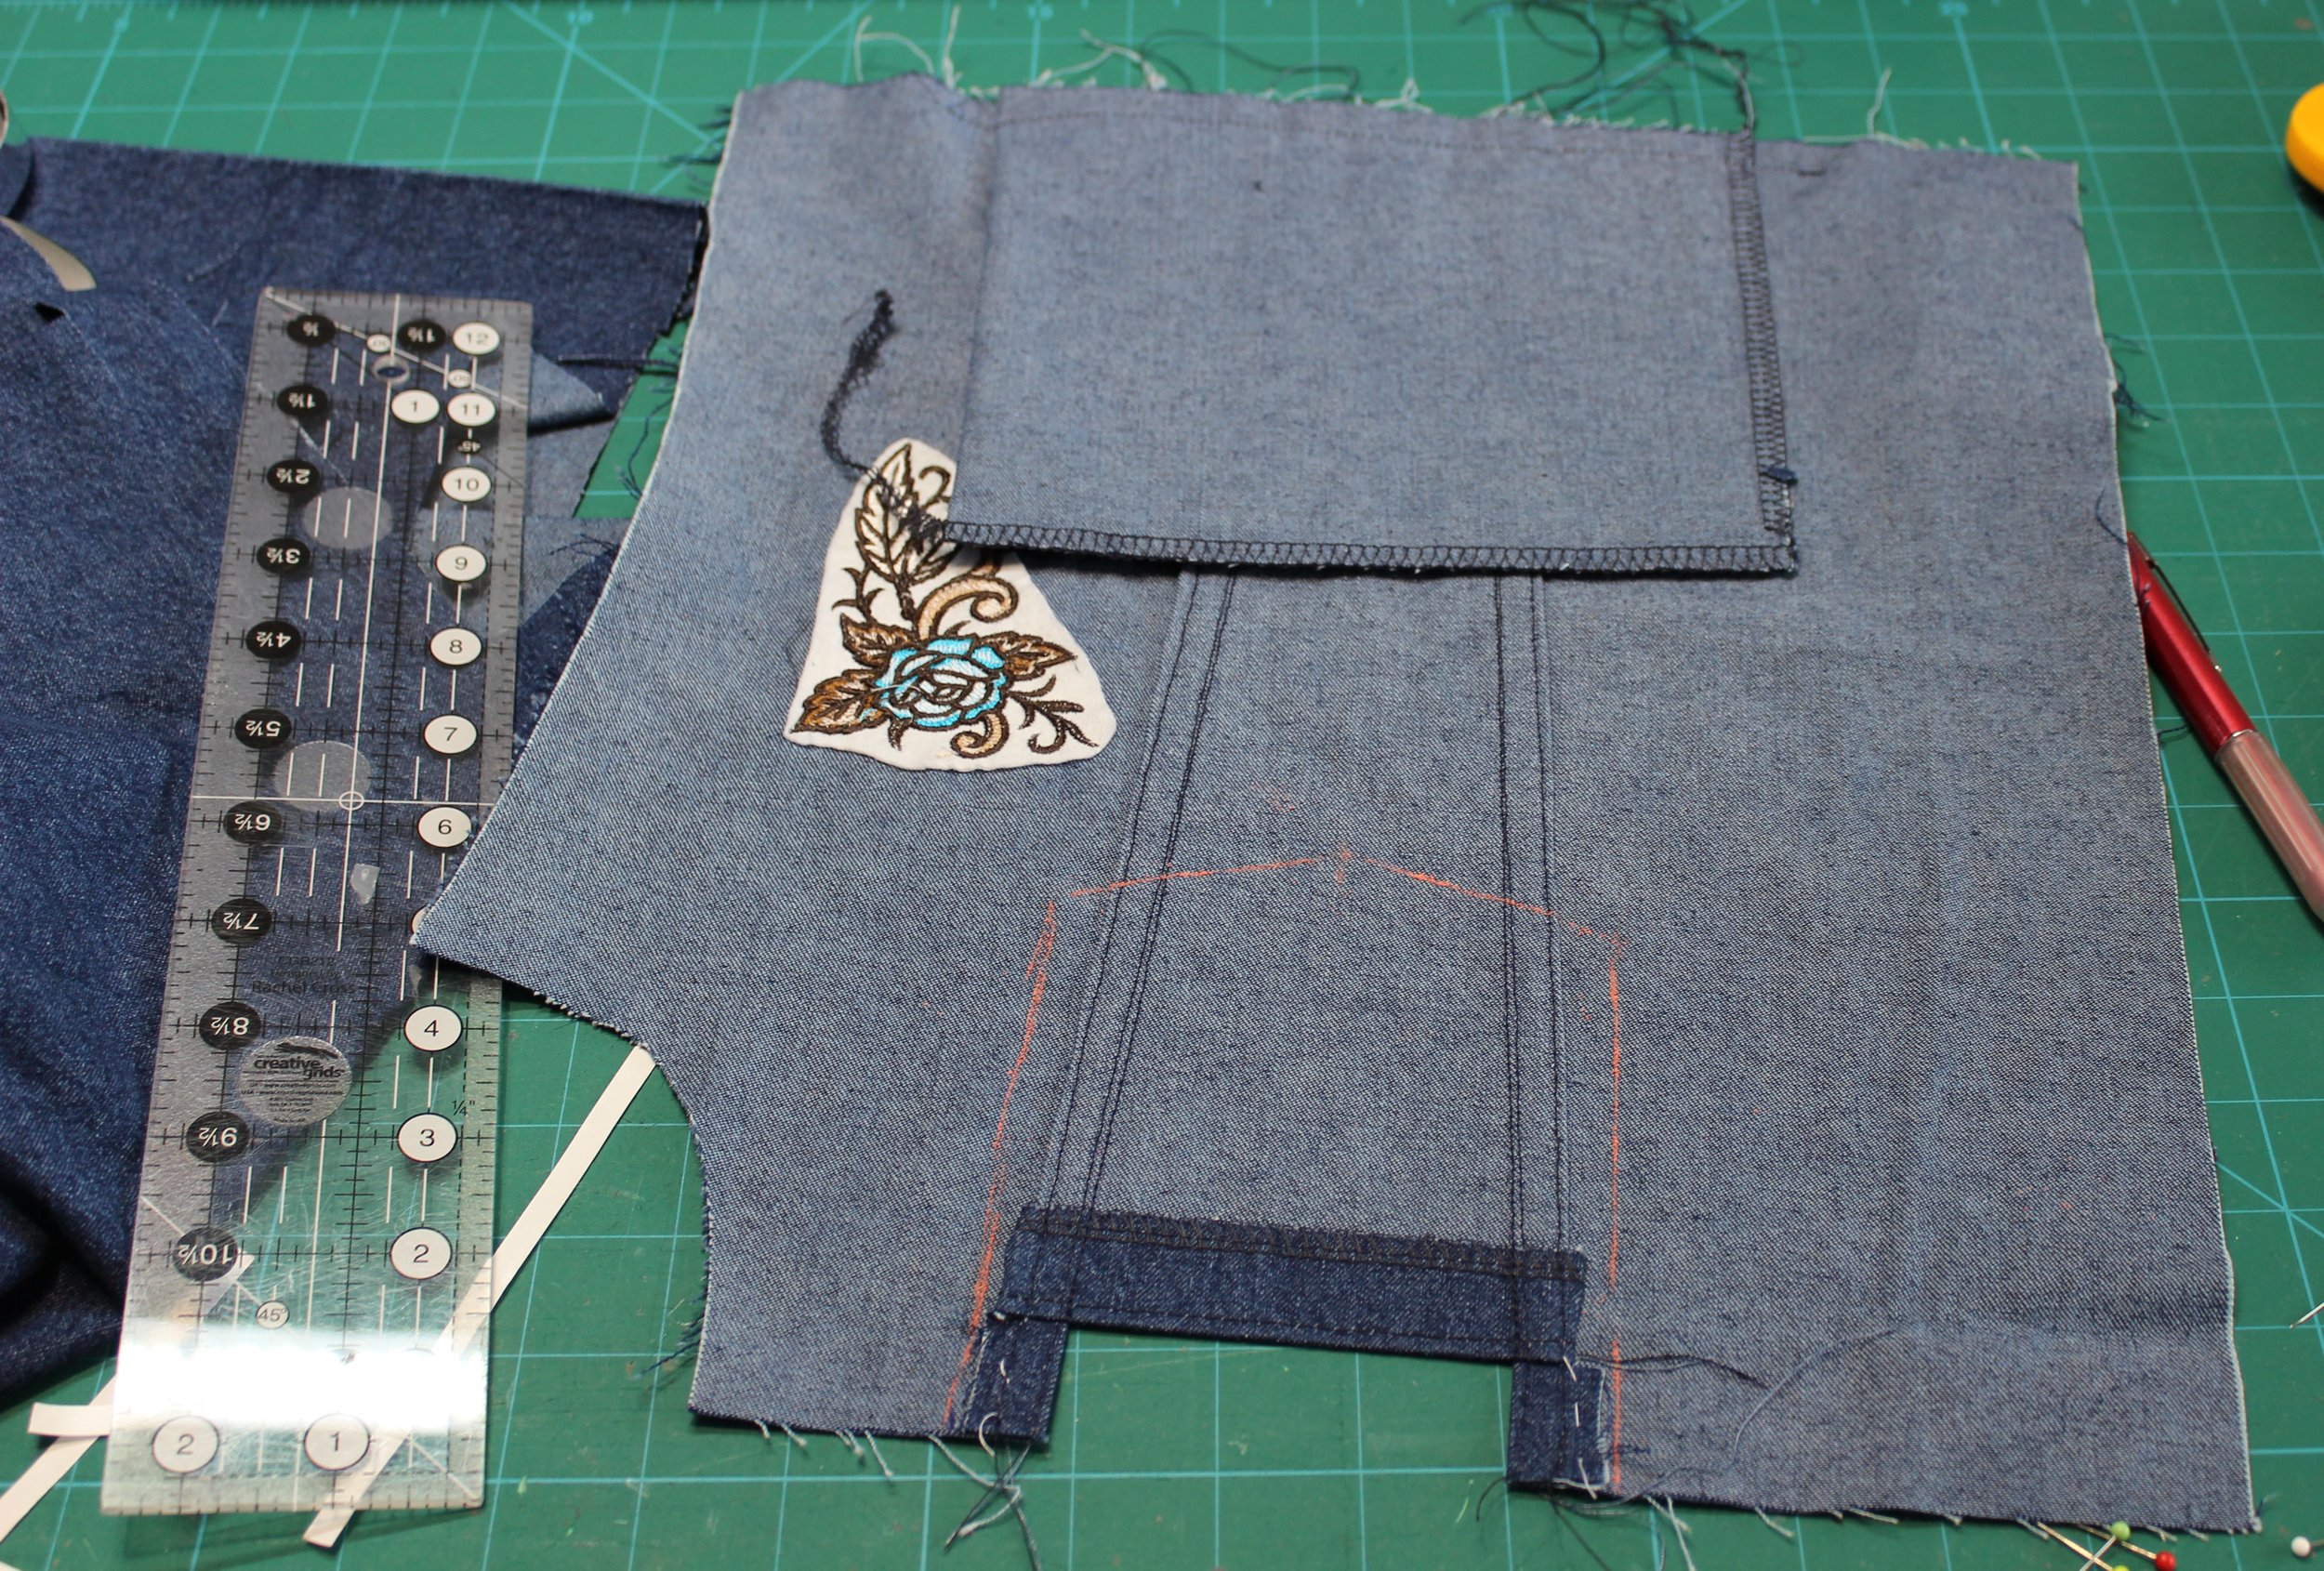
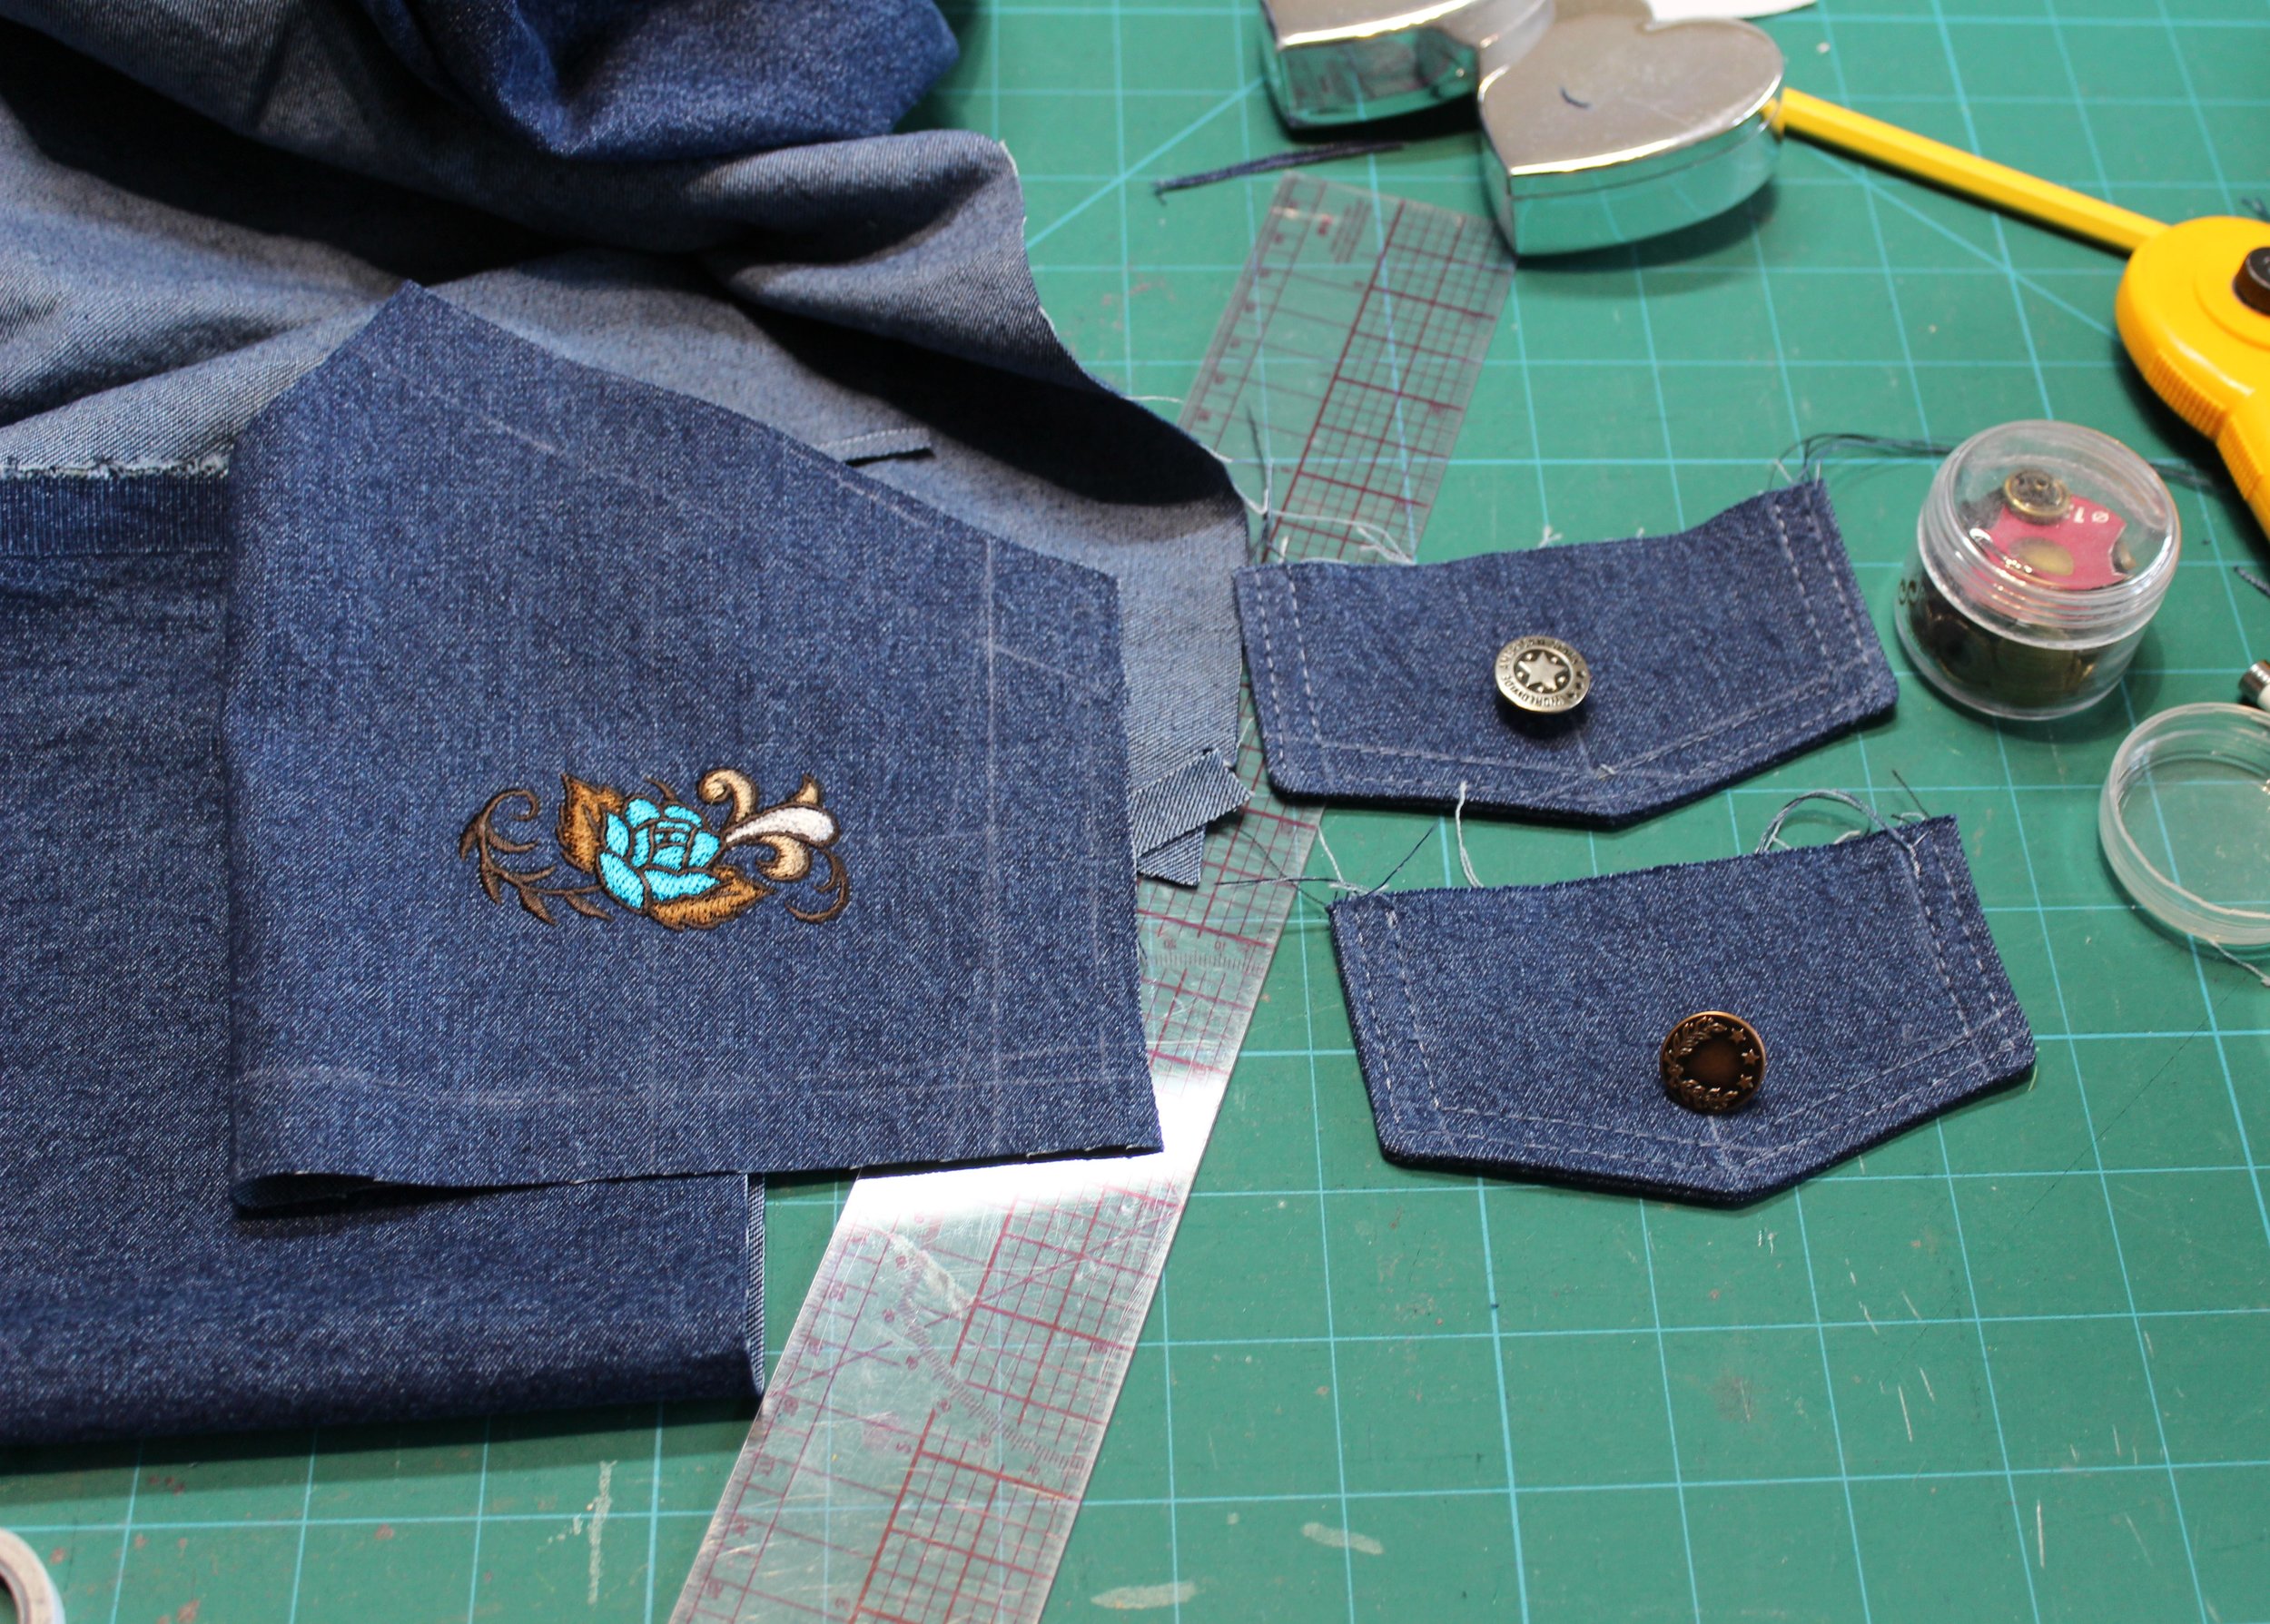
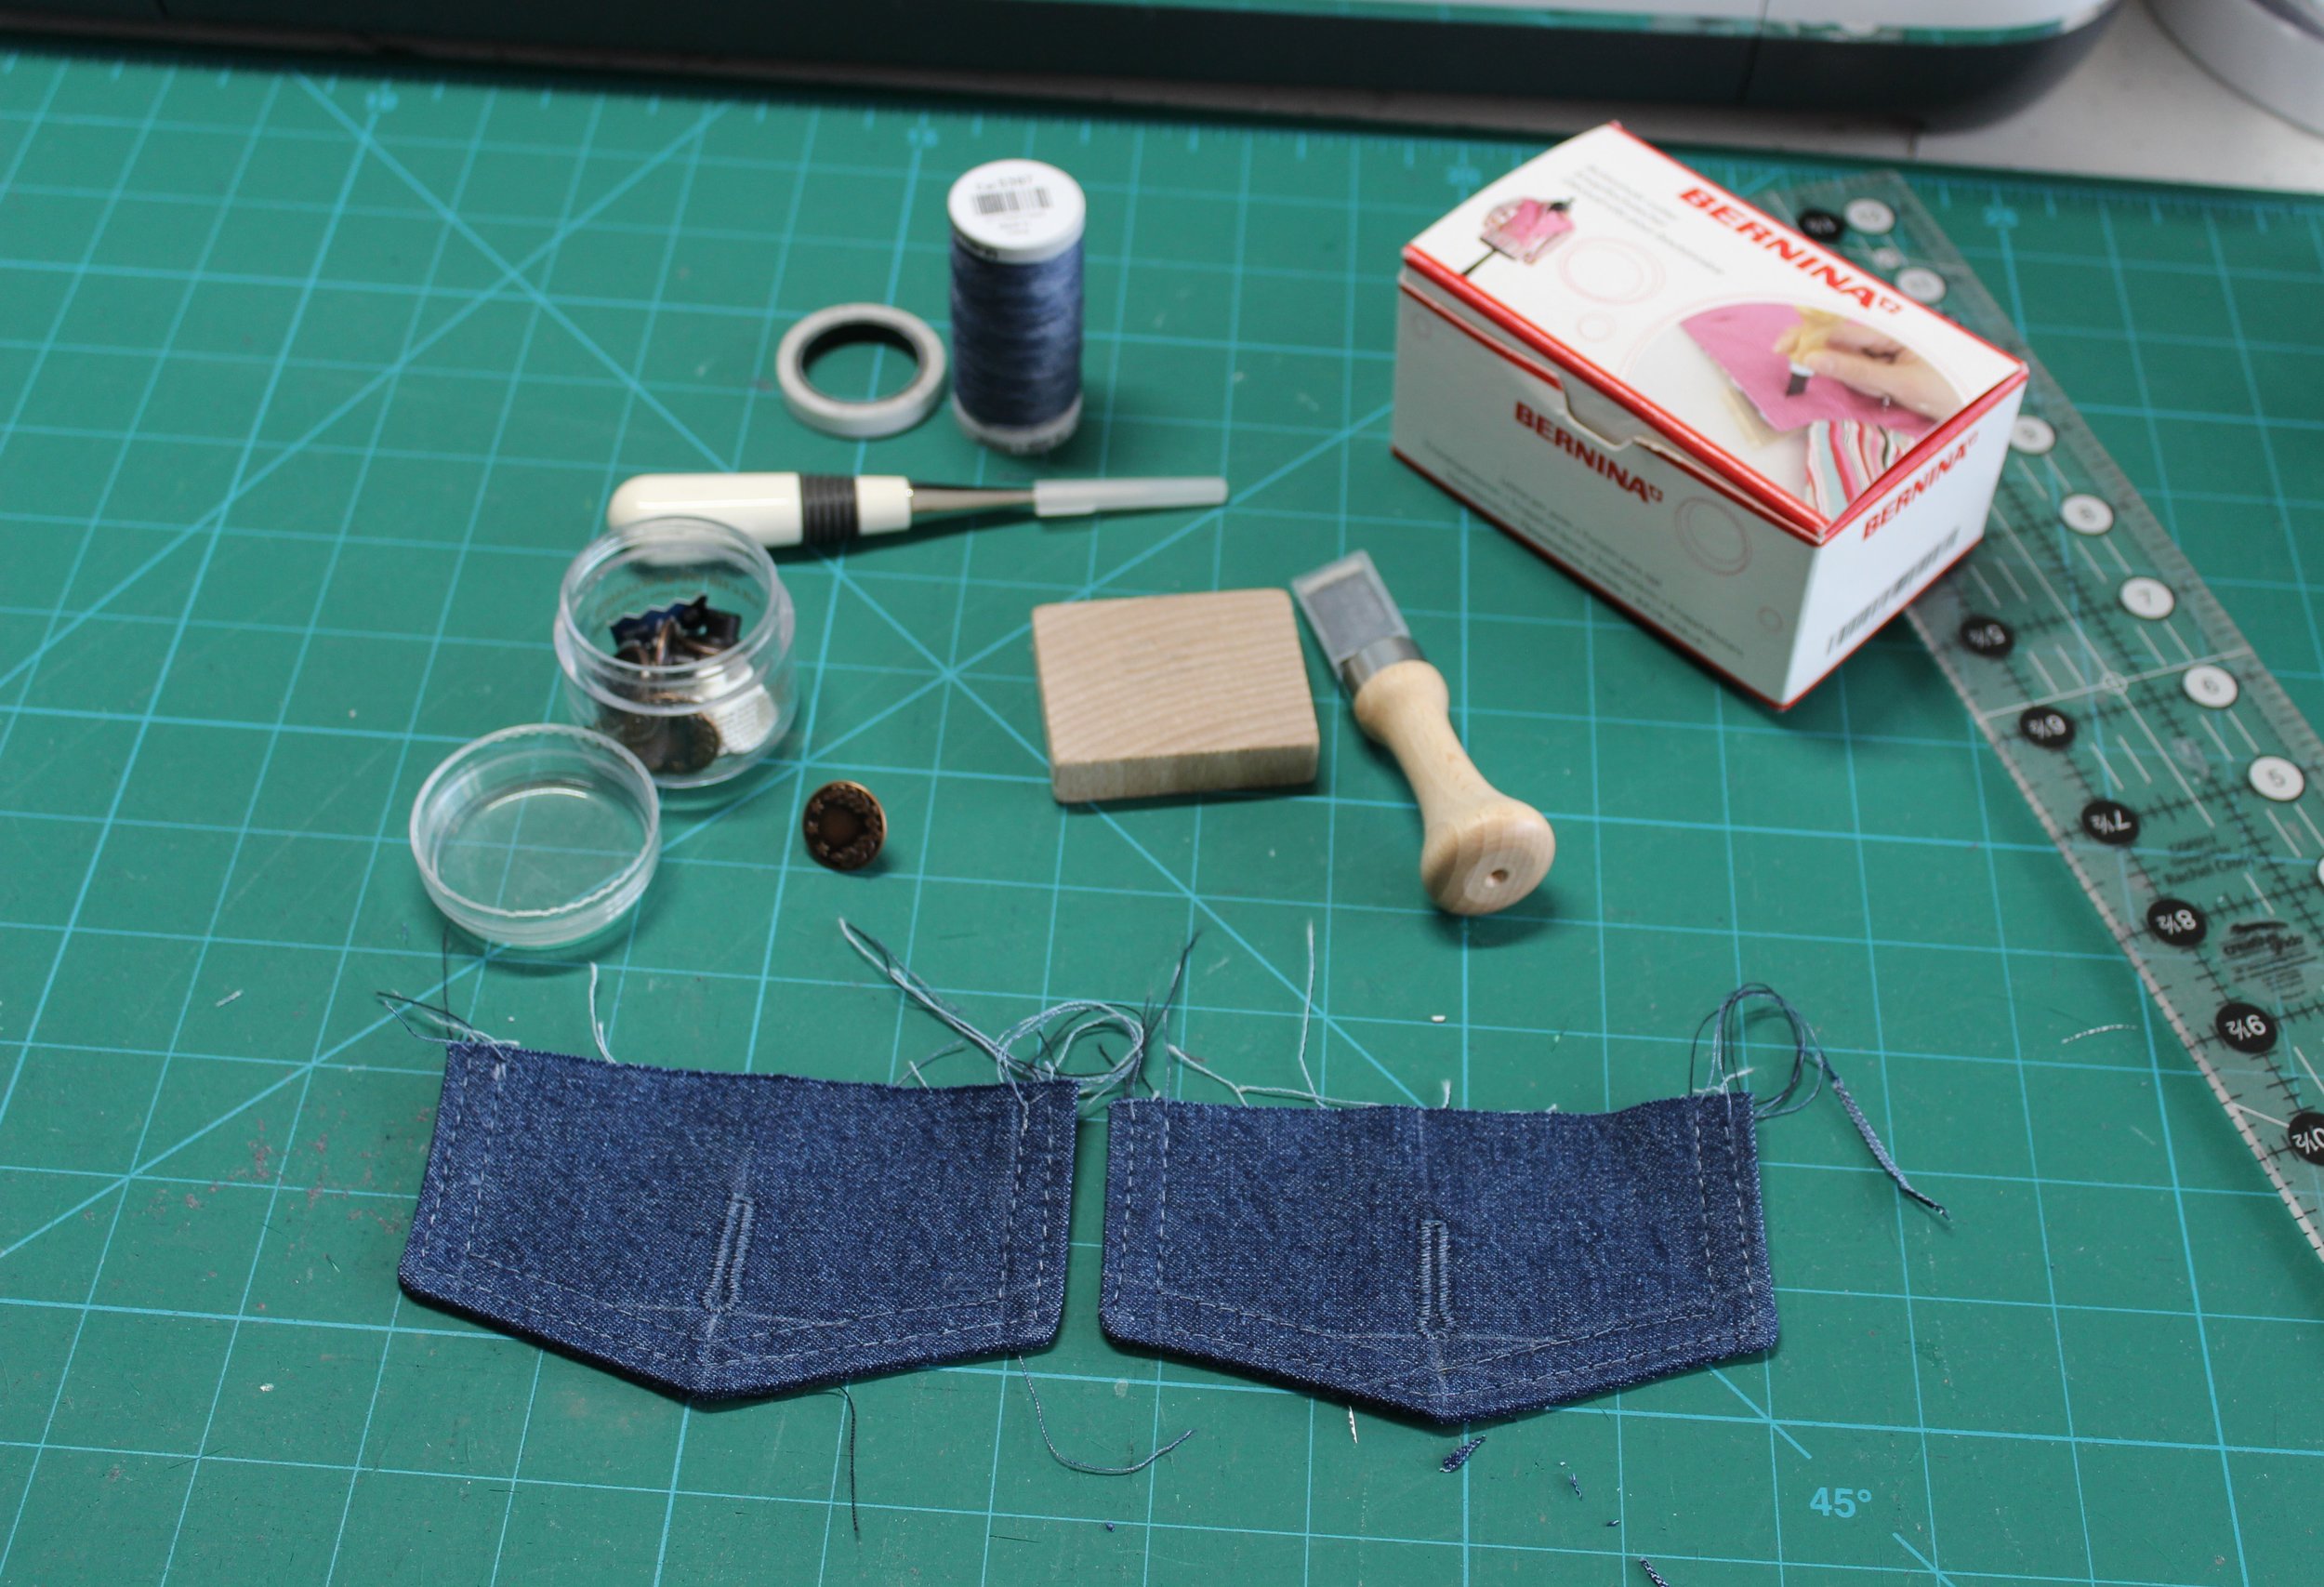
The welt pocket worked beautifully and with a sigh of relief I moved onto the front pocket flaps and the buttonholes. First, I had to choose a button. The copper laurel wreath looks fabulous with the embroidery. Remembering to ensure the seam allowances would be out of the way I managed two perfect buttonholes. I was using a Gütermann Jeans thread which had caught my eye on the trip to Sew Your Own Wardrobe. The description is a “two-colour appearance which makes it suitable for darning and decoration”. As I was embroidering the jacket I didn’t want the design to compete with the thread and I thought this would be ideal. It looks metallic especially in the dense stitching of the bar tacks and buttonholes but it isn’t as thick as the topstitch thread I had used on the jeans.

At this point I thought all the hard work had been done. The jacket was coming together and was looking fantastic. The first struggle was top stitching the front yoke. My machine just did not like going over the flap with all those layers. A few bangs with the rubber mallet really did help! There is also a lot of fabric to get through on the centre front edges especially at the corners but I pressed well and called on the services on my husband for some brute force.
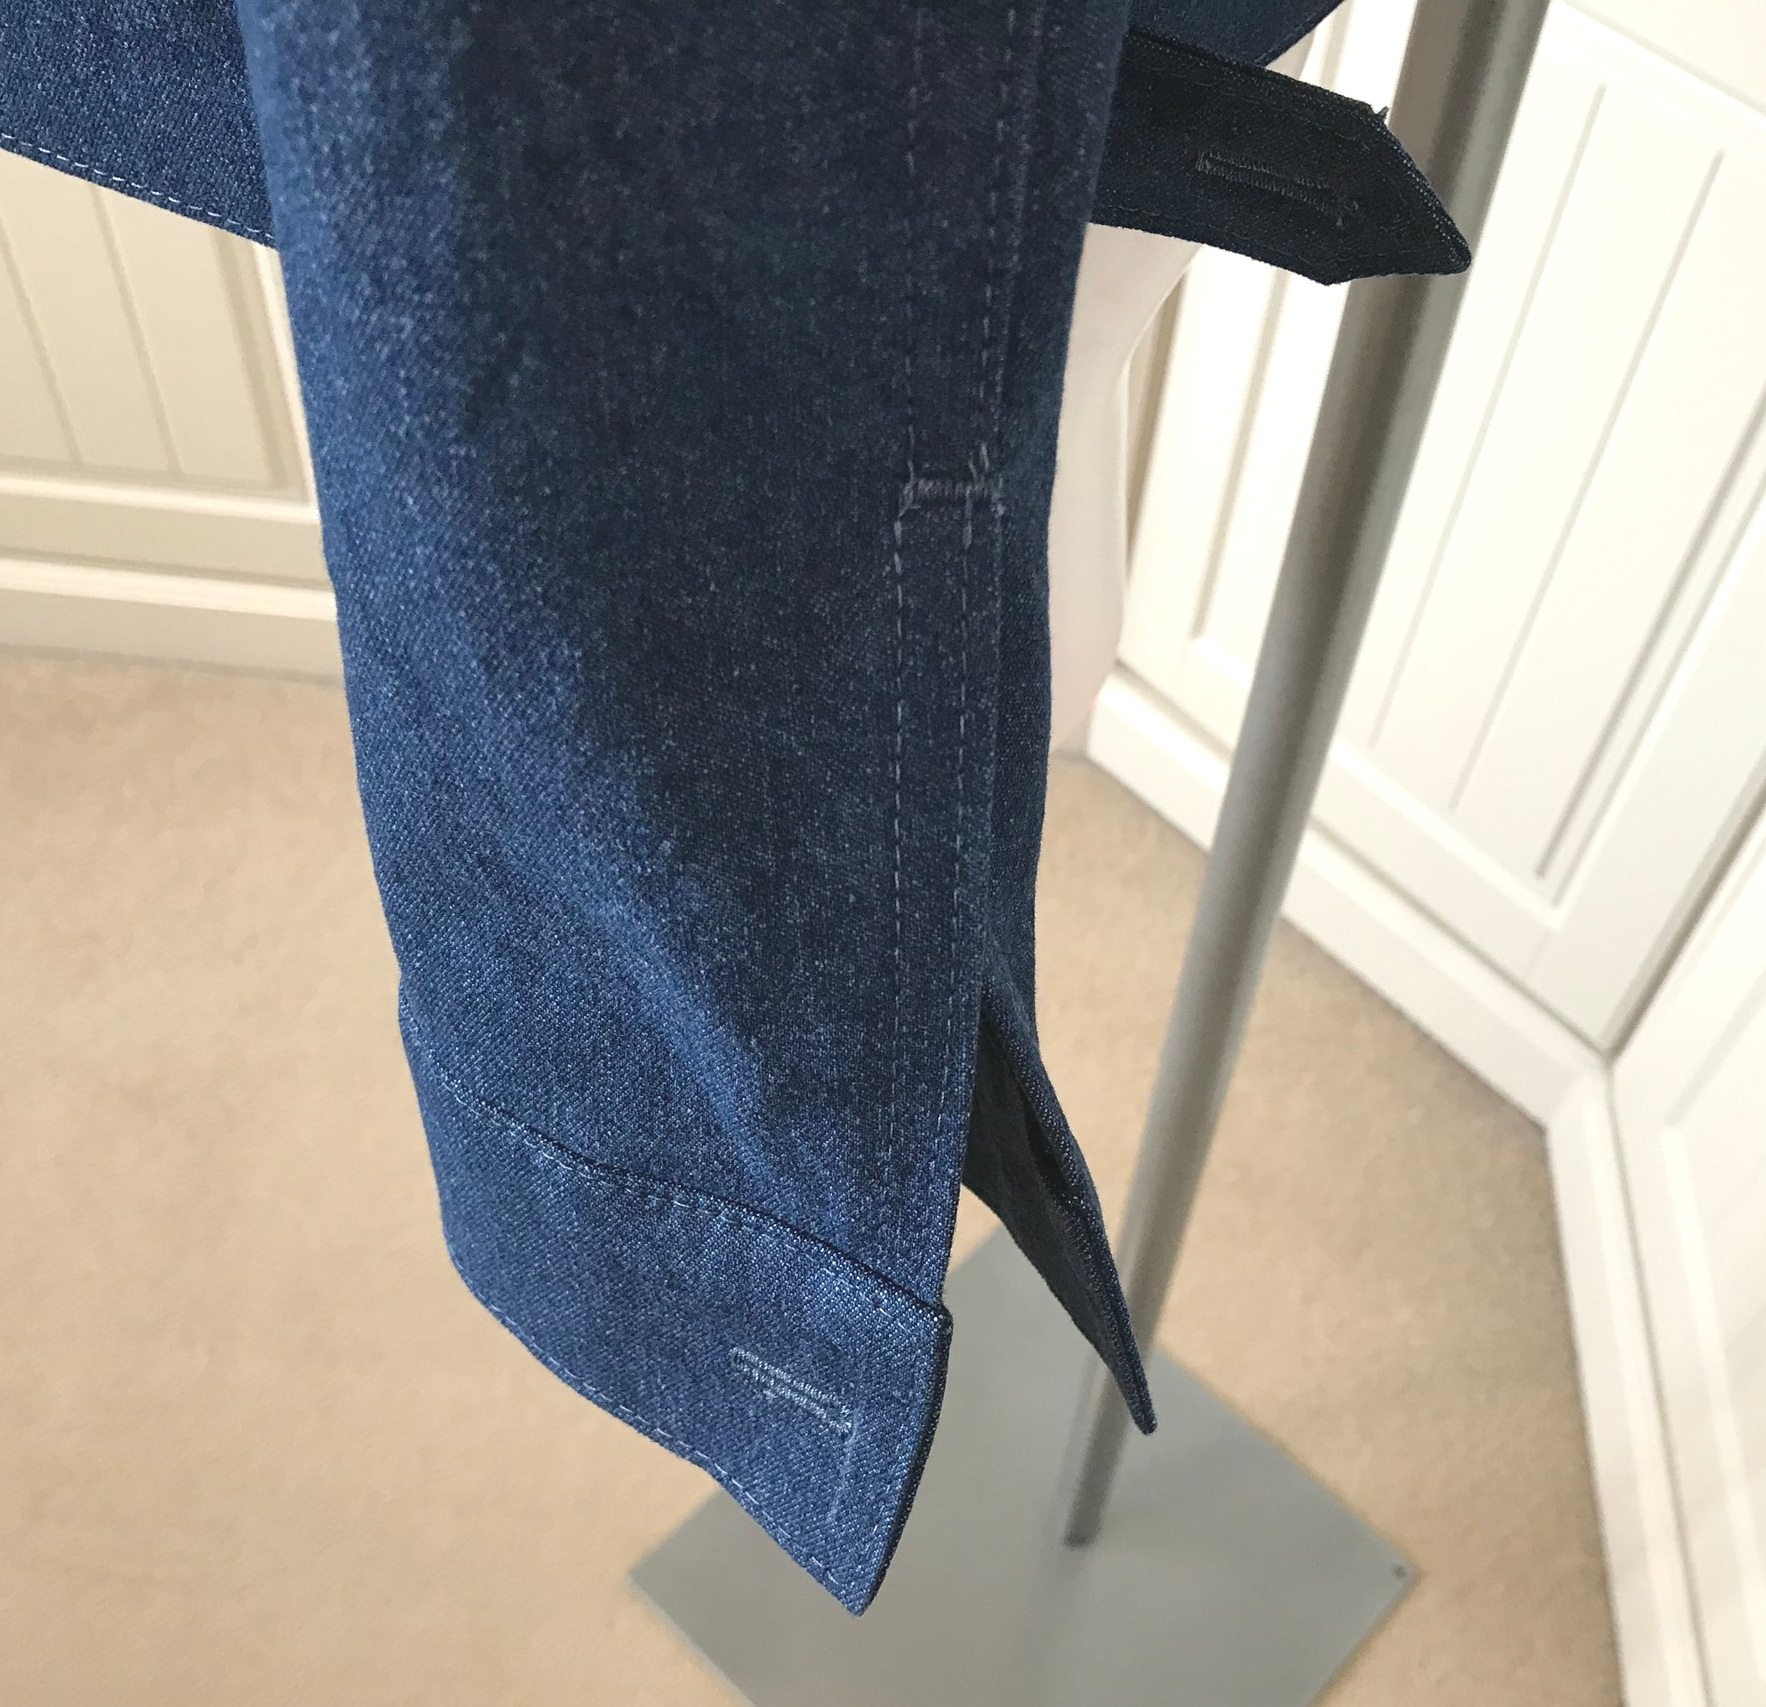
The collar isn’t lined so that went in really well. The instructions for the cuff are excellent and looks so professional. The only fiddly bit is topstitching the second sleeve seam where you are sewing in a tunnel. Having just done this with my leggings I wasn’t phased. This is one of the best patterns I have used as everything lined up perfectly and even the button placement was where it should be. However, my favourite part was the set in sleeves. The pattern requires three rows of gathering stitches and then I pulled these up over a pressing ham before placing into the jacket. Perfect first time.